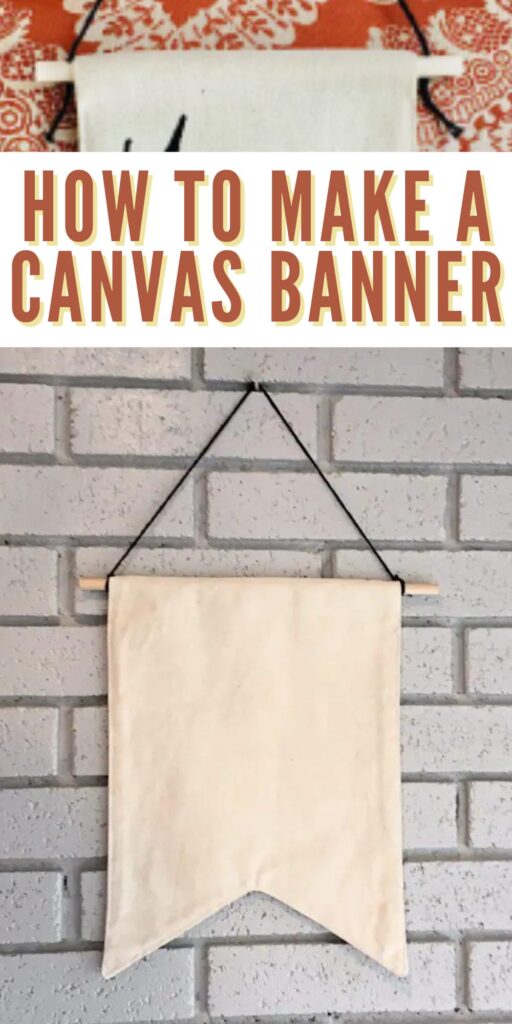
Learn how to make natural canvas banners that are perfect for all sorts of home decor and craft projects with this easy tutorial and free templates.
I have made and sold hundreds of canvas banners, and I have figured out the best way to make them!
Canvas (or other fabric) banners are a versatile decor item. Here are some things I love about them:
- They are size customizable (Fun fact, I once made one for a client that was the size of a DOOR!)
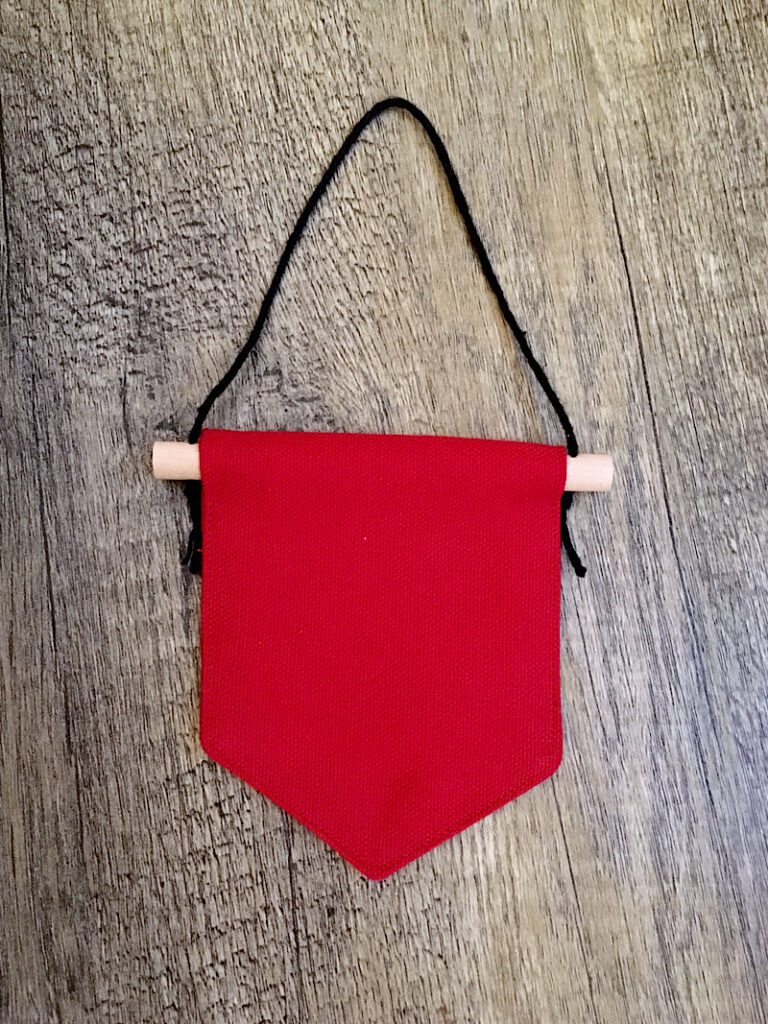
- You can make them pointed, flat, round, or ribbon style on the bottom
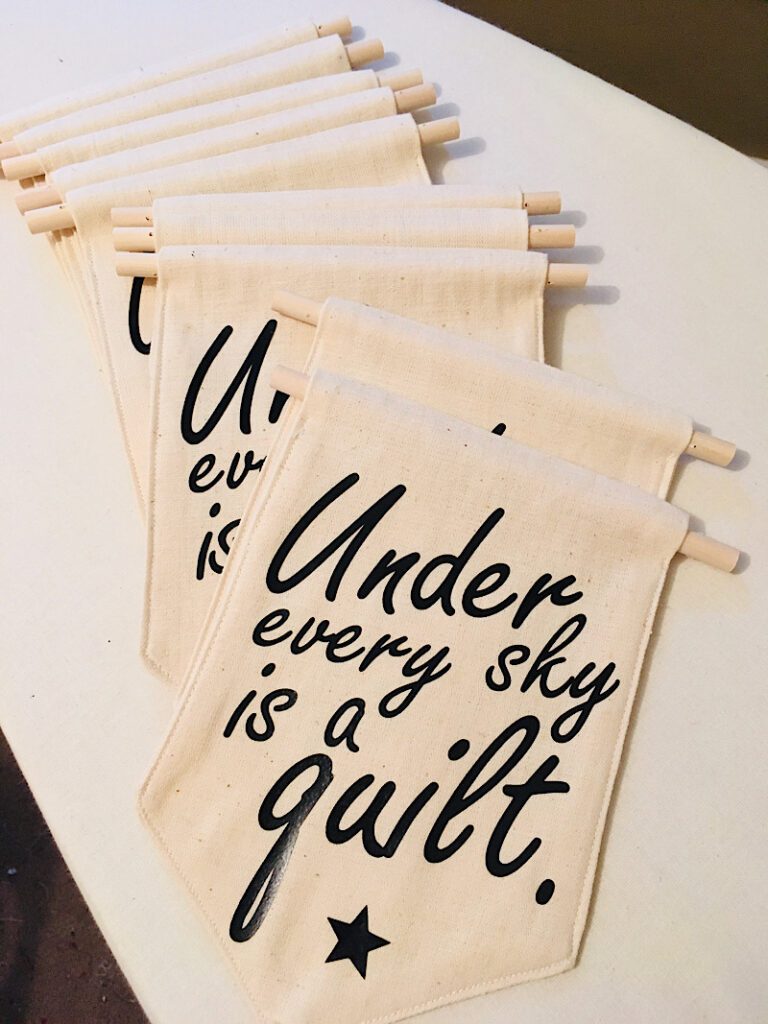
- They are perfect for adding quotes with HTV (iron on vinyl)
- They made great enamel pin displays
- You can make them double sided if you want
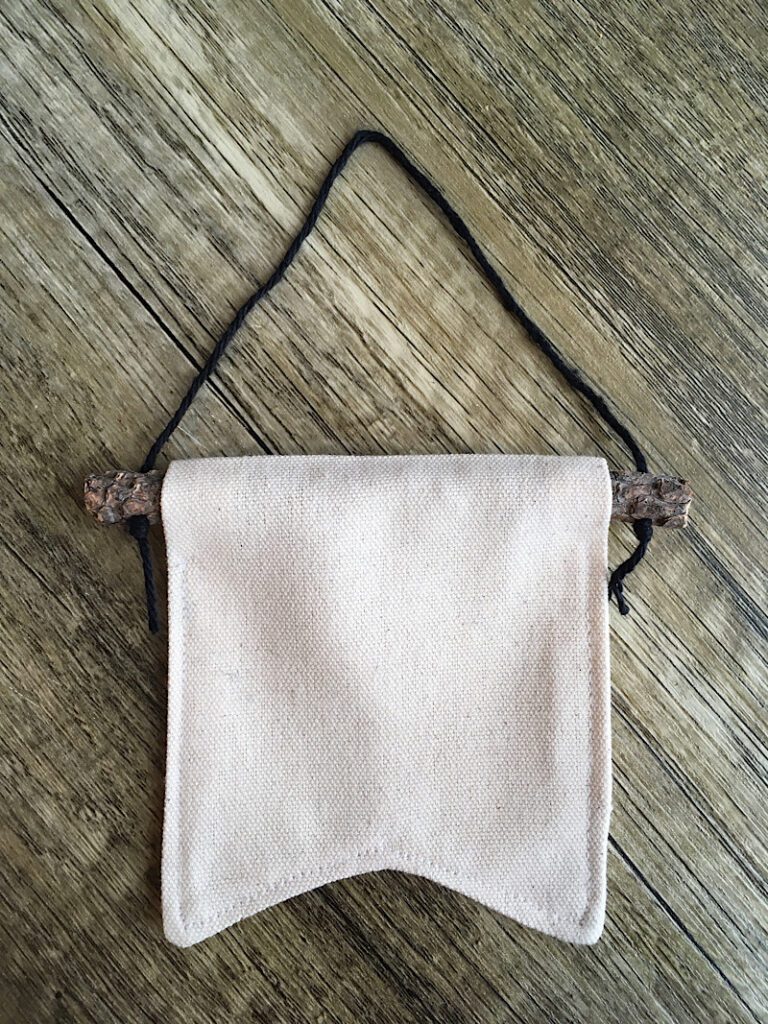
- You can hang them with branches or dowels
- They can be used for felt designs, painting, embroidery, etc
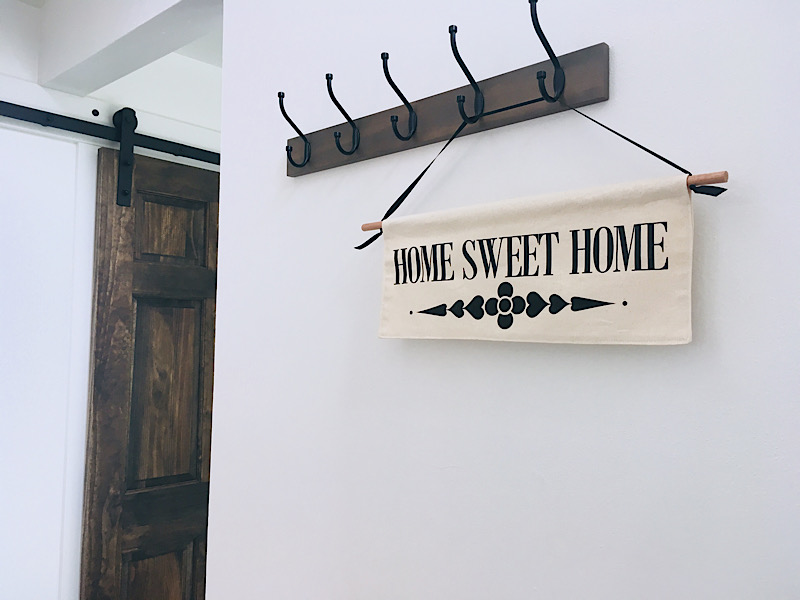
- Hang them on the door, wall, anywhere!
Let me show you how I do it!
This post may contain affiliate links. Read the full disclosure here.
Supplies Needed
- 7 oz weight, natural colored canvas (also called duck) fabric, a few inches bigger than the desired size of your banner.
- Matching Thread
- A dowel or branch several inches longer than the desired width of your banner. (3/8ths is a good dowel size for most banners)
- String to hang the banner from
- Disappearing ink marker, or a pencil or chalk or pen
- Regular sewing tools
- Canvas Banner Template (Download your free copy below!)
How To Make A Canvas Banner
Step 1. Download The Canvas Templates
You can either draw your own banner templates, or you can download and use the ones I use. (These are the ones I make and sell on Etsy!!)
There are 6 templates in the download.
- Small ribbon banner
- Medium ribbon banner
- Small point banner
- Medium point banner
- Small rounded banner
- medium rounded banner
To download the templates, sign up for my email list below.. Print it at 100% scaling on cardstock for best results!
Step 2. Trace & Trim Your Banner Pattern
Fold your canvas fabric in half. Line the top flat edge of the banner template along the folded edge of the canvas.
Leave at least 1/2 an inch of space all around the perimeter.
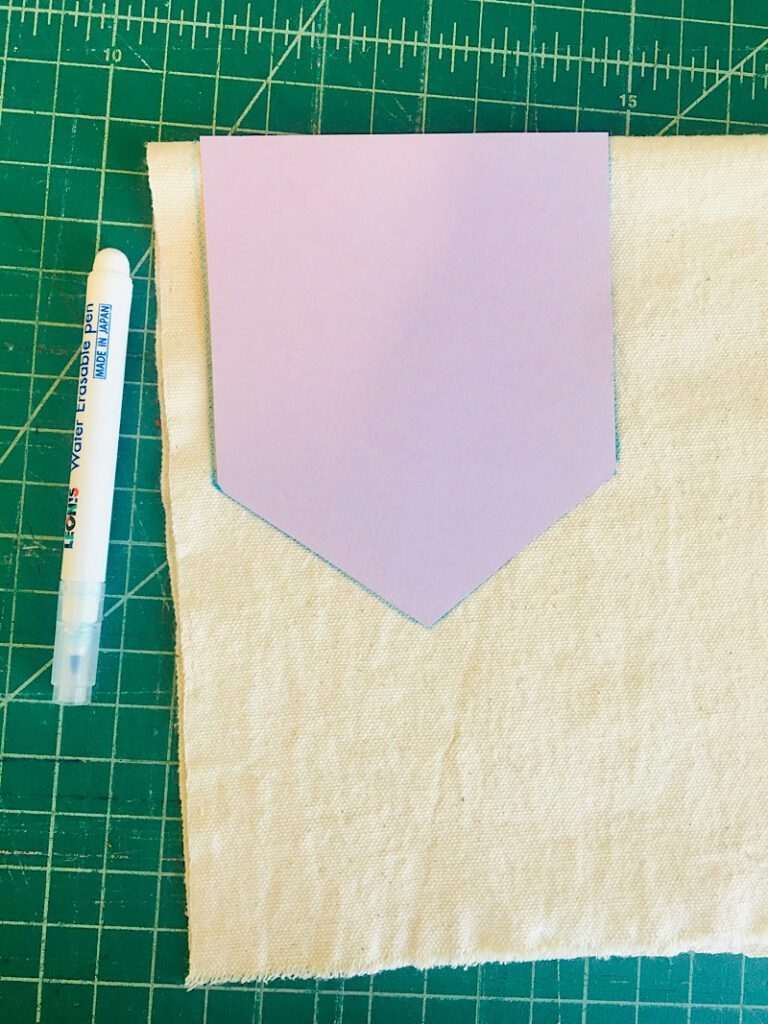
Then, using a pencil, pen, or disappearing ink marker, trace the template onto the canvas.
Remove the template, and trim around the traced pattern with about a about a half inch allowance.
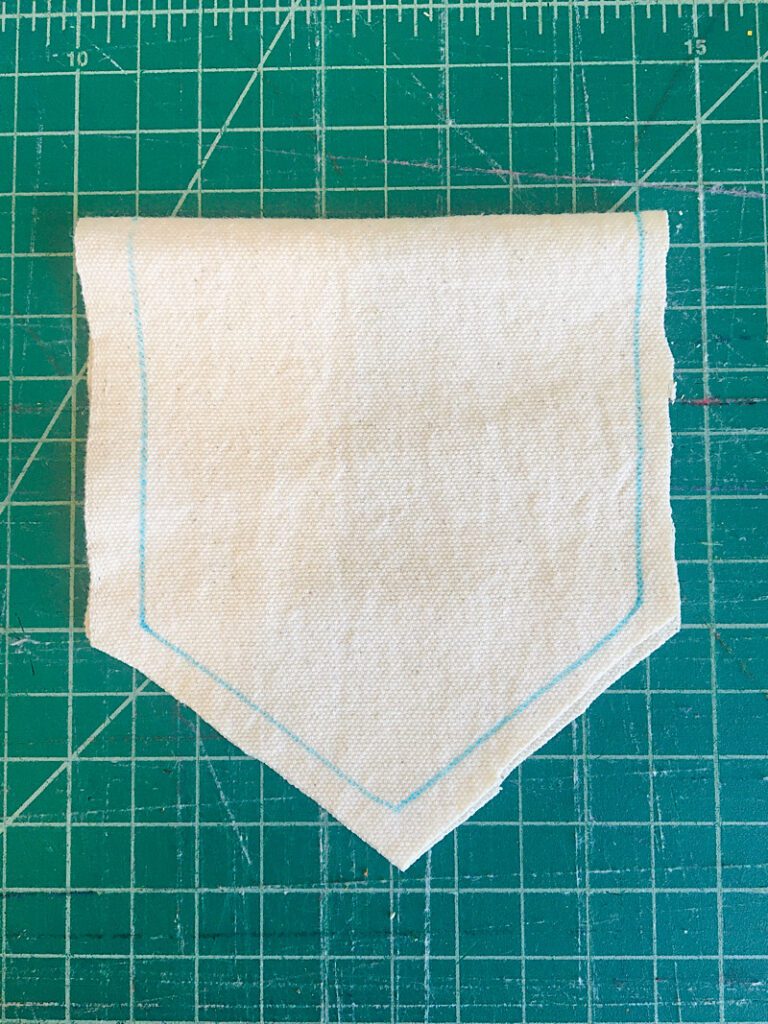
Step 3. Sew The Banner
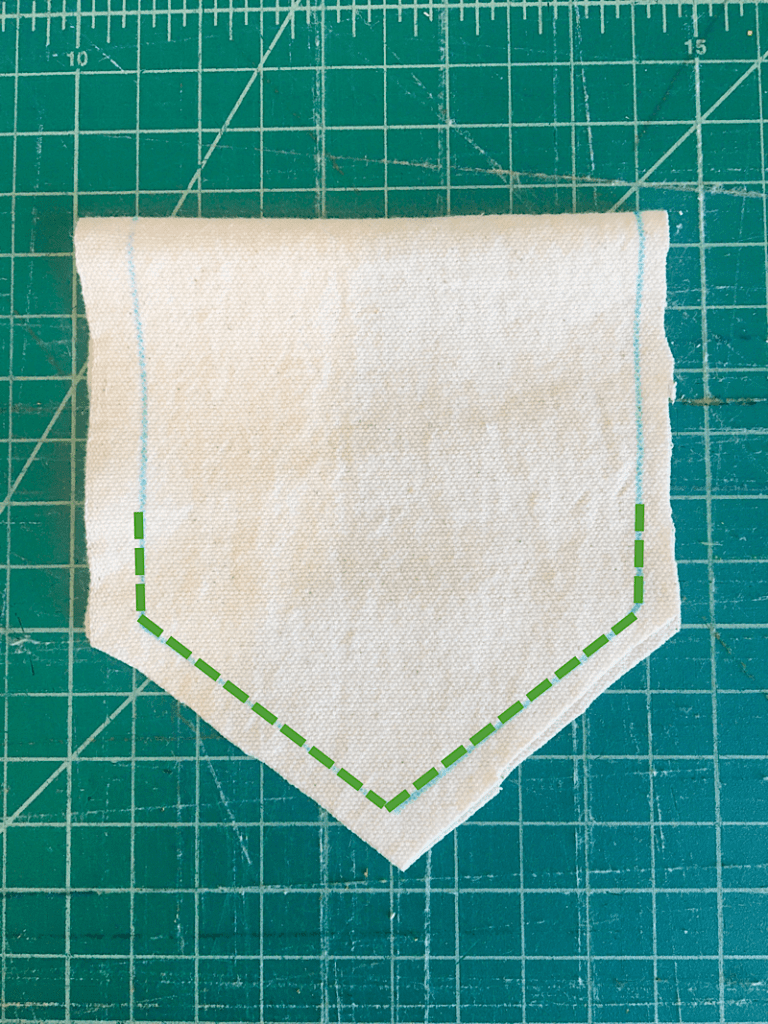
Now, you are going to sew along the traced line of the banner, making sure to leave about a 2 inch gap on both sides from the folded edge down. (As shown in the green dotted line below)
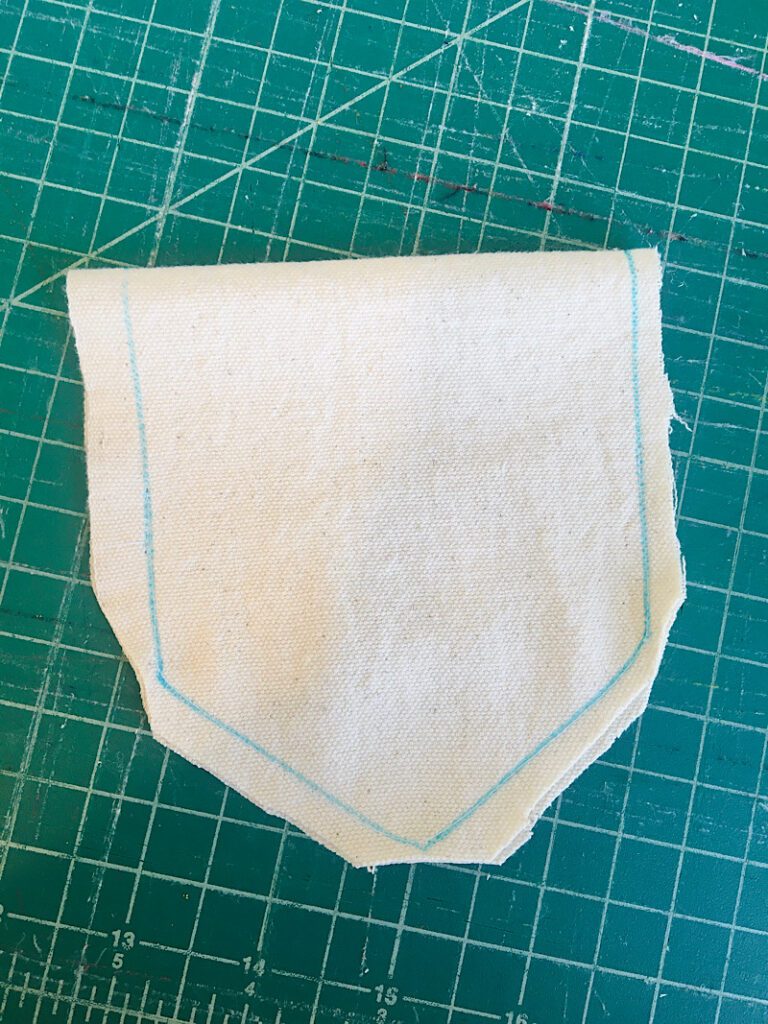
Once you have sewn the line, carefully clip the corners to remove excess fabric, this will help when you turn it inside out later.
Don’t cut too close to the seam.
Step 4. Turn The Banner
Turn the banner right side out through one of the side gaps.
Use your fingers and a long blunt object (like a capped marker or pen) to push out the corners of the banner and shape it.
Then, use your fingers or an iron to press the banner nice and flat.
Fold the fabric under at the gaps so it is straight and even.
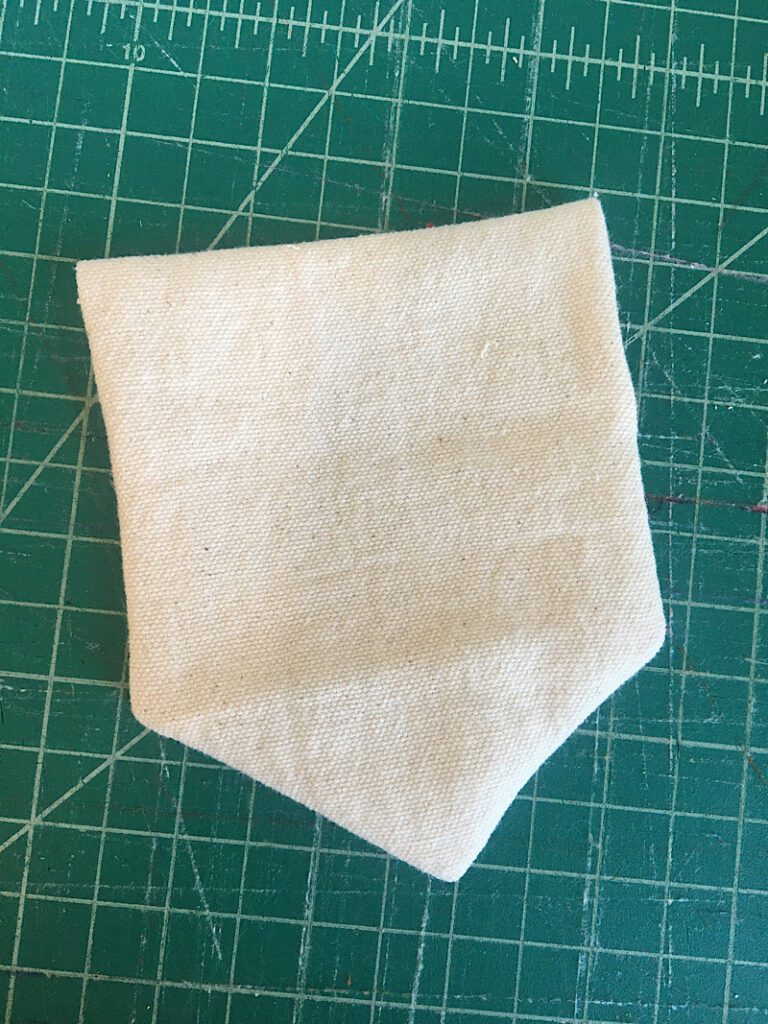
Step 5. Topstitch The Perimeter
Now you will finish the banner by sewing a topstitch near the edge around the perimeter, leaving a 1 inch gap under the fold on both sides. (As shown in the dotted line below.)
I typically sew the topstitch about 1/8ths inch away from the edge.
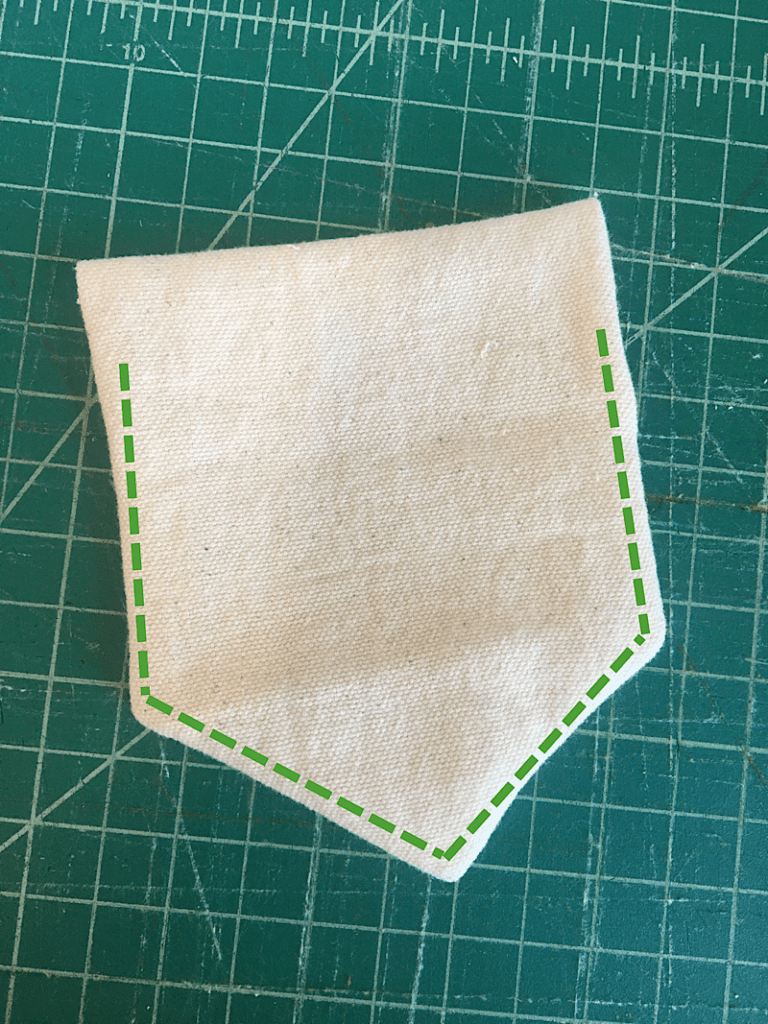
Now the banner is sewn!
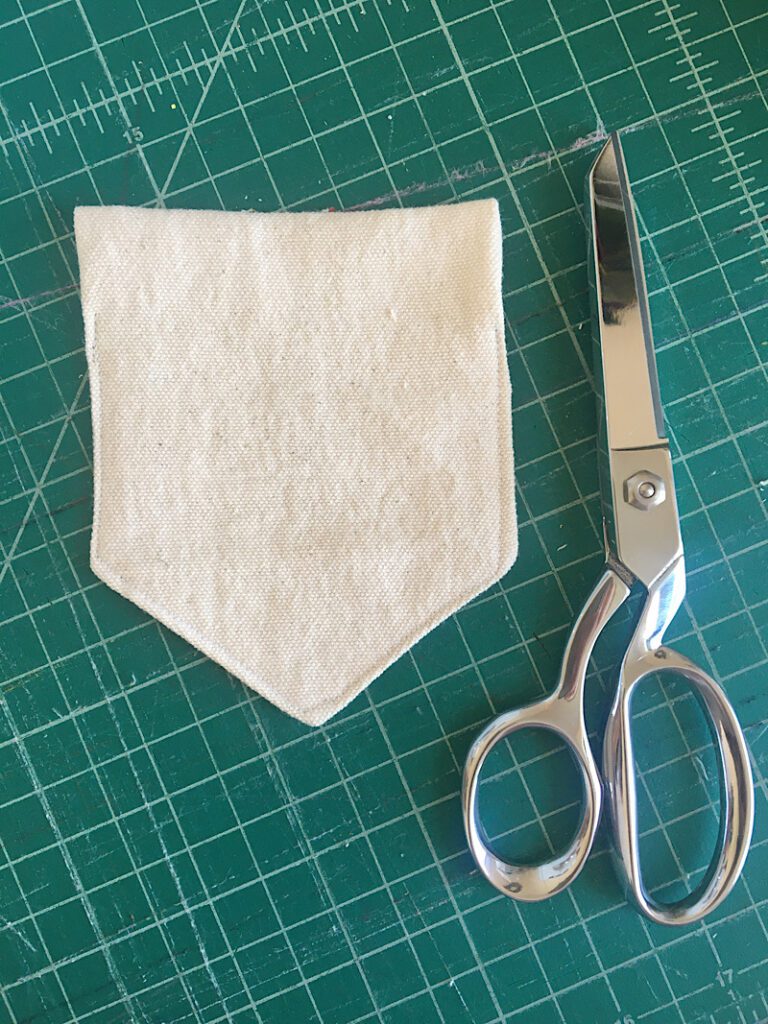
Step 6. Insert The Dowel & String
Finally, insert a dowel or branch that has been cut to the correct length through the side gaps.
You can tie a string around each side like I did here, or drill a hole through each side of the dowel so you can thread a string through (this is what I do when I am selling the banners on Etsy.)
Then you are done!
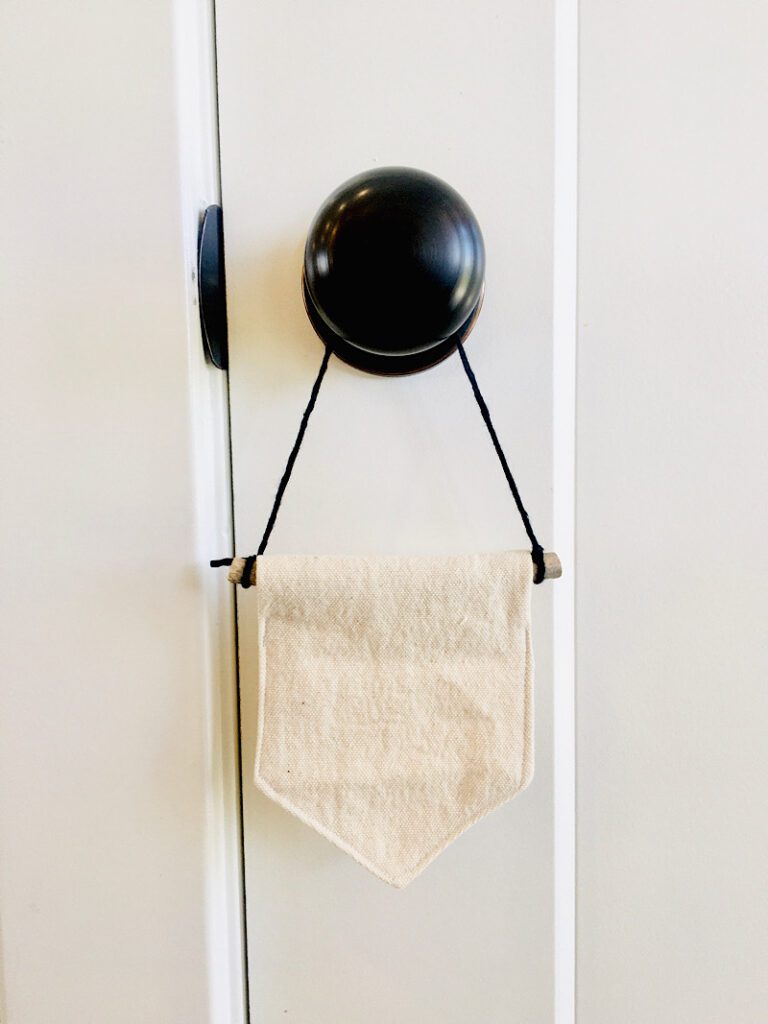
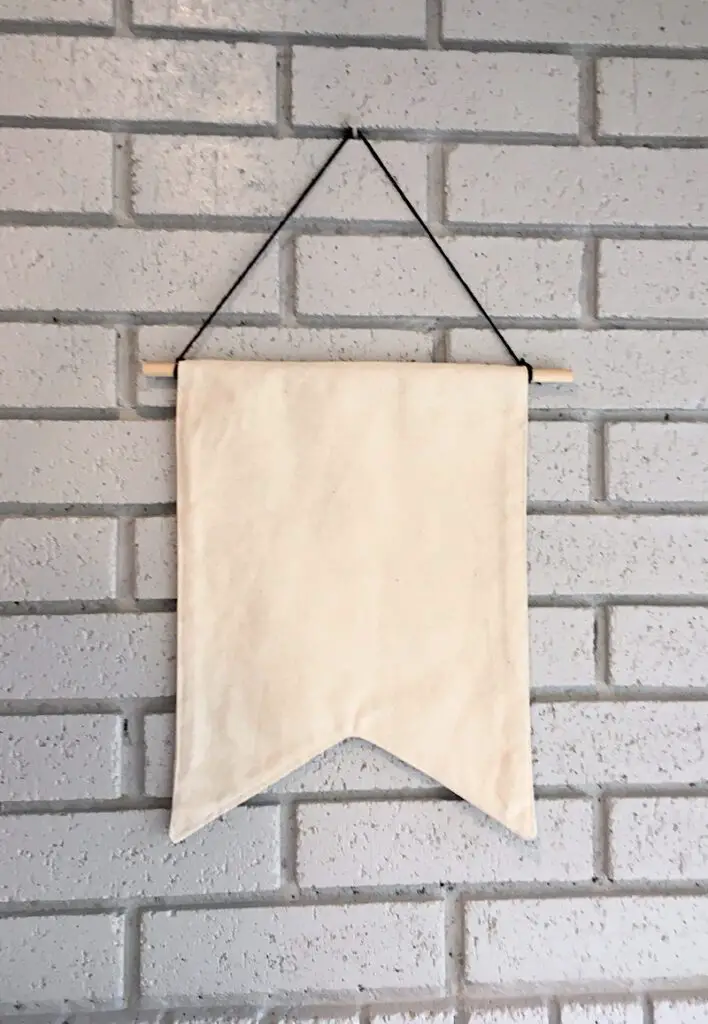
Photo Examples of Canvas Banners
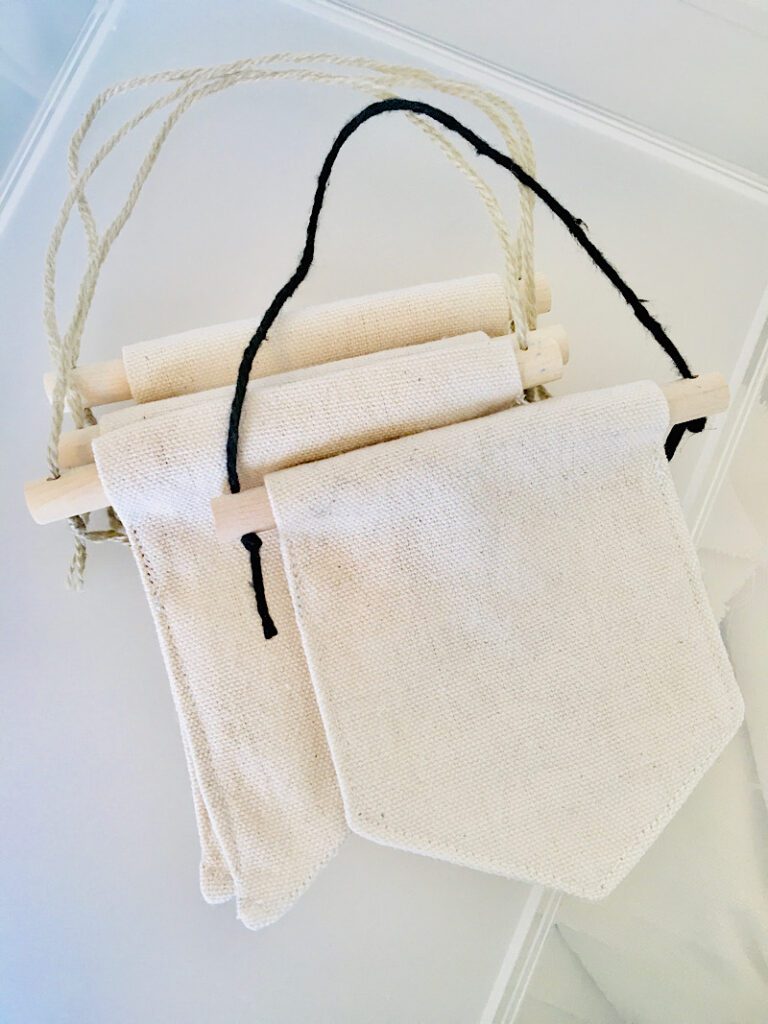
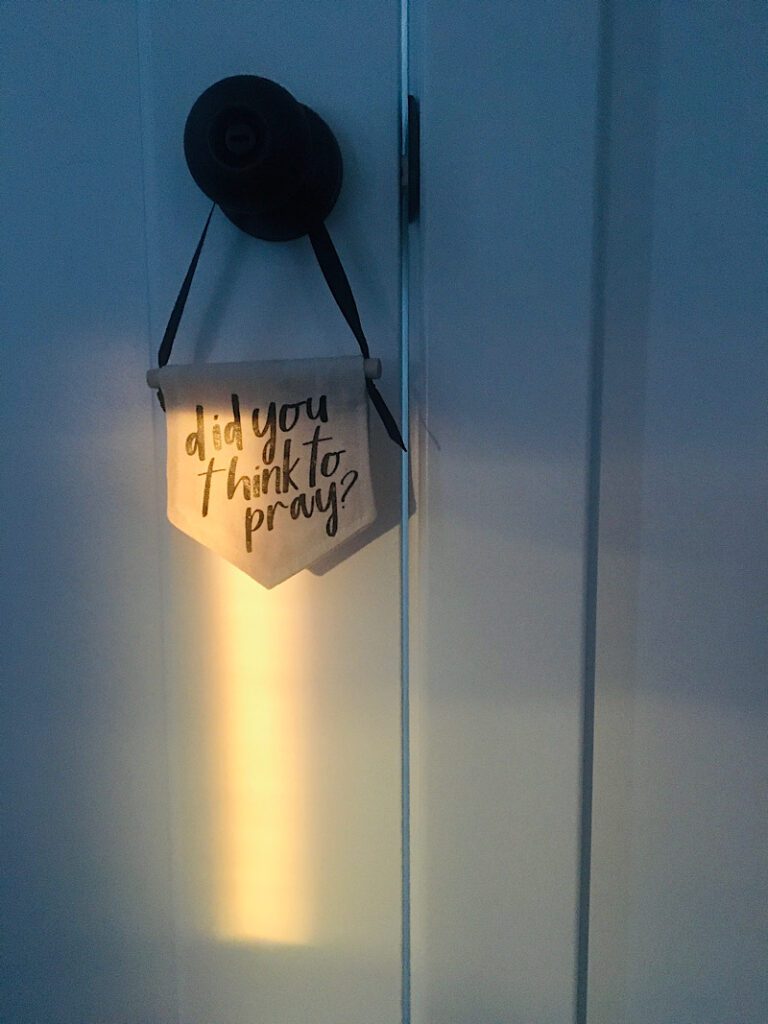
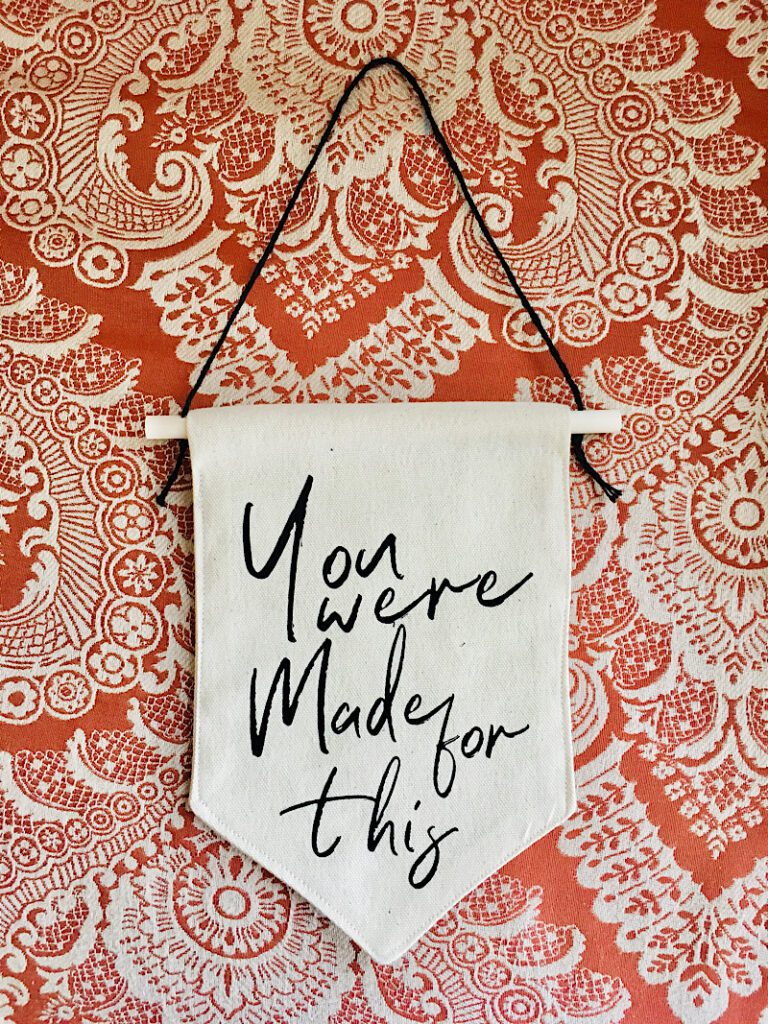
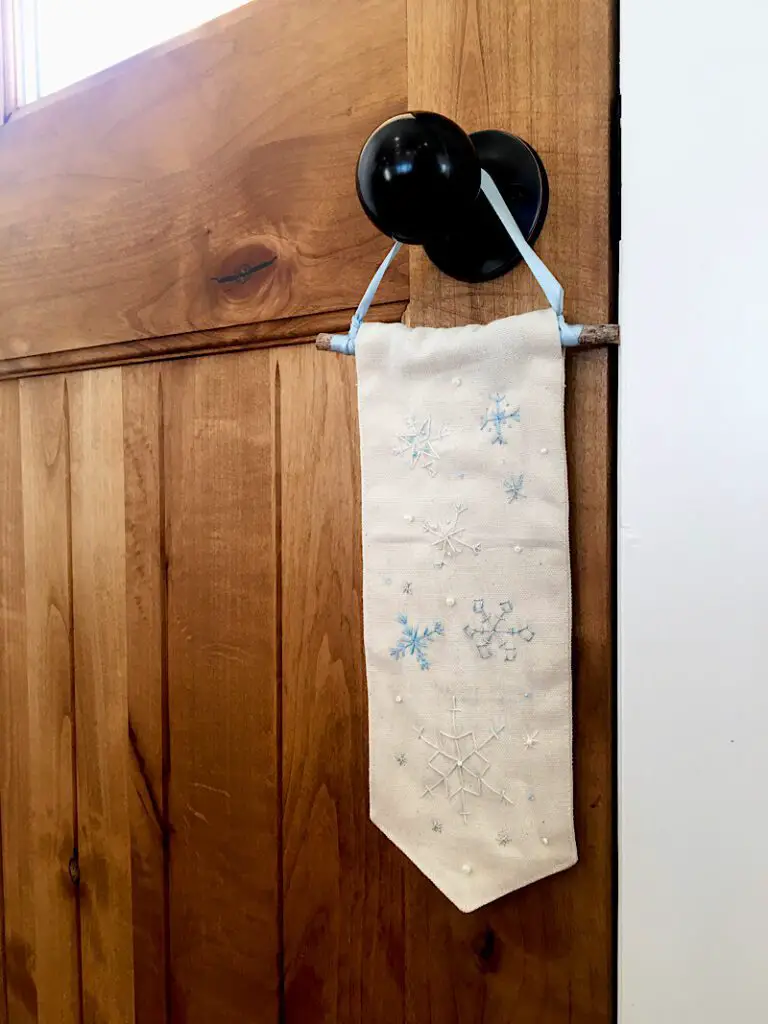
I have made lots of these banners in all shapes and sizes, usually for HTV quotes, but also for my snowflake embroidery project, and more!
Here are some photo ideas of how these canvas banners can look.
Conclusion
I hope this tutorial was helpful! These banners are so quick to whip up and fun to use.
Next month, I am presenting at the Holiday Crafts Summit hosted by Bettes Makes, and if you want to see how I use these banners with Heat Transfer Vinyl to make adorable Christmas decorations, make sure you sign up to attend!


I love the fact that you are not using all the latest gadgets that I can’t afford to buy.
Me too, Andrea. I keep it real! Thanks for commenting.
sign up for my email list below and I will send you the pdf files.
I did not see a link to sign up for your email on this page.
Betsey, I will send you an email!!
Great banners, Rachel!
Thanks Joan! I am glad you liked them.
Great project! Please add me to your email list so I can receive your patterns pdf. Thank you.
Thanks Lorna. I will send them right away!
Love the banners! I’m not seeing the link to sigh up for your newsletter. Thank you!
Thanks for letting me know, I will send them to you!
Where is the link for your email list?
Hey Sheryl, The link is in the sign up form in the blog post. I will get you signed up!
There is no box to sign up for an email list to get the files.
Hi Jane, It is in the blog post. I will send the files to you!
Thanks for the templates! I can’t wait to make some banners.
I would like the templates. Thank you for sharing on the HCS2023 presentation.
You are so welcome Madeline, I am glad you enjoyed the presentation. I will send them to you!
Where is the sign-up to get the templates? I don’t see one.
Hi Dena, It is in the blog post. I will send them to you!
I don’t see a place to sign up for your newsletter either.
Hi Judy, it is in the blog post. I will sign you up!
I could not find the files for this project.
Hi Cindy, Don’t worry, I will get them to you!
Holiday craft summit Templates
Hey Brenda, yes these are the same templates as in the holiday summmit, I will get your email signed up!
Is this where I sign up for the banner PDF?
Theresa, I will get you signed up!
Thanks for the tutorial on making banner loved it
Thanks Roberta! I’m glad you liked it.
These canvas wall banners are such a cool idea! Love how customizable they are. Today I’ve featured your project on Crafts on Display, I hope you enjoy it https://craftsondisplay.com/sewing/easy-wall-banner-184837/
Hi! I signed up for the email subscription but still can’t find the banner templates. Can you help me with that? Thank you!
Hi Julie no problem! It doesn’t email them to you (too many people lost it that way) so now it just pops up right after you type in your email. It should redirect. If it isn’t working for you I can send them directly!