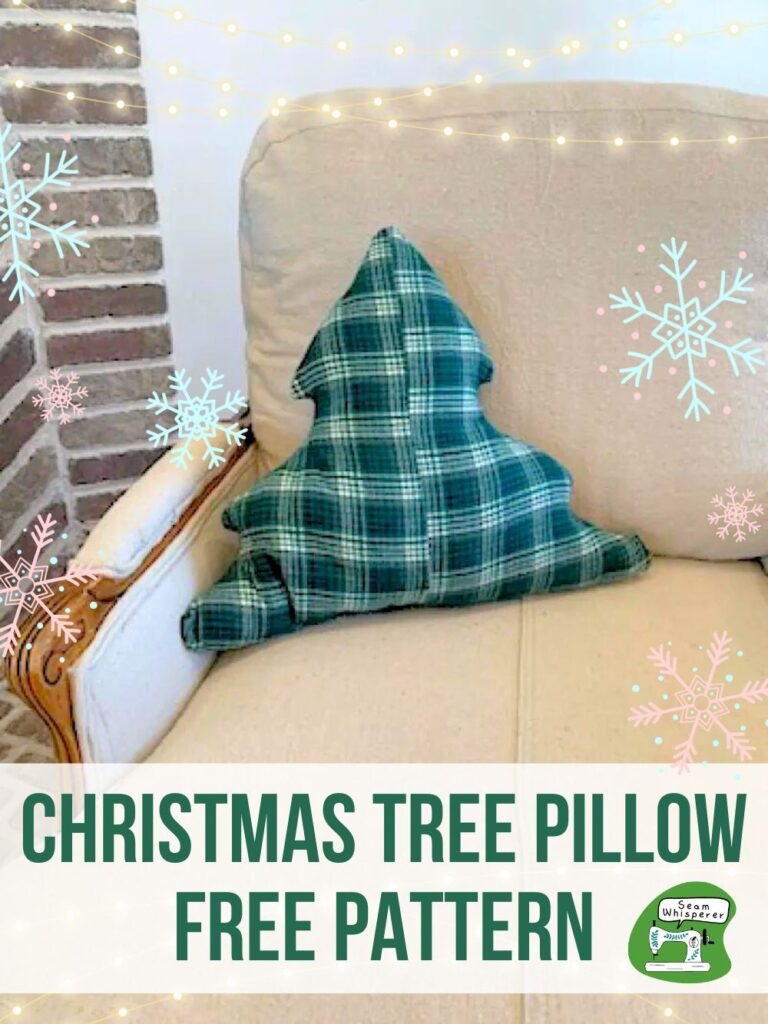
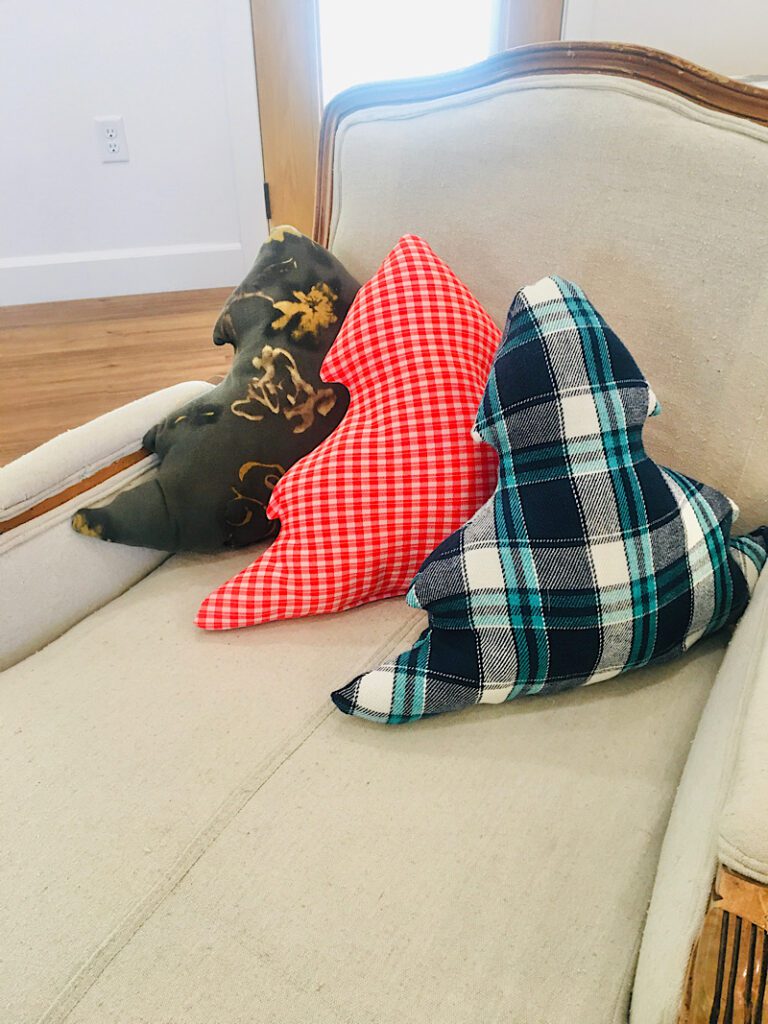
These rustic and easy Christmas tree pillows will be a fun accent on your couch or bed this season!
I have to confess, this wasn’t my idea! I saw the cutest plaid flannel Christmas tree pillows in a local vintage store, and I had to try to make my own!
These are a great project for upcycling old flannel or wool shirts, blankets, you name it!
I made a whole collection of red and green ones to sell at the craft fair, and man, they turned out cute!
Let me show you how to make one of your own.
This post may contain affiliate links. Read the full disclosure here.
Supplies Needed
- 1/2 yard of plaid flannel fabric (you can also use an old large men’s shirt, aligning the buttons in the middle, that would be so cute!)
- Matching thread
- Fiber fill or other pillow stuffing (Enough for an 18 inch pillow will work, check the label)
- Regular sewing supplies: pins, scissors, sewing machine, etc.
- Free pattern (Download it below!)
Note: Make sure you check out all my free Christmas patterns here!
Download The Free Pattern
To get your copy of this pattern, sign up for my email list below and I will send it to you right away!
Print the pattern at 100% scaling.
Cut it out, then align the top and bottom pieces so the two folded edges line up. Then tape them together.
Now you are ready to sew!
How To Make A Christmas Tree Pillow
Step 1. Cut Out The Fabric
Fold your fabric in half with the and align the edge of the pattern on fold. Cut out the pattern, then repeat these steps so you have a front and back piece.
(I was using scrap flannel, which is why the pattern doesn’t match perfectly and there is a seam in the middle! Yours will look better!)

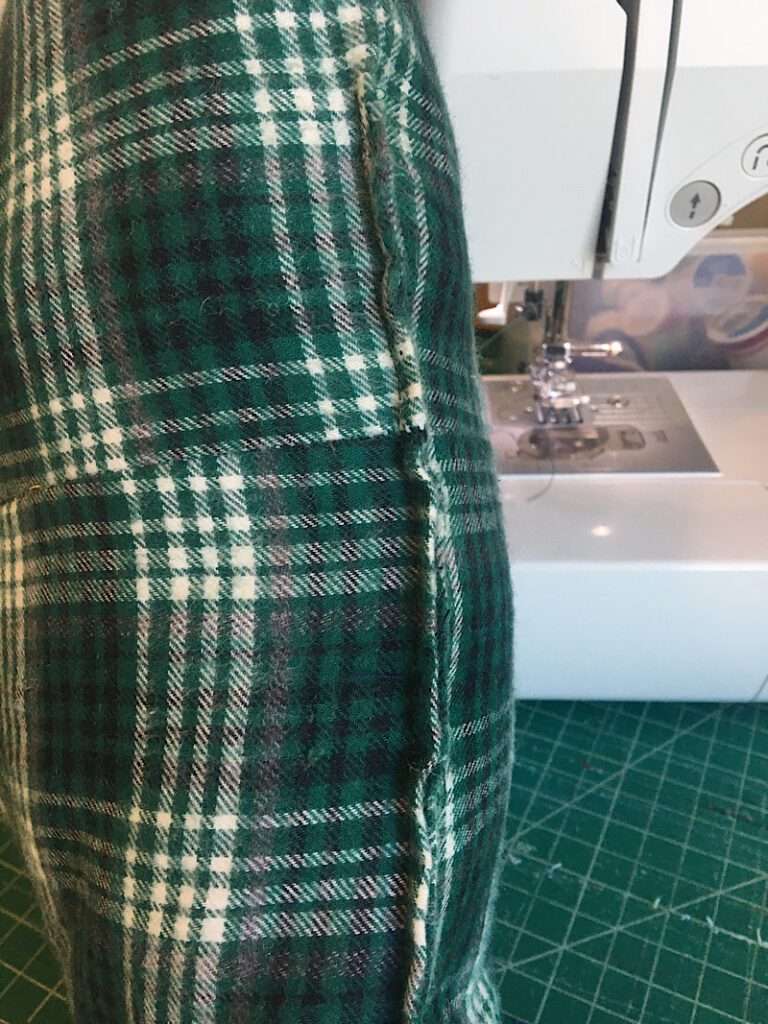
Step 2. Pin & Sew The Tree
Stack the pieces together with right sides facing, and pin around the edges.
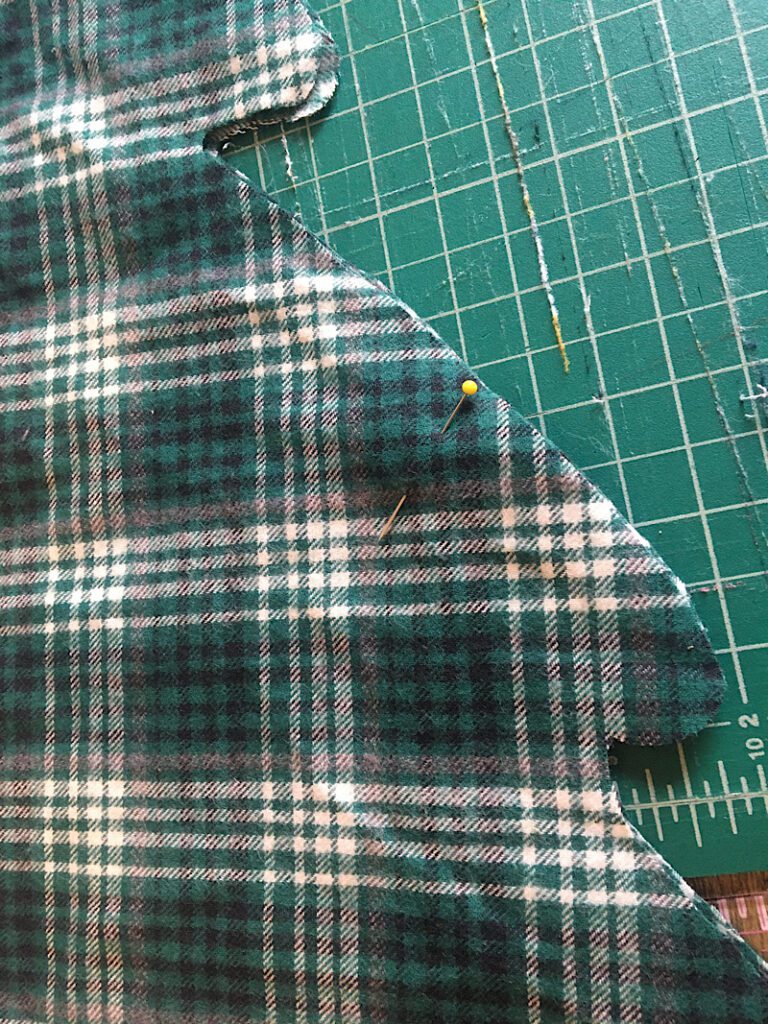
Then, sew around the perimeter of your tree with a half inch seam allowance. Leave a 6 inch gap on the bottom so you can easily stuff it later.
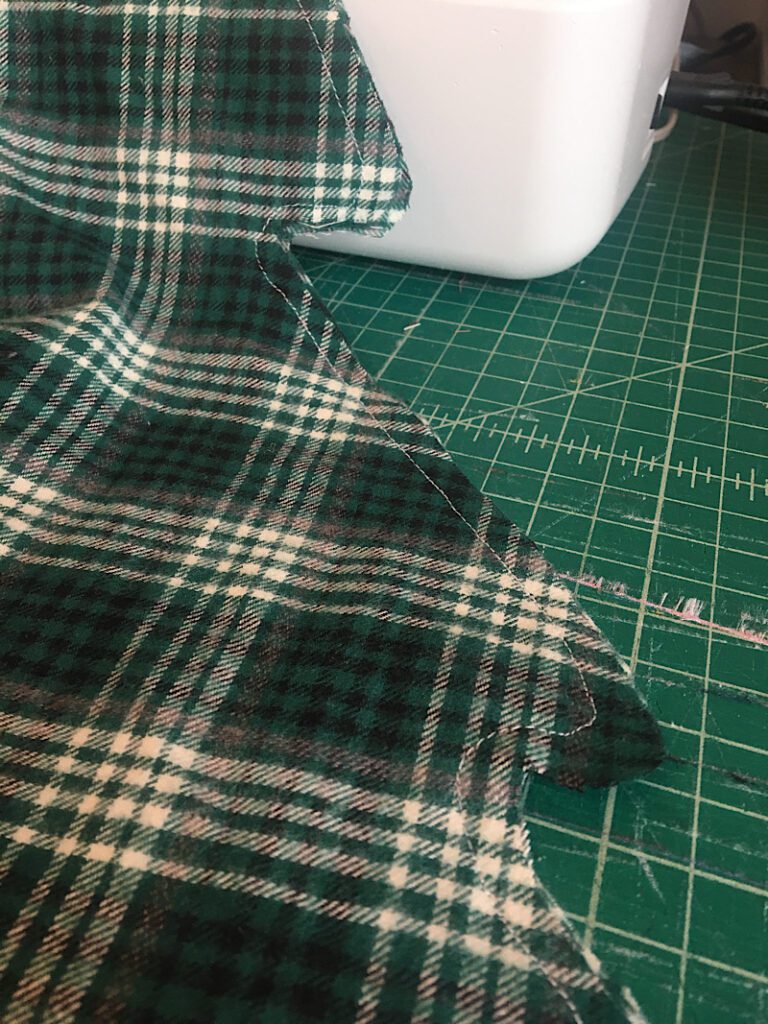
At the tips of the “branches” and the inner curves under each “tier” trim the excess fabric a bit or use pinking shears, to help it turn better.
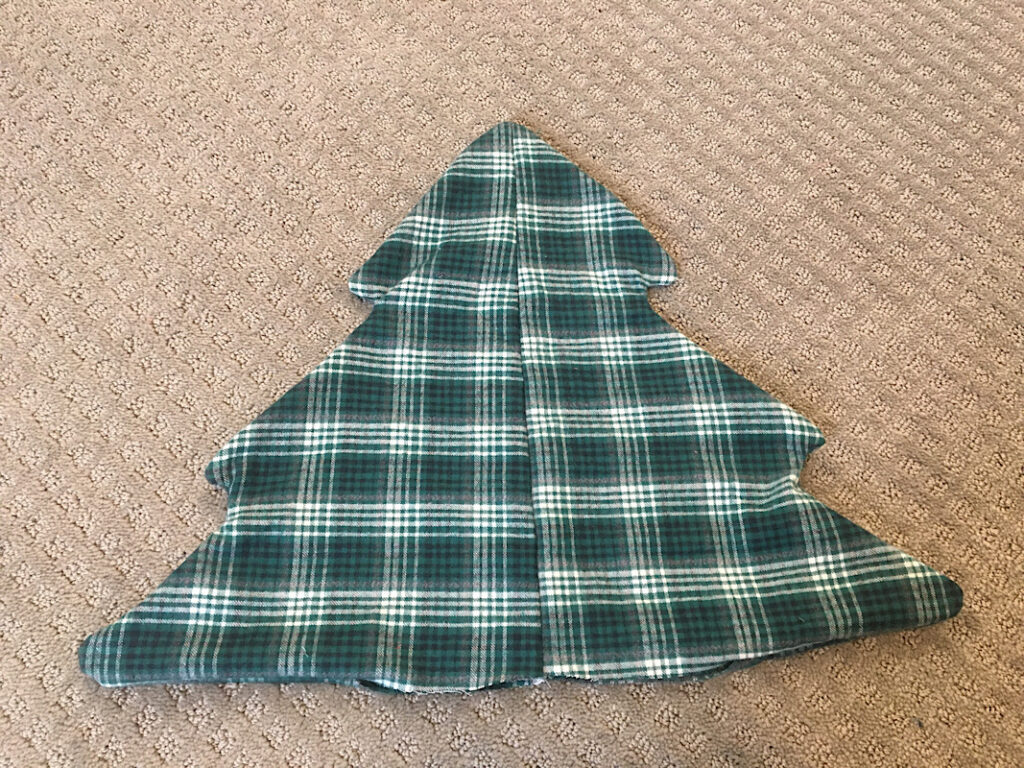
Then, turn the tree inside out.
Use the end of a long blunt object to poke out the branches of the tree and shape it well.
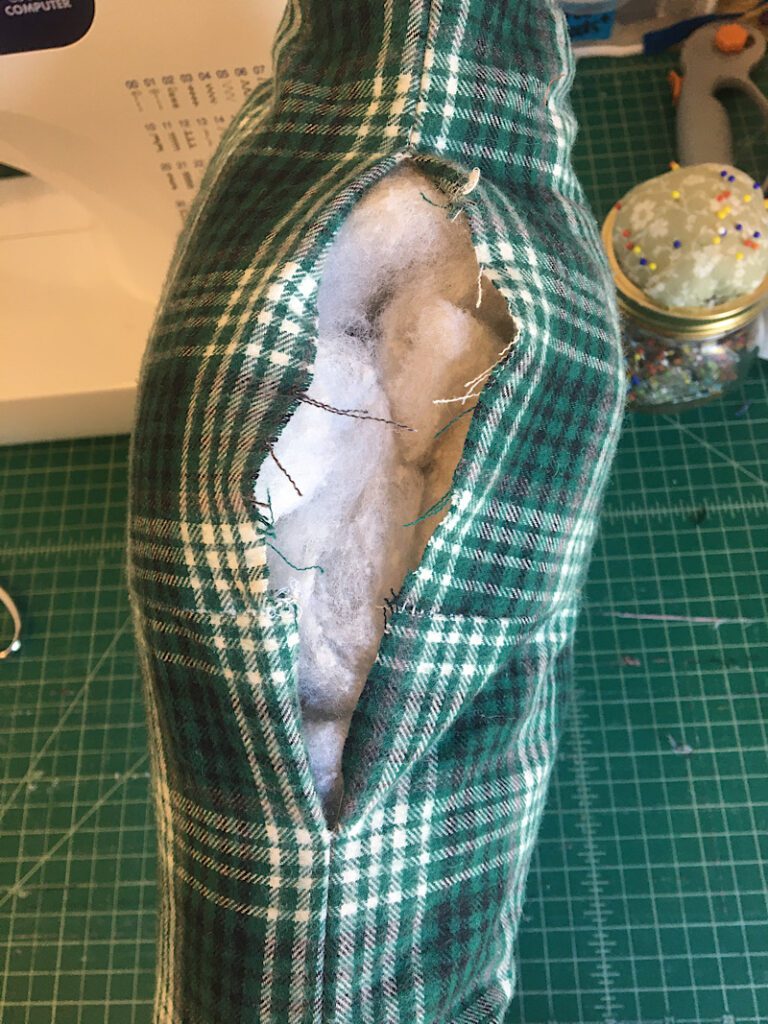
Step 3. Stuff The Pillow
Using the fiber fill, stuff your pillow!
I found it was best to start with a small piece and push it into the tip of each branch, and then fill the branch out until I reached the center of the tree, working from top to bottom.
Stuff it very full so it has a nice fat shape.
Step 4. Close The Pillow
Next, fold the raw edges at the gap under, and pin the gap closed.
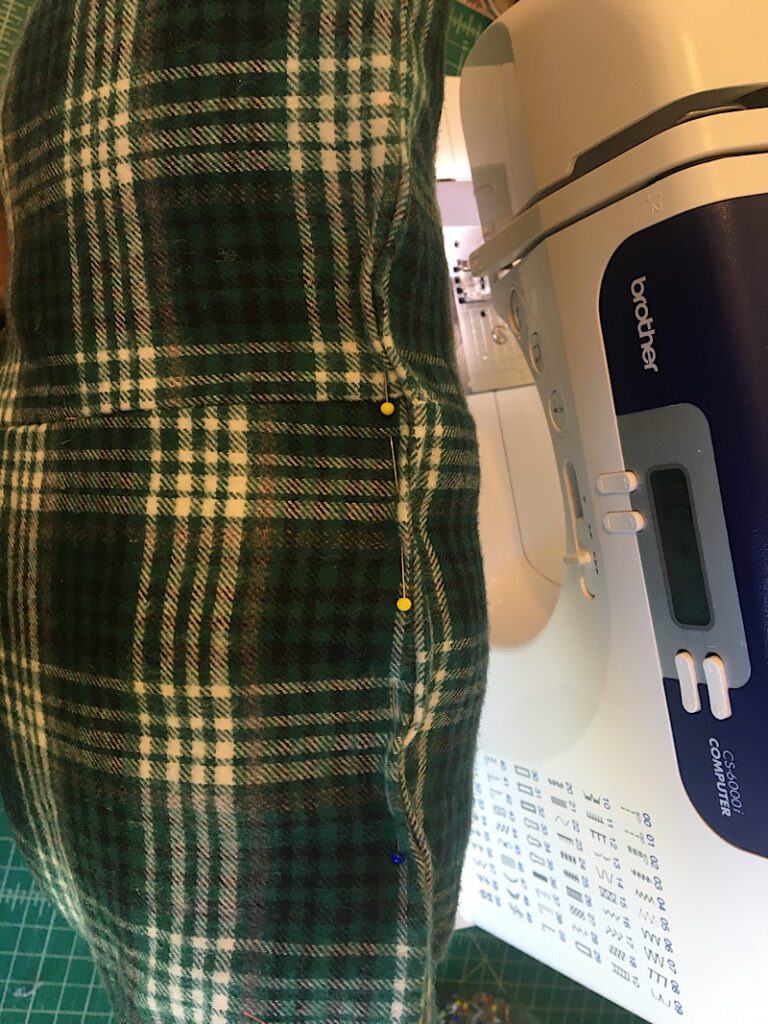
Then sew the gap closed, as close to the edge as you can. (Or you can hand stitch a ladder stitch for an invisible finish)
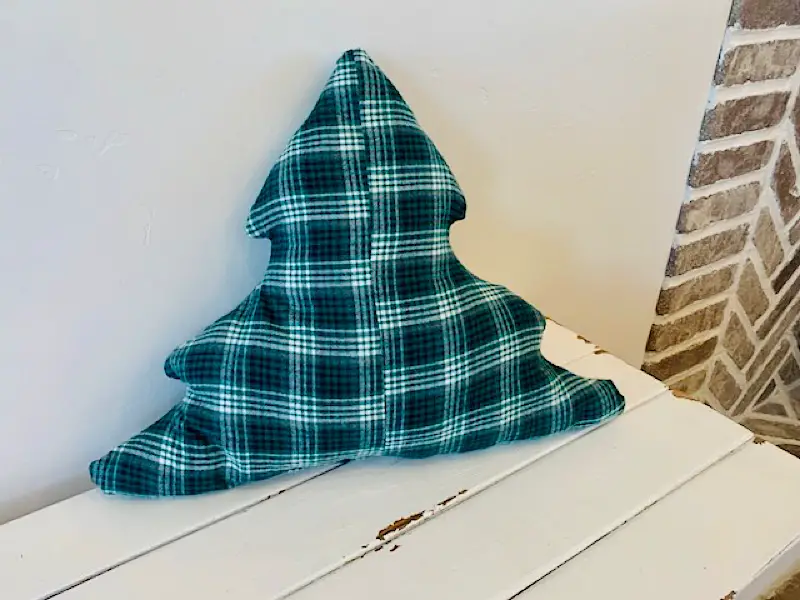
This completes the Christmas Tree PIllow!
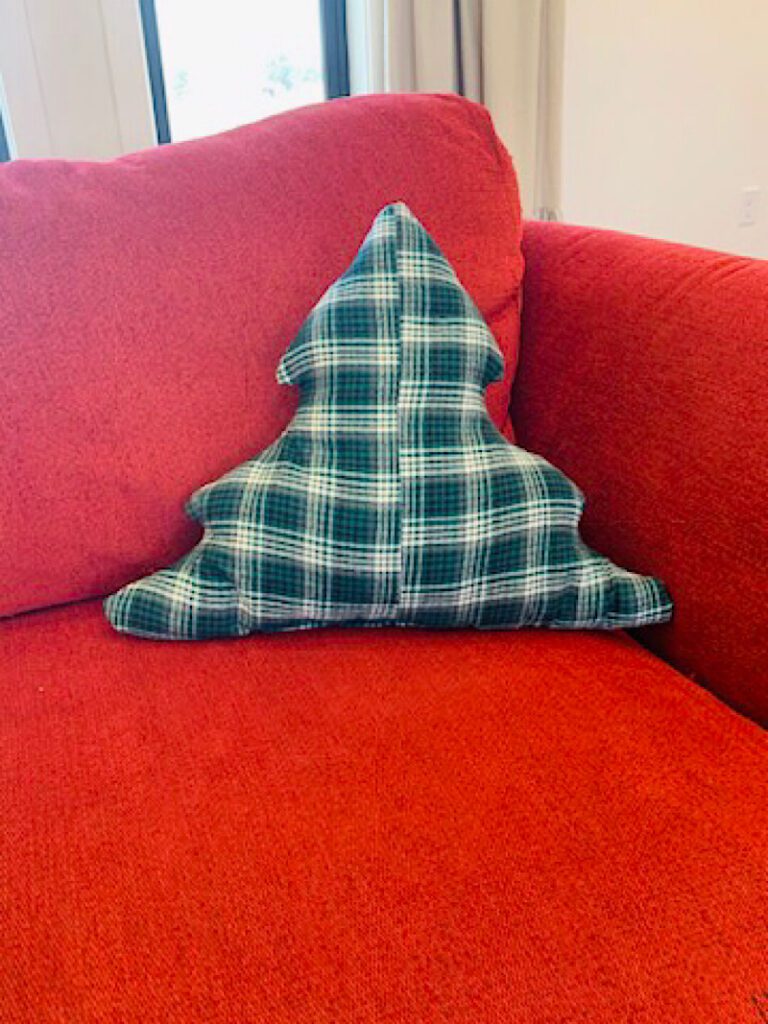
I love how they turned out, they are such a playful cartoony shape. Very cozy and cute!
I hope you liked this simple pattern. Please pin this post to Pinterest, it means SO much to me, and send me a photo of your completed pillow so I can post it here to share!
Let me know if you have any questions below!