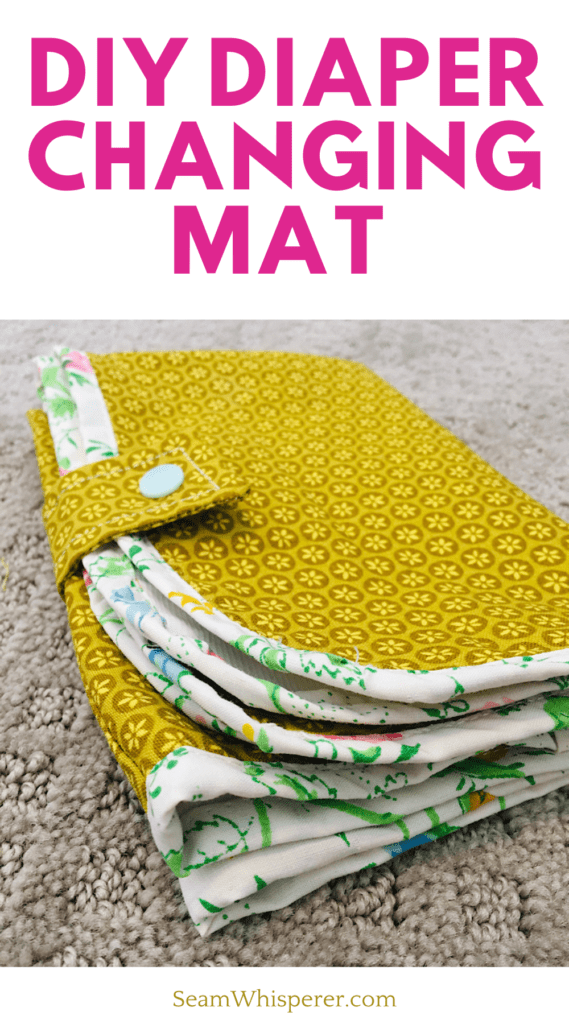
Learn to make a foldable baby changing pad with a waterproof side, and a fabric side that matches your style!
When my sister had her first baby, I knew I wanted to sew her something that was both cute and useful. I whipped up this green diaper changing mat, here is what I loved about it:
- It has a waterproof side
- It has a cute fabric side
- foldable, and snaps to close
- perfect for travel!
This wasn’t a hard project, the most advanced part was the binding. You can make a changing mat too.
Make sure to check out my other cloth diapering sewing tutorials here!
This post may contain affiliate links. Read the full disclosure here.
Tutorial Notes
This tutorial shows you how to make a changing pad that is 12×24 inches in size, and rectangle shaped with rounded corners. This is a good size because it only requires 1/3 yard of PUL and 1/3 of fabric (1/3 yard is 12 inches in length). (In fact, you could probably make 2 pads with the fabric you buy, if you make the pads a little shorter than 24″ tall)
I have seen diaper changing pads that fold into thirds like an envelope, mats that are oval or circle shaped when opened, etc. You can customize yours however you want, but this basic tutorial will only show the way I did it, of course!
Supplies Needed
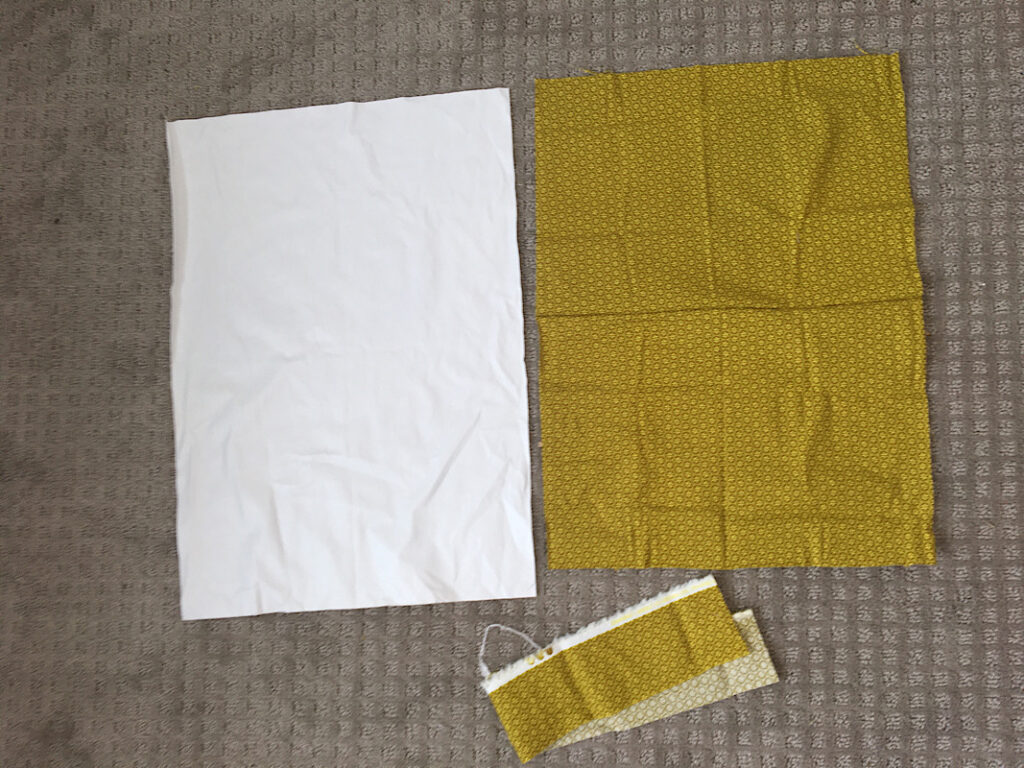
- 1/3 yard of PUL material (for the waterproof side)
- 1/3 yard of cotton duck (I use duck because it is thicker and will last longer. Hobby Lobby has tons of cute printed duck options. If you can’t find any, you can use denim, or just regular cotton but it might not last as long. If your PUL material is printed on one side, you could also just only use that layer.)
- 1/2 inch double fold bias binding (or you can make your own like I did)
- Plastic snaps Like These or velcro for the closure
- Matching thread
- Rotary Cutter, Mat, and ruler
- Sewing Machine, scissors, pins, etc.
How To Make A Foldable Diaper Changing Pad
Step 1. Cut Out The Fabric
This diaper changing pad will be 12 inches wide and 24 inches tall. This is a great size because it is small enough to fold and tuck in your purse or diaper bag, but large enough for the baby to lay on comfortably!
Using your rotary cutter, mat, and ruler, cut out the PUL material to be 12″x24″.
Then, cut out the decorative fabric to be the same size.
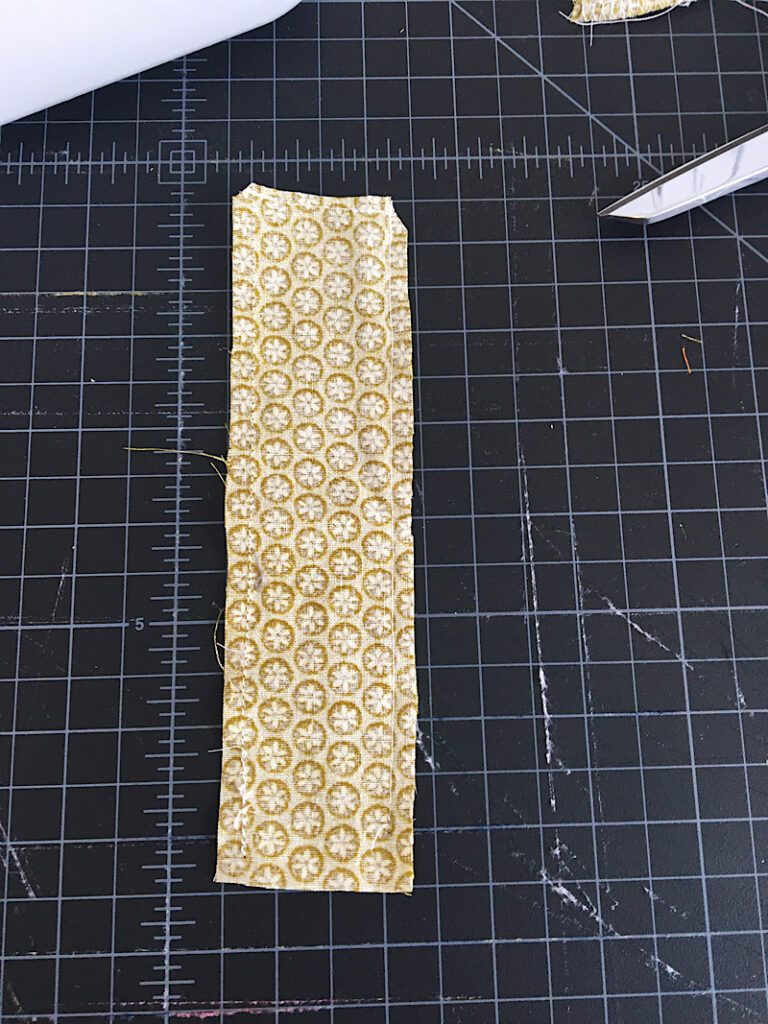
Also cut out a strip of fabric that is about 2.5 inches wide by 8 inches long.
Step 2. Sew The Mat
Next, stack the PUL and decorative fabric together with the right side of the fabric facing out, and the waterproof side of the PUL facing out also.
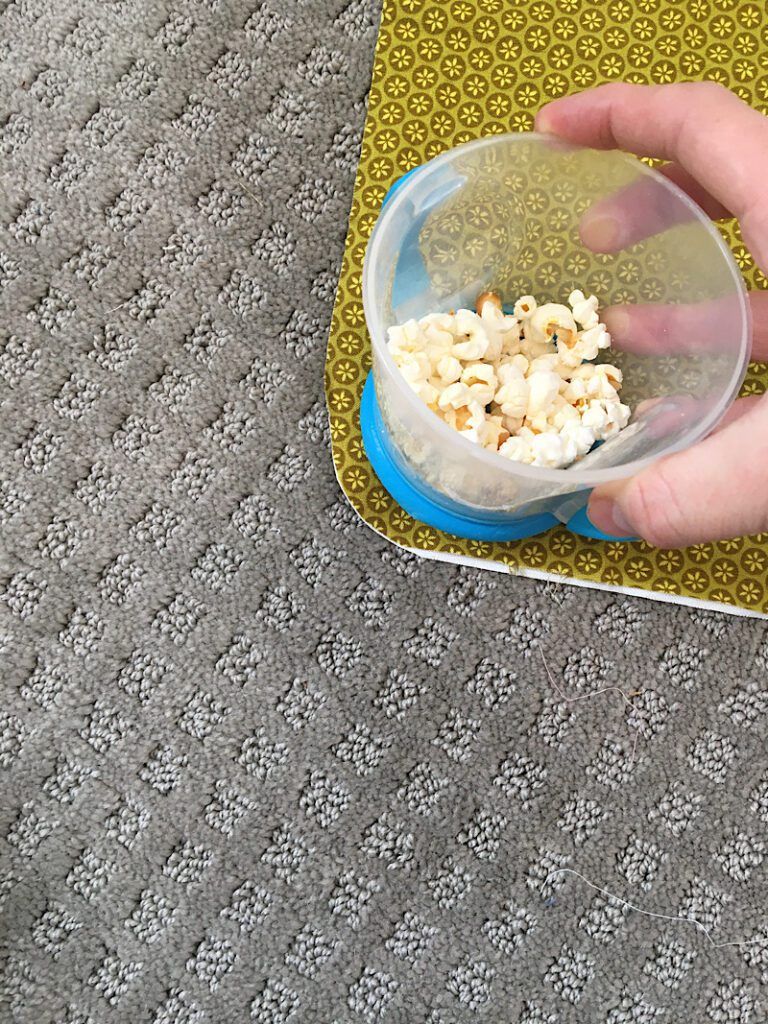
Next you are going to round the corners. You can do this however you think will be easiest for you. You could make a paper template to make sure they are all perfectly the same. I used a little cup that was next to me. Yes, it was full of popcorn.
I placed the cup on the corner of the mat, and traced the curve. Then I cut away the corner on that line.
Finally, pin the two layers together, and sew a basting stitch around the edge using a 1/4 inch seam allowance.
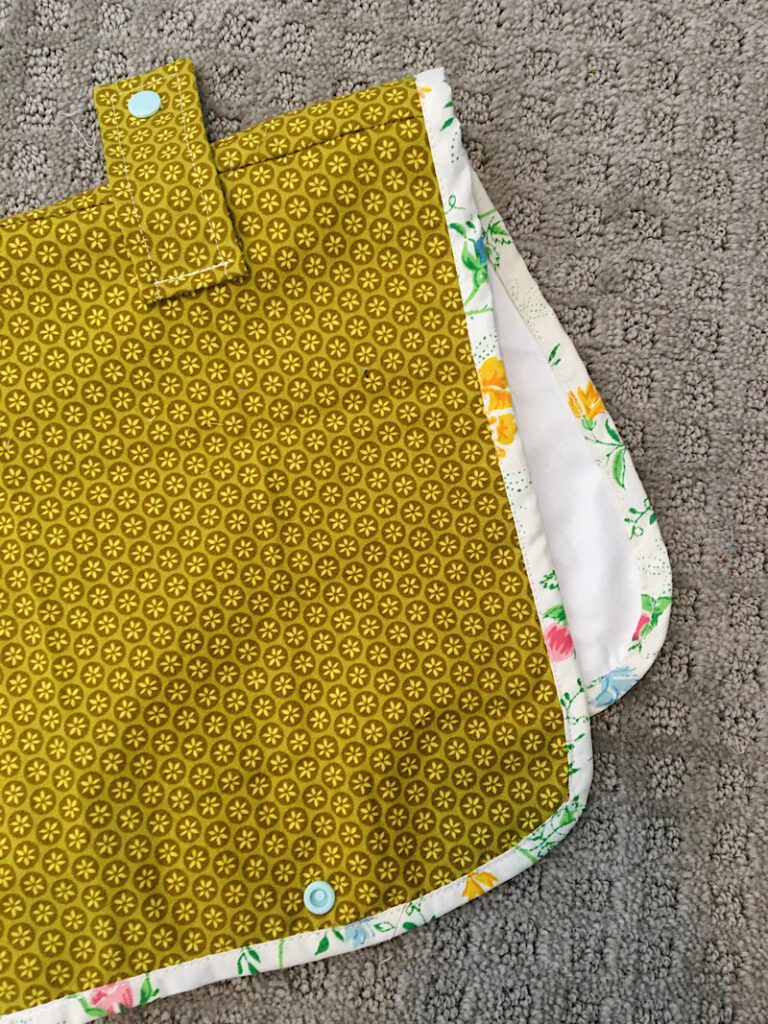
Step 3. Sew On The Binding
Sew the binding onto the edges of the mat by opening it up, aligning the raw edge with the edge of the mat, and sewing down the first fold. Then, fold the bias tape over to the other side of the mat to enclose the raw edge, and pin it in place. Then, sew around the binding to attach it.
I’m sorry, I did have a photo of this, but it was SO blurry thanks to my toddler!
If you need a video tutorial, here is a great one by Treasurie.
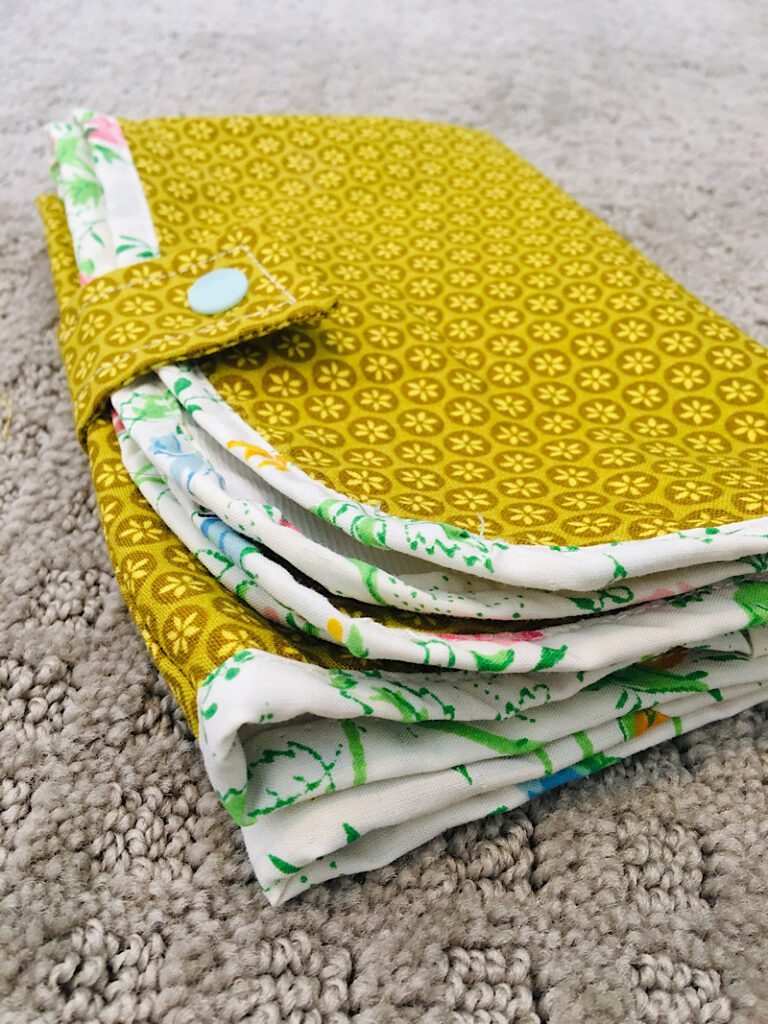
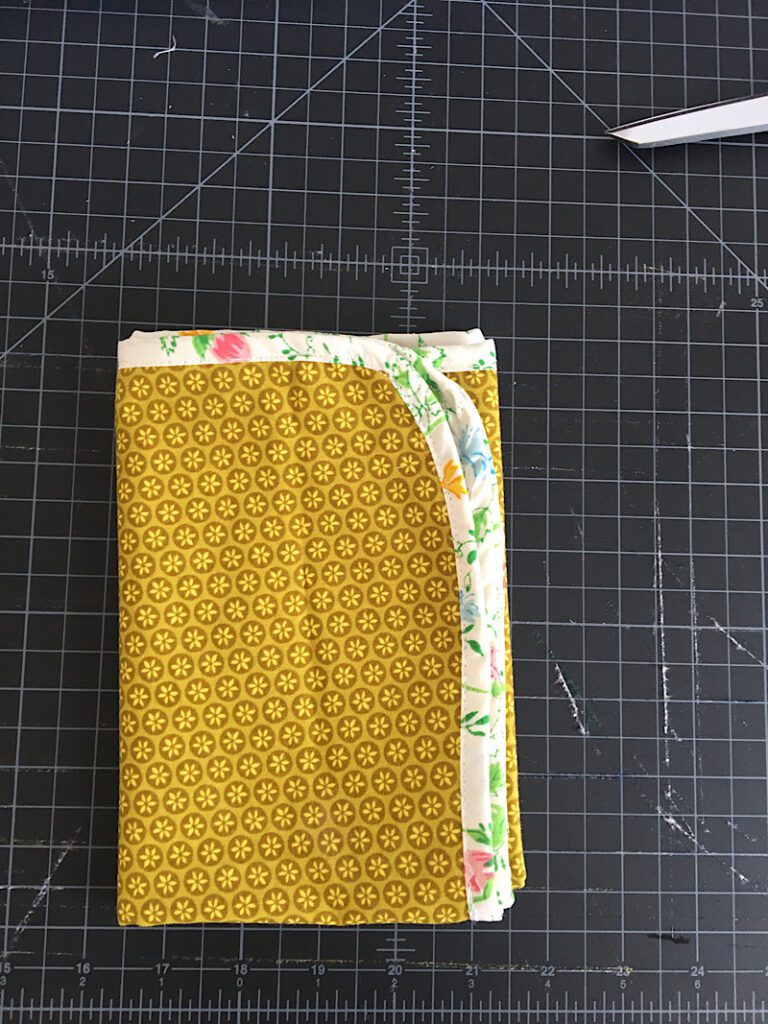
After the binding is sewn on, you can fold your mat however you want it to be folded. I chose to fold it in half 3 times.
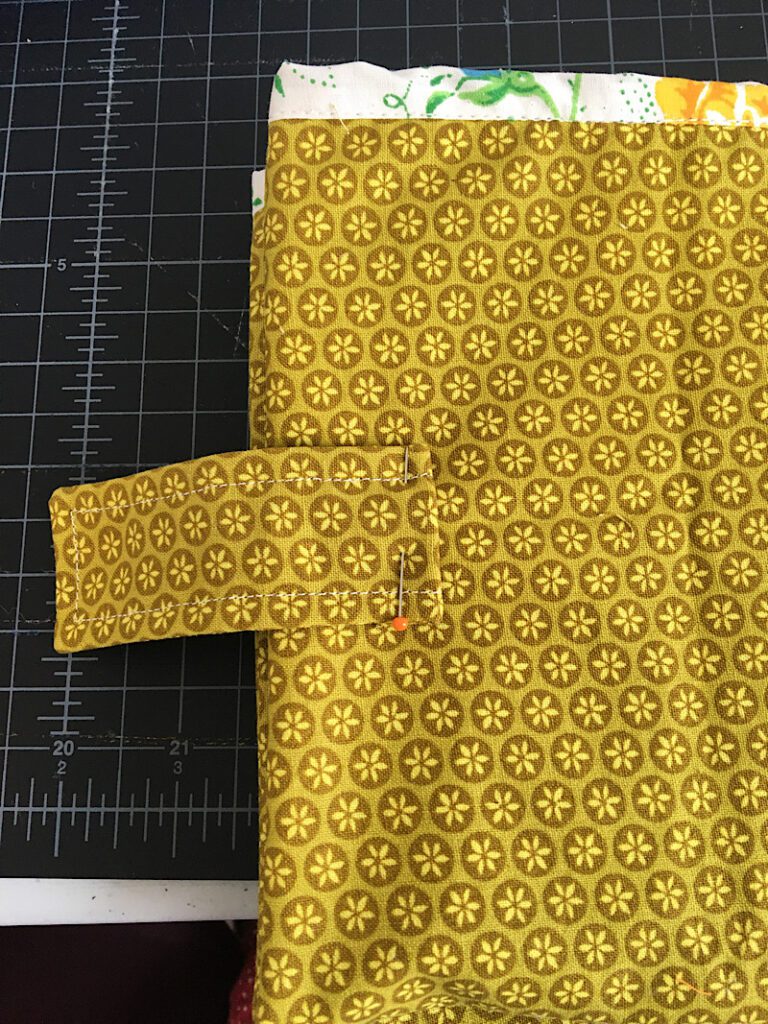
Step 4. Make The Snap Closure
Using the 2.5″x8″ strip you cut earlier, you are going to make a little strap that will hold the snaps to close the mat.
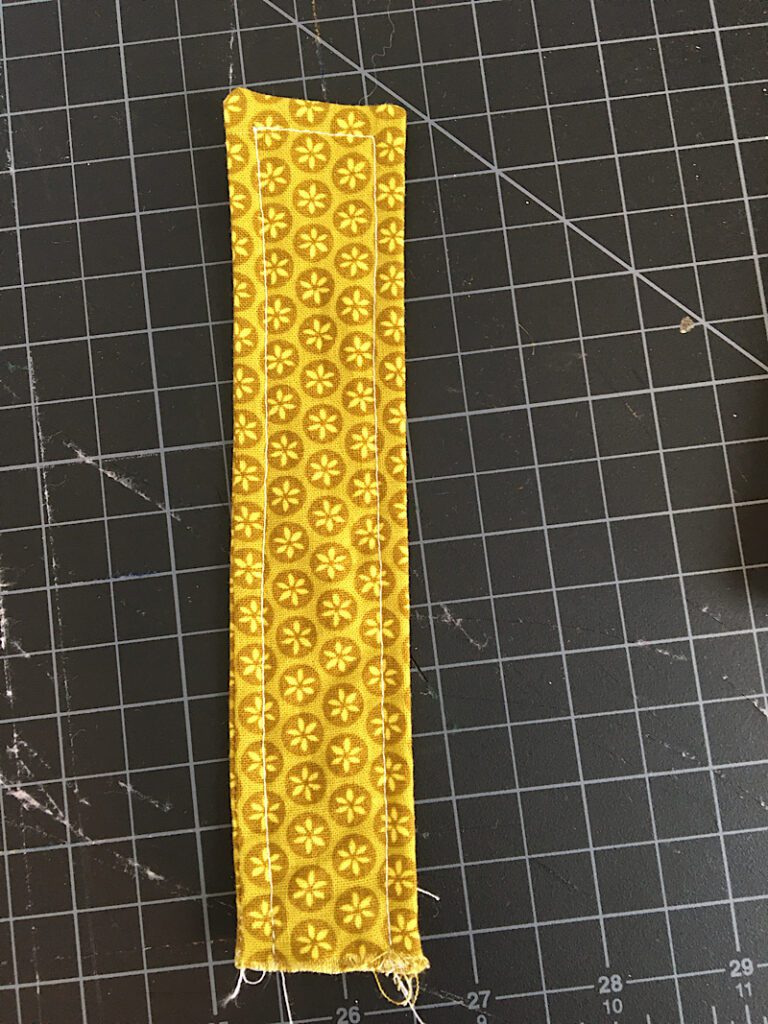
Fold the strip in half with the right sides together, and sew down the edge to make a long tube. Also sew across the top to close one side.
Turn the strap inside out, and flatten it well. Sew a top stitch around the edges to help it keep it’s shape.
Place the strap onto the folded changing mat to see where you want to sew it on. It should have enough room for a snap on one side.
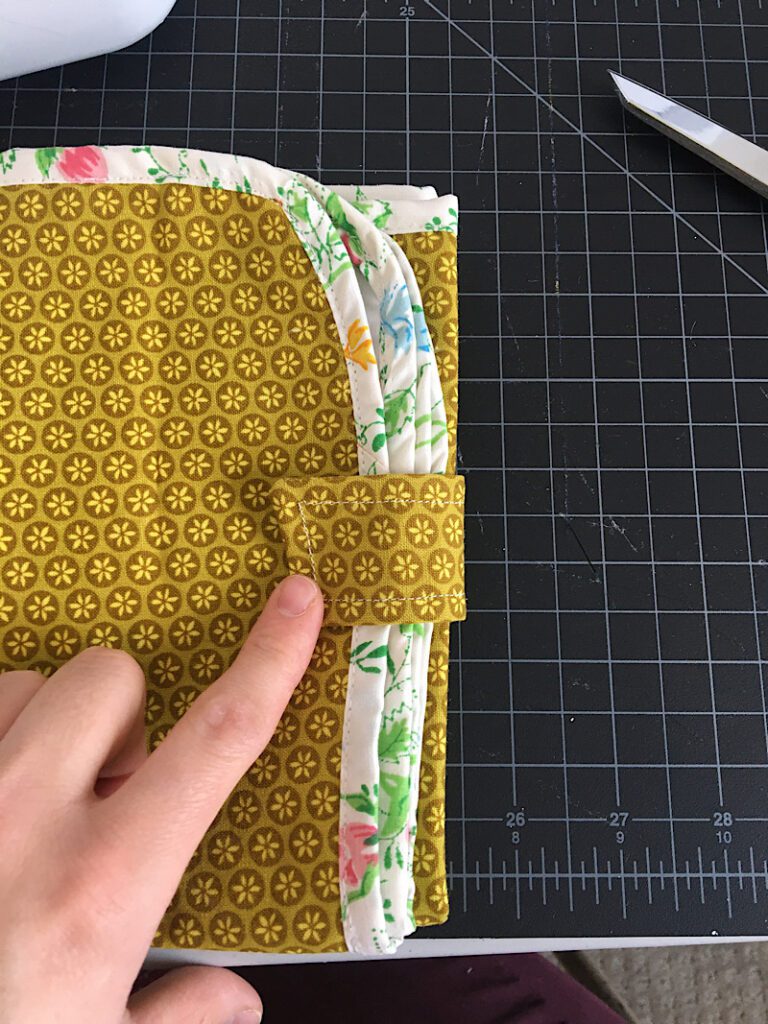
Fold the raw side of the strap in to hide it, and pin the strap to the back of the mat.
Open up the mat, and place it under the sewing machine. Sew a single line across the bottom of the strap to attach it.
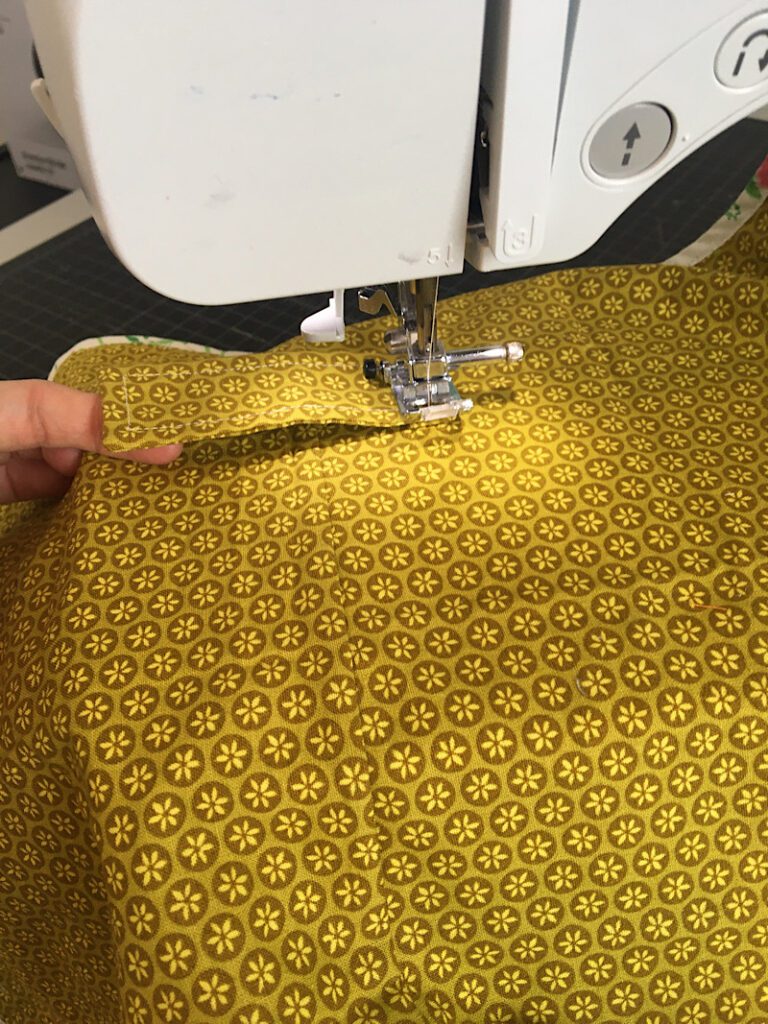
There will be a little line of thread showing on the PUL side, but that didn’t bother me. If this bothers you, you can hot glue it on, or try to sew it right along the stitch line of the binding.
Step 5. Attach The Snaps
The last step is to use the snap applicator tool to attach snaps to the strap and the mat. (If you don’t have straps, you can also use sew on velcro.)
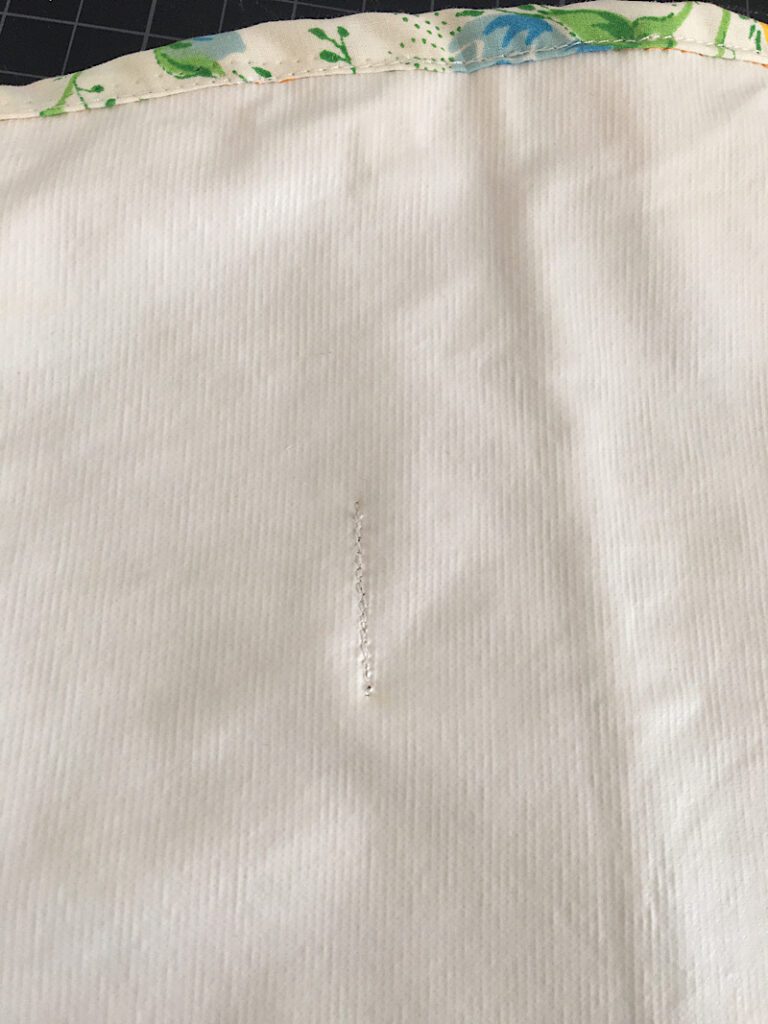
Use the awl to poke a hole in the strap near the end, leaving enough room for the snap.
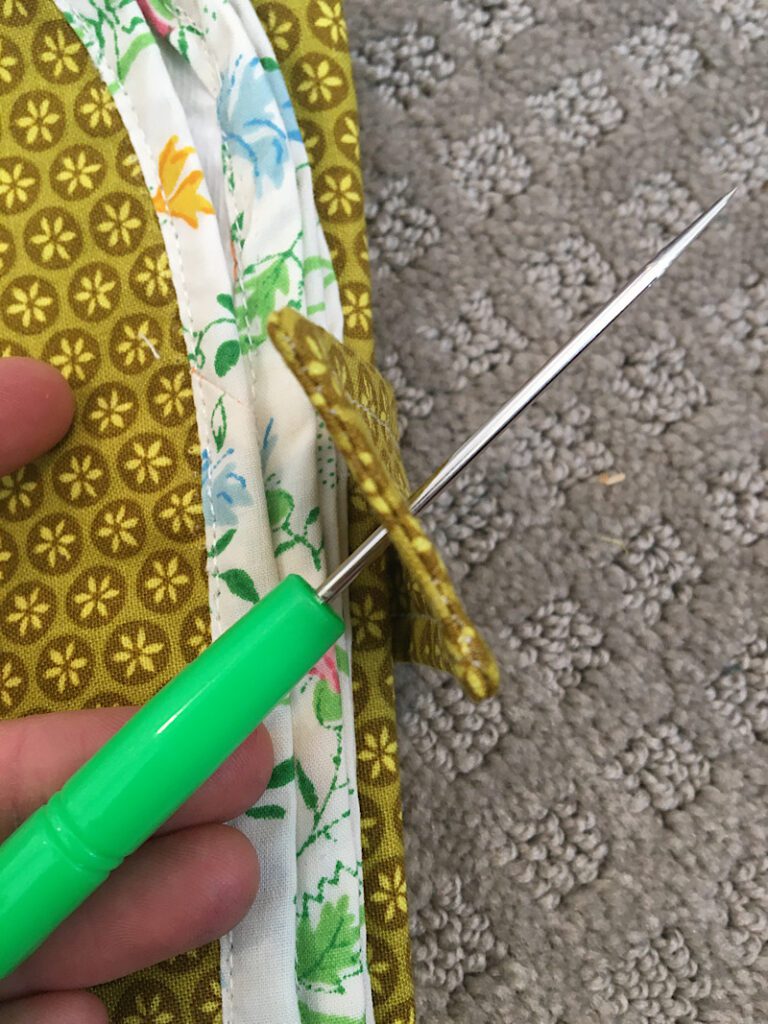
Then, use the applicator to attach a snap to the strap. Make sure the snap is facing the right way!
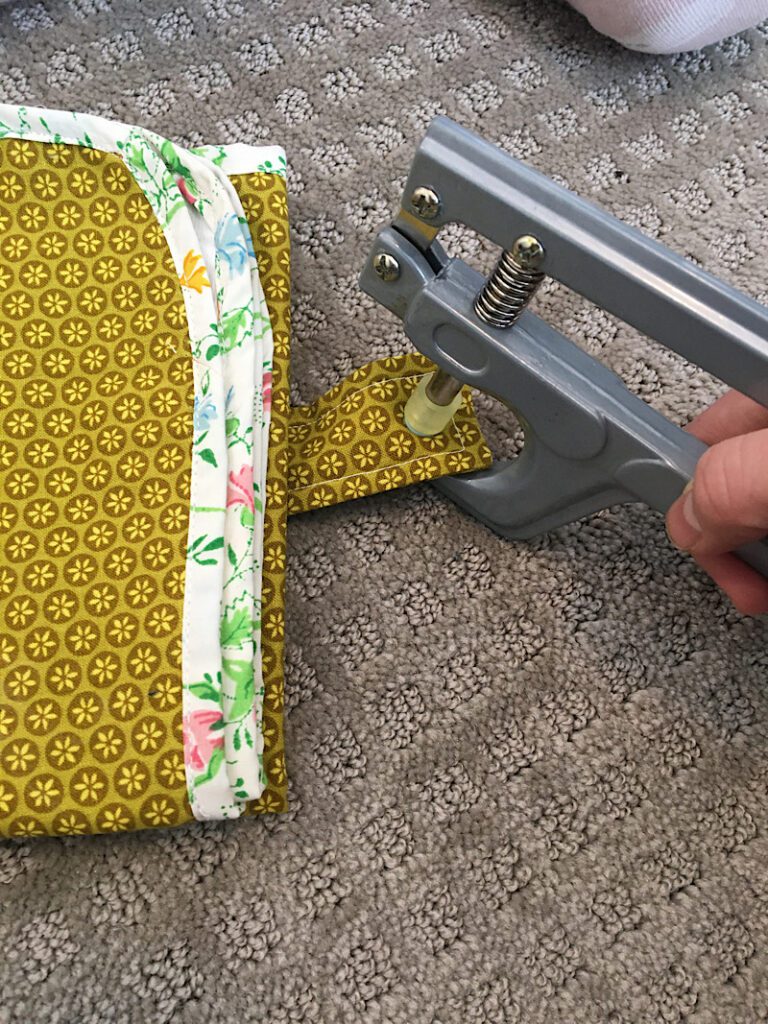
Fold the strap over and make another hole in the mat where the snaps will be able to line up, and add a snap there as well.
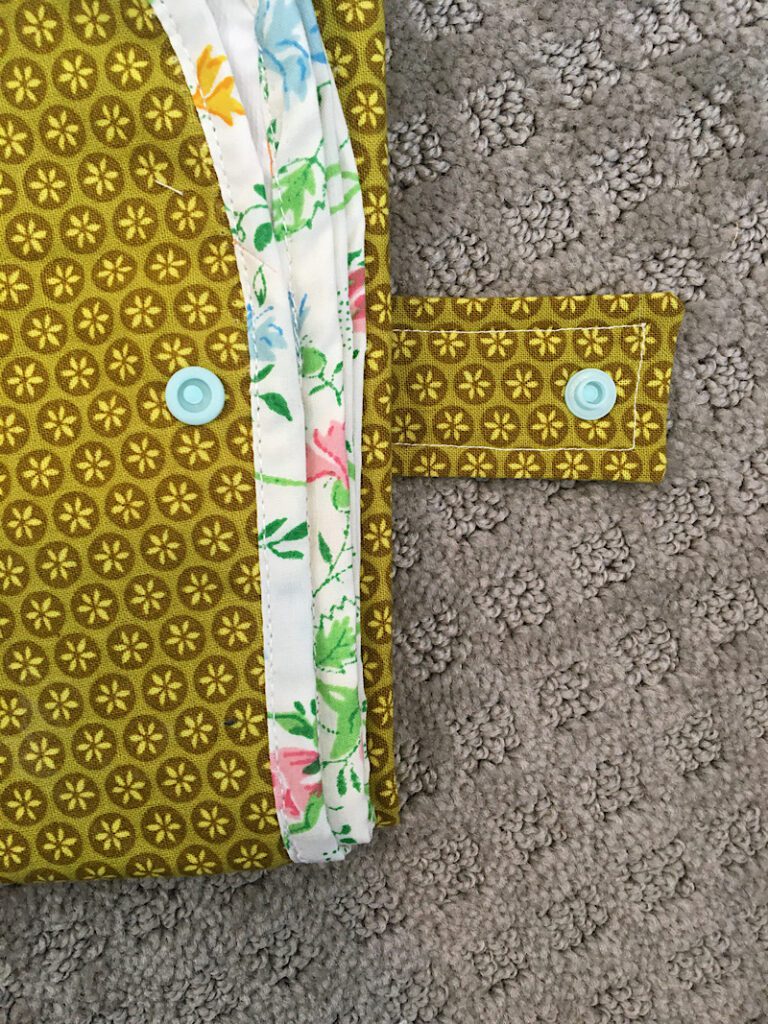
Then, close the snaps and see how awesome it looks!
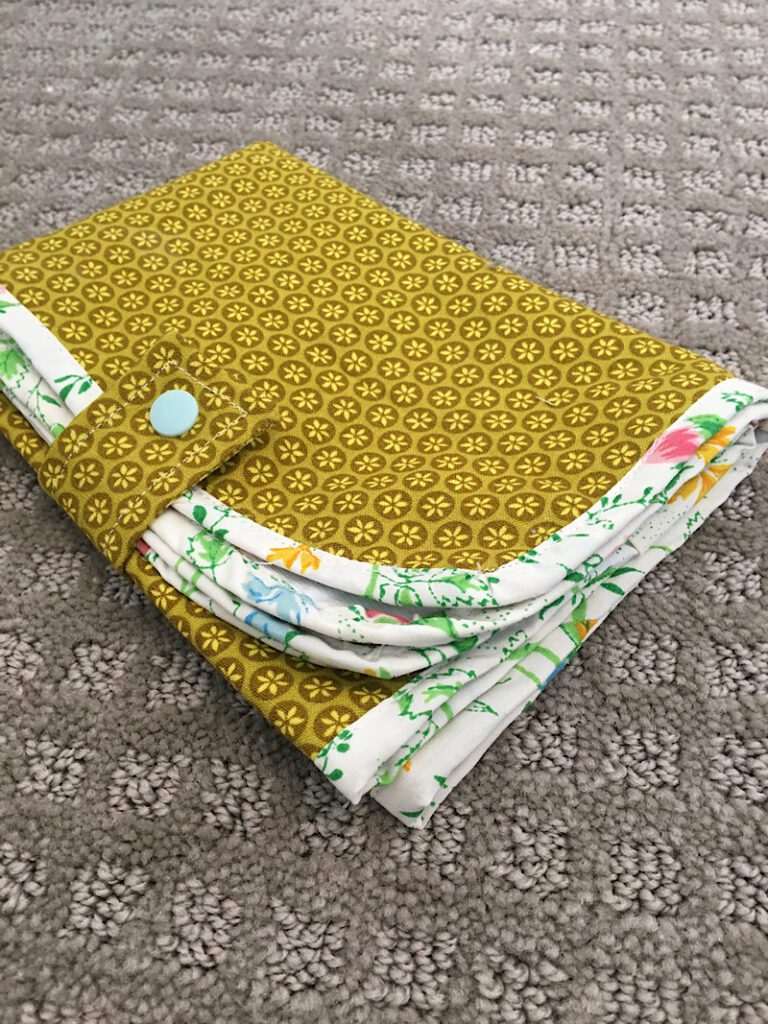
That completes the tutorial! It was so easy, these would be a great product to sell or make as gifts for new mamas!
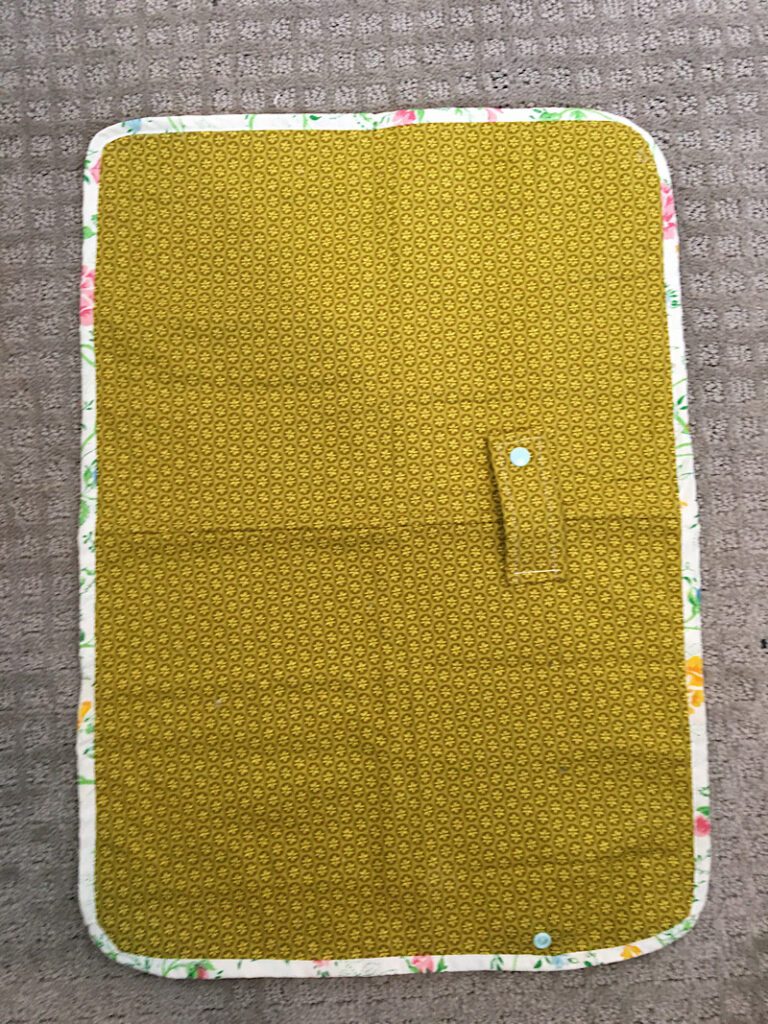
Here is what the mat looks like when open on the decorative side:
Pin this post to Pinterest if it was helpful to you, and let me know if you have any questions below!