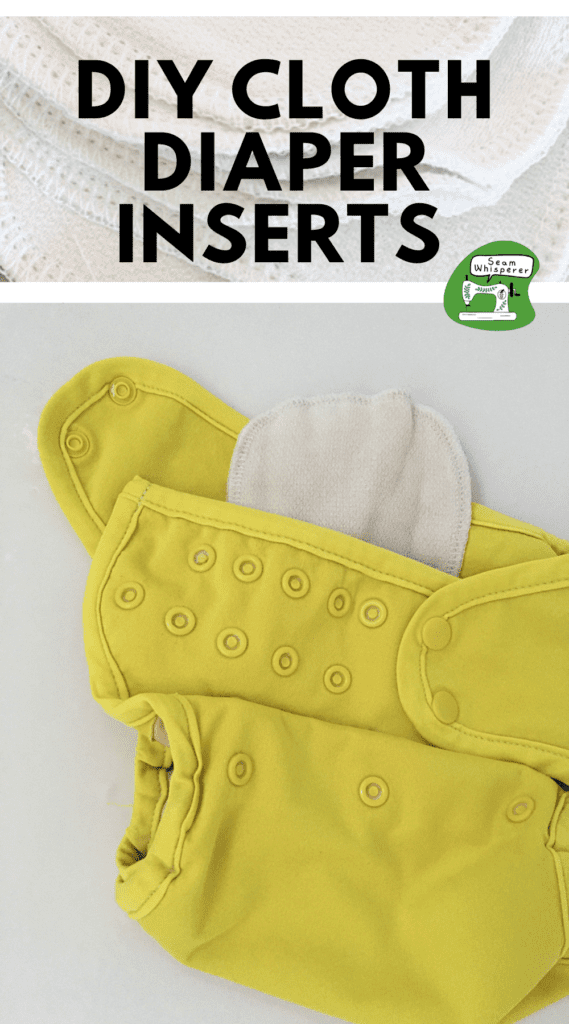
Making your own cloth diaper inserts is a great way to save money, customize your absorbency needs, and choose the perfect fit and feel!
This post may contain affiliate links. Read the full disclosure here.
After cloth diapering multiple kids for many years, I decided that it was high time to dabble in making my own cloth diapering accessories.
I’ve made fitted diapers, cloth diaper covers, cloth wipes, diaper changing pads, stay dry liners, and absorbency boosters/inserts.
Here are a few of the reasons I LOVE sewing my own cloth diaper supplies:
- DIYing saves me a lot of money, which I love since cloth diapers get heavy use!
- I can make the inserts as big or small, as thin or padded as I want!
- I love choosing my own fabrics to make sure the inserts don’t get scratchy or uncomfortable
Making your own inserts is SUPER easy, even if you don’t own a serger. Let me show you how I did it!
How To Make Cloth Diaper Inserts
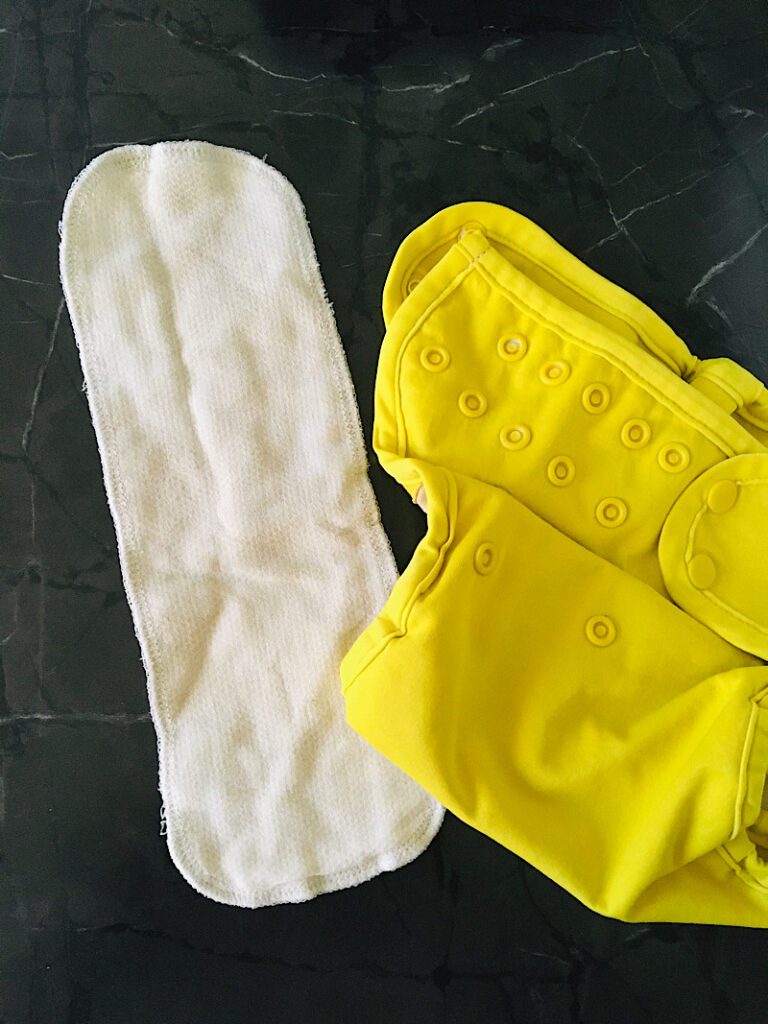
These inserts are used to add extra layers of absorbency to the diaper. I personally like to make my liners out of the same kind of materials that you would make a cloth diaper from.
I also prefer to NOT make my inserts with a stay dry layer, but you can add a stay dry layer to the insert if you want!
My favorite material for making boosters and inserts with is diaper cotton, the same fabric you would make flats with! In fact, I like to upcycle my old flats that have fraying edges to make these inserts from. They are already shrunk, absorbent, and soft.
If you are going to buy new material to make your inserts with, decide how many inserts you want to make, as well as how many layers you will want them to have. I personally make mine with 3 layers.
Then, calculate how much fabric you will need based on the size of your inserts. Some common sizes include:
- Newborn size inserts: 3×10
- Infant and One Size Inserts: 4×12
- Toddler Sized Inserts: 5×13
I make mine about 4″ by 12″ in size. This means that for each single insert, I use 12″x12″ of fabric.
With 45″ wide fabric, I can get about 8-12 inserts if I cut it carefully!
(At the time I wrote this article, that means that using this material, the inserts come out to less than $1 a pop!)
If you sew these with fabric, they will shrink a bit in the washer. You can choose to prewash the fabric to shrink it, or make them a bit larger to account for shrinkage later.
Supplies Needed
- Birdseye Cotton Diaper Cloth (This is an amazing option that is both unbleached and organic, and VERY affordable!)
- Thread for the edges
- Rotary mat, cutter, and acrylic ruler
- Sewing Pins
- Fabric Scissors, Sewing machine, etc.
- Serger (Optional, but the results are more professional!)
Step 1. Cut The Cloth
Iron your material first if you need to to make sure there are no wrinkles when you cut it.
Since I made my inserts out of old diapers, I first cut off the edges. You can skip this part if you are just using fabric.
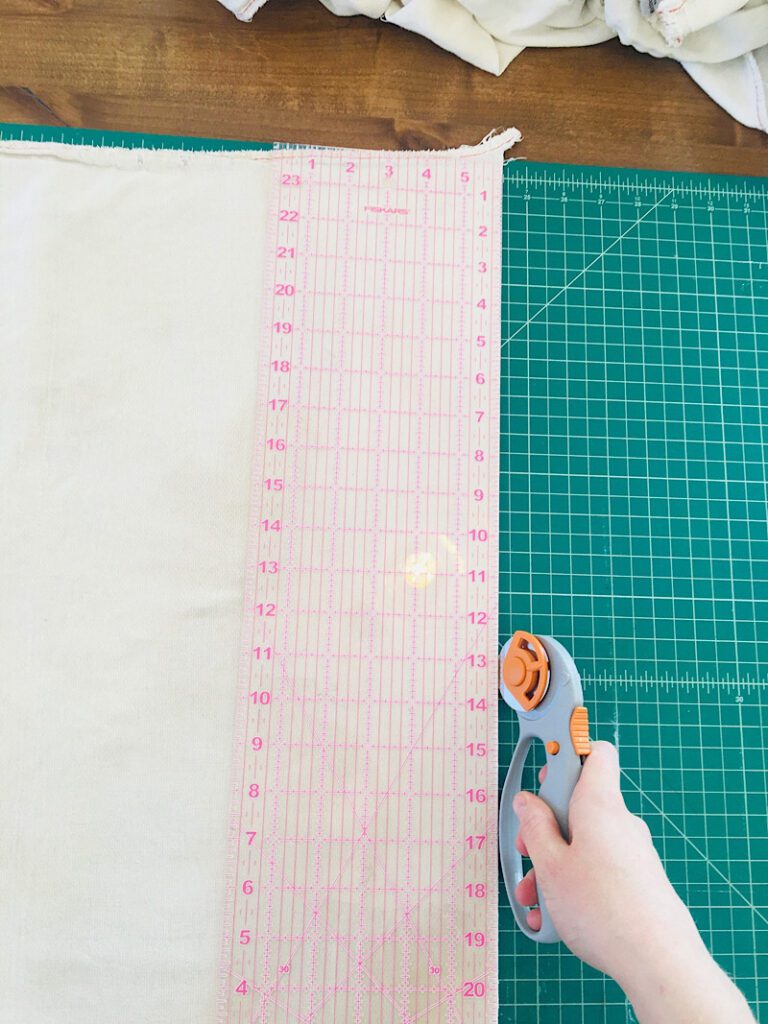
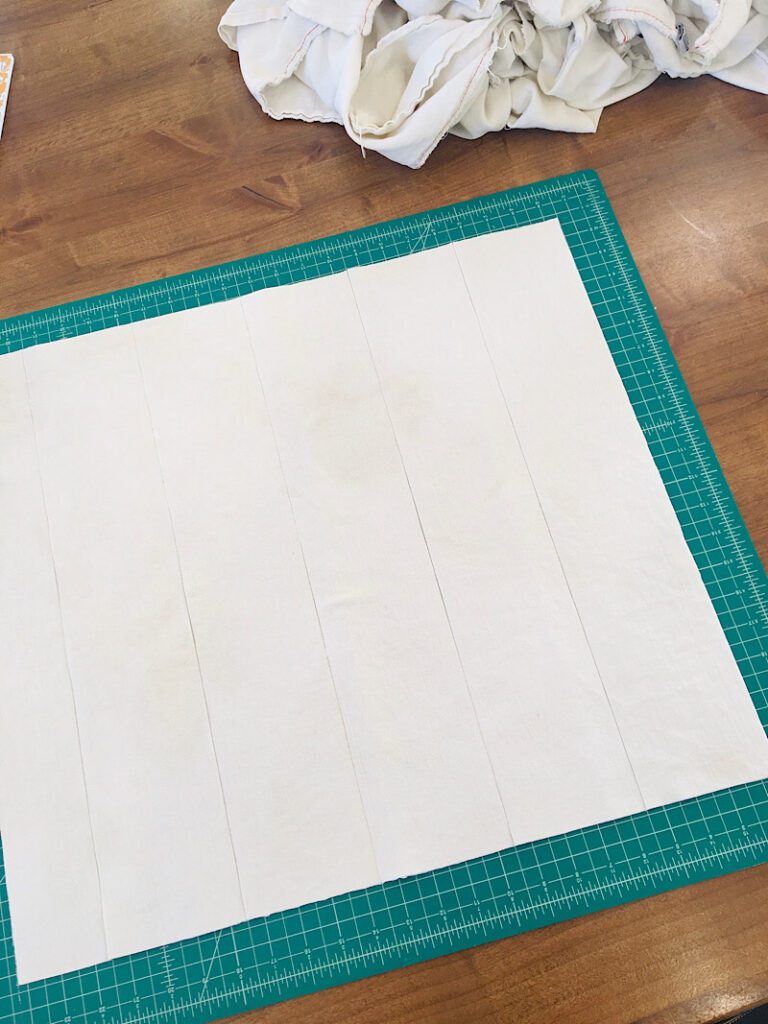
Lay the fabric flat on the rotary mat and use your ruler to cut strips that are 4″ by 12″ in size.
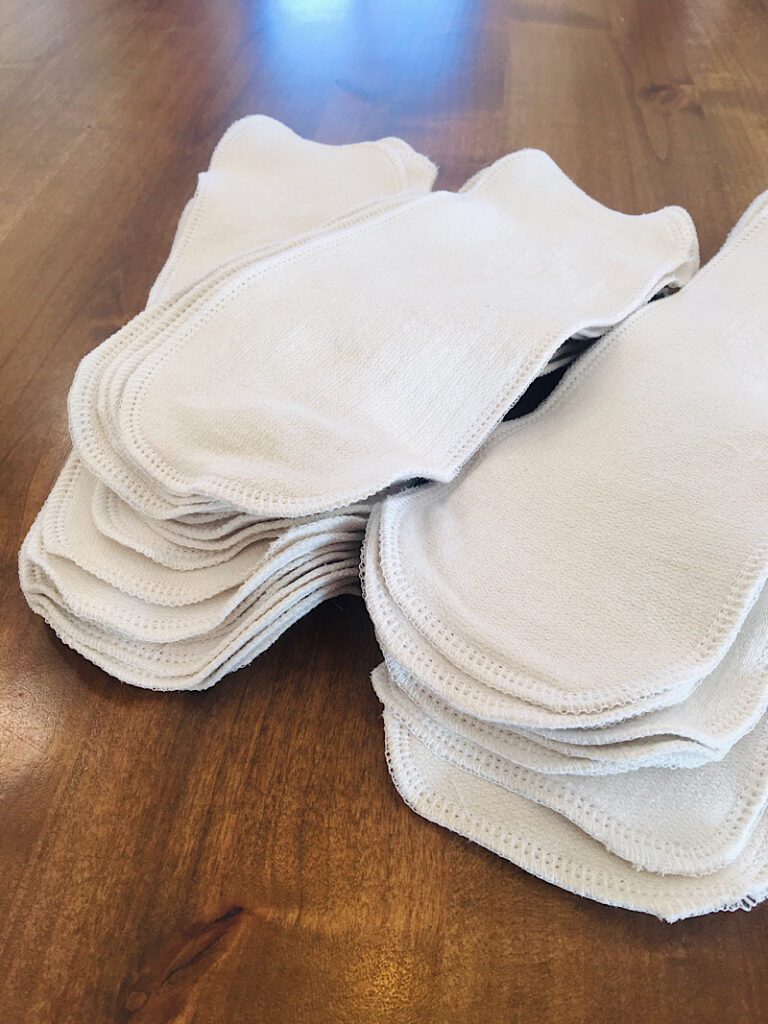
Step 2. Stack The Inserts
Once you have cut all the strips out, layer them together with as many layers as you want (I did 3 for each insert).
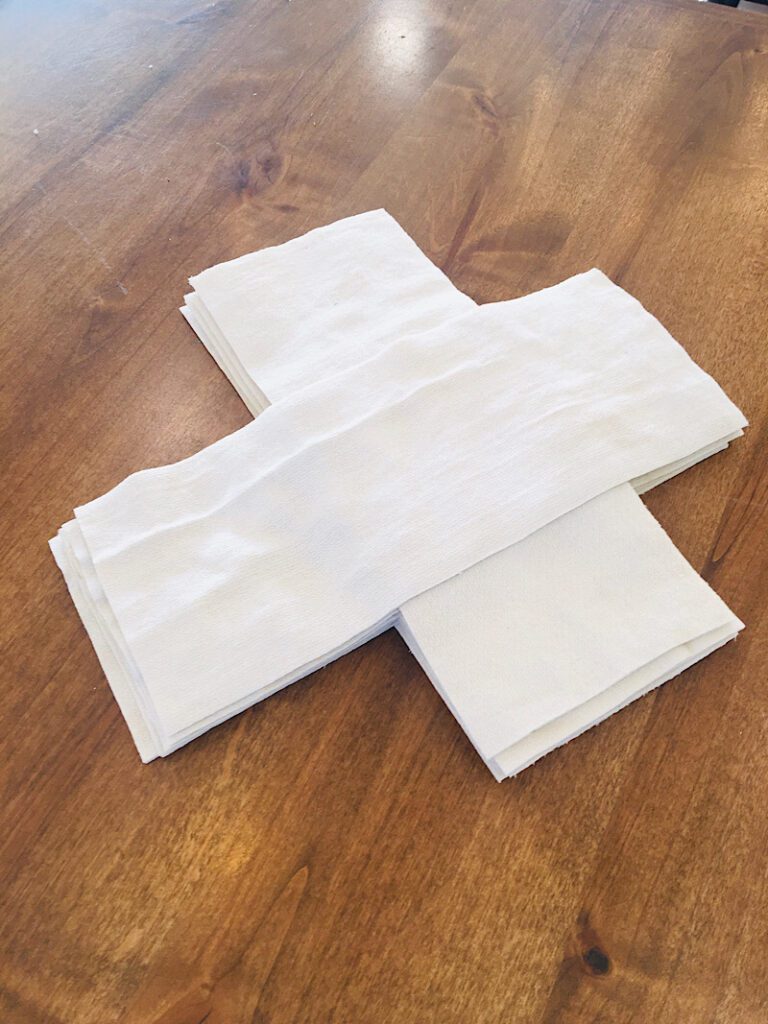
Then, stack each insert neatly in a pile perpendicular to each other so you can easily grab the next one while you are sewing.
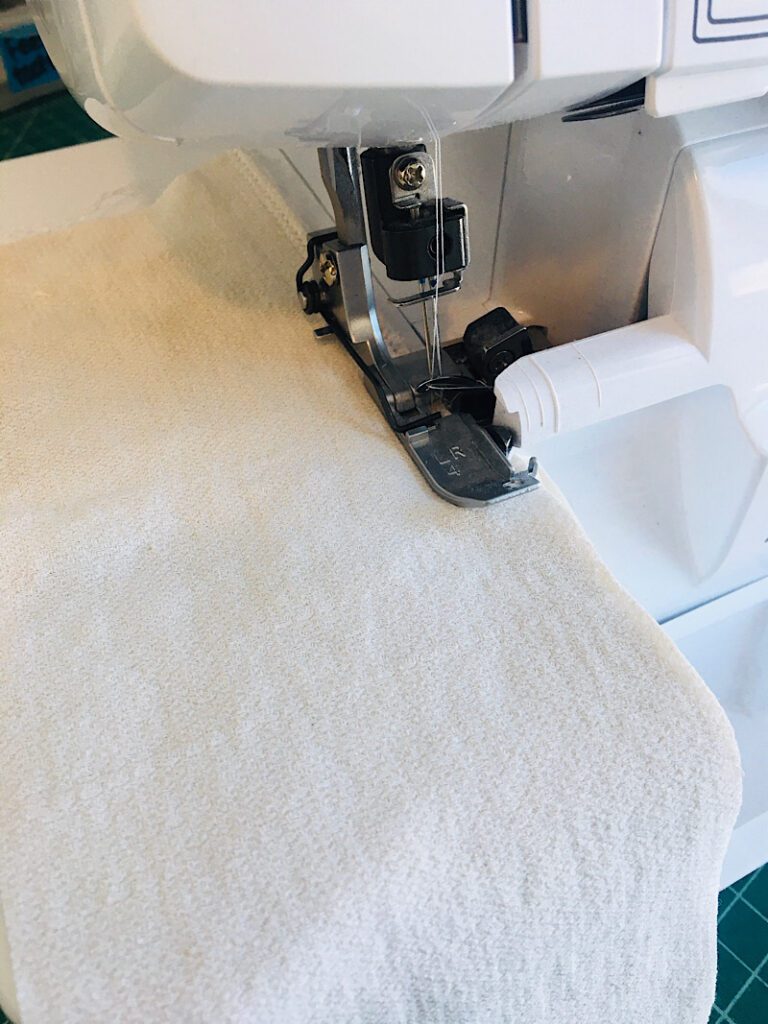
Step 3. Finish The Edges
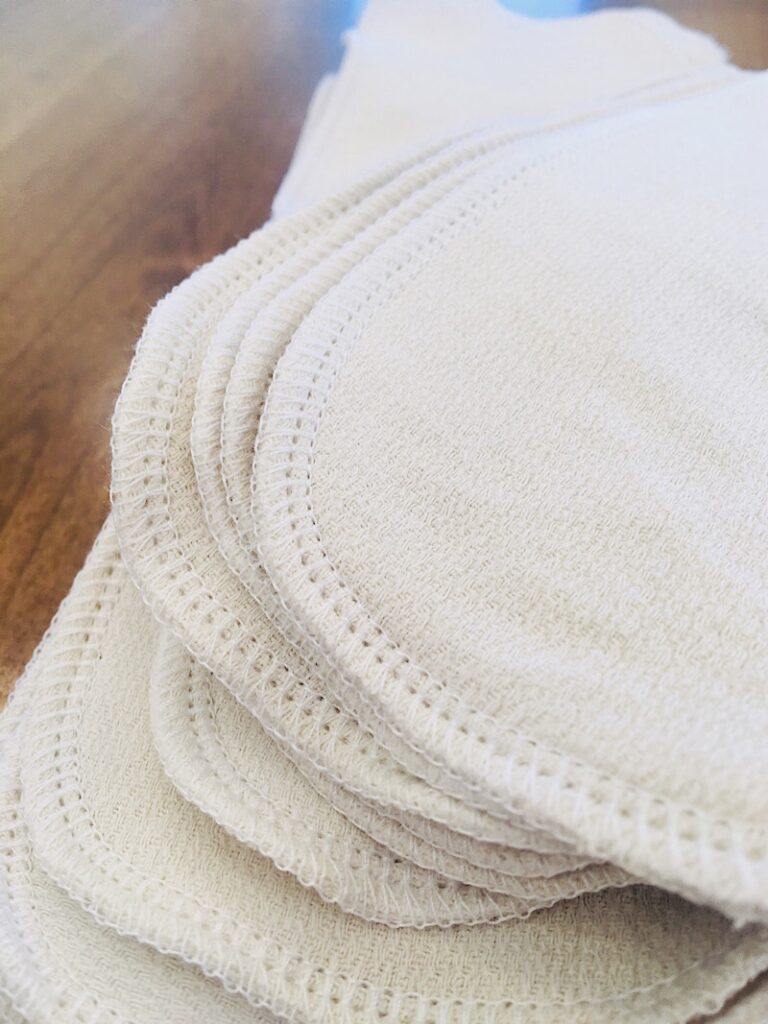
I chose to use my serger to attach the layers together and finish the edges. This gave the inserts a very professional finish. I chose to leave the inserts as rectangle shapes, and cut the corners as I rounded them with the serger to save me time.
If you serge yours, make sure to use your sewing machine to sew over the end of the serged stitch so it doesn’t unravel in the wash.
If you do not have a serger, here is what you should do:
Carefully cut the corners of each insert to be rounded using something to trace the shape on each one. You can make a template with a piece of paper and trace it to make sure they are all the same.
Then, using your sewing machine you can finish the edges by sewing either a zig zag stitch, or an overcasting stitch to overcast and finish the edges!
Make sure to backstitch at the beginning and end so it doesn’t unravel when washed.
Then, you are done!

These inserts were so quick and easy, and super cheap. That is what I love about sewing!
If you found this tutorial helpful, make sure to pin it to pinterest and check out my other cloth diapering tutorials too.