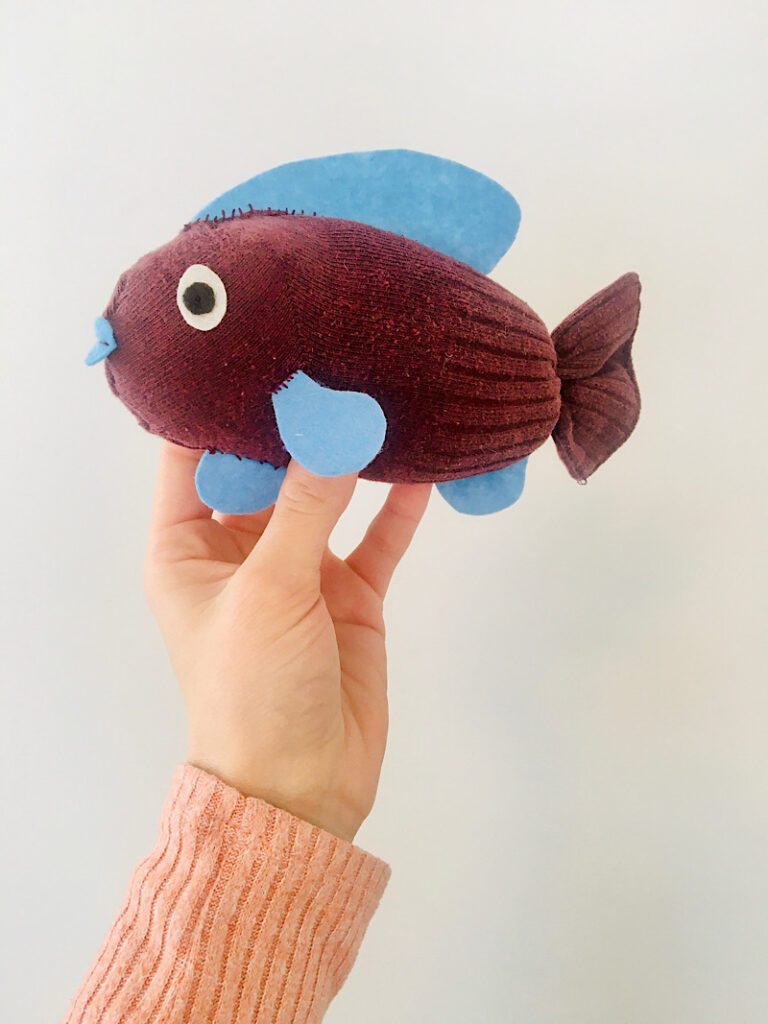
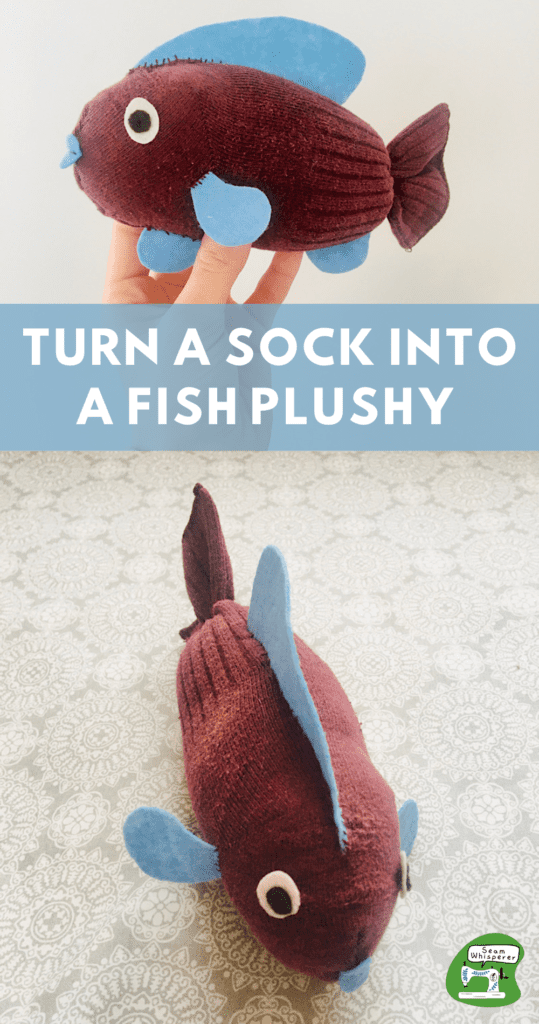
Learn how to transform any size of sock into a super cute toy fish! These fish plushies are soft, easy to learn for beginners, and a great way to practice upcycling.
If you are looking for a fun and simple craft for a sock fish toy, this is a great one!
The felt takes it up a notch, but it is still very quick and easy. What I love about this is how different each fish could look using different colors of socks. A whole school of sock fish would look so fun together!
If you’ve got more socks to upcycle, make sure to try my DIY Sock Bunny tutorial as well!
Let’s dive in!
This post may contain affiliate links. Read the full disclosure here.
About This Tutorial
This project is great for beginning hand sewers. You can customize your fish’s fins, eyes, and lips to look however you want. I thought it was cute to use a different color of felt to contrast with the sock.
This tutorial cuts off the toe area of the sock and doesn’t use it. So if you have socks with holes in the toes, you can use them for this fish! (Mine had holes!)
Supplies Needed
Materials Needed
- A medium length sock
- Stuffing (such as wool or fiber fil)
- Matching Thread
- Craft Felt
- Fin Template (Optional. Download it below)
Download the Free Fin Template
To download the free template for your sock fish’s fins, enter your email below.
These are the exact fins I used for my fish. But, you can draw your own to make your fish look however you want!
Print the fin templates bigger or smaller for different sized fish, and use them to trace onto the felt to make cutting easier.
How To Turn A Sock Into A Fish
Step 1.Trim and Sew The Sock
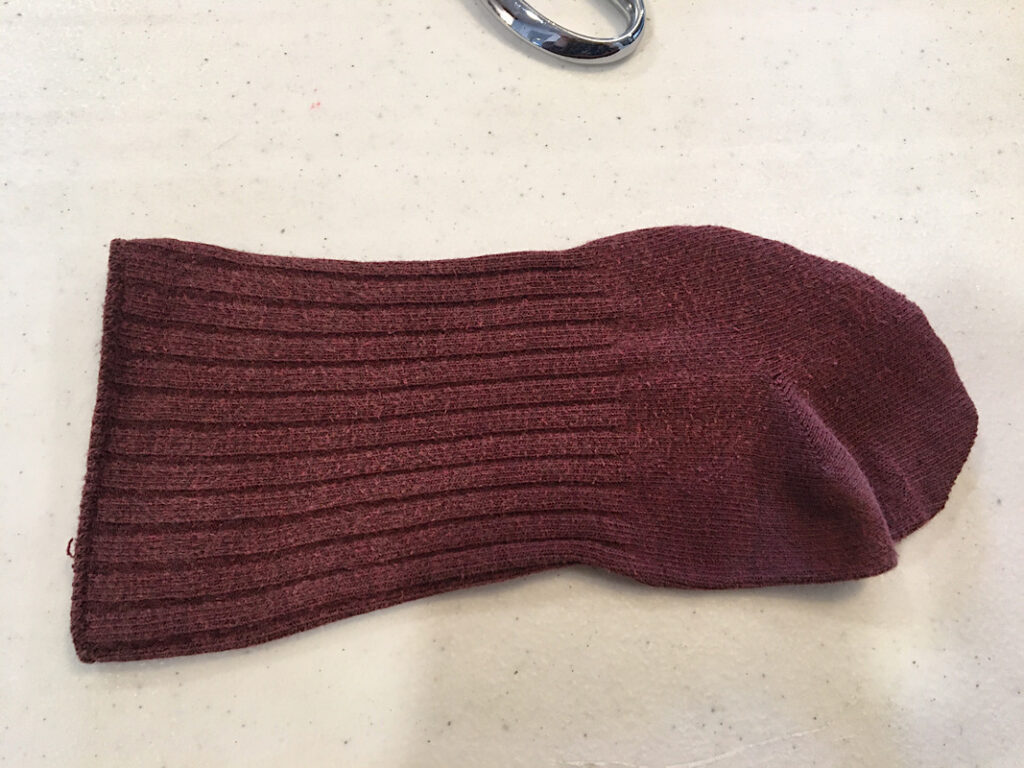
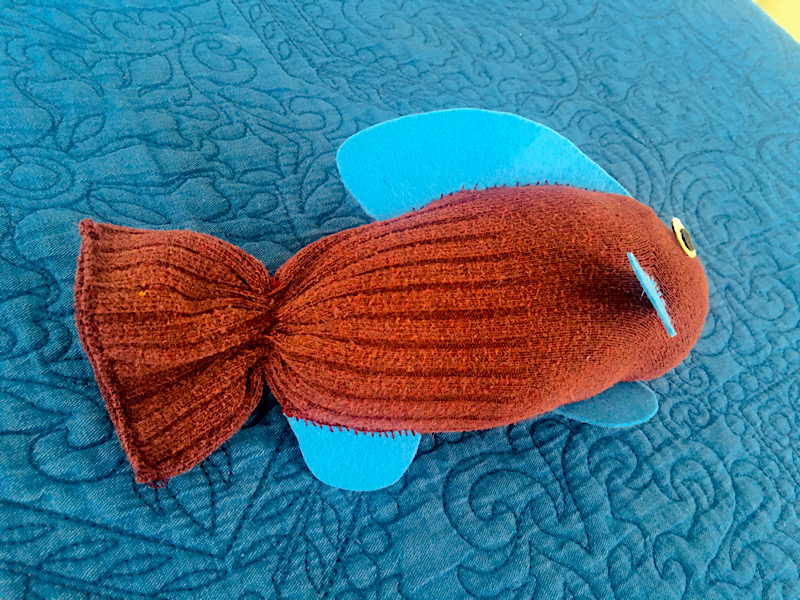
This fish will use the ankle hem of the sock as the tail. Measure or eyeball a few inches from the hem for the tail, and then several inches more for the fish’s body.
Trim a rounded shape from the toe end of the sock, the length you want your fish + it’s tail to be.
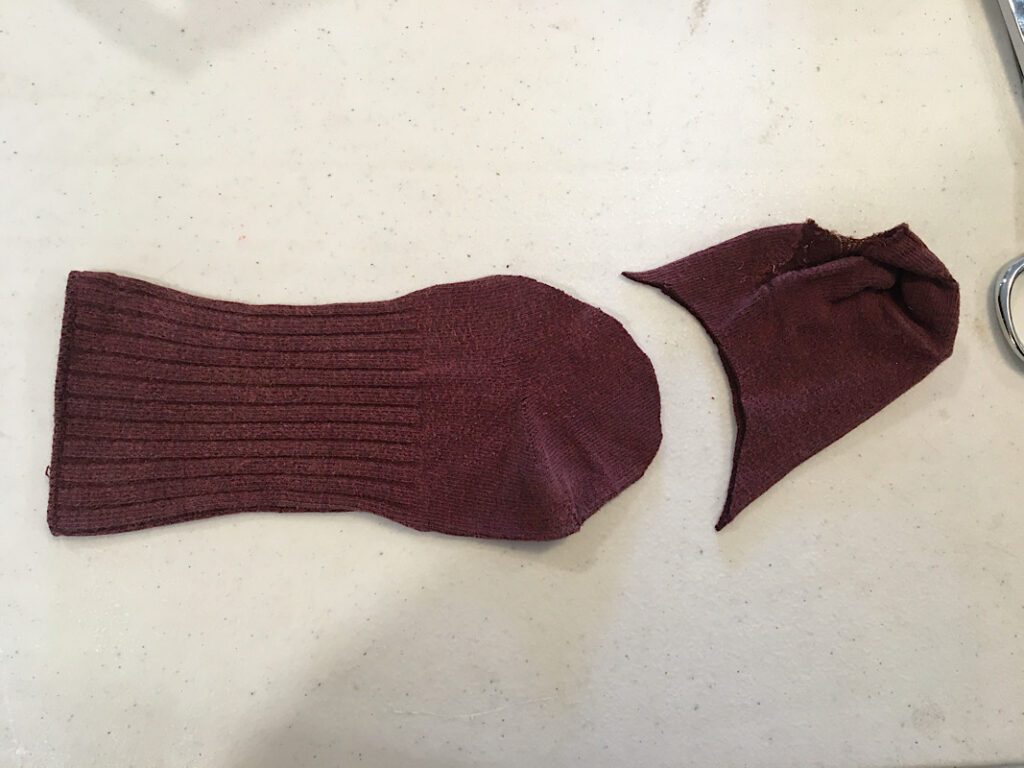
Next, turn the sock inside out and flatten it. Realign the curved edge you just cut.
Now with your hand needle, sew backstitches along the cut curved edge to close it. Sew about 1/4 inch away.
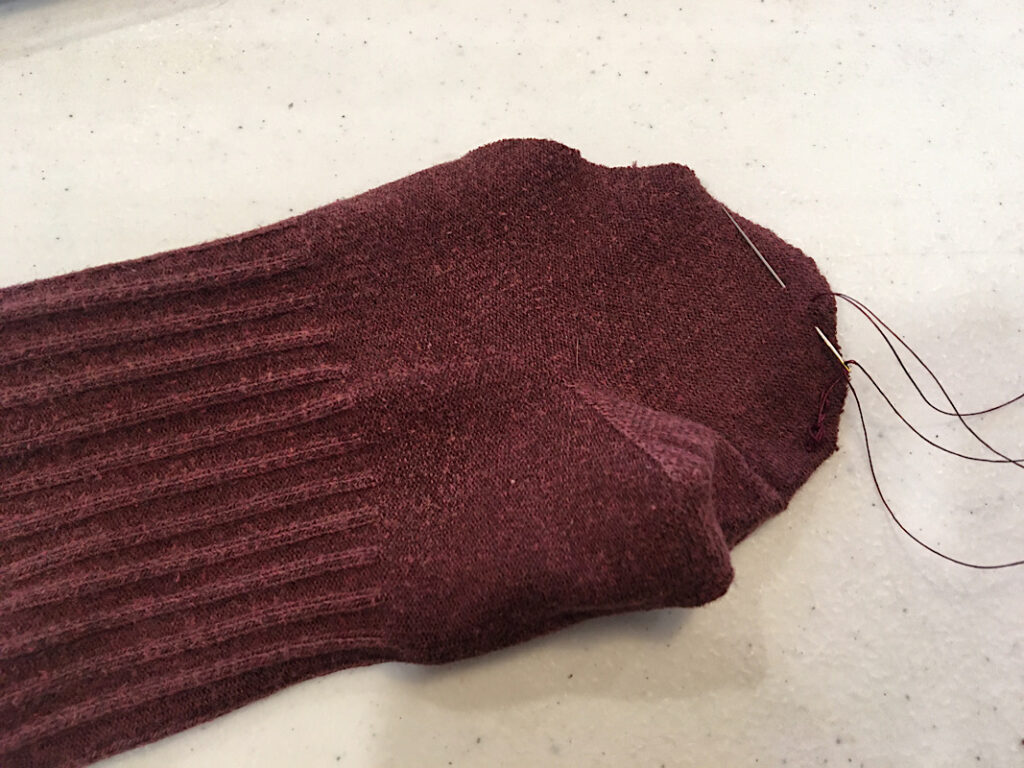
When you reach the end, tie a knot and clip the threads.
Then turn the sock back right side out.
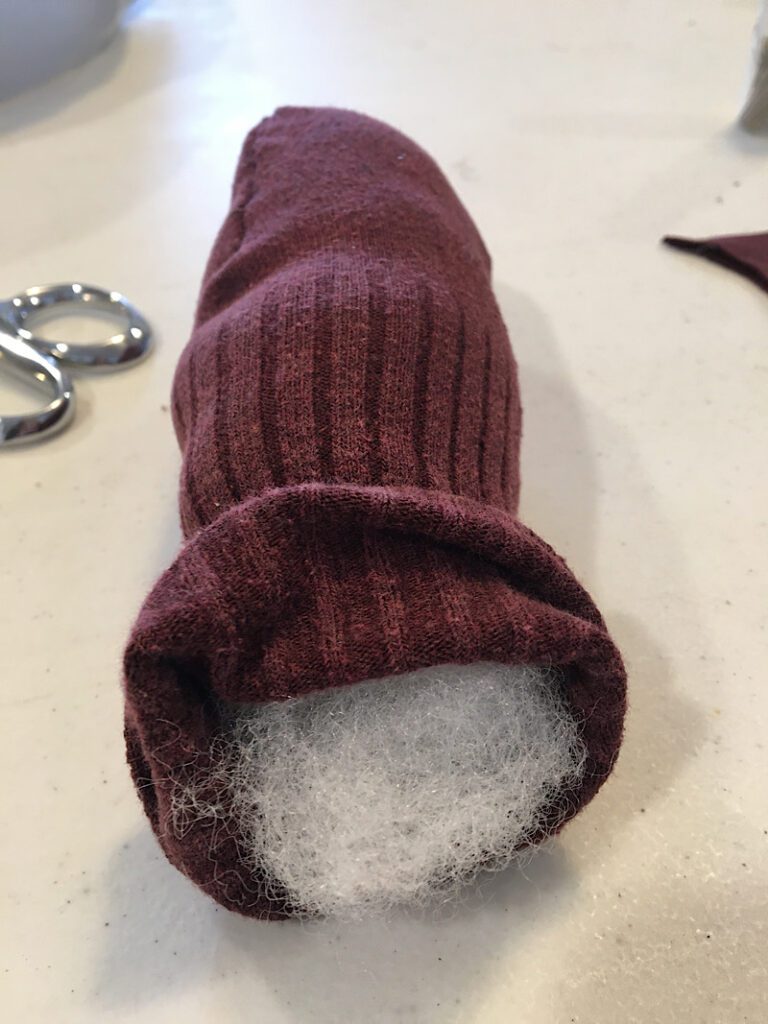
Finally, take a bit of stuffing and fill the body of the sock fish until it looks as full as you want it to be,
Step 2. Form The Tail
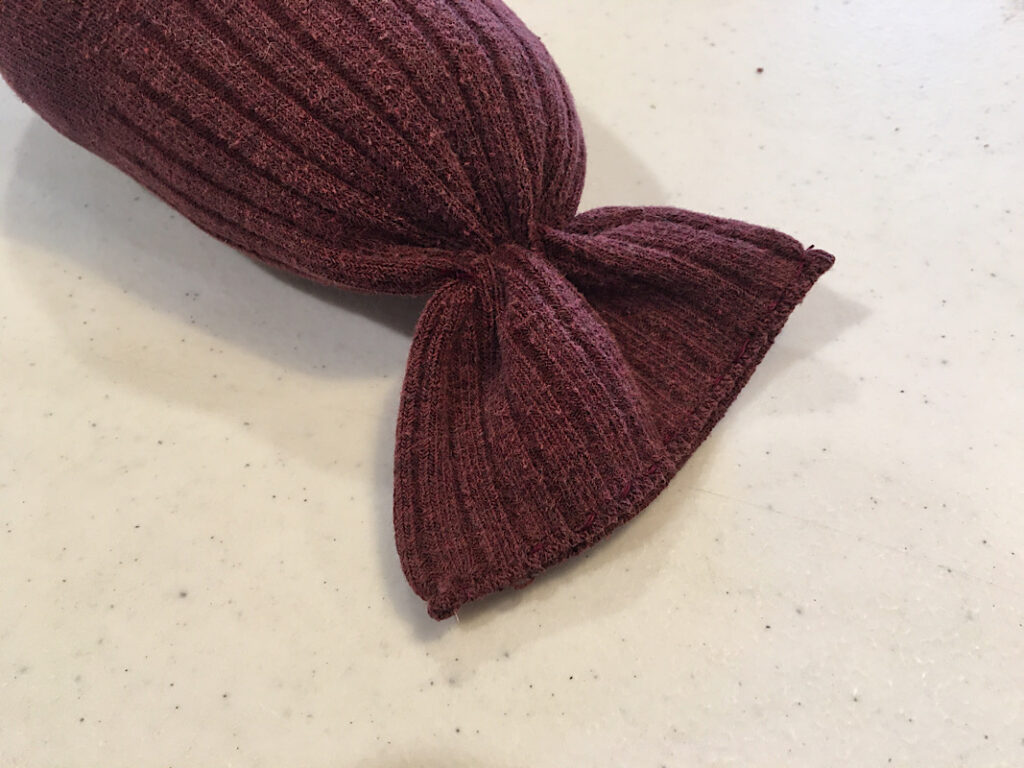
After stuffing the fish, flatten out the tail portion of the sock to make sure there is no stuffing in the way.
To sew the tail, you will sew a simple running stitch straight across the base of the tail, then again coming back the other direction.
(A running stitch goes needle up, needle down, up, down, repeating)
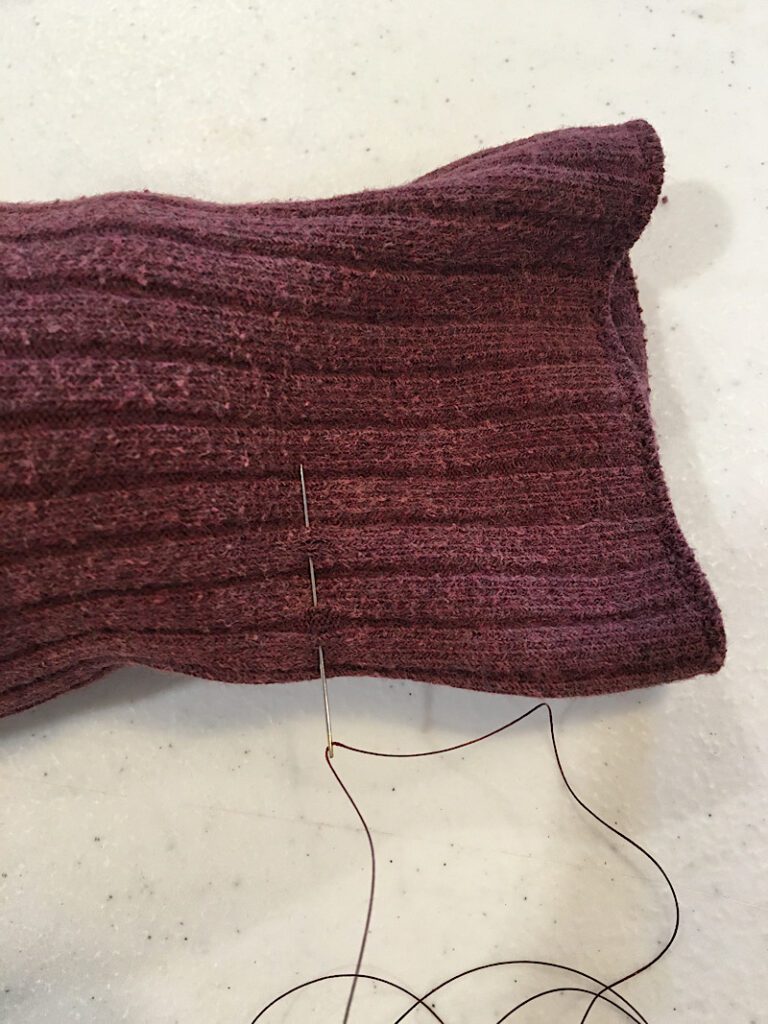
Once you have stitched across the base of the tail, and back, pull the end of the thread to gather the base of the tail tightly, then tie a double knot and trim the threads.
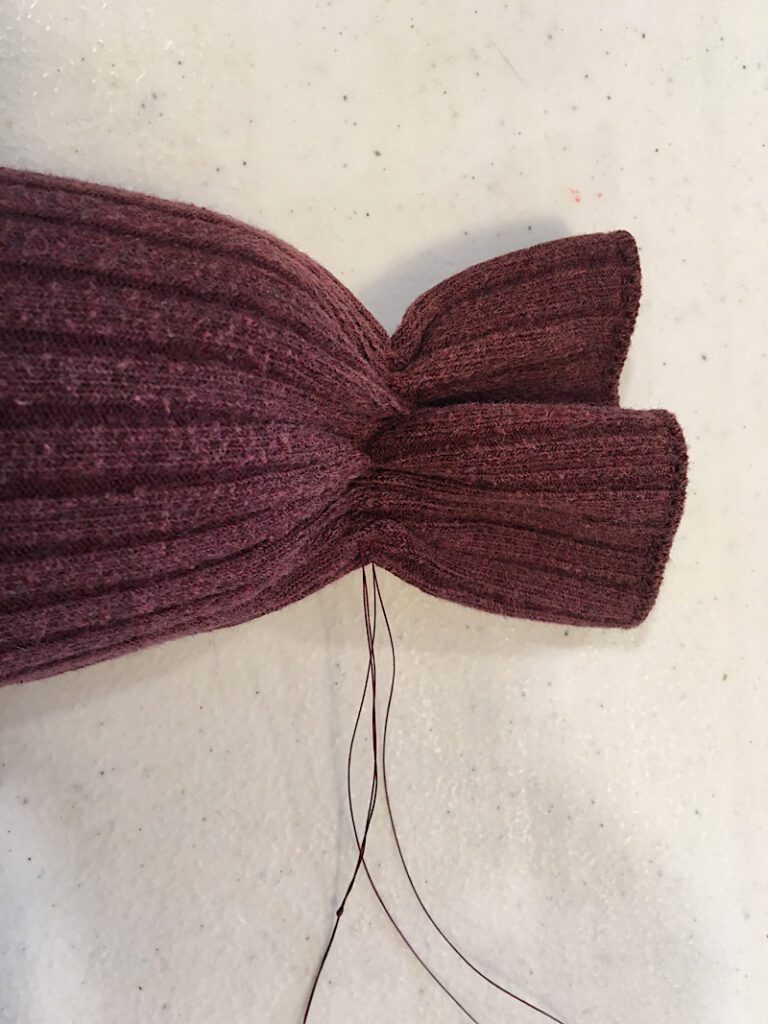
To finish the tail, sew a back stitch along the hemmed edge to close it.
Step 3. Cut Out The Fins
Print the fish fin template (or draw your own).
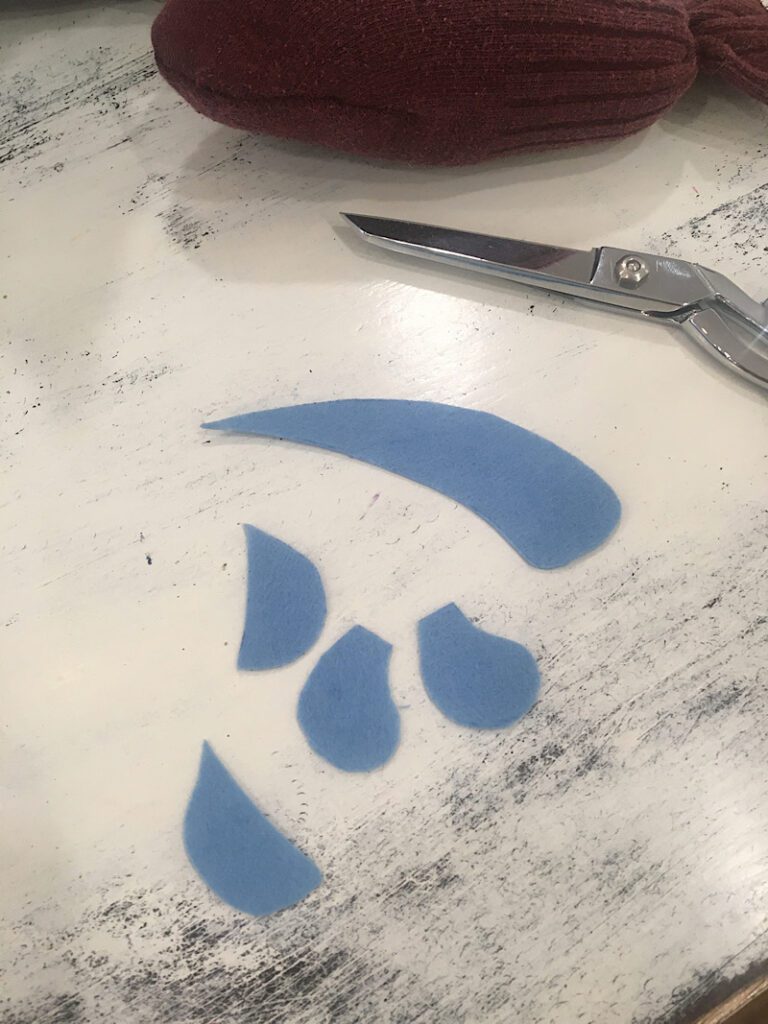
Cut out the fin template pieces, then trace them on the color of felt you want for the fins.
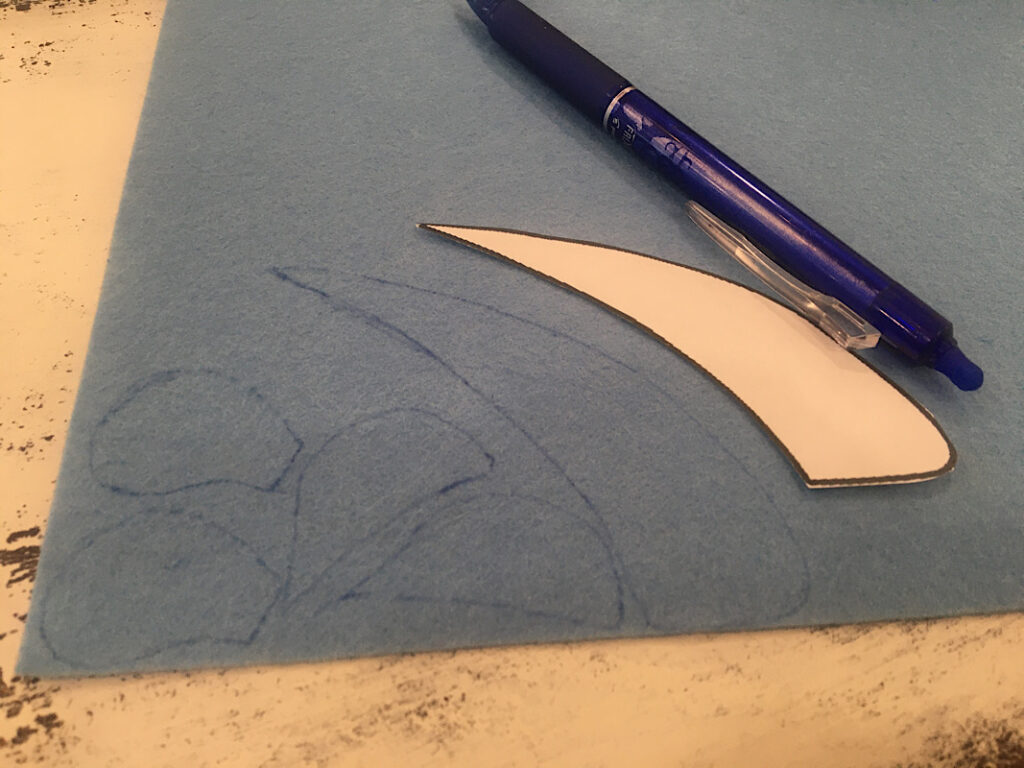
Then cut out the fins from the felt.
Step 4. Sew the Fins To The Sock Fish
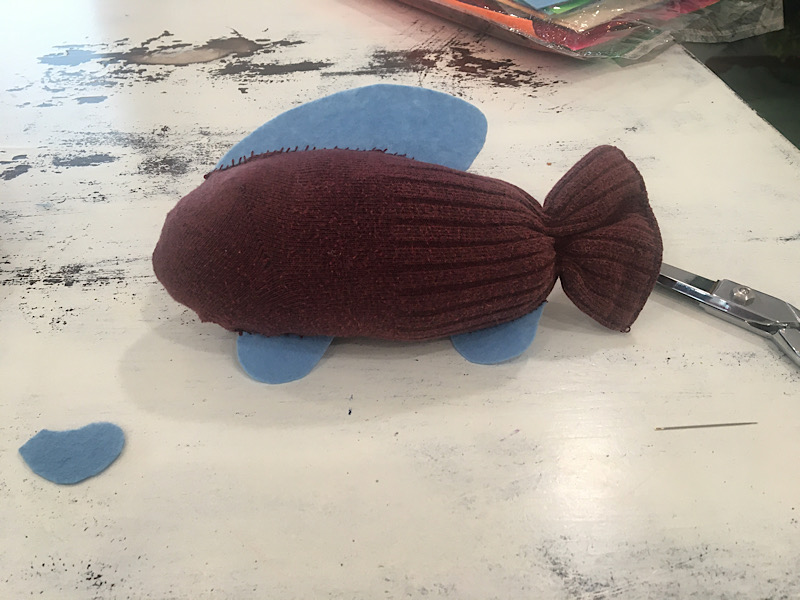
I started with the top fin on the fish.
Lay the fin on the fish where you want it to go, and stich the bottom edge of it to the fish. Stitch as close to the edge as you can to minimize the stitch.
Since the fin is curved, you will need to adjust it to be straight on the top of the fish as you sew.
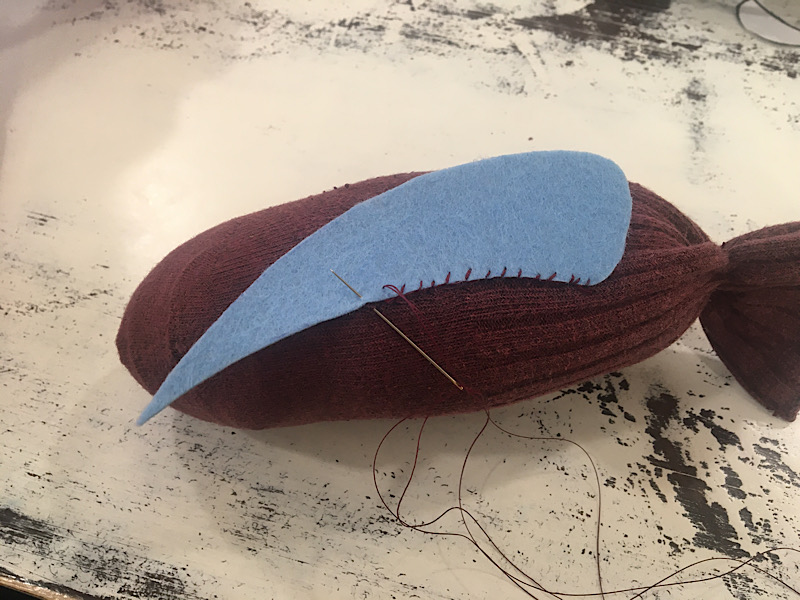
When you reach the end, tie a knot and trim the thread.
To stand the fin up, you will need to bend the fin the opposite way you sewed it. You might have to gently tug on the fin to get it to stand straight up.
Once you have sewn the top fin, sew the two bottom fins on the exact same way. I placed one near the tail, and one near the front.
Place the side “arm” fins onto the fish and determine where you want to attach them. Then, sew them on as well.
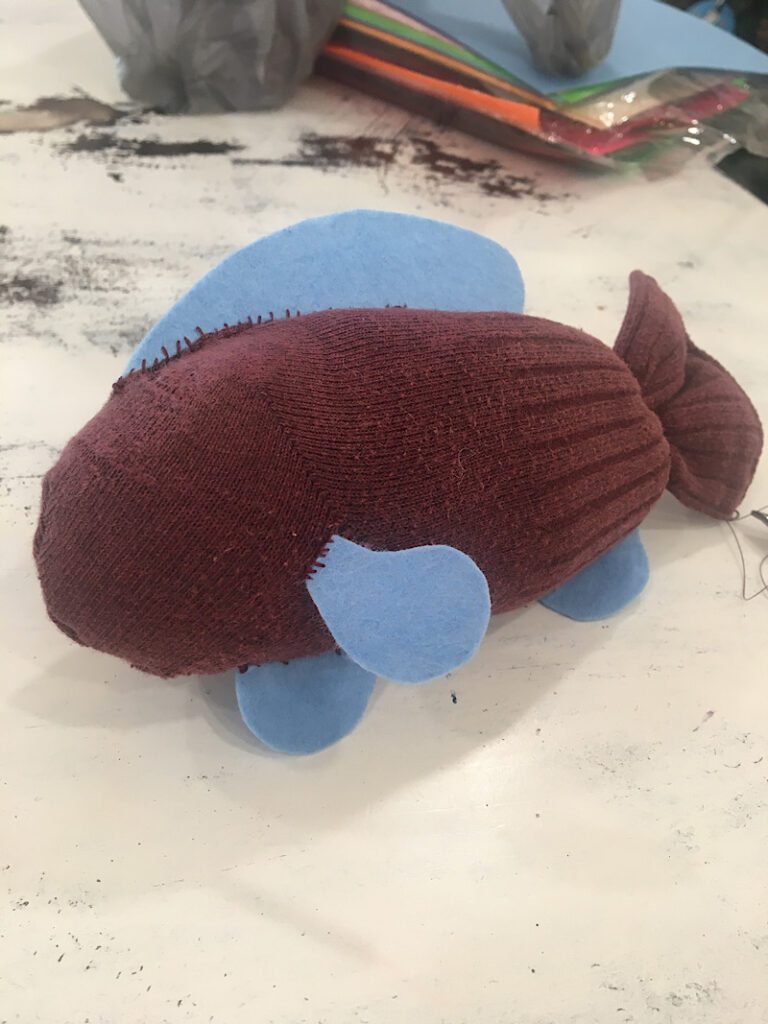
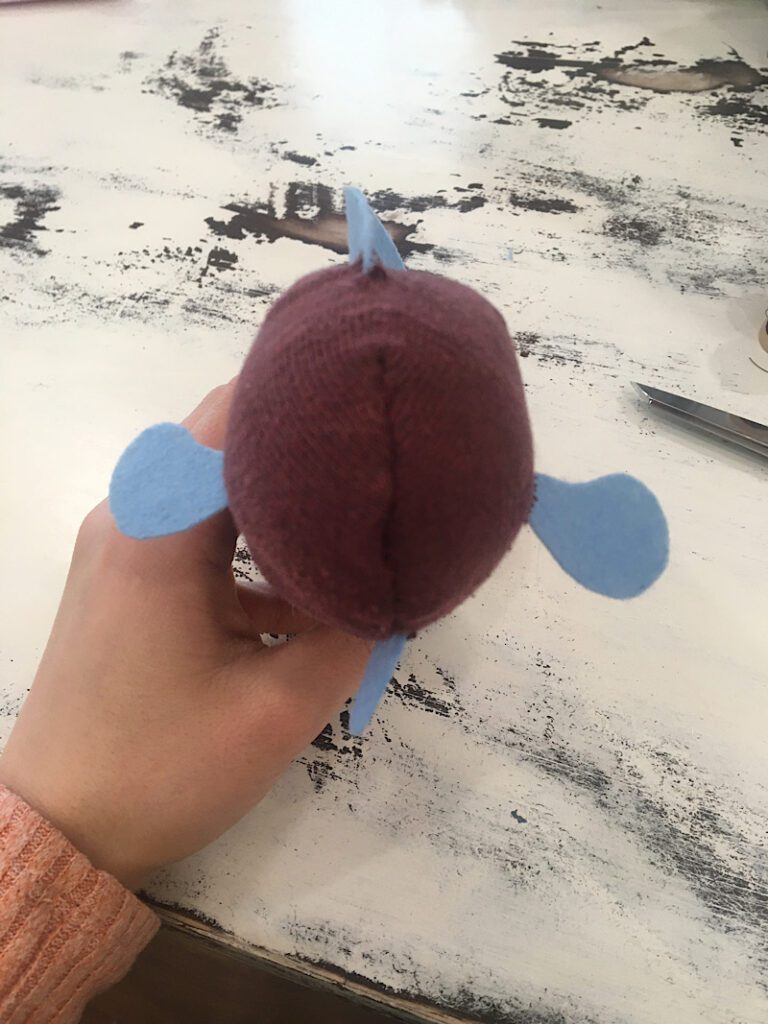
When you sew the second fin on, look at it from the front view to make sure they are even.
Step 5. Sew The Eyes And Mouth
For the eyes, cut out two white ovals or circles from some felt, and two colored or black circles that are smaller.
Place the colored circles on top of the white ones, and sew them on similar to a button. Start by inserting and exiting your needle at the location you want the eye to be, then sew up from the back of the eye. Then insert the needle through the front, back down to the sock, make a stitch through the sock, then tie the two ends of the threads into a knot. The knot will be hidden behind the eye.
If you want your eye to be attached more than this, you can hot glue it, or add more stitches.
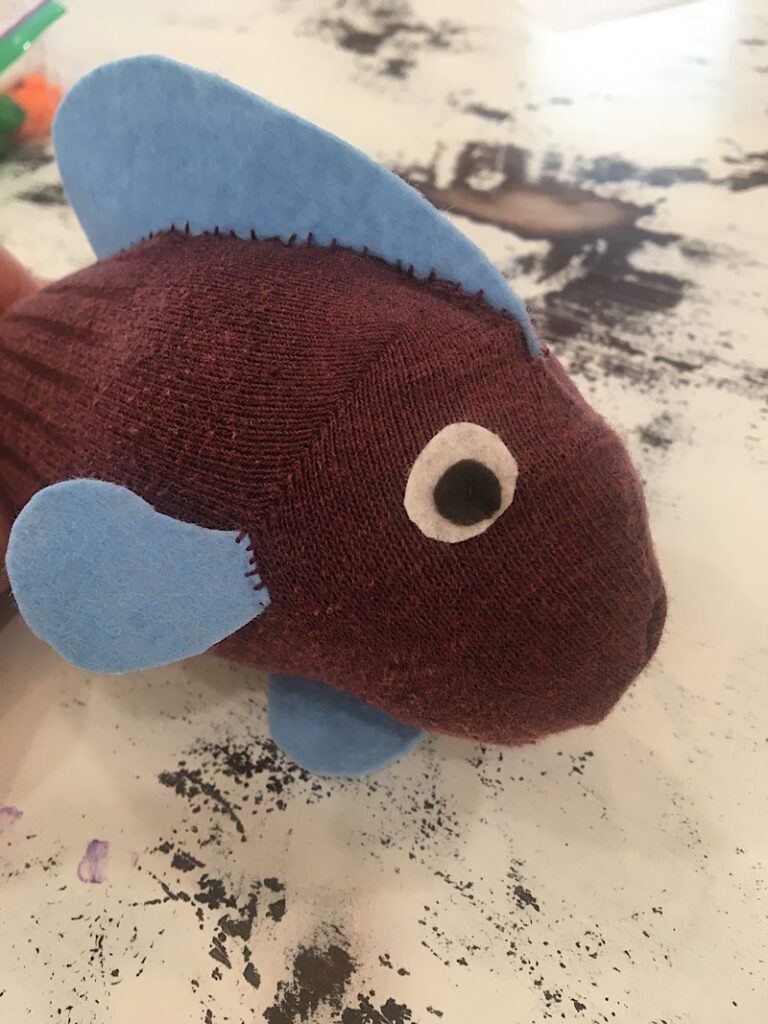
Cut out a little oval shape from felt for the mouth.
Stitch the mouth on with a single line of backstitches through the middle of the mouth. This will make the oval look like the “fish lips” shape.
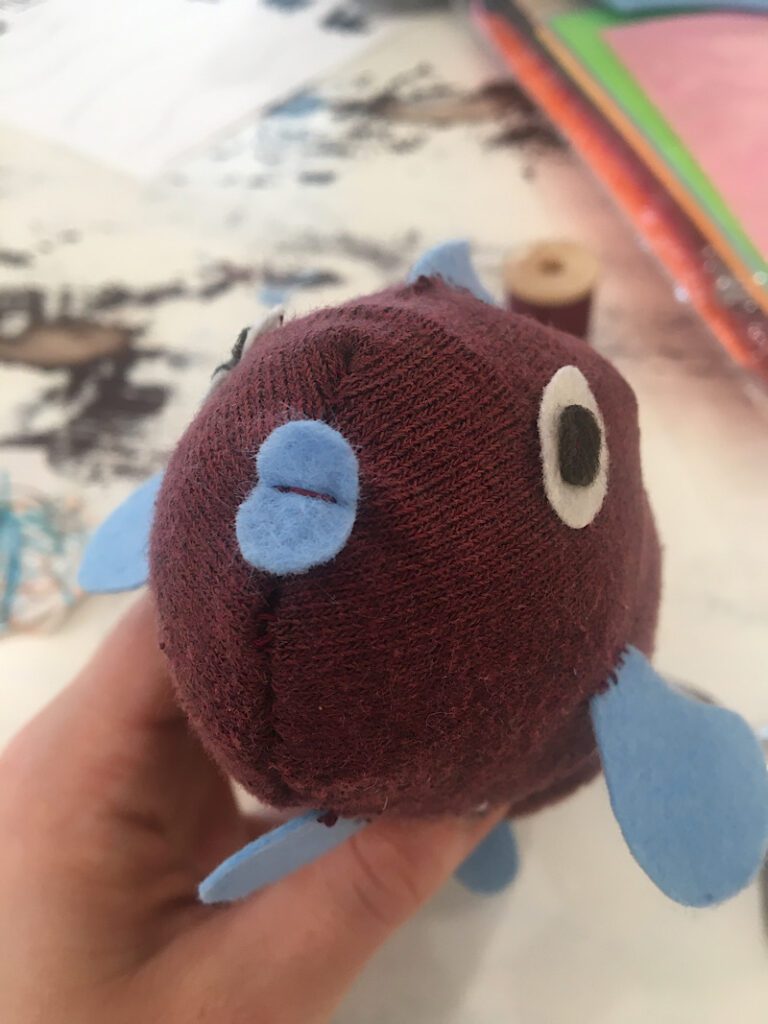
After you have sewn on the mouth, you are done!
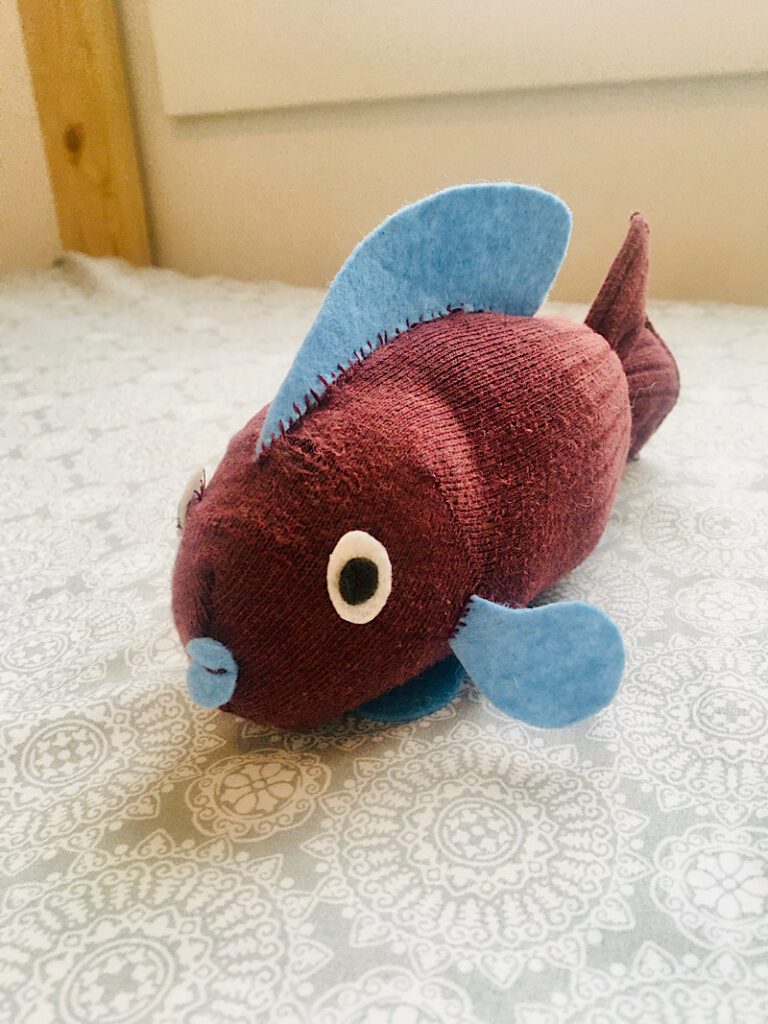
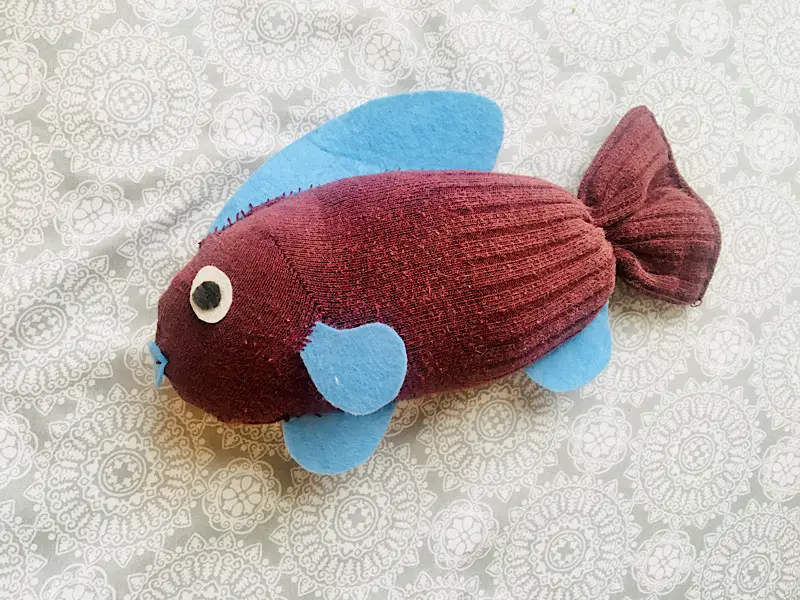
This completes the DIY sock fish! It has such cute little fishy lips!
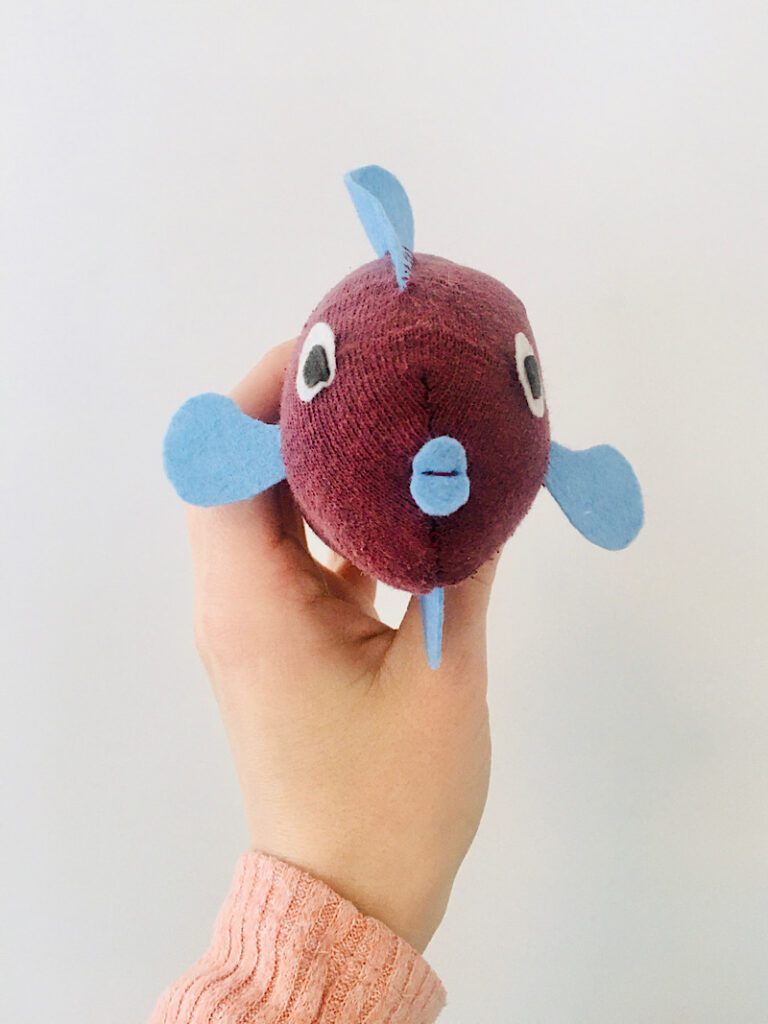
Here is a back view:
Conclusion
There are so many ways to customize these sock fish. I love the idea of making a sock fish family, with socks of different sizes. A little newborn sock would make the cutest little fry (baby fish)!
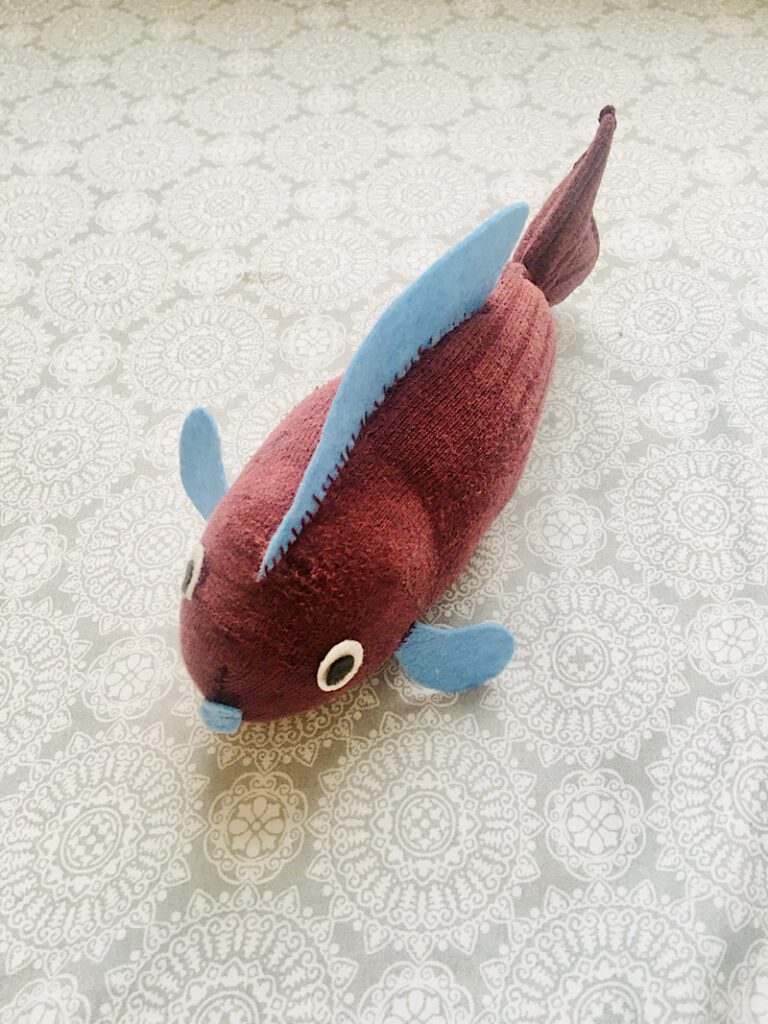
I also thought these sock fish would look cute on a hanging mobile, where they can “swim” through the air.
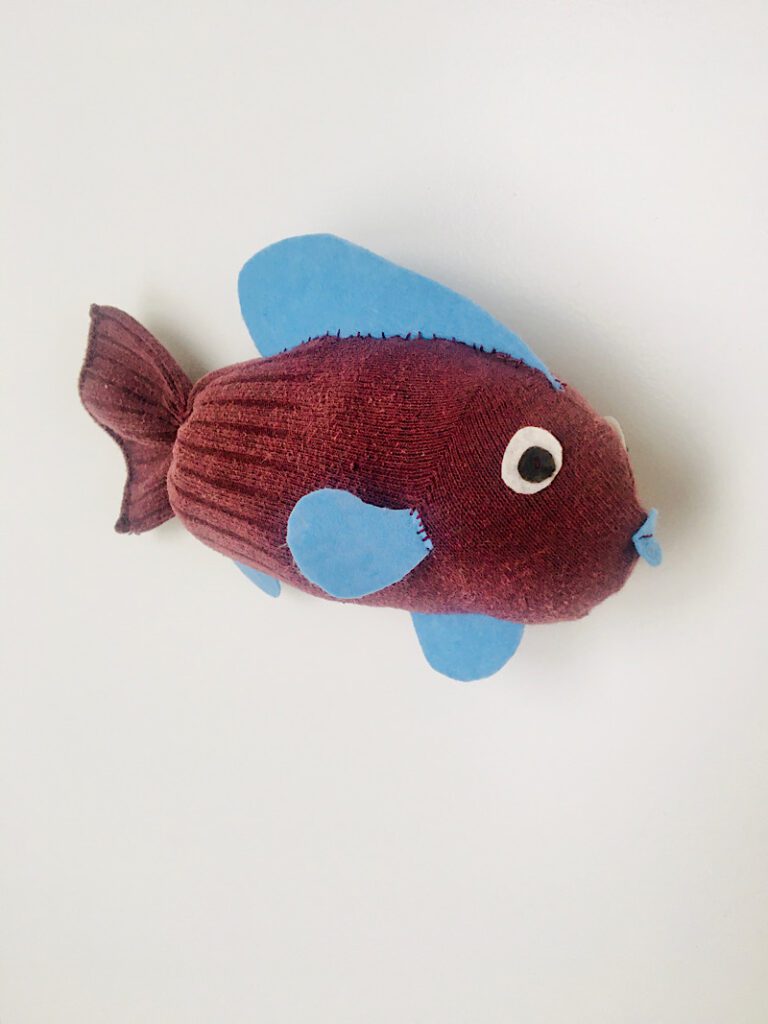
What are some other cute ways to use these fish? Let me know your ideas in the comments below!
Please remember to Pin this post and sign up for my email list if you want more fun projects like this one!
[convertkit form=3897571]


excellent post it looks useful thanks
Thanks so much for this post. I have been trying without success to sew a toy fish-shaped alien and this method will make it much easier. Thanks so much 🙂
You are welcome!!