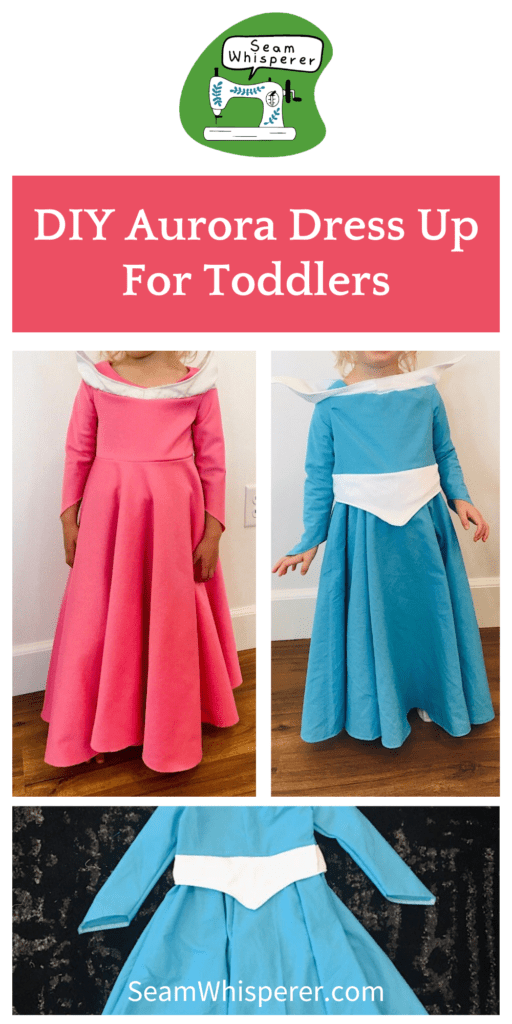
Pink or blue? If you want to learn how to make your own sleeping beauty/Aurora dress, this tutorial is for you! I will walk you through the steps you need to draft your own pattern for this fun princess dress up!
*I would call this an advanced tutorial. I did not make pattern pieces for this dress, which means I will show you how to make this dress in any size with photos showing what I did to make mine. There was a lot of eyeballing when I made this dress, which means you will have to do a lot of eyeballing as well!
If you choose to make the collar differently than I did, and replace the circle skirt with a simple gathered skirt, it suddenly becomes a much easier pattern.
But don’t be afraid of circle skirts, weird collars, or zippers, they are quite fun!
This post may contain affiliate links. Read the full disclosure here.
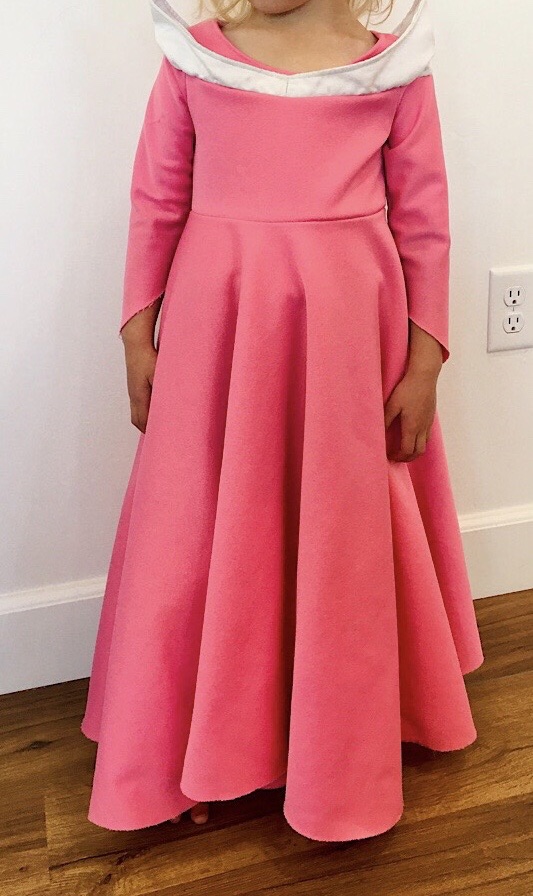
Kids love to dress up, and princess costumes are a daily activity at my house! I had previously created a quick “sleeping beauty” dress for my 4 year old, (in pink of course) but when my 2 year old wanted one too, I knew I had to give blue a try!!
This dress admittedly isn’t an exact replica of the Dress Aurora wears in Sleepy Beauty, and I also probably did not make the iconic white collar in the most effective way.
But, when toddlers call for princess dresses, I must deliver! And they both love their gowns, so that’s good enough for me!
Supplies Needed To Make A Sleeping Beauty Dress Up Costume:
Equipment:
- Sewing Machine
- Serger (optional, but I swear by mine!)
- Sewing Scissors
- Pins
Materials:
I used materials I had on hand for these dresses, so don’t be afraid to turn this into an upcycle project as well. For the blue dress I upcycled an old large flat bed sheet (probably a full or larger size) as well as some white fabric and a blue zipper.
- Pink or blue fabric, preferably light or medium weight, a bed sheet is perfect. (As far as yardages go, I made a toddler dress on a full sheet just fine. I would estimate 2-3 yards for a child’s dress. You will need to measure your child as well as decide what type of skirt you will make to determine fabric amount. A full circle skirt will take more material. I discuss this is step 3. )
- White fabric for the collar and waist belt (half a yard will do fine)
- A matching zipper, (as long as the back of the neck to the waist.)
- Matching thread
DIY Sleeping Beauty Aurora Dress Instructions
I recommend reading through the instructions before starting to cut!
1. Trace The Bodice
To make the bodice of the dress, find a slightly loose fitting shirt of whoever the dress is for. (Loose fitting because we will be shrinking it a bit when we insert the collar and zipper.)
Fold the shirt in half, and fold the fabric in half as well. Lay the folded shirt on top of the fabric, lining up the folded edge.
The bodice will go down to the waistline, so you won’t need to trace the entire shirt. You can fold the bottom hem of the shirt up a few inches to the waistline. Then trace the shirt onto the fabric (about half an inch away from the edges of the shirt to account for seam allowance) and cut it out. Do the same for the back of the bodice.
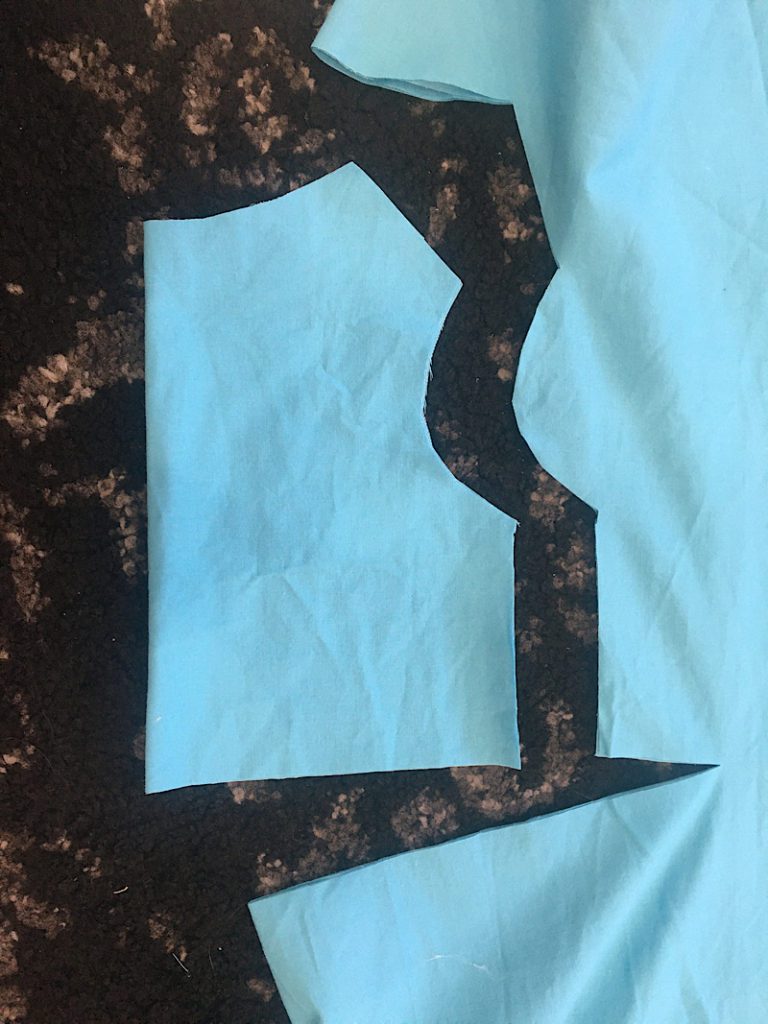
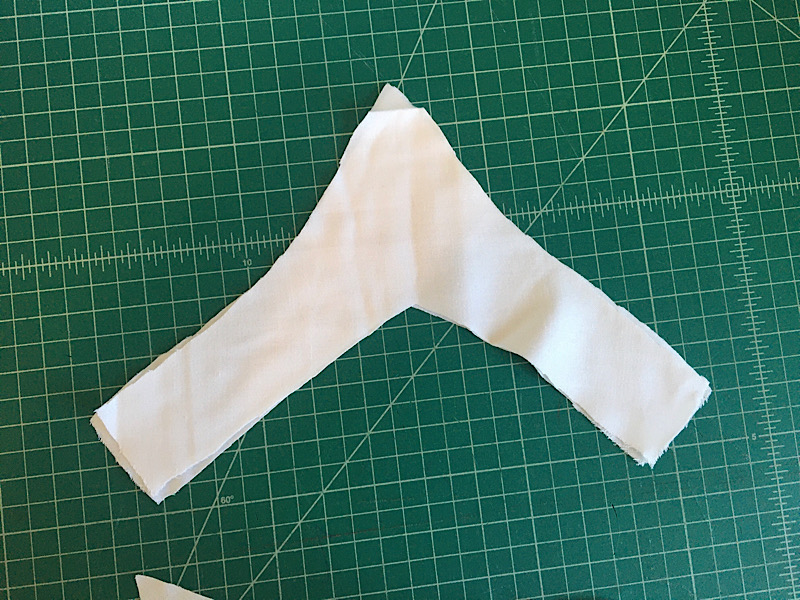
Use this same process to trace the sleeves of the shirt. However, at the wristline of the sleeves, instead of tracing and cutting a straight line perpendicular to the fold, create a triangle shape like in the image below.
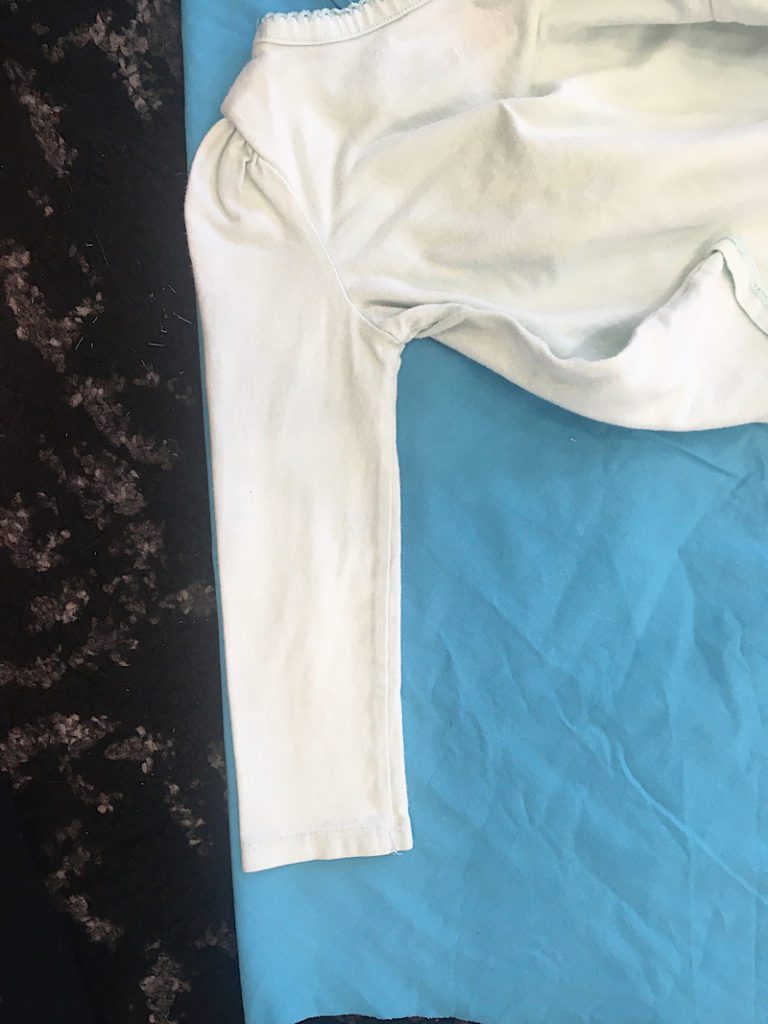
You should now have front and back bodice pieces, and two sleeves cut out.
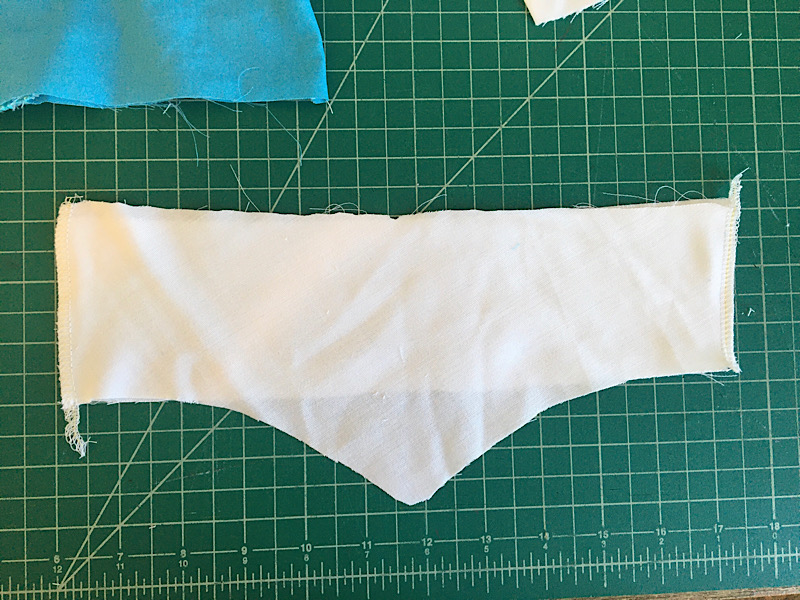
2. Cut out the Waist Belt
I don’t know what to call the pointed piece of this dress that goes around the waist, so I’m calling it a belt. 🙂
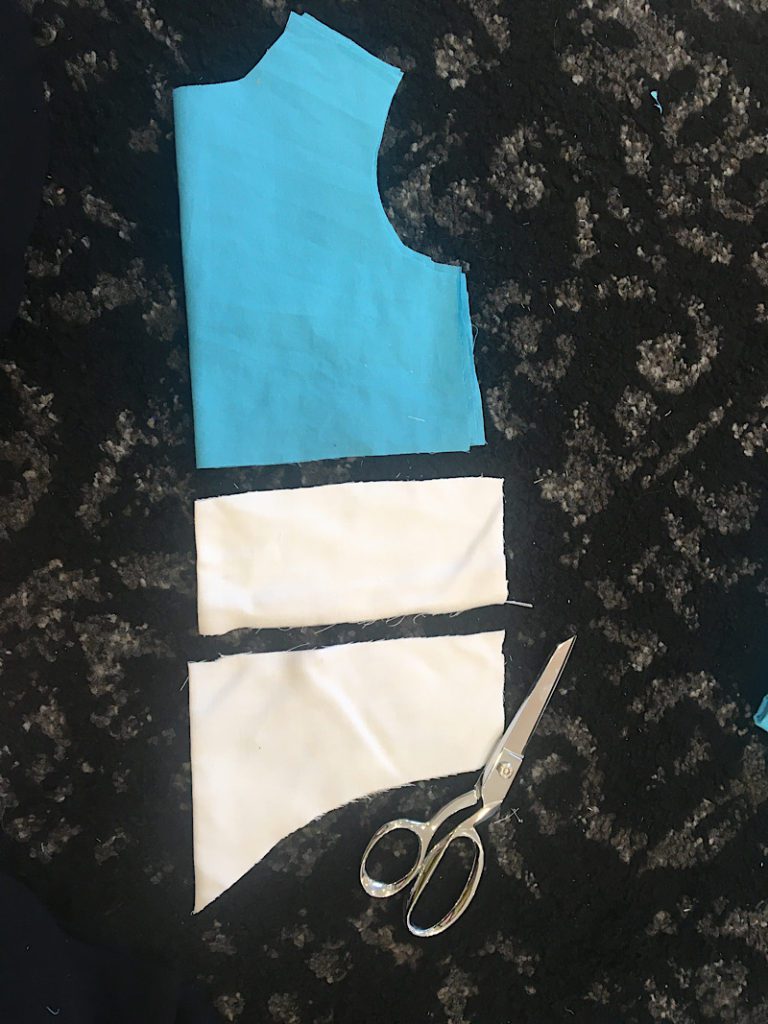
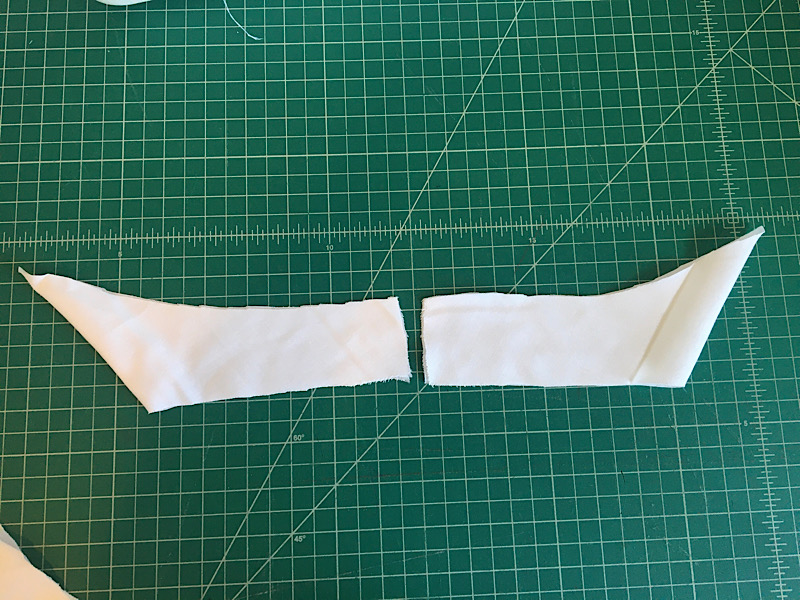
To make the pointed belt, cut out 2 white strips of fabric 4 inches thick and as wide as the back of the bodice piece. These will be the back belt pieces.
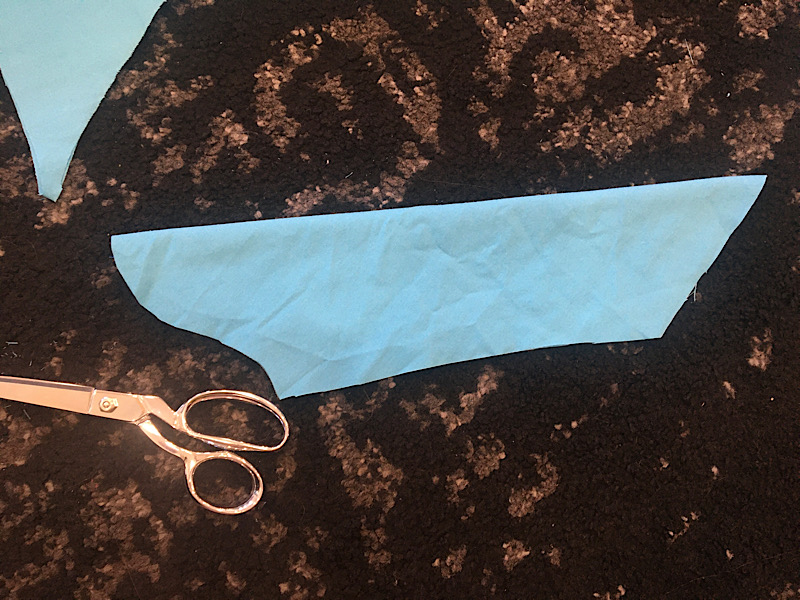
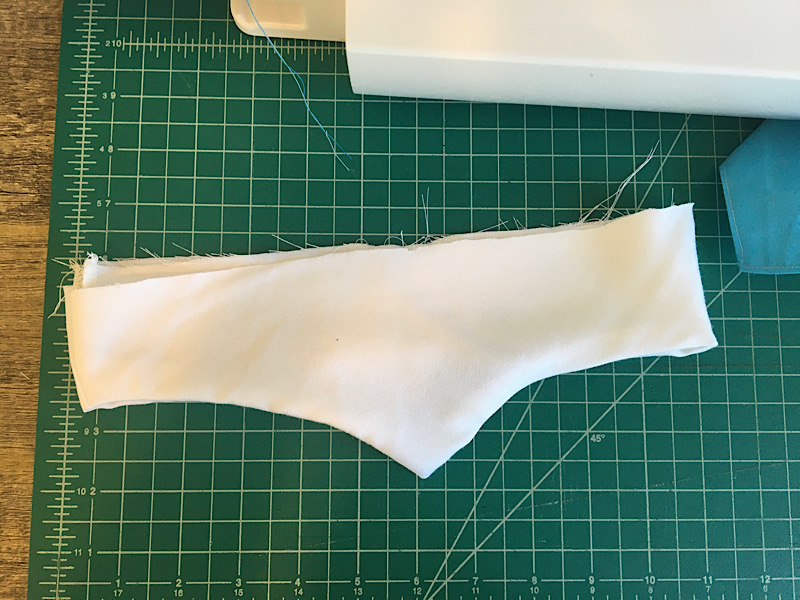
For the front belt pieces with the point, fold the white fabric in half, and cut a gradual pointed shape, with the point along the fold, so it makes a triangle when you open it. The ends should be four inches thick to match the back belt pieces. Cut 2 of these.
I just eyeballed this shape. Take a look at the photos to see what yours should look like. You can cut it out of paper first, then trace it if that helps you.
3. Cut Out The Skirt
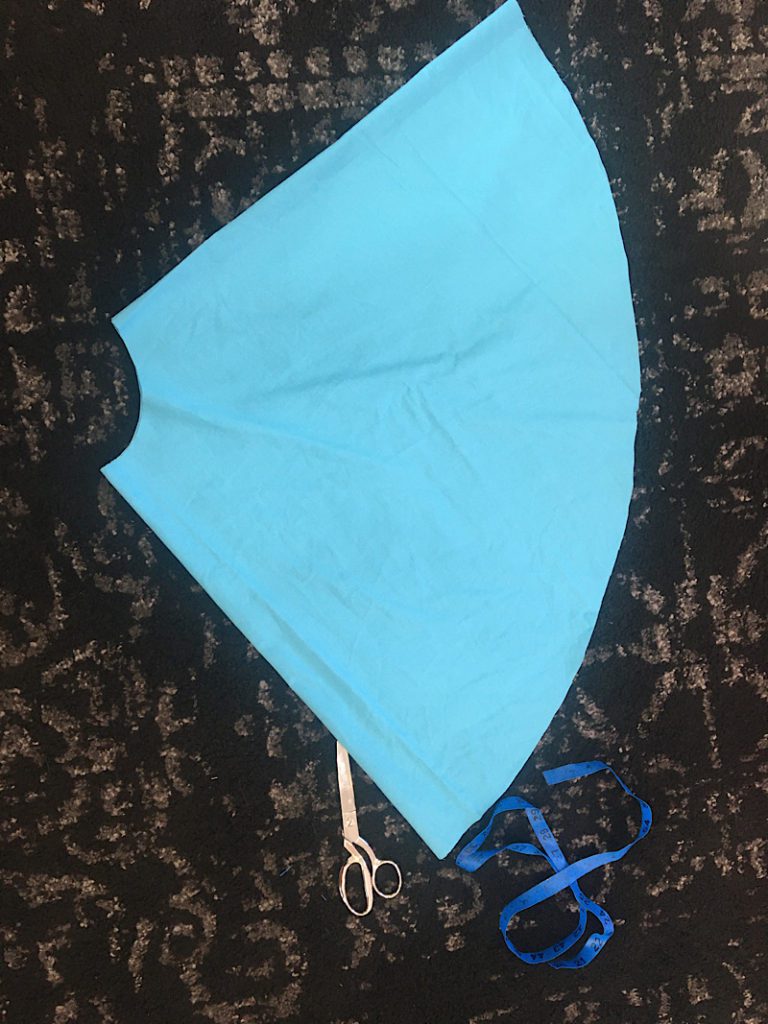
I chose to make a full circle skirt since I had so much fabric to work with (I used a large flat sheet, and this was a small dress for a 2 year old!)
If you want to save on fabric, you can make a ¾ or half circle skirt, an a line skirt, or even a simple gathered skirt. However, I do think that a ¾ circle or full circle look the most like the dress in the movie.
To make a full circle skirt you will need two measurements. First, you will need the waist measurement (use the measurement of the shirt you measured to make the top of the dress). You will also need the length measurement from the waist down to the ankles of whoever will wear the dress.
Fold your material in half, then in half again the other way (like how a paper napkin is folded.)
Use my circle skirt calculator to calculate the measurements you will need to cut your skirt.
4. Sew the Sleeves
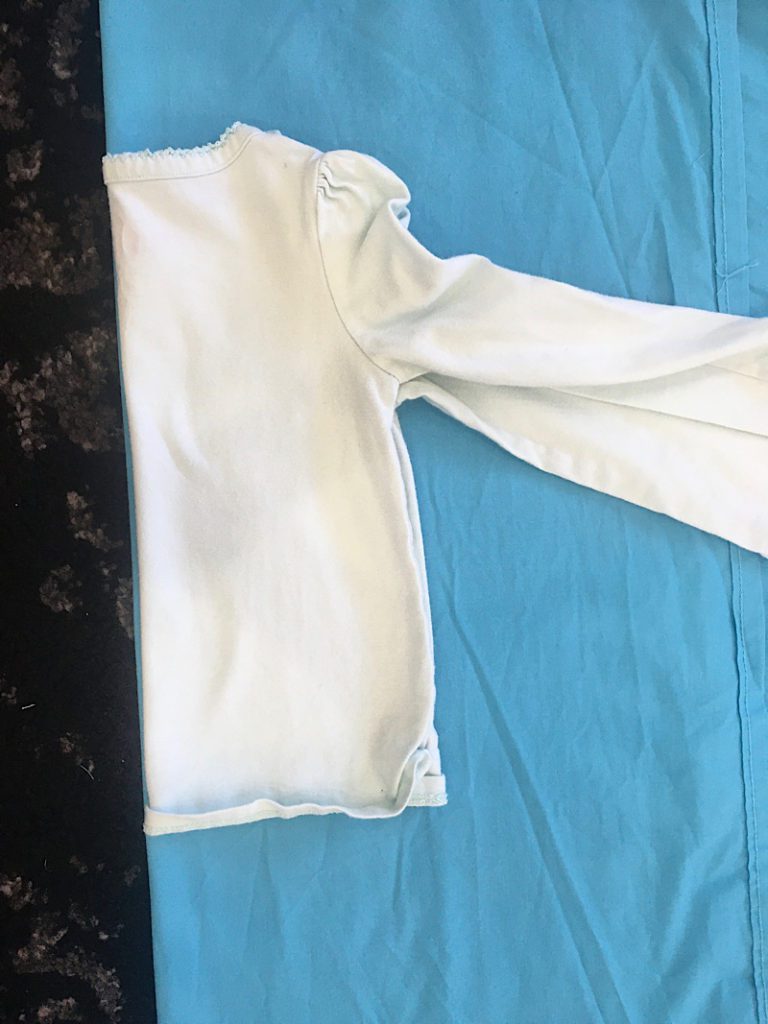
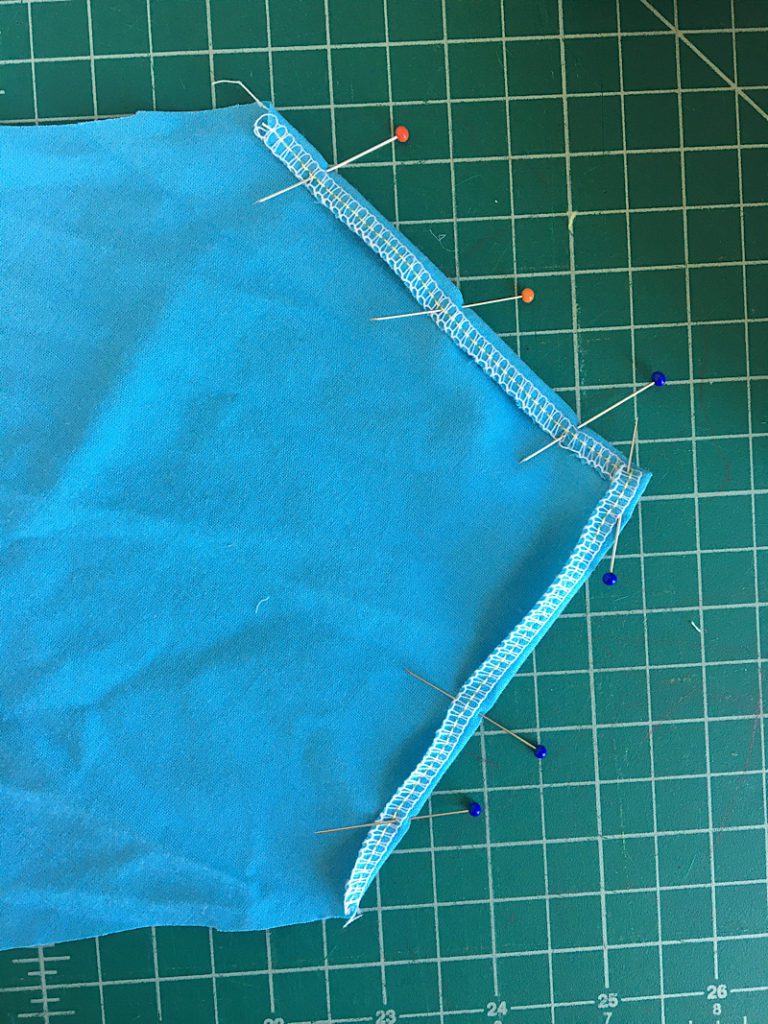
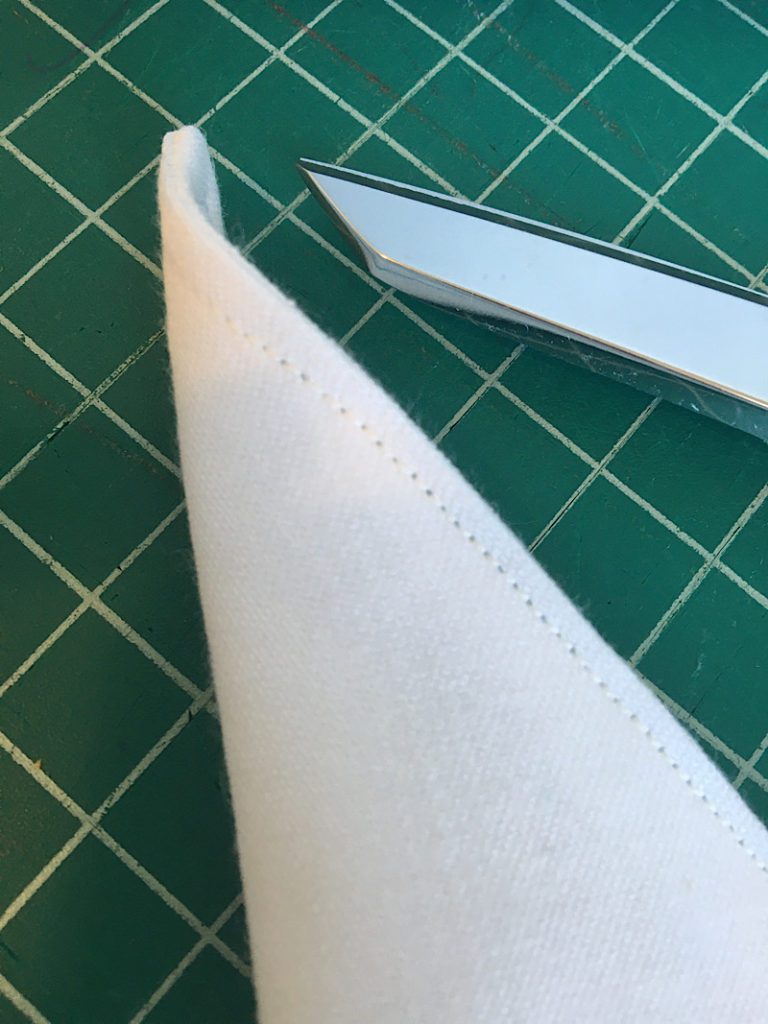
To assemble the sleeves, first hem the wrist lines. I serged mine, but you can just fold them over twice if you don’t have a serger. Fold and pin them carefully to maintain the sharp point, then stitch the hem down.
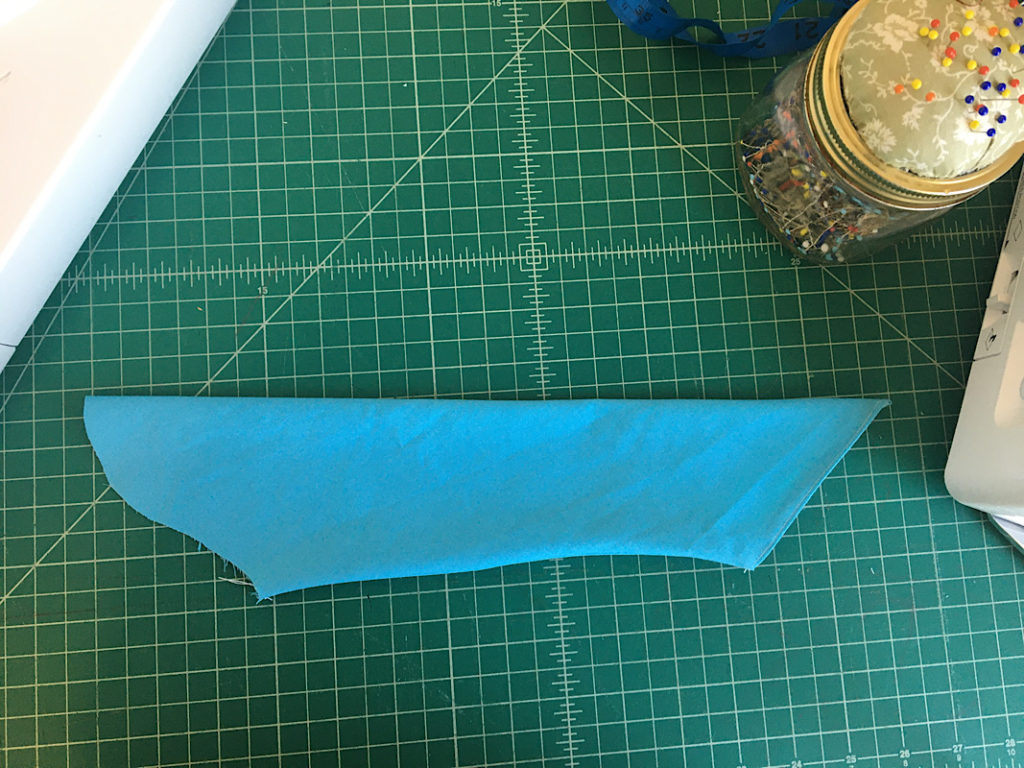
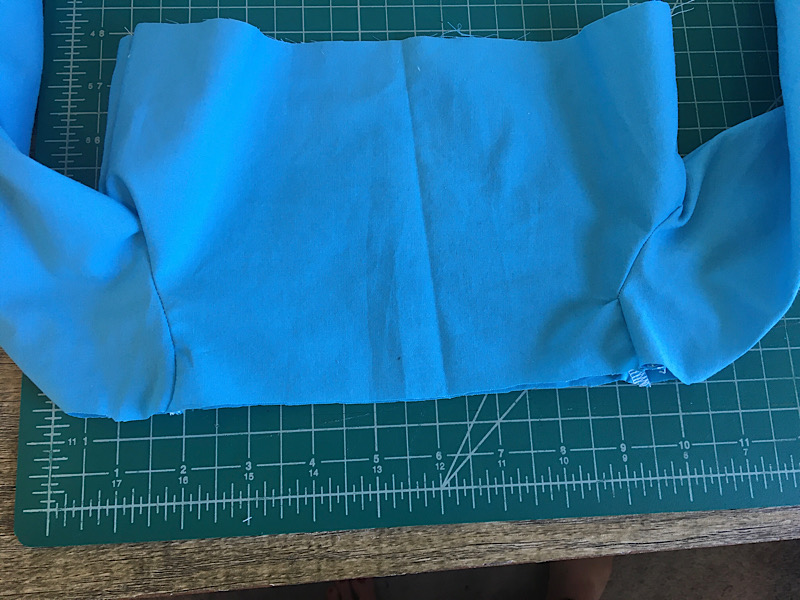
Then, with right sides together, fold the sleeve in half and sew along the raw edge to make the sleeve. Also serge or zig zag stitch the seam. Turn it inside out. It should look like the photo below.
Repeat with the other sleeve.
5. Sew the Bodice
With right sides facing, sew the bodice shoulder and side seams together. Then serge or zig-zag stitch them.
To set in the sleeves, make sure the sleeves have the right sides out, and the bodice has the right side in. Then insert the sleeves into the sleeve hole in the bodice, and align the bottom seams. Pin in place, and sew around the armscye (arm hole). Then serge or zig zag stitch to finish the seams.
Repeat with the other sleeve!
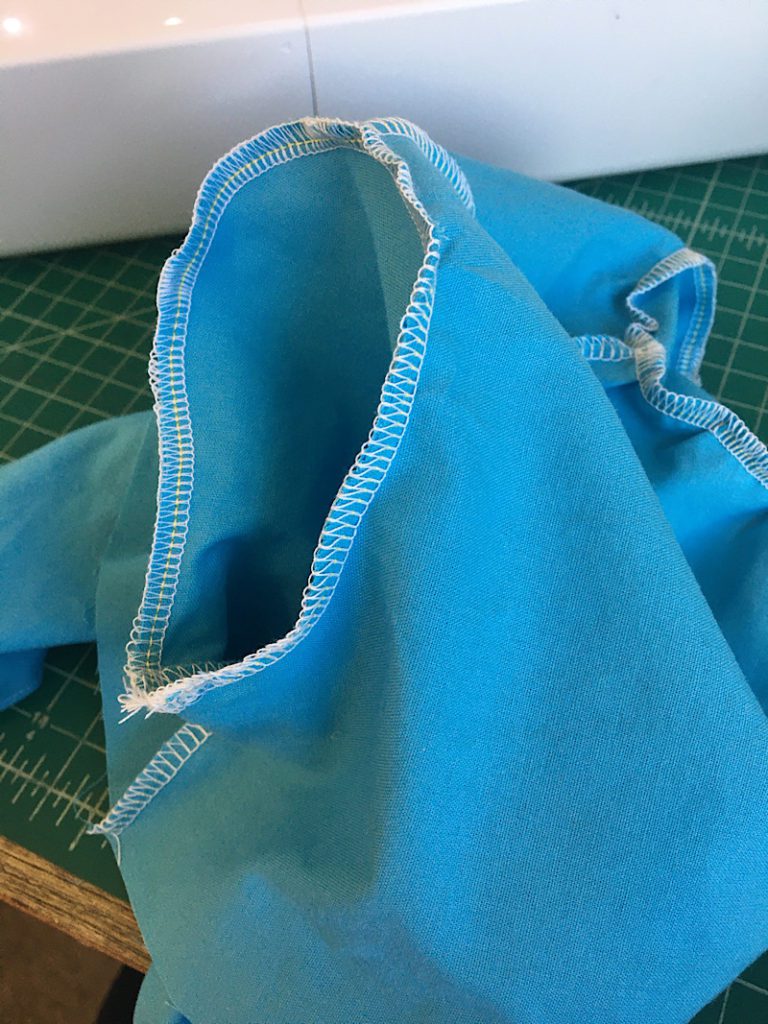
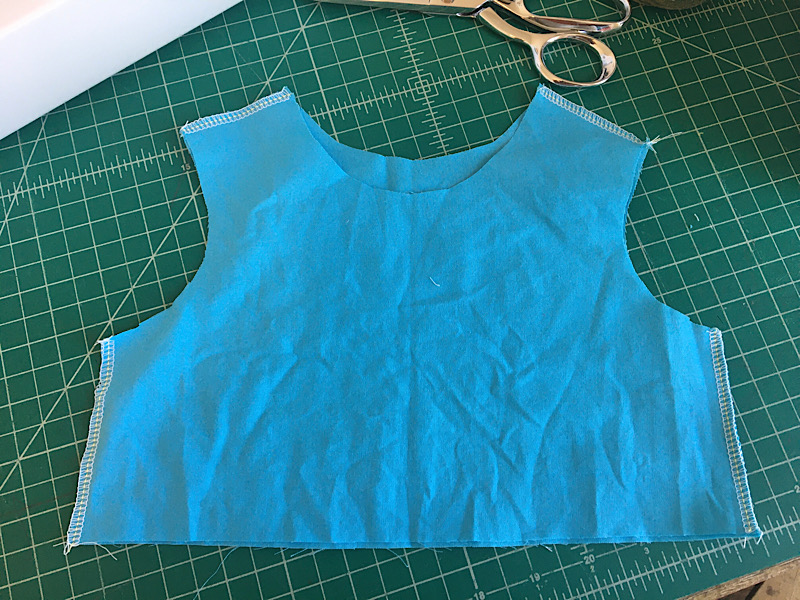
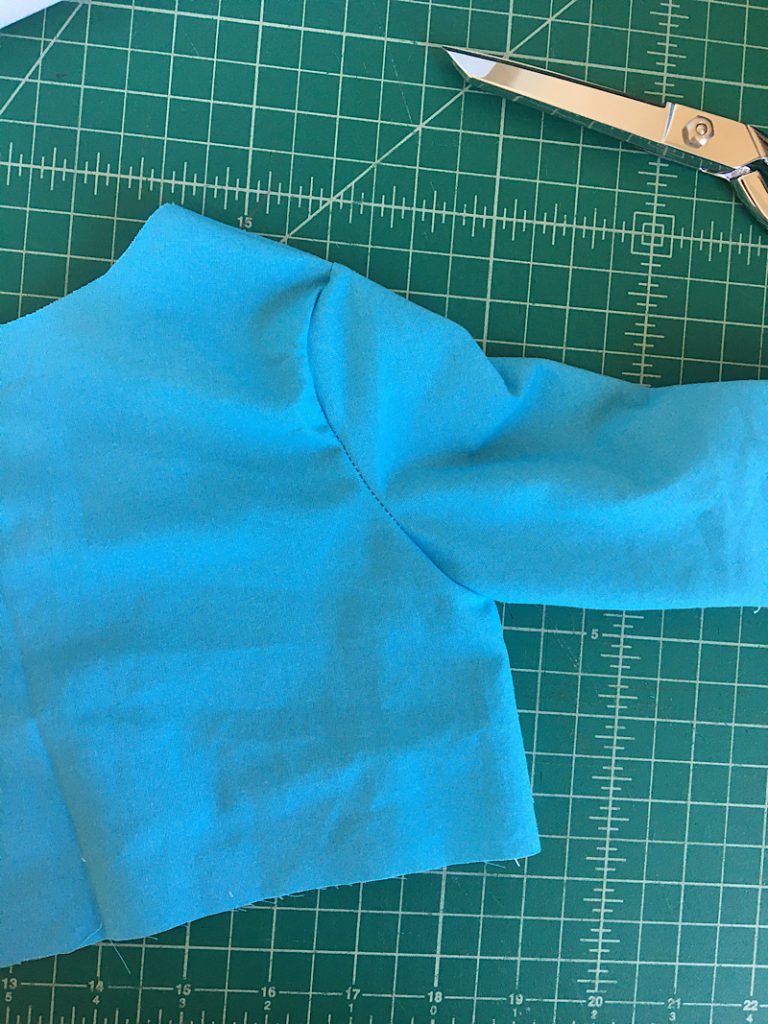
Turn your bodice right side out, and it should start to look like this:
6. Create the Collar
This step is a little bit scary because you cut through the hard work you just did, and there is probably a better way to make this collar. If you want to figure out your own way, then you totally can. Here is how I did it…
Carefully fold the bodice in half and flatten it well. About two inches under the neck line, cut across the top of the bodice and straight through the cap of the sleeves Set aside the top part for later.
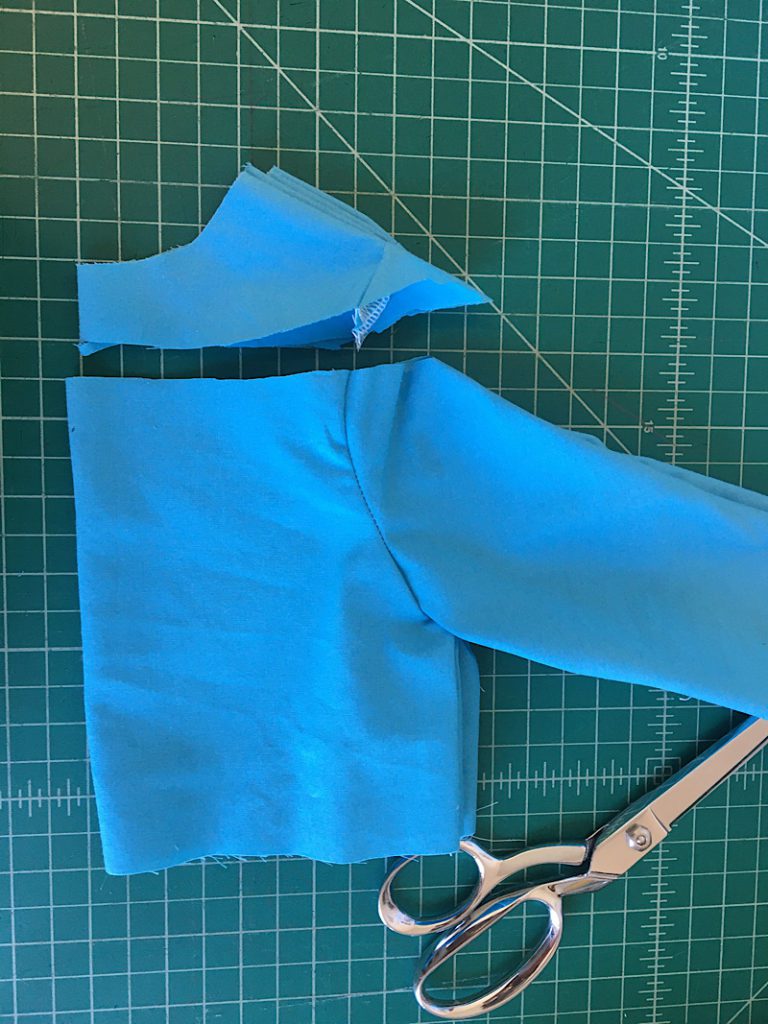
Open up the bodice and measure the line you just cut. This will be the collar circumference.
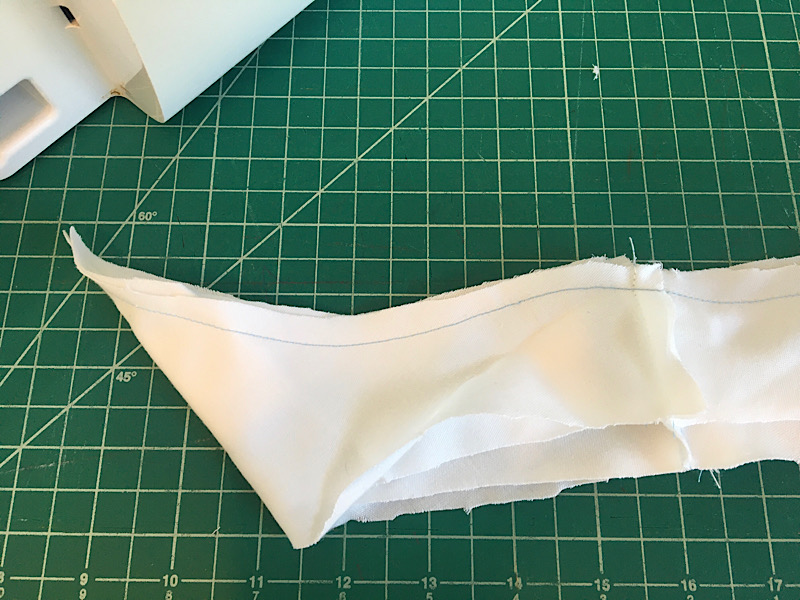
Fold some white fabric in half, and use the measurement of the bodice cut to cut out a pointed collar shape like in the images below. Make sure to add in seam allowance. Notice how the bottom edge of the collar is angled away from the side folds. This creates a nice boat shape. Cut 4.
Open two of the collar pieces and place them on top of each other. Sew the small edges together. Repeat this with the other 2 collar pieces.
Then, with both collar “loops”, face them right sides together, and sew along the top edge (the edge with the point.) Trim the excess to remove the bulk, and turn it right side out. Iron it, then top stitch near the seam to help it keep it’s shape.
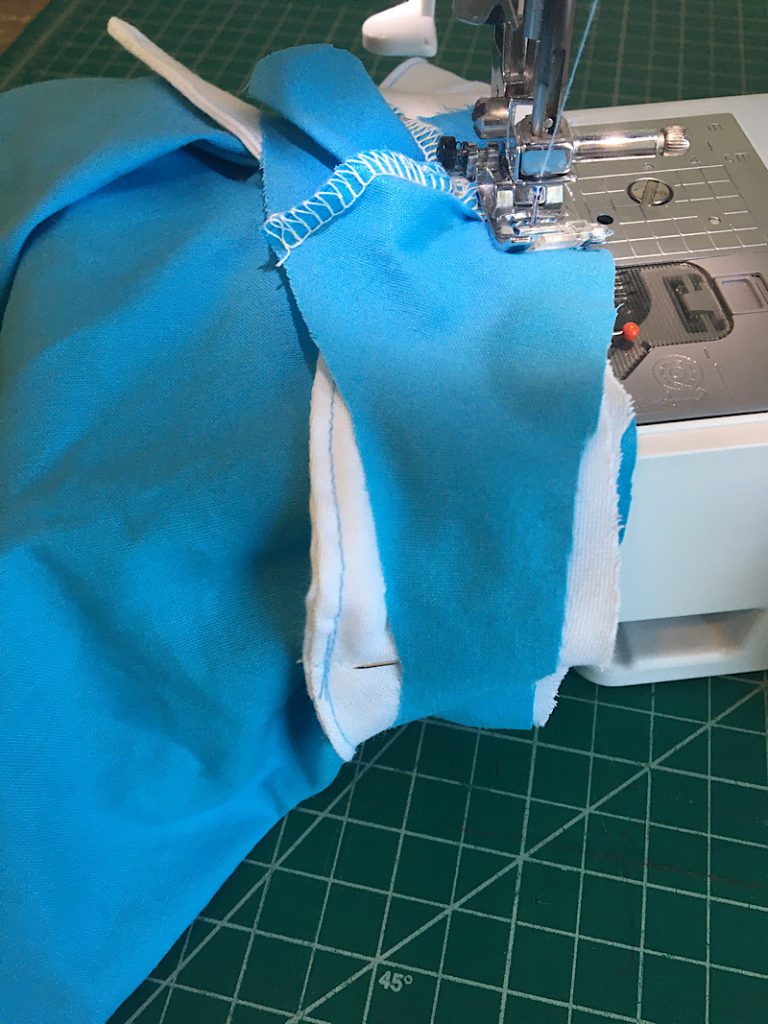
7. Attach the Collar To The Bodice
Place the sewn collar around the bodice, lining up the raw edges. Sew around the bodice to attach the collar.
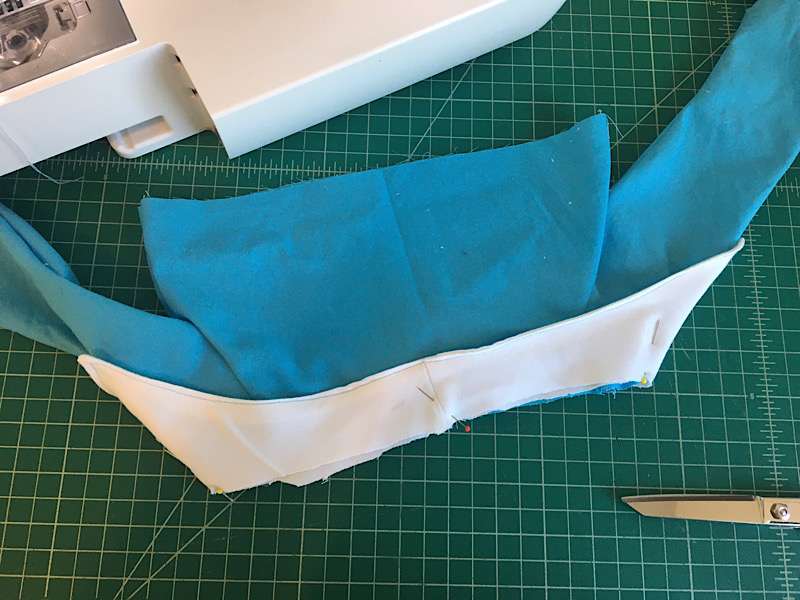
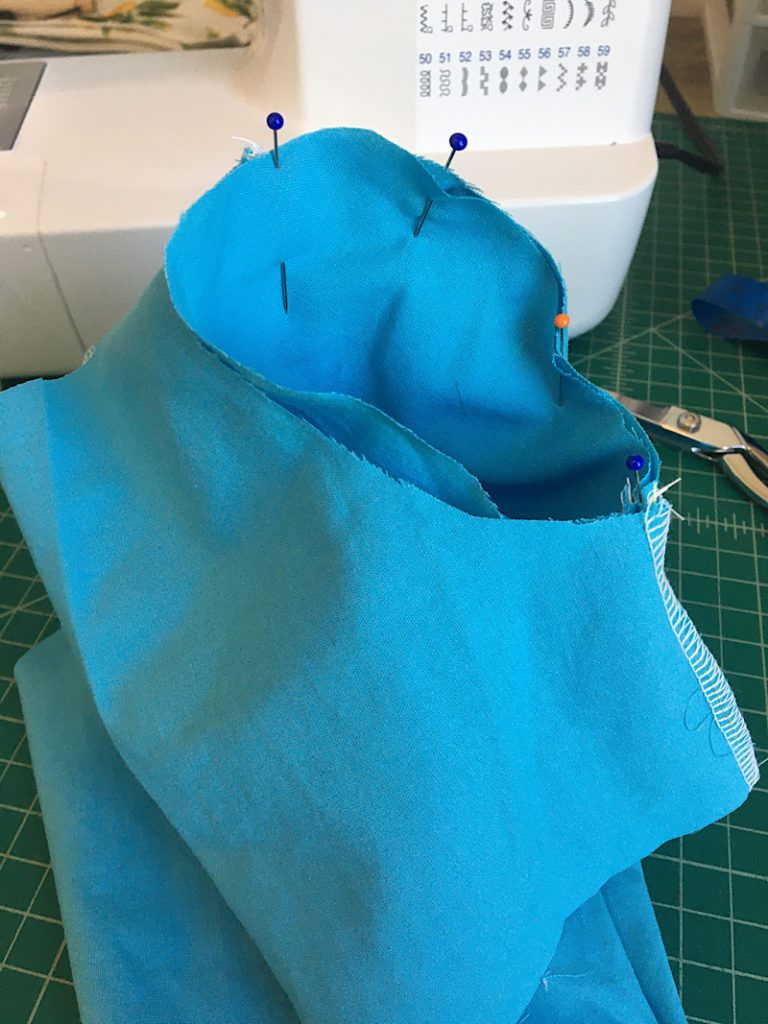
Then, retrieve the top piece of the bodice that you cut off the collar earlier. Turn it inside out, and place it around the collar and bodice as well with right sides facing. Make sure to line up the seams of the armholes so the top of the bodice is sewn back on correctly. Pin it in place, then sew it back to the bodice. Then, serge or zig-zag the hem.
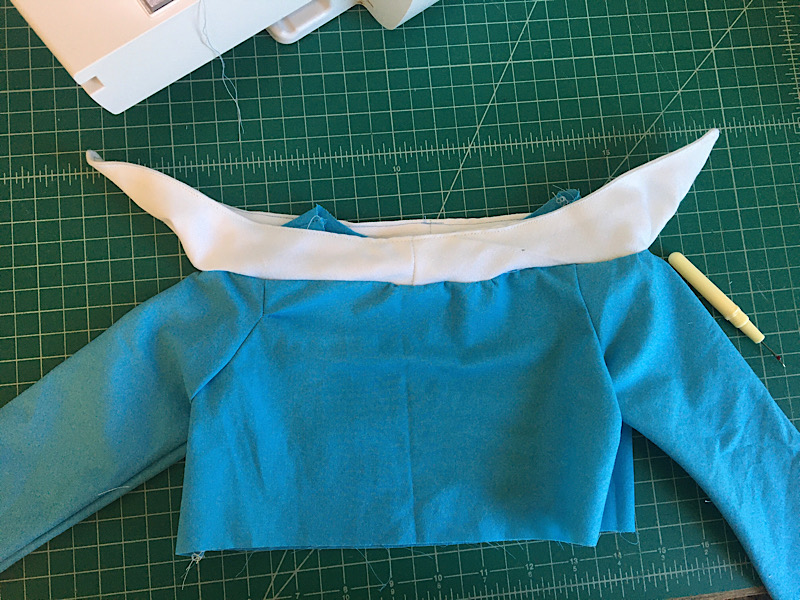
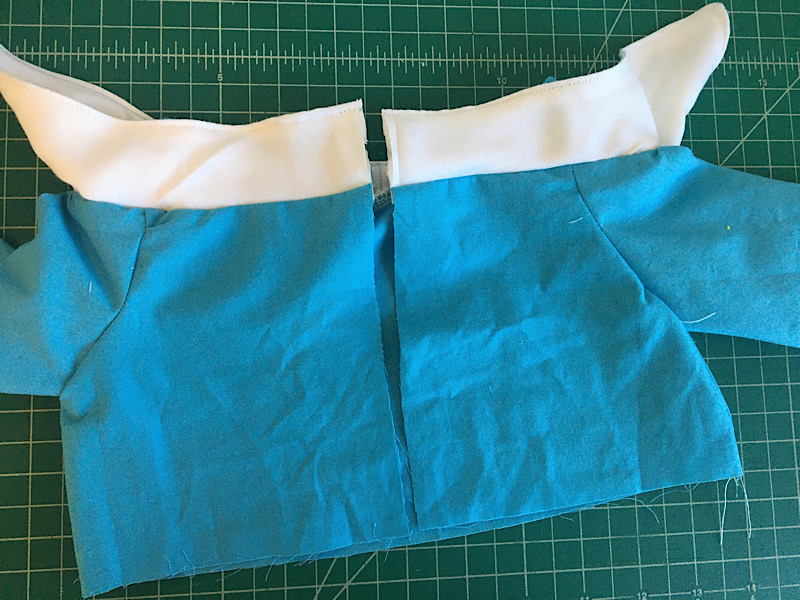
Now, when you fold the top piece back up, and fold the collar up, it should have all the raw edges hidden inside the dress and look like this:
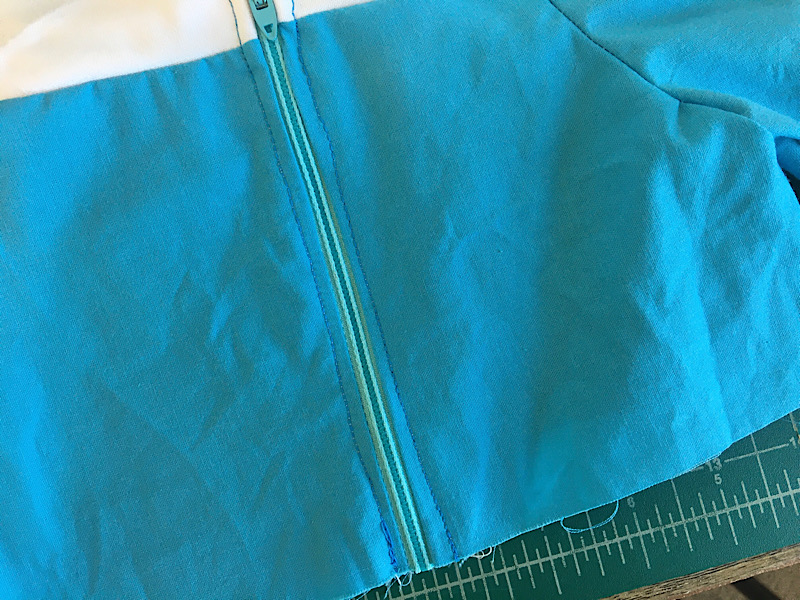
8. Sew in the Zipper
Carefully mark and cut the center back of the bodice, and sew in the zipper.
9. Sew the Waist Belt & Skirt
To make the waist belt, lay one of the pointed belt pieces on top of the back strip piece, and sew the sides together. Repeat for the second set of belt pieces.
Then, with right sides together, place the two belt “loops” together, and pin them. Sew along the bottom pointed edge, then trim away the excess fabric and turn it right side out. Press it well then top stitch along the folded seam to help it keep it’s shape.
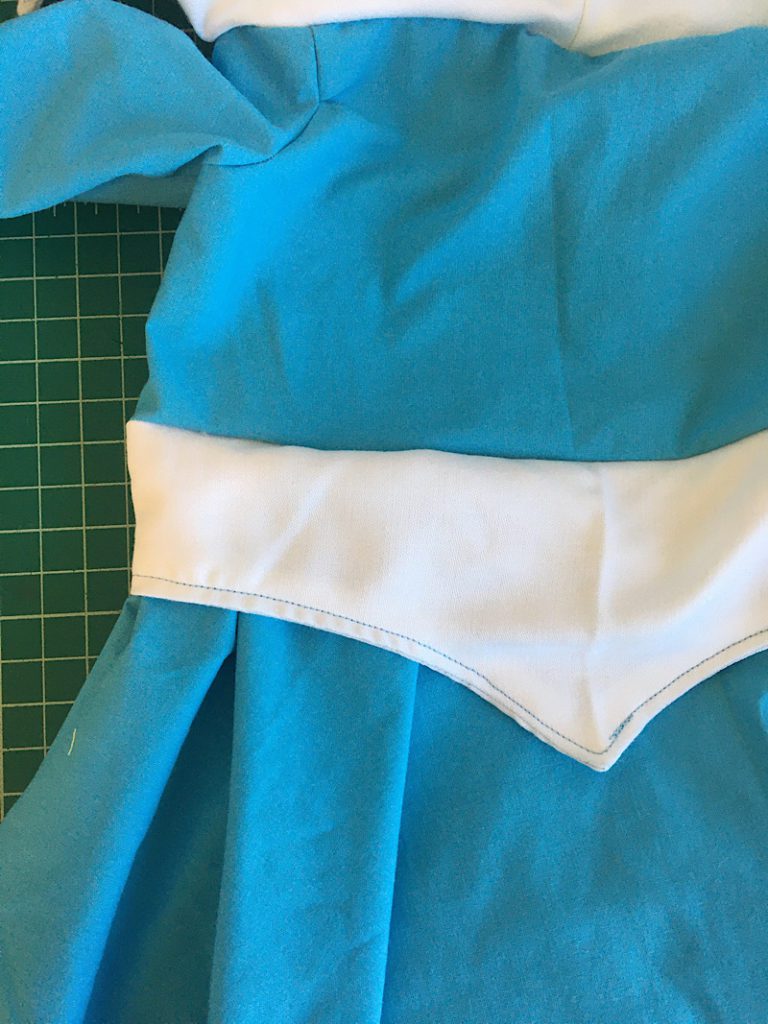
Place the belt around the bottom of the bodice with right sides together and the point facing up. Sew it to the bodice.
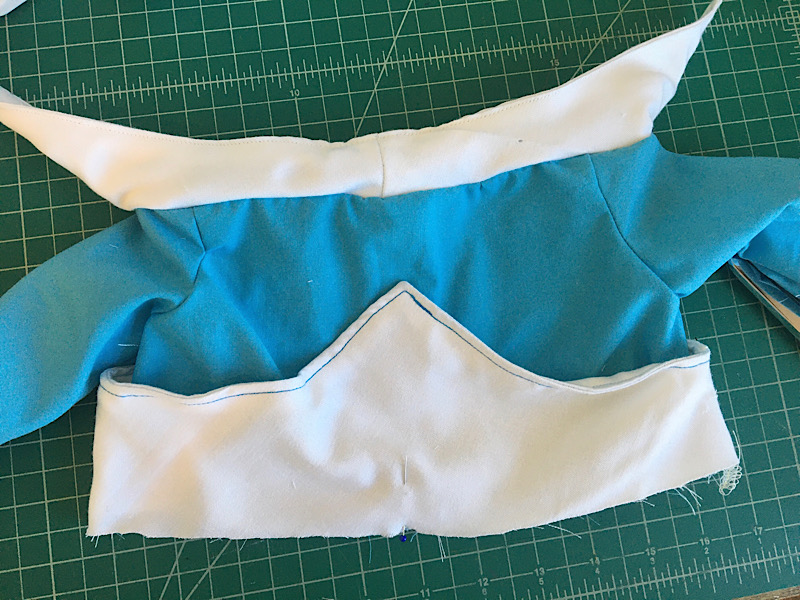
Then, with right sides together, place the skirt around the belt and bodice. Pin in place and sew it to the bodice. Serge or Zig Zag stitch the seam.
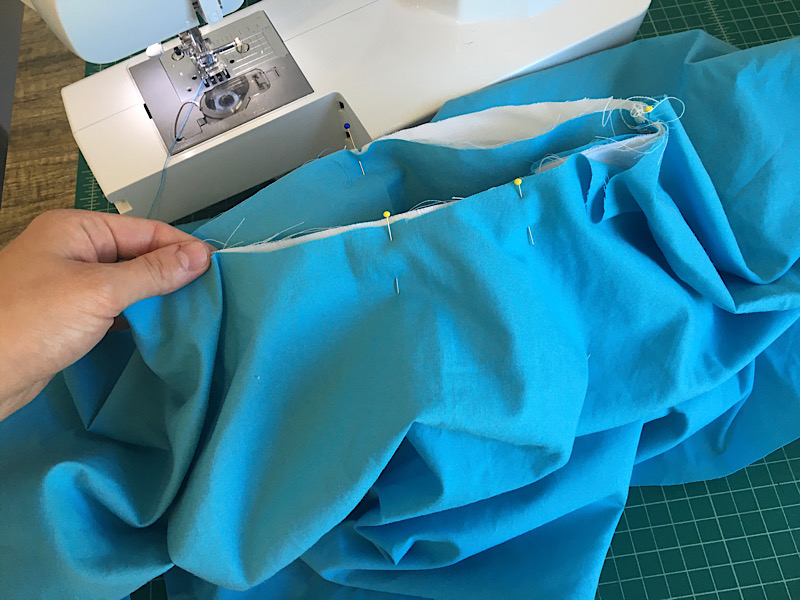
When you turn the skirt right side out and fold the belt down, it will look like this:
Hem the bottom of the skirt. I serged it and then folded it over and sewed it down. You can hem it however you like.
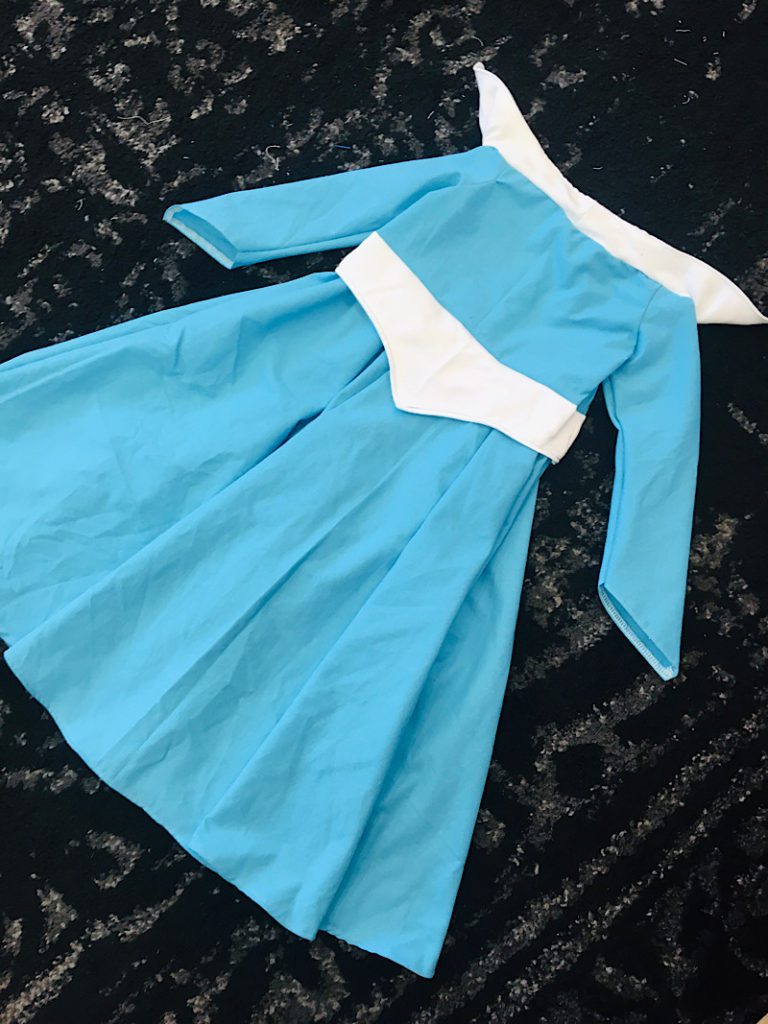
Your dress is complete!
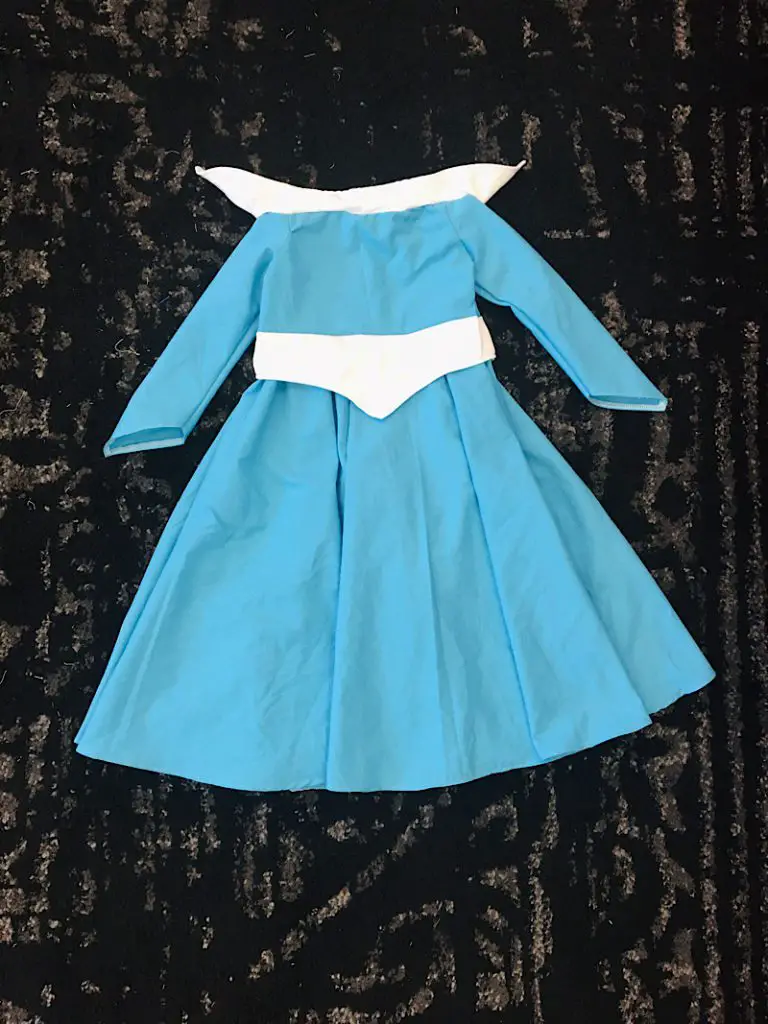
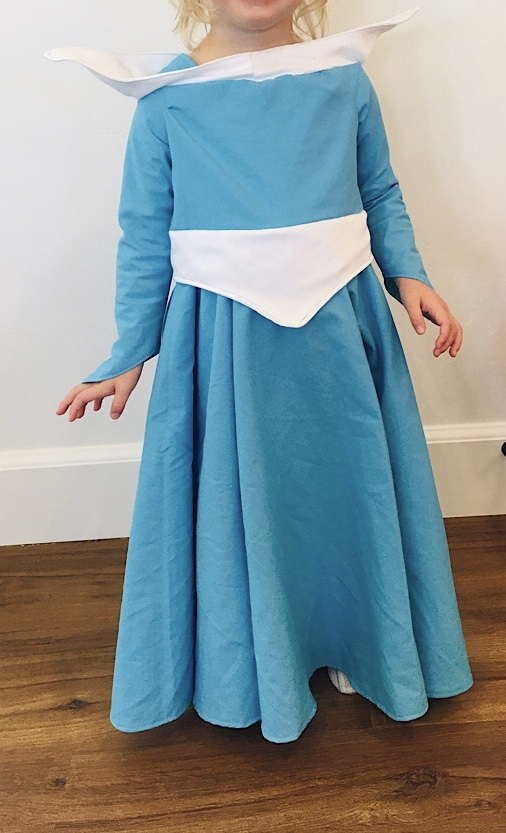
Here is the finished product:
It certainly is not perfect, but my two year old thinks it is. 😉 She wears it and sings and spins and thinks she is a princess.
For a free dress in a single afternoon, it’s good enough for me!
I hope this tutorial helped you visualize how you can make your own DIY Sleeping Beauty/Aurora dress. Which color would you pick? Pink or blue?