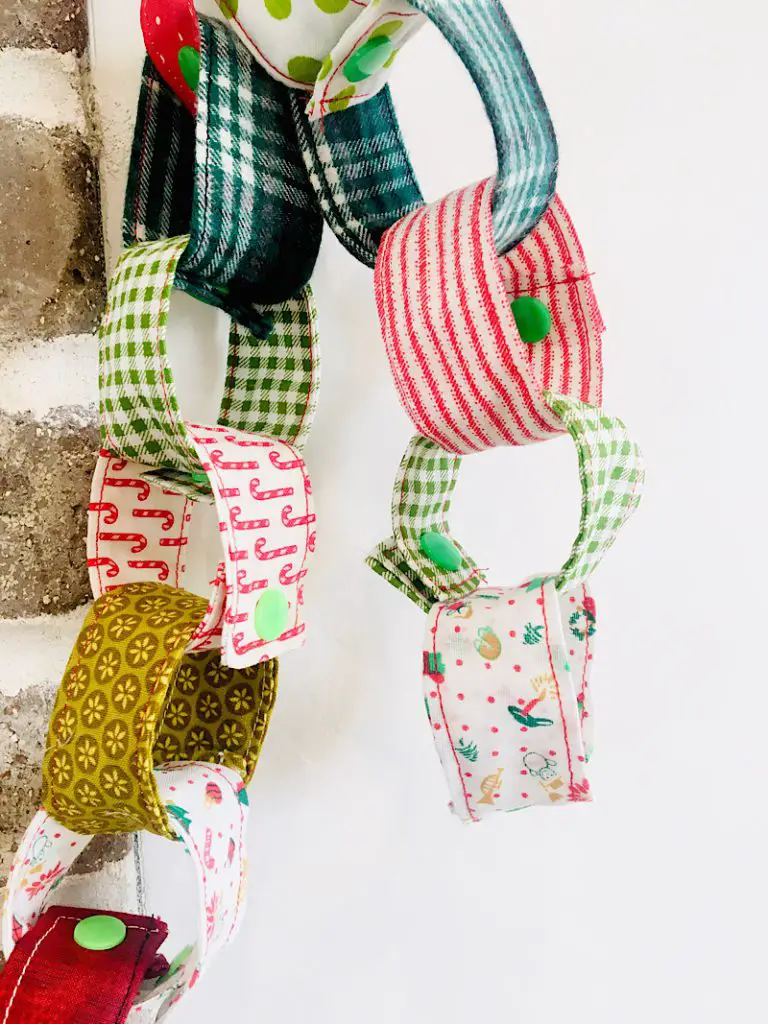
Did you ever make paper chains when you were growing up? I remember thinking it was so fun to rip off a piece of the chain each day to count down toward Christmas! I have re-imagined the paper chain into a super cute reusable version. Keep reading to learn how to make your own Christmas Countdown Fabric Chain!
This is a great sewing project for beginner sewists because it involves only straight cuts and straight stitches! But although this sewing pattern is very simple, the finished product is cute as can be.
Make sure to look at my other rustic and cute Christmas sewing tutorials!
- Modern Farmhouse Tree Skirt Tutorial
- Rustic Christmas Tree Bunting Free Pattern
- Rustic Mitten Christmas Ornaments
- Patriotic American Flag Christmas Stocking
This post may contain affiliate links. Read the full disclosure here.
Fabric Countdown Chain Ideas:
You can customize this Christmas chain however you want, there are so many options. Here are a few ideas I came up with to make the chain your own:
- Use traditional Christmas colors (Red/Green/White, or blue/silver/gold etc.)
- Use fabric in non traditional Christmas colors for a bold decoration! (Pink,teal and gold Christmas?!)
- Attach each chain link with plastic snaps (This is what I did this time!)
- Attach the chain links with buttons or velcro instead! (Velcro would be great for little kids)
- Use up your fabric scraps or buy new fabric
- Make the chain links double sided
- Find a Christmas Jelly roll to make the links with for pre-coordinated fabrics
Not only can you make the fabric countdown chain to suit, you can use it in lots of different ways. Hang it around the tree, on the banister, or over the mantle. Since it’s reusable, you can try something new each year!
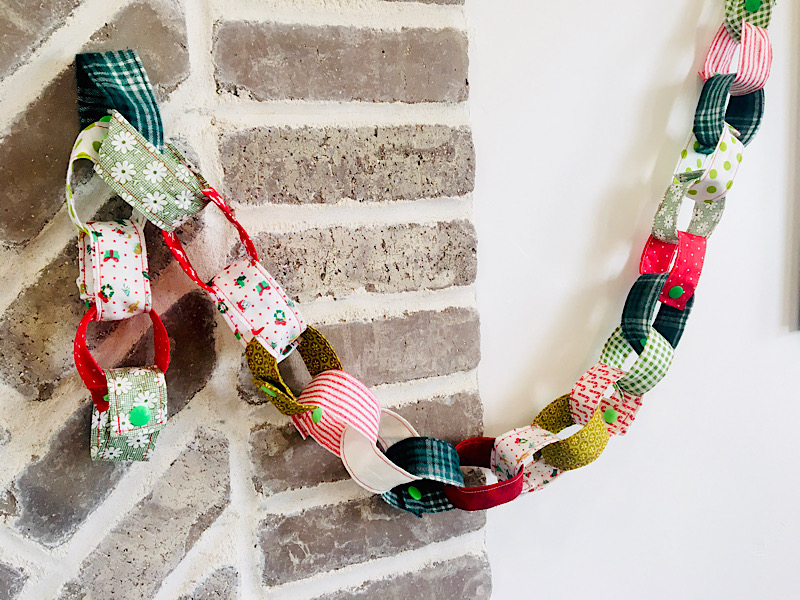

Your kids will love removing one link from the countdown chain each day before Christmas!
Supplies Needed
Equipment:
- Sewing Machine
- Scissors or a Rotary Cutter & Mat
- Sewing Ruler
- Iron and Ironing Board
- Fabric Turner (Bodkin) or large Safety Pin
Materials:
- 25 Strips of Christmas Colored Quilting Cotton 4″x10″. (You can use a Christmas Themed Jelly Roll! Read my fabric note below.)
- Matching Thread
- Plastic Snaps and Snap Applicator (if you choose to use plastic snaps. You could also use regular buttons and sew button holes for a more rustic look, or use sew-on hook and loop/velcro)
Fabric Note
** I used scraps I already had to make this project. Each of the 25 strips of fabric needs to be 4″x10″ large. If you choose to purchase new fabric, I recommend purchasing 1/8th a yard (NOT a fat 8th. Just a 4 1/2 inch strip) of 7 different Christmas Fabrics, at least 44 inches wide. This will be enough to get you 4 strips from each piece of fabric (and you will have some left over).
If you would like to use a jelly roll, you totally can! However, since jelly roll strips are typically only 2.5 inches wide, you will need to sew two of them together to make a 4 inch wide strip. This option could be very fun if you choose to use two different fabrics and make the chains double sided!**
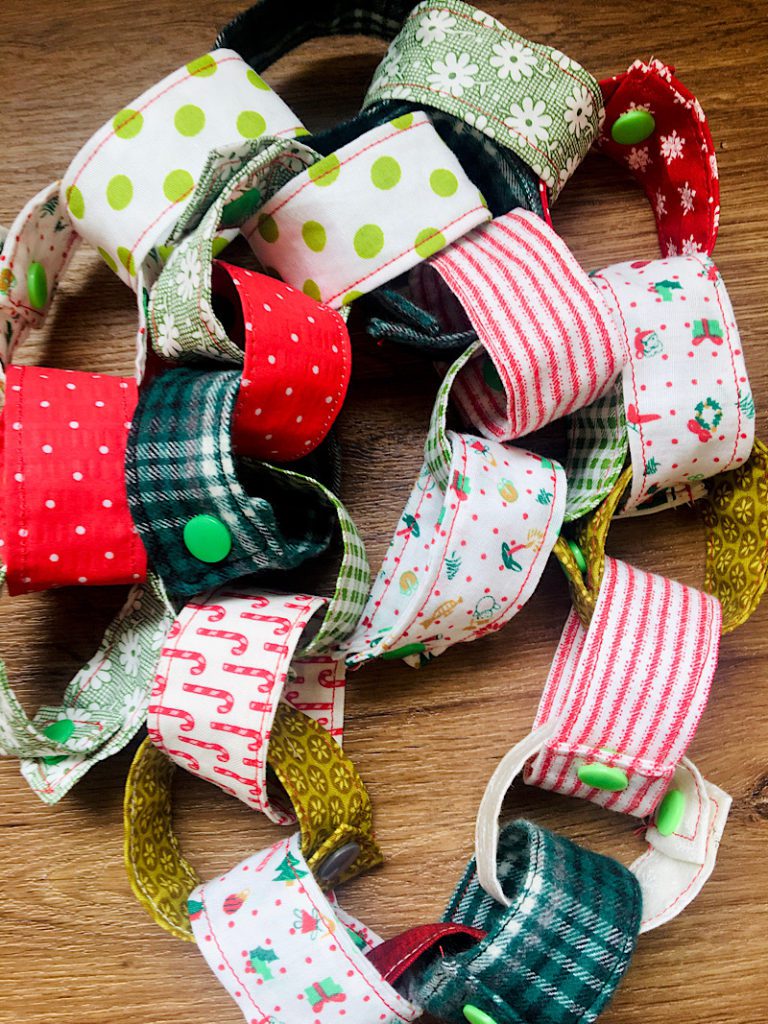

How To Make A Fabric Christmas Countdown Chain
1. Cut the Fabric
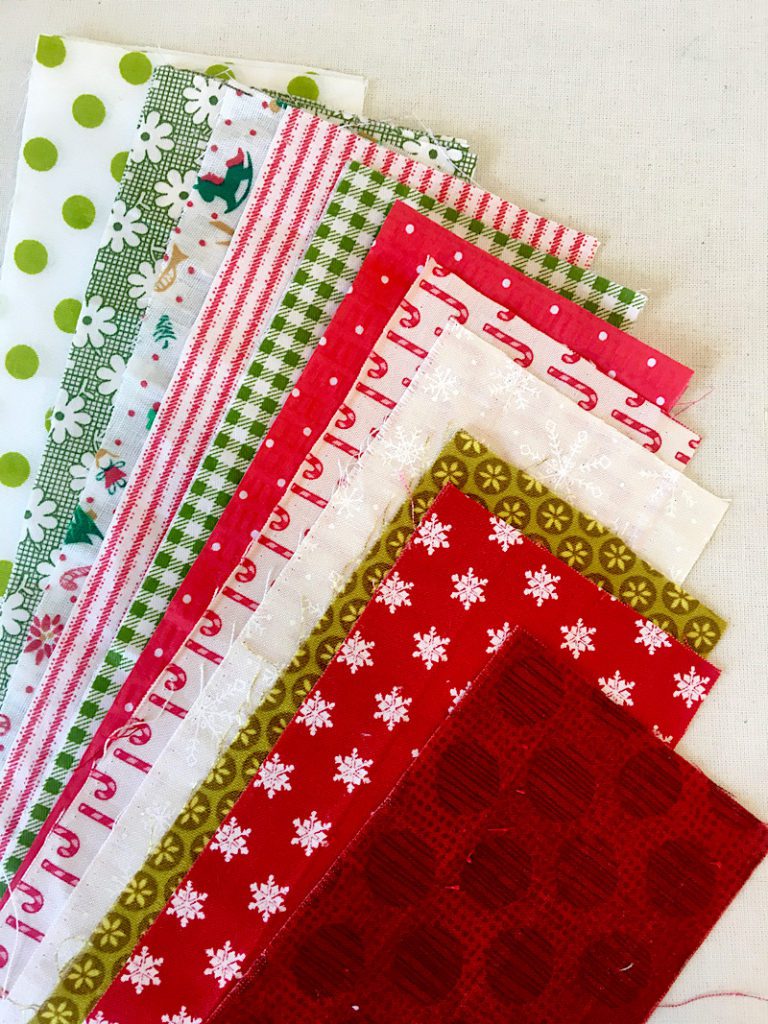
Using a rotary cutter, cut your fabric into 25 strips 4″x10″ in size.

2. Fold and Sew the Fabric Strips
You may use pins for this step if you wish, I simply folded and held the folds in place with my fingers while sewing them down.
Fold the short ends of each fabric strip down 1/2 inch towards the wrong side. Then fold the strip in half lengthwise.
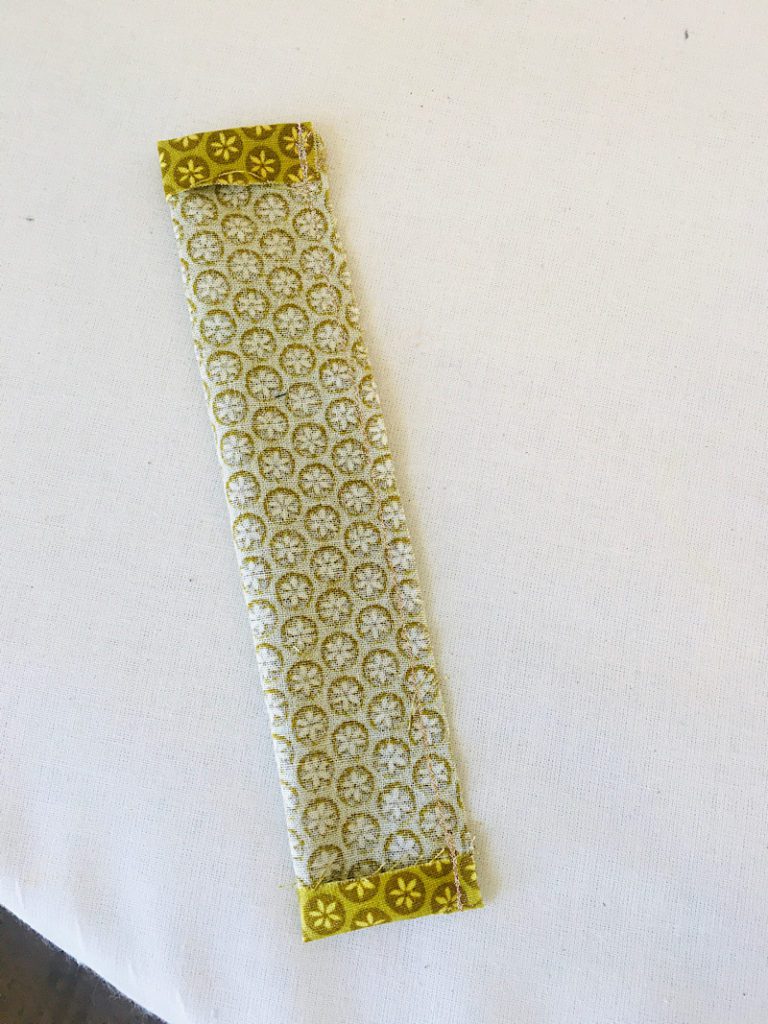

Sew down the raw edge with a 1/2 inch seam allowance. Backstitch at the beginning and end.
Repeat with all 25 fabric strips.
3. Press and Topstitch the Fabric
Using a bodkin or large safety pin, turn each fabric strip right side out. Make sure the short ends that you folded down previously stay folded inside the strips once they have been turned.
Carefully press the strip flat with an iron. The strips should now be 1.5″x9″ in size.
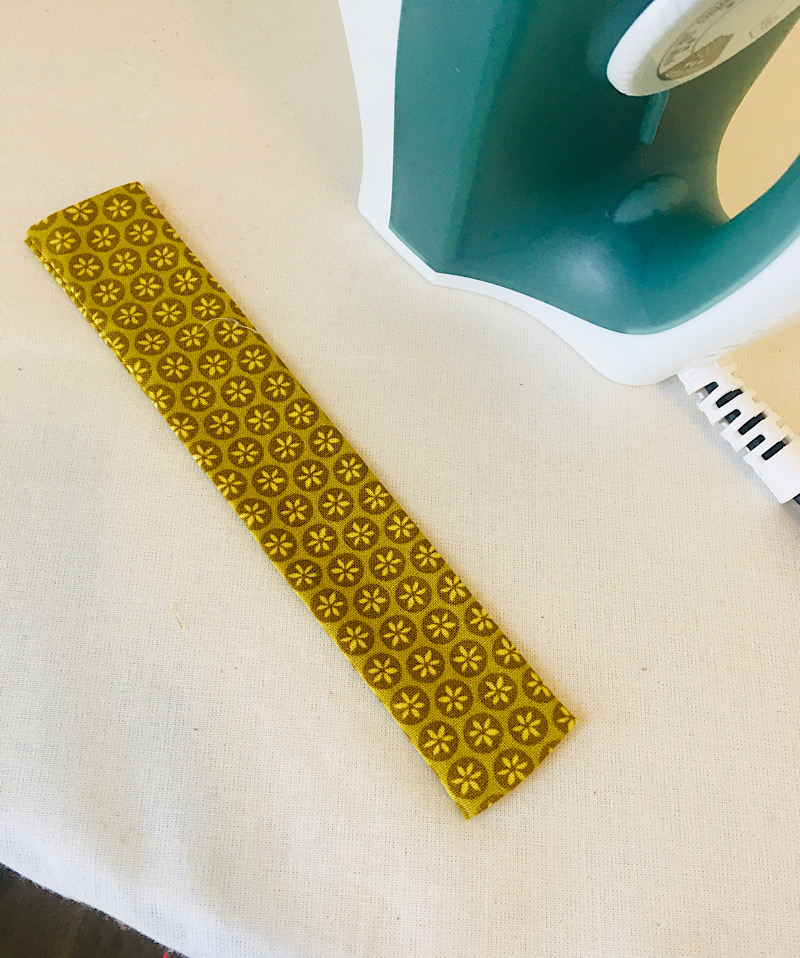

Repeat with all 25 strips.
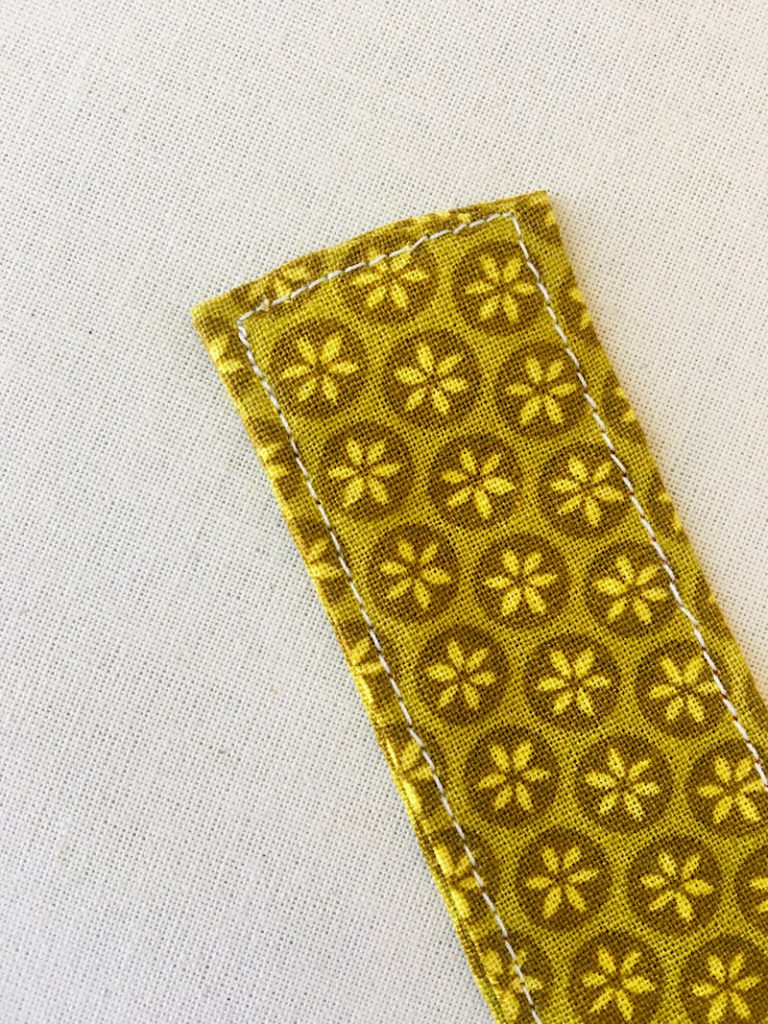
Once you have pressed each strip, topstitch around the perimeter about 1/8th an inch away from the edge to help it keep it’s shape. Repeat with all the other strips!

4. Apply the Snaps
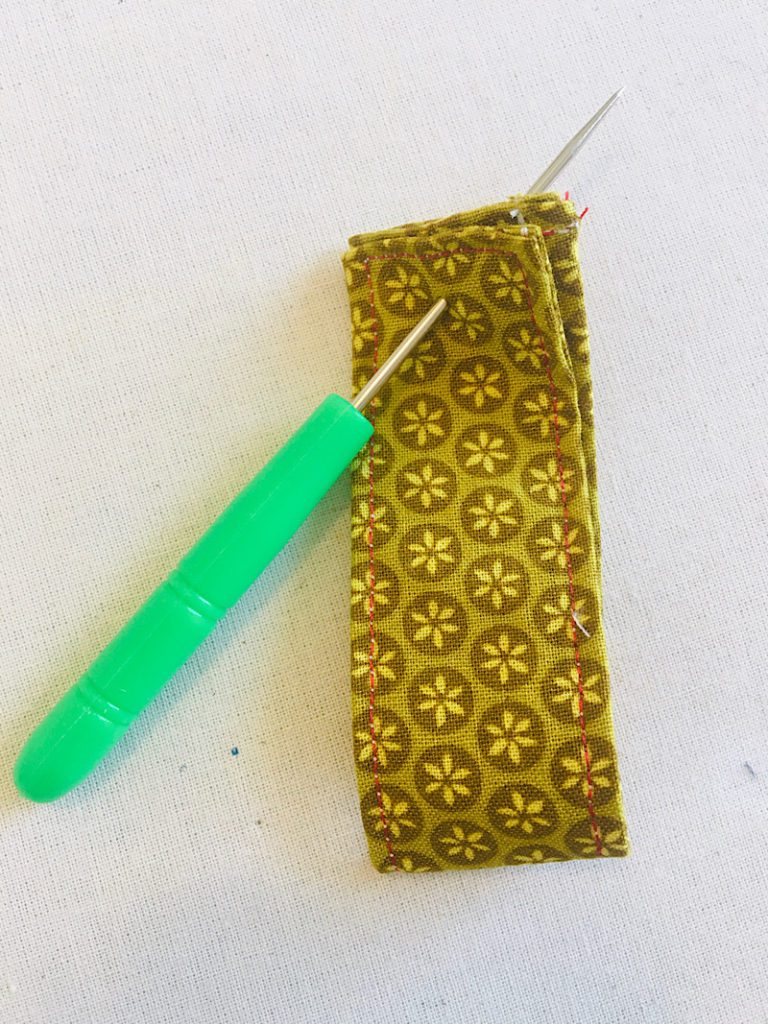
If you are applying snaps, use an awl (comes with most plastic snap kits) to poke a hole 1/2 inch away from the edge of both ends of the strip.

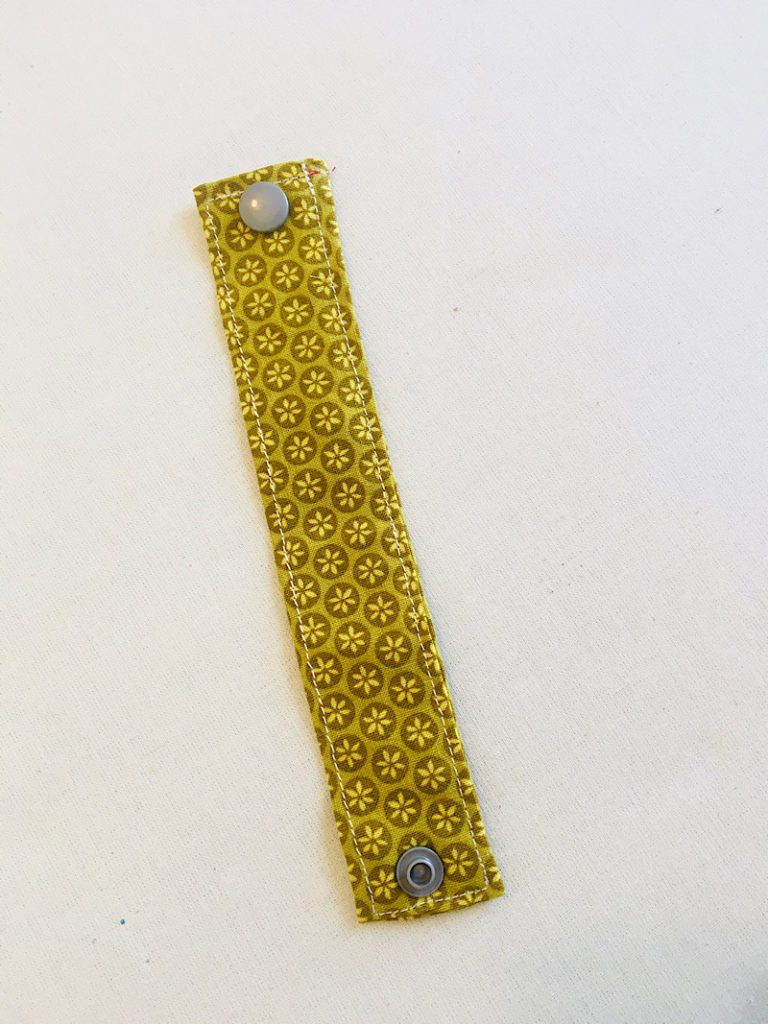
Then, apply the snaps so that when you snap them together, it makes a loop.

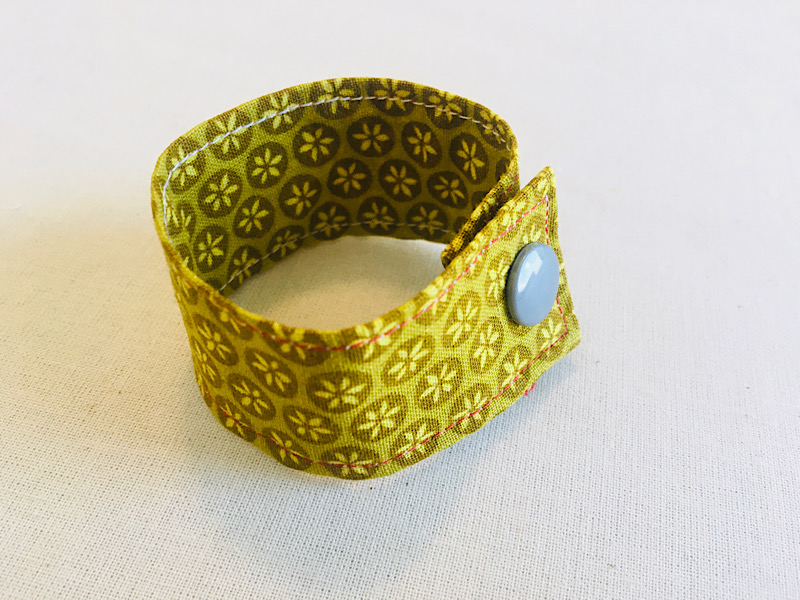

You can also just sew on a little square of sew-on velcro (hook & loop) instead of using snaps.
Or if you prefer to sew on buttons, first sew button holes on one side of each strip, then sew the buttons on the other side.
Repeat with all 25 strips.
5. Assemble the Countdown Chain
After each chain link has been created, you just need to link them together to make your chain! Then you are done.
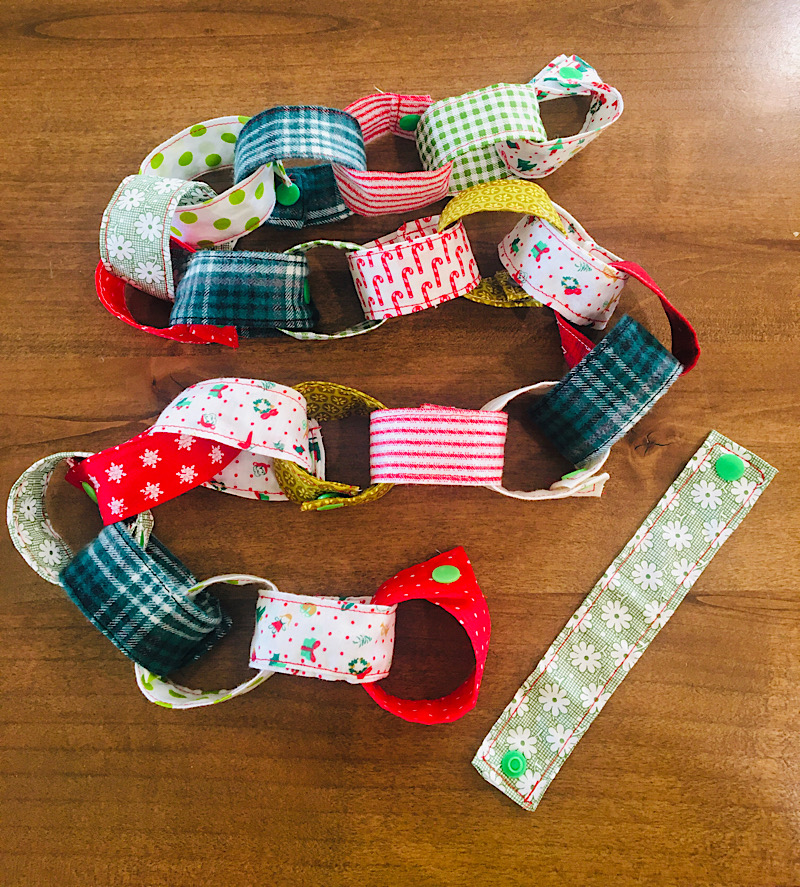

I love how the countdown chain turned out. I am so excited to use it this Christmas or maybe even hang it on the tree! This is a fun resuable take on the paper chain on the Christmas tree trend.
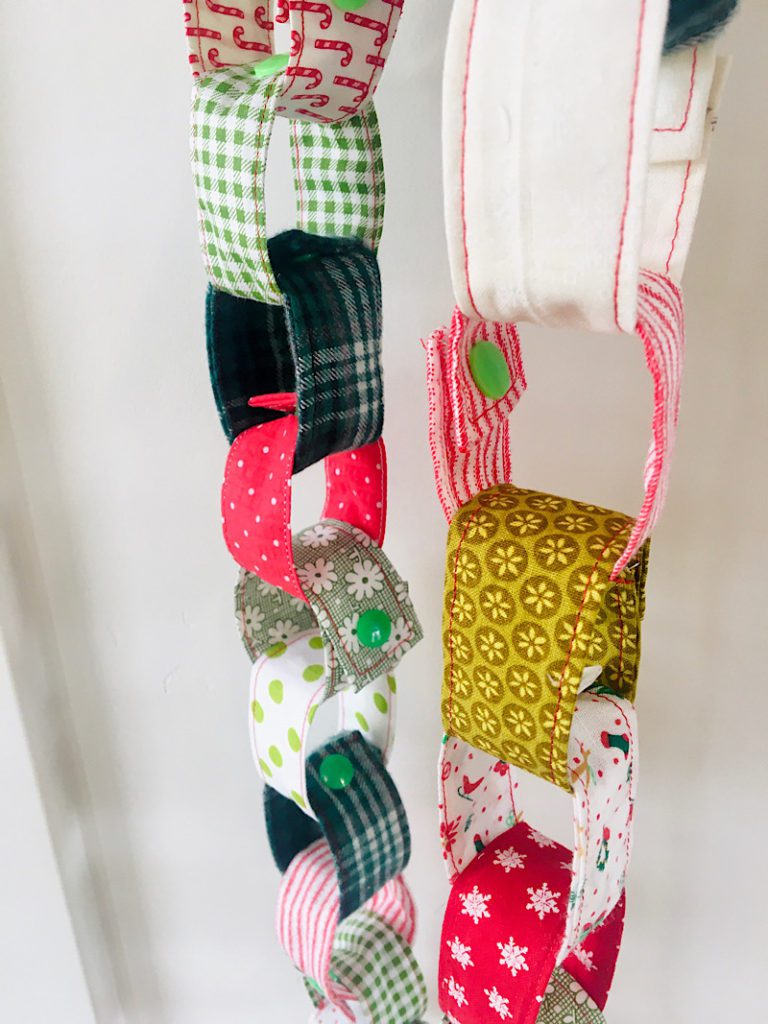

Of course, you can make a countdown chain for any event or holiday. Quilting cottons with little pumpkins or turkeys, or even a back to school chain could be fun!
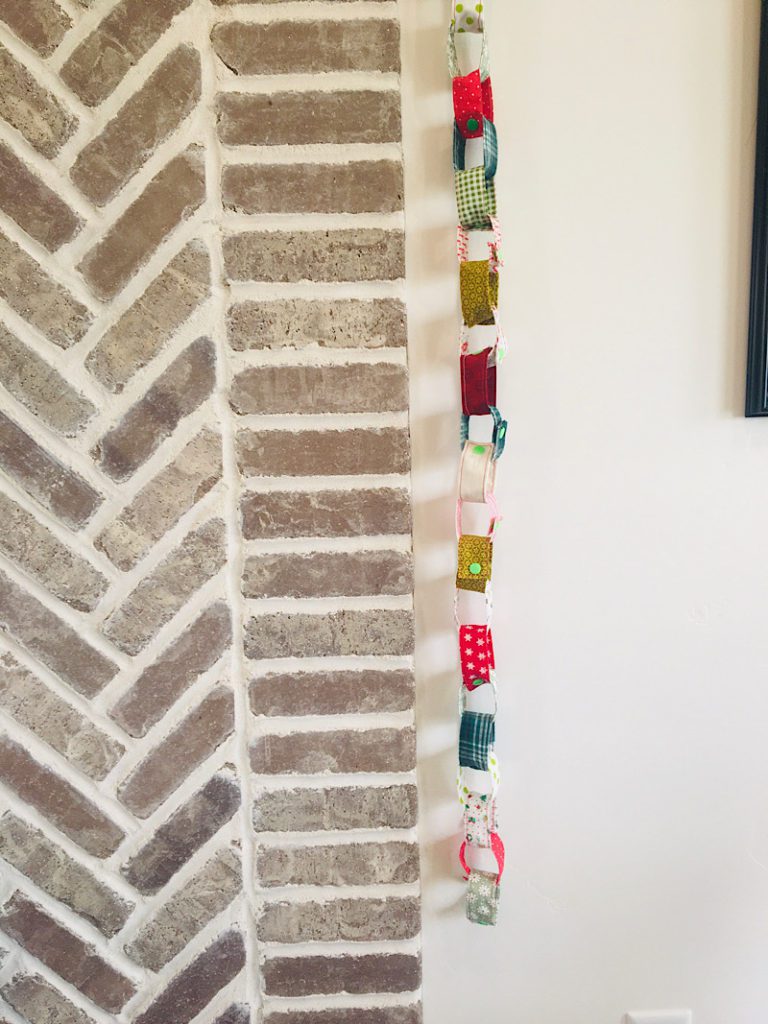

I hope you liked this project! If you have any questions, let me know in the comments below. Please remember to pin this post and sign up for emails to stay connected!
And be sure to check out my post full of free and cheap Christmas Gift Sewing Patterns for ideas this year!


