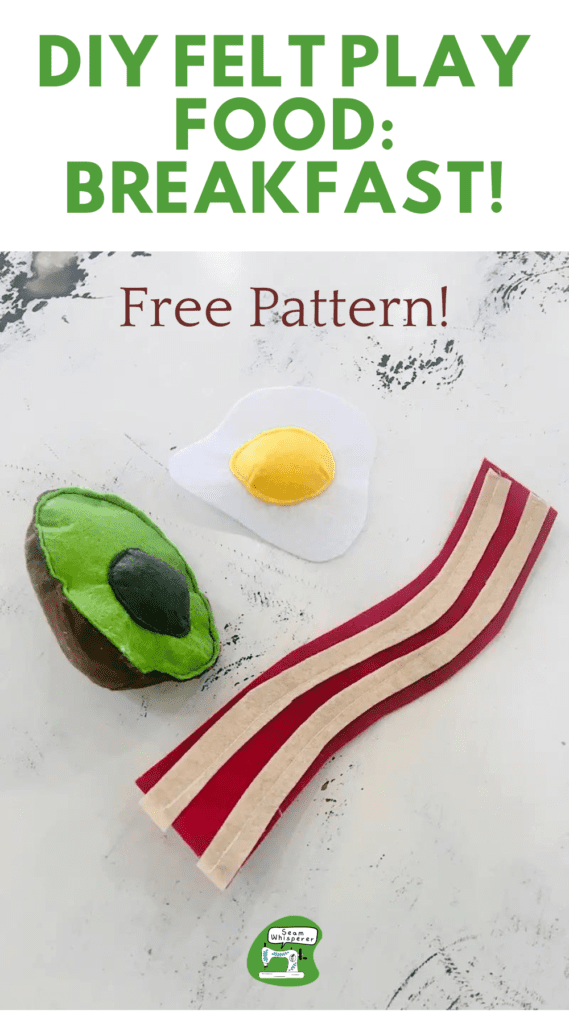
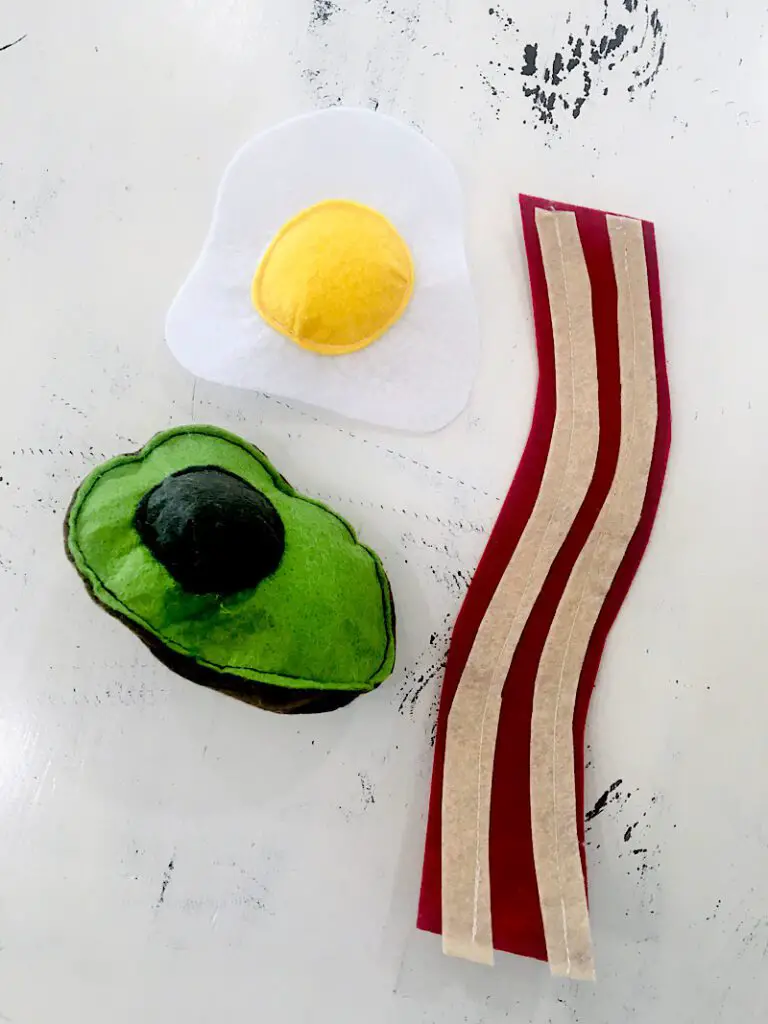
My kids love to play “kitchen” and these felt breakfast foods were just the thing, so easy to “cook up”!
Check out my other play food tutorials:
Supplies Needed
- Several sheets of colored felt (A set like this is a great option) (white, yellow, tan, maroon, brown, black, and green)
- Sewing Pins
- Batting, or something else to stuff the felt with.
- Matching Thread (lots of color options here)
- Sewing Machine, Fabric Scissors, etc.
- The free pattern (which you can download below)
Download The Free Pattern
This free pattern is a two page PDF. You can download it by signing up for my email list below.
Print it at 100% scale and cut it out on the black lines to use as a pattern for the felt pieces!
How To Sew Felt Bacon
Step 1. Cut Out The Bacon Pieces
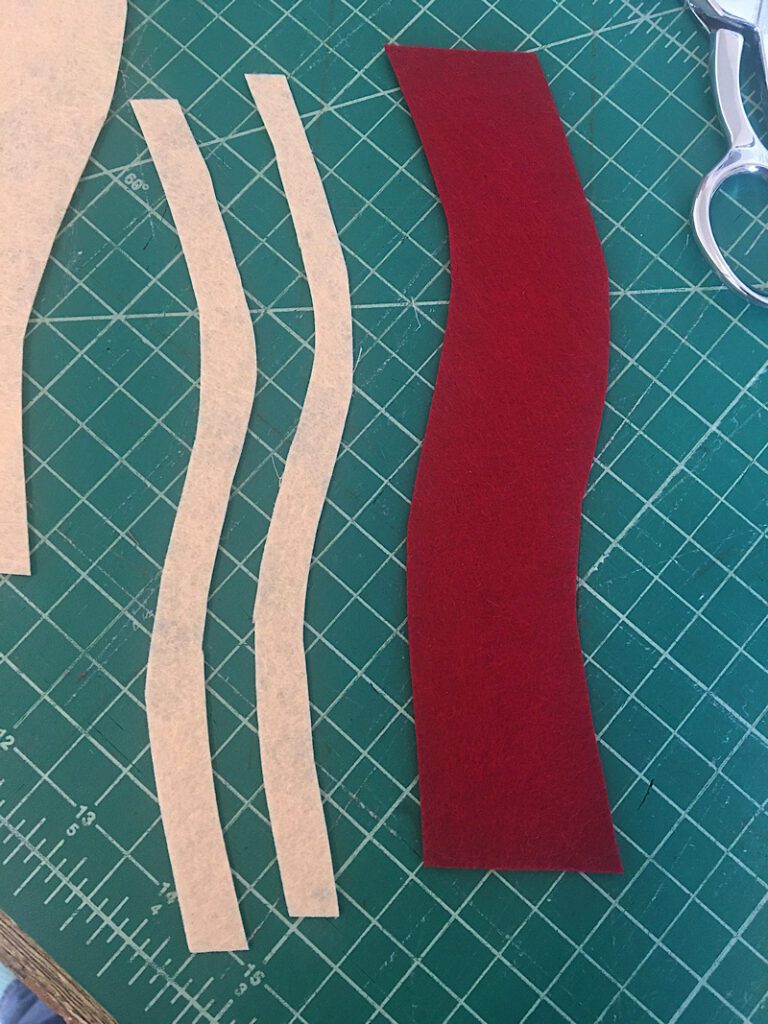
The bacon has two pattern pieces. The large piece should be cut out in red or maroon. The small strip is the bacon “fat”, and you should cut two in a tan color.
Step 2. Sew The Fat To The Bacon
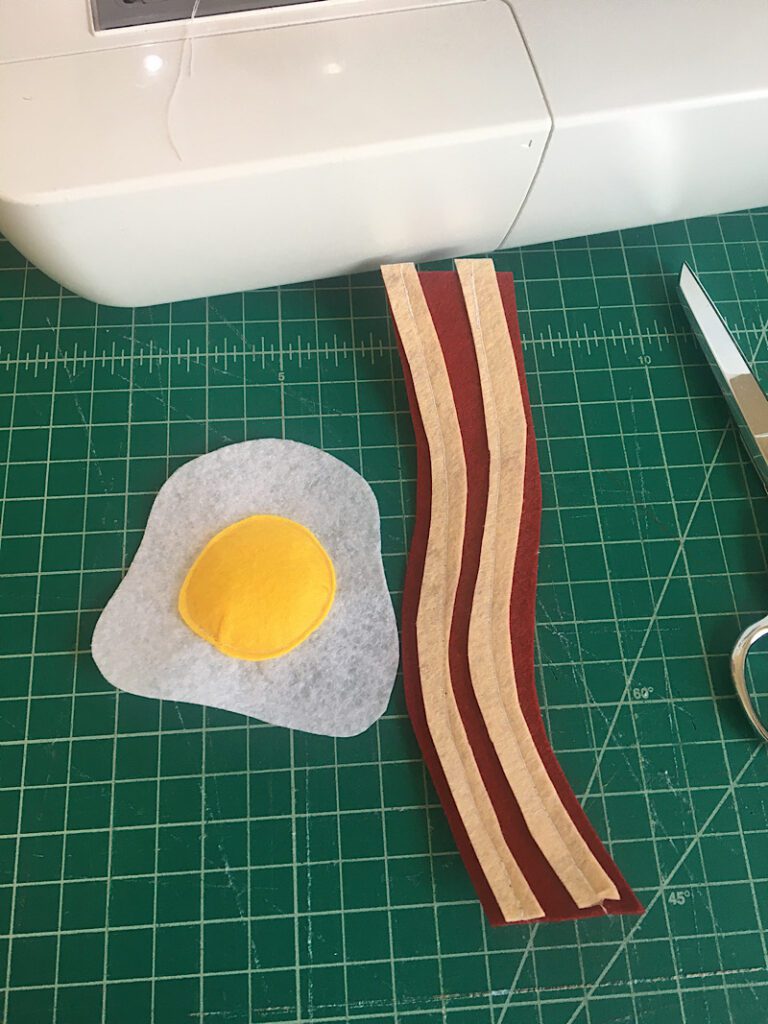
Lay the two “fat” pieces on top of the bacon strip, on both sides. This should make a striped pattern on the bacon. Pin them in place.
Then, sew a single line through the middle of each piece of “fat” to attach it to the bacon.
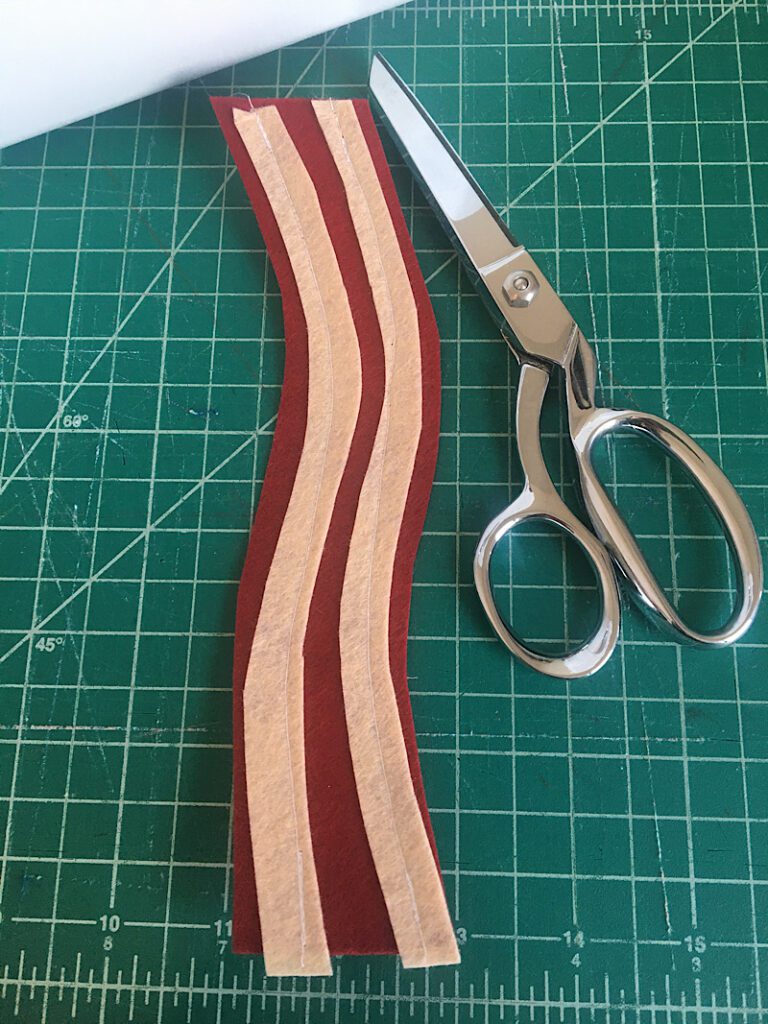
And you’re done! The bacon is the quickest and easiest!
How To Sew A Felt Fried Egg
Step 1. Cut Out The Egg Pattern
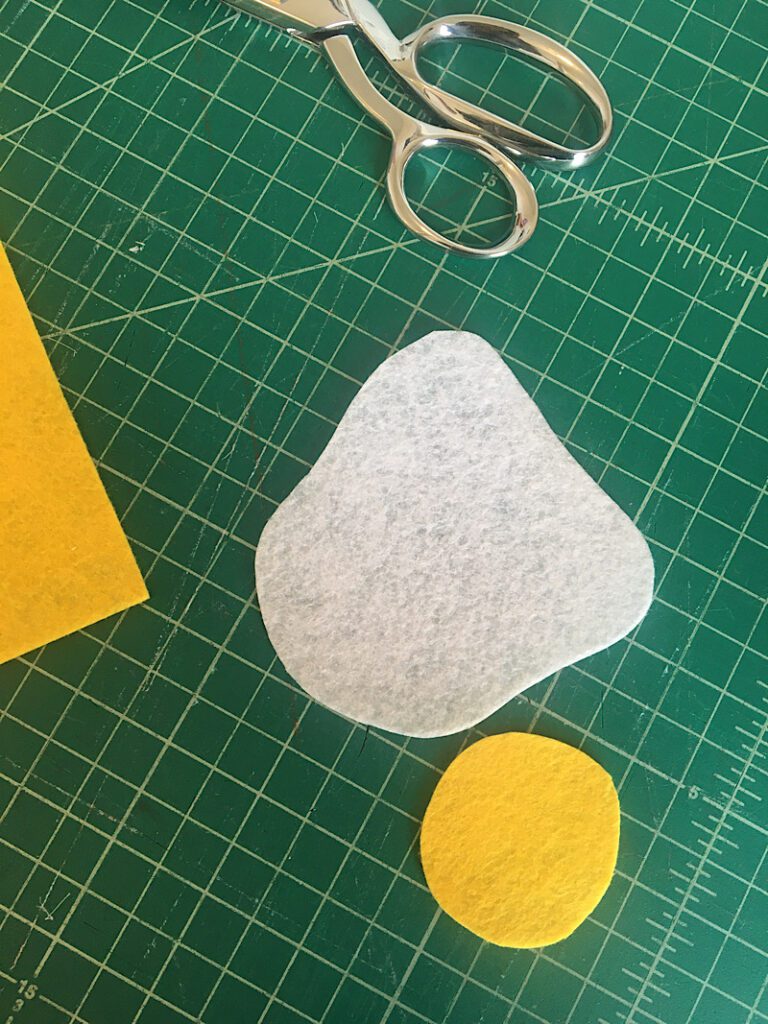
The egg has two pieces, the egg white and the yellow egg yolk. (Or for those of you who raise your own chickens will understand, you can use orange for the yolk!)
Step 2. Stuff The Yolk
Grab a piece of batting and roll it into a ball about the size of the egg yolk.
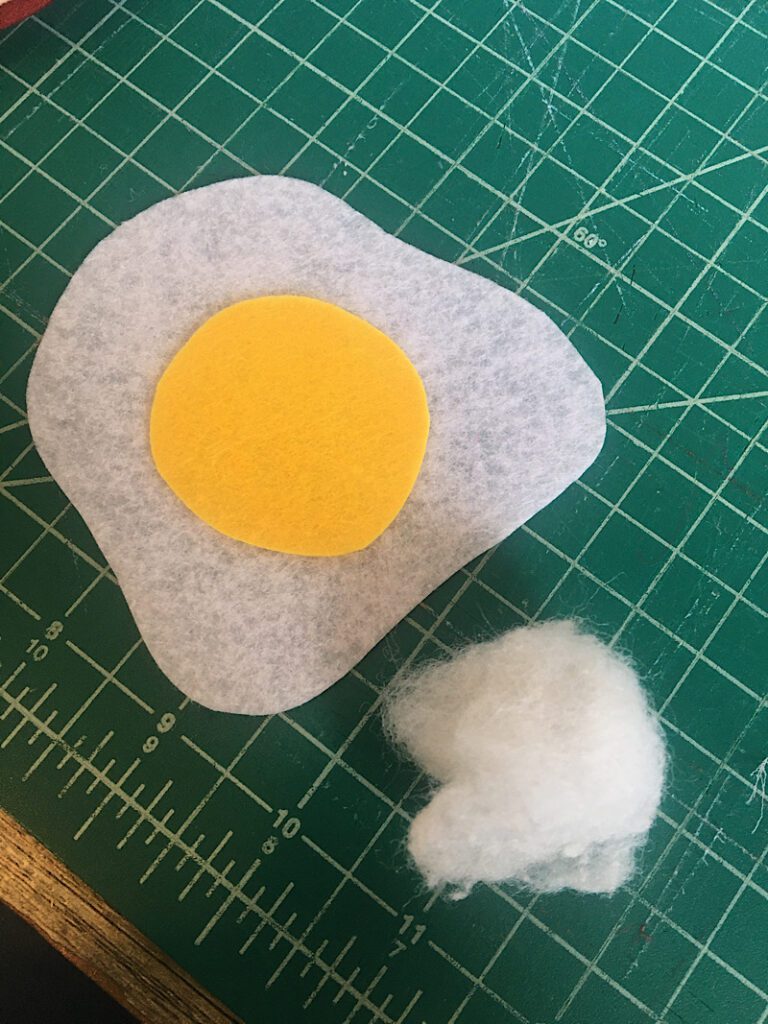
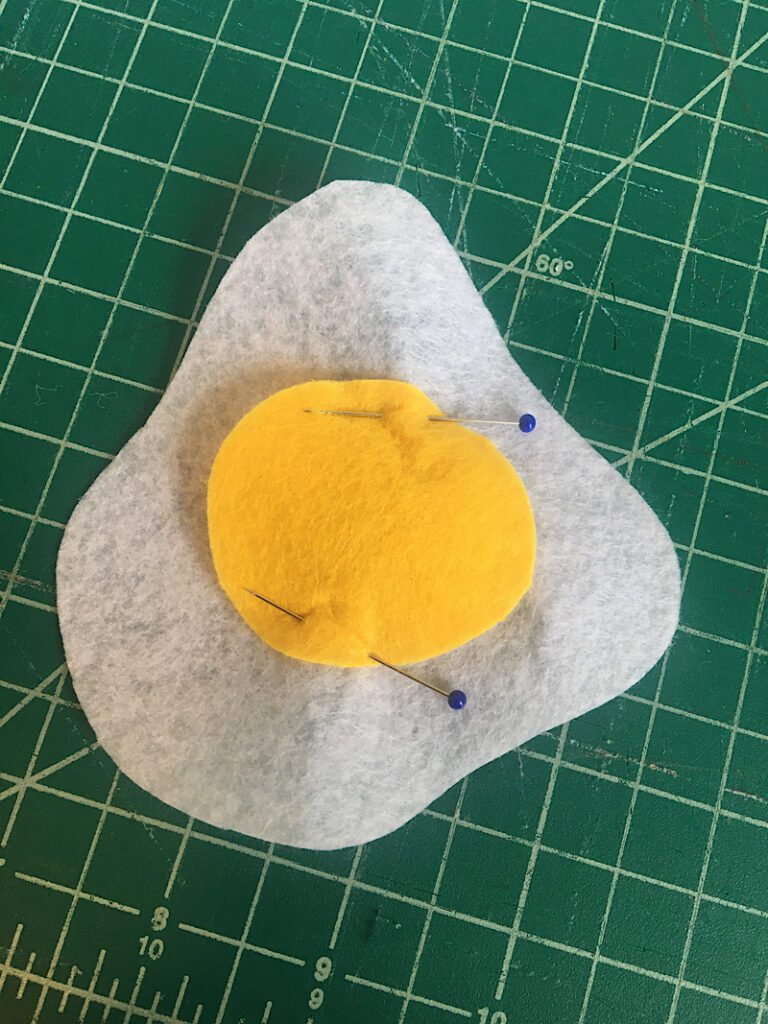
Place the batting under the yolk and pin the yolk to the egg white. It won’t lay flat of course, but it should at least be held in place!
Step 3. Sew The Yolk to The Egg White
Sew around the perimeter of the egg yolk, pushing the batting in as you go to make sure it is all stuffed inside.
It is okay if the yolk circle has to fold a bit to give it that rounded shape over the batting.
Then you’re done with the egg!
How To Sew A Felt Avocado
Step 1. Cut Out The Avocado Pieces
The avocado has the most pieces, but it is still super easy and made in a similar way to the fried egg.
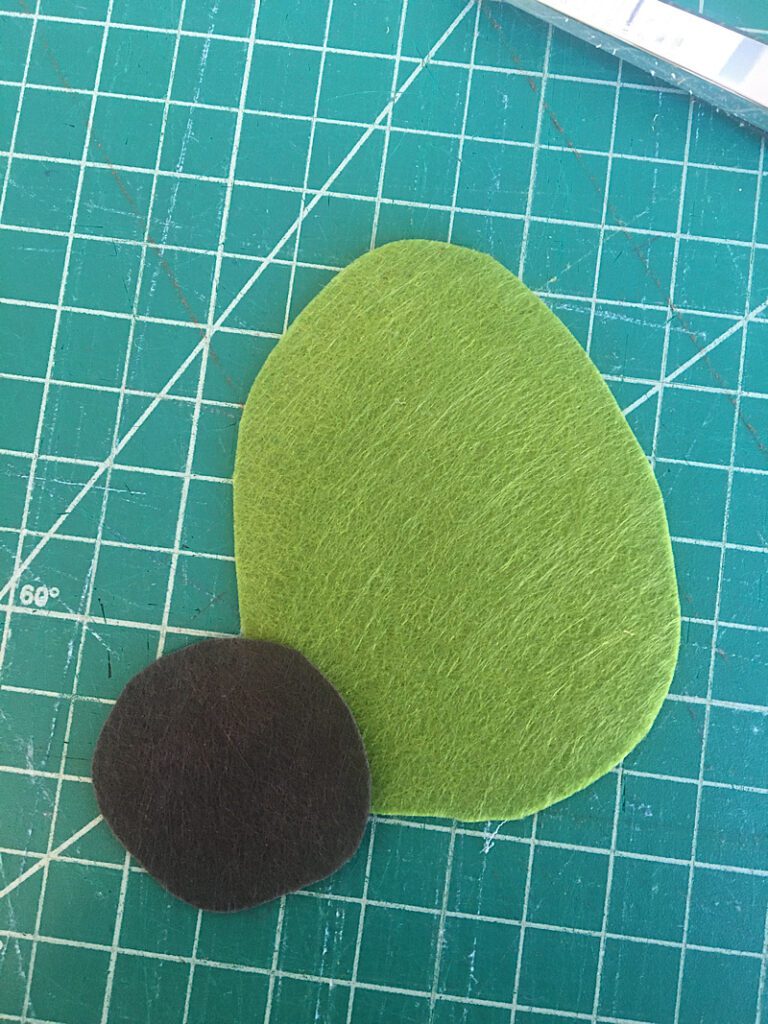
I cut out the pit with gray/black, the flesh with green, and the skin with brown.
Step 2. Stuff & Sew The Avocado Pit
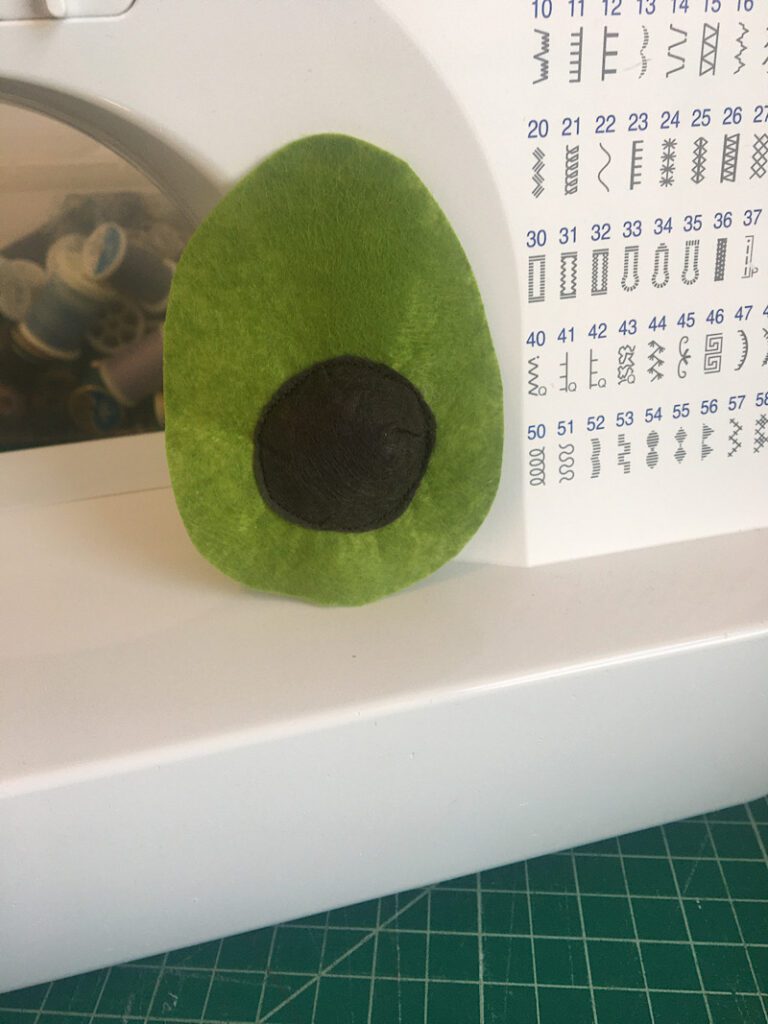
First start out by sewing the pit to the avocado flesh the exact same way you did the egg yolk.
Take a piece of batting the same size as the pit, and place it under the pit on the avocado. Pin it in place, then sew around the edges of the pit, pushing the batting inside as you go.
Step 3. Sew The Avocado Skin
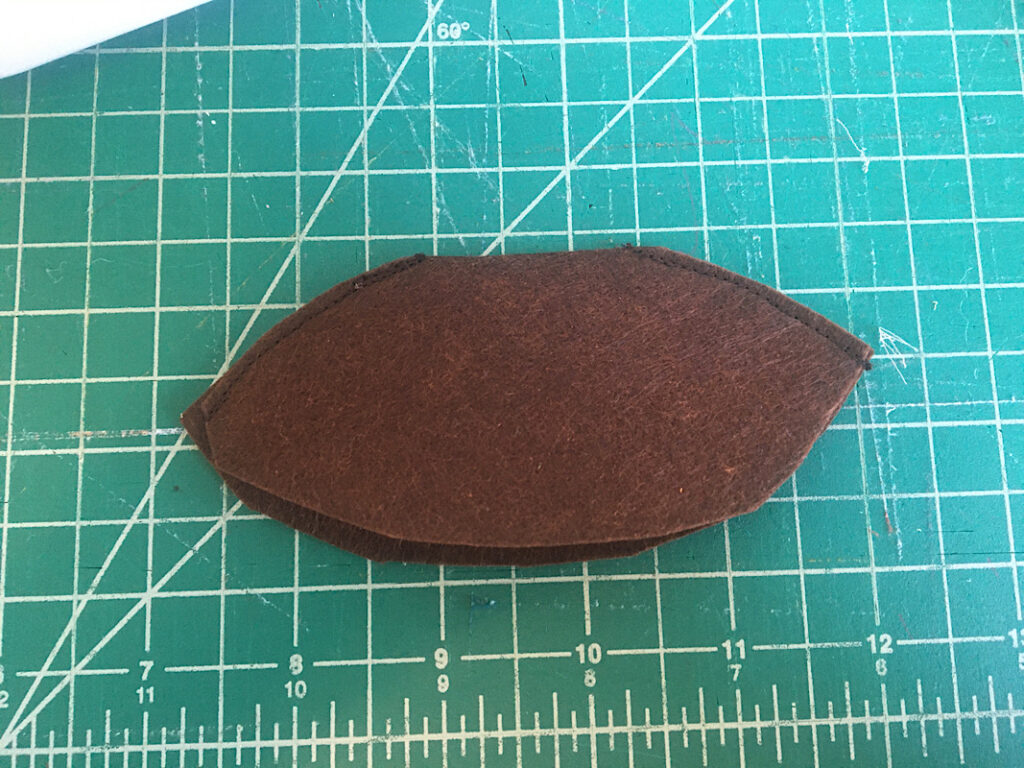
To sew the skin, stack the two skin/peel pieces on top of each other, and pin them in place. Then, sew along the curve that is labeled “Back Midline”.
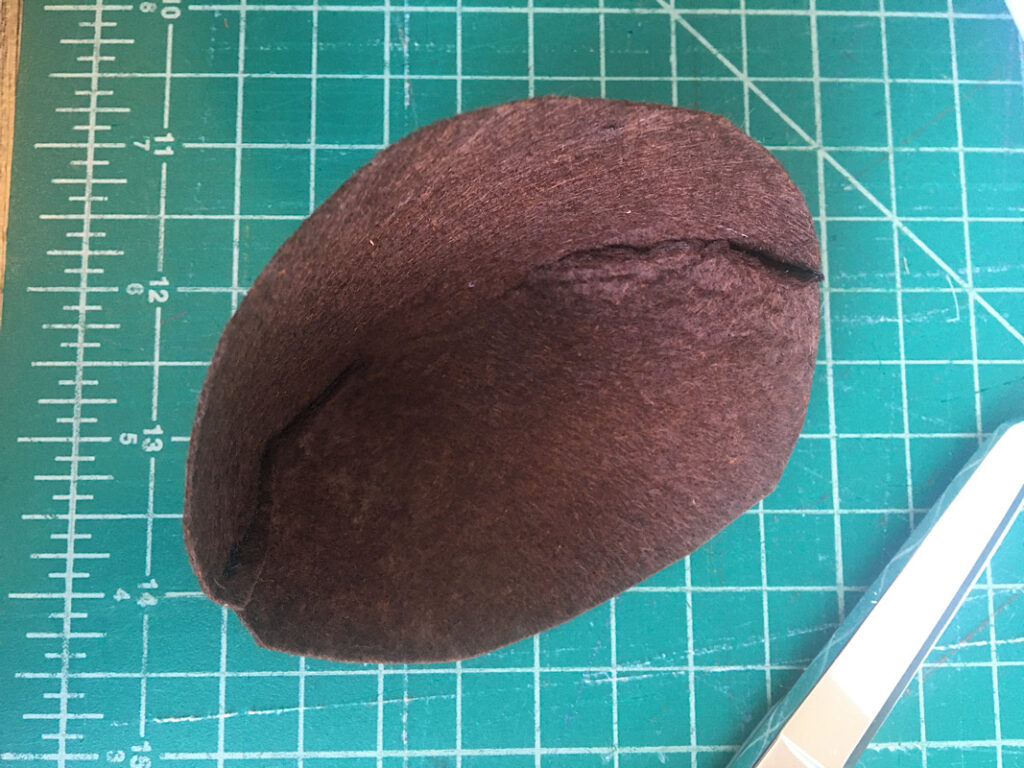
Open up the avocado skin and push it into a bowl shape with the sewn side of the seam on the inside.
Step 4. Stuff & Sew The Avocado
Grab some more batting, and stuff the avocado skin well.
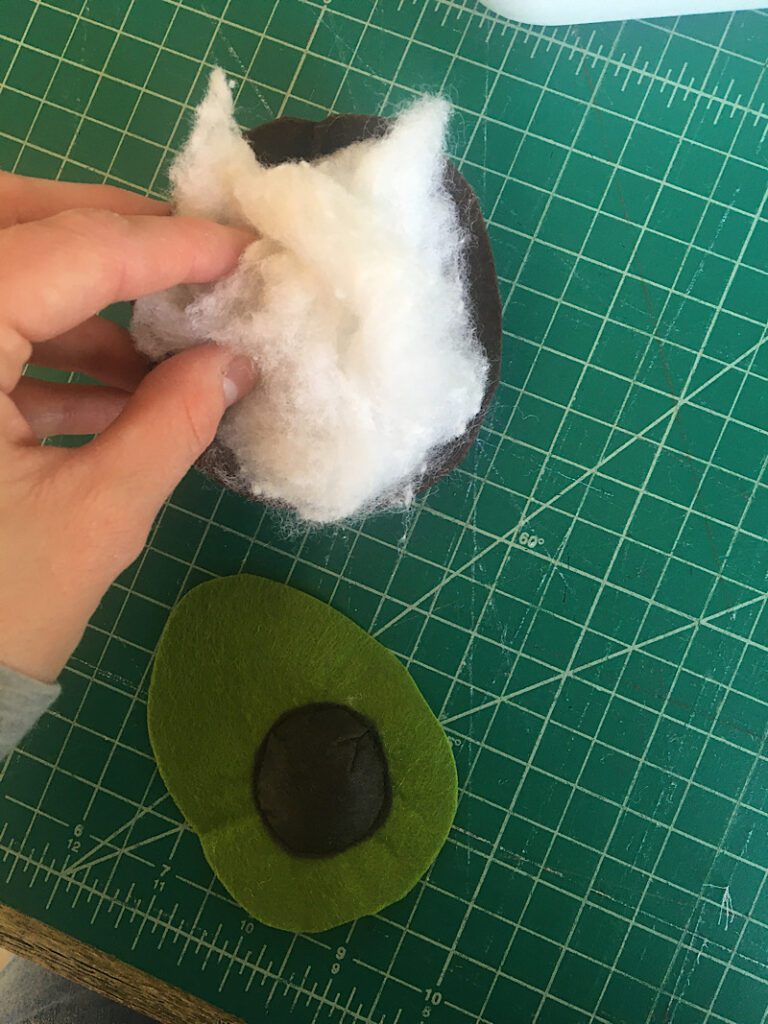
Place the avocado flesh and pit right on top of the batting, and pin it to the skin all the way around.
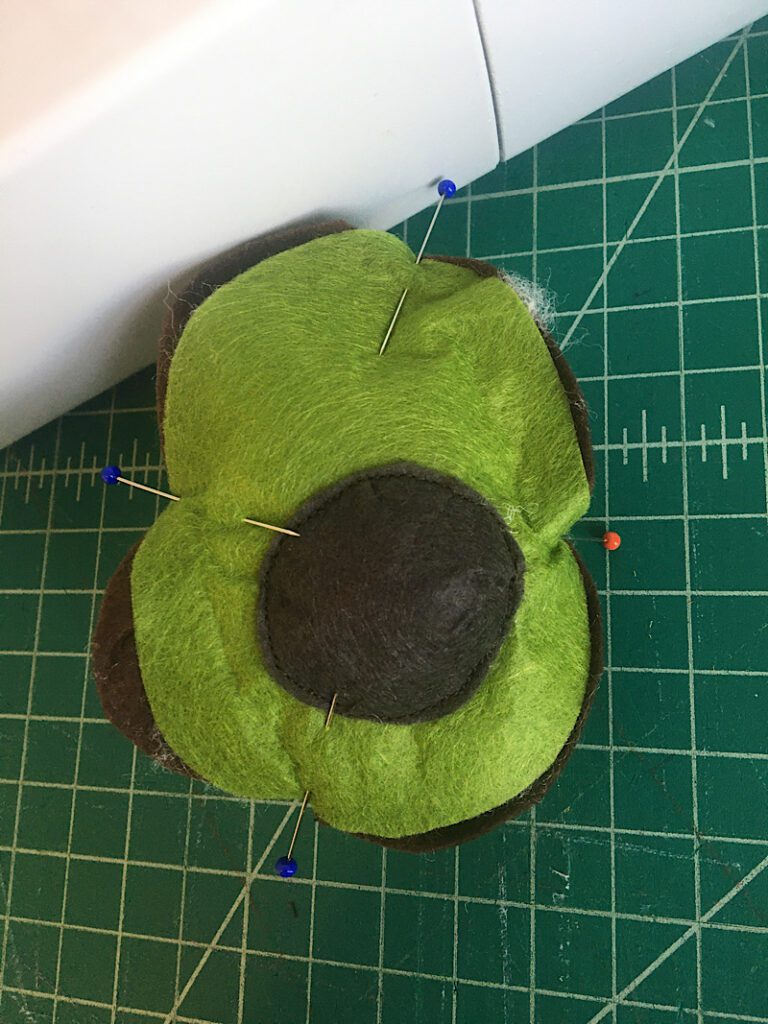
Then, sew around the perimeter of the avocado. You will have to frequently readjust and straighten it out, and sew around the curves. It is a little tricky, so go slow!
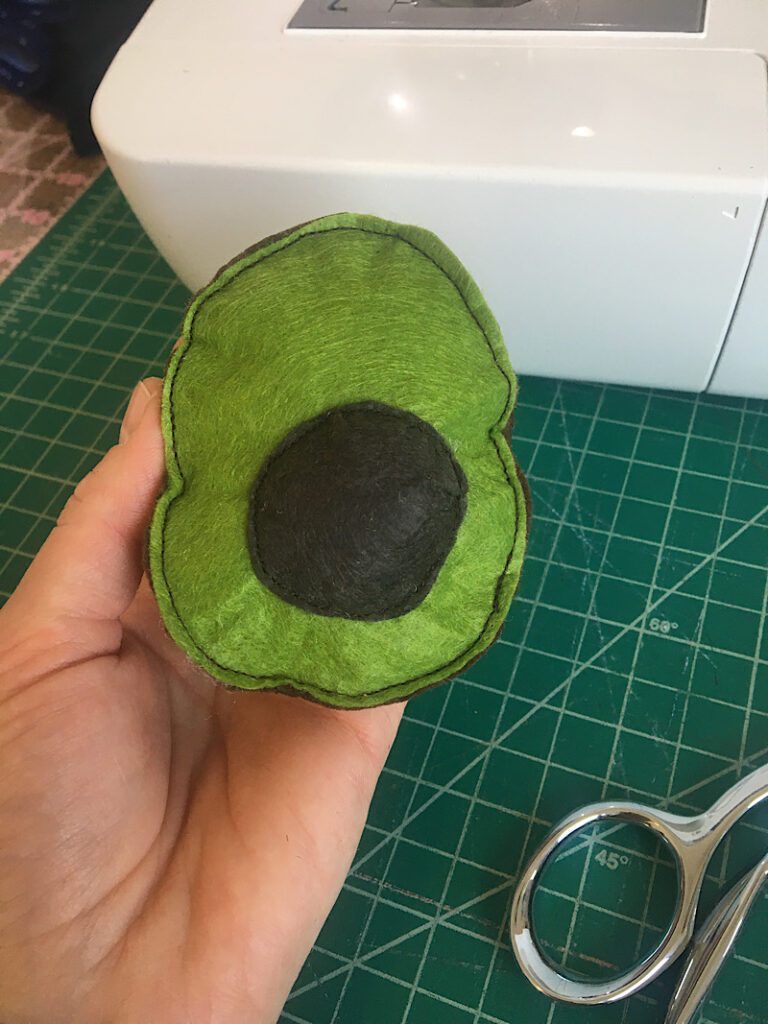
It looks totally cute and realistic when it is done, and I love that it is 3D!
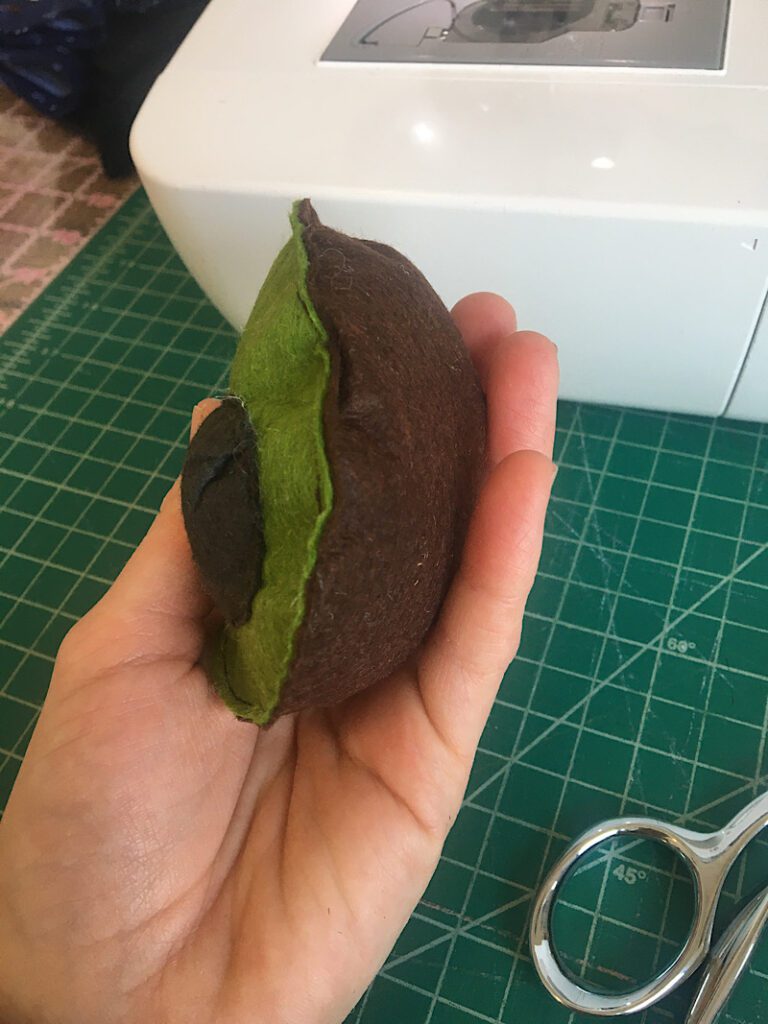
So there you have it! 3 DIY play felt breakfast foods to sew! I hope your kids enjoy them (or you!)
These would be super cute little plushies if you gave them a kawaii little face. Or maybe…. Christmas ornaments for a food tree?
Please pin this post to pinterest to help me expand my reach! And let me know if you have any questions at all. I love answering reader emails.
