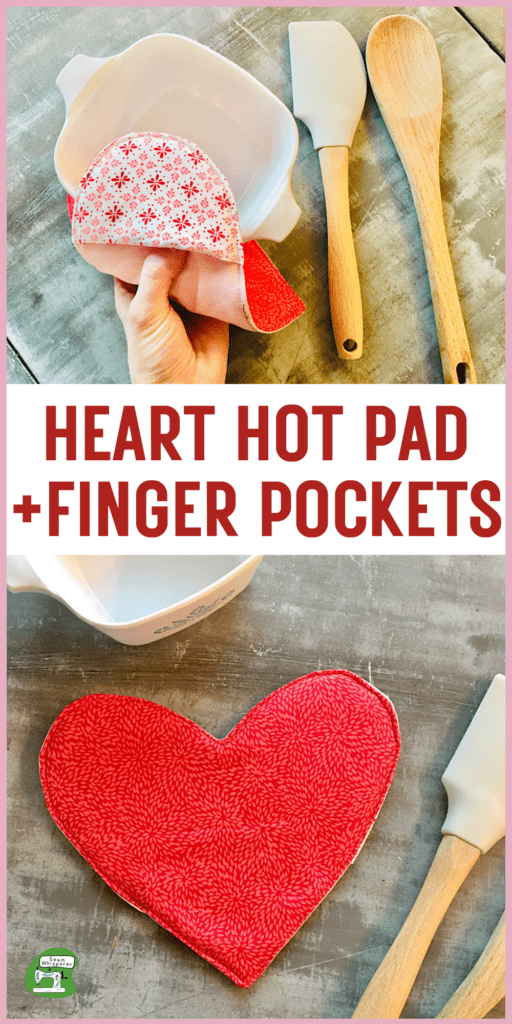
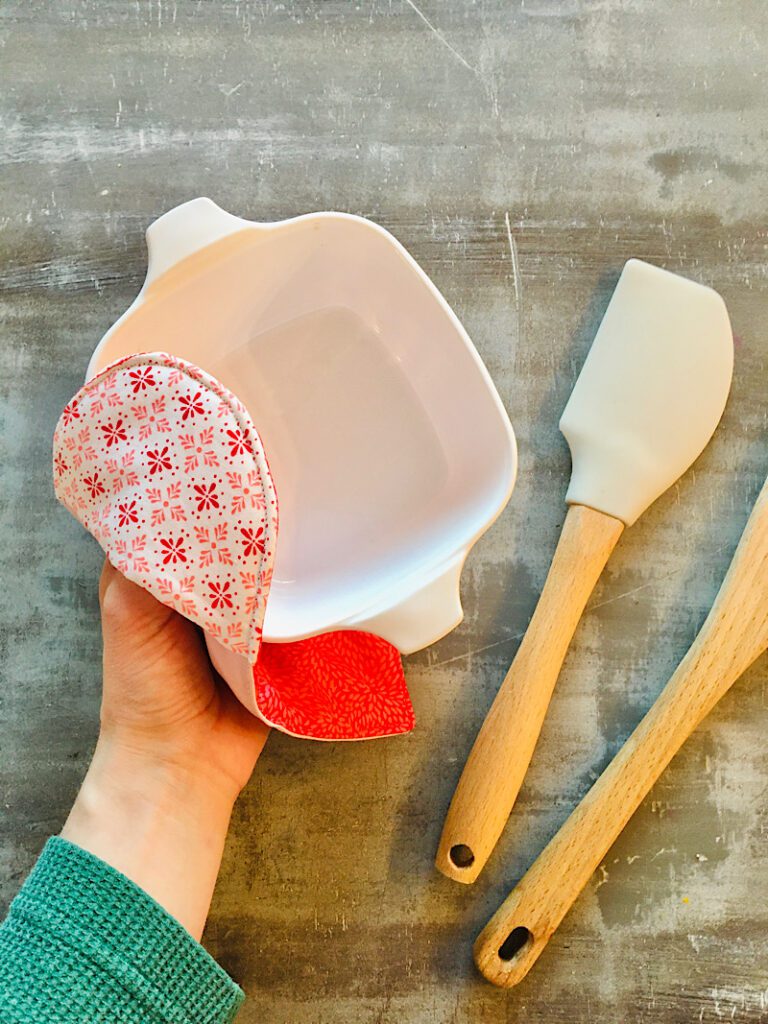
Make a cute heart shaped pot holder for Valentine’s day that even has finger pockets you can pinch a pan with!
I love coming up with cute pot holder designs! This Valentine’s season I knew I wanted to try a heart shape. I added the finger pockets to make pinching a pan, a cinch. (say that 5 times fast!)
Check out my other cute pot holder tutorials here:
You can of course also make this pattern without the pinch pockets, but I think they add a cute detail.
Supplies Needed
- 2 10″x9″ pieces of 100% cotton fabric for the front and back of heart
- 2 8″x6″ pieces of 100% cotton fabric for the pinch pockets
- 1 or 2 10″x9″ pieces of cotton batting or insul bright for the inside layer
- 2 4″x6″ pieces of cotton batting for insul bright for the pockets inside layer
- Matching Thread
- Pinking shears (optional)
- pins, scissors, etc.
How To Make A Heart Hot Pad
Download The Free Template
This pattern is available for free! The instructions are right here in the blog post, and the template is free for email subscribers. Sign Up Below!
Print the template and measure the “1 inch test square” to make sure it is the right size. Then cut out the two pattern pieces.
Step 1. Cut Your Fabric
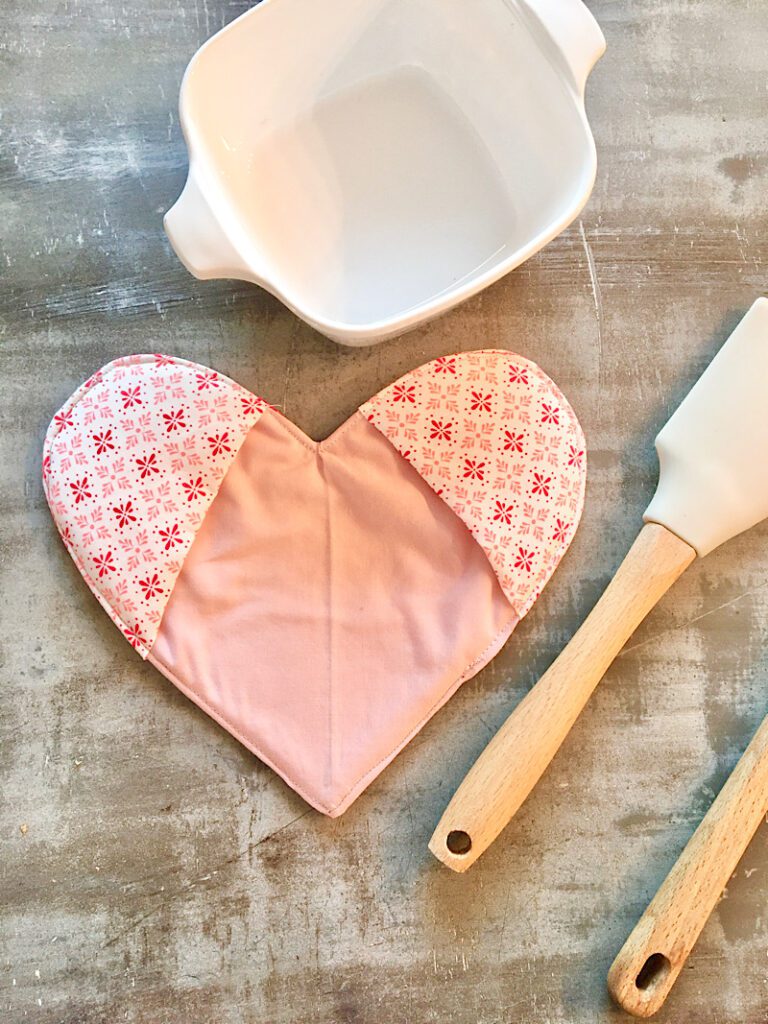
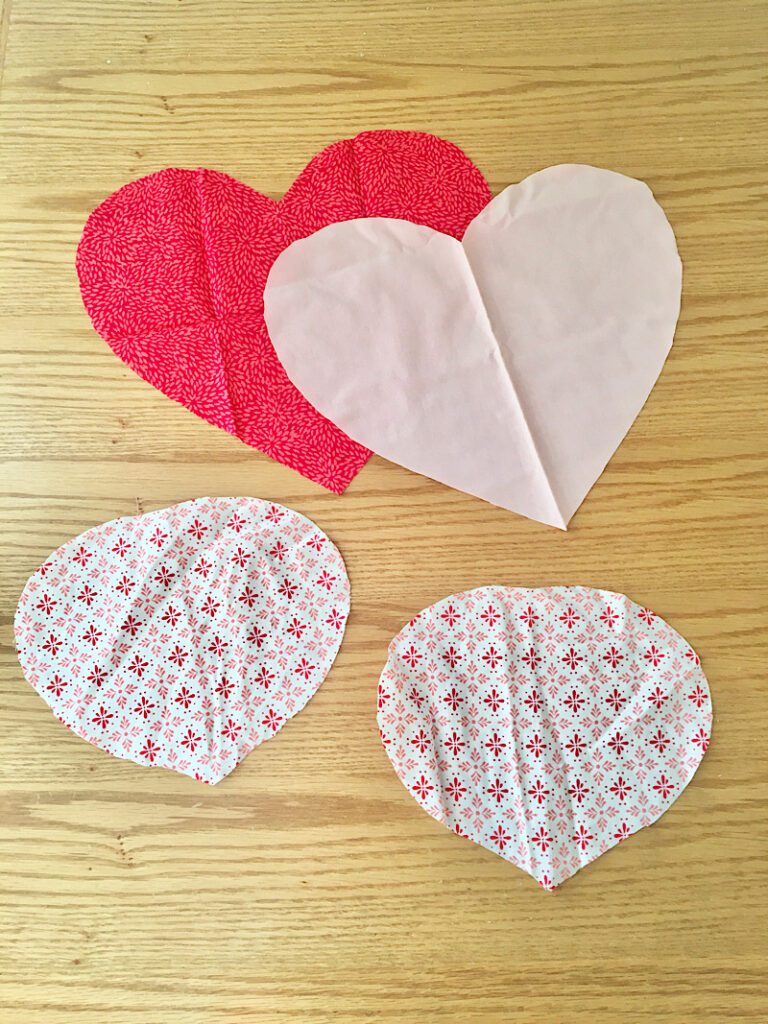
Cut out 2 hearts from cotton fabric, on the fold. I chose a red for one side and a pink for the side with the pinch pockets.
Then cut out the pinch pockets on the fold also, two of them. Here is everything when it is unfolded:
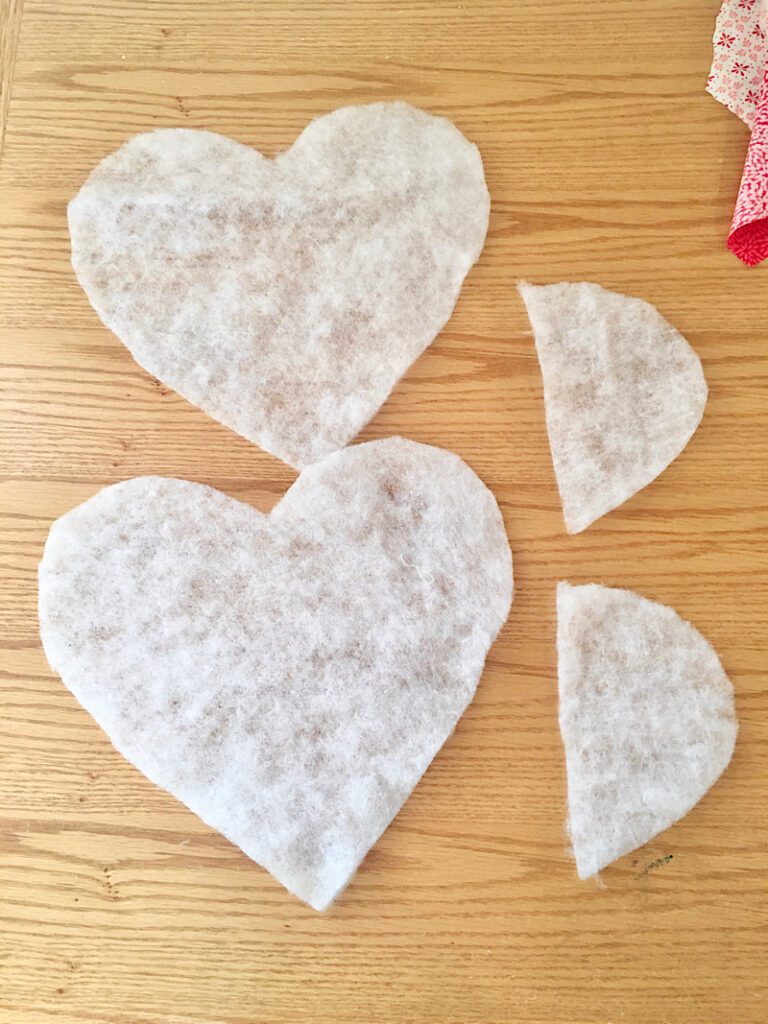
To cut the batting, cut out two hearts on the fold (depending on how thick your batting is and how thick you want your hot pad to be). Then, cut out two of the pocket pieces NOT on the fold.
Step 2. Assemble The Pockets
Open the pocket piece of fabric, and place the pocket piece of batting on one side with the flat edge aligned with the fold of the fabric, down the center.
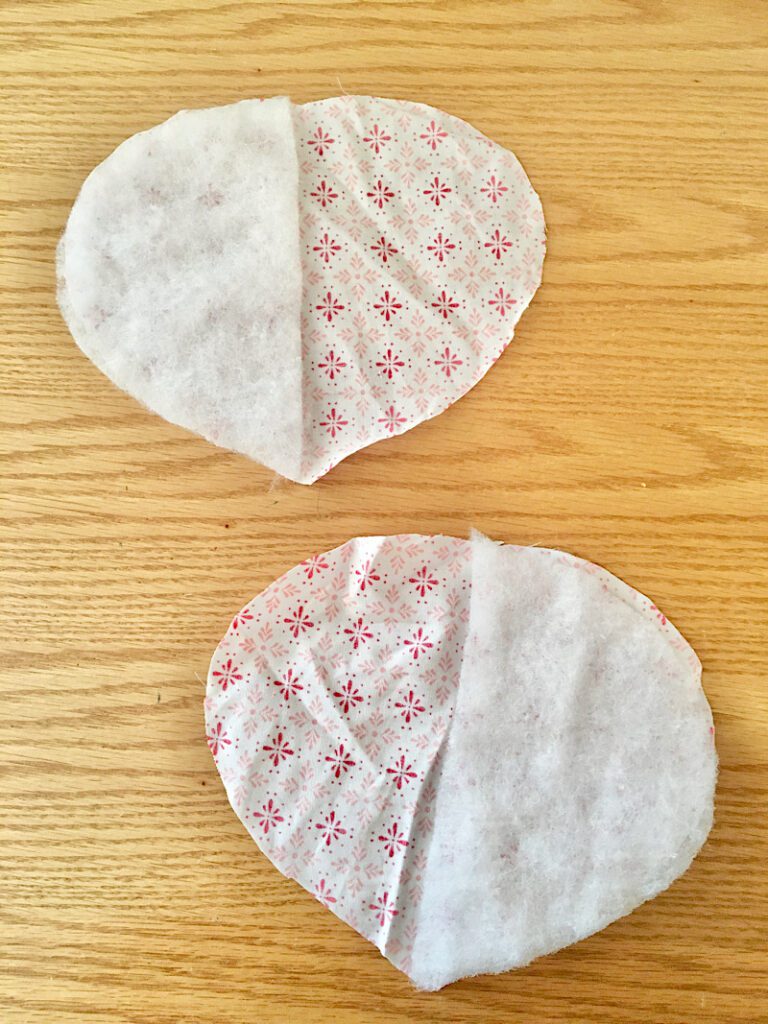
Then close the fabric over the top of the batting, and pin it in place.
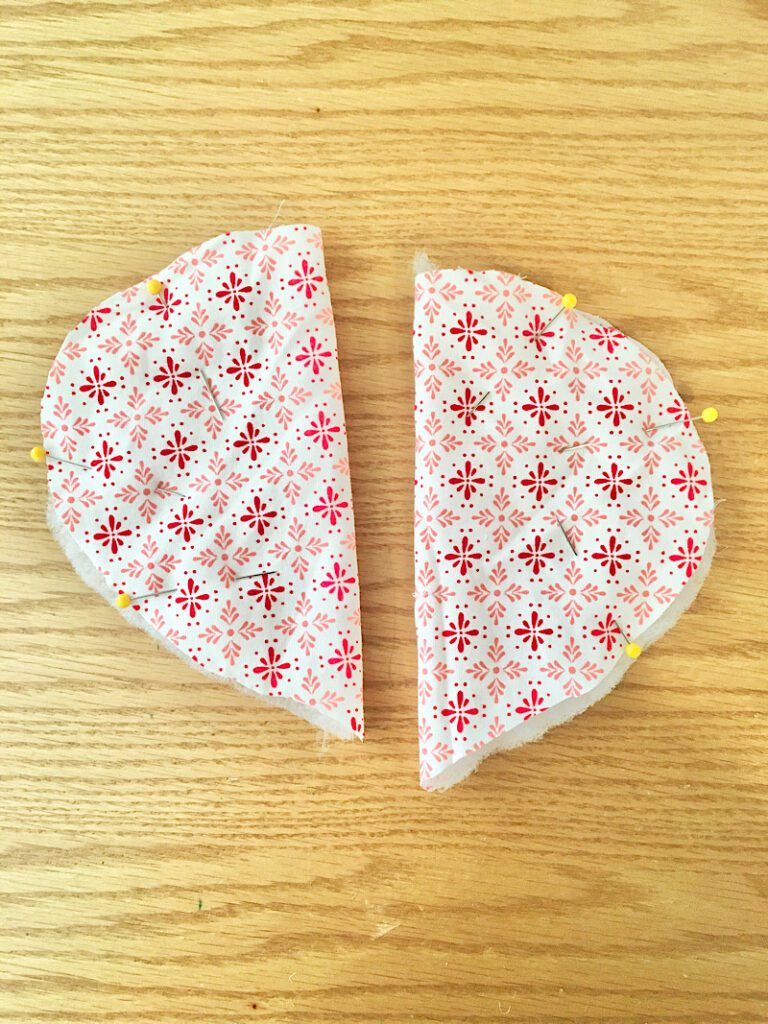
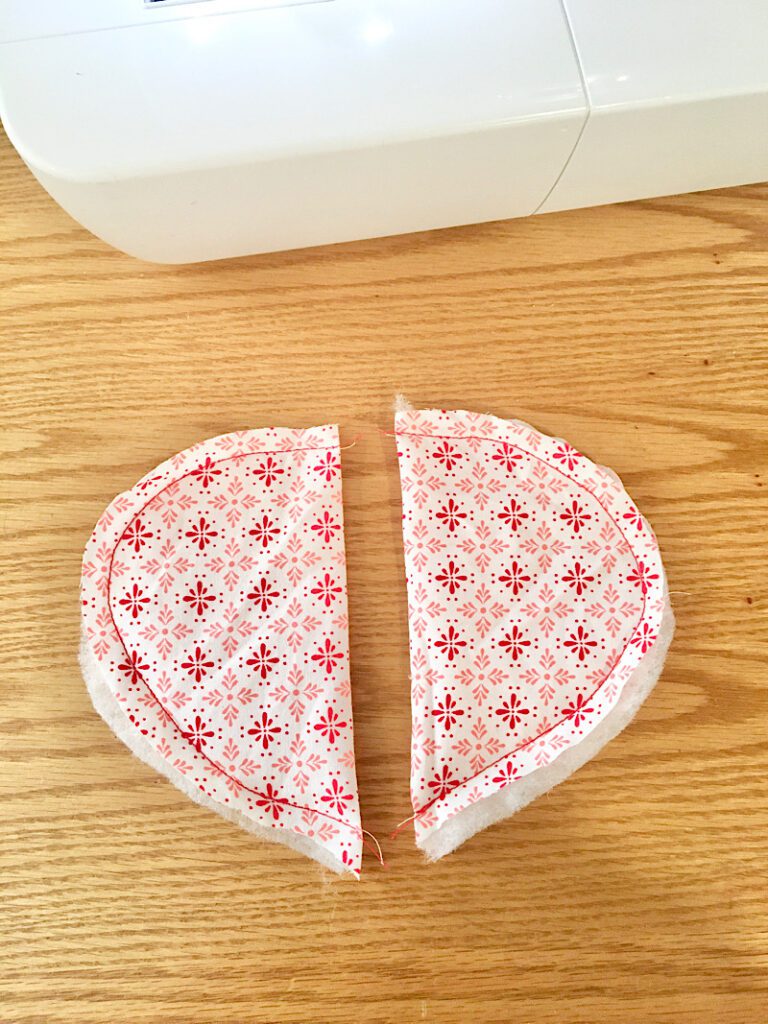
Sew around the curved edge with a 3/8ths inch seam allowance.
Step 3. Layer & Sew The Pieces
Place a piece of cotton fabric on the table with the right side facing up. Then place the two assembled pockets on the top curves of the heart.
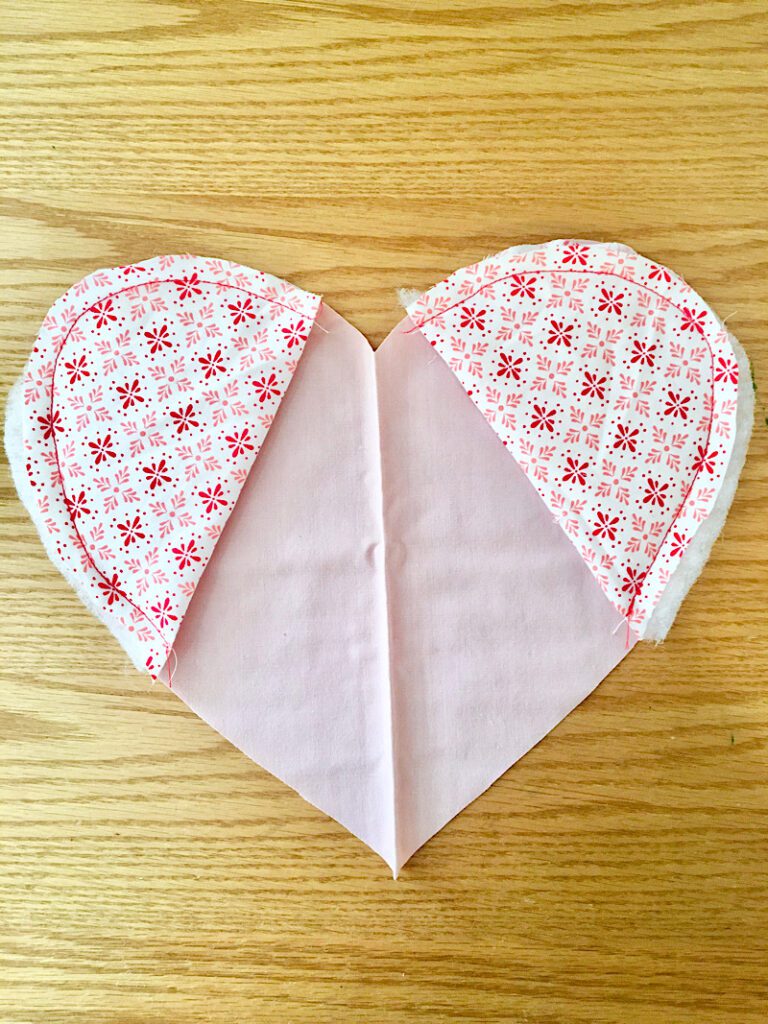
Next place the other cotton heart piece, with the right side facing down.
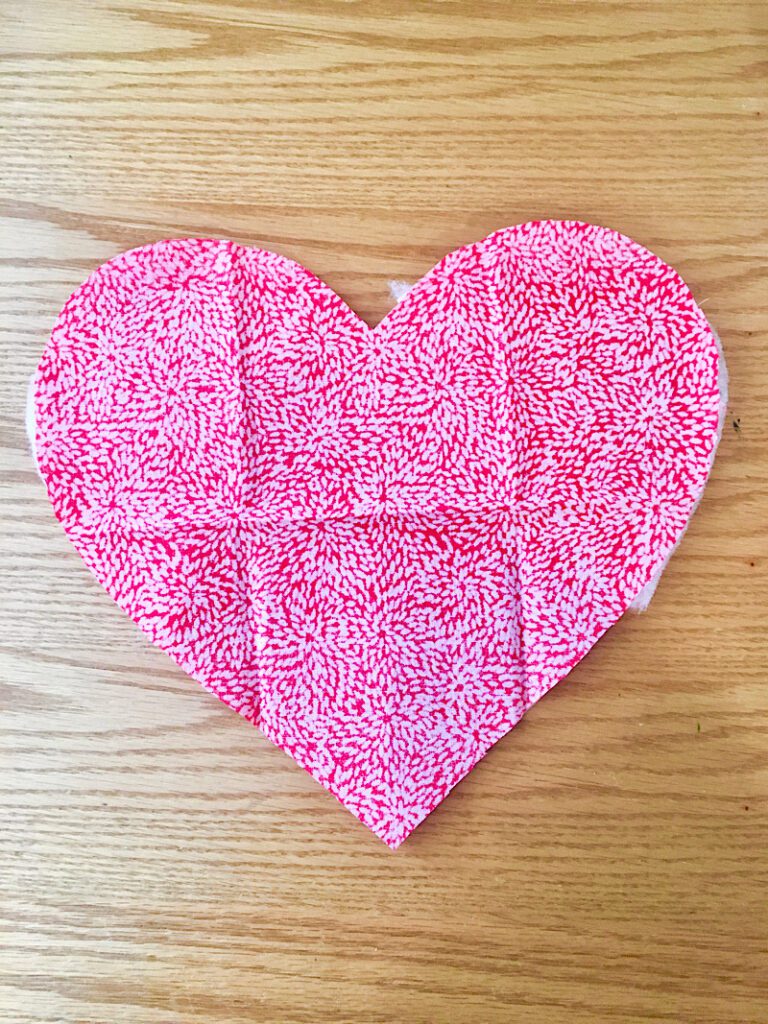
Finally layer the batting pieces on top. Then pin it all around the edges.
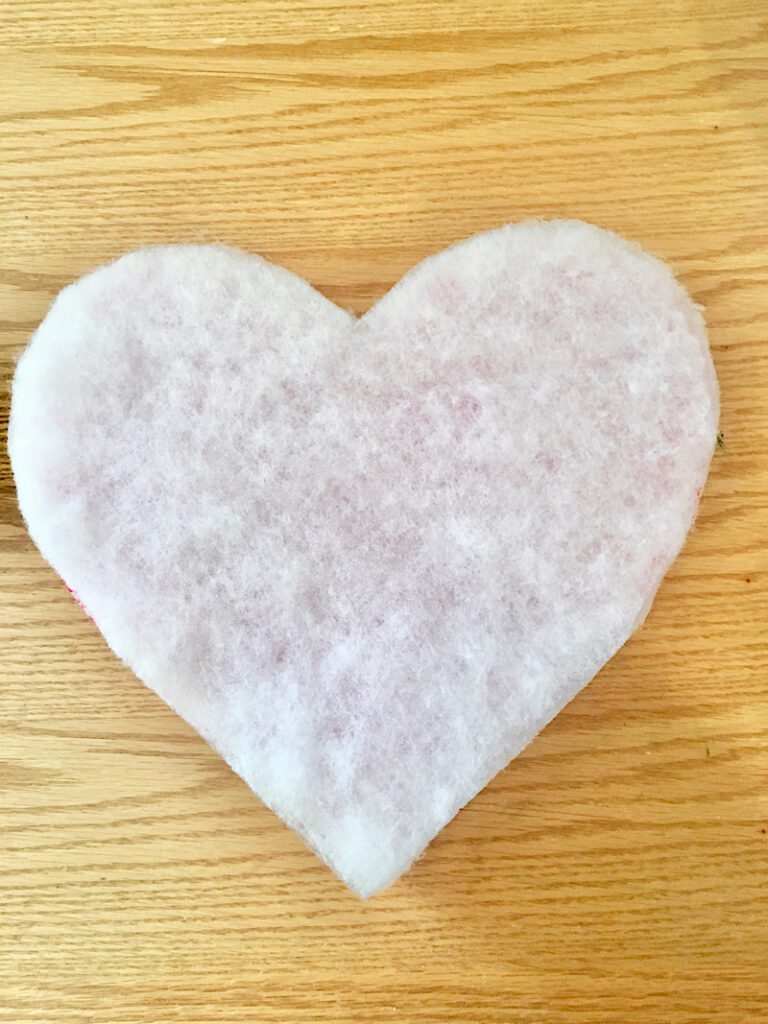
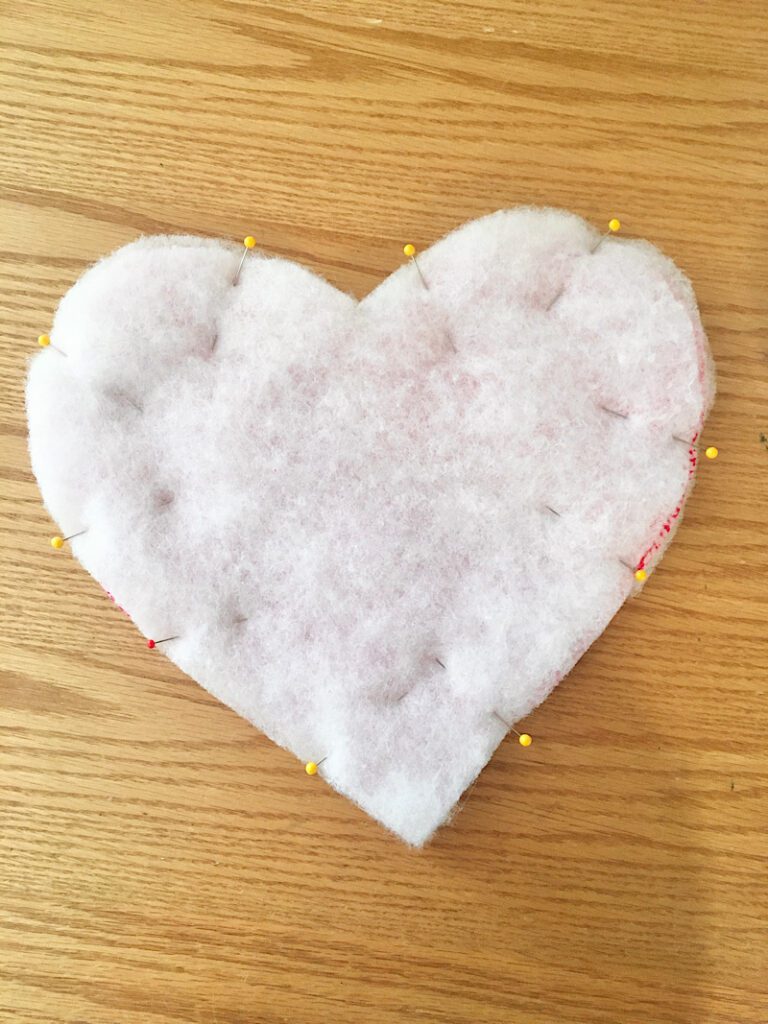
Check the back of the heart to make sure everything is neatly pinned. I had to adjust mine a bit.
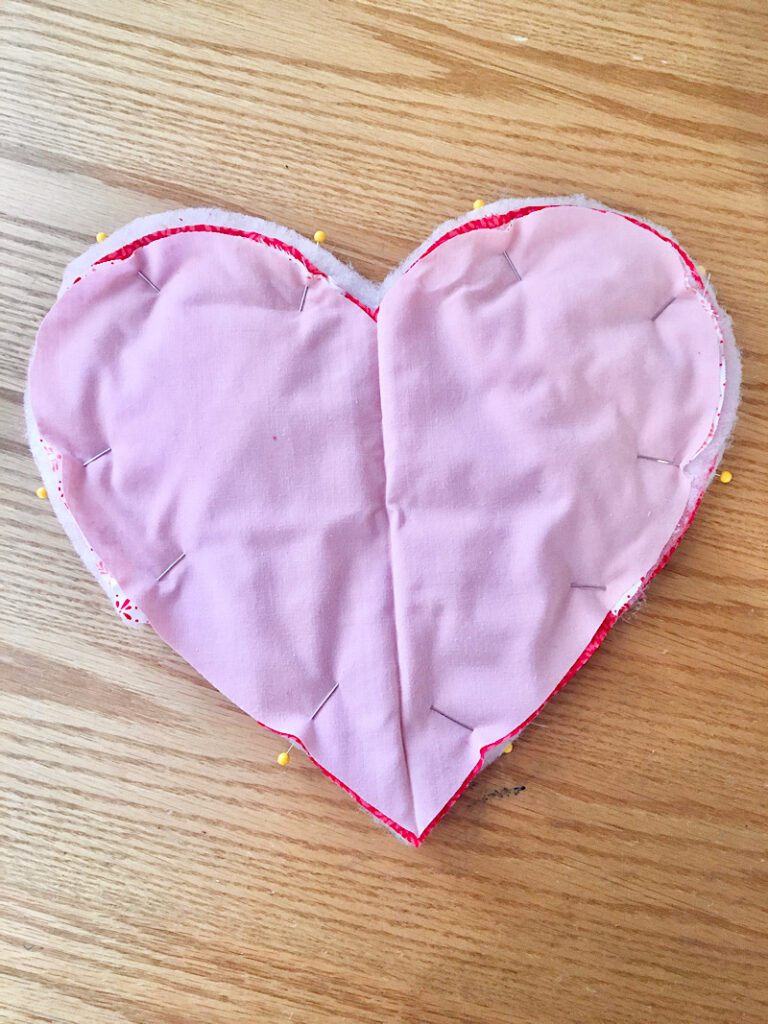
Now, carefully sew around the perimeter of the heart, leaving a 2 inch gap along one of the bottom flat edges.
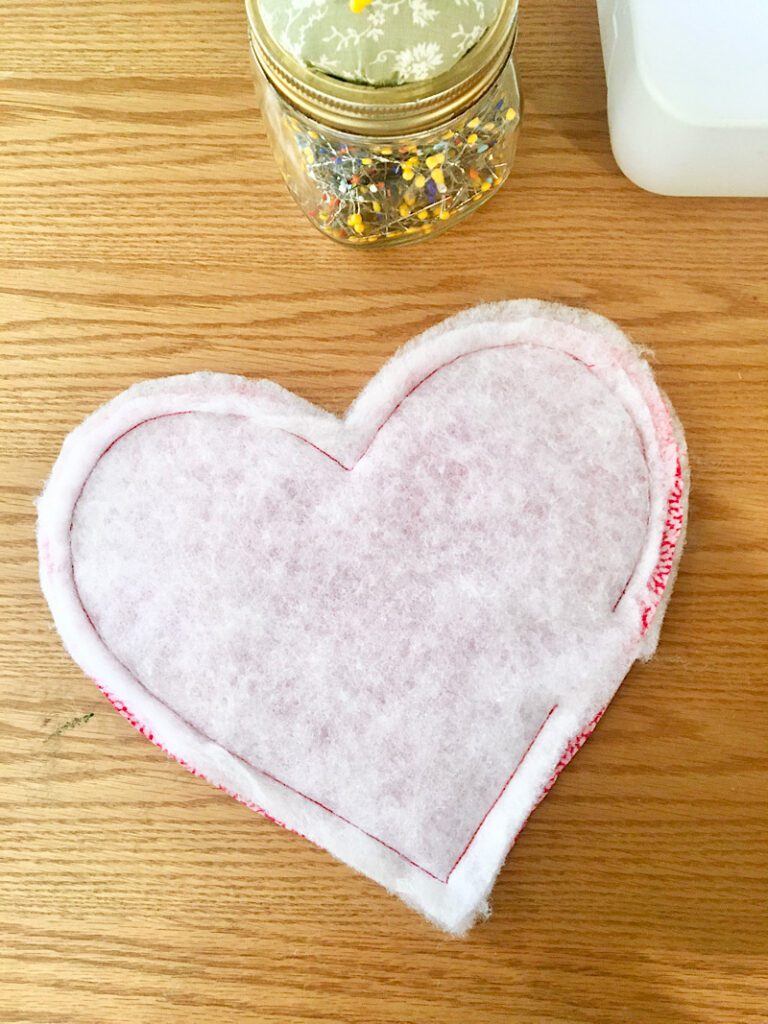
Use your pinking shears to carefully cut around the seam allowance, or you can manually notch around the curves. This removes the bulk and makes it lay flatter after turning.
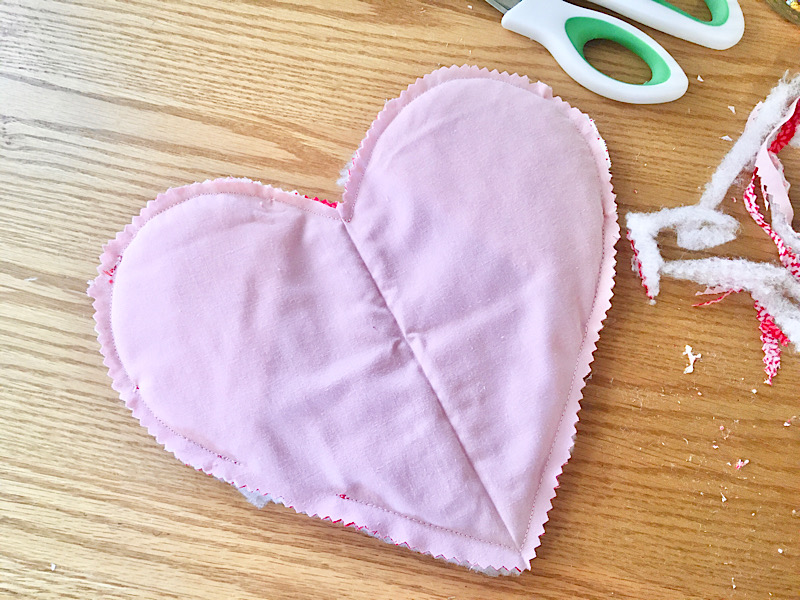
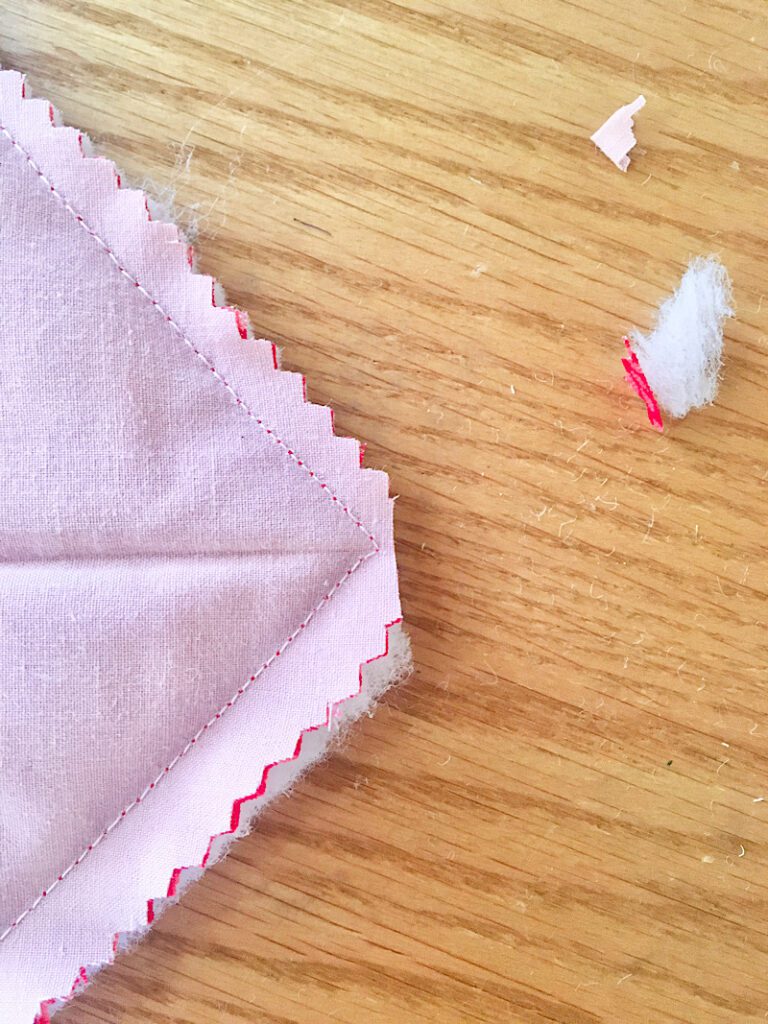
Clip off the bottom point without cutting the seam.
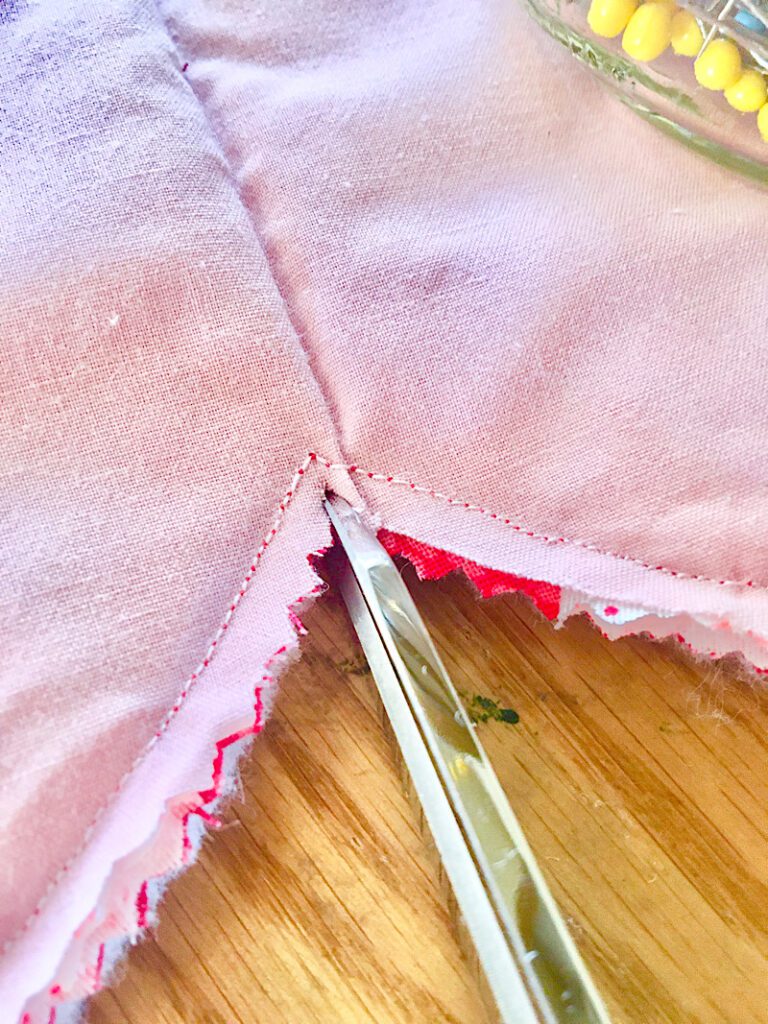
Then make a small snip at the top center between the two curves, without cutting the seam.
Now you are ready to turn it!
Step 4. Turn & Topstitch
Turn the heart right side out through the gap. Use your finger or a blunt object to push out the curves and point.
Then press the hot pad.
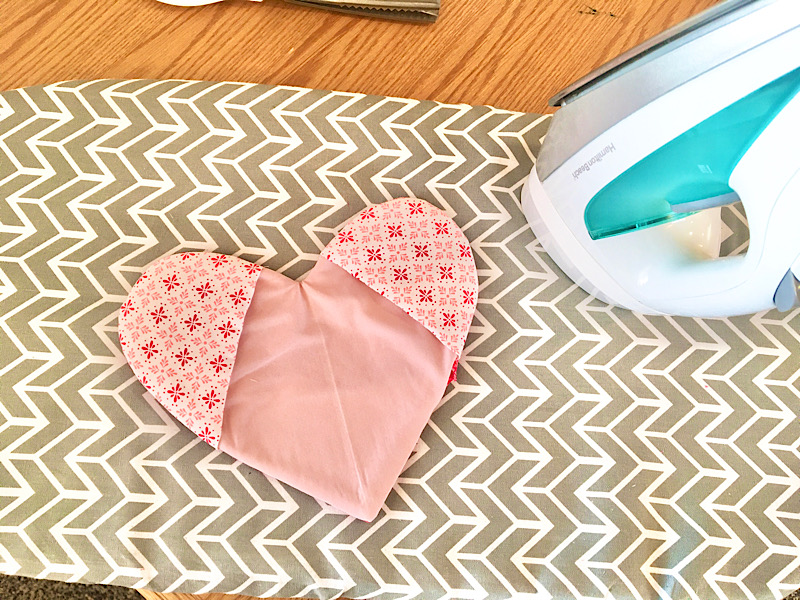
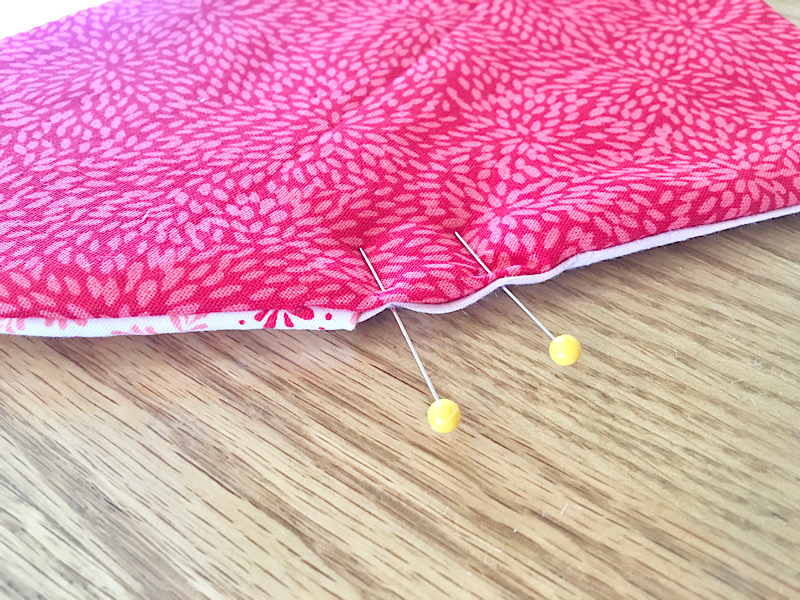
To close the gap, fold the raw edges inside and pin it closed.
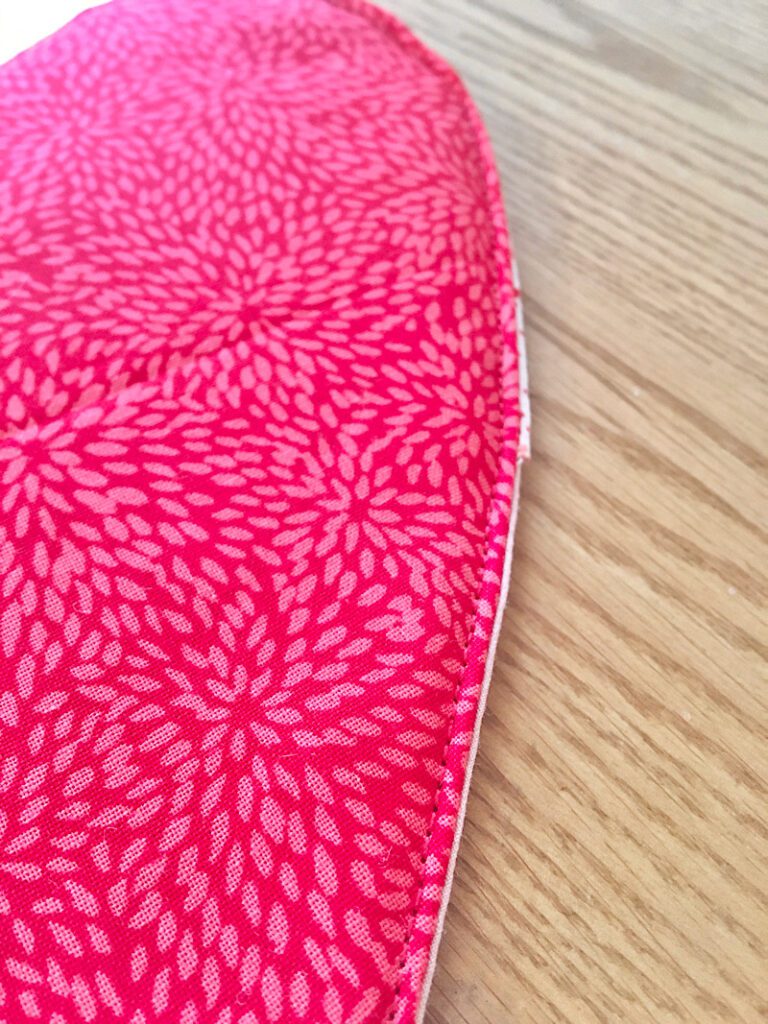
Then, sew a topstitch around the perimeter of the hot pad with a 1/8ths inch seam allowance.
Now you are done!
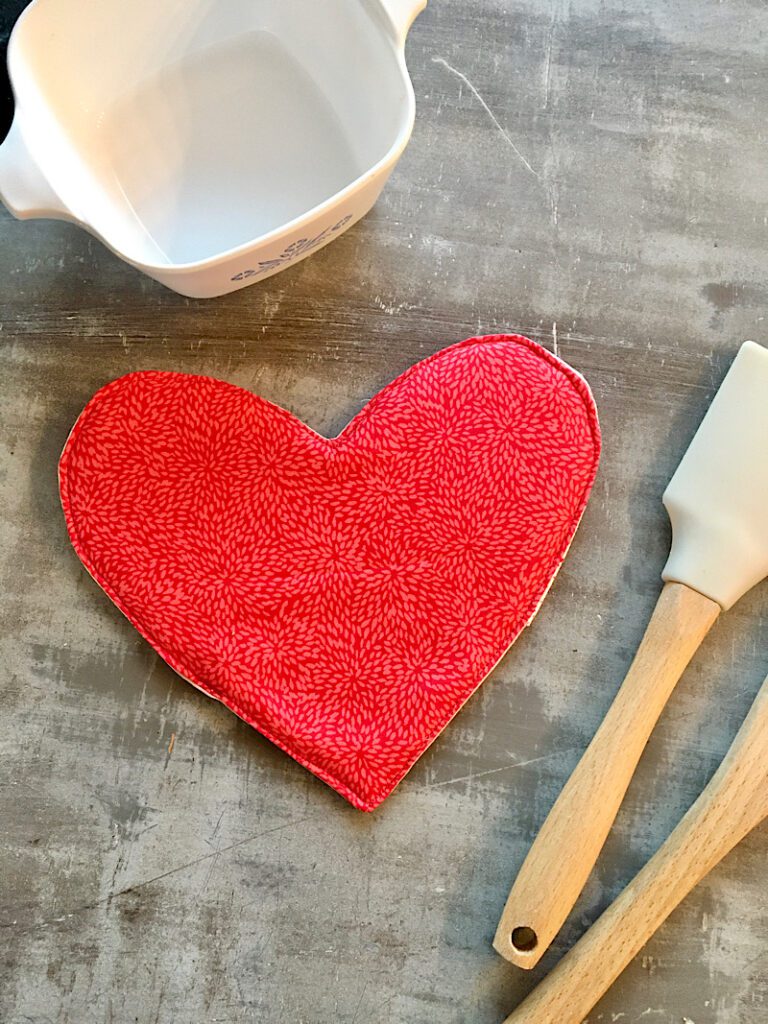
The hot pad looks SO cute and is multi functional! You can use it like a regular hot pad under a pot. Or you can use the finger pockets to more easily grip a pan!
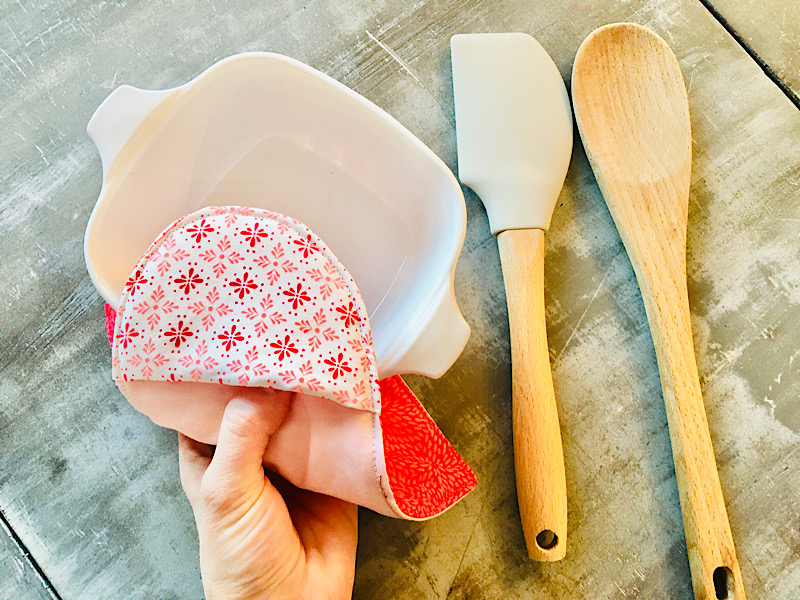
I am so pleased with how this turned out. I hope you like it too! What a fun and unique Valentine’s day gift idea!
I hope you enjoy this pattern, please let me know if you have any questions!
