If your machine is stuck in reverse and just won’t stop sewing backwards, take a look at these 3 possible causes as well as my extra tips with how to deal with it!
My sewing machine was recently stuck in reverse and it DROVE me CRAZY! I turned it on and off a million times… I was about to throw in the towel when miraculously… it stopped!
If you are having the same issue, I hope that your machine is granted a miracle like mine was! But in the mean time, here are some things you can try to stop your sewing machine from only sewing in reverse!
(Make sure to read my 2 extra tips and bonus way to embrace a reverse stitch at the end of this post!)
This post may contain affiliate links. Read the full disclosure here.
3 Reasons Why Your Sewing Machine Is Sewing Backwards
1. Reverse Button Is Stuck or Broken
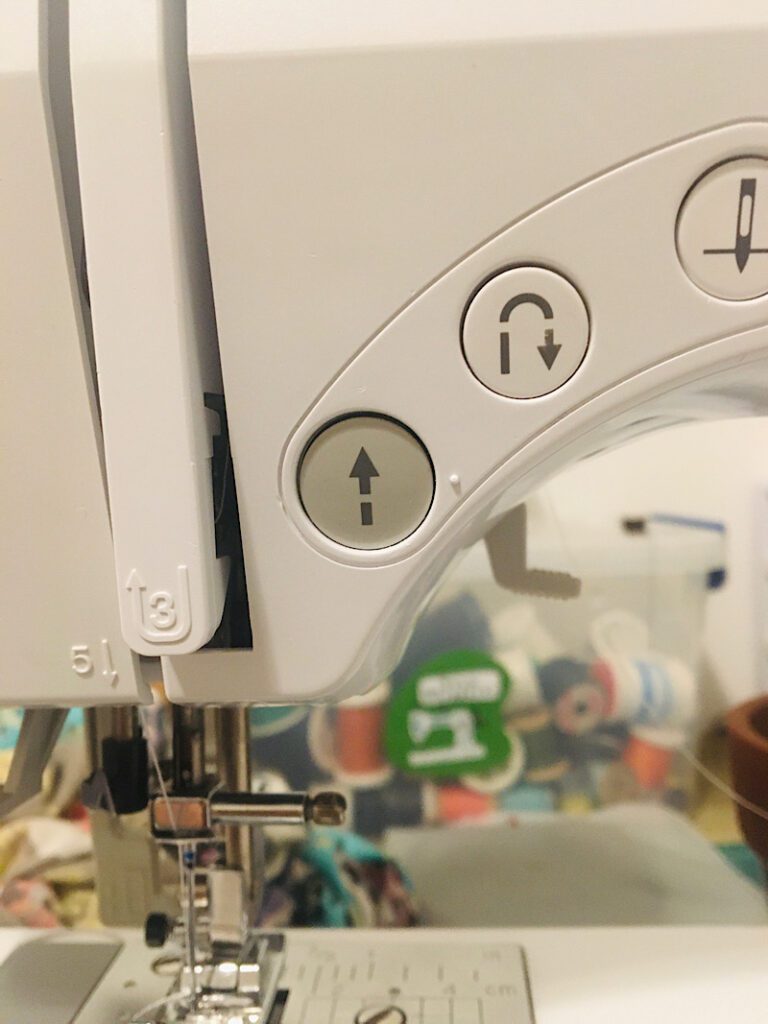
The most common reason a sewing machine is stuck in reverse is because of the reverse button or lever, being stuck. This was my machine’s issue.

If you have a button, try holding it down for several seconds to get it un-stuck.
If you have a lever, press it and notice if it still has tension. It may need a gentle wiggle to un-stick it. Sometimes the spring behind it can come unhooked, and it will need to be replaced or repaired. (This can technically be a DIY project, but I recommend taking it to a repair shop, especially if it is still under warranty.)
Note: I have heard of people using a hair dryer on warm to try to unstick certain buttons, or using a can of pressurized air to blow into the space around the button. These methods may or may not work, and may or may not damage your machine, so try them at your own risk.
2. Buttonhole Stitch Selected
When sewing a buttonhole stitch, the machine starts by sewing backwards.
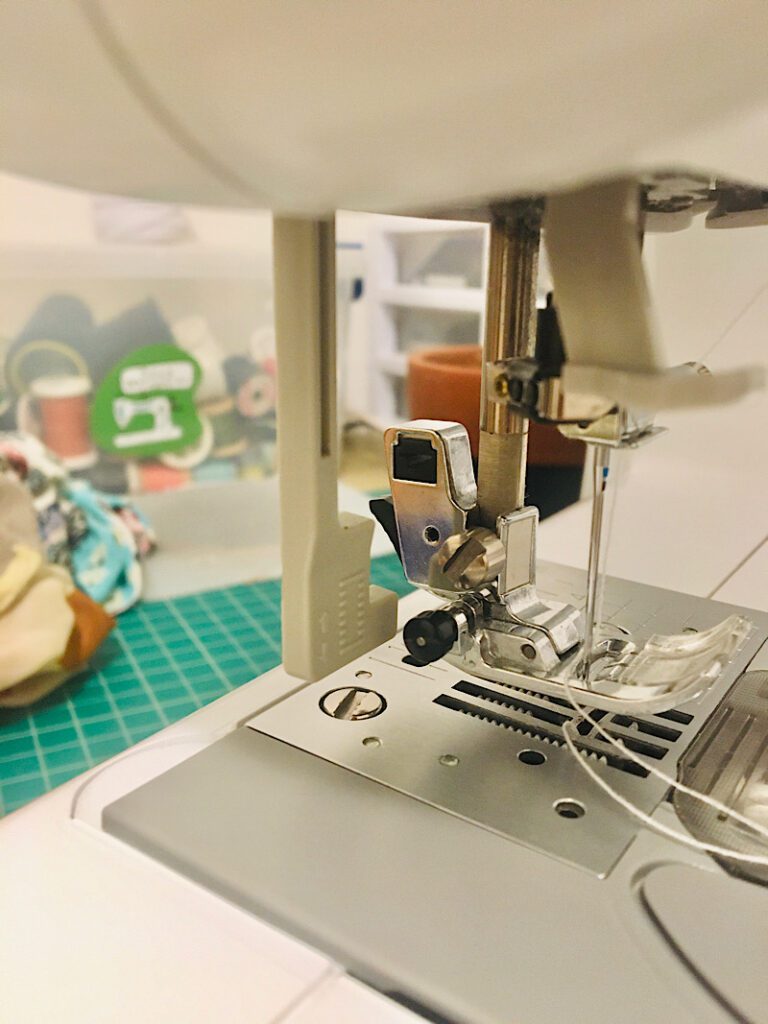
You have probably already checked that you have the correct straight stitch selected for, but make sure to also check that the buttonhole tab that you pull down near the needle is all the way pushed up.
When the buttonhole lever is down, and the buttonhole stitch is selected, the machine will sew backwards.

(If you haven’t yet checked that you have the right stitch selected, do that too!)
3. Computer Malfunction
Last and also worst, your digital components might be having issues. There could be a computer chip problem, a wiring issue, or another internal problem.
A computer issue is something you will likely have to take your machine into repair for.
If your machine is still under the warranty, call the service number for the machine’s manufacturer first, and see if they can help replace or fix the machine for you.
Additional Tips
Don’t give up yet! I know this is a frusterating problem.
After checking the things above (but before taking your machine to the shop), you should also make sure that your feed dogs are not disengaged, and that the stitch length is set correctly and not set to zero.
These two problems don’t cause a machine to sew in reverse, but they can prevent it from sewing forward. (In fact, here is a whole list of other reasons why your machine might not be sewing forward at all.)
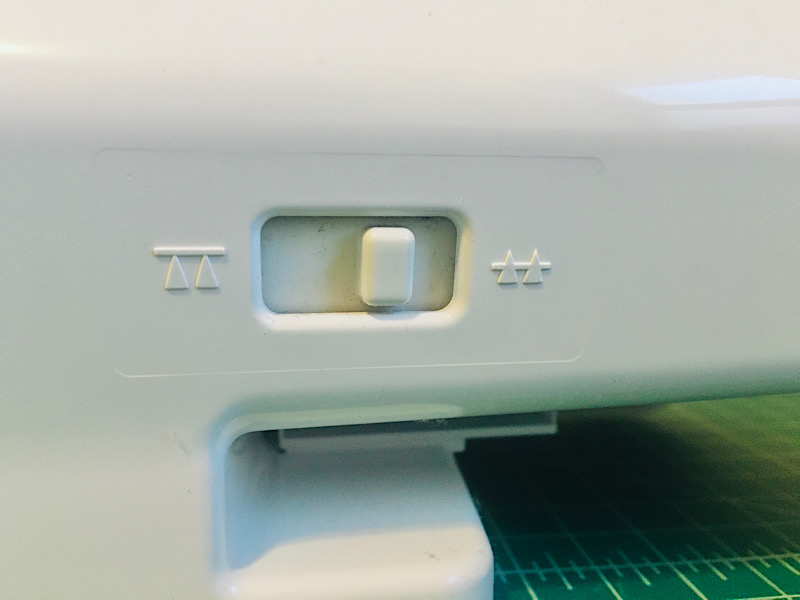
- The feed dog drop switch is located on the back of the machine. Make sure the feed dogs are UP.
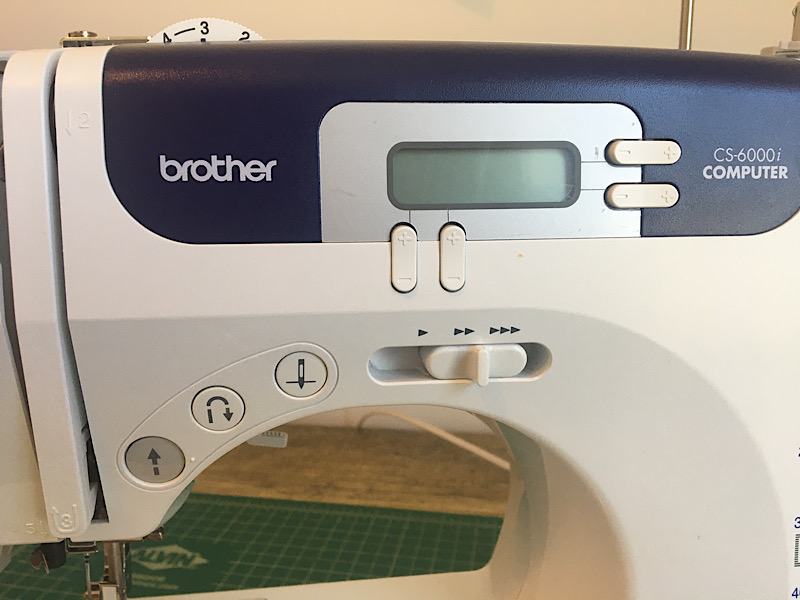
- The stitch length selection is typically on the screen on the top of newer machines, or there may be a dial.


How To Sew In Spite of A Stuck Reverse!
If it’s going to be a while before you can fix or replace your machine, you can still use it! (For a straight stitch and zig zag stitch, anyways.)
To make backstitches at the beginning and end of your stitch lines, just sew a few stitches, then stop with the needle down, raise the presser foot, and pivot your fabric all the way around. Sew again to make the backstitch, and then stop and pivot the fabric back to the original orientation again.
Then just sew everything in reverse! It still works, it’s just annoying!
I hope that one of these solutions helped you with your machine. Leave a comment if you need more help!


I can totally relate to the frustration of a sewing machine suddenly going in reverse! It’s happened to me a few times, and it can be so maddening. This blog post is a lifesaver with its three possible causes and extra tips on how to fix it. I’m all for troubleshooting solutions, and I appreciate the author’s advice. It’s always a relief when the machine miraculously starts working correctly again, but having some troubleshooting knowledge is a great backup plan. Thanks for sharing this helpful information!