Do you have a fitted sheet that you want to convert to a smaller size to use on a smaller bed? Me too! Let me show you the easy way you can sew it down to the correct dimensions for your smaller mattress…
My kids just got a new bunk bed and so I traded their queen sides mattress for twin size!
When I went shopping for new sheets, all the cute floral ones in the twin size were sold out, but the Full sized sets were on a deep discount. I picked up two different sets and brought them home for a GREAT price, knowing that I could make them smaller!
This is a very simple sewing project, I am excited to show you how I did it.
Supplies Needed
- Fitted Sheets to make smaller
- Seam ripper
- Scissors
- Measuring tape
- Sewing Pins, sewing machine, etc. Serger Optional.
How To Make A Fitted Sheet Smaller
Step 1. Disassemble your fitted sheet
The first thing to do is carefully take apart your fitted sheet.
The elastic on fitted sheets are attached in many different ways, so you will need to look at yours and figure out how it needs to be taken apart, as it may differ from mine.
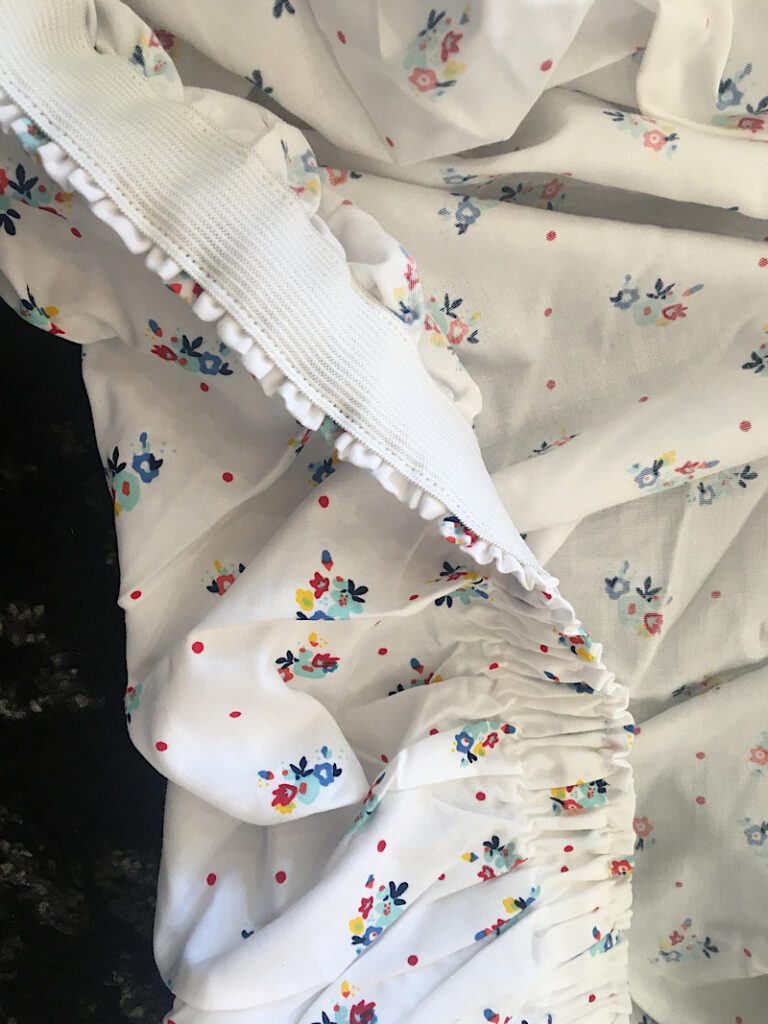
Mine was a 1 inch thick elastic that was sewn a half inch away from the hemmed edge to make a ruffle/gathered detail.
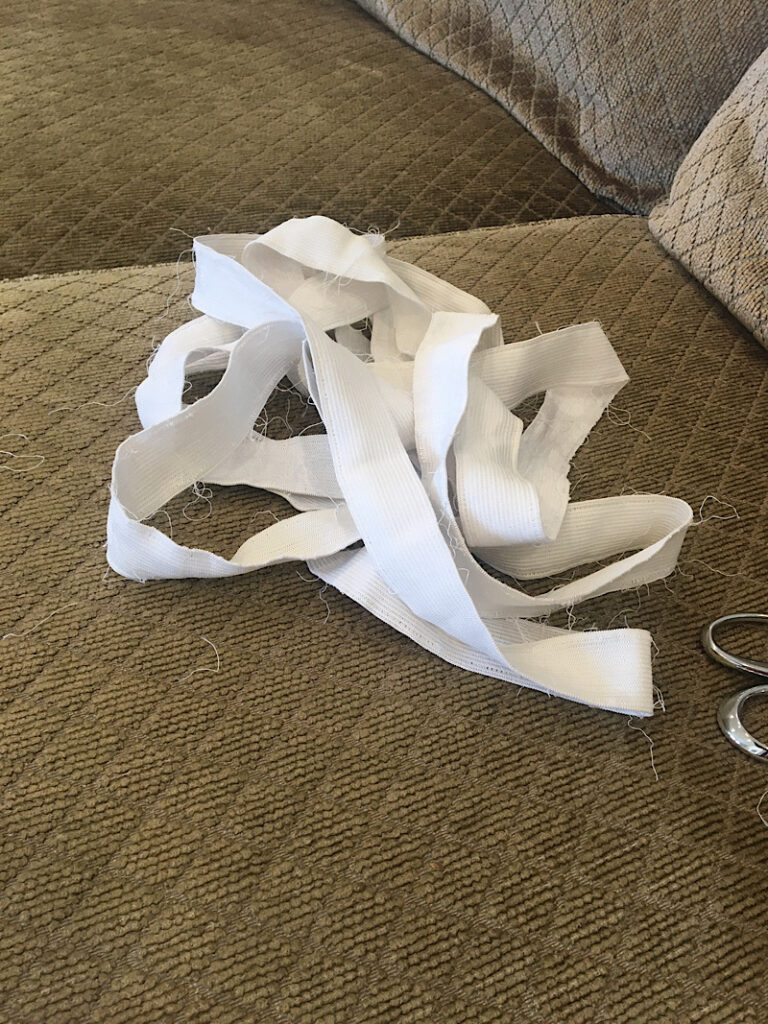
I easily unpicked it with my seam ripper all the way around. I set it aside so I could reuse it later.
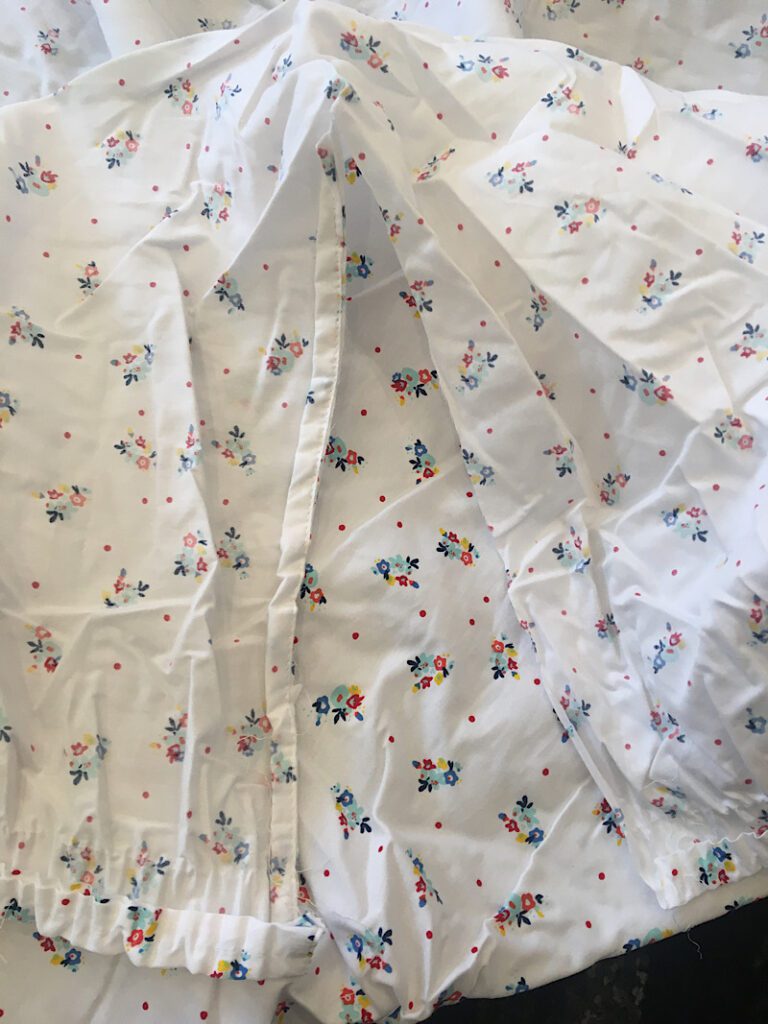
Next, locate the inside four corners of the sheet that make it a box shape, and carefully unpick or cut open the seam to make the sheet flat.
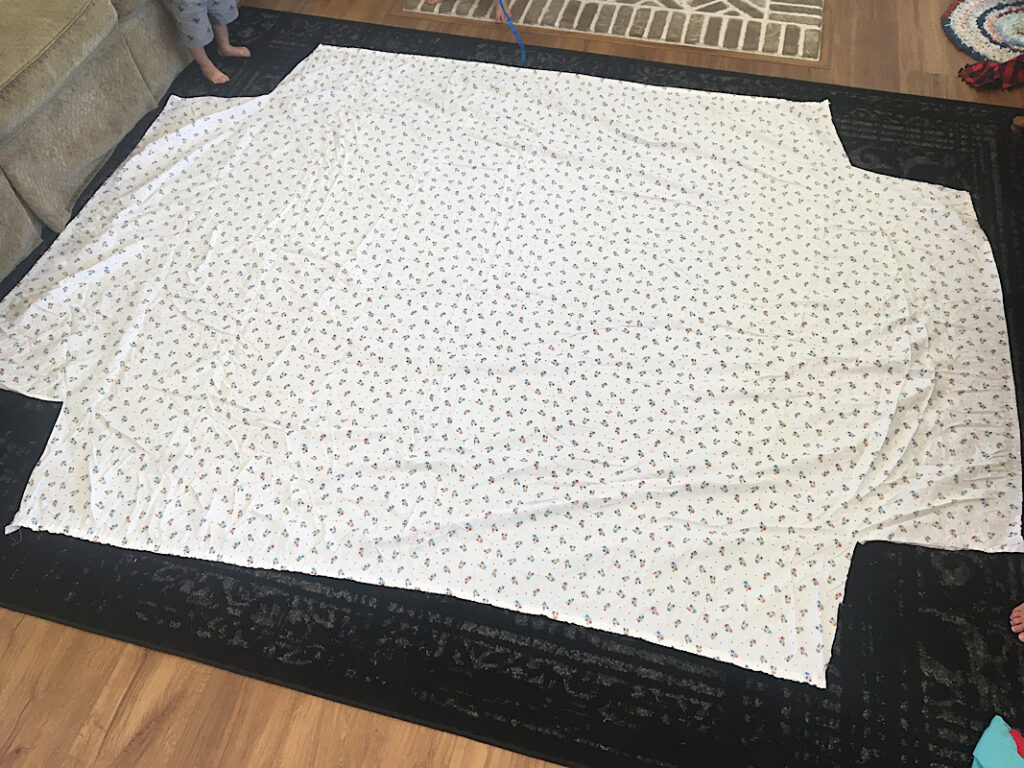
When you lay the sheet on the floor now, it will resemble a large rectangle with the corners cut out with square shapes, like in the image below.
Step 2. Cut The Sheet To Size
Before trimming away the sheet to make it fit the smaller mattress, lets review the ‘anatomy’ of a fitted sheet.
Notice the four “flaps” on the four sides of the sheet, and imagine a rectangle in the middle of them.
That rectangle should have the dimensions of your mattress, plus a couple inches for ease.
Each flap should have a length that corresponds with the side it is on, and a height that is equal to the depth of the mattress plus several inches so it wraps underneath (I usually just multiply it by 1.5) and also add a seam allowance.
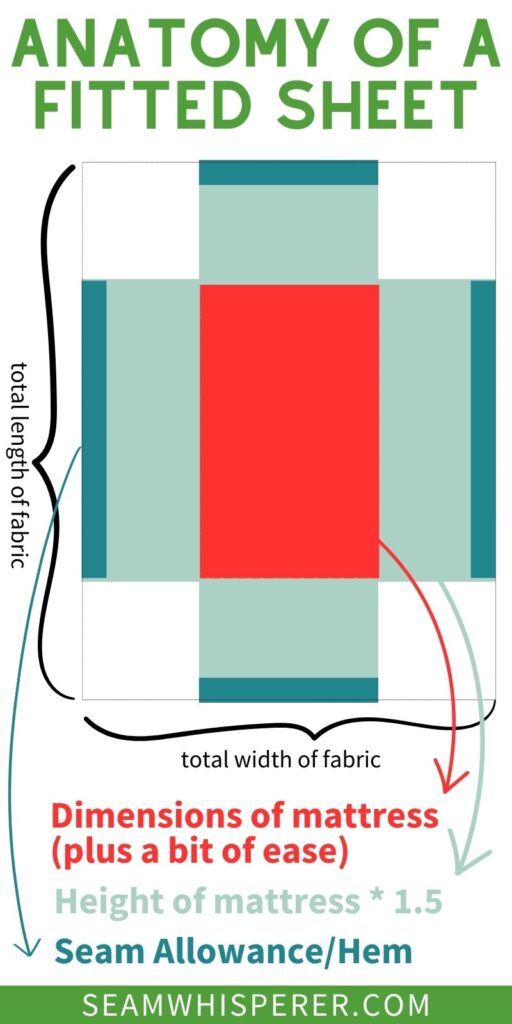
You will need to know the dimensions of the mattress you are trying to make this sheet fit in order to cut your sheet to the right size.
BUT, if you don’t want to measure it, here are some basic measurements you can try using.
Note: These fabric measurements already have ease and seam allowances added in, and assume the desired mattress is 12 inches deep (except the crib mattress).
| Fabric Dimensions > | Internal Dimensions | Long Side Flap Dimensions | Short Side Flap Dimensions | Total Fabric Dimensions |
| Crib Mattress (6 inch) | 54″x30″ | 54″x11″ each | 30″x11″ each | 76″x52″ |
| Twin Mattress | 77″x40″ | 77″x20″ each | 40″x20″ each | 117″x80″ |
| Twin XL Mattress | 82″x40″ | 80″x20″ each | 40″20″ each | 122″x80″ |
| Full Mattress | 77″x56″ | 77″x20″ each | 56″x20″ each | 117″x96″ |
| Queen | 82″x62″ | 82″x20″ each | 62″x20″ each | 122″x102″ |
| King | 82″x78″ | 82″x20″ each | 78″x20″ each | 122″x118″ |
To make your own measurements, here are some guidelines on the image below:
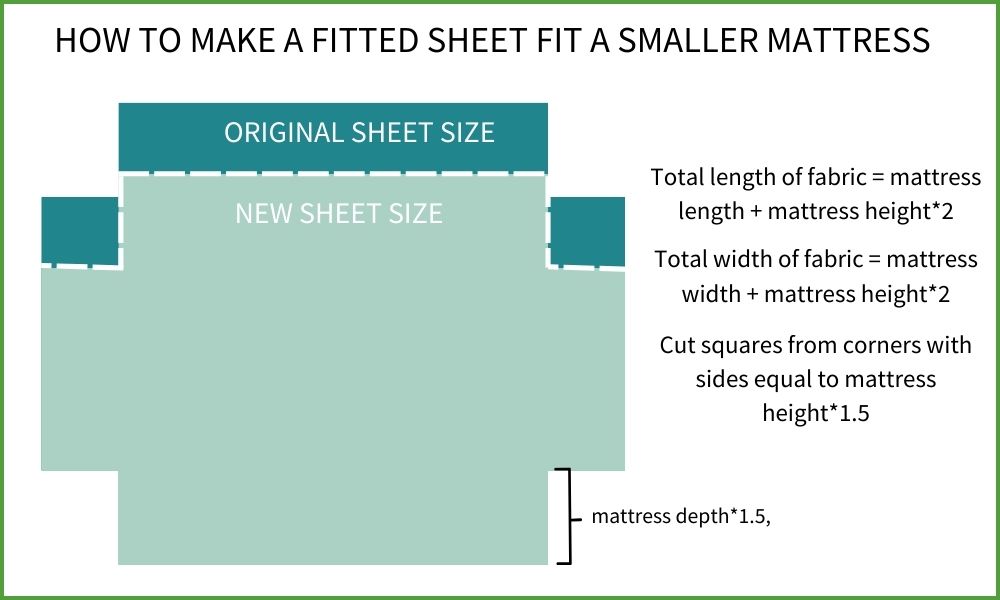
Once you have the measurements, you can cut your sheet to suit.
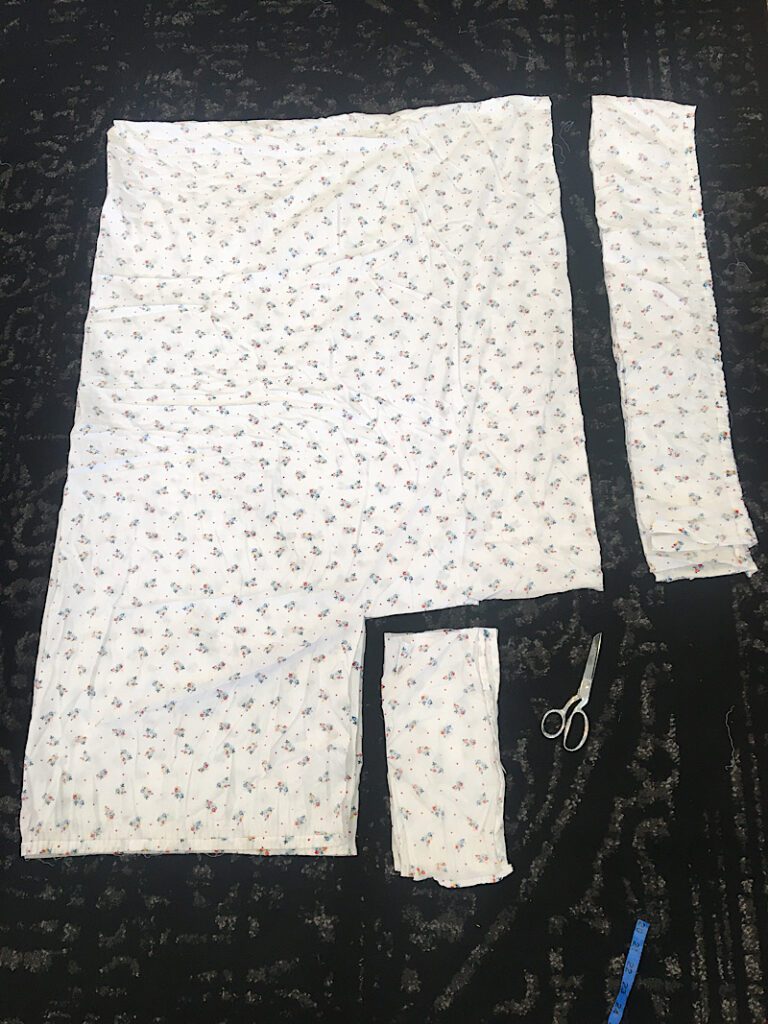
For my sheet, I was going from a full to a twin so I only had to cut off a thin strip to make it the right size. Depending on your unique situation, your cutting will look different. I did all the math for the sheet dimensions, then folded it in half twice like a napkin to make my cuts easier.
Step 3. Re-Sew The Sheet Corners
Now that the sheet is cut, you need to sew the corners back together.
With the right sides touching, align the two cut edges of the box corner by folding one corner down to meet the other. Pin them together.
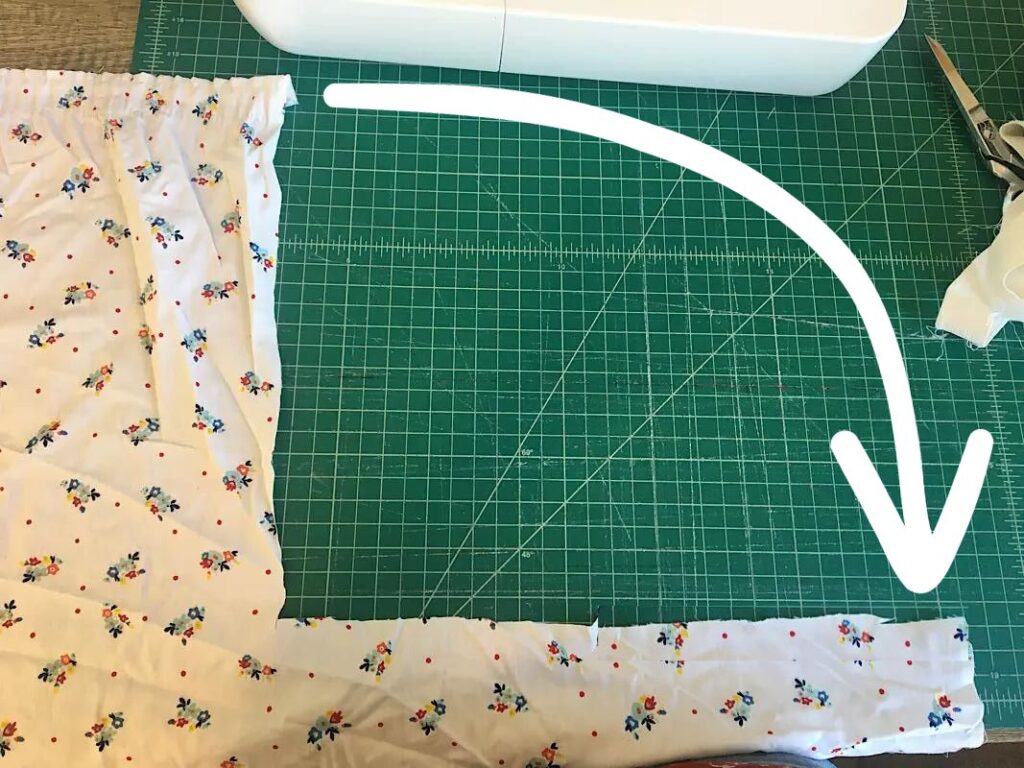
Then, sew along the pinned edge. You can hem it, serge it, or sew it and then zig zag stitch the edge.
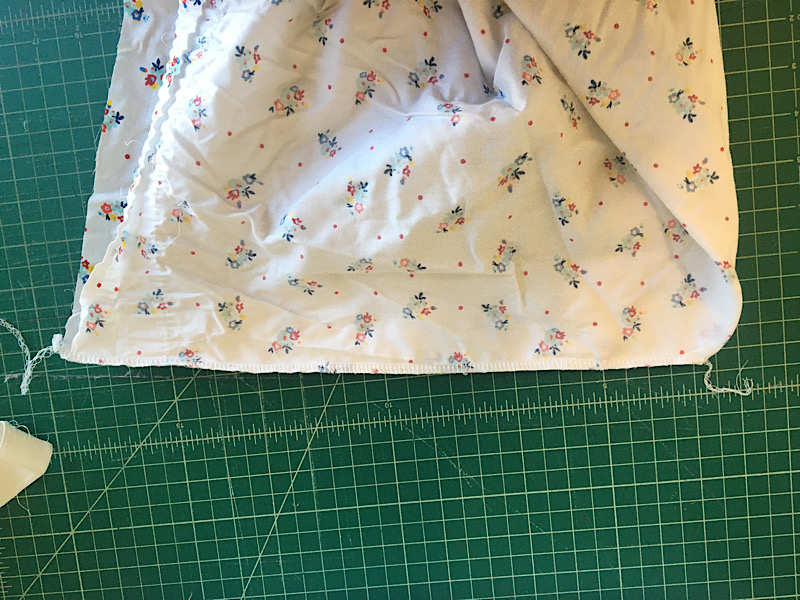
Repeat these steps with the three other corners as well.
When you turn it right side out it will look like a fitted sheet with boxed corners again!
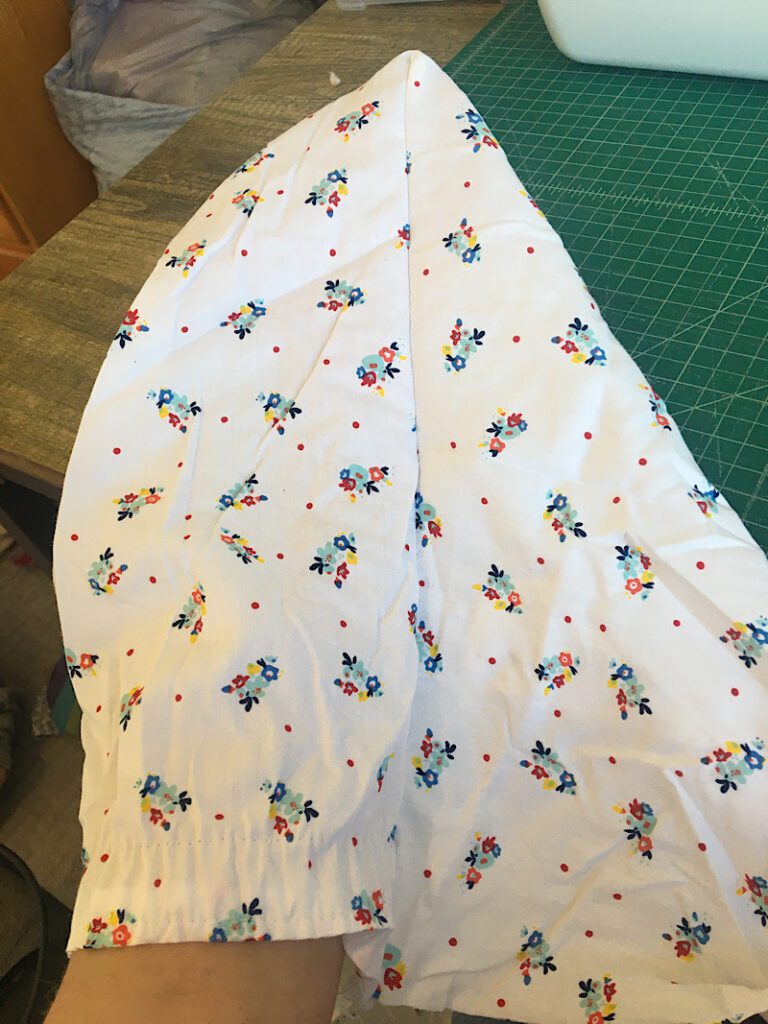
Step 4. Attach The Elastic
The last step is to reattach the elastic to your sheet. There are lots of ways to do this, and the easiest way is probably to replace it how it was originally attached.
For my sheet, I folded the raw edge towards the wrong side of the fabric 1/2 an inch, and then placed the edge of the elastic to cover the raw edge. Then I sewed the top and bottom of the elastic while stretching it, with a long length straight stitch. (You can also use a zig zag stitch.)
However you attach it, make sure to stretch the elastic evenly around the perimeter of the sheet and use a stretch stitch!
When it is complete, the hem with gather nicely.
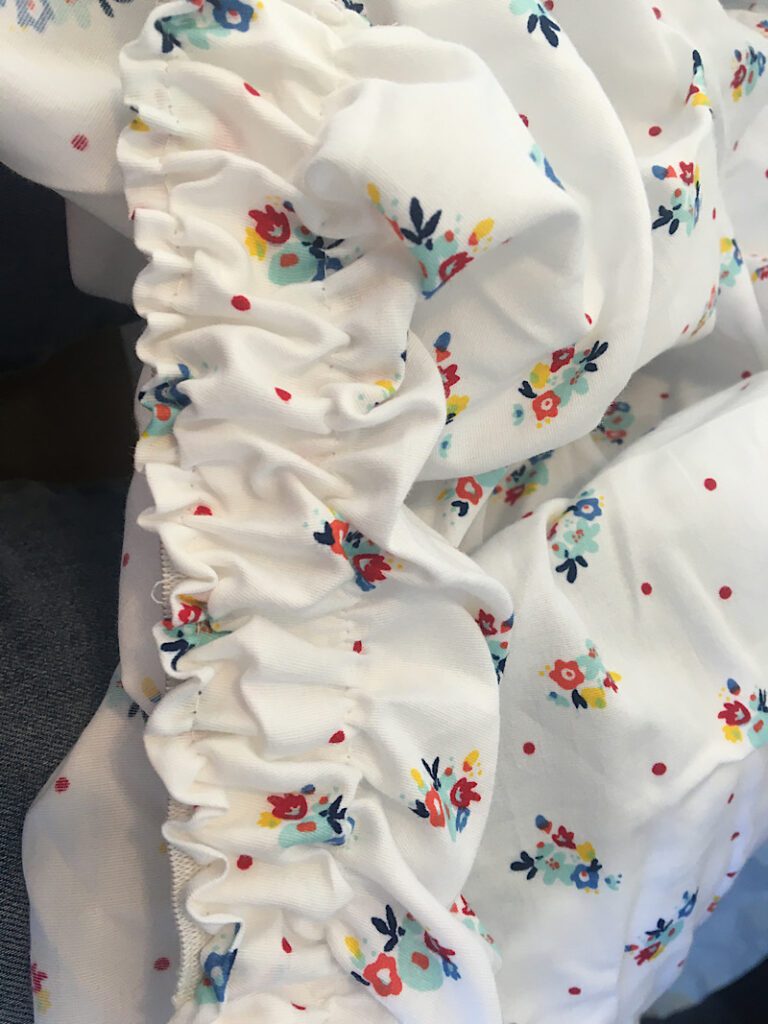
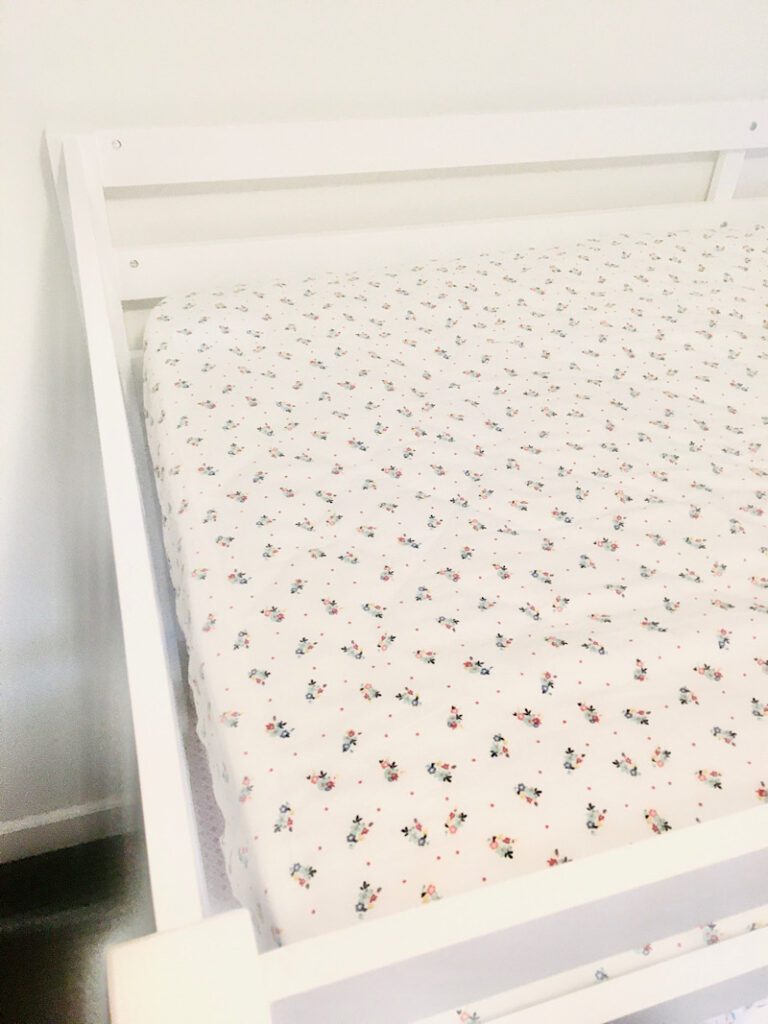
Now you are done! This is how to make your fitted sheet fit a smaller mattress!
Let me know if you have any questions. Thanks for reading!

Did you trim the elastic at all before re attaching?
Kennedy, it would depend on how small you were going for the sheet. i didn’t have to trim it, it still pulled the sheet tight enough for me. But if you were going from a king to a twin for example, you might need to. The thicker the elastic, the stronger it will pull, also.
Dear Seamstress:
I bought a California king sheets set by mistake and am trying to figure if I can cut it correctly in order to fit my queen bed. The card on the Cal. king fitted sheet says it is “for 72 x 84 inch mattress and fits up to 18 inches.”
My new queen mattress has a depth of 15”, so I need quite a deep pocket😁 I can sew well but don’t want to mess up this fitted sheet. Can you tell me with good detail how I can cut this fitted sheet to fit my queen bed? I know how to put the elastic in, but am not confident how much to cut and where. Can you help?
Becky Hunsucker
February 16, 2024
Hi Becky!! So if you take a look at my blog post I have some charts that show you the anatomy of a fitted sheet. Basically they are like a box that is unfolded, a rectangle in the middle, and one rectangle on each side of that. The middle rectangle is equal to the dimensions of the top of your mattress, plus ease. So for a standard queen, that would be 60″ x 80″. Then, each side rectangle needs the height of the mattress, plus ease, plus seam allowance. I typically will do 1.5 times the height and a seam allowance (so for your 15″ depth, I would do about 24 inches.)
If I was you, I would measure your mattress, and draw a picture of this diagram I just described and then make a solid plan, and THEN cut your fabric.
Dear Seamstress, thank you for replying. I do appreciate it. I understand the 60″ x 80″ cut now for this fitted California King sheet. Again, I am trying to take it down to a queen size fitted sheet, and my mattress has a 15″ depth for deep pockets. For cutting out the four corners, you think I should cut 24″ in on both sides of each corner?
Also, the fitted sheet is gathered completely all around with about 1/2″ elastic in it. Would you recommend that my first step would be to take all that elastic out (and reuse-put it back in)? I’m trying to do this right, as it was an expensive sheets set.
Becky Hunsucker / February 19, 2024
Dear Seamstress, did you get my second email to you? I don’t see it here. It’s about downsizing a California King fitted sheet to a queen-sized sheet. I had more questions to pose to you.
Becky Hunsucker / February 19, 2024
Seamstress, I think I get it now. You’ve really helped me start thinking. The middle of the rectangle of my queen bed equals 80″long and 60″wide. Again, I am trying to cut down a California King sized fitted sheet to fit a queen size mattress. Are you saying all my “flaps” are 24″ long (from the top of my mattress to the bottom where they hang straight down? Also, there is about 1/2″ elastic all around the entire fitted sheet; should I seam-rip all this out before doing the above cutting? I would appreciate your input, because you inspired me to “fix” this big sheet, as it was a gift and cannot be returned!! I would like your honest advice because I sort of know what I’m doing but I’ve never done THIS before!😁
Becky Hunsucker / February 19, 2024
Becky, Yes, you should remove the elastic first, as outlined in this blog post tutorial. If you read it through it will help you know what steps to take! I can’t give you exact dimensions because I don’t have the sheet in front of me, but If you read the tutorial it will tell you how to figure out your cuts! measure 3 times before you cut!!