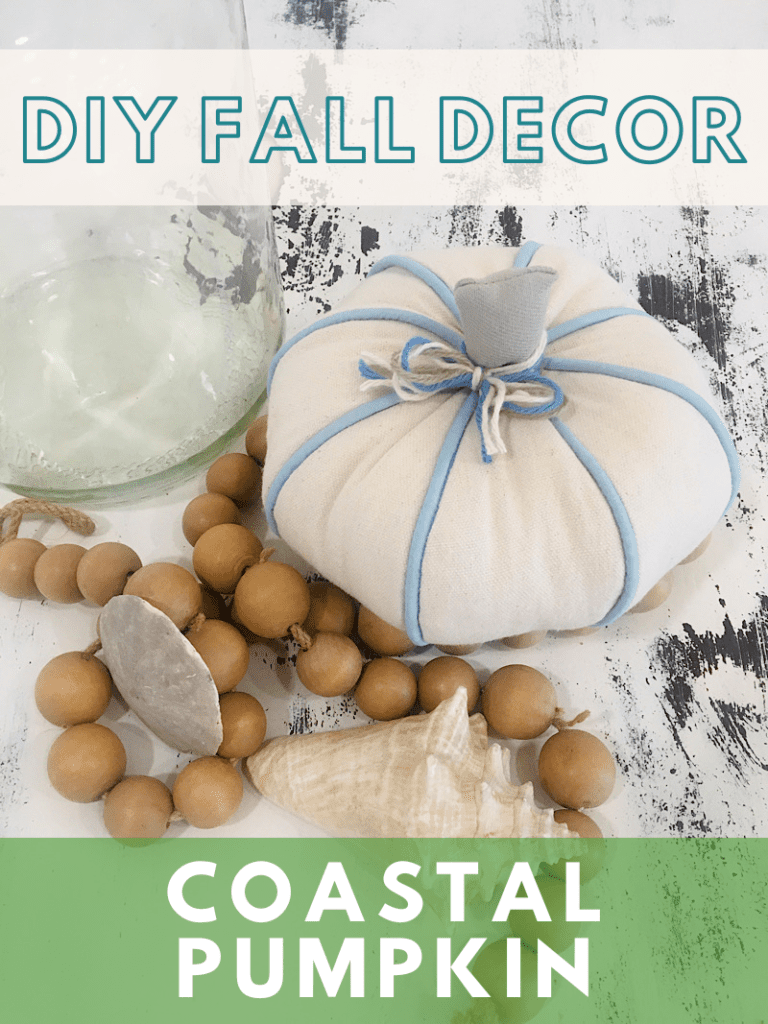
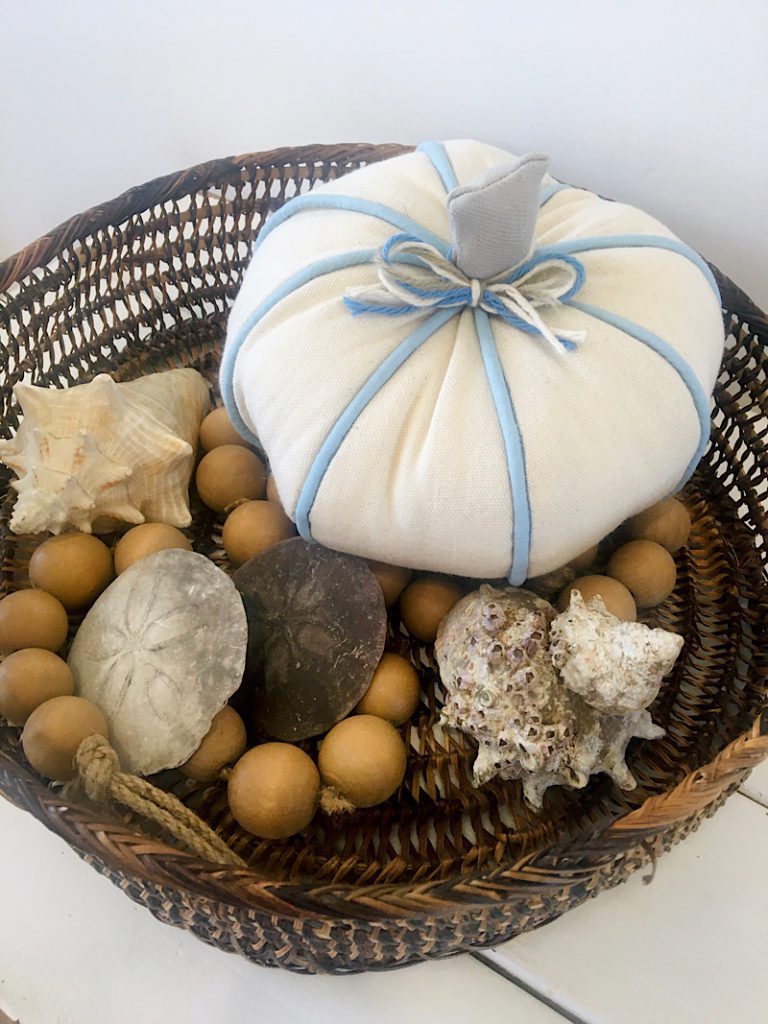
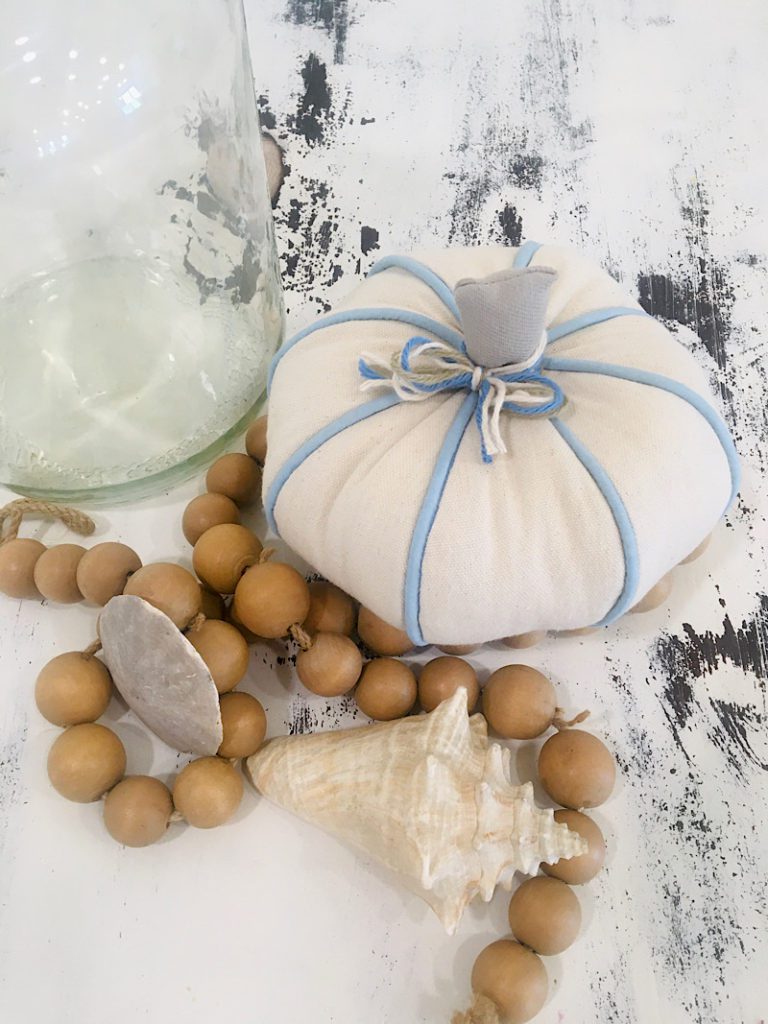
These DIY fabric pumpkins are the perfect way to add some fall vibes to your coastal decor. Made with neutral colored canvas and light blue piping, you won’t have to sacrifice your beach style to display an autumn centerpiece!
I had so much fun whipping up this little canvas pumpkin today, I have been daydreaming about making several matching ones in different sizes! Maybe even a large pillow sized one to go on the couch…
Use these plush pumpkins in centerpieces, tucked on shelves, or even on the porch. The canvas fabric is durable and soft!
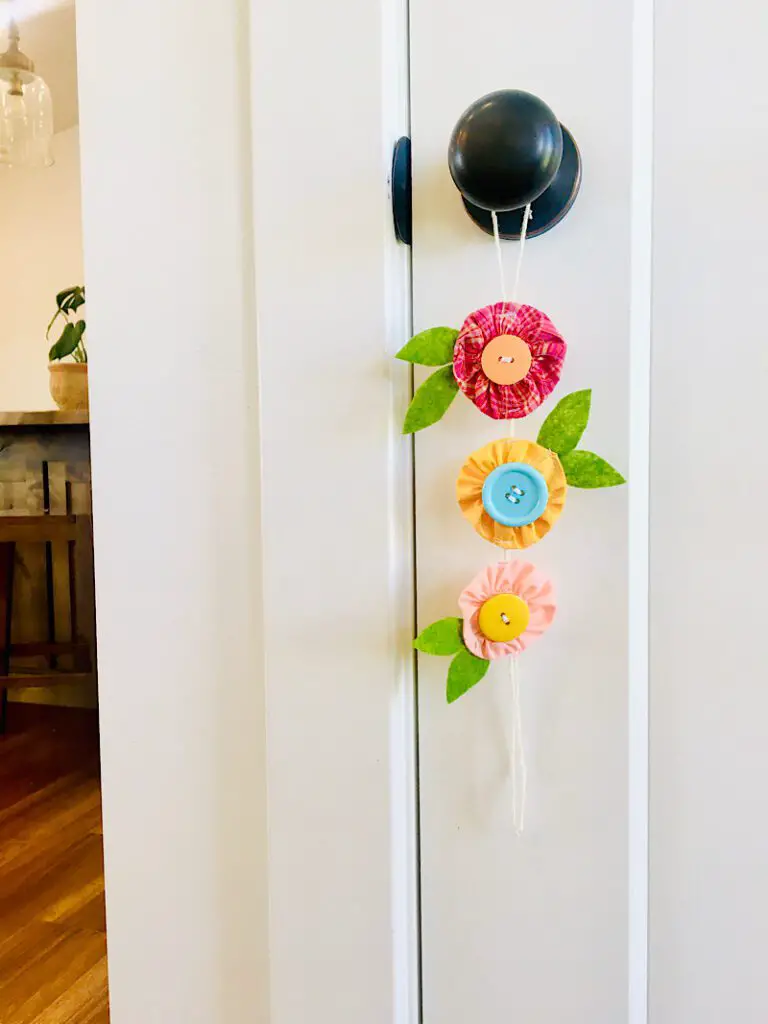
Want more autumn themed pumpkin projects? Check out my super cute pumpkin door knob hanger tutorial!
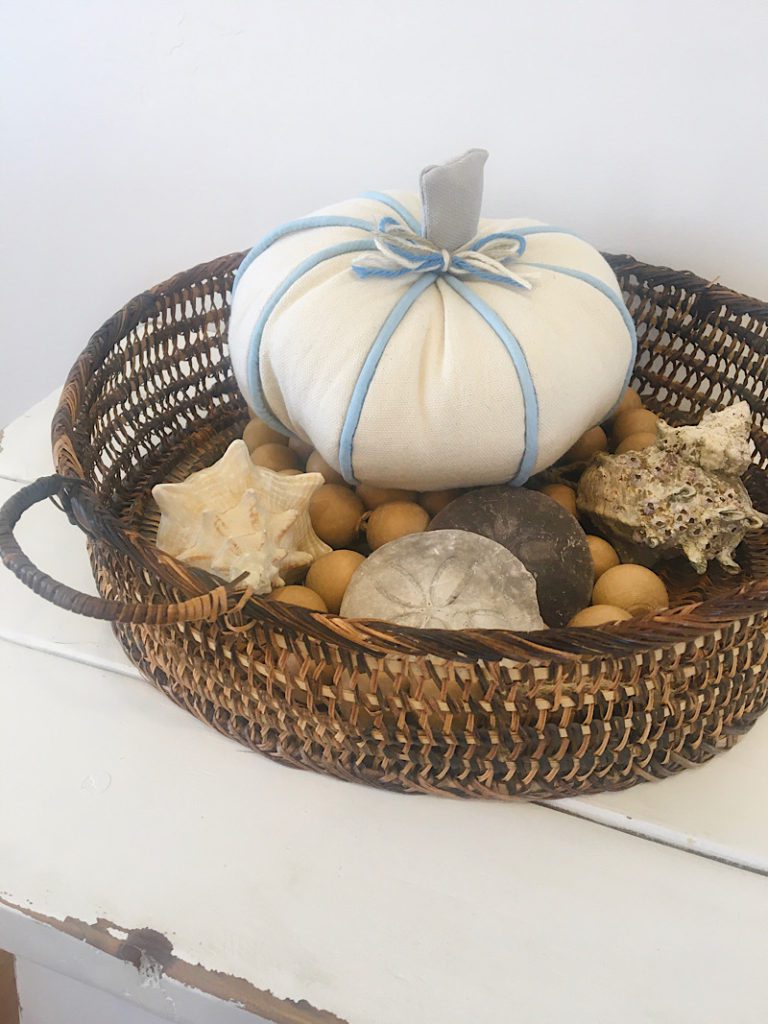
I paired my pumpkin with some sand dollars, a glass jug, wood beads, some shells and a basket for a cute display. What will you come up with?
This post may contain affiliate links. Read the full disclosure here.
About The Pattern
This coastal pumpkin tutorial is suitable for intermediate sewists (or even advanced beginners). You should good familiarity with your machine to make this project. What makes it a bit tricky is sewing on the piping around the curves, as well as a bit of hand sewing at the end.
But if this is your first time sewing piping, don’t be afraid! It is very fun and makes sewing projects look so polished. Just jump in and give it a try.
The finished pumpkin is about 8 inches wide, and 4 inches tall.
To make additional pumpkins of other sizes, simply print the pattern again but scale it larger or smaller as needed. More fabric will be needed for larger pumpkins, of course.
Equipment Needed
- Sewing Machine
- Sewing Shears
- Zipper foot or piping foot (Refer to my guide & photos about types of presser feet and their uses!)
- Hand Sewing Needle
- Sewing Pins or clips
Materials Needed
- 1/3 yard of natural tan colored canvas fabric, at least 36 inches wide, 4-7oz (light or medium weight. I used 7 oz canvas and would not advise using any heavier.)
- 2.5 yards of light blue piping (You can also make your own if you wish. I made my own.)
- 2″x3″ piece of light grey canvas for the pumpkin’s stem. (OR you can use a scrap of fabric, a scrap of the natural tan canvas, or even hot glue on a dowl or stick.)
- 3-6 oz of Fiber Fill (You can also use cotton batting or stuffing, or upcycle the stuffing from a pillow)
- Neutral colored cotton strings or yarn for the bow.
- Matching Thread
How To Make A Coastal Inspired Canvas Fabric Pumpkin
Step 1: Print and cut out the pattern pieces
Download the free pattern by signing up your email below. I will send the PDF printable to your inbox!
Print the pattern at 100% scaling. Measure the 1 inch test square to make sure you printed it right!
NOTE: Your pumpkin pieces will look a little shorter than mine in the photographs. After making my first pumpkin (the one I photographed), I realized the hole in the top of the pumpkin needed to be bigger to make stuffing it easier, so I fixed the pattern but did not rephotograph making another pumpkin. Your pumpkin pieces are symmetrical on the top and bottom, so there is no accidental way they could be lined up wrong. That makes it easier for you!)
Cut out 8 canvas “panels”, one canvas circle, and one rectangle to make the stem.
Cut 8 pieces of piping, 10 inches long each.
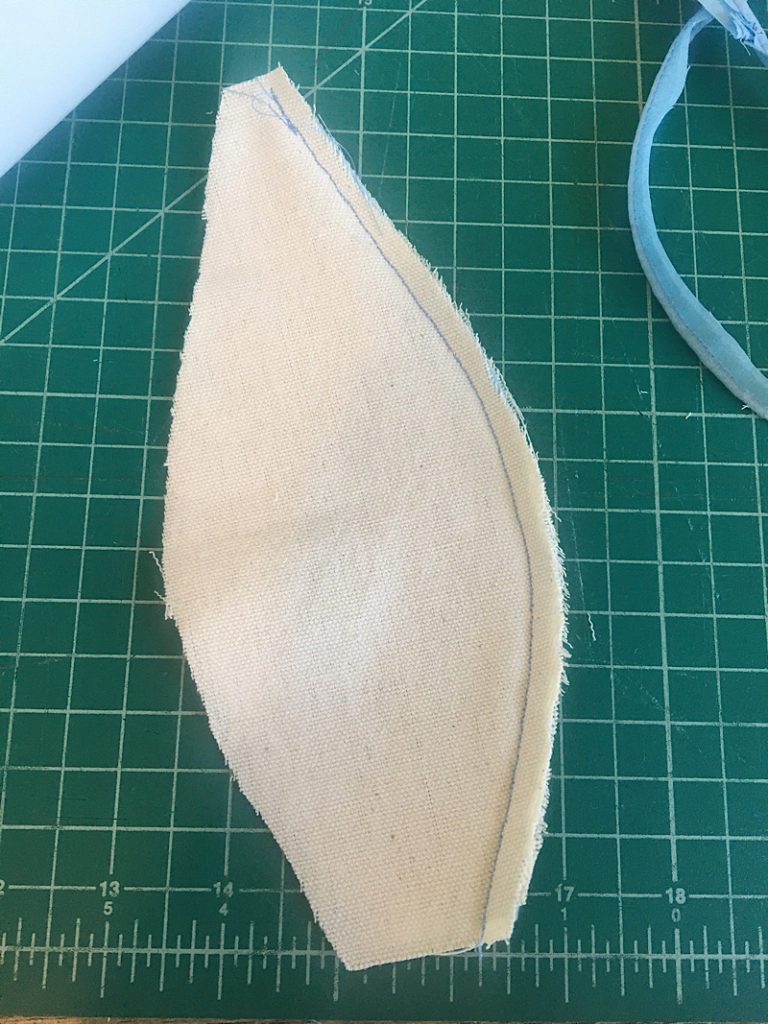
Step 2: Pin and sew the piping
Pin a piece of piping to the right side of one panel by aligning the raw edges.
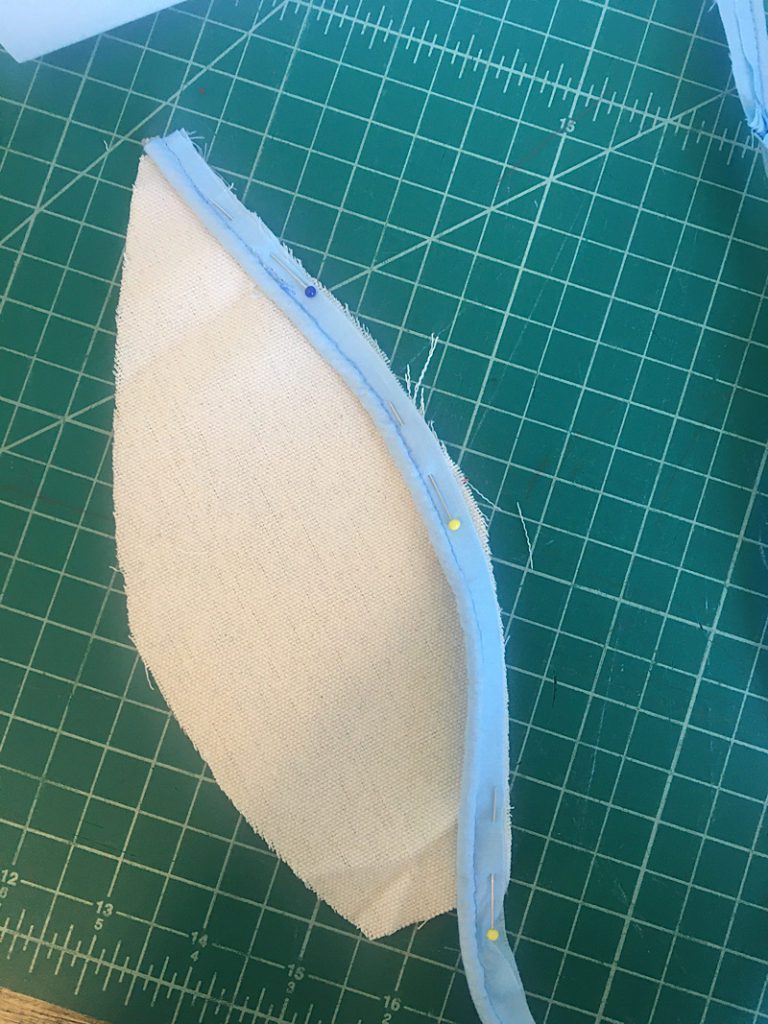
Using a zipper presser foot, sew the piping as close to the cord as you can without sewing through it.
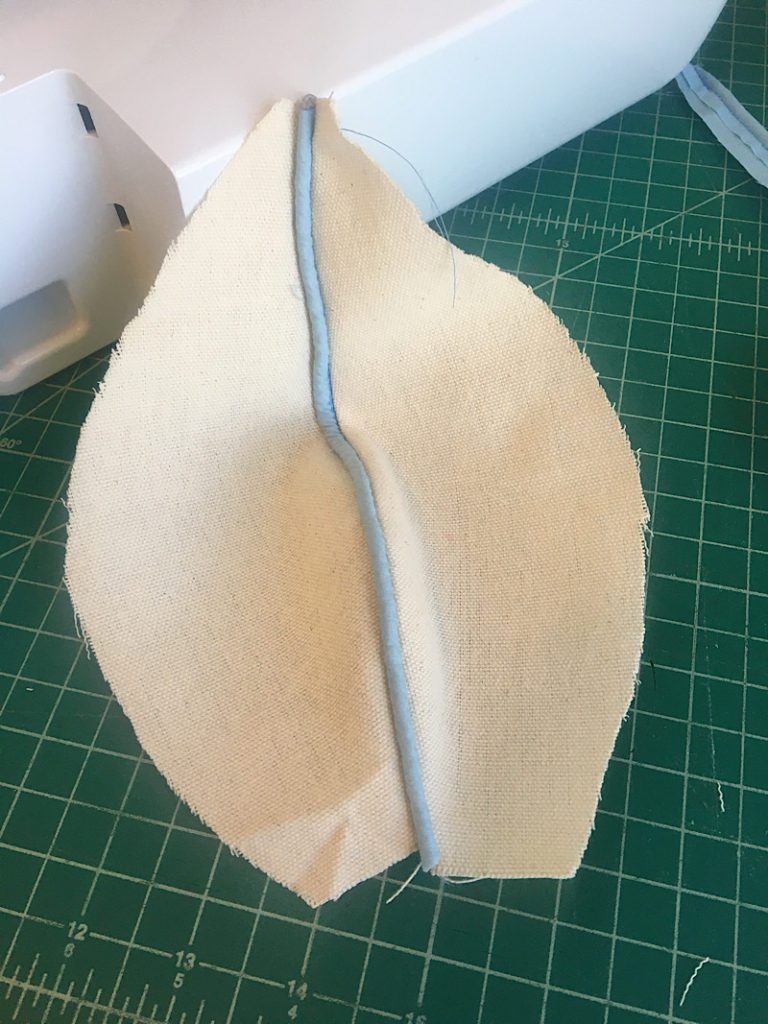
Step 3: Sew on the second pumpkin piece
Lay the right side of the second panel on top of the first one that now has piping, and pin them together.
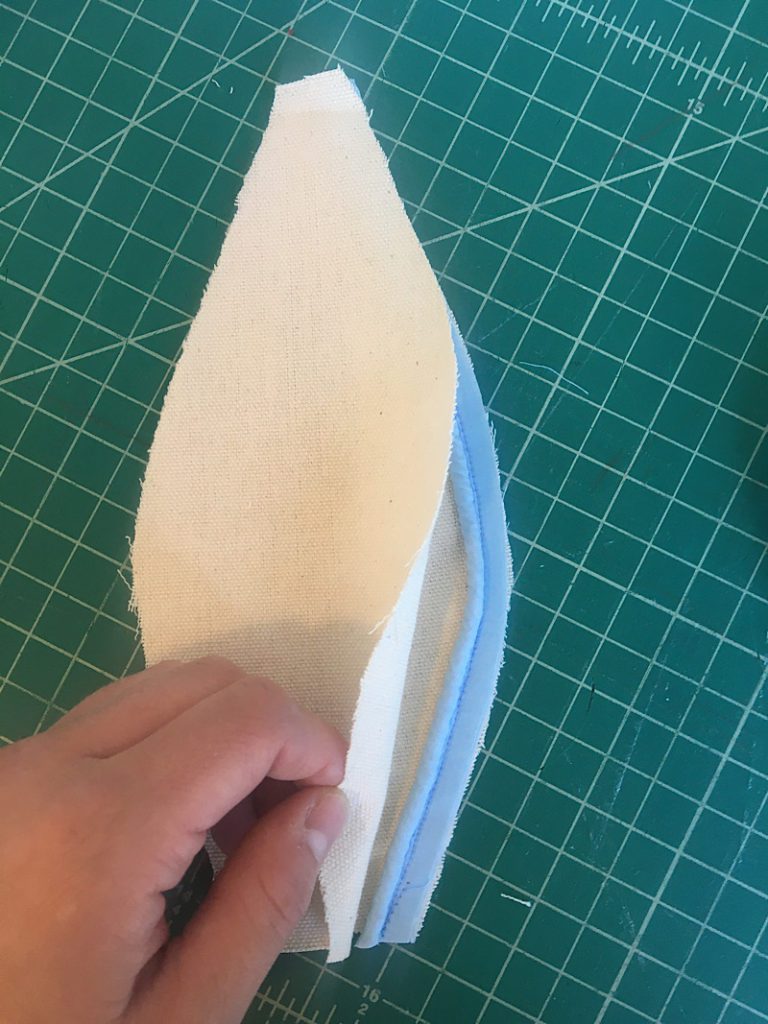
Flip your work over and use the stitched line you previously sewed to help you sew the second panel on, as close to the piping as you can.
(or, instead of flipping your work over, you can just feel through the fabric to find the edge of the piping and sew next to it with the zipper foot.)
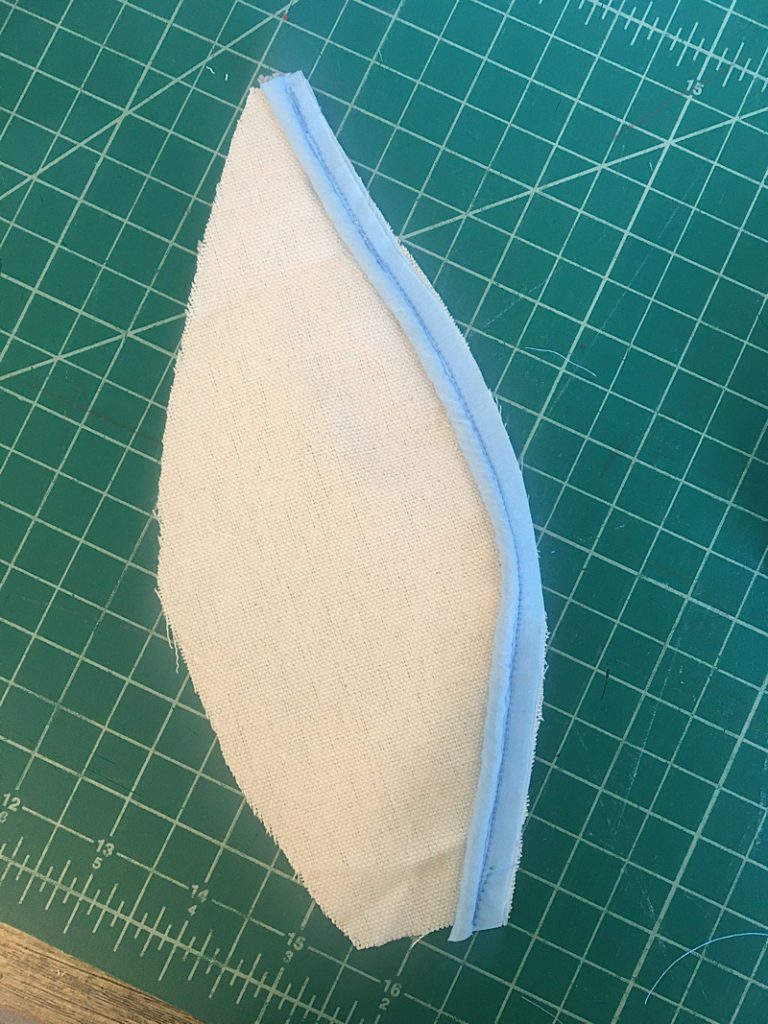
Here is what it should look like so far:
Sew the next piece of piping on the right side of the next panel, using the same steps as before.
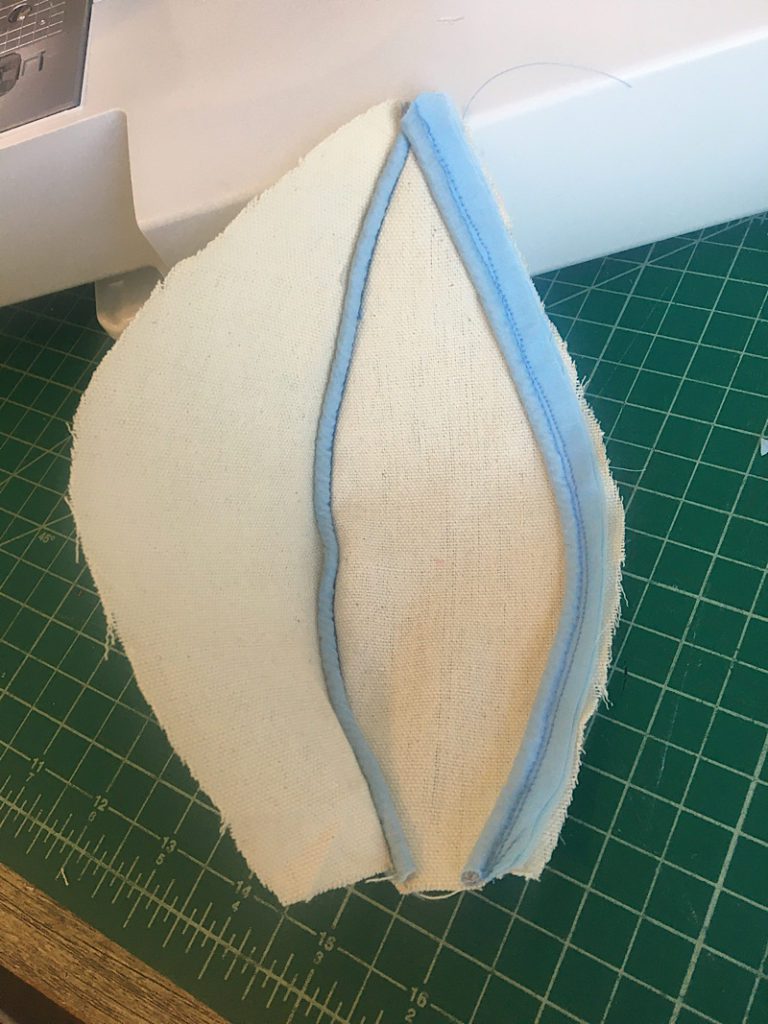
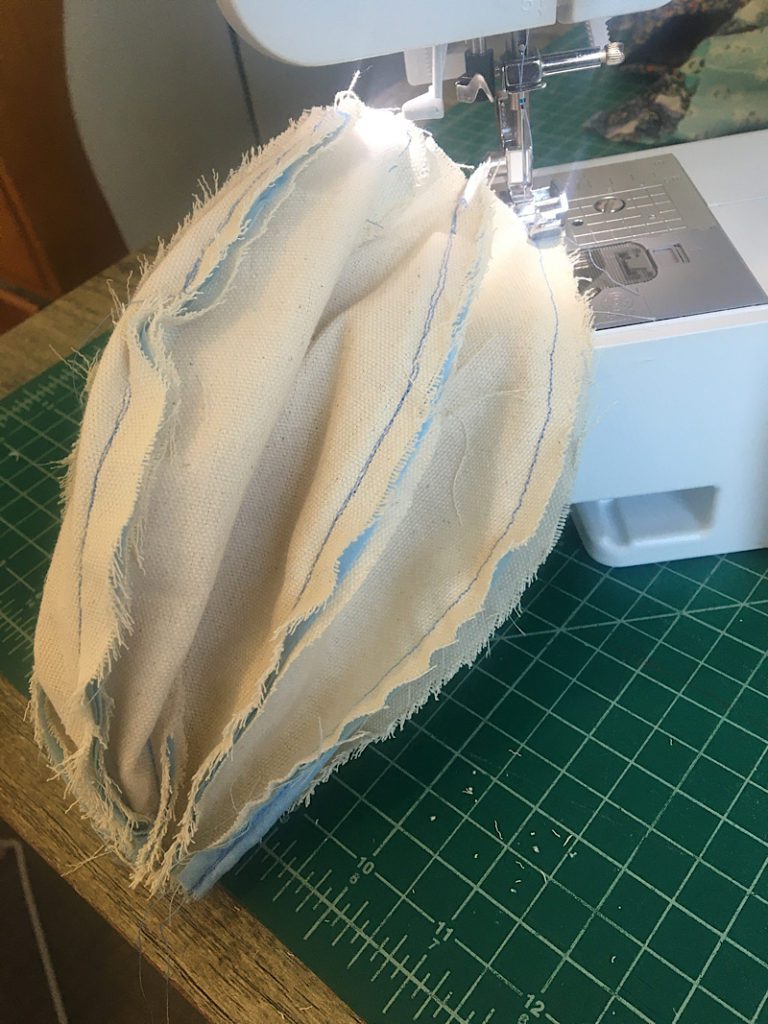
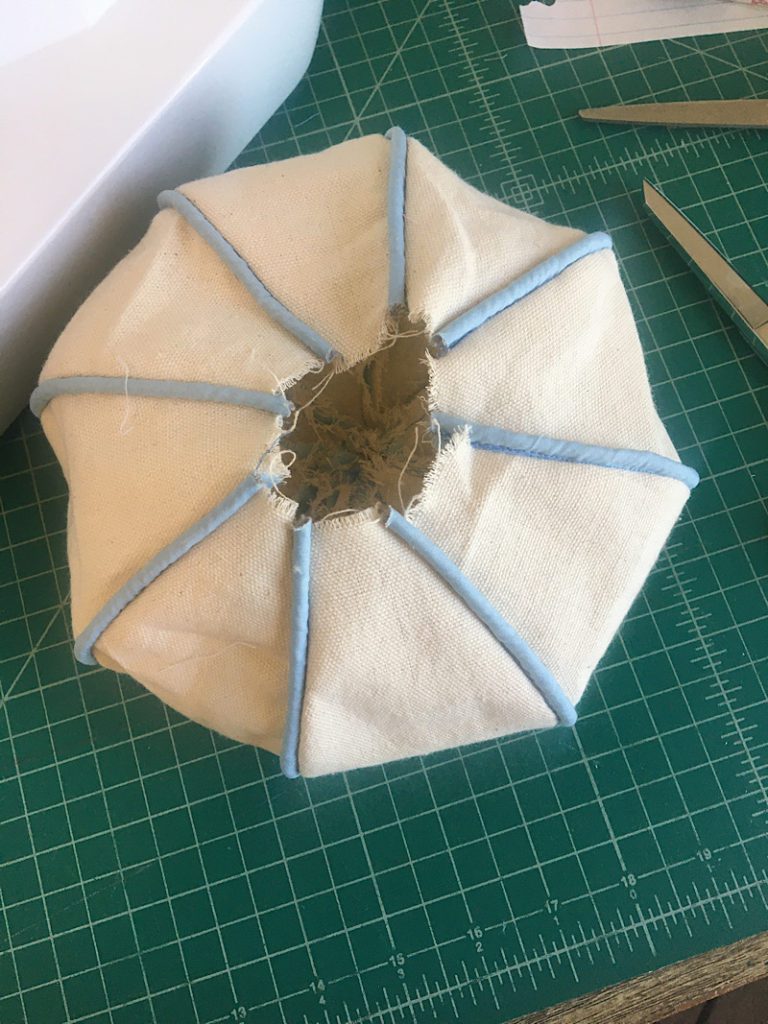
Repeat these steps until you have sewn all the pieces together. Sew the last piece and first piece together the same way. You should now have a tube like shape. (The inside looks a bit messy! You can trim it up if you want to, but I didn’t since it will just be hidden inside. )
Step 4: Sew the bottom of the pumpkin
Here is what your pumpkin looks like when right side out at this point. The top and bottom holes are the same size.
To close the bottom hole, turn the pumpkin inside out again and pin the circle piece of fabric around the edges. The right sides of both pieces should be facing each other.
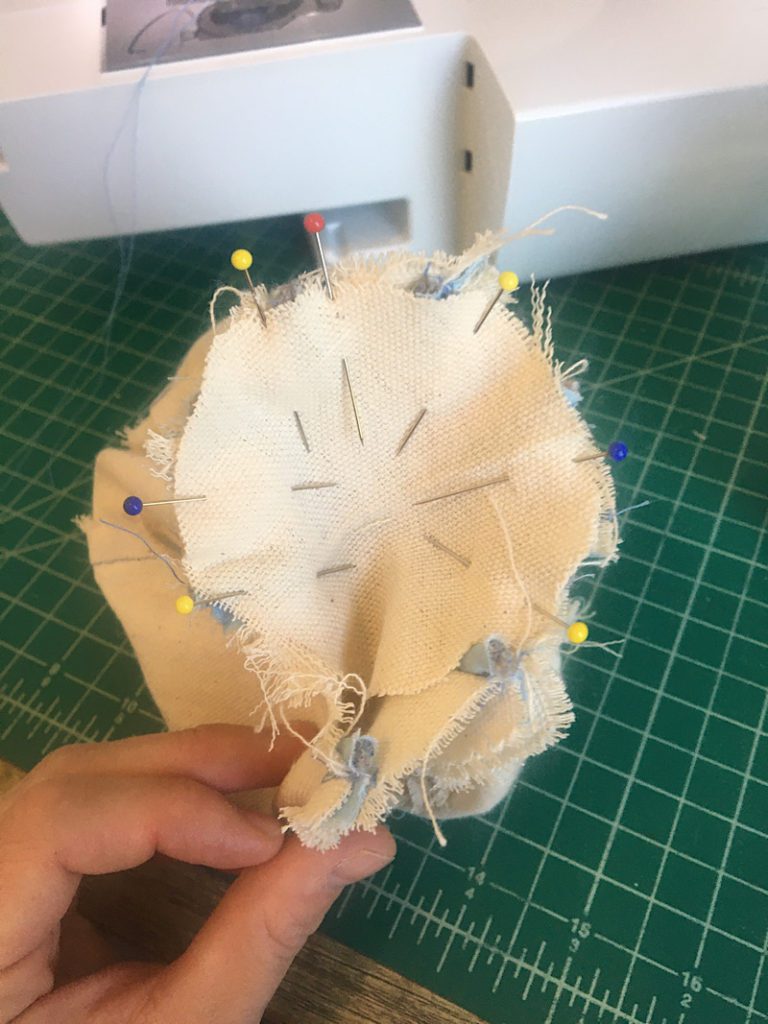
Put the regular presser foot back on your machine. Carefully sew around the circle to attach it to the pumpkin. You will have to work your way around the circle a bit at a time, making sure nothing is bunches up or folded underneath.
Turn the pumpkin right side out.
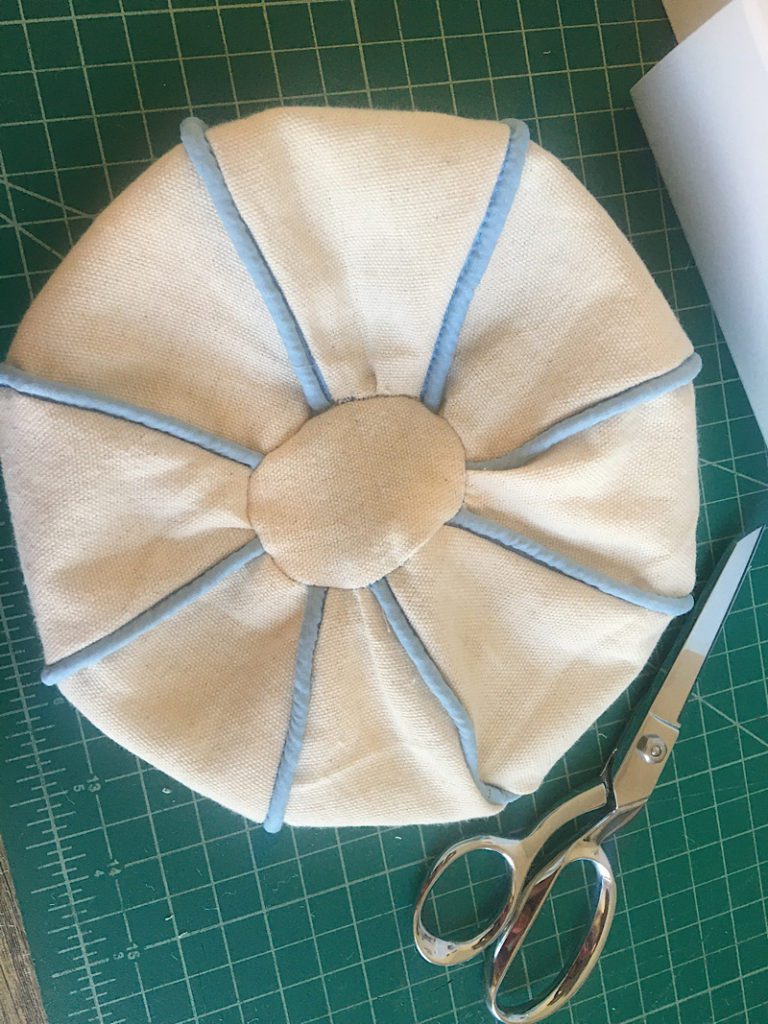
Step 5: Stuff the pumpkin
Use the fiber fill to stuff the pumpkin from the remaining hole on top.
Leave enough stuffing for the stem later on. (A palmful or so.)

Step 6: Sew the Pumpkin Closed
Thread your hand needle and make a basting stitch around the top hole.

Pull the ends of the threads to cinch the hole mostly closed. Leave it open enough to stick a finger or two through.
(You may need to double your thread so it is strong enough for this part. I broke mine the first time.)
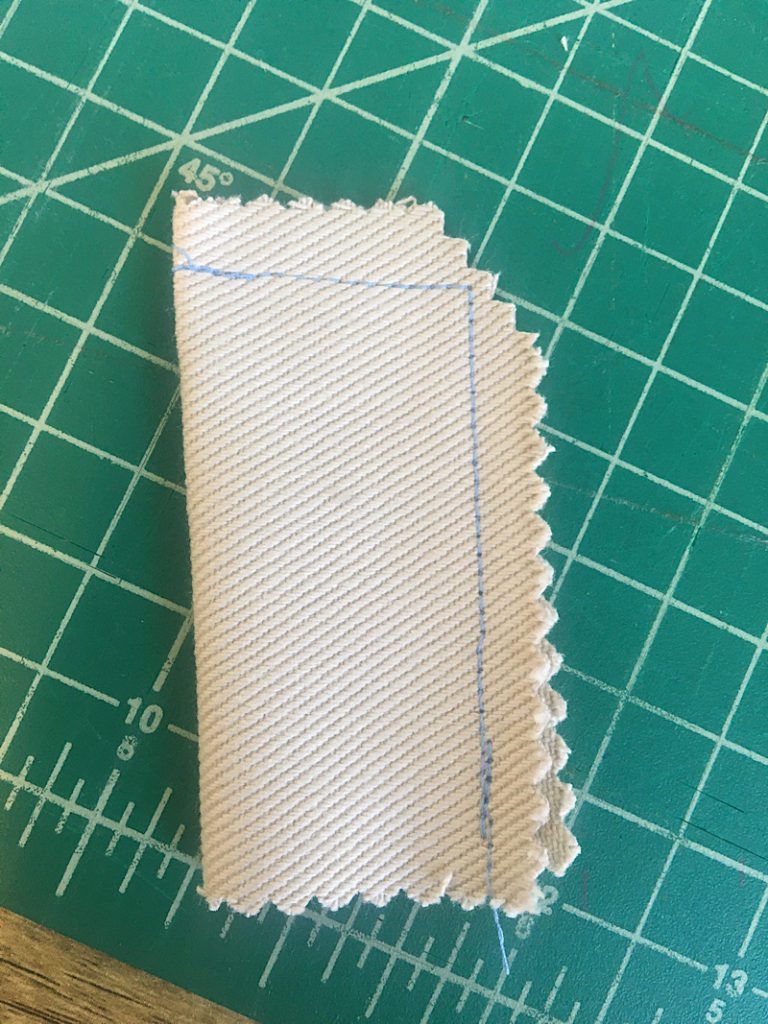
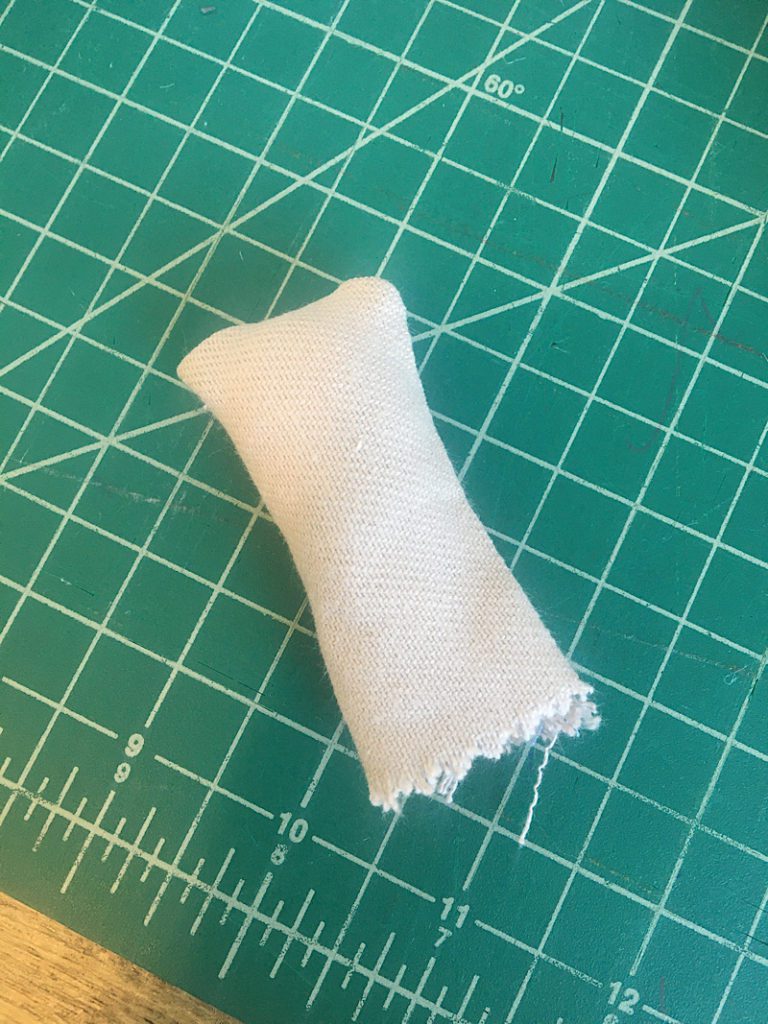
Step 7: Sew and attach the stem
Fold the piece of fabric you are using for the stem in half (so it is 2 inches tall).
Use a 3/8ths inch seam allowance to sew across the top and side. Trim a bit off the corner to remove bulk.
Turn the stem right side out.
Stuff the stem with the remaining fiber fill.
To attach the stem to the pumpkin, push it down into the hole of the pumpkin until it sticks out about halfway.
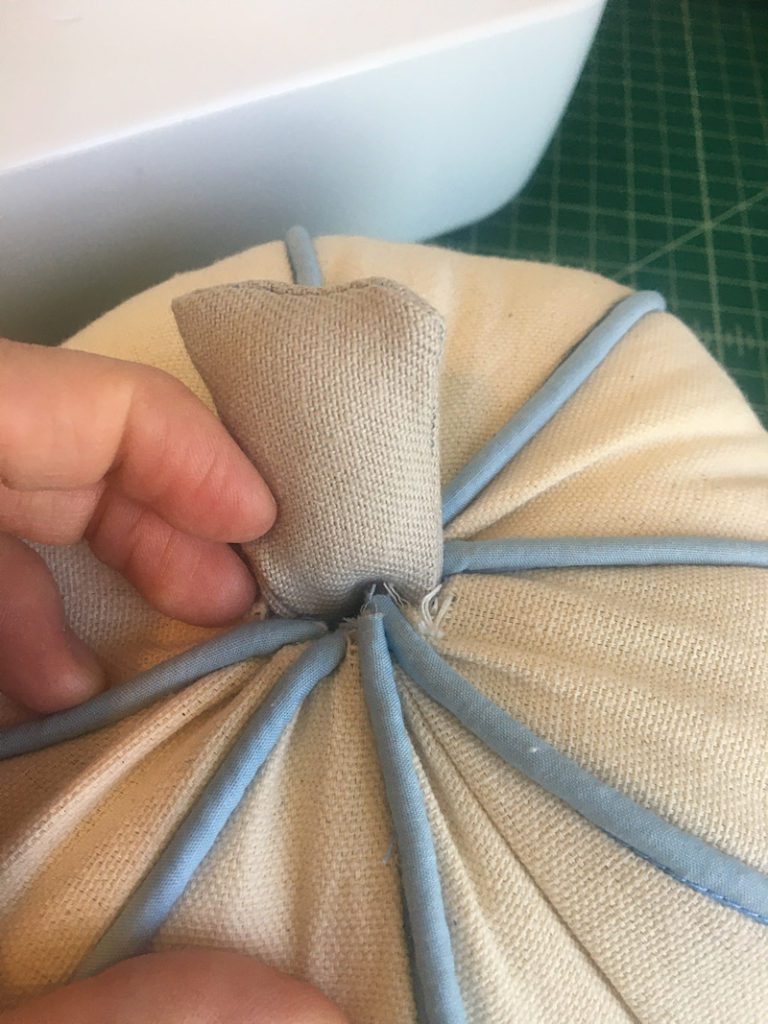
Using the hand needle, sew the base of the stem to the pumpkin.
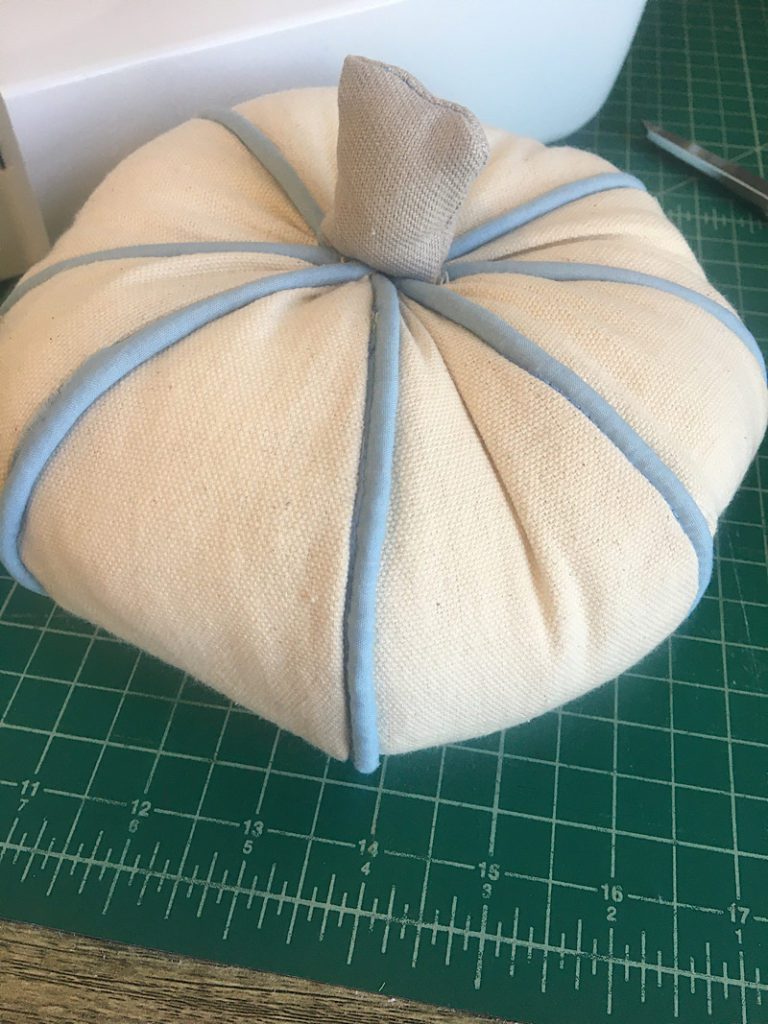
After the stem is attached, there is an optional step you can do to help shape the center of the pumpkin. Poke the needle down through the pumpkin near the stem, and pull it out through the bottom. Then insert the needle back up through the bottom and exit near where you started, pull the threads tightly to pull the center of of the pumpkin down a bit. Then knot the threads and trim the ends.
Step 8: Tie on the bow
Cut and wrap a few pieces of yarn or string around the stem, and tie them into a bow. This finishes your pumpkin!

I think it turned out pretty cute! The coastal colors add a really classy touch to the fall theme.
I played around with several locations in the house to display it, on the table, on the kitchen island, and on the bathroom counter.
Eventually, my kids found it and threw it like a ball. Well, I should have known that would happen! A fabric stuffed pumpkin does look like a ball…

It would be fun to make a few DIY fabric pumpkins in different sizes, shapes, or colors to mix and match. I love how quick and easy it was! It was a great way to use up some extra piping cord I had leftover.
I hope this gets you excited to make your own fabric pumpkin! Let me know what you think in the comments below!