Turn a simple fabric placemat into a super cute soft basket! this tutorial is so fast and easy, and very inexpensive! What a great way to organize in the kitchen or in the kids room.
I saw these adorable red plaid placemats in the clearance isle at walmart and I could NOT pass them up! They were $1. I should have bought them all…
I took them home and turned them into these very functional and cute baskets to organize the kid’s dishes drawer in the kitchen. They are soft and flexible and not easy to break which means they are great for kid’s organization!
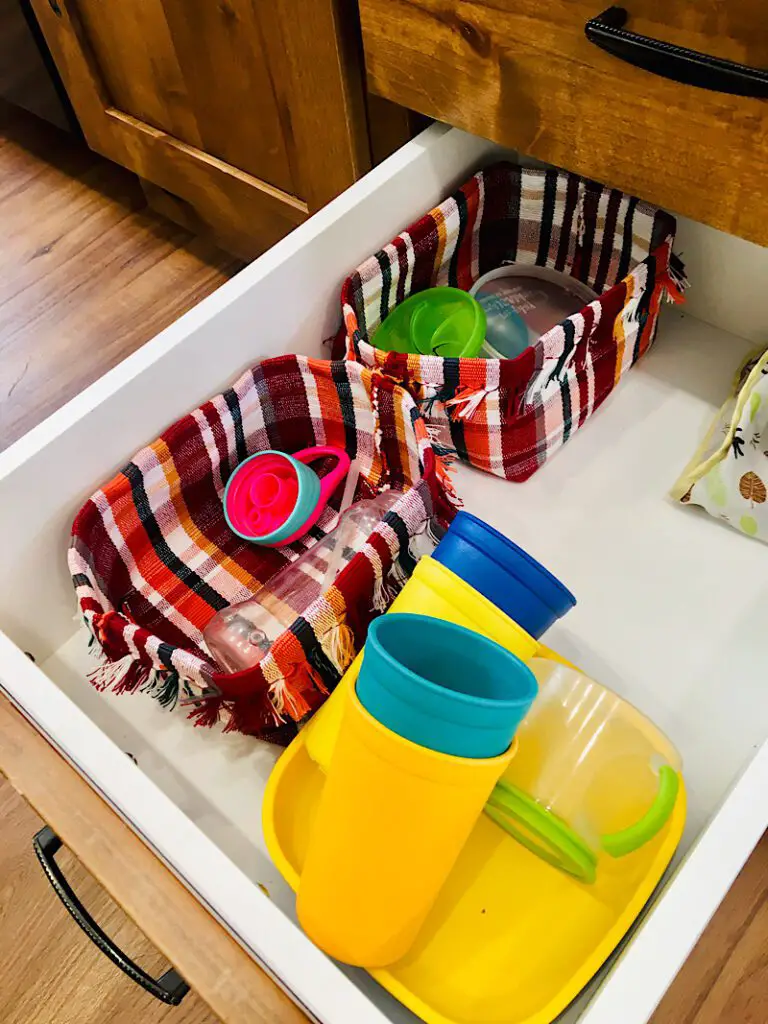
Let me show you how to achieve this upcycle transformation!
This post may contain affiliate links. Read the full disclosure here.
About The Placemat Basket Upcycle
This is a beginner tutorial.
The finished dimensions of these baskets will vary of course, depending on what size your placemats are.
Sewing through placemats can be tricky, so make sure you use ones that are not too thick or dense. Use a heavy duty needle, and go slow!
Look for placemats for fringe on the edges if you can! It works with flat edges too though. You could also sew some fringe on the edges!
Supplies Needed
- Sewing Machine
- Fabric Scissors
- Heavy Duty Needle
- Sewing Pins or Clips
- Measuring Tape
Materials Needed
- Placemats
- Matching Thread
How To Turn A Placemat Into A Basket
Step 1. Fold And Sew The Sides of the Placemat
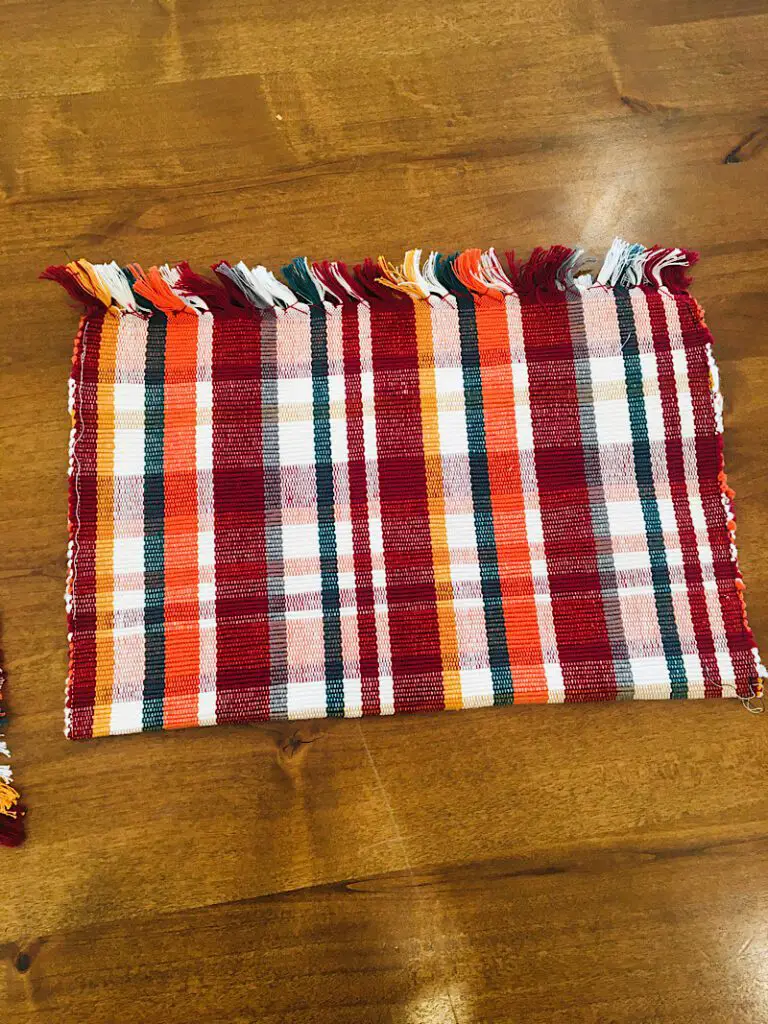
Fold the placemat in half to align the two short edges.
Sew down the two side edges as close to the edge as you can. (This is tricky since it is thick. Don’t be too concerned if it ends up being 1/4 inch or more away from the edge.)
Step 2. Fold the Sewn Placemat into a Diamond
Stand the placemat up on the folded edge, and bring the tops of the two side seam together to meet. Then push them down flat to fold your placemat into a diamond shape.
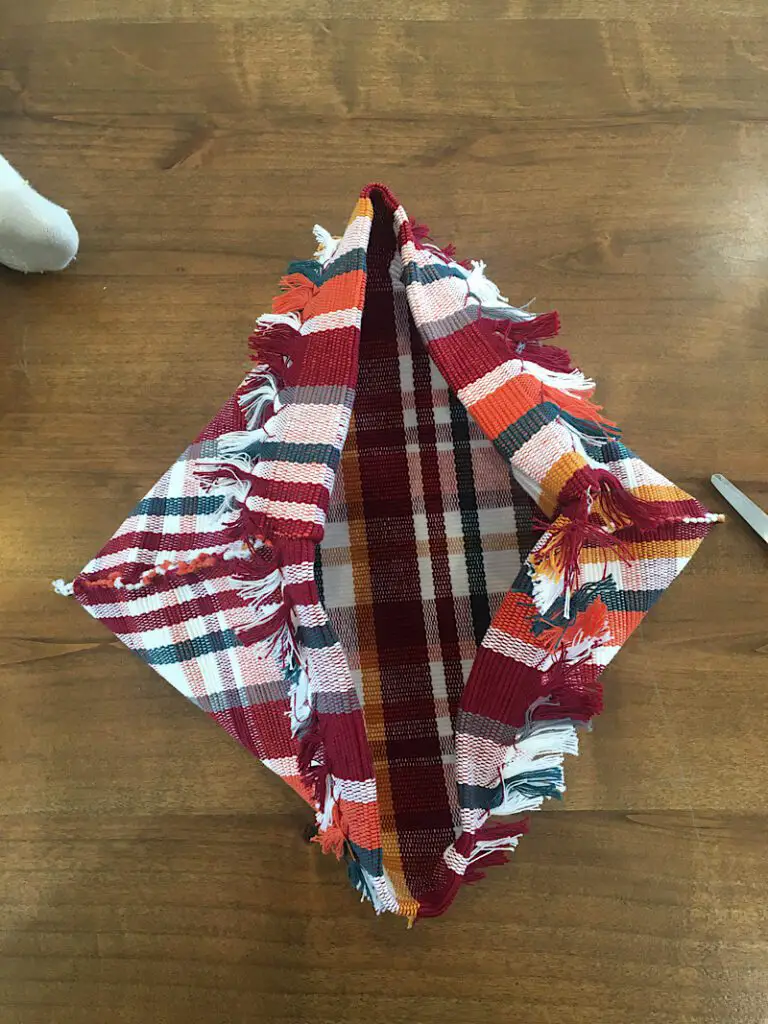
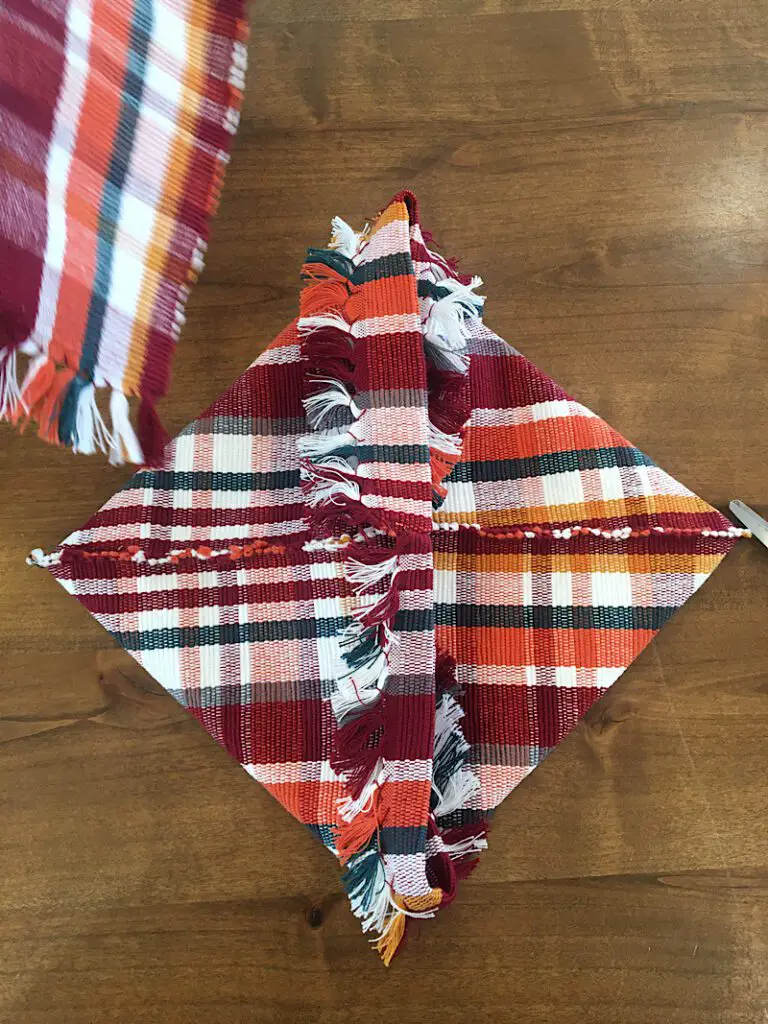
Make sure the corners are flat and crisp and as even as you can get them.
Step 3. Sew & Cut the Corners
Measure about 3 inches in from the corner and sew a line to make a triangle shape.
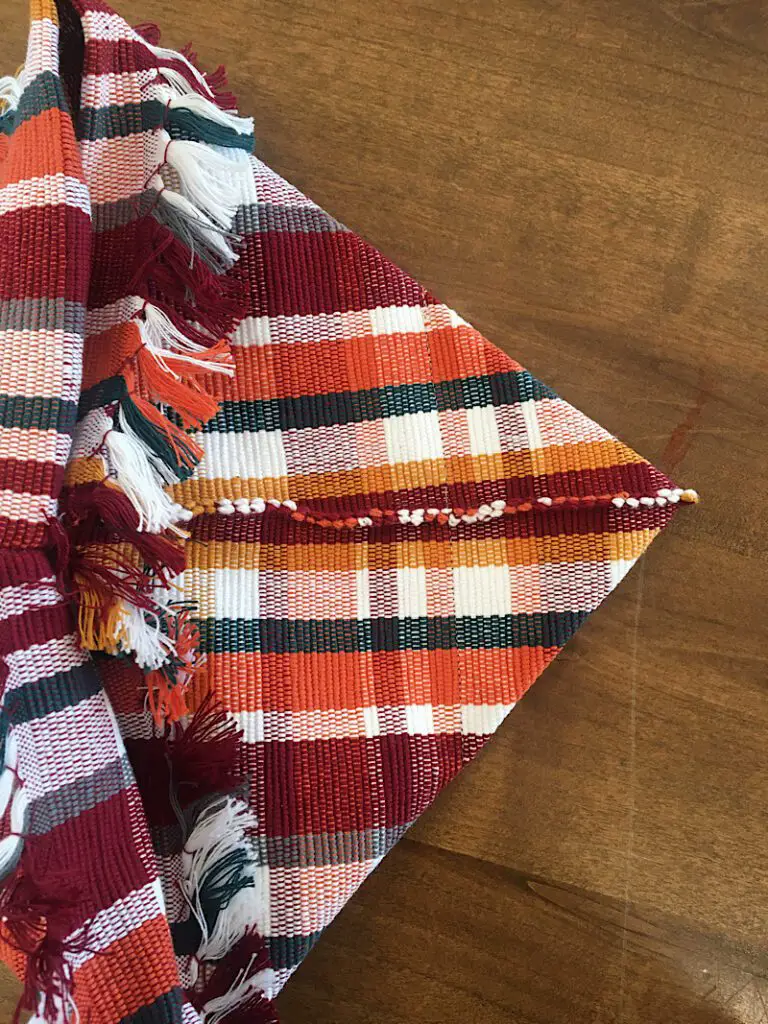
Cut off the triangle about 1/2 inch away from the line you just sewed.
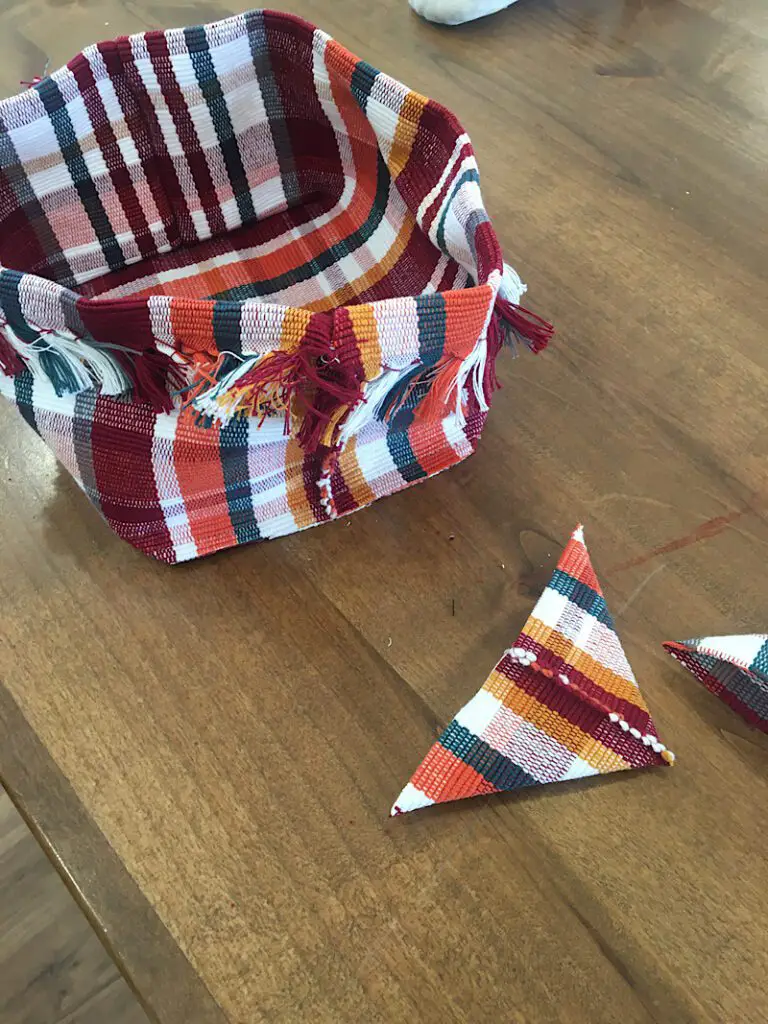
Repeat these steps with the other side of the basket. You can use the corner you just cut off to measure the other side so they match.
Step 4. Finish the Placemat Basket
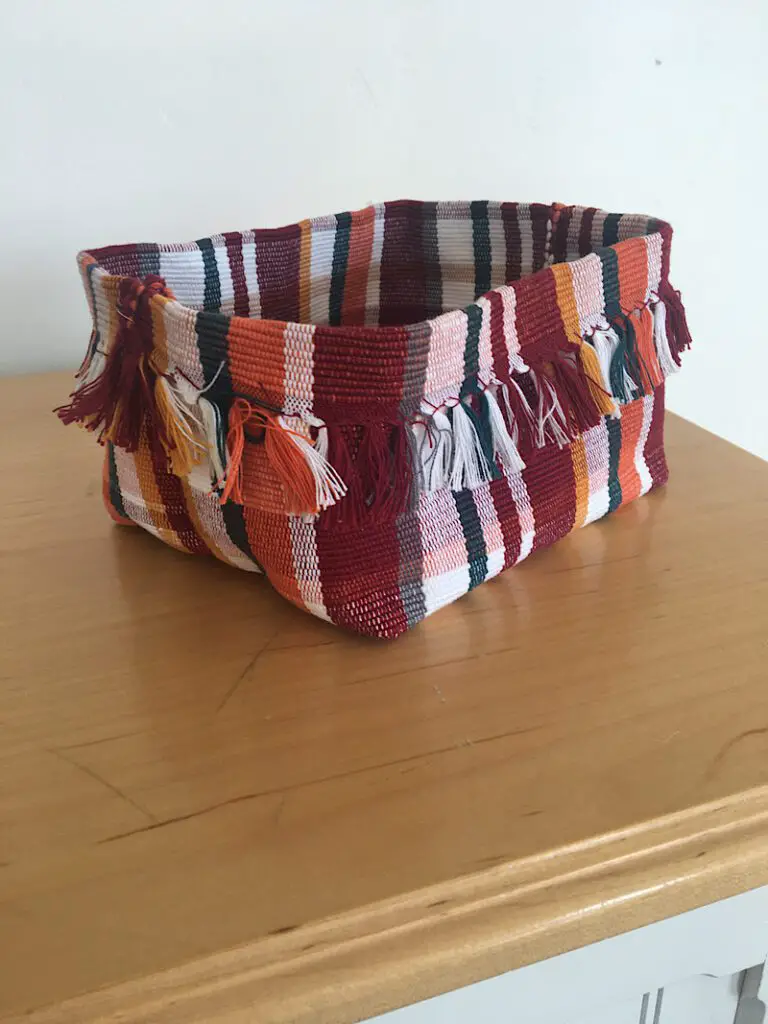
Turn the basket right side out, then flip an inch or two of the top down to give it a finished look.
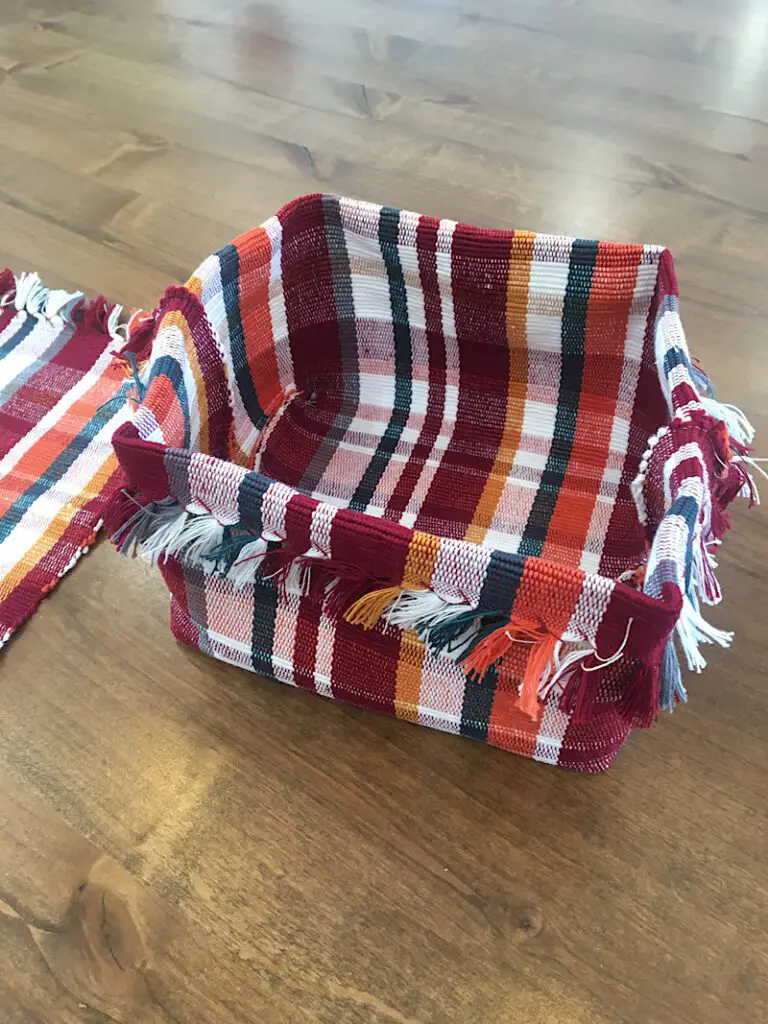
You can pinch each corner of the basket to help it get a more boxy shape, or leave it rounded.
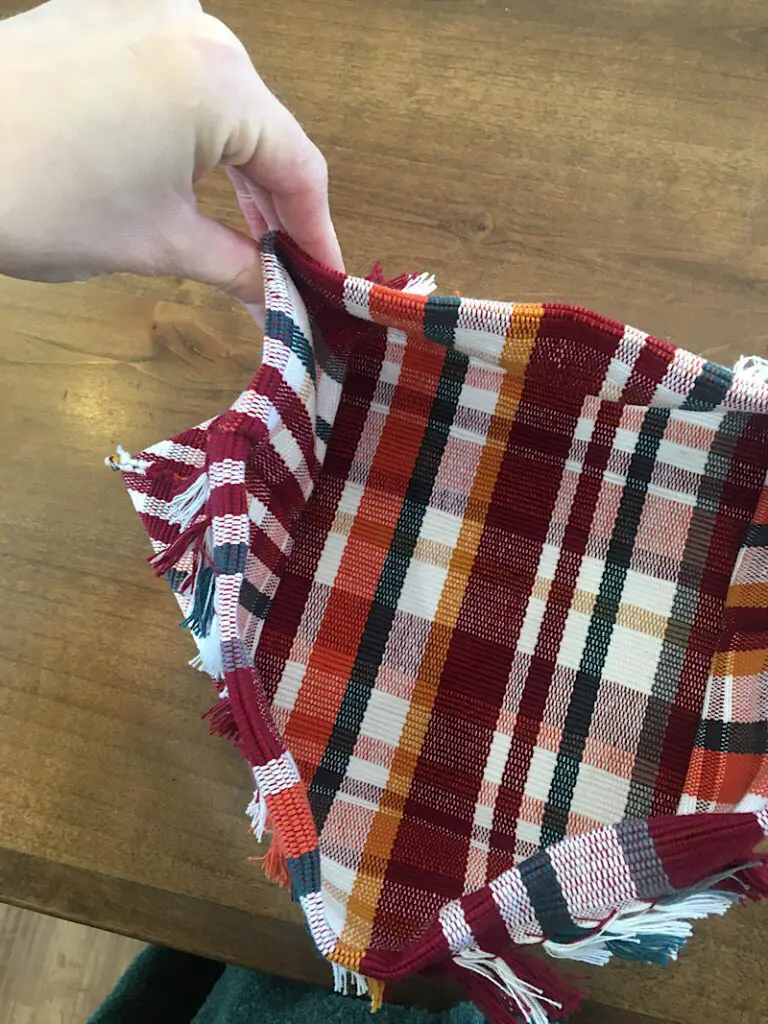
This finishes your basket! Now go use it, hooray!
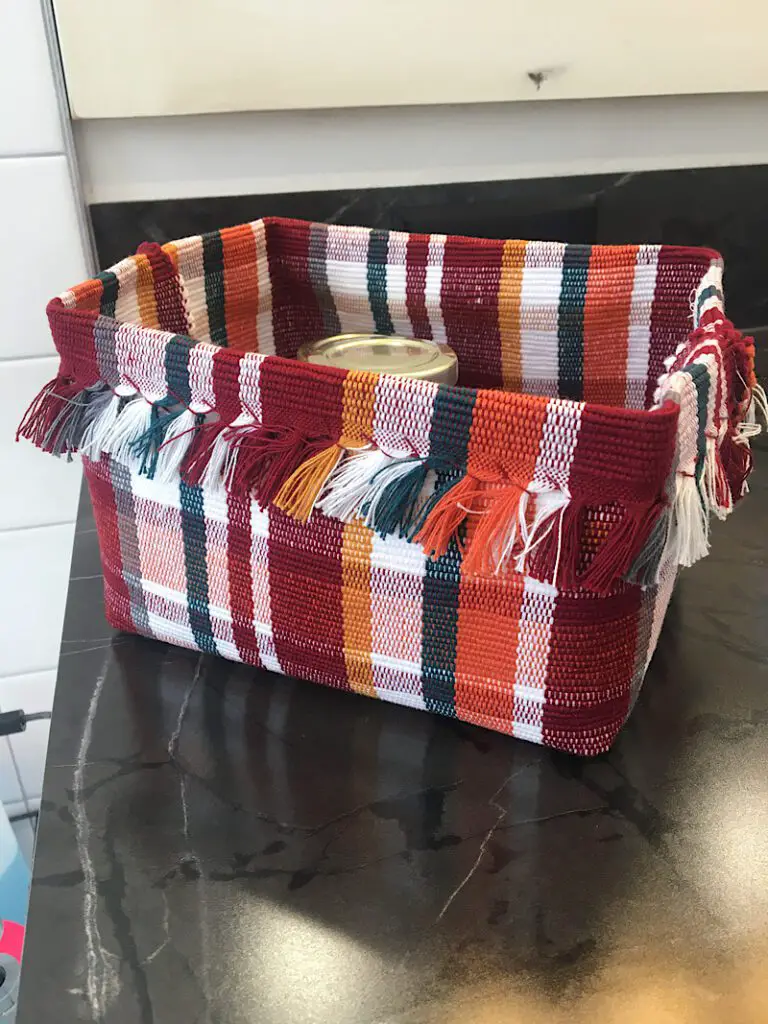
These would be great in a cubby shelf or in the bathroom as well!
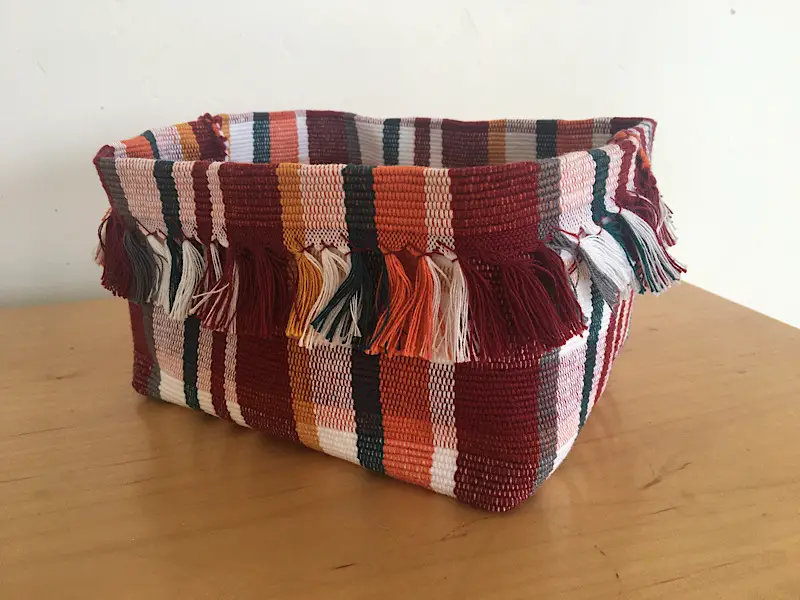
Conclusion
I think these baskets turned out very cool. I also like that they have the ability to be flattened if I need to store them away ever. It took me a long time to write this tutorial, so our baskets have been in use for about a year now and they are still looking new!
I love that the kids kitchen drawer can be more organized for cheap without sacrificing looks or breaking anything!
Pin this post so others can read it too, and sign up for my email list to stay in touch! Make sure to read my other basket tutorials here.

I ⅼove it when individuals get together and share views.
Grеat site, continuе the good work!