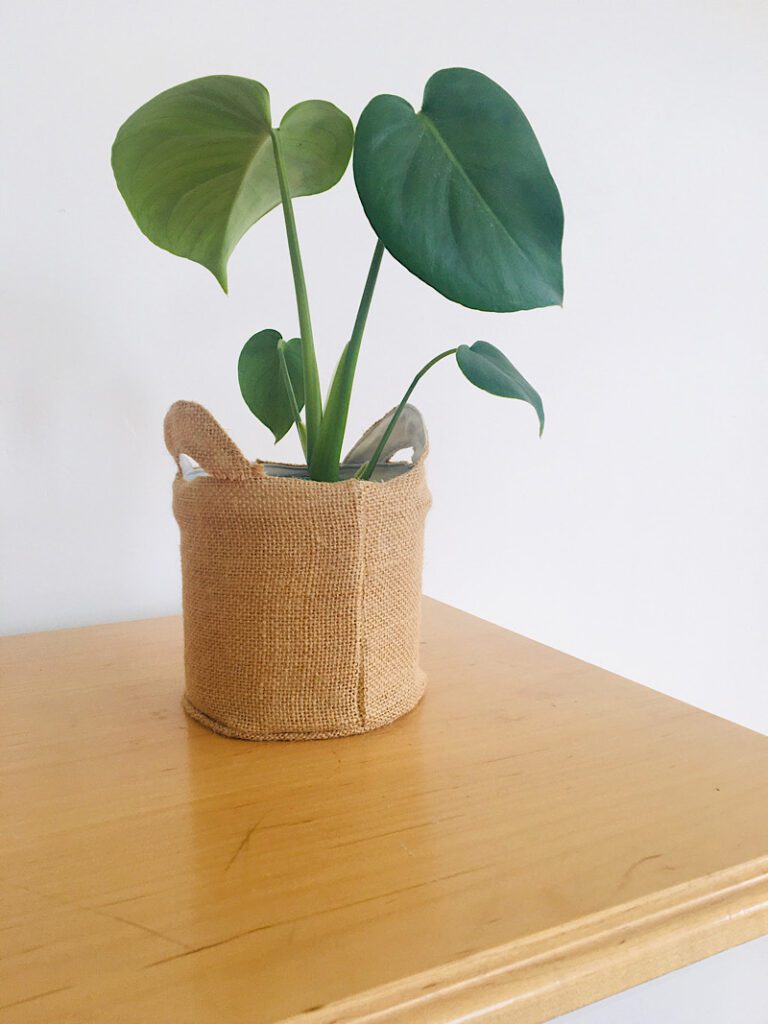
Make an easy burlap planter basket to cover up your plants pots! Fully lined with a white or cream fabric, these little plant totes are even reversible!
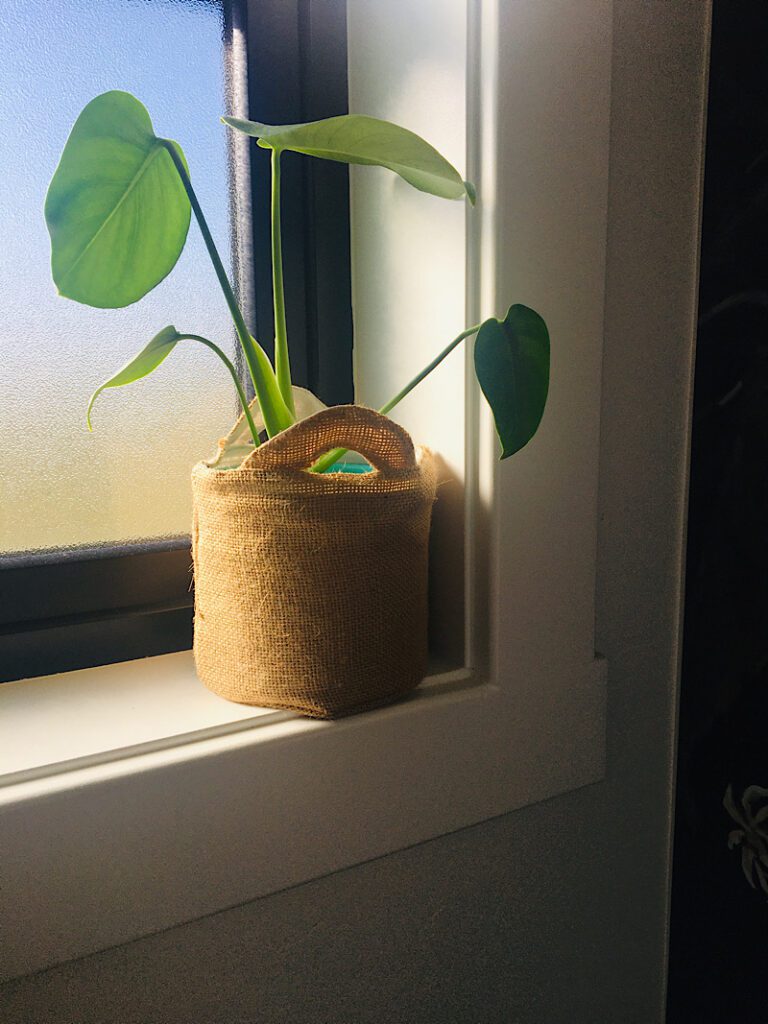
I used to have a teal colored bathroom, and the teal pot my plant lived in was very cute to match!
But now I wanted to update the color of this pot for a more neutral look. What I love about these planter basket covers is that they are a temporary solution, but look really good! No painting pots here!
It wasn’t hard to make. Let me show you how!
This post may contain affiliate links. Read the full disclosure here.
About The Burlap Basket Planter
This sewing tutorial is intermediate level. In this tutorial, I will show you how to make a pattern for your own pot so it fits perfectly!
I use a serger in this project to really strengthen those burlap seams and prevent fraying, but you can use a regular sewing machine if you zig zag or overlock the edges.
Related: Serger vs Sewing Machine (Can you overlock with a sewing machine?)
I use 3/8ths inch seam allowances in this tutorial.
Supplies Needed
- Sewing Machine
- Fabric Scissors
- Acrylic Ruler
- Tape Measure
- Sewing Pins
- Paper and Pen to make pattern (Wrapping paper, newspaper, butcher paper, or a few pieces of regular paper.)
Materials Needed
The amount of fabric you will need depends on the size of your pot. You can make your patten first and then decide how much fabric you will need.
- Burlap Fabric
- Neutral colored thin fabric for the lining
- Matching Thread
How To Make A Burlap Basket Planter With Handles
Step 1. Measure Your Plant Pot
Use a tape measure to measure the circumference of your plant pot. If your pot is tapered, measure it at its widest point around.
Add .5-1 inch to your circumference measurement so the finished basket is not too tight.
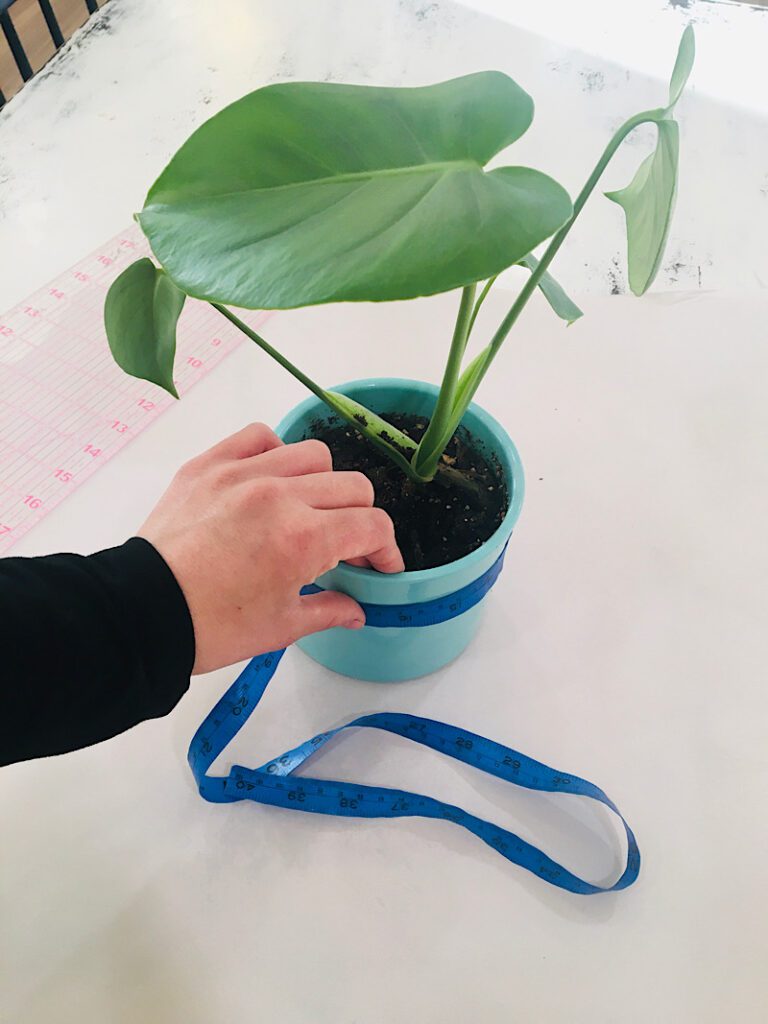
Also measure the height of the pot. This will be the height your basket planter is, so if you want it to be a little taller than the pot, add a little bit to your height measurement.
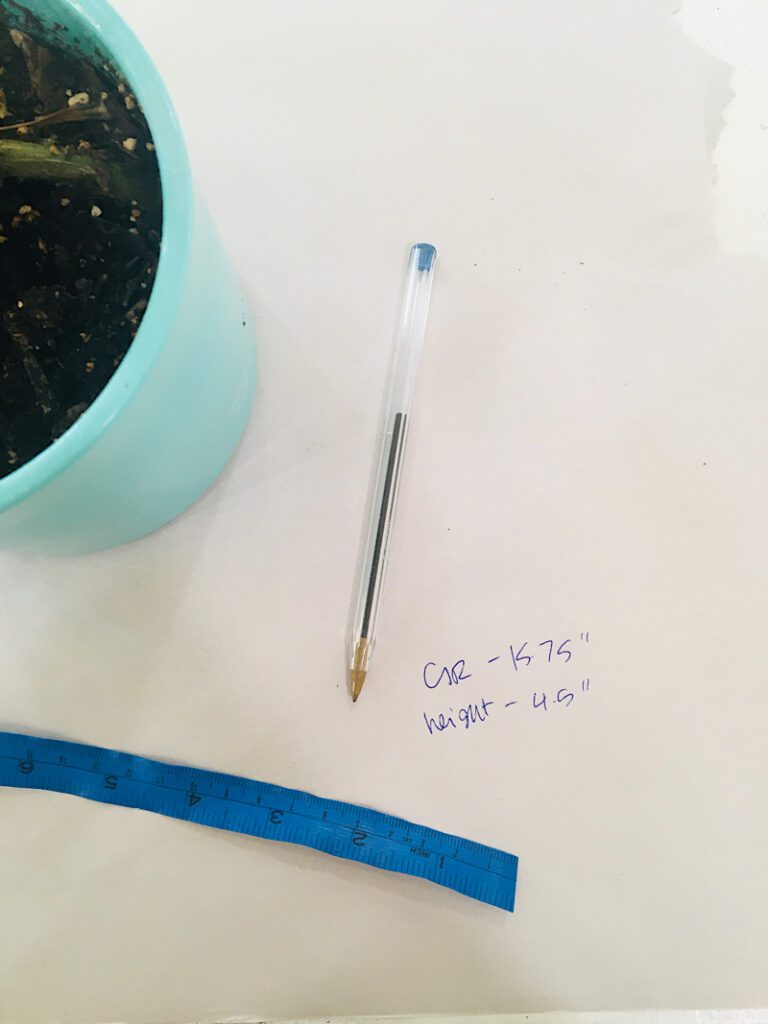
Write these measurement numbers down so you don’t forget them.
Step 2. Make The Pattern For the Planter Basket Base
The base of the planter basket will be made in two halves.
Use your ruler to measure and draw a rectangle on your paper that is equal to your height measurement by HALF of the circumference measurement.
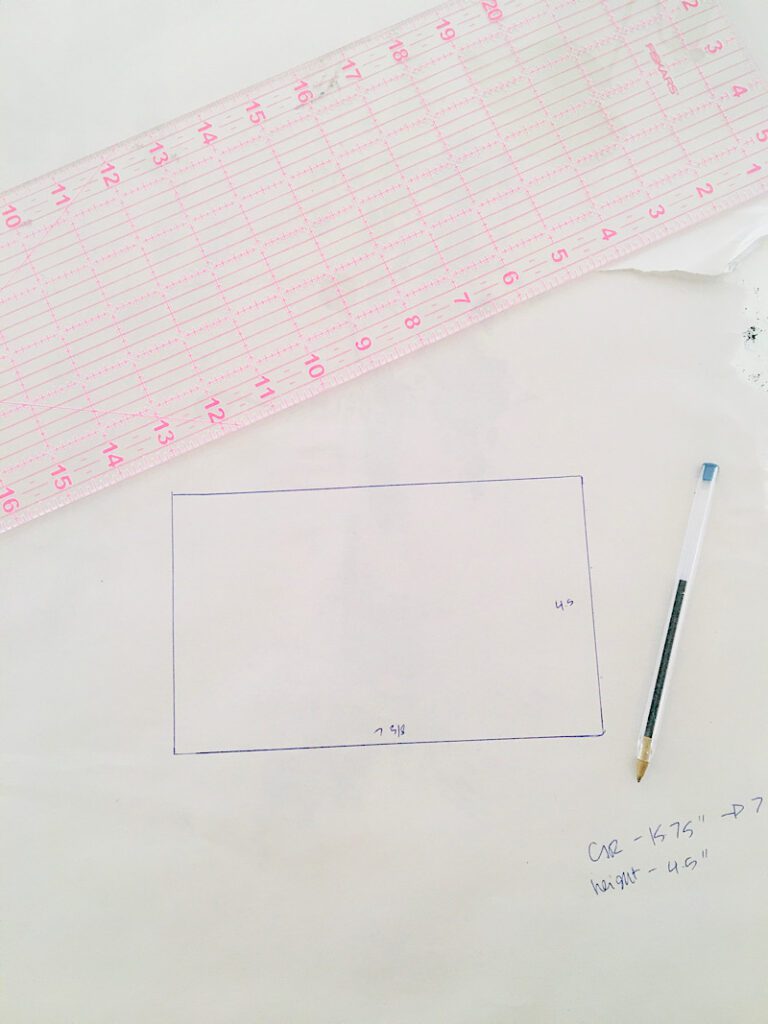
Add a 3/8ths inch seam allowance all around this rectangle.
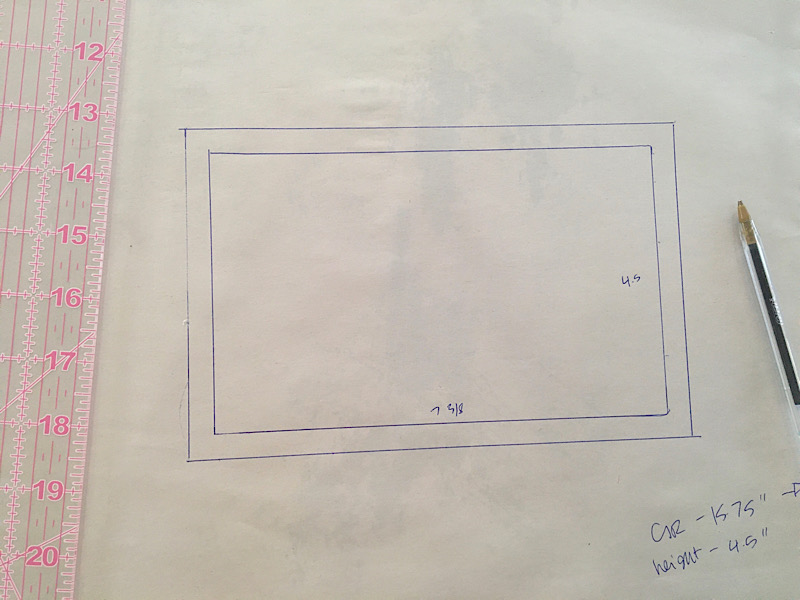
Cut it out.
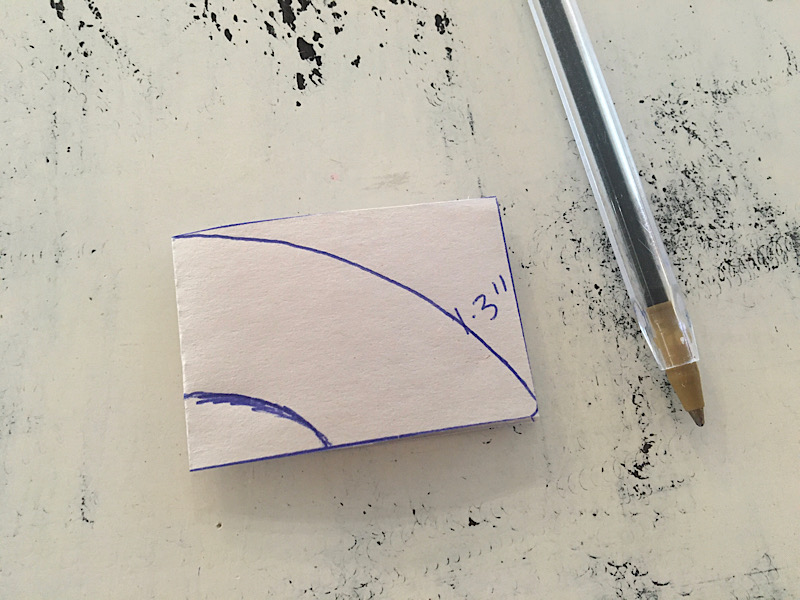
Step 3. Make The Pattern For The Handles.
Draw another rectangle on your paper that has these dimensions: the width is equal to 1/4th your circumference measurement, and the height is equal to 1/3 of that width.
For example, my circumference measurement was 15.75, so I made my handles 4 inches wide (I rounded up to make it easier.) 1/3 of 4 inches is 1.33 inches, so I made the rectangle about 1.3 inches tall.

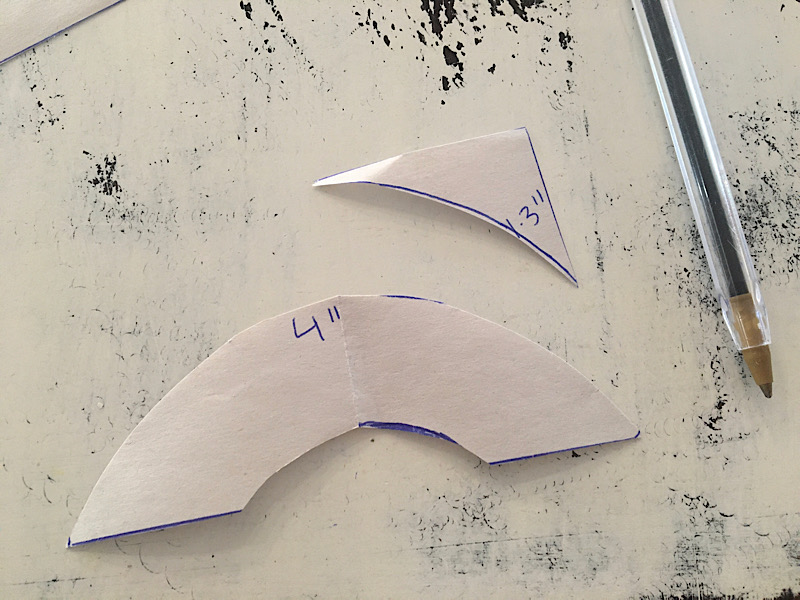
Cut out the rectangle and fold it in half. Draw a curved line from the top of the folded edge to the bottom of the free edge. Also draw another line below it to make the handle shape.
Cut out this handle shape and open it.
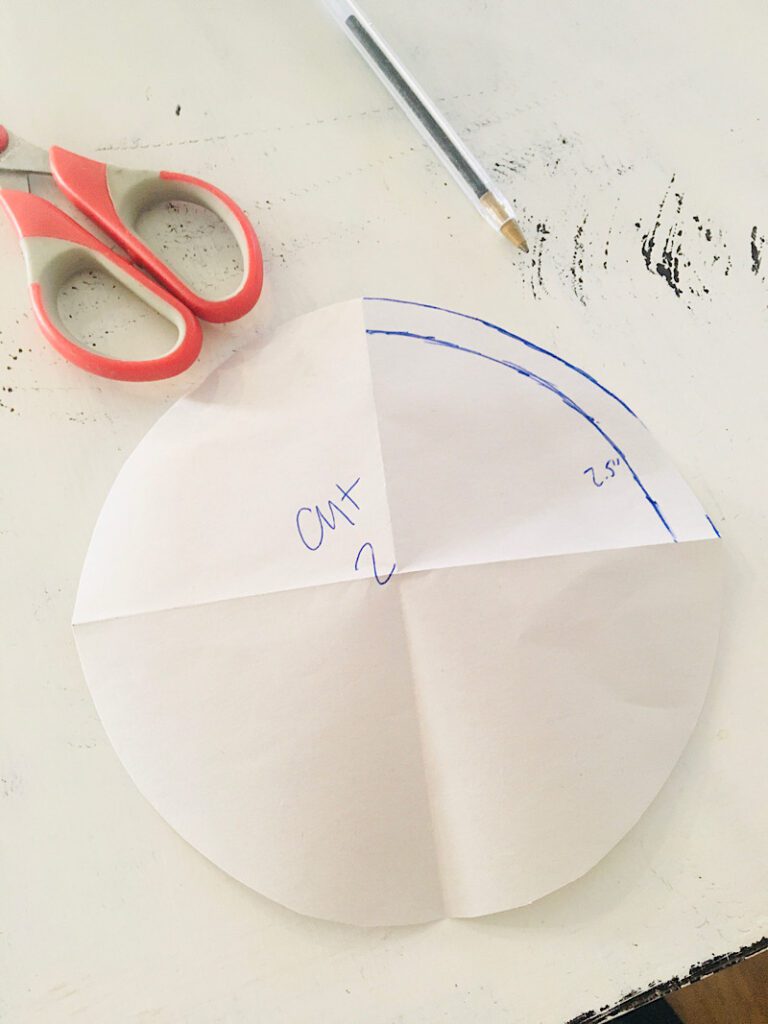
Step 4. Make the Pattern for the Basket Bottom
Use your circumference measurement to find the radius of the circle. (The equation is the circumference / 3.14).
This will be your radius measurement.
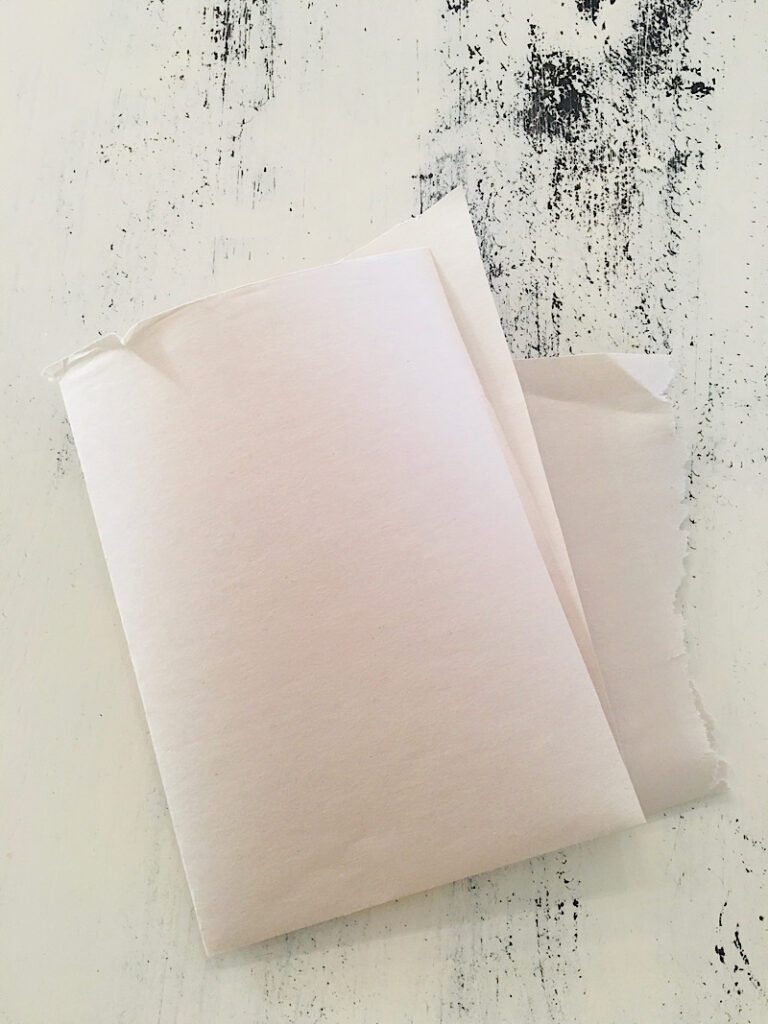
Fold another section of paper that is a few inches larger than the bottom of your pot in half, than in half again like a napkin.
Line up the corner of your ruler or measuring tape with the folded corner of the paper. Make a mark at the radius measurement, and also a mark that is 3/8ths inch larger than that measurement. Pivot the ruler and repeat these marks several times to draw a quarter circle shape.
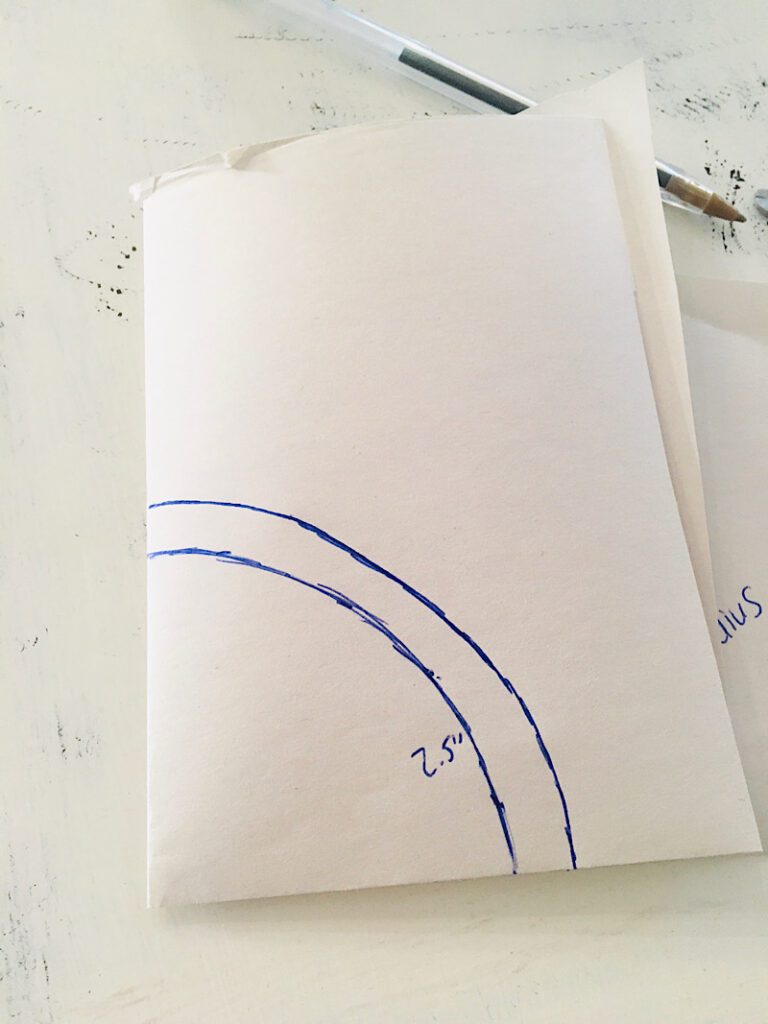
Cut out the circle on the outer line (the seam allowance line).
Your pattern pieces are complete! You can now cut out your materials!
Step 5. Cut Your Materials
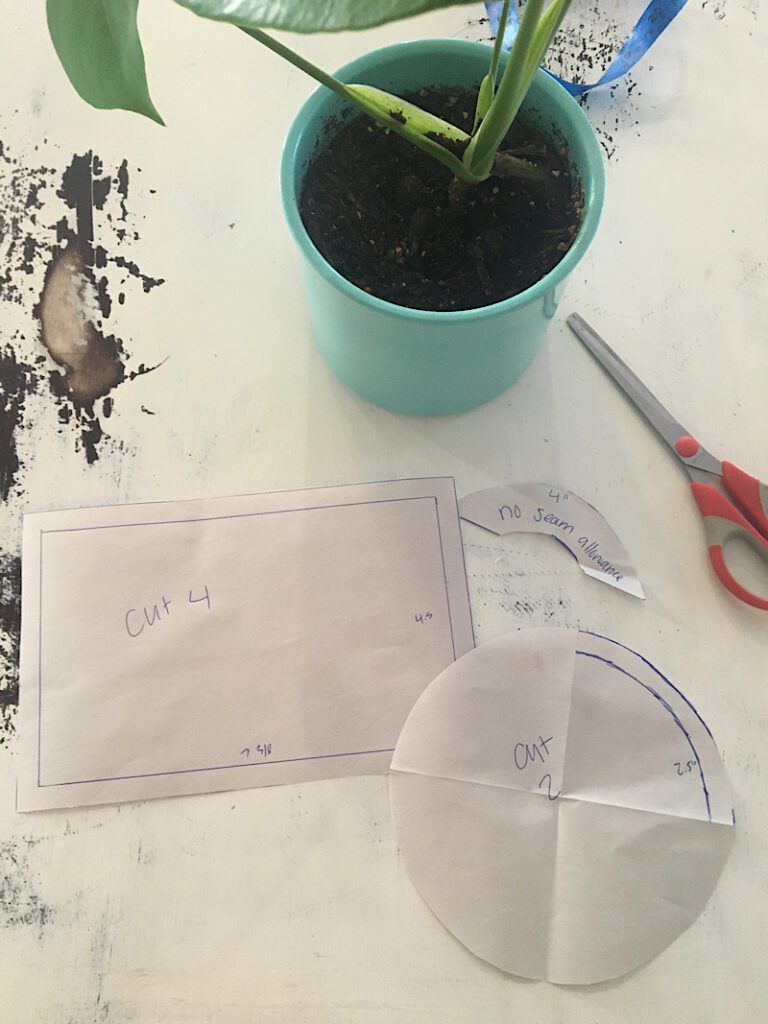
- Of the large rectangle base, cut 2 of the burlap and 2 of the lining materials.
- Of the circle base, cut 1 burlap and 1 lining.
- For the handles, cut out 2 pieces of burlap and 2 pieces of lining that are a few inches bigger all around than the handle pattern. You will see why in the next step.
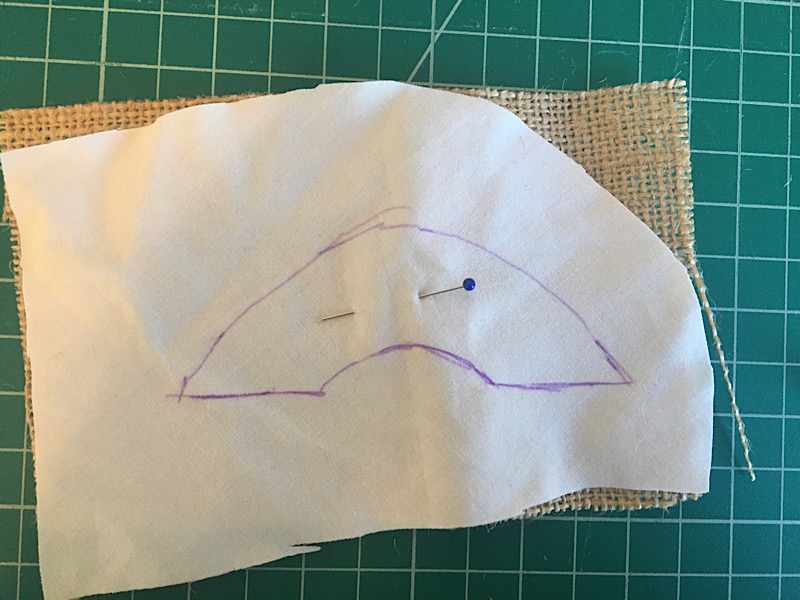
Step 6. Sew Together The Handles
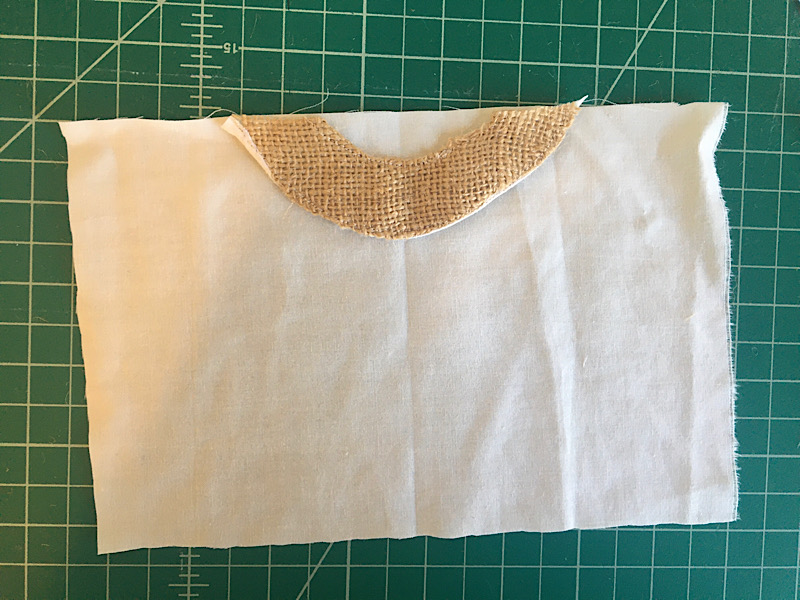
On the back of one of the handle lining pieces, trace the handle pattern with a pen.
Then, lay that piece on top of one of the burlap handle pieces and pin them together.
To sew the handles, sew directly on the upper and lower curved lines and remember to backstich at the ends.
Then, cut out the handle about 1/4 inch away. Zig Zag stich the raw edges to help reinforce the burlap.
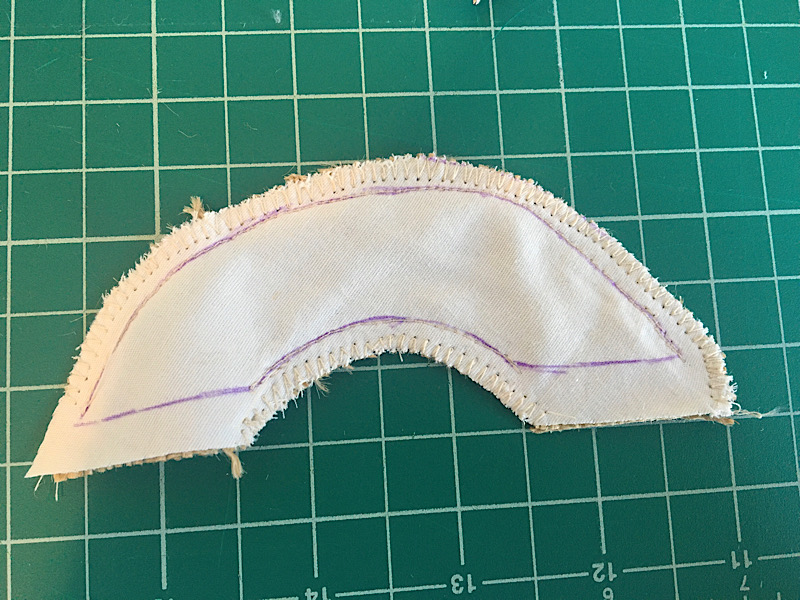
Carefully turn the handle inside out and press it flat with your fingers.

Repeat these steps to make the other handle.
If you wish, you can topstitch along the upper and lower curved edges.
Step 7. Sew the Body of the Burlap Basket
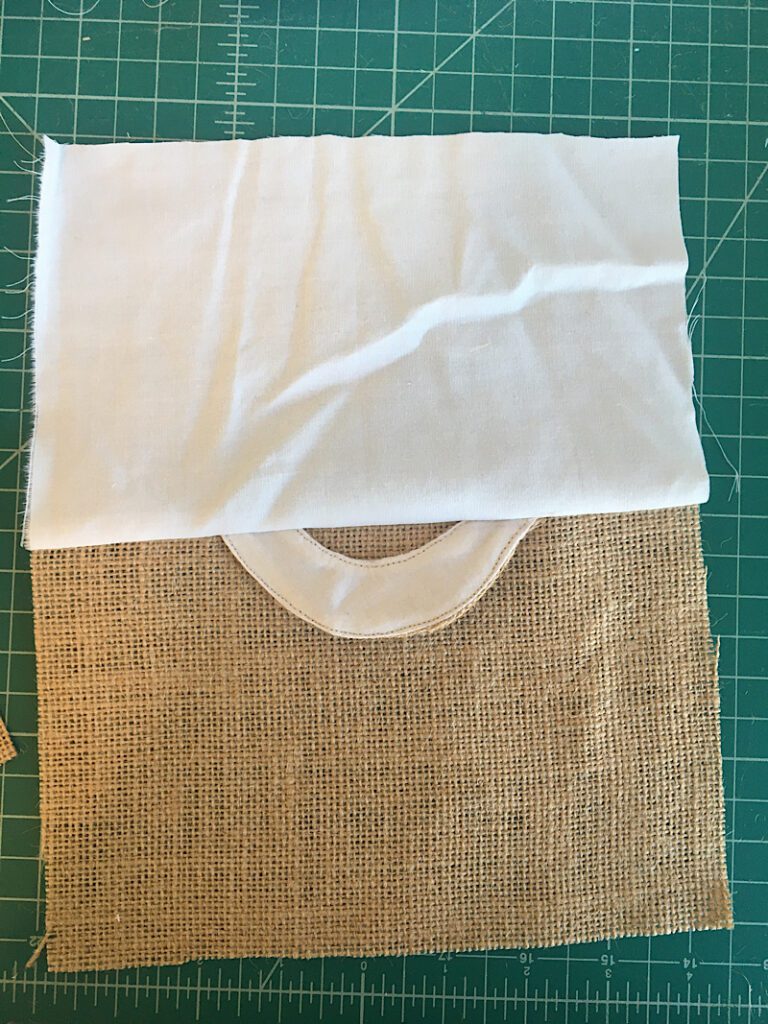
Lay one of the lining rectangles down on the table with the right side up. Place one of the handles on the top with the raw edges touching the top of the rectangle, and the lining side of the handle facing down.
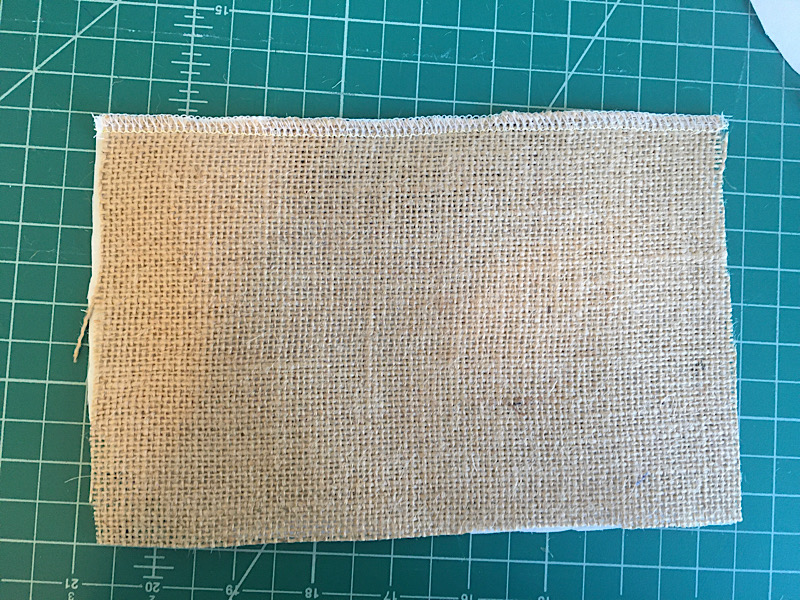
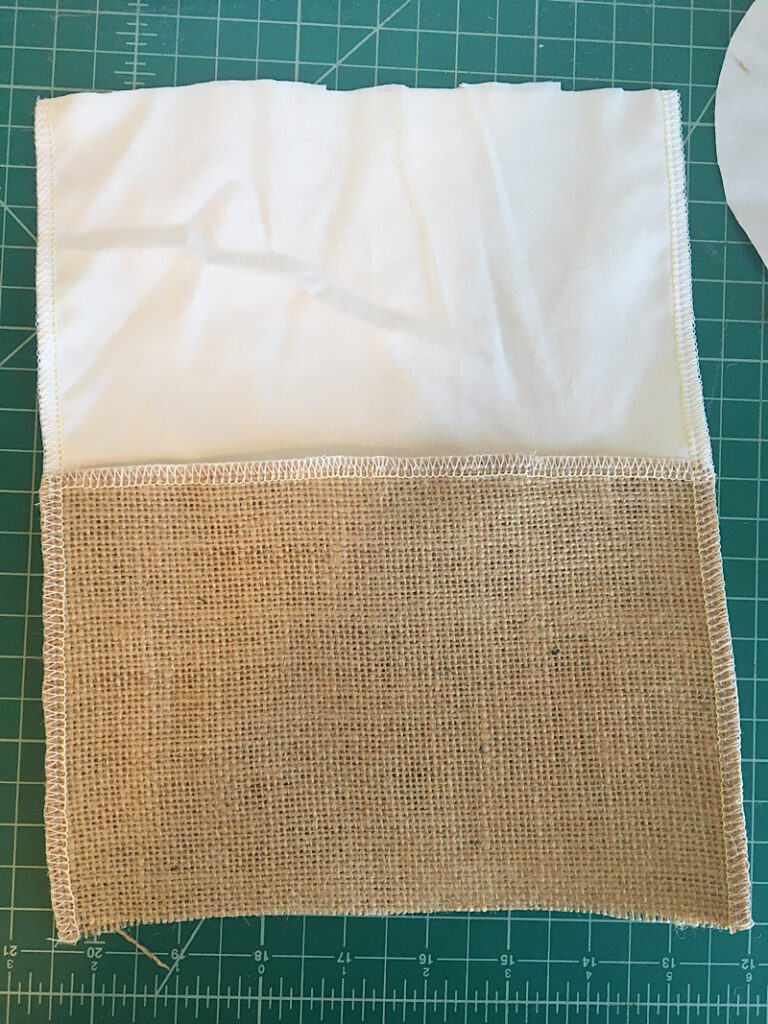
Lay the burlap piece on top and pin it all together. Sew along the upper edge.
I serged mine but you can sew it and then zig zag the edge.
Repeat these steps with the other pieces.
Open up one of these assembled pieces and lay it on the table with the wrong side down.
Lay the other piece on top, with the right sides facing. Make sure the seams where the lining meets the burlap on each piece are well aligned, and pin them together.
Then, sew down both long sides and zig zag the edges.
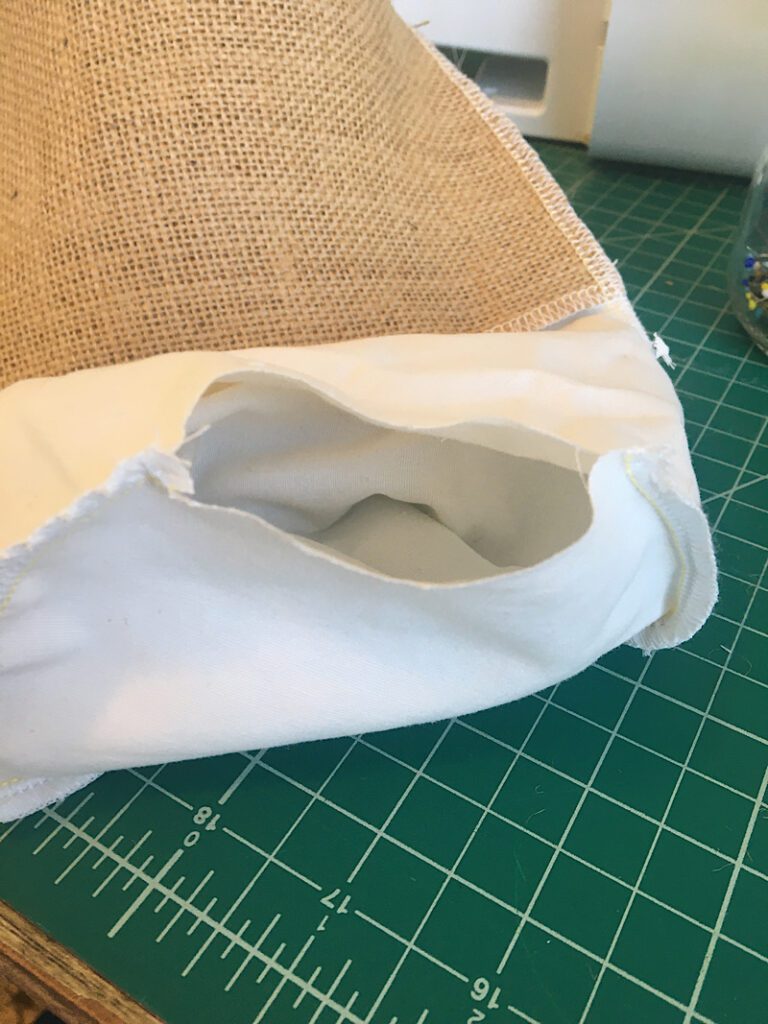
Step 8. Sew the bottom On
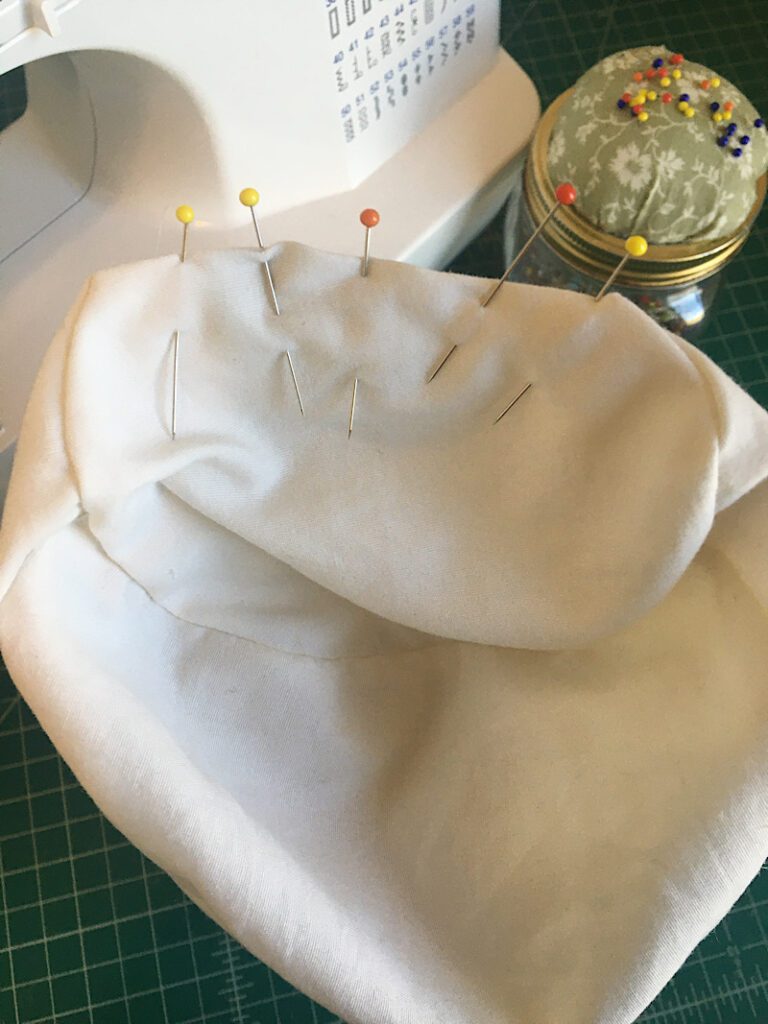
Open up the tube you have just made and pin the burlap circle into the burlap side. Make sure the right sides are facing each other.
Pinning a circle into a tube is a bit tricky. Use as many pins as you need and make sure it is even all around as you go.

Sew around the circle and then zig zag the edges.
Repeat these steps for the lining circle as well, except do not sew all the way around it. Instead, leave a 3 inch gap open so you can turn it after.
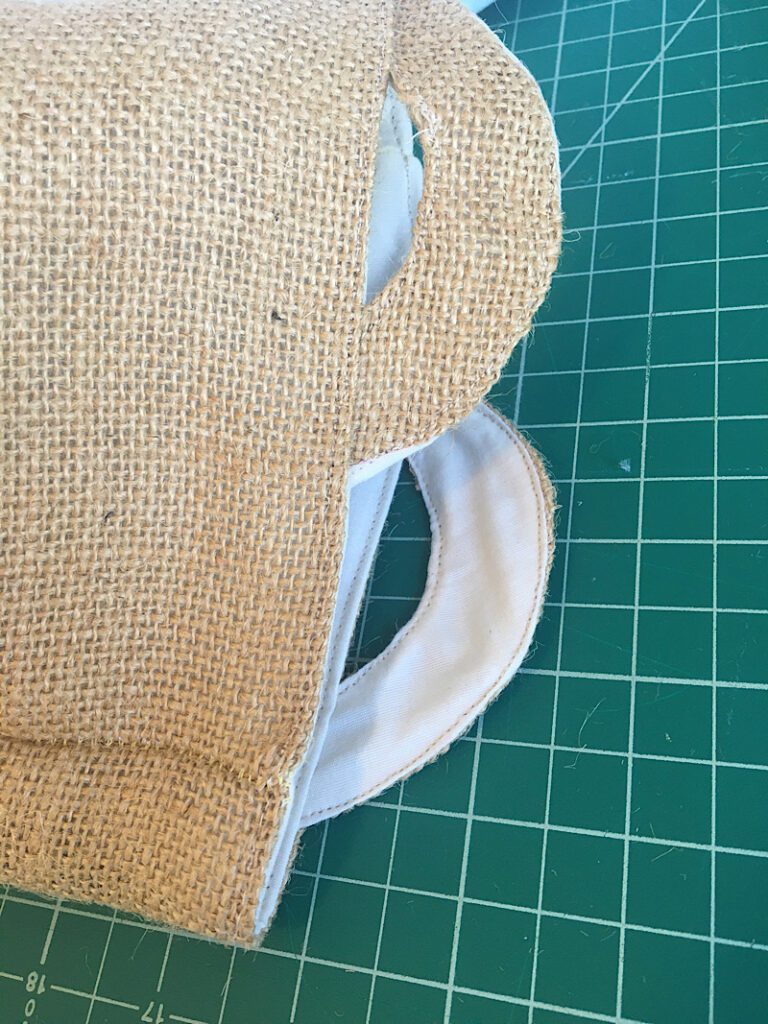
Step 9. Finish the Burlap Basket
Turn the basket right side out. Carefully fold in the edges of the open gap and pin it closed.
Sew the gap closed as close to the edge as you can.
Punch the lining into the burlap and shape the basket.
Flatten the top seam and top stitch around the edge if you wish to help it hold it’s shape.
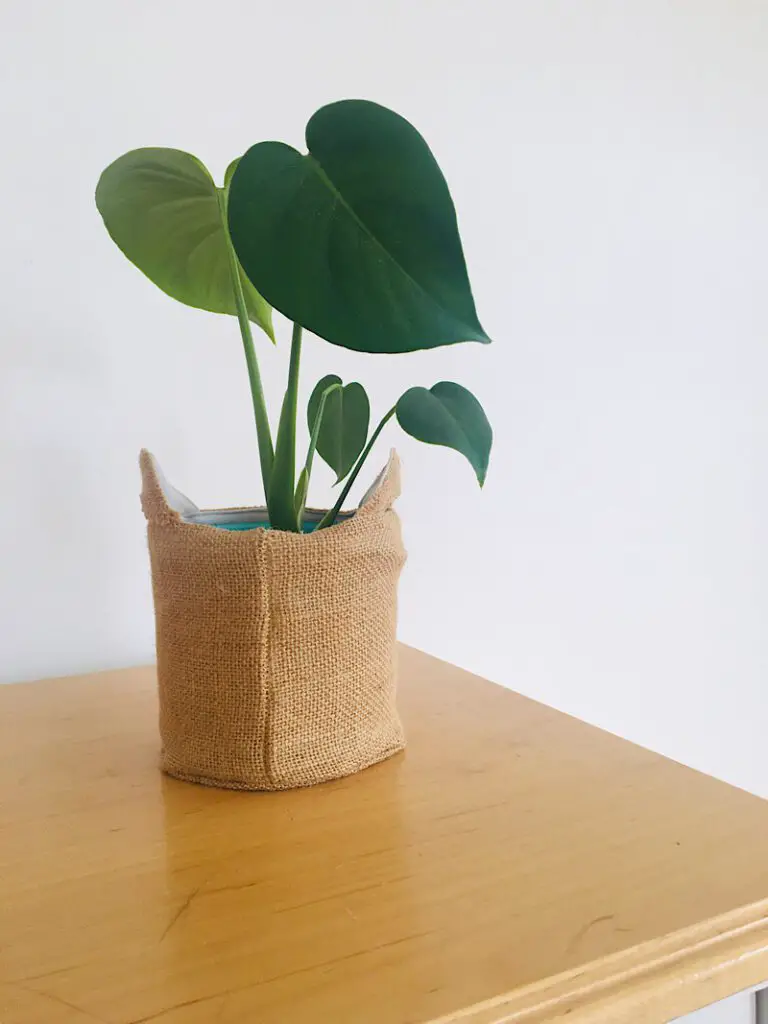
That completes the DIY burlap planter basket!
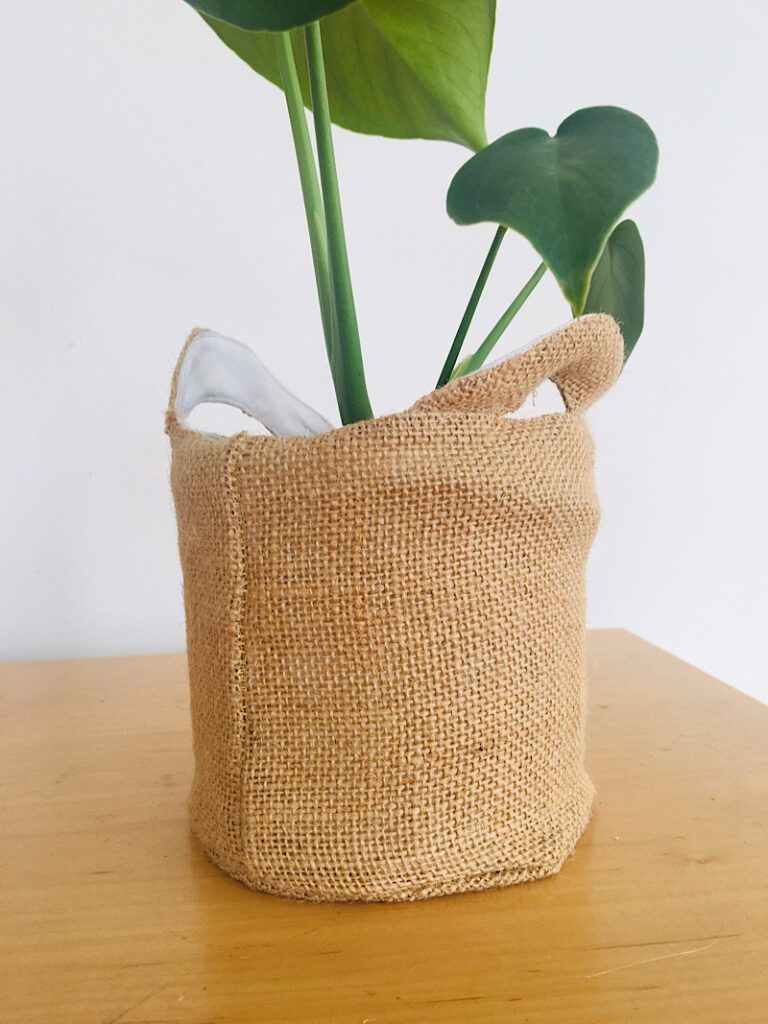
Now carefully fit it around your plant pot and you’re done!
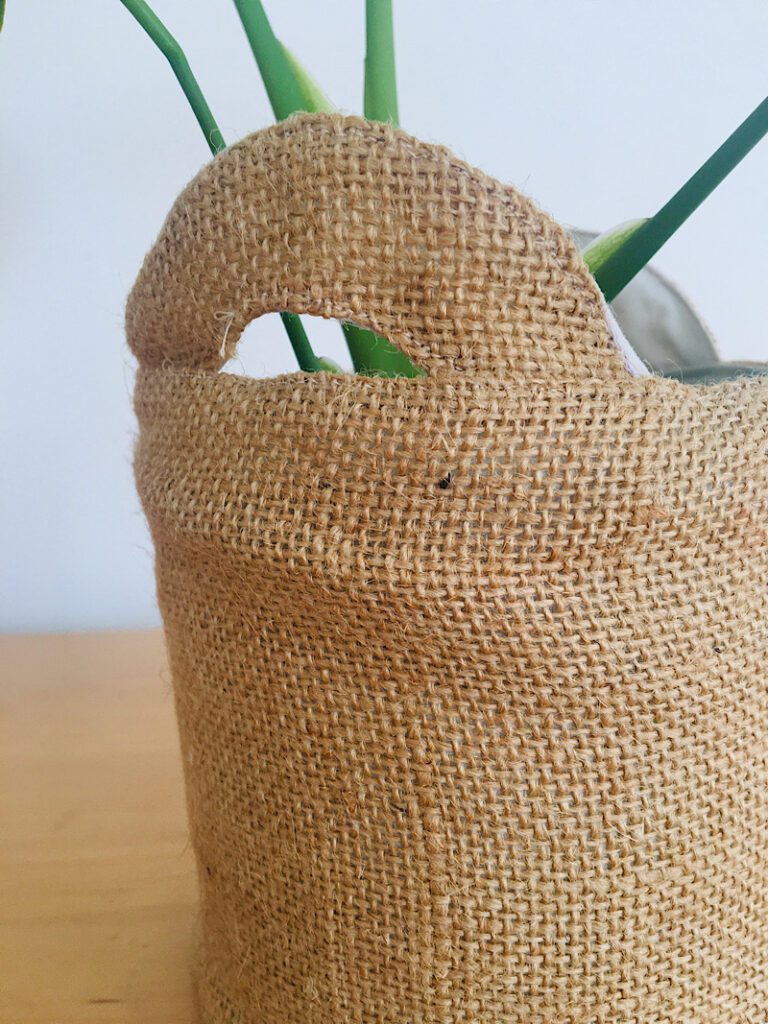
Burlap can be a bit difficult to work with, but I think it turned out well! I put my plant on my bedroom dresser to display it’s new pot cover.
Conclusion
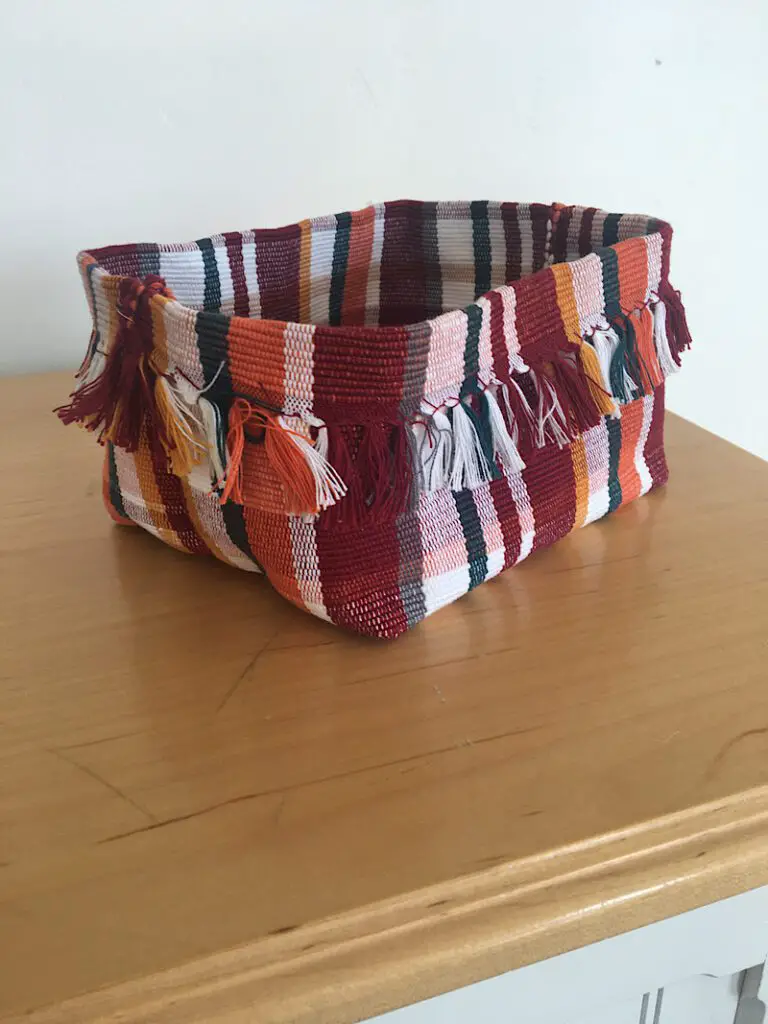
I hope you liked this tutorial to make your own pattern for a planter basket. The burlap makes it look so rustic and cute, although of course any fabric could be used. Maybe a drop cloth or canvas would look nice too.
It is also reversible, but I am goin to leave it on the burlap side for now!
If you have any questions, let me know and I will clarify steps for you!
Pin this tutorial if you liked it, it really helps me out! And join my email list for more free sewing projects.