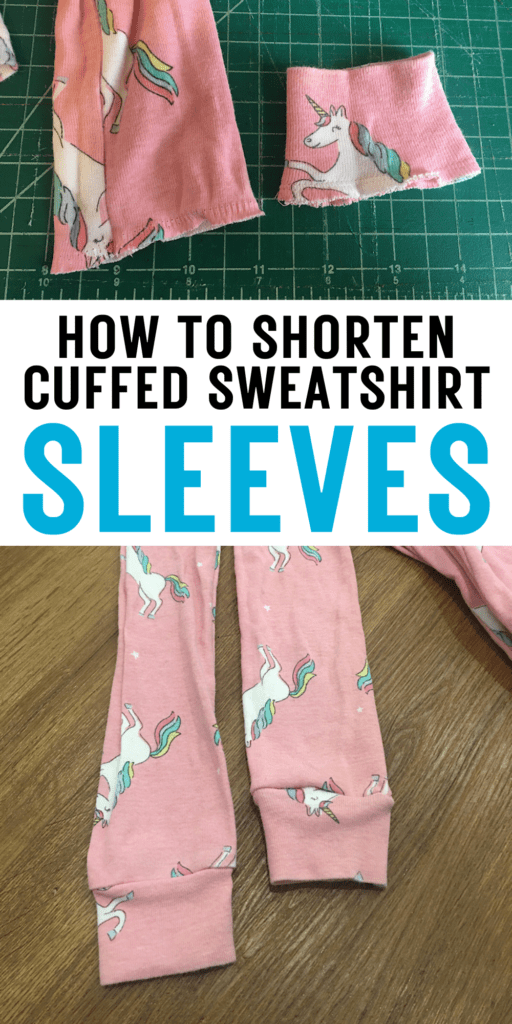
Do you have a hoodie, sweatshirt, or knit top that has way-too-long sleeves? Learn how to easily hem the sleeves on a stretchy cuffed shirt with this step by step fast tutorial!
Sometimes on an oversized sweatshirt with cuffs, I like the fit of the bodice but the sleeves are just too massive. I will often at least make the sleeve cuffs smaller around the wrist, but in this case my daughters shirt also needed significant sleeve length shortening.
This alteration is SO easy. Let me show you how to do it.
Supplies Needed
- Shirt to alter
- Seam ripper
- Fabric Shears
- Sewing Pins
- Serger (optional)
How To Shorten Knitted, Cuffed Sleeves
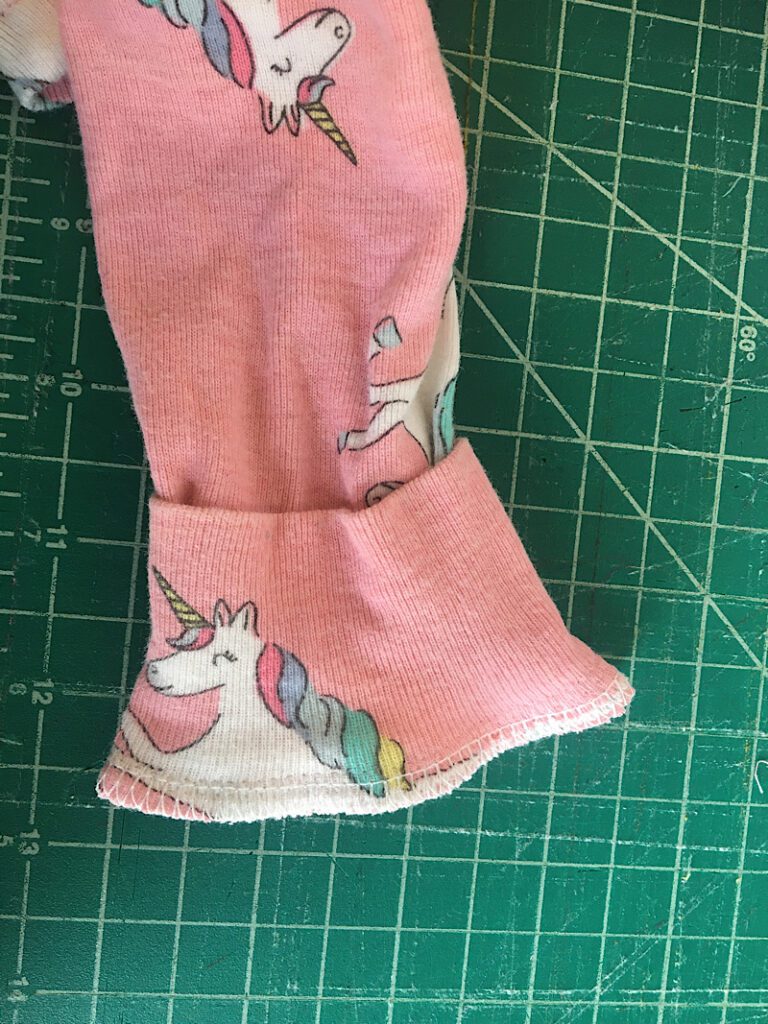
Step 1. Remove The Cuffs
note: complete all these steps with both sleeves at the same time, rather than one and then the other, to make sure they are the same length!
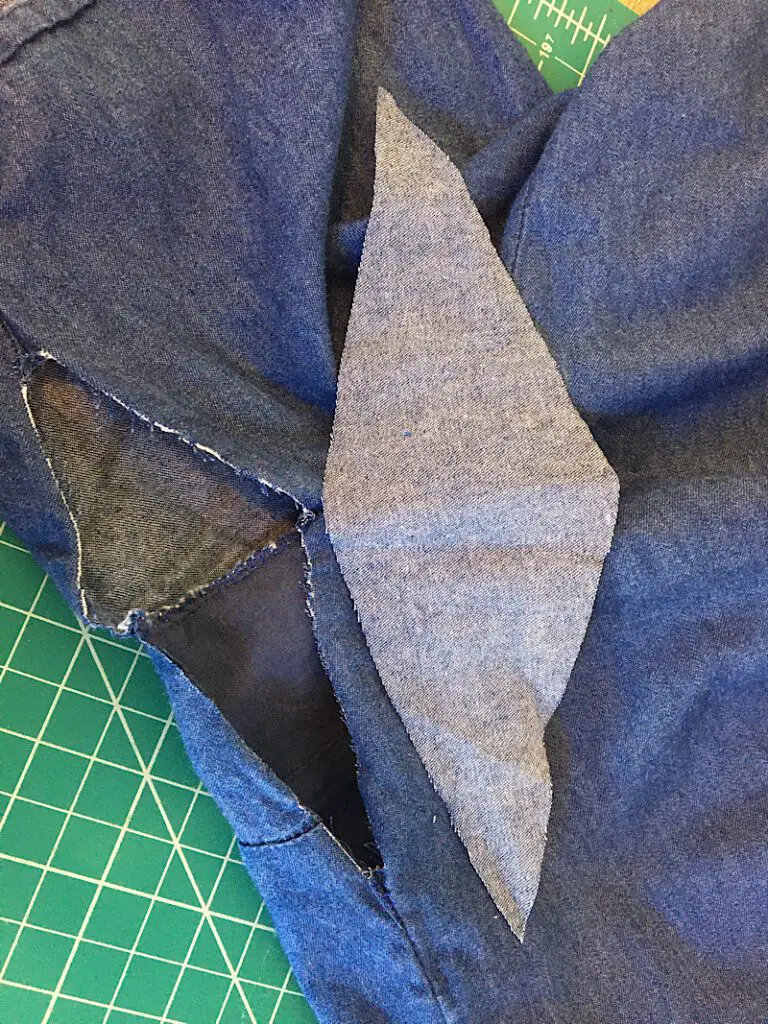
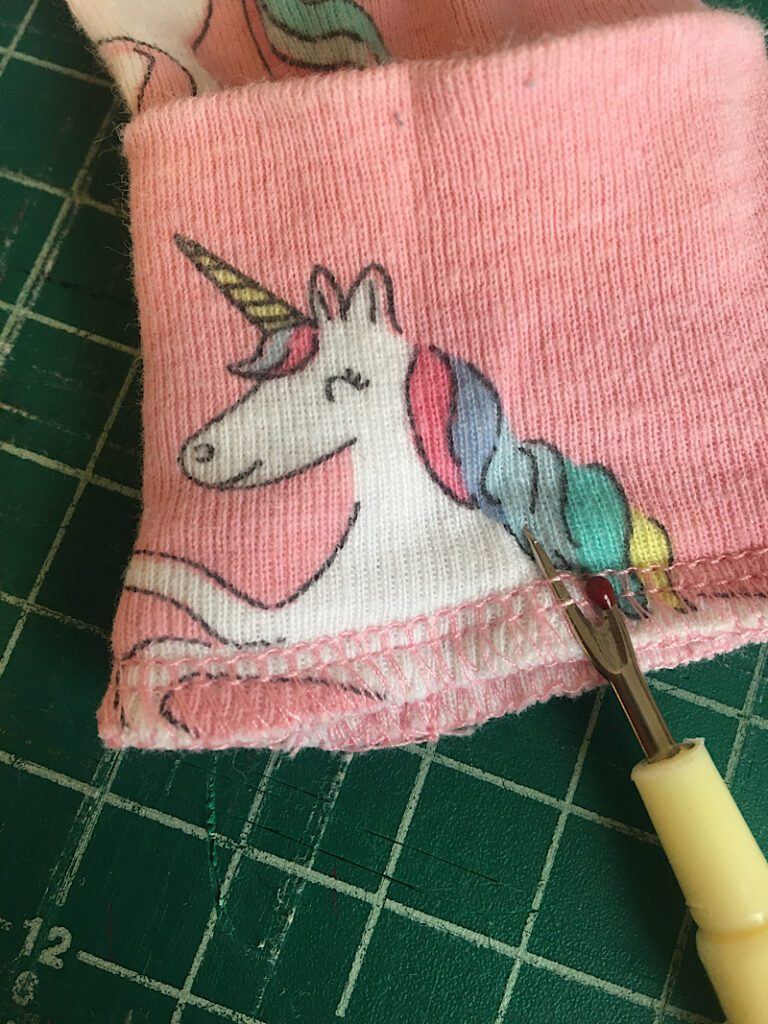
The first step is to carefully remove the cuffs from the sleeves. You can do this two ways, unpick the serged seam entirely, or cut the cuffs off.
Cutting the cuffs off will leave you with shorter cuffs in the end, about an inch shorter. So if you want to keep the length, unpick it instead.
To unpick a serged seam, find the two horizontal straight stitches that run parallel to the seam, and rip through one stitch on both stitch rows.
Use your seam ripper to pull out several more stitches without ripping them, and you will have a thread “tail” to grasp. Hold onto the thread tail and pull, and you will be able to pull the stitch out.
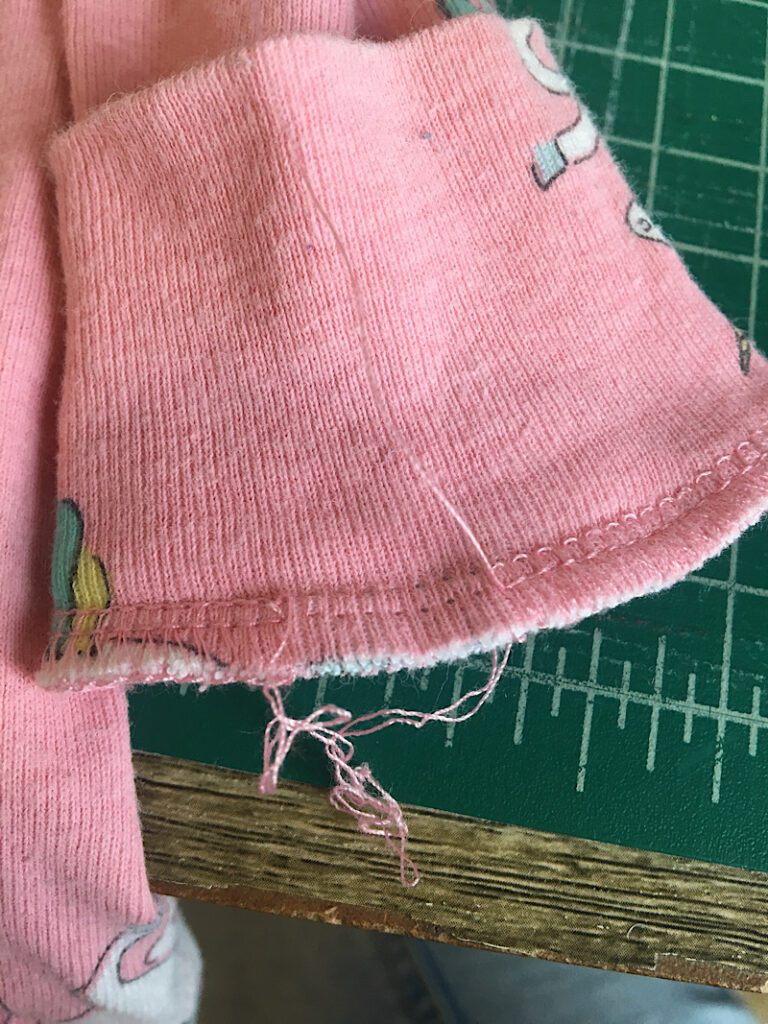
Then, the looped stitches will fall right off the sleeve cuff without unpicking them at all, which saves a lot of mess!
Now your cuff is separated.
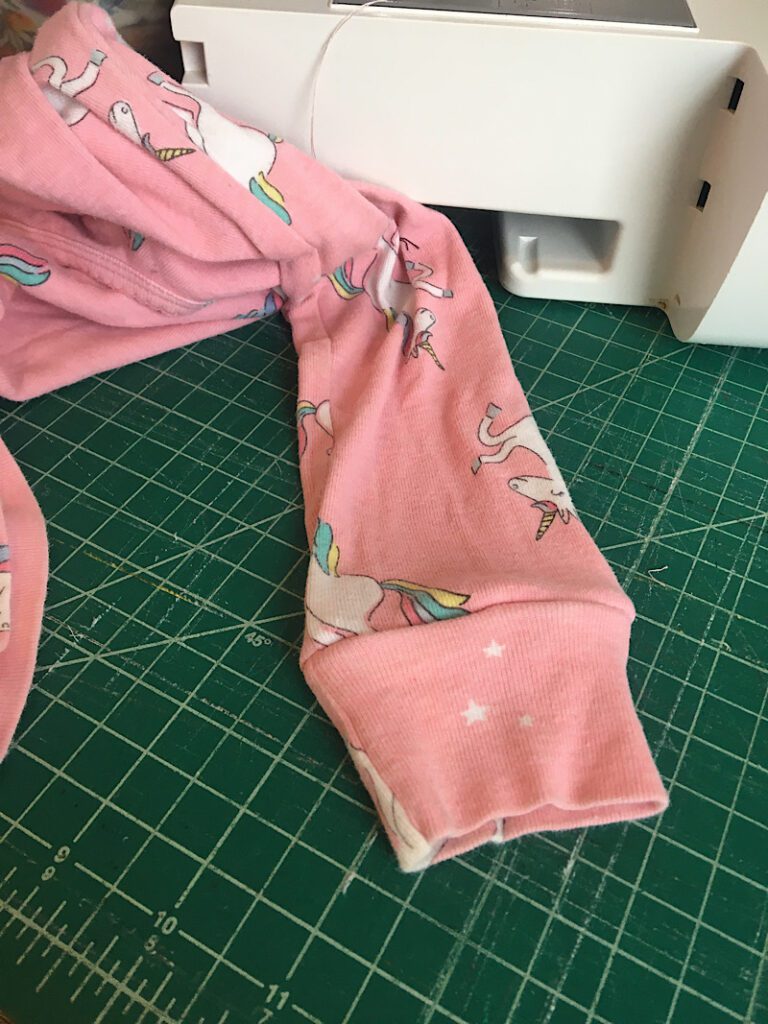
Step 2. Shorten The Sleeve
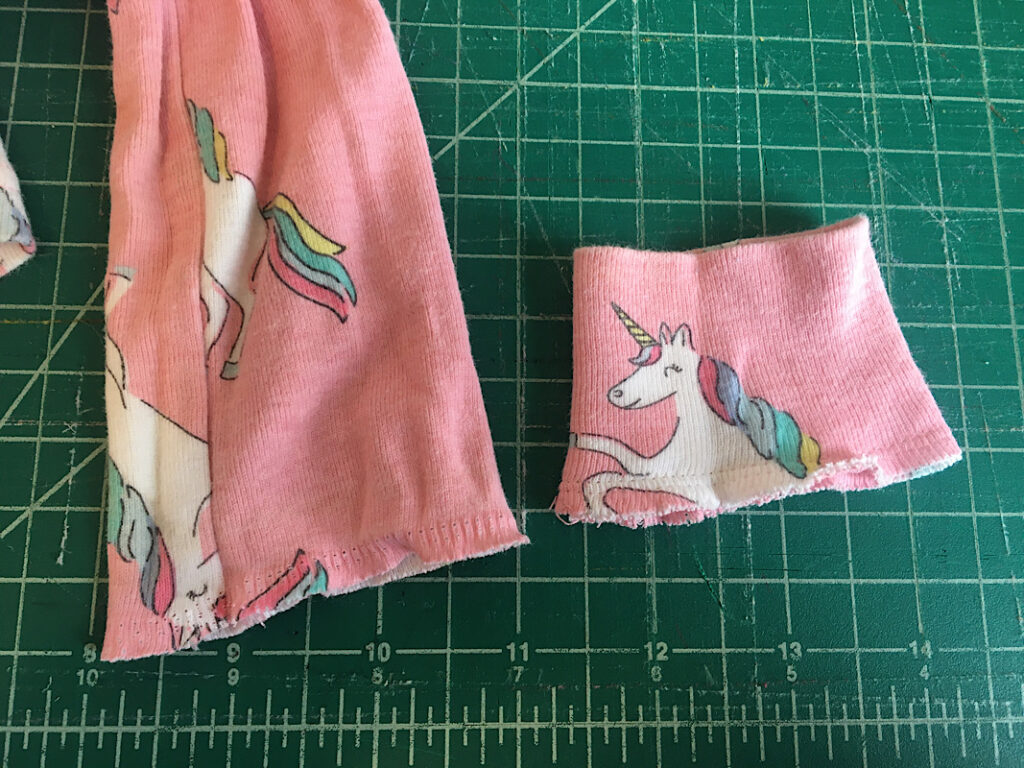
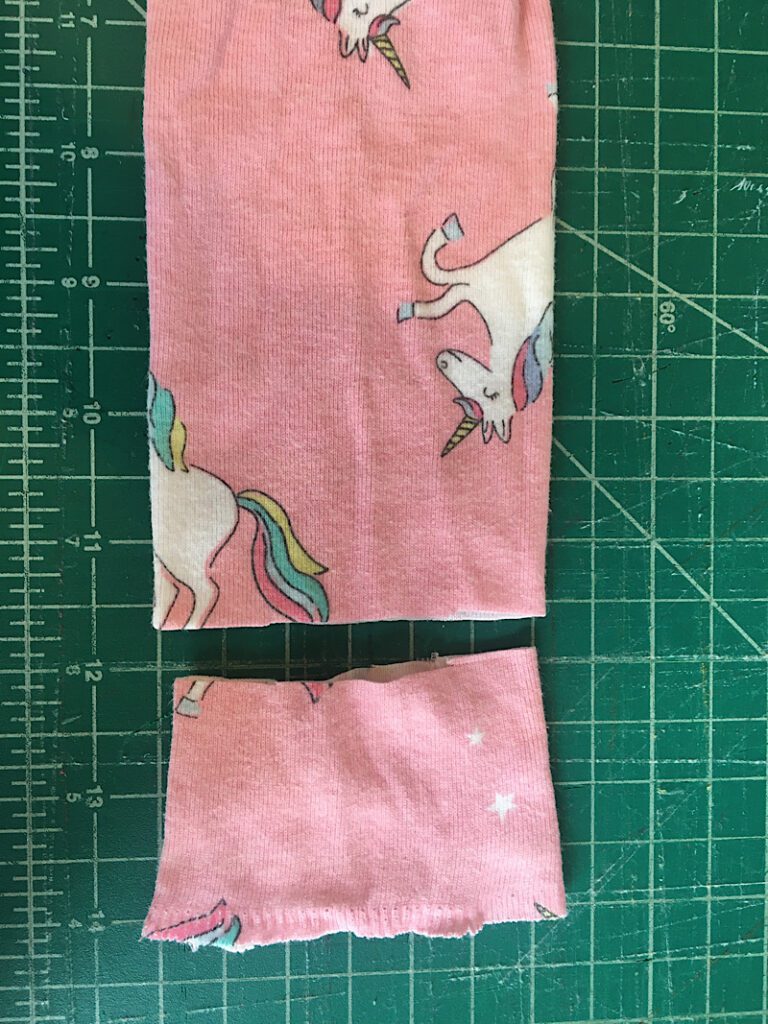
Now, use your scissors to cut off the excess of the sleeve until it is the length you want. Typically the sleeve without the cuff will go to the wrist, and then adding the cuff back on will give it slight more length which allows the sleeve to have ease but not be TOO big.
Step 3. Reattach The Cuff
Now that the sleeve has been cut, lets put the cuff back on. Orient the cuff so that the fold is facing up the sleeve, and the raw ends are facing down the sleeve.
Place the cuff around the sleeve with the right sides facing, and the side seams aligned. Pin around the cuff.
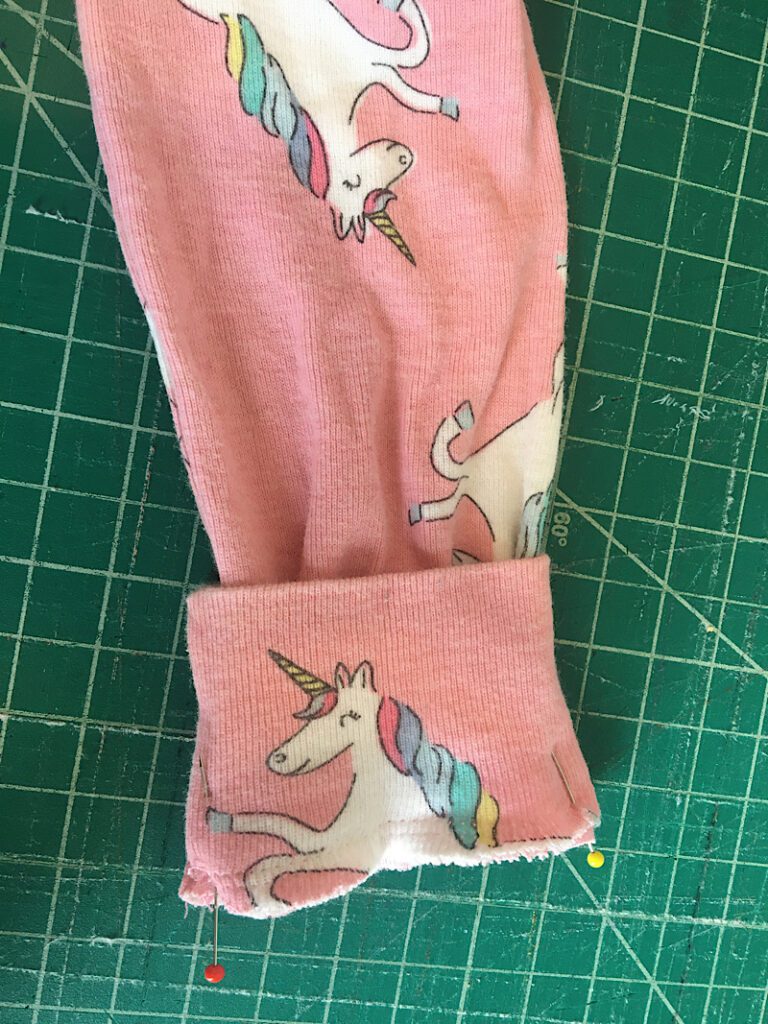
Now you are ready to sew it back on.
Step 4. Sew The Cuff
The most professional way to finish the sleeve is to serge it. If you don’t have a serger, you can also use a zig zag stitch, a stretch stitch, or another overlocking stitch.
You want to make sure not to use a regular straight stitch because it will result in a wavy sleeve, and it can also break when you stretch the cuff open to put it on.
Roll the cuff down to see the finished alteration!
If you did both sleeves at the same time, you are now done!!
I did mine one at a time so I could show you the difference:
Here are the sleeves next to each other to compare, one has been shortened and one has not.
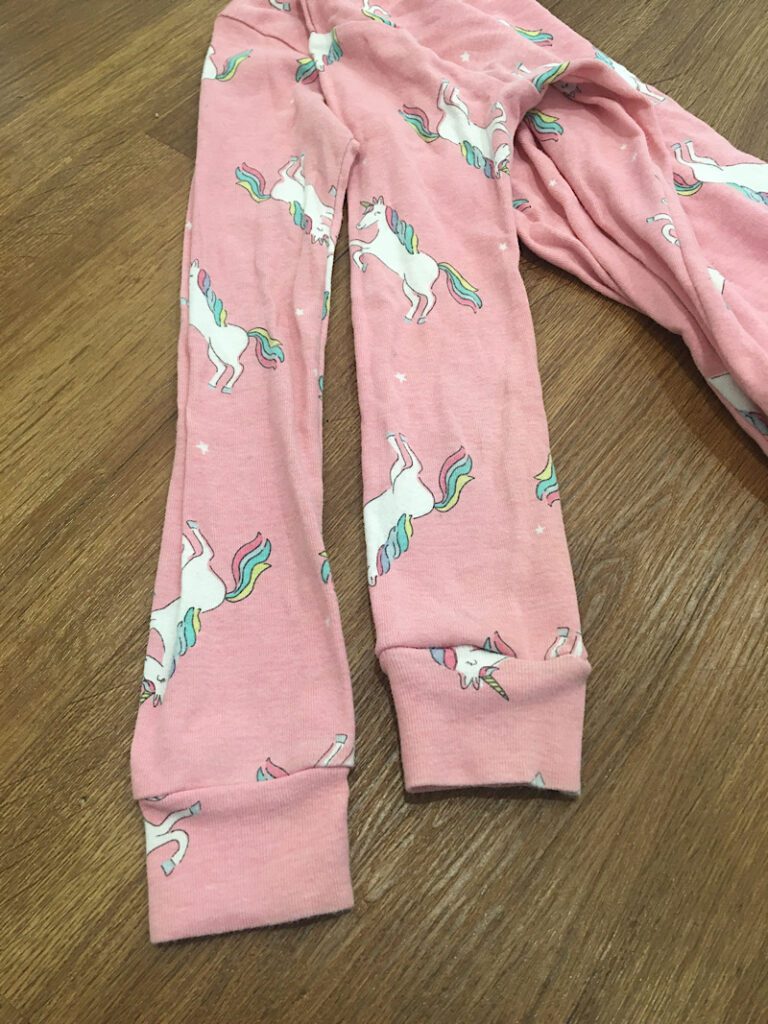
That’s all there is to it!
I hope this quick alteration tutorial was helpful. Let me know if you have any questions!