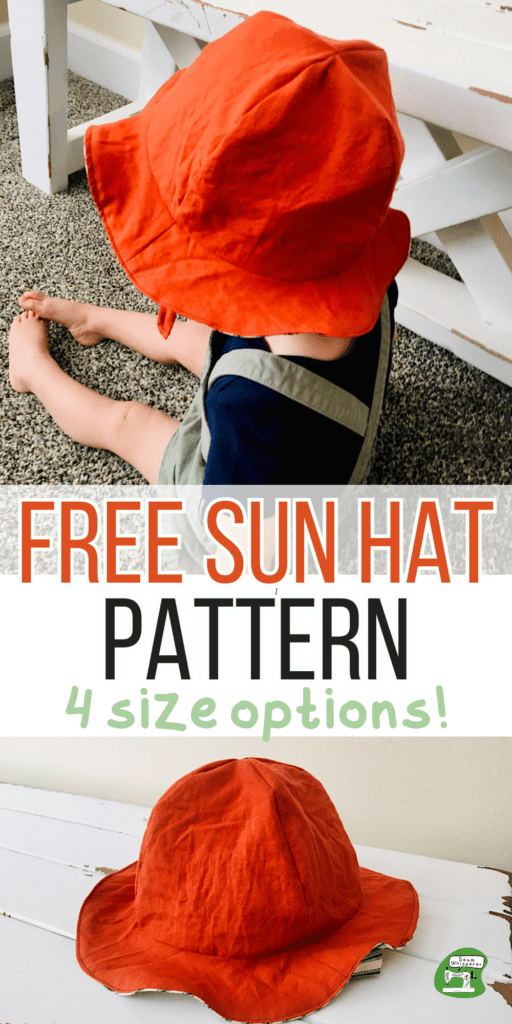
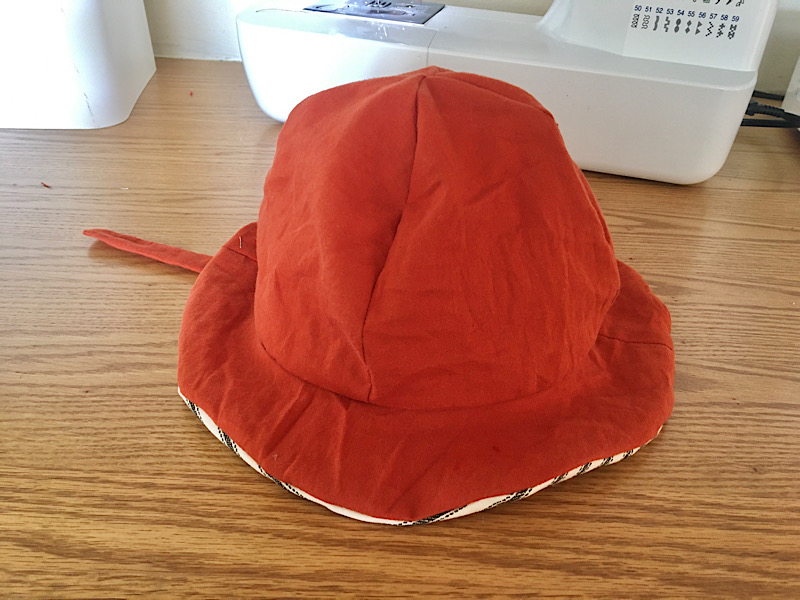
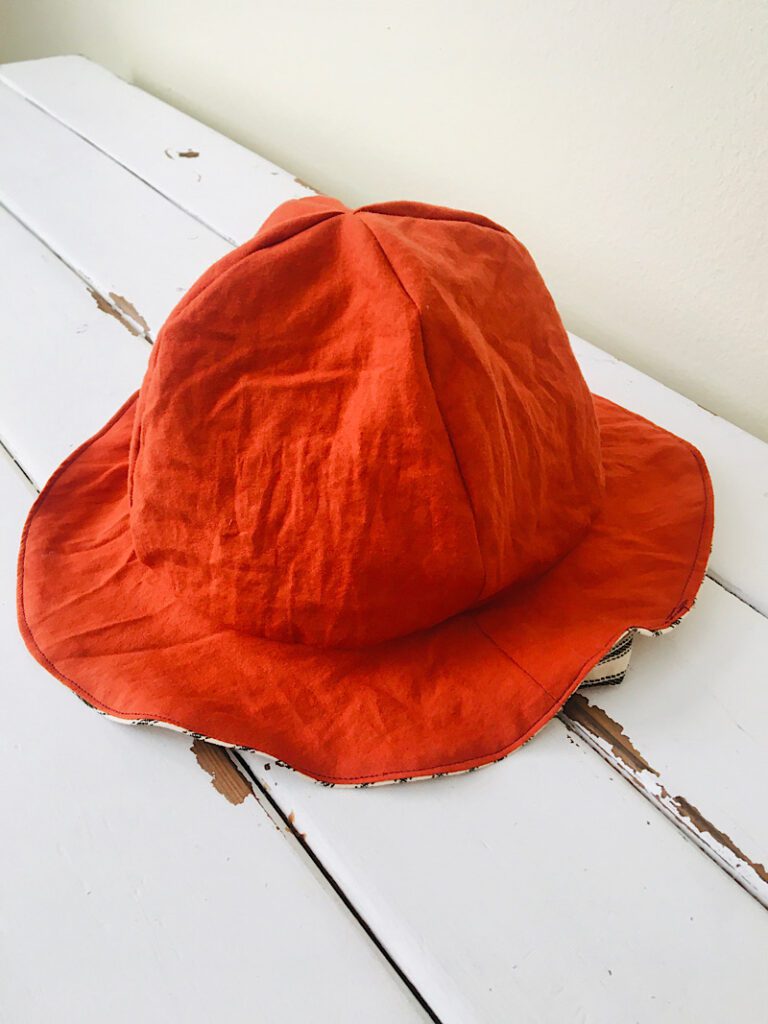
These sun hats are perfect for beginners and really fun to make. Choose your size and sew up a reversible hat for your toddler or child! (Or maybe yourself!)
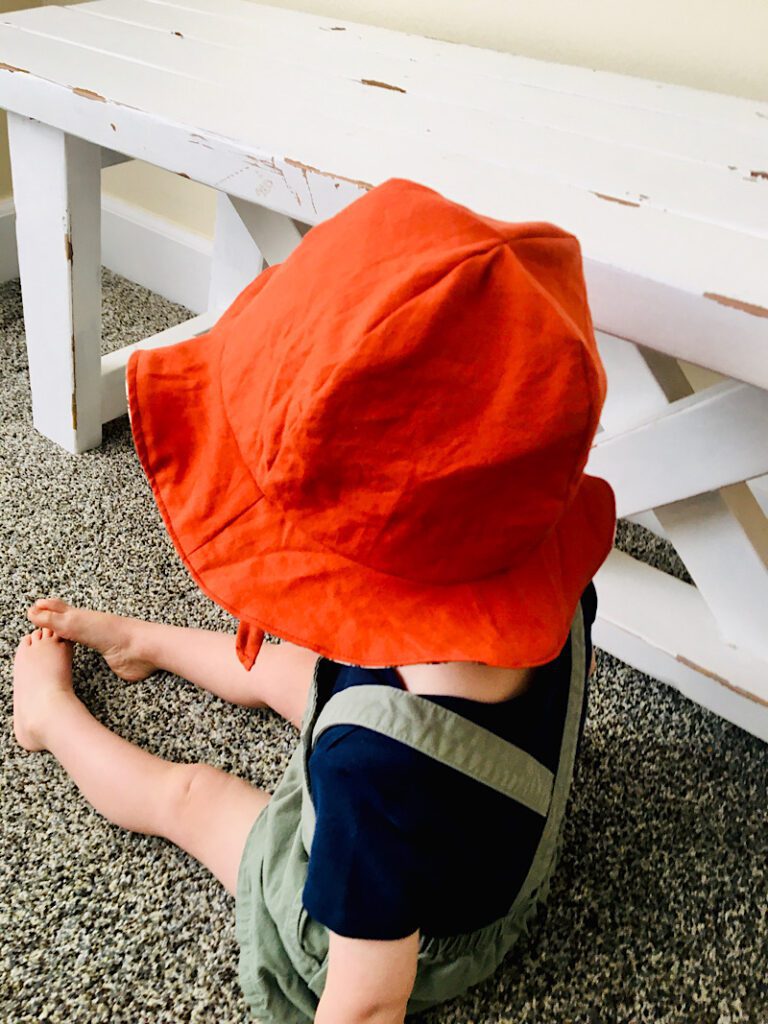
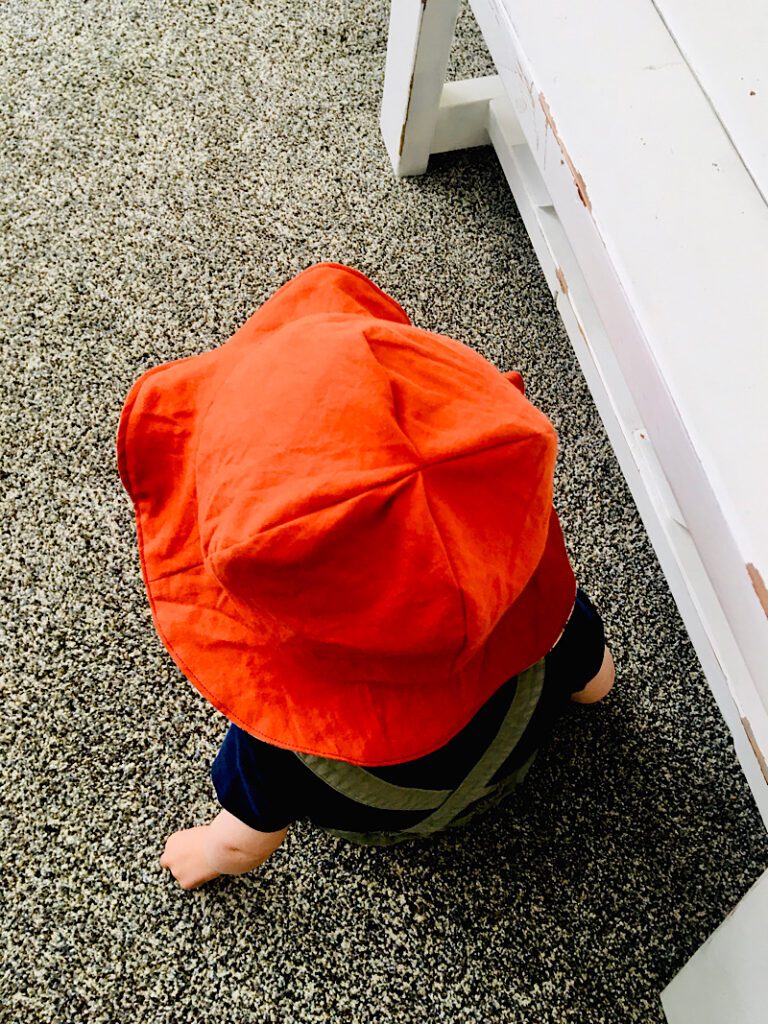
We were so excited to go out and play now that it is spring, but I realized by toddler has outgrown his baby sunhat!
No fear, I was able to whip him up a new one really fast before he got too much sun, and now you can too!
Why are these hats so great?
- They are a simple design, even beginners can tackle this one!
- You can add straps if you wish
- The hat is reversible
- You can customize or embellish it to make it your own!
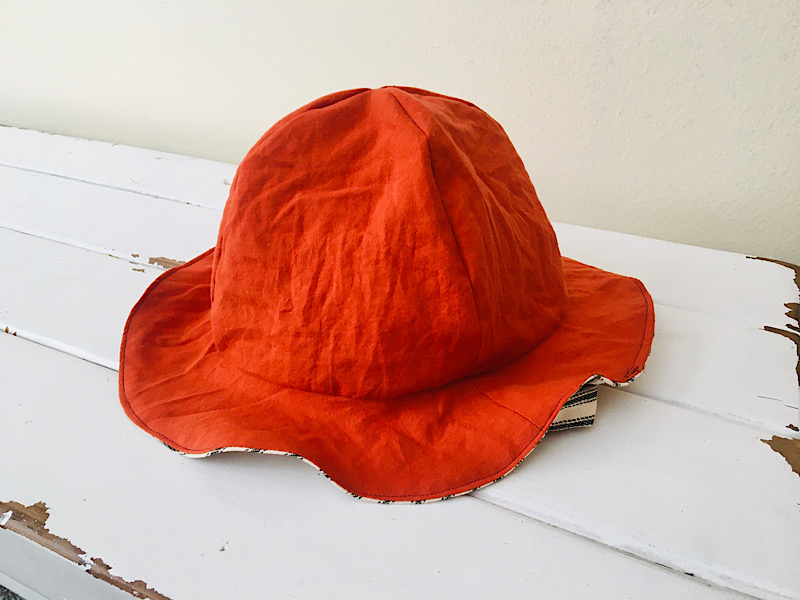
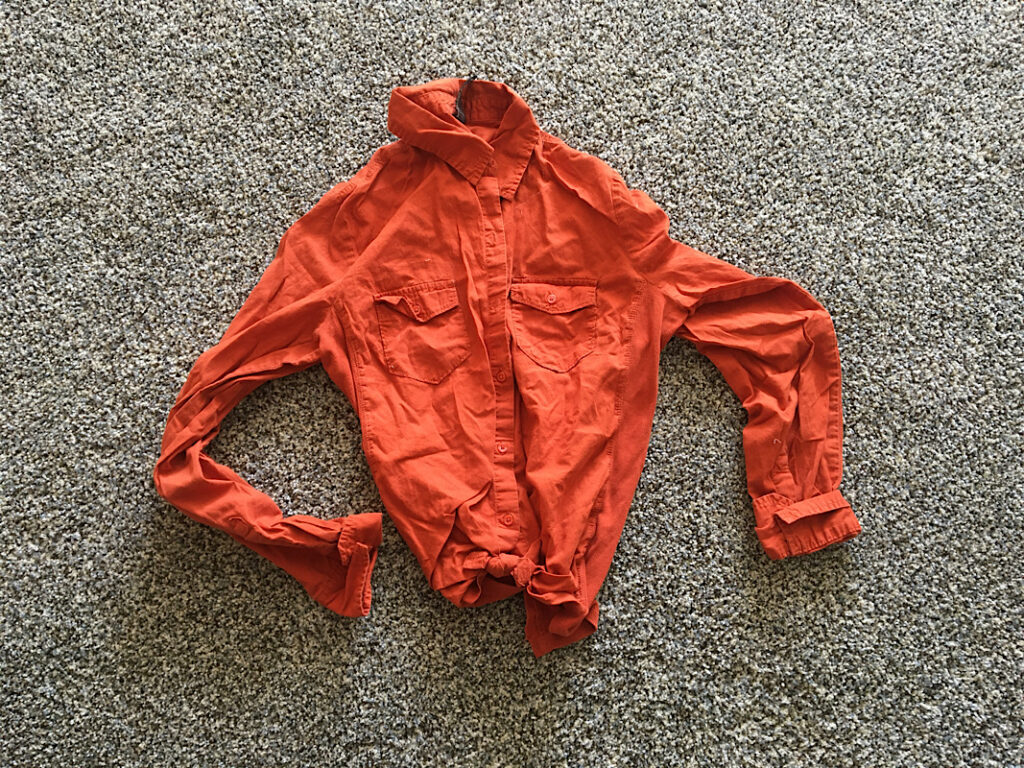
I used an old woven button up shirt to make this hat. You can use scraps, clothes, leftover fabric, or whatever you have as long as it is not too thick or thin.
You can try a stretchy material as well, but I would recommend you use an interfacing at least on the brim to make it less floppy!
This free sun hat pattern printable comes in four sizes:
- XS – For a head circumference up to about 16.5 inches or so, (for a baby around 6-12 months)
- S – For a head circumference up to about 19 inches or so, (for a baby about 12-24 months)
- M – For a head circumference up to about 20.5 inches or so, (Toddler, 3-6 years or so!)
- L – For a head circumference up to about 22 inches, (Ages 7-10+)
PLEASE measure the head of who you are making the hat for, I tried very hard to size the pattern well, but I can’t measure your child’s head, only you can!
**If you are really unsure and don’t want to waste fabric, try cutting out the paper pattern and taping the cap together with a half inch overlap for all the pieces for a seam allowance.
This post may contain affiliate links. Read the full disclosure here.
Supplies Needed
- 1/2 yard of medium weight woven fabric – Hat exterior
- 1/2 yard of medium weight woven fabric – Hat Interior
- Matching Thread
- Velcro or snaps (OPTIONAL, for use on straps if you decide to add them)
- A tool to turn your straps (Optional. Hemostats work great for this)
- Sewing Pins
Download The Free Pattern
This free pattern has 4 different sizes, and is a multiple page PDF document. You can print off only the two pages you will need for the size you want to make (one page has the cap, one page has the brim.)
The instructions for the pattern are right here in this blog post, but the template is printable for those who join my email list! Sign up below and I will send it right away.
Print the pages at 100% scaling, and measure the 1 inch test square to make sure it is correctly sized.
Email me a picture when you are done, I LOVE to see what my readers make, and I love sharing the photos on these blog posts!
How To Make An Easy Sun Hat
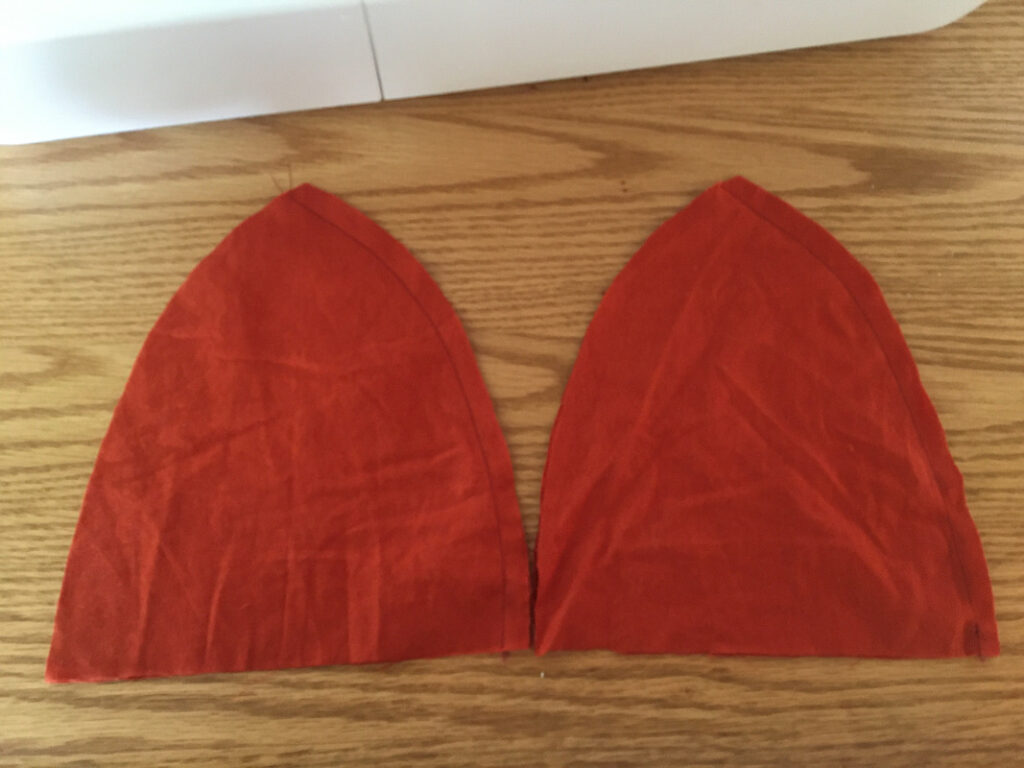
Step 1. Cut Out Your Fabric
Cut out your pattern pieces and fabric! You should have 4 cap pieces and 2 brim pieces (cut on the fold) for both the inside and outside of the hat.
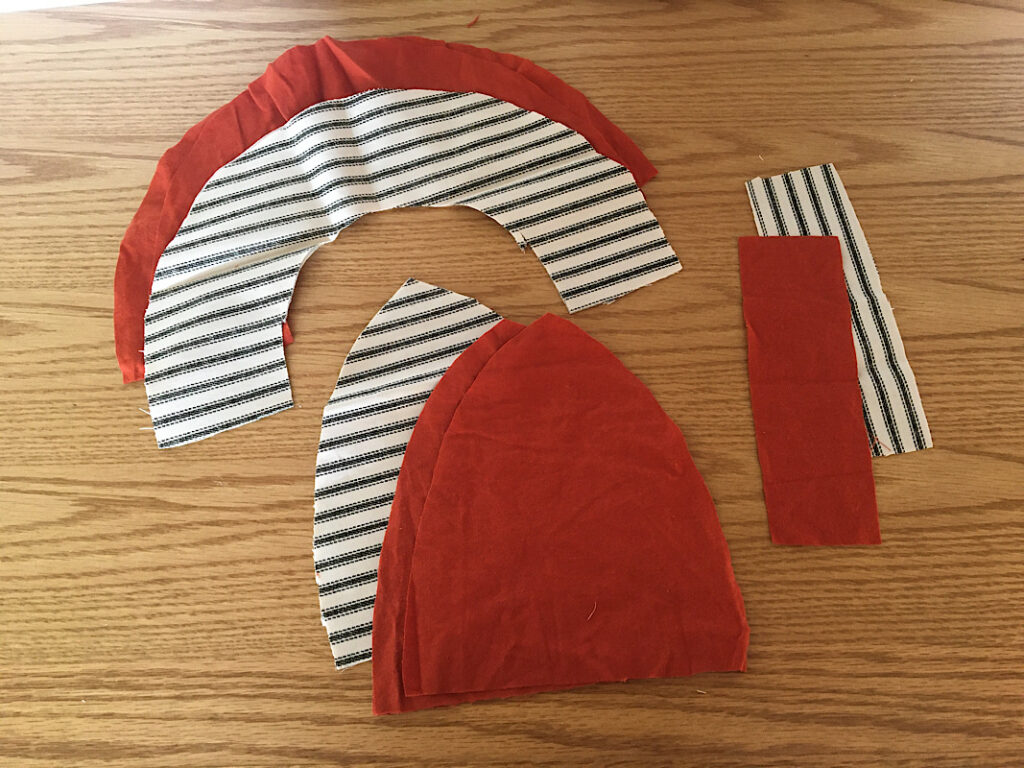
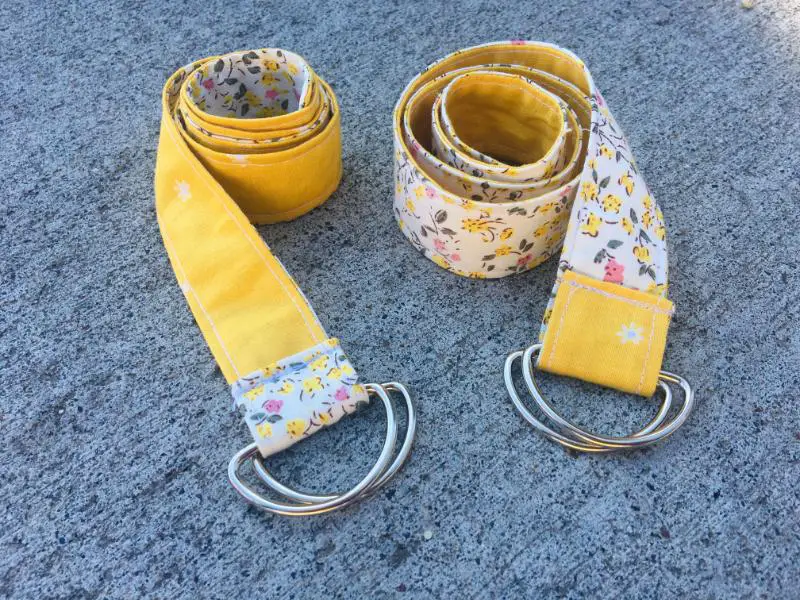
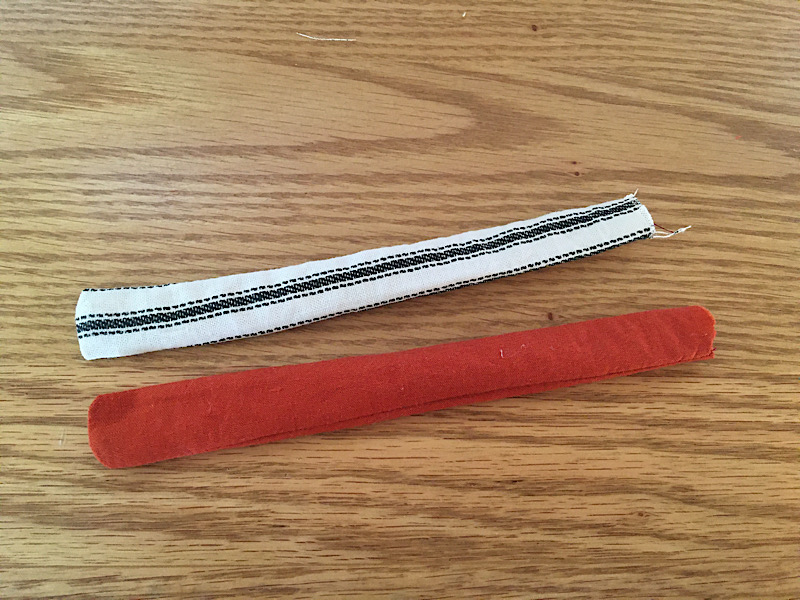
If you want to add straps, you can also cut out two 2 inch wide strips in the length you will need depending on what kind of strap you want to make. The length will vary if you are making bow tie straps, velcro straps, or using an adjustable spring cord toggle clips with a cord.
You can cut the straps longer than needed, then hem them to length later if needed.
I upcycled an old shirt to make my hat:
Step 2. Assemble The Cap
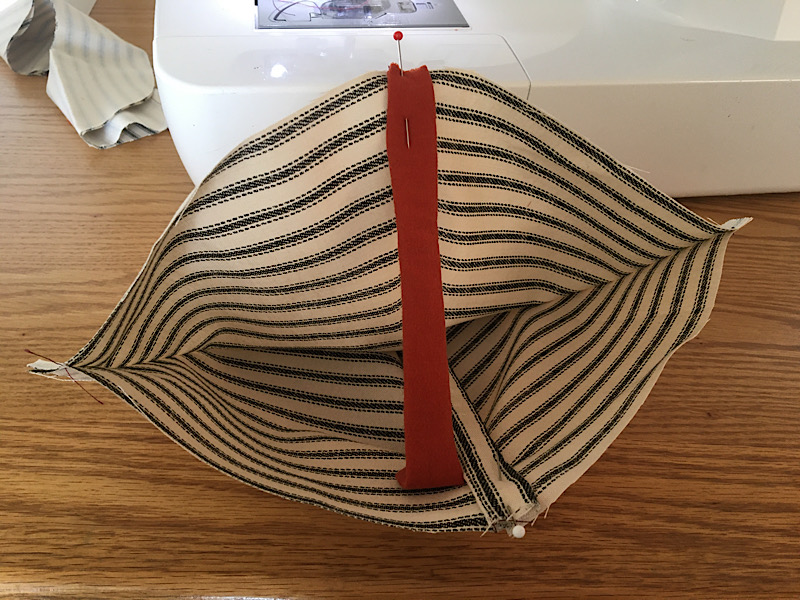
Place two of the cap pieces on top of each other with the right sides facing, and sew down one side with a half inch seam allowance. Repeat this step with the other two cap pieces also.
Next, open up both sewn cap pieces and place them together with the right sides touching, aligning the center seam and side edges.
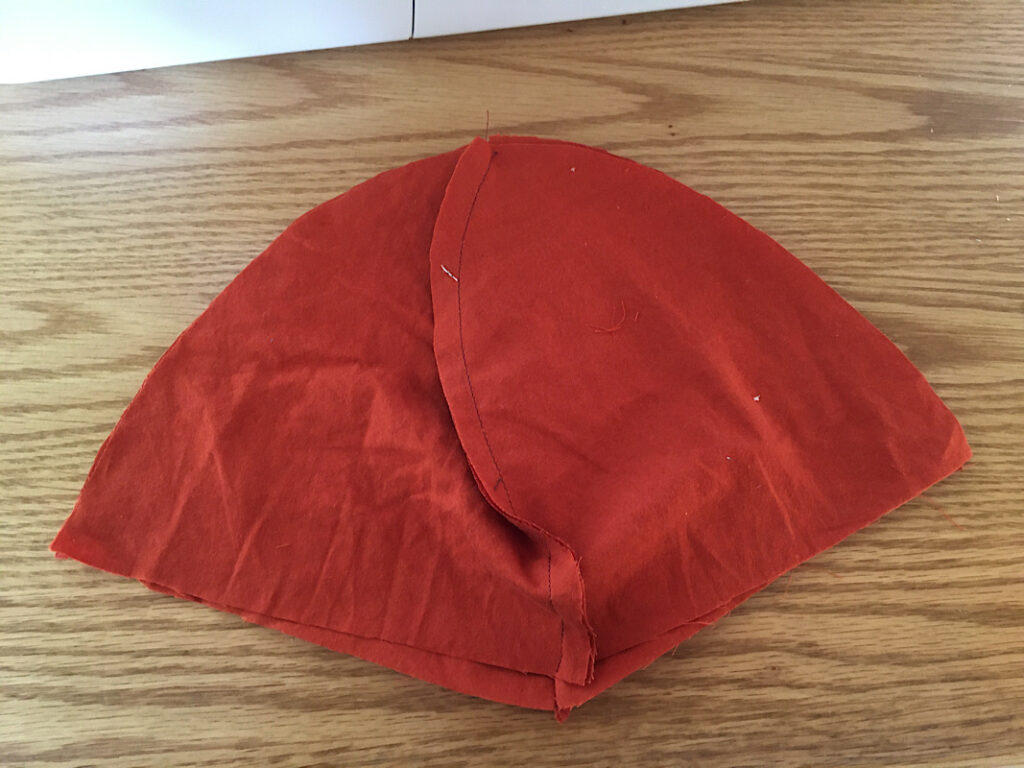
Then sew along the entire top/side curve, with a half inch seam allowance, leaving the bottom open.
(I forgot to take a picture of the orange fabric for this step, so here is a picture of the lining at this point 🙂 )
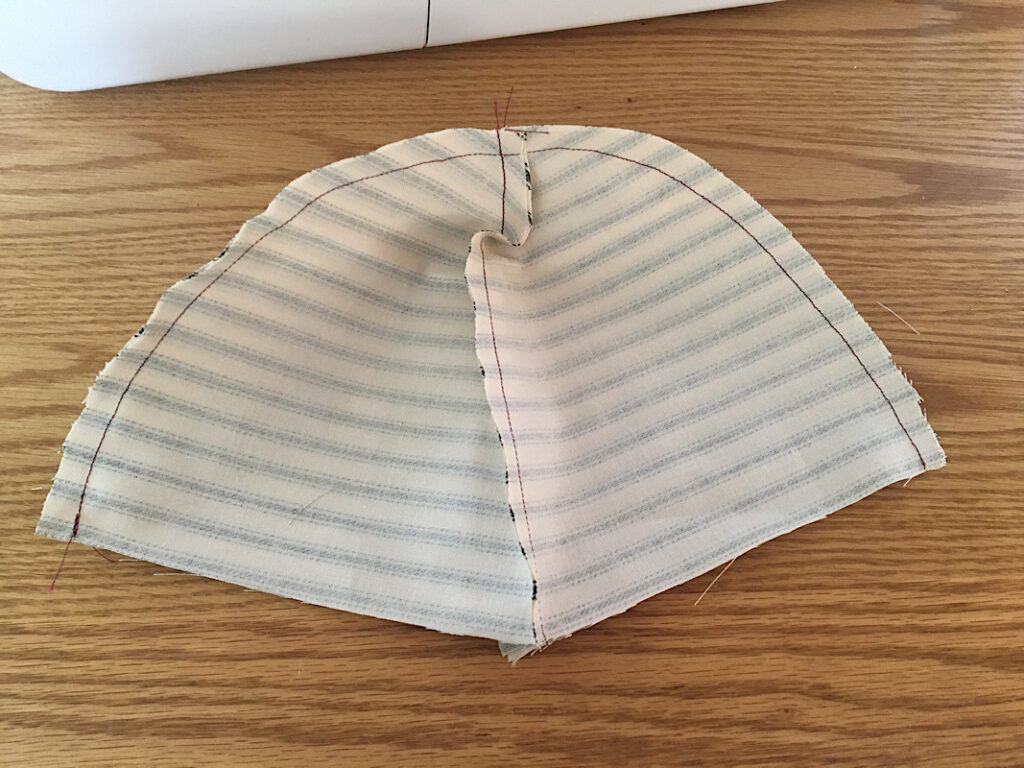
Repeat these steps for the lining cap as well, then place the caps aside.
Step 3. Sew & Attach The Brim
Open up both brim pieces and align the short edges with right sides touching. Sew along both short edges with a half inch seam allowance.
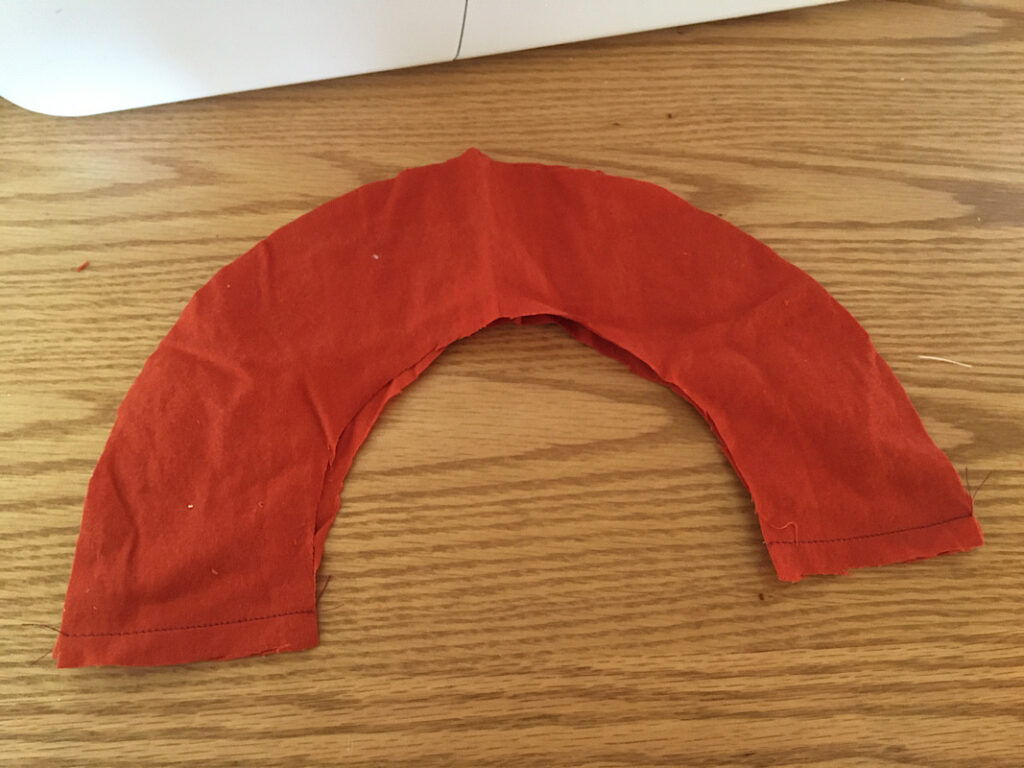
Repeat this step for the lining brim as well.
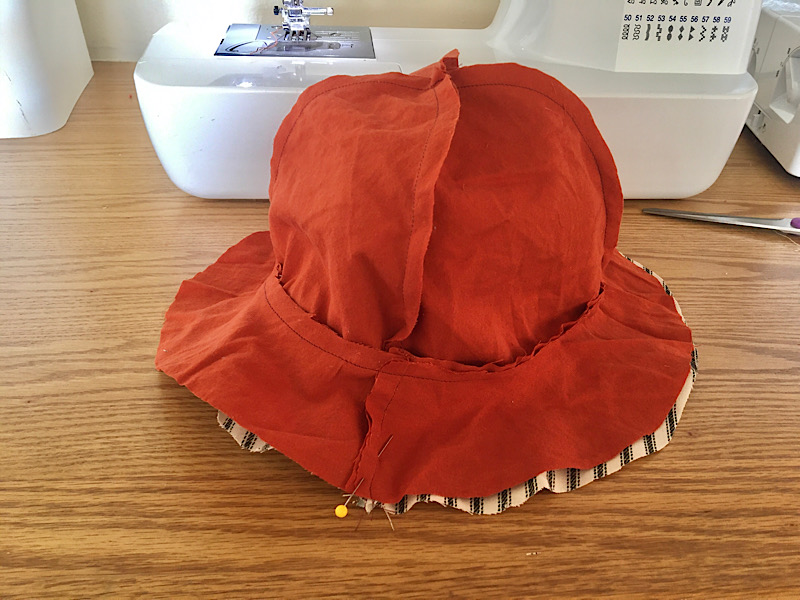
Now to attach the brim to the cap, make sure the cap has the right side facing IN, and align the INTERIOR circle of the brim along the raw circumference of the cap, with right sides together.
Pin around the edges.
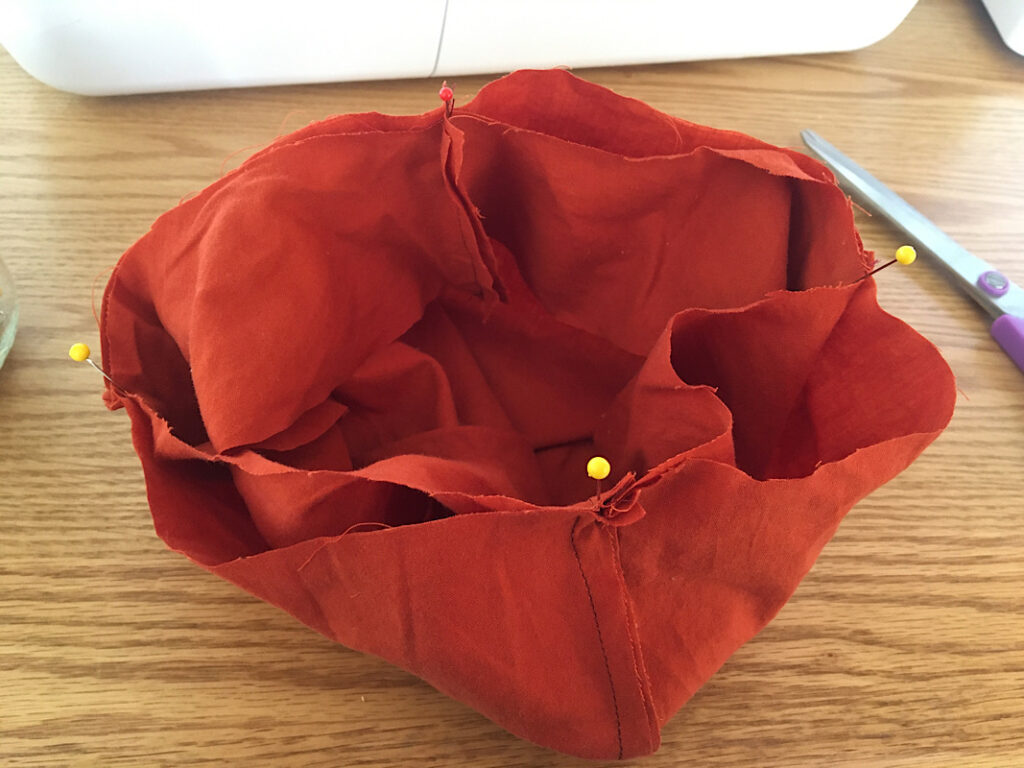
Then sew around the edge with a 1/2 inch seam allowance.
When you are done, you will have a hat shape!
If you are going to add straps to your hat like I did, then do not attach the brim to the cap for the lining quite yet.
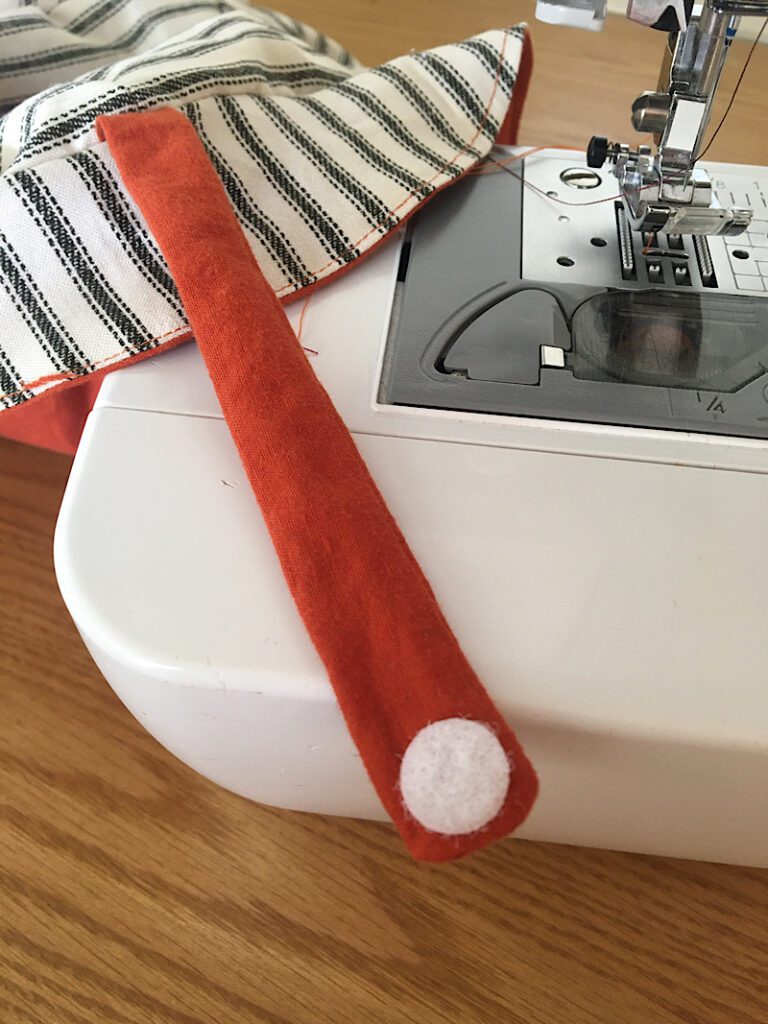
Step 4. Make The Straps & Attach Lining Brim
Fold your strap in half with the right sides facing, and sew along the long edge with a 3/8ths inch seam allowance.
(If you know the exact strap size you will need, you can also sew along the bottom short edge of the strap so you won’t have to fold/hem it later.)
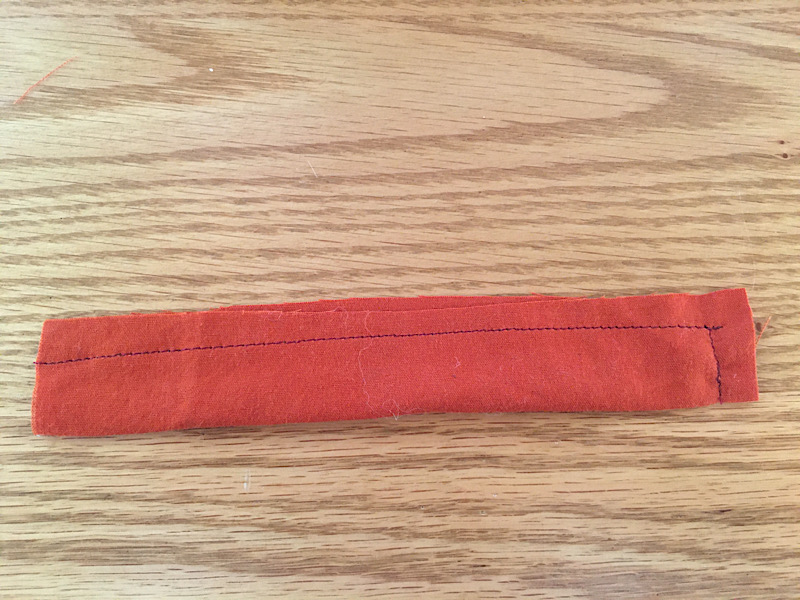
Turn your strap right side out. Then repeat with the other strap.
Now, pinthe straps to the seam side of the CAP lining.
Then attach the lining brim to the cap the same way you did with the hat’s exterior pieces.
But this time you will have straps sticking out when you are done!

Step 5. Insert The Lining
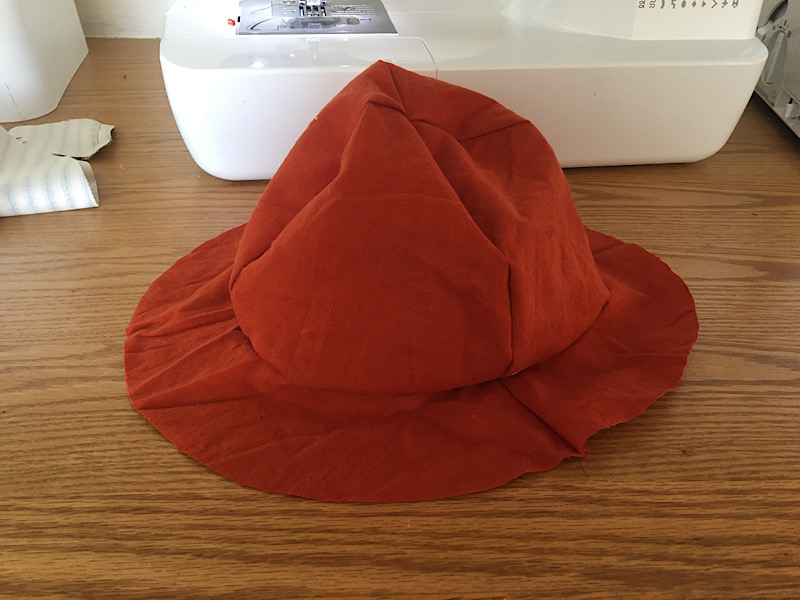
Now we will sew both sun hats together to make a lined and reversible hat!
Turn one hat inside out, and keep one hat right side out. Place them on top of each other so the right sides are touching, and make sure to line up the side seams on the brims to make it look nice.
Pin around the edges of the brims.
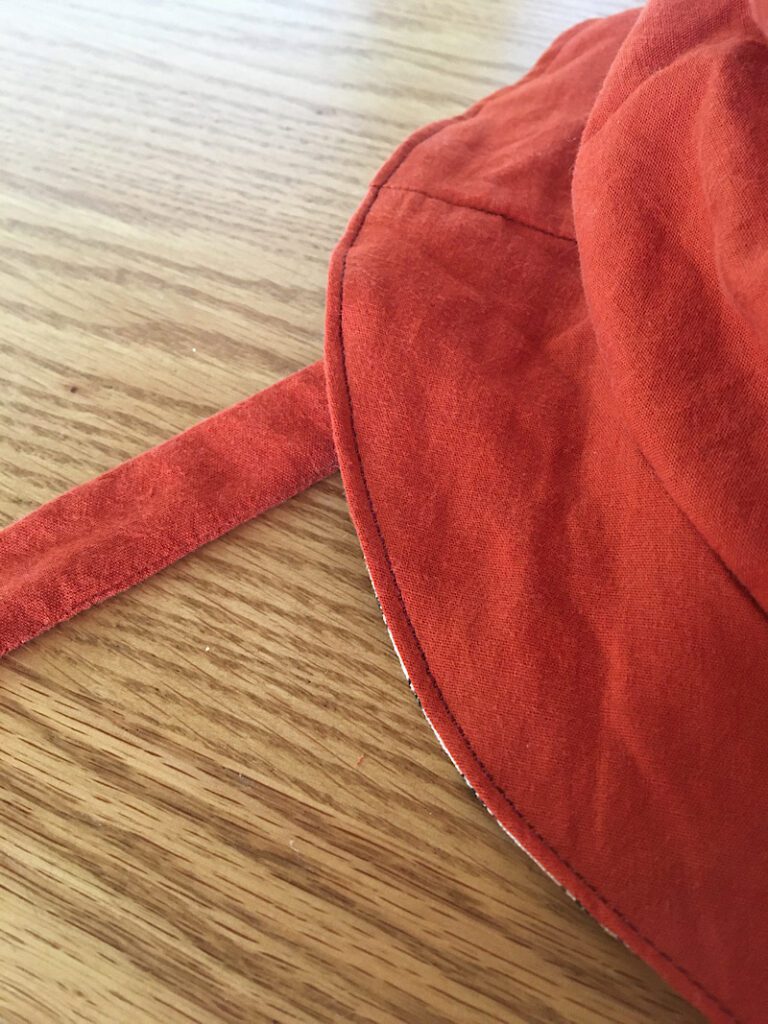
Then, sew around the brim edge with a half inch seam allowance, leaving a 2 inch gap at the end.
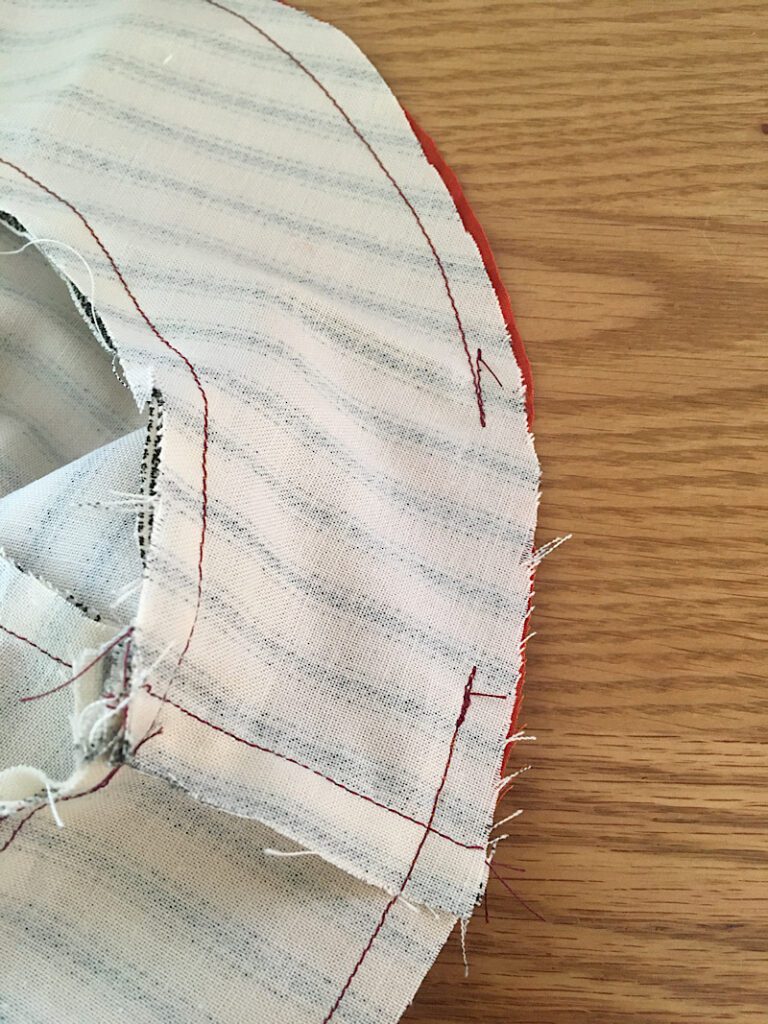
Notch, Pink, or simply trim a bit off, around the raw edge of the brim to remove bulk and make turning easier.
Then, reach into the gap and pull the hat right side out.
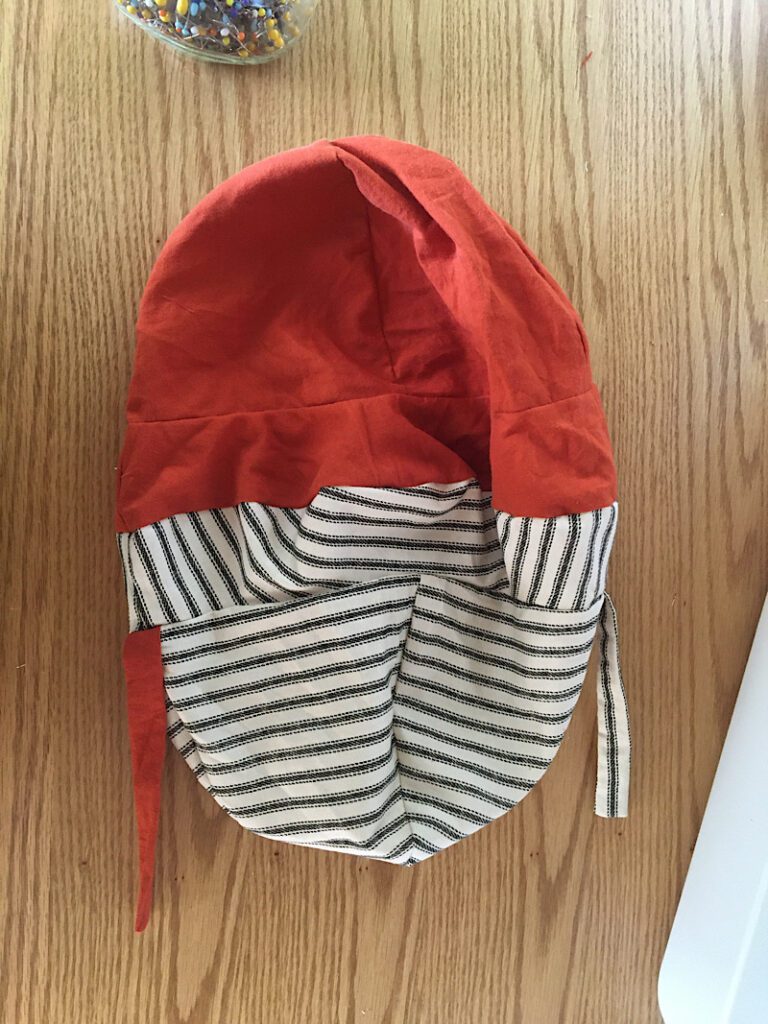
Using a blunt object or your finger, reach into the gap and poke out all the seams to make sure they are well shaped.
Then, push the lining up into the hat exterior and shape the hat until it looks nice. This is especially important on the brim, you want to make sure it is even at the side seam so the lining stays on bottom, and the top stays on top when you sew it next.
Fold the raw edges of the gap into the inside of the hat, and pin them in place.
Sew a top stitch around the edge of the brim near the edge with a 1/8ths inch seam allowance, making sure to sew the gap closed as you do.
Step 6. Finish The Straps
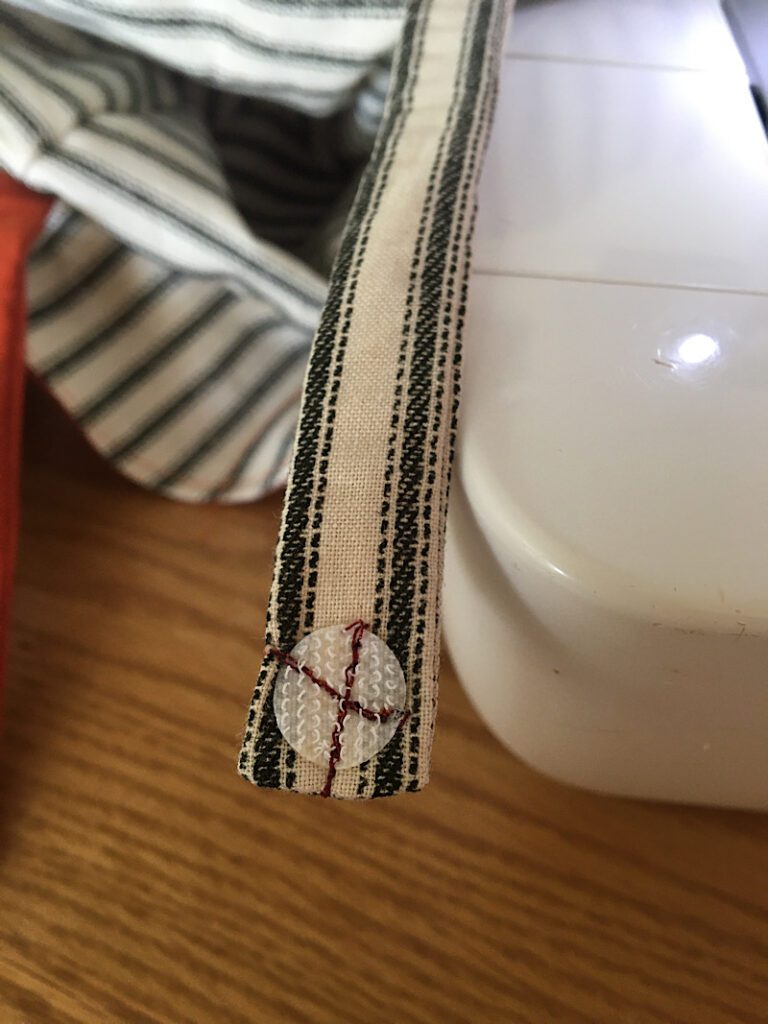
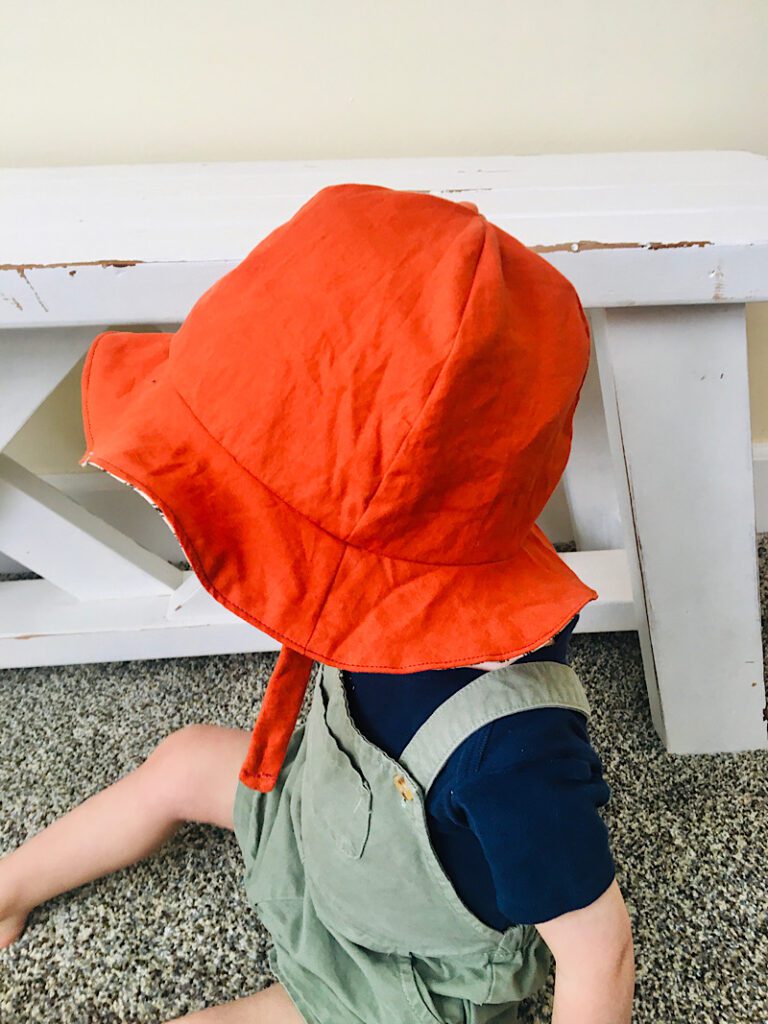
Finally, if you added straps you can finish them however you like!
I decided to add velcro to mine, by sewing an X through each piece on either strap.
You can leave the straps long to make them into tying straps, add a spring toggle clip, use snaps, etc.
To hem the straps if you need to, cut it 1/2 an inch longer than you need it, then simply fold the raw edge inside the strap, and sew a top stitch along the edge to close it.
Then you are done!
Because the straps are sewn into the lining, when I reverse it, the straps hold the brim down against my child’s ears, which is great on a windy day!
It turned out so cute and I would love to make some girl hats with bows or lace trim next time.
If you have questions about this pattern, let me know and I would be happy to help!
Send me a photo when you are done, and be SURE to pin this post to pinterest, it helps get my free patterns out there to others!