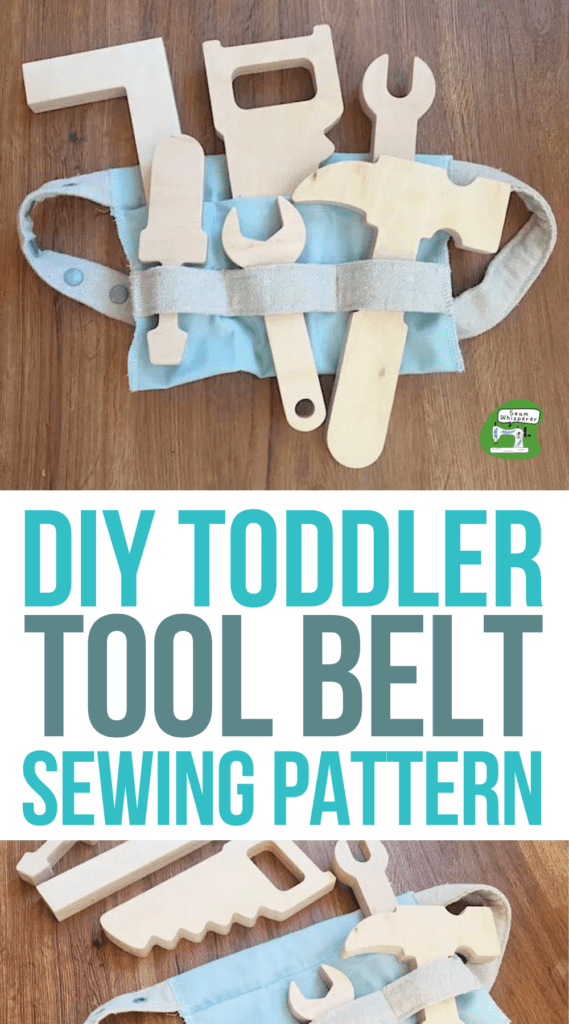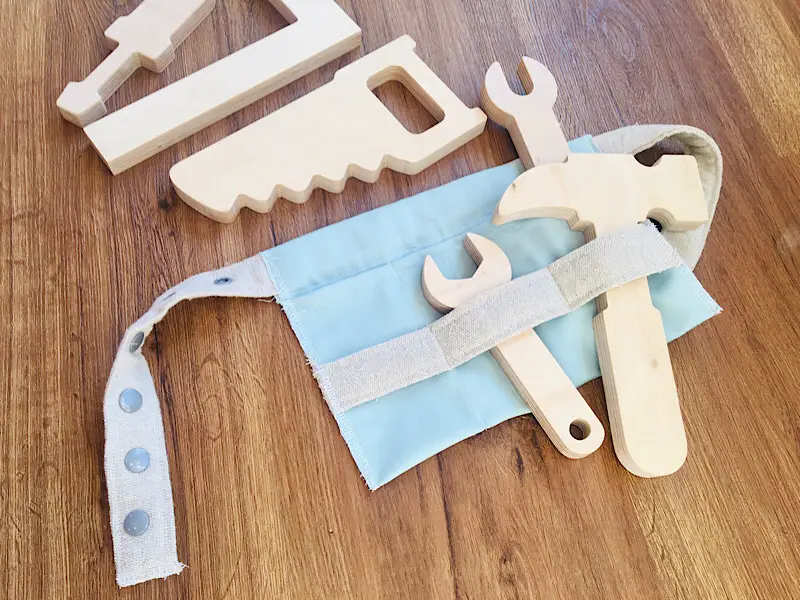
These canvas tool belts are the perfect gift for your toddler’s tool kit! With a adjustable waist and plenty of pockets, your kids will be fixing in no time!
This post may contain affiliate links. Read the full disclosure here.
This year for Christmas I got my son a super cute little wooden tool set. (This is the exact set I bought, if you are wondering, and this other one is so cute too!)
The set had the option to purchase a tool bag with it, but you know me, I prefer to make my own and save a buck!
Here is how I did it…
Supplies Needed
- 14″x10″ piece of medium weight canvas or denim for the tool bag body
- 1 yard long piece of cotton webbing for the belt and front loops(or you can make your own with a 36″x4″ piece of canvas or denim)
- Several Plastic snaps or an 8 inch length of sew on velcro for the belt sizing adjustment
- Matching Thread
- Large safety pin or bodkin to thread the belt through the bag
- Pins, sewing shears, sewing machine, serger optional.
How To Make A DIY Toddler Tool Belt
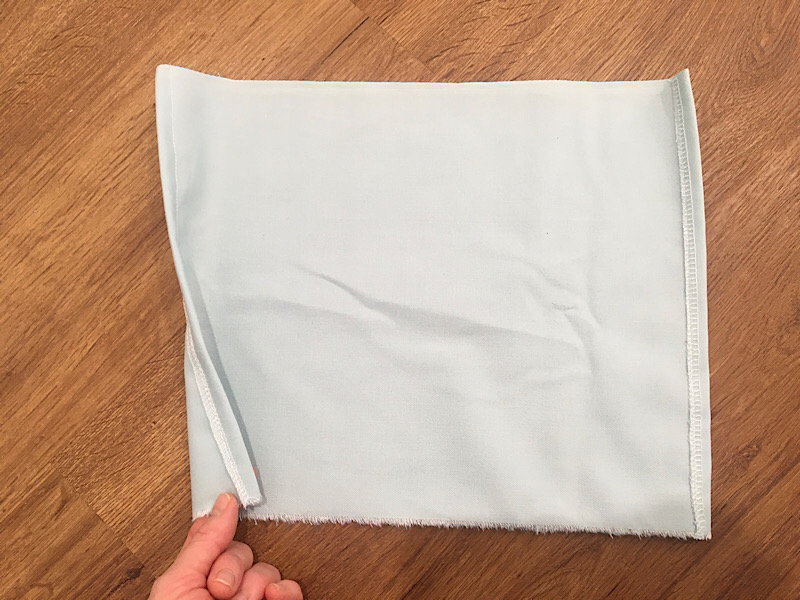
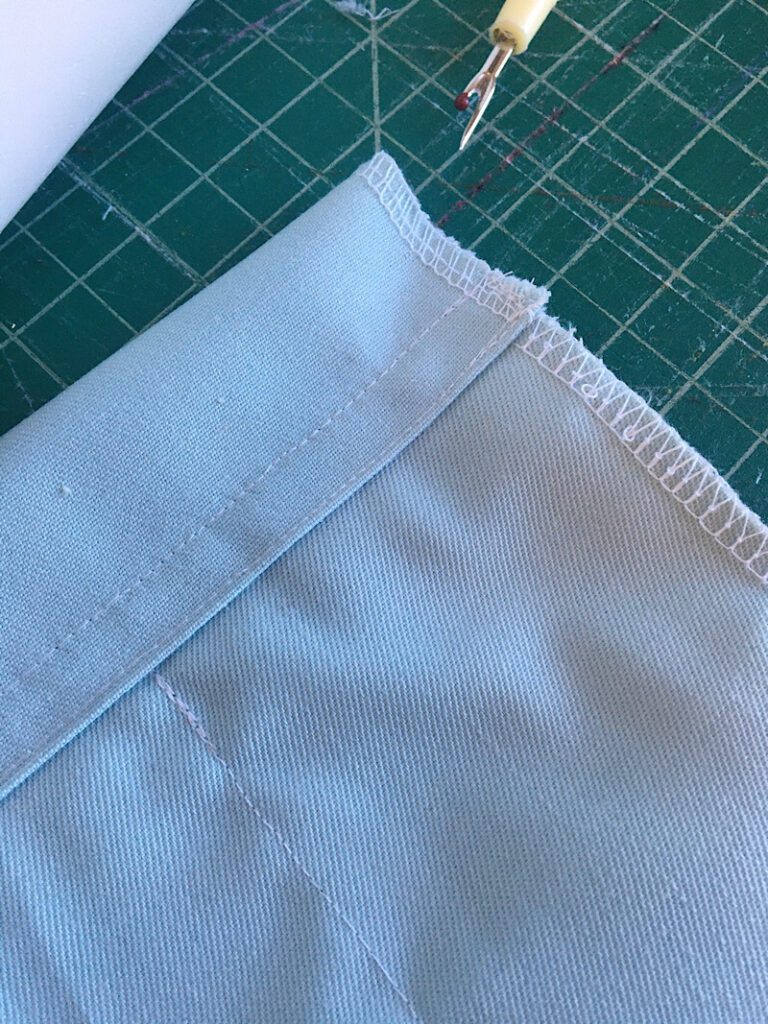
Step 1. Hem The Sides Of The Bag
Cut out a 14″x10″ rectangle of your chosen fabric.
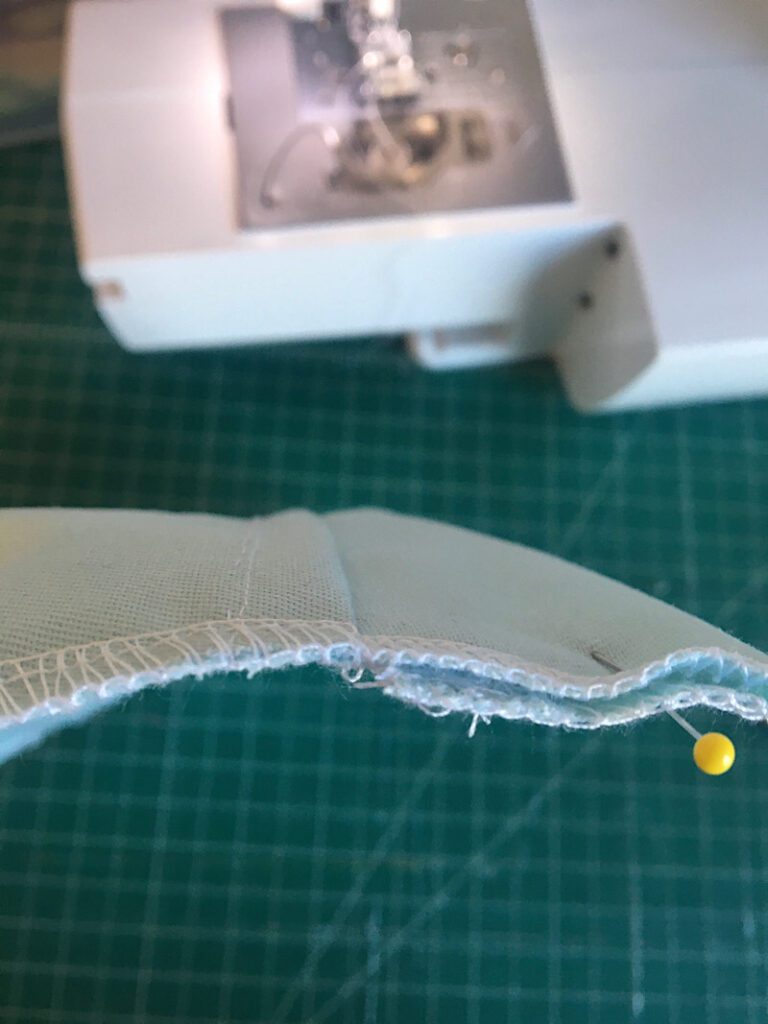
Serge the two 10″ sides (or zig zag the edges if you don’t have a serger.)

Now you will hem each of the serged sides by folding them over half an inch, and sewing the hem down. One of the folds should be facing one side of the fabric, and one of he folds should be towards the other side of the fabric.
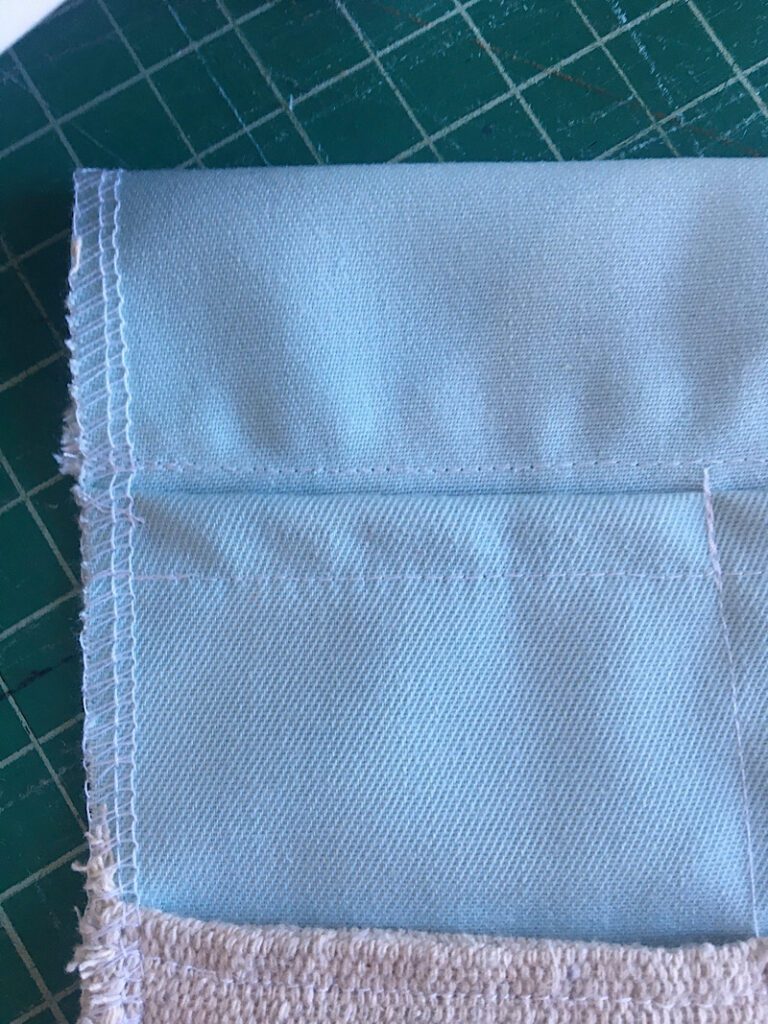
Step 2. Add The Front Loops
lay the fabric down so that the long 14″ sides are on the left and right. The top of the rectangle should have the hem folded down towards the table so that the nice side is up.
Fold up the bottom of the rectangle 5 inches, and pin it in place on both sides.
Both hems should now be facing down, with the right sides facing you.

Place a 10 inch long piece of cotton webbing across the middle of the folded up section, and pin it in place.
(If you are going to make your own instead of purchasing cotton webbing, fold your 36″x4″ piece of canvas in half lengthwise, twice, so it ends up being one inch wide, and sew down both long edges.)
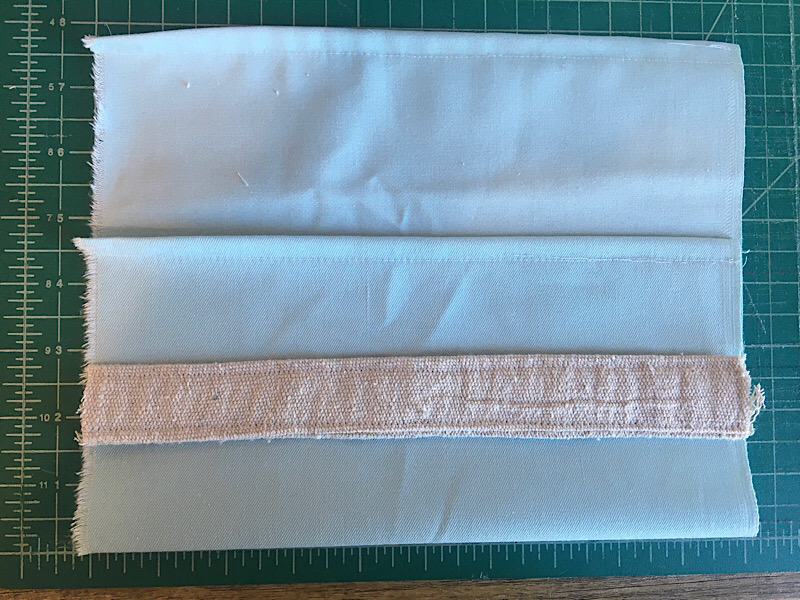
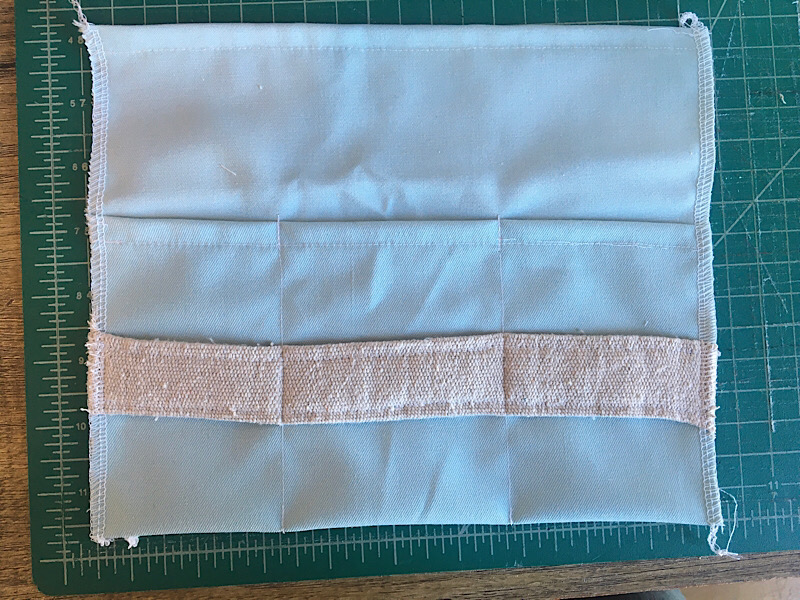
Carefully sew two straight lines down the entire folded section of the tool bag, through the webbing, to create 3 even divided sections. These will become the pockets later.
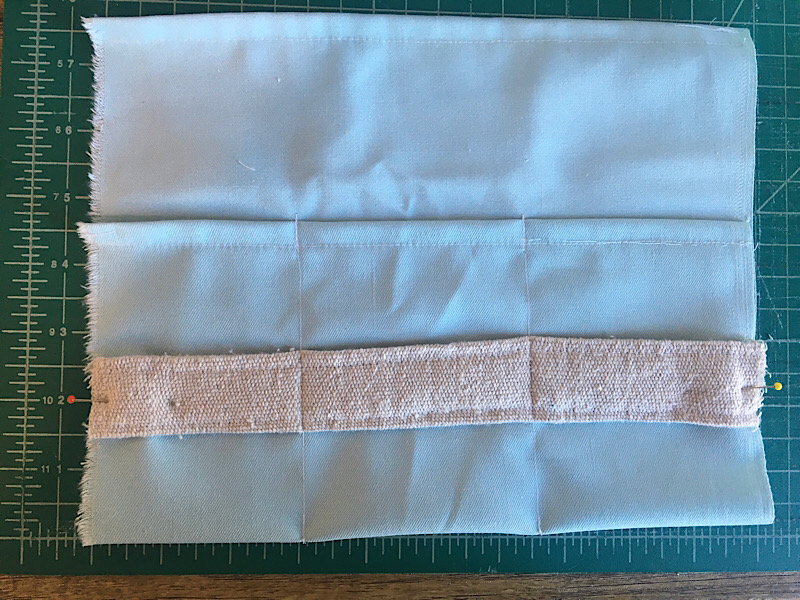
Finally, serge or zig zag down the two side edges to close the side pockets, and secure the edges of the webbing.
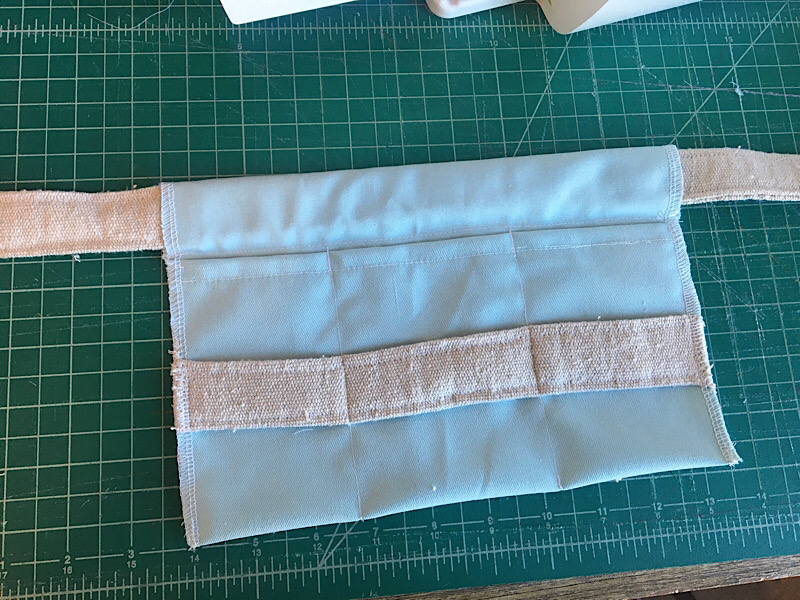
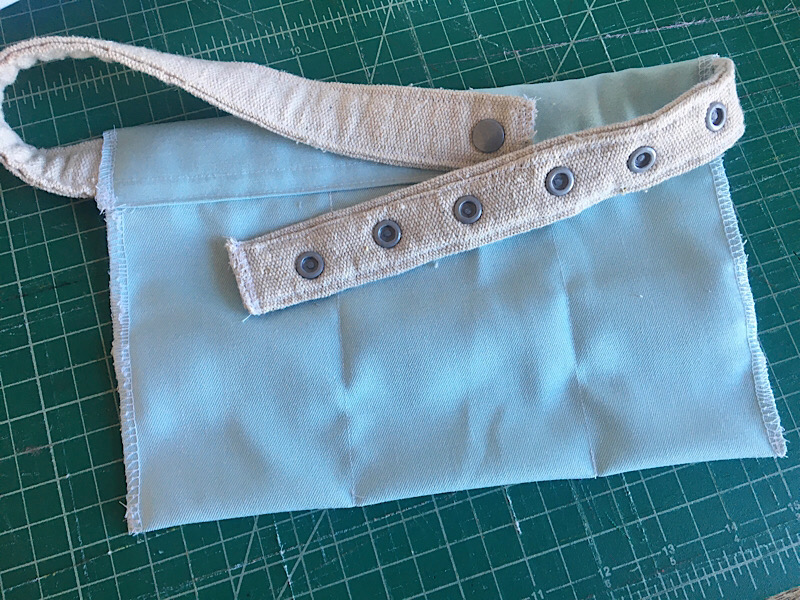
Step 3. Add The Belt
Turn the tool bag over.
Fold the top down about 1.5 inches and pin it in place. Feel through the fabric to make sure that the hemmed edge that you folded down stops right before the hemmed edge on the front.
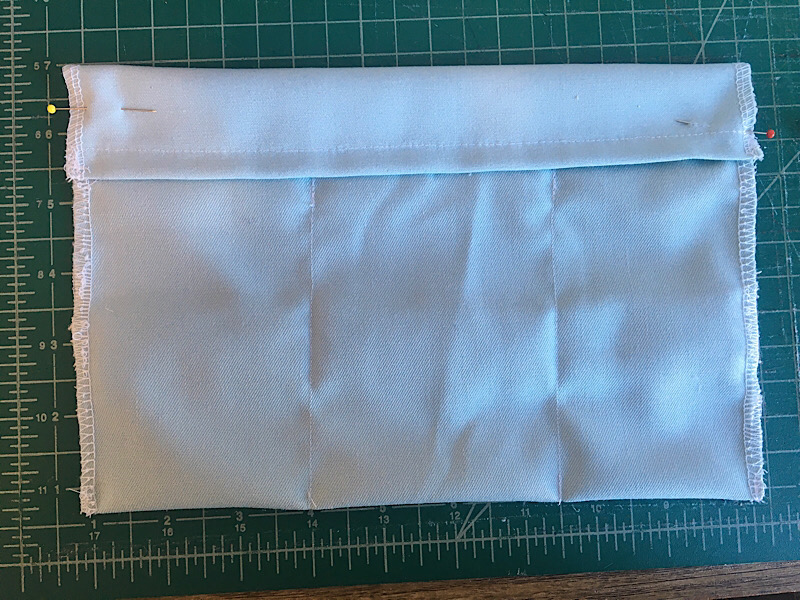
If you look from the side view, the two hemmed edges should not overlap at all. The belt path should be above the pockets.
Sew a line across the section you just folded down, to make a “tunnel” that you will thread the belt through later. The tunnel should be at least 1 inch tall to fit the belt later.
From the front, the line should NOT have gone through the top of the pockets.
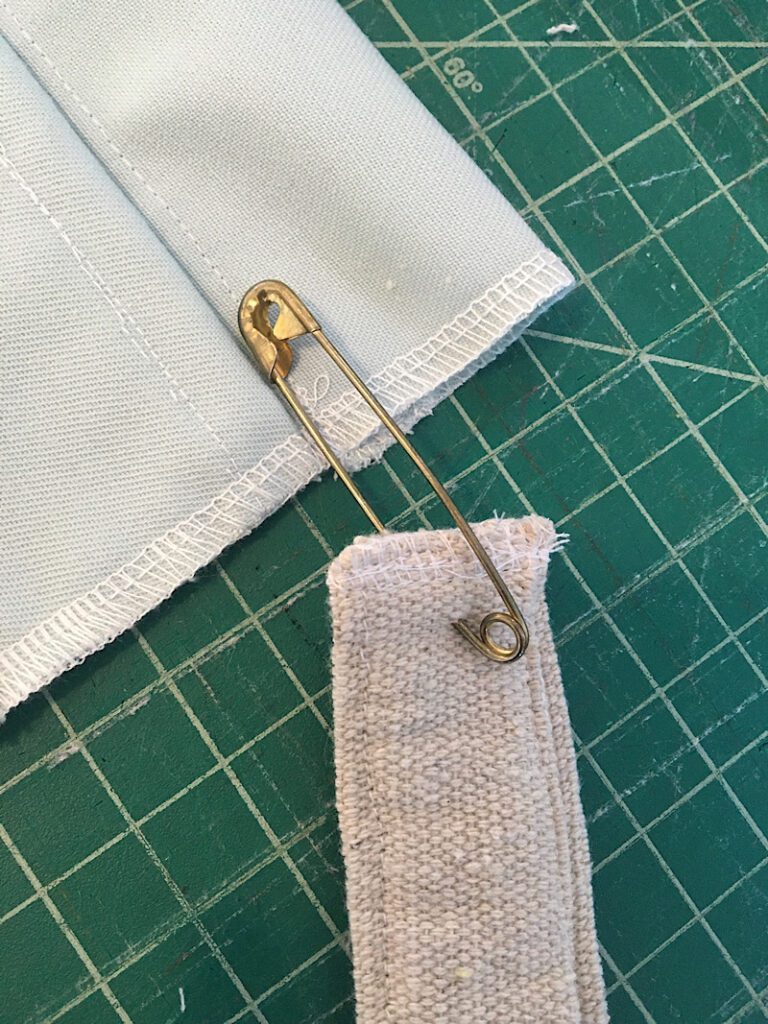
Next, take your remaining 26″ long piece of cotton webbing, and put a huge safety pin through one side. Then thread the belt through the tunnel.
Center the belt in the tool bags. You can sew it in place if you want, or leave it slide-able.
You should also finish the two short ends of the belt. You can zig zag or serge the edges, or if you happen to have chosen a nylon webbing instead, you can melt the edges to seal them.
Step 4. Add The Size Adjustment
Finally you will need to add the sizing mechanism that you chose. Sew on velcro would be applied to the two ends, on opposite sides so it can close flat.
Plastic snaps should be placed about an inch and a half apart on one side, and one of the other snap types on the end of the other side of the belt, making sure the snaps face the appropriate way that the belt can close flat.
Then you are done!
Now you can try it on your kiddo and let them go wild.
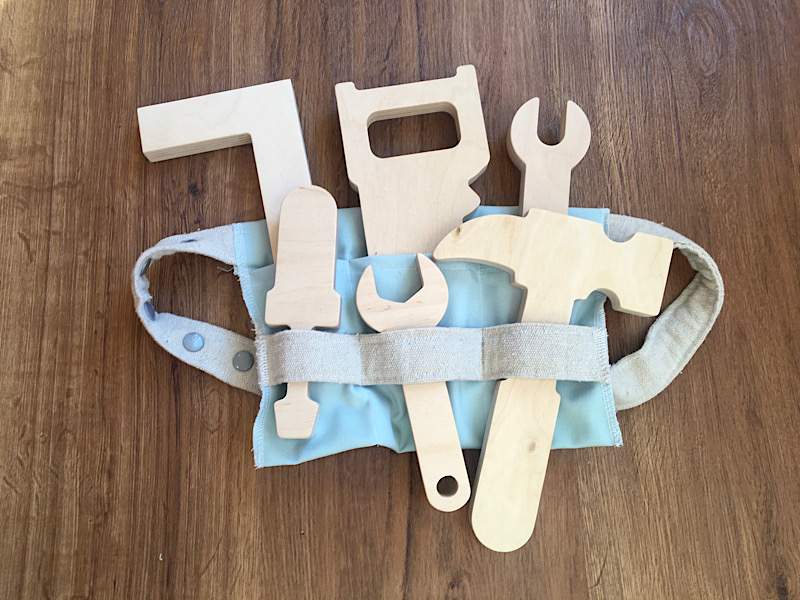
I am so happy with how this project turned out! Now I just have to teach my toddler not to hammer the windows…
Let me know if you need any help, and send me a photo when you are done!
Pin this post for later if you liked it, it really helps my blog a lot!