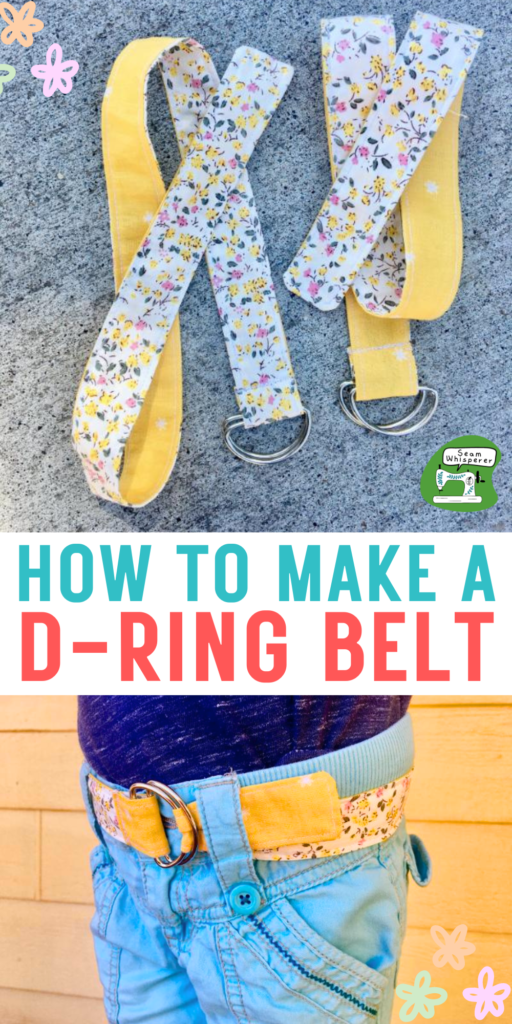
D-Ring belts are so easy and fun to make, you can quickly whip up several in no time to match any outfit!
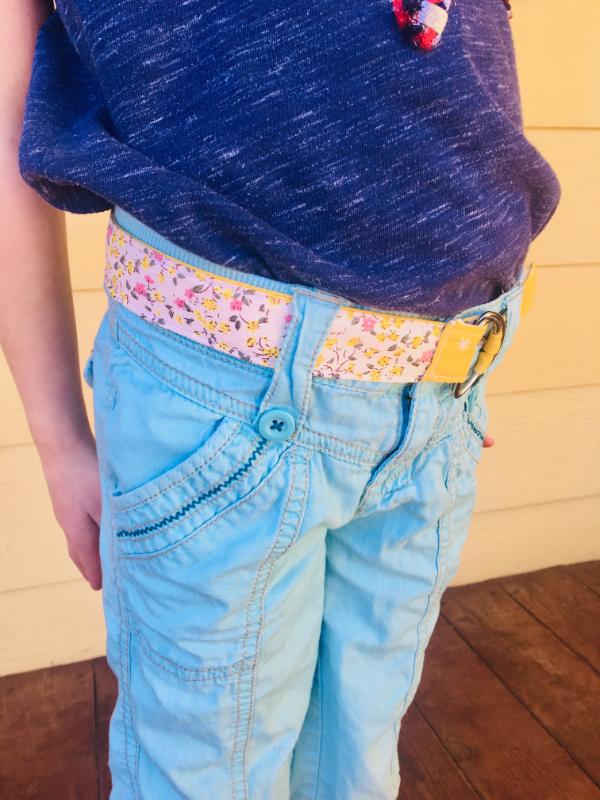
My daughter has a cute pair of teal shorts that she really wanted to wear, but they were just a bit too big! Rather than sew them, she asked me if I would make her a cute belt.
I have a stash of unused D-Rings (I forgot what I bought them for!) so I excitedly said yes! and was able to make both my girls a cute belt in just a few minutes.
Let me show you how easy it is!
This post may contain affiliate links. Read the full disclosure here.
Supplies Needed
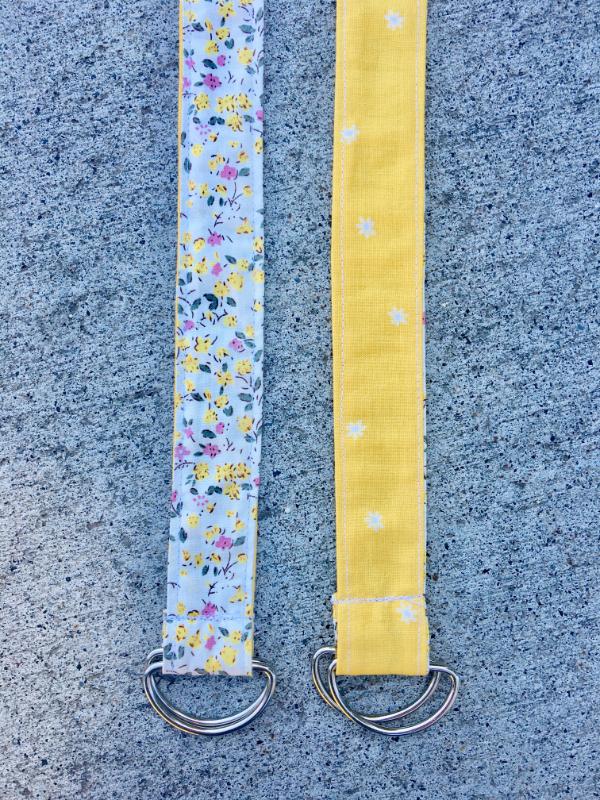
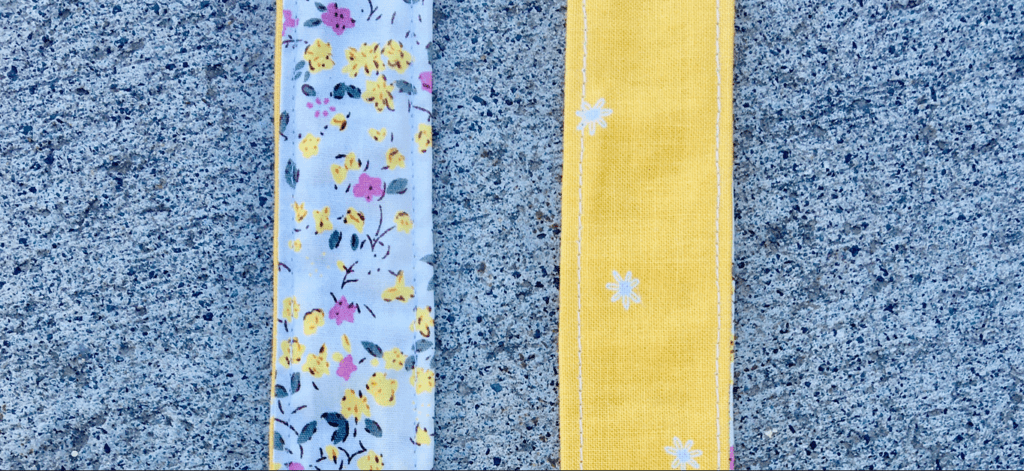
- Medium weight fabric for the belt – 2 strips – Desired belt height + .75″ by 1.25 times the waist measurement (I used two colors for the front and back to make it double sided.) I will explain the measurements in more detail in the post if you need help.
- Fusible interfacing, if desired, to make the belt thicker.
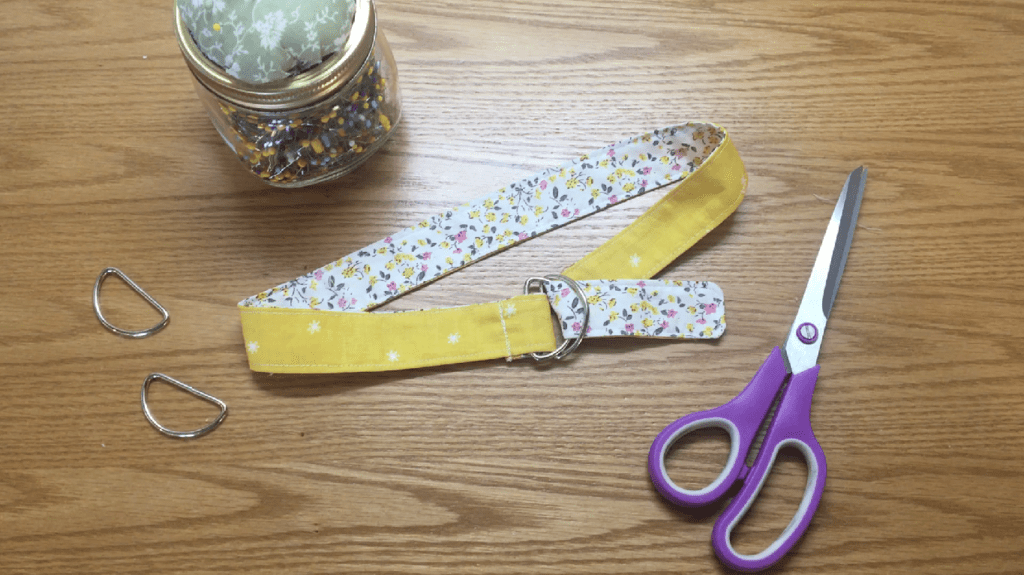
- 2- Metal D Rings in the size appropriate for your desired belt height (I used 1.5 inch rings which is a good general size)
- Matching Thread
- Rotary Mat and Cutter (Optional but recommended)
- Iron and Ironing Board
Prefer to watch the tutorial? Check out the video version of this blog post!
How To Make A Fabric D Ring Belt
Step 1. Measure And Cut Fabric
The size of your belt is going to depend on who you make it for, of course!
Kids belt loops are smaller than adults belt loops, so I made a thinner height belt. But you can also make a thicker/taller one if you have the right side of rings, and if it will fit into your belt loops!
You will need to cut two fabric strips for the front and back of the belt. Each strip should be 1.25 times the length of the waist circumference. Then, add .75 inches to whatever height you want to account for seam allowance.
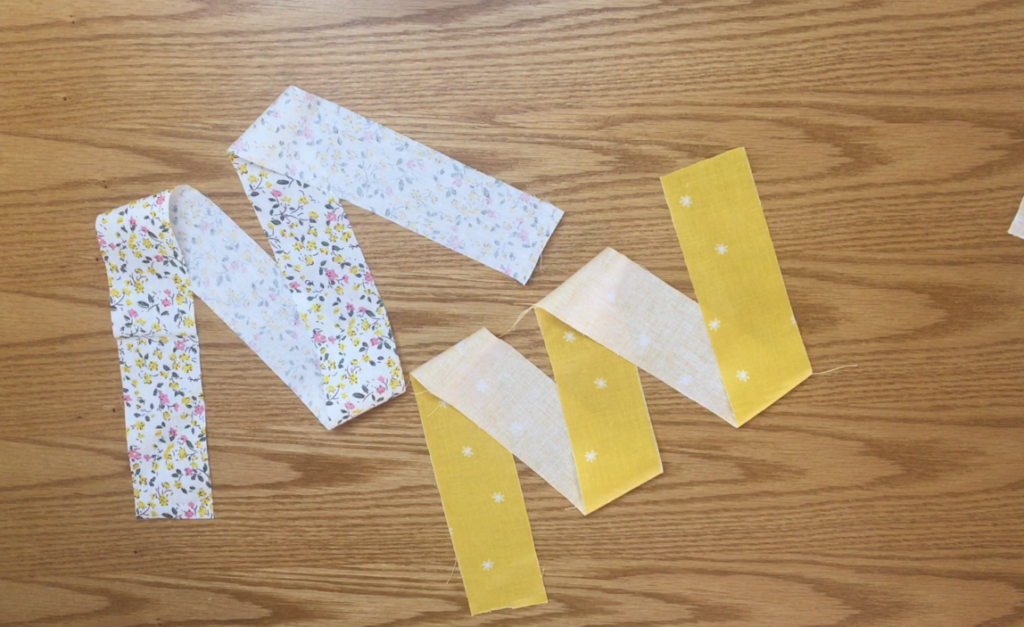
For my girls belts (ages 4 and 6) I cut two strips of fabric 2″x30″, and it worked for both of them, although the “tail” was a bit shorter on my older child. This size would probably work for many 2-7 year olds, but when in doubt, measure!
Step 2. Sew The Belt
Place the two strips together with the right sides touching, and pin them in place.
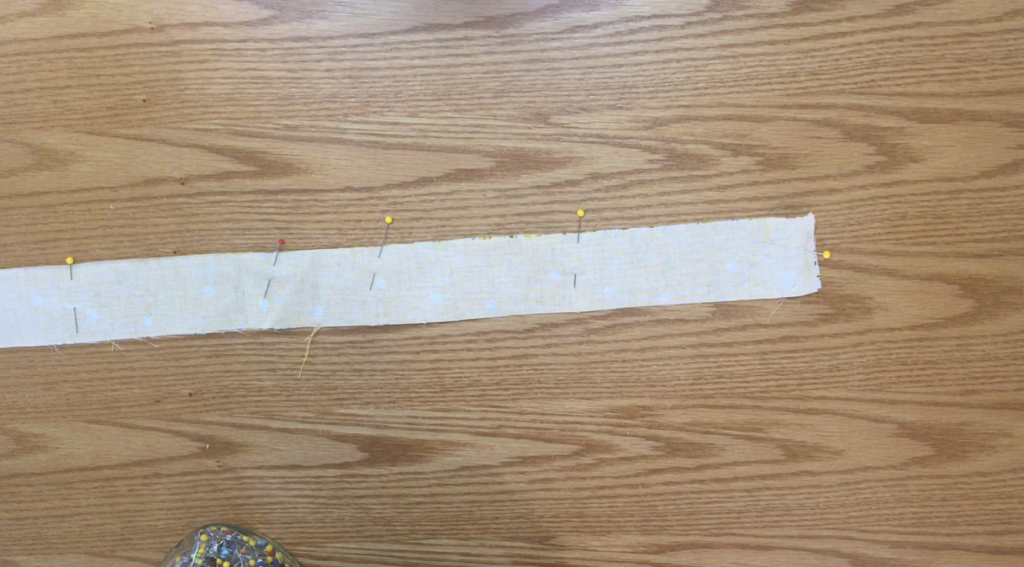
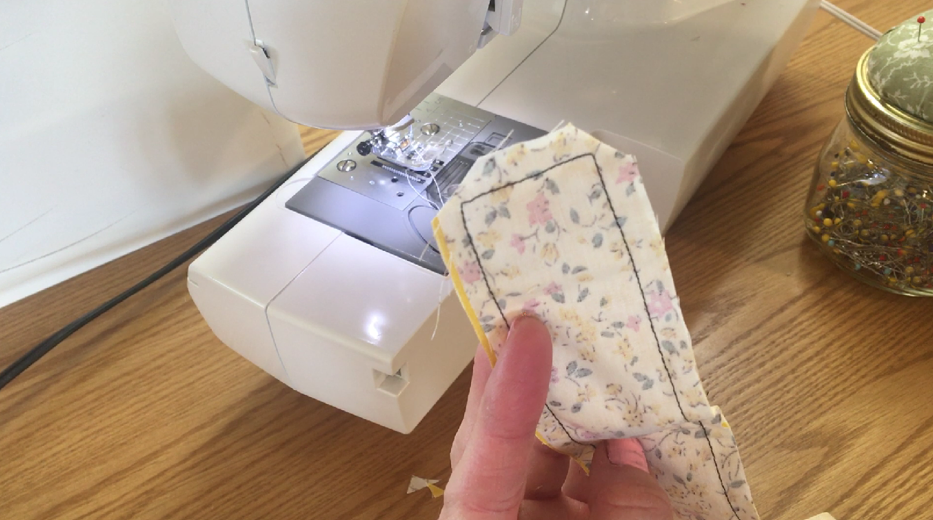
Sew around the sides of the belt with a 3/8ths inch seam allowance, leaving one of the short sides open.
After sewing, clip the corners off the sewn short side to remove some of the fabric bulk. This will make turning it right side out easier.
Step 3. Turn The Belt
Now you will turn the belt right side out. You can use whatever fabric-turning tool you like, or you can use my easy quick method:
Working on the sewn short side of the belt, push the sewn end down into itself about an inch. You will have to kind of separate the two layers and push the end down so that it gets worked inside itself.

Then, place that pushed-down-end on top of a blunt object like a marker (I CAREFULLY used my scissors), and bunch all the fabric of the belt downwards until it is totally on the blunt object.

Now the tip should be sticking out the top, but with the fabric right side out. Grab the tip of the fabric, and pull it off the blunt object carefully, then slide your hand down the gathers of the belt to turn the rest of it right side out too!
(If you need a better visual of this, you can watch the video tutorial.)
So quick and easy!
Step 4. Press & Stitch The Belt
Flatten and shape your belt, making sure the corners are sharp and poked out. Then, press the belt with your iron.
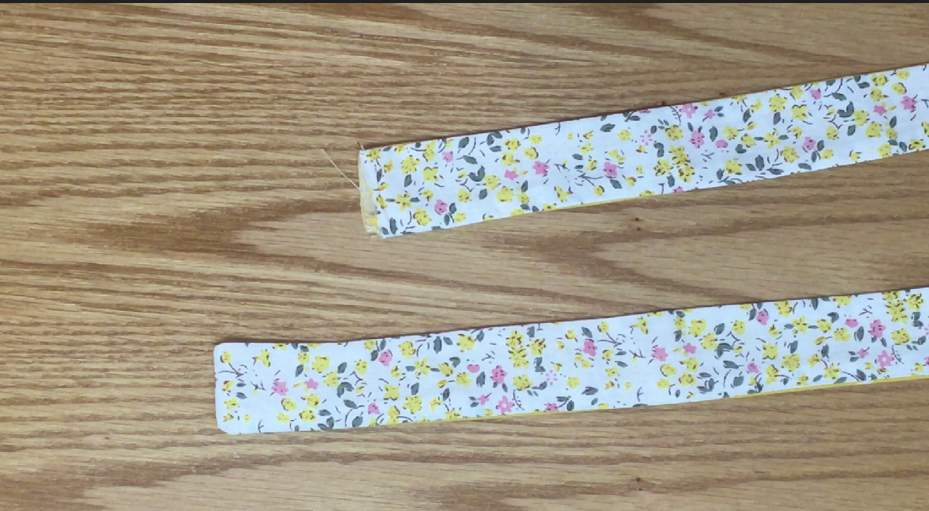
To keep the edges crisp, sew a top stitch around the perimeter of the belt with a 1/8ths inch seam allowance.
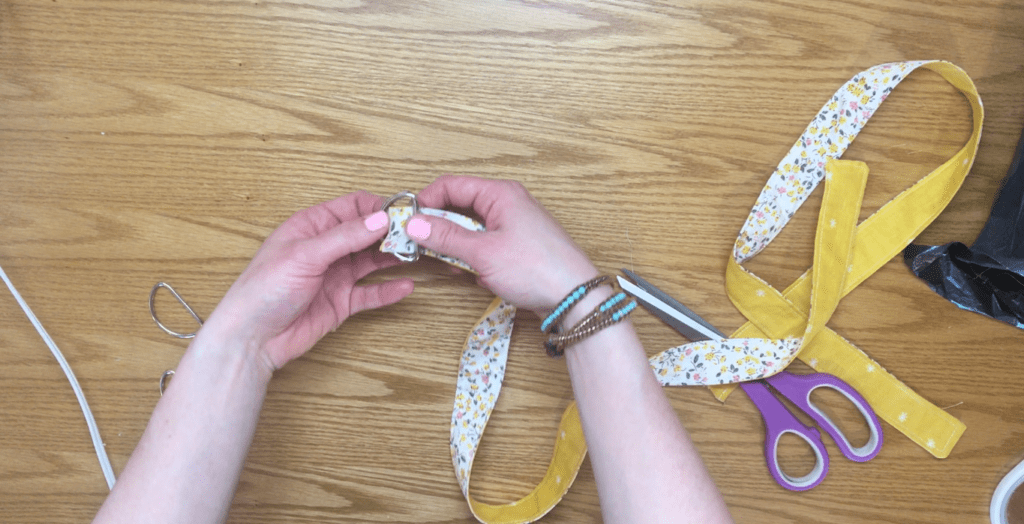
Step 5. Attach The D Rings
Finally you can now attach the D Rings!
Slide the two rings together onto the UNSEWN short side of the belt.
Fold over the raw edge 1/2 an inch, then fold over that edge again 1 inch, and pin it to the belt, over the rings.
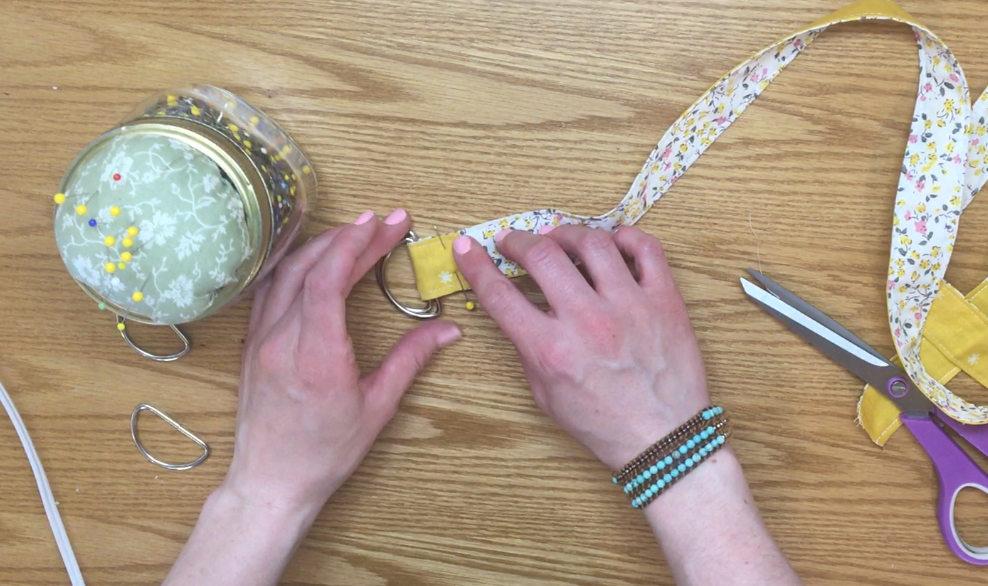
This will hem the raw edge and also attach the rings at the same time.
Sew down the folded edge a few times to secure it, then you are done!
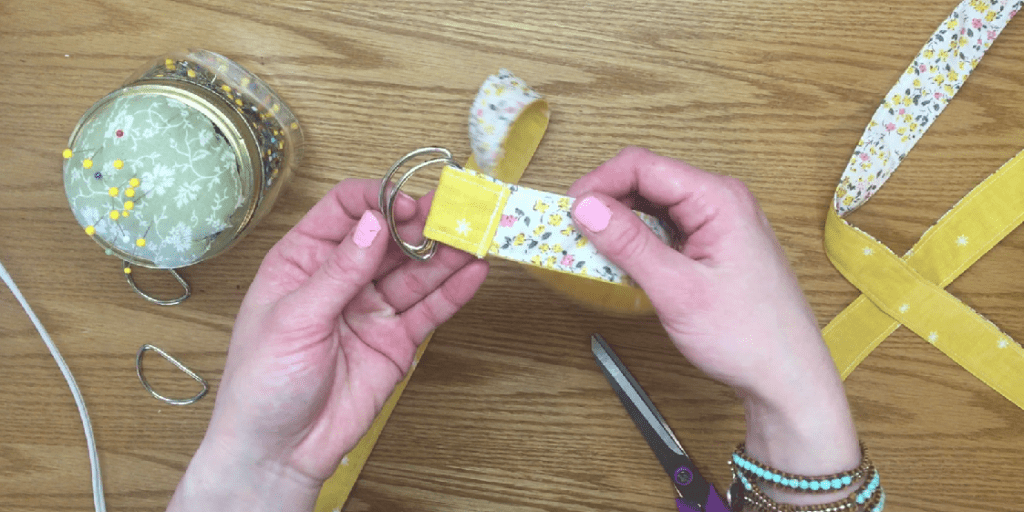
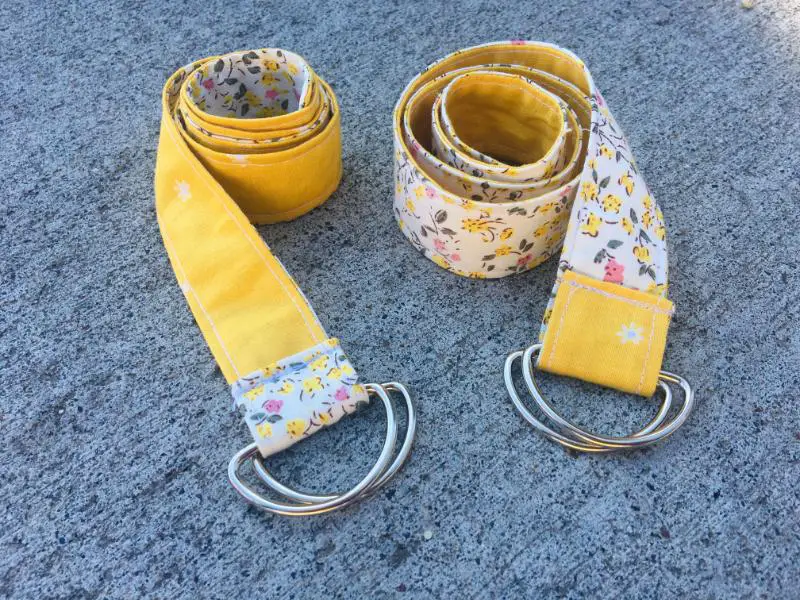
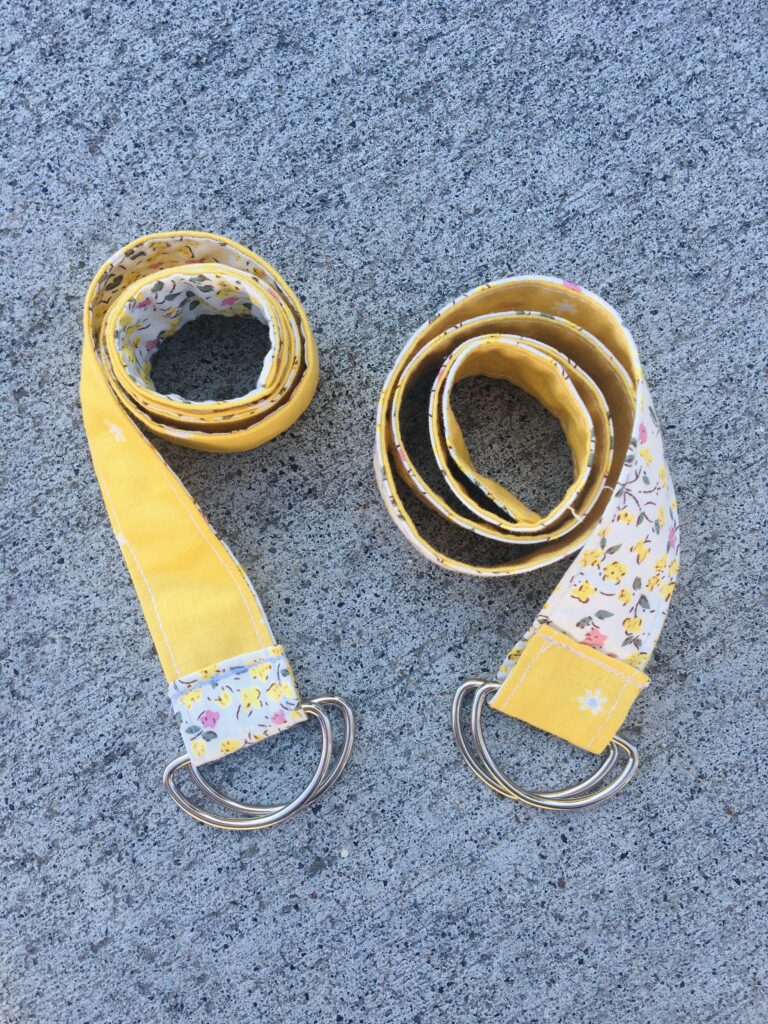
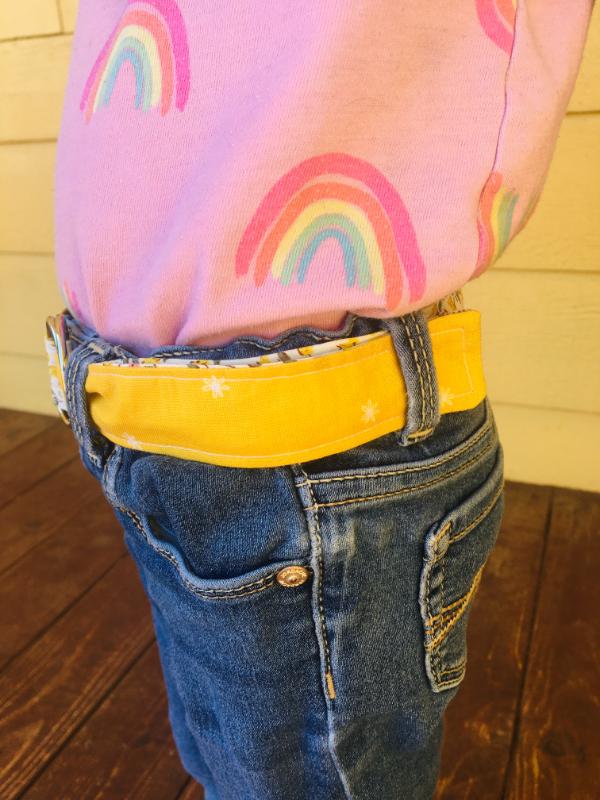
Finished Belt! So cute, so fast and easy.
My girls loved them and were so excited to try them on.
I am happy with how they turned out, and can’t believe it took this long for me to make a belt. I will probably end up making more, it was so fun!
Let me know if you have any questions! Pin this post if you want to say “Thanks!”