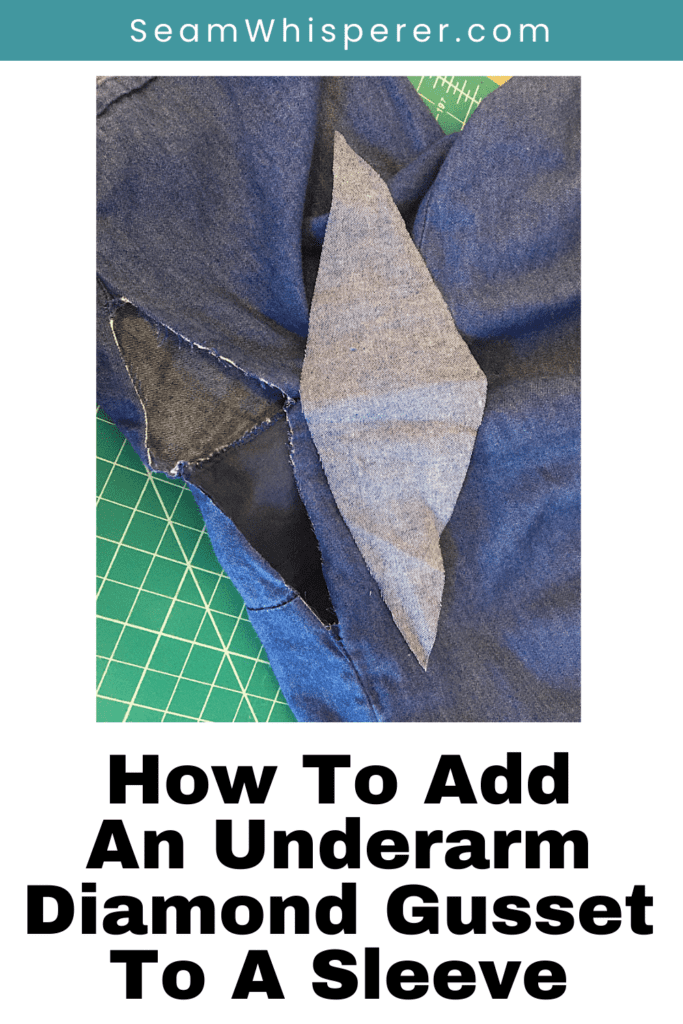
Is your top or dress restricting in the armpit area? Adding a simple diamond shape underarm gusset will give you lots of freedom and isn’t too hard to learn. Let me show you how!
I don’t think I can count how many of my tops I have added diamond underarm gusset to… I must have a talent for picking the wrong shirts!
Really though, I thrift most of my clothes, which means they aren’t all perfect fits. I love being able to alter them to suit!
In fact, even my vintage wedding dress needed diamond gussets….
If you are having other shirt-fit issues, make sure you check out these other how to’s I have created for you!
- How to sew Triangle Gussets To Sleeves
- How To Lower T Shirt Neckline
- How To Tighten Sweatshirt Cuffs
- How To Fix Tight Sleeves
- How to Lower Armhole (Make Sleeve Bigger)
This post may contain affiliate links. Read the full disclosure here.
About This Tutorial
Adding a diamond gusset is pretty straight forward in theory but a little bit tricky in practice, so this tutorial is probably best suited for intermediate or advanced sewists.
Ideally the gusset should blend in with your shirt to remain hidden in the armpit, but of course you can use any fabric you want. I try to use scraps of the same material by taking out the pockets of a dress or hemming the bottom.
Use 3/8ths inch seam allowances! Measure twice, cut once!
Supplies Needed
- Sewing Machine
- Fabric Scissors
- Seam Ripper
- Sewing Pins
- Measuring Tape or ruler
- Paper and pen to make a pattern with
Materials Needed
- Fabric Scraps or other material that matches your shirt as close as you can!
- Matching Thread
How To Add Diamond A Diamond Underarm Gusset
Step 1. Open The Side Seams
You are going to make a 6 inch or so opening on both side seams of your shirt, with the middle of the armpit seam (where the sleeve seam and the side seam meet) being the center of the opening. (So about 3 inches on the sleeve side, and 3 inches on the side seam side.)
Turn your shirt inside out and carefully unpick the side seams as I have described above. Do this on both sleeves.
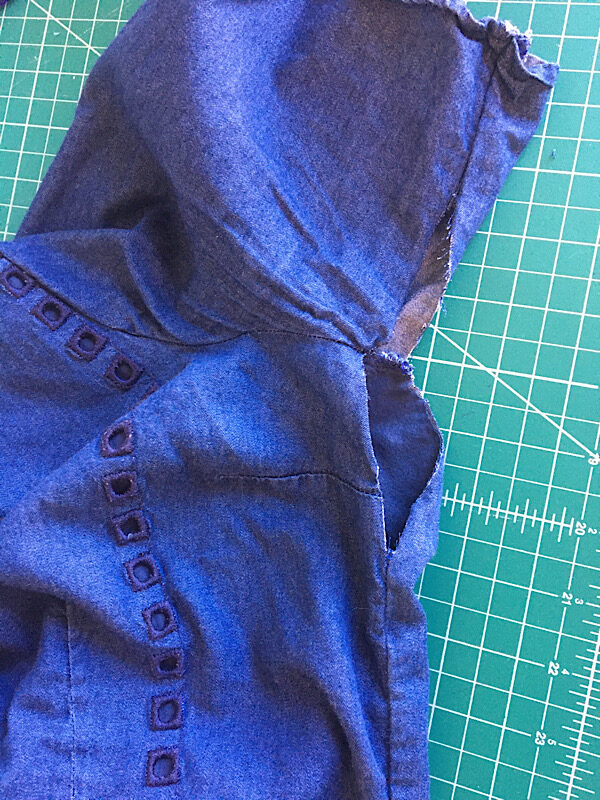
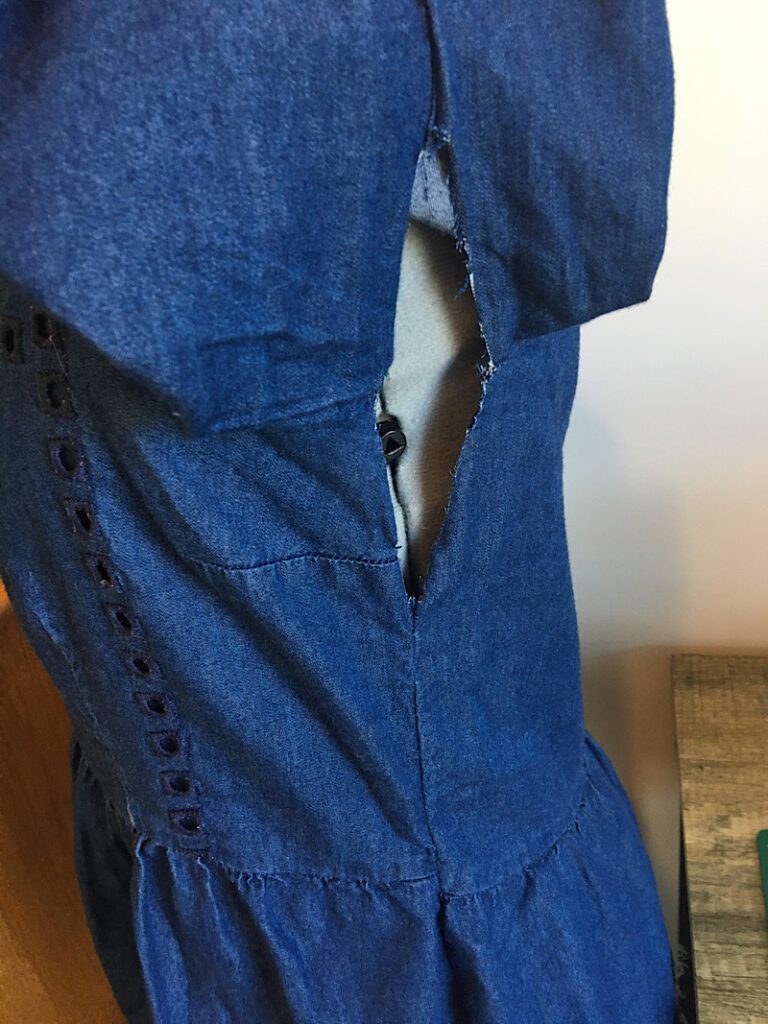
Put on your shirt and notice how much that opening widens under your arm, and try to estimate or measure how wide it is in the center.
You can ask someone to help you measure if you want.
Mine opened up about 2 inches.
Step 2. Make The Diamond Gusset Pattern
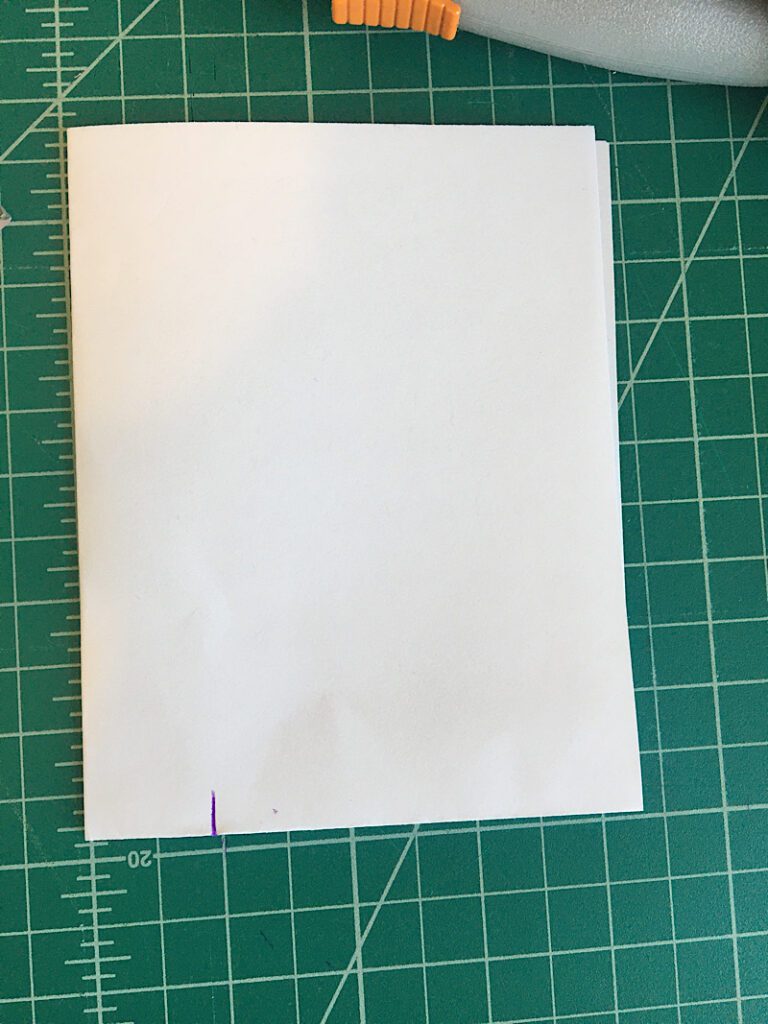
Fold a piece of paper in half, then in half again (like a napkin).
On one fold, measure up from the corner fold HALF of the height of the gusset, and make a mark. (I made my gusset 6 inches tall, so measure up 3 inches).
From the same corner fold, measure out along the other folded edge HALF of your gusset width measurement and make a mark. (Since my gusset was going to be 2 inches wide, I measured out 1 inch.)
Then use a straight edge of a ruler to draw a line connecting the two marks you made.
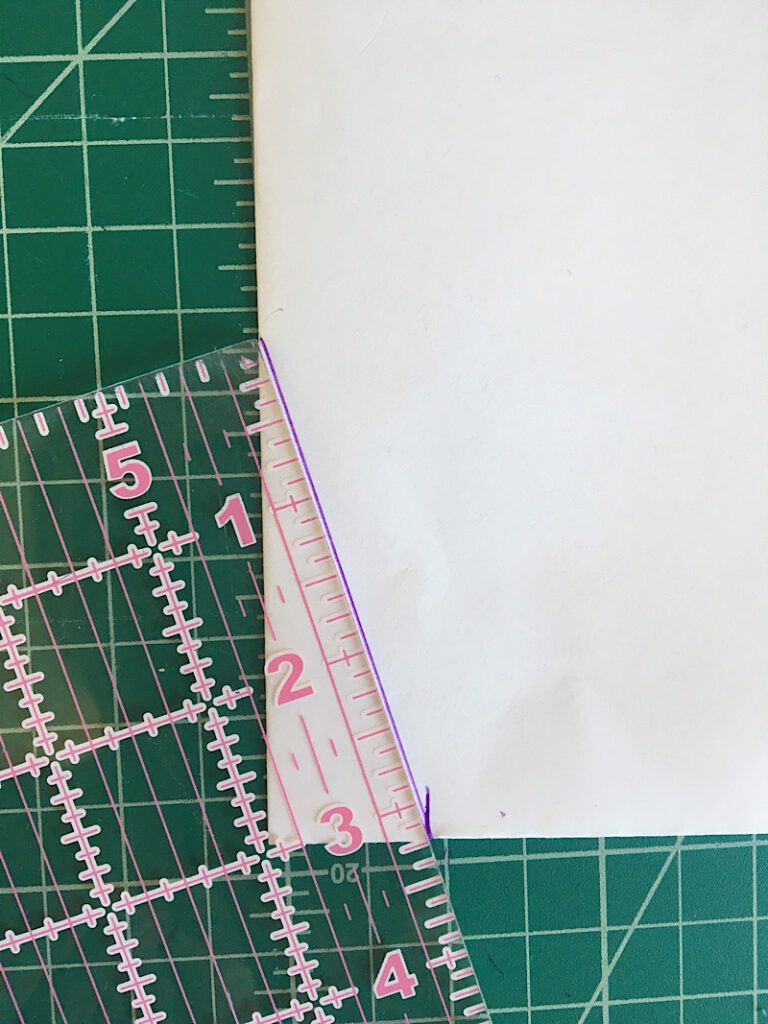
After drawing your line, measure 3/8ths inch away from it on the outside, and draw another line to be your seam allowance. This is what it should look like at this point:
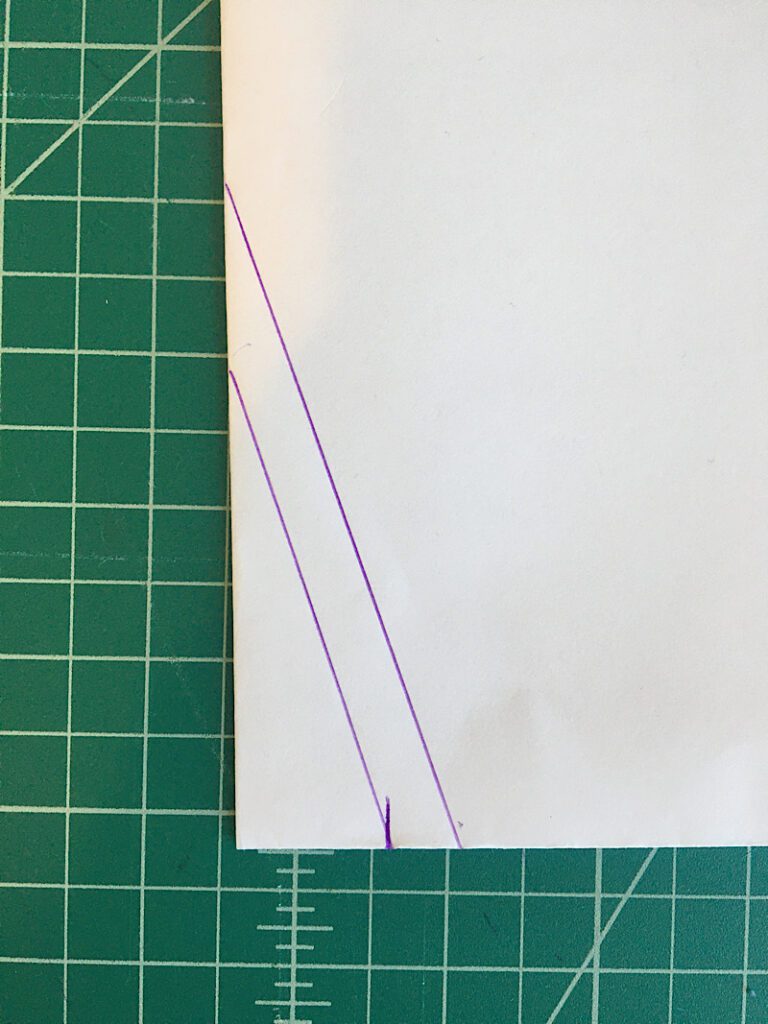
Then cut open the pattern on the seam allowance line and unfold it! This is your completed diamond underarm gusset pattern.
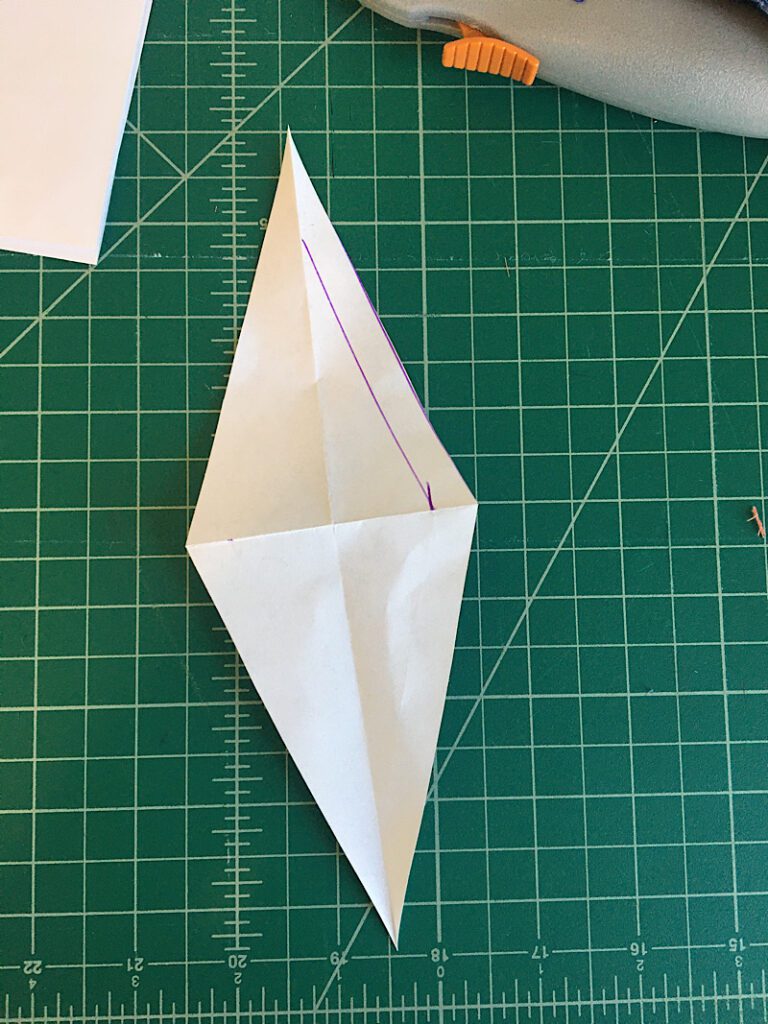
To make it easier to sew, you can slightly round off the two side corners if you wish.
Step 3. Cut Out Your Fabric + Pin in Place
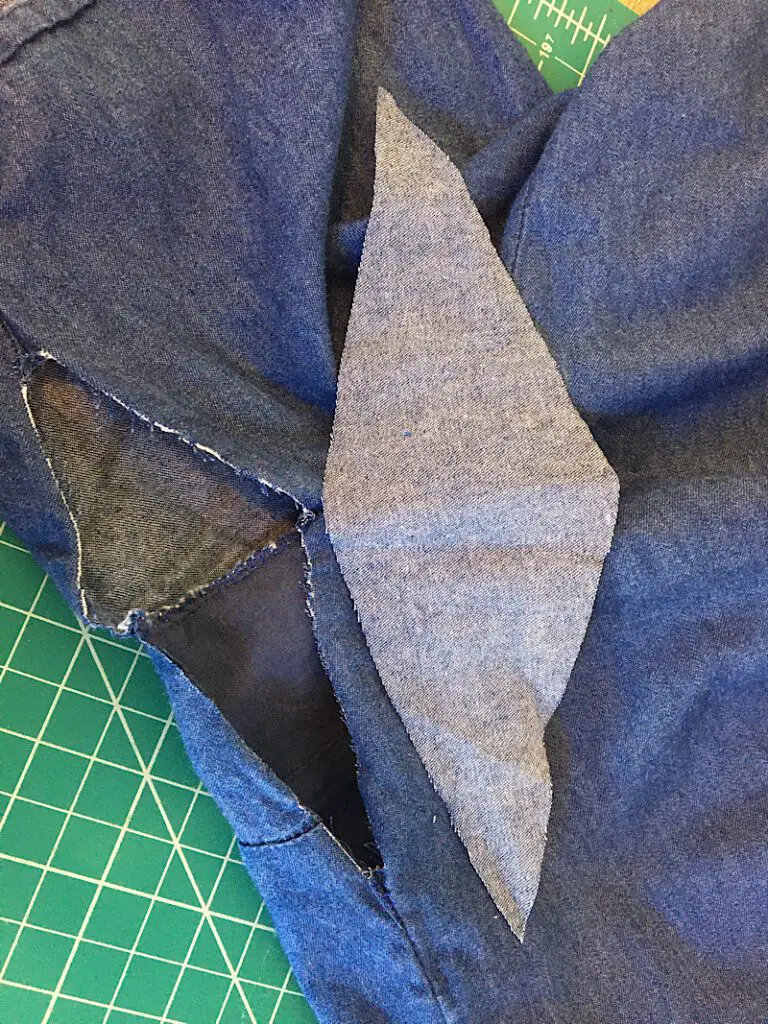
Use your new pattern to cut out two diamonds from your fabric.
Keep in mind the orientation of the pattern and grainlines.
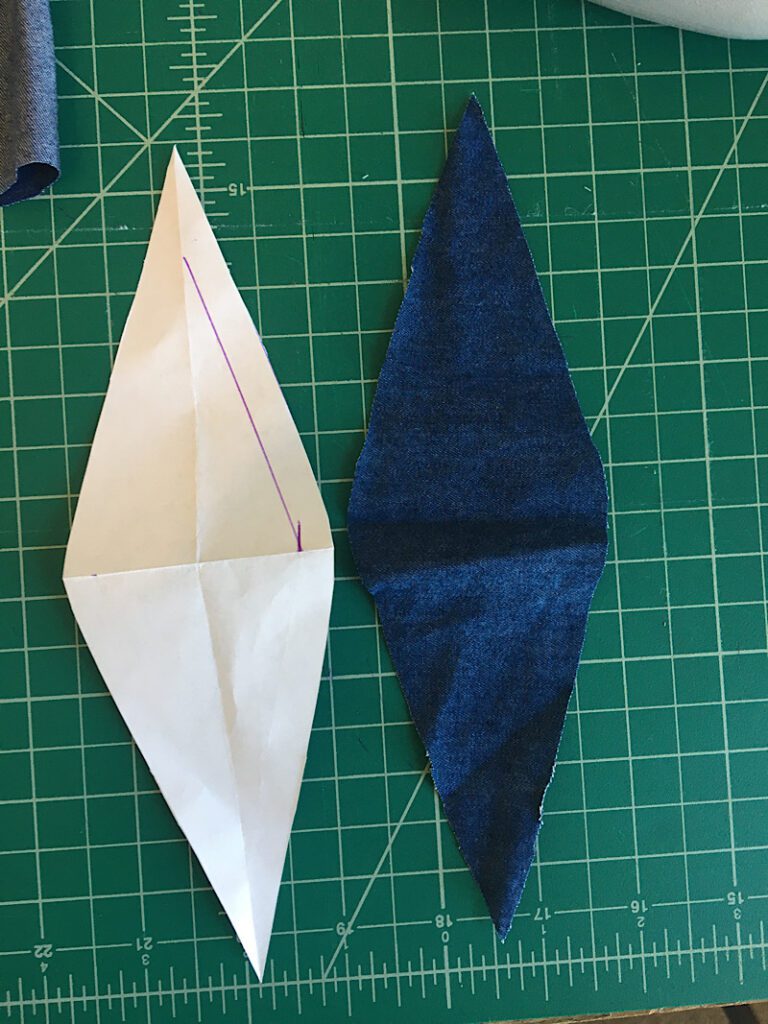
Working with one of the 4 sides of the diamond, pin the gusset to the shirt with right sides facing.
I found it was easiest to line up the center corners of the gusset with the center of the opening on the shirt, then pin one side in place.
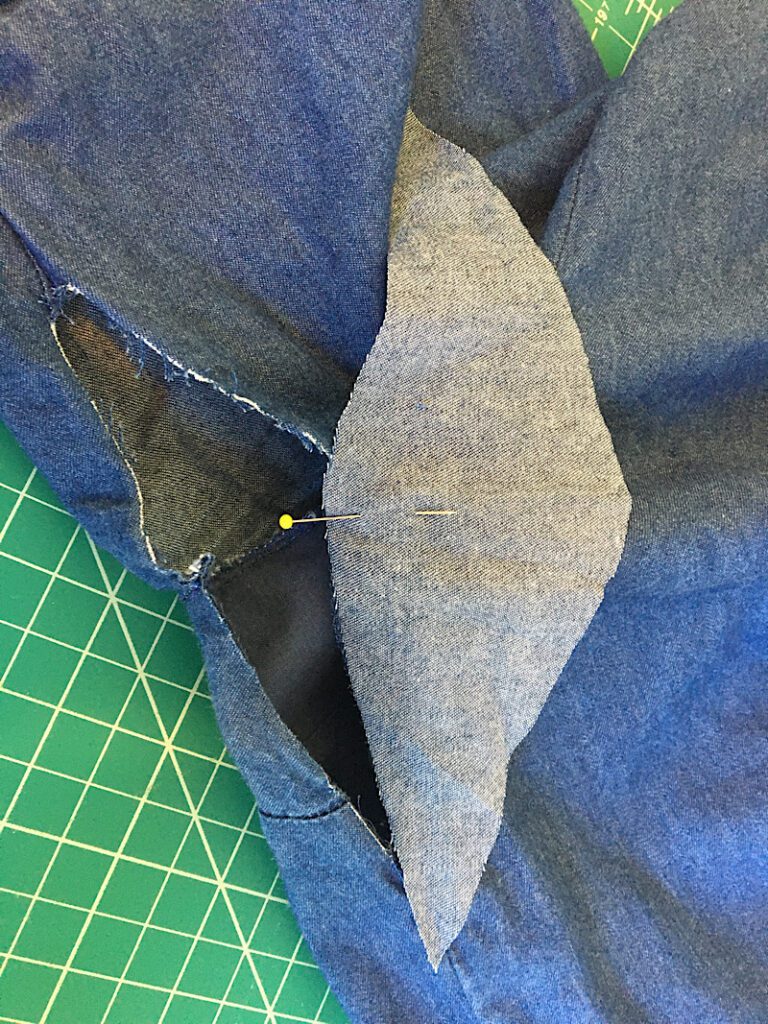
Step 4. Sew The Gusset To The Underarm Of The Shirt
Carefully sew the pinned side of the gusset to the shirt using a 3/8ths seam allowance. You will have to stop and manipulate your fabric around the shape of the gusset.
Only sew until you meet the side seam on the shirt, don’t sew into it’s seam allowance
Go slow, and don’t worry if it isn’t perfect. Mine never is, but it is good enough!
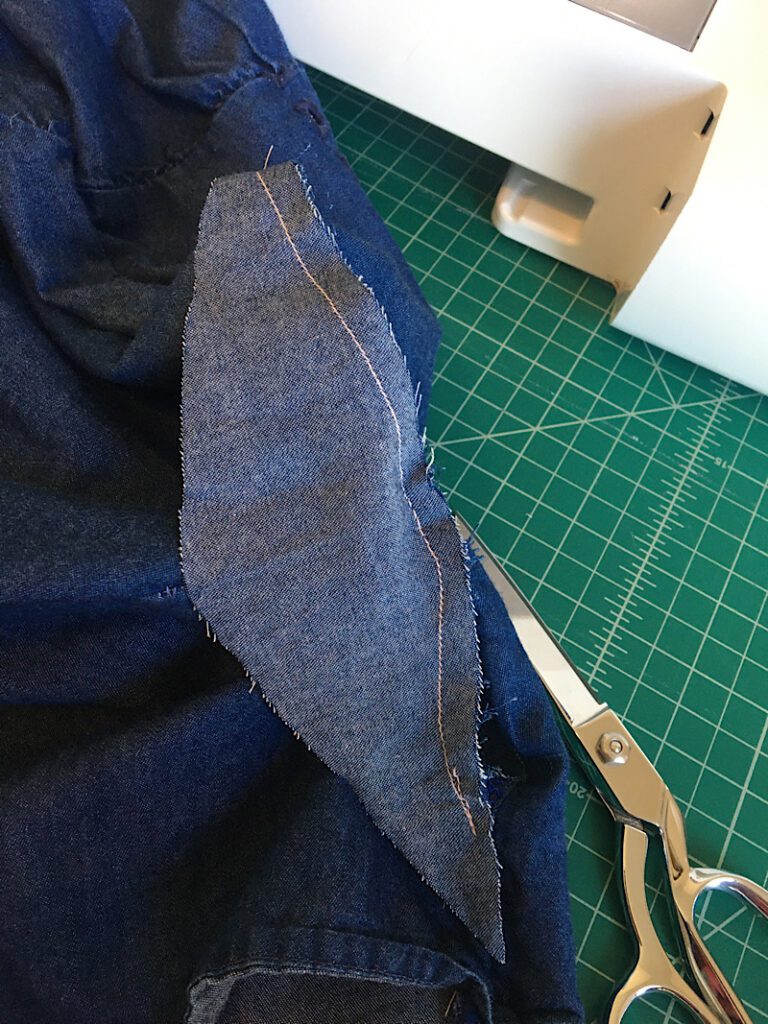
Then, serge or zig zag stitch the edge.
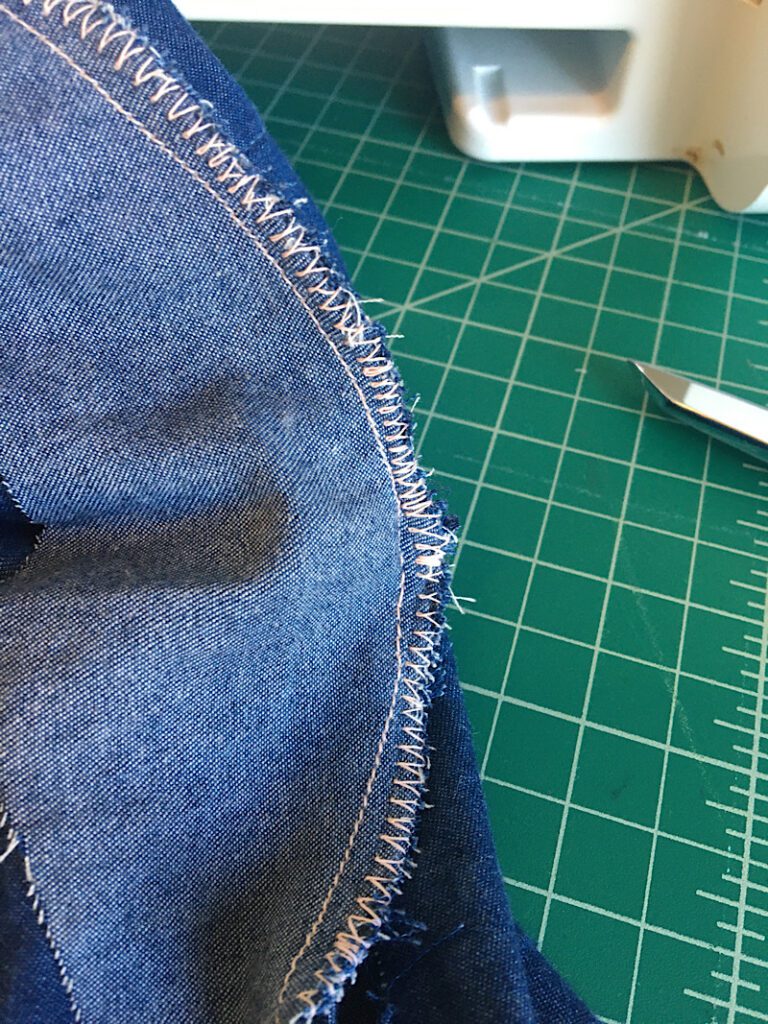
Pin the other side of the gusset to the other side of the shirt, and sew and finish the edges like you did on the first side.
When you sew, make sure not to sew over the end point on the other stich line you made. Try to make them end on the same point.
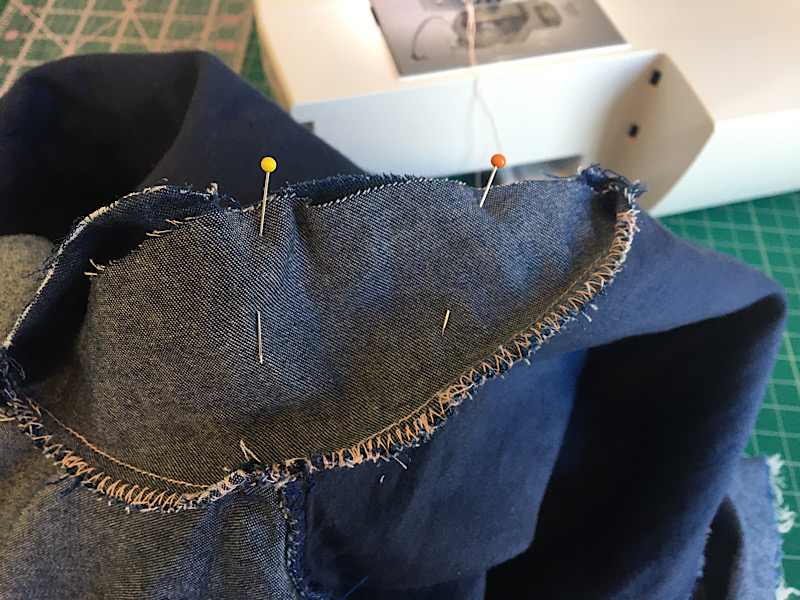
Once you have done both sides of the shirt, you can turn it inside out and you are done! Lets see how it turned out!
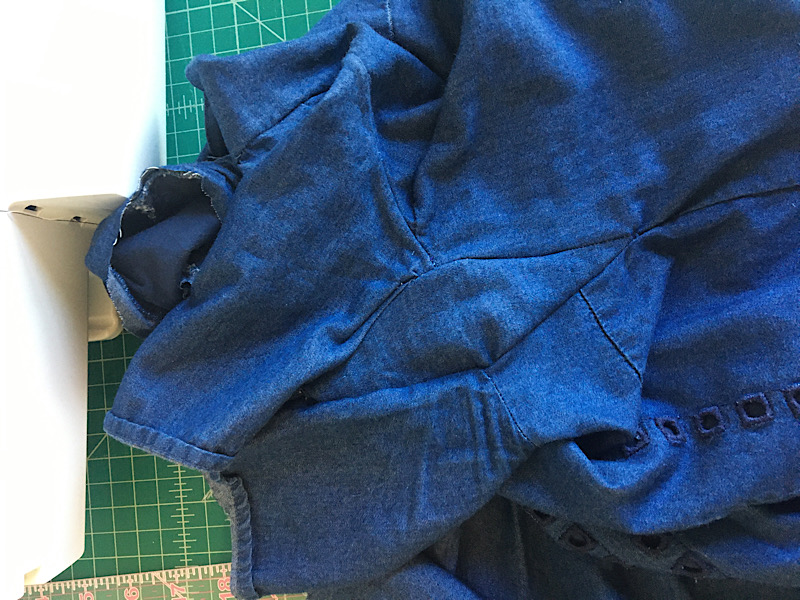
Try it on and see how it fits!
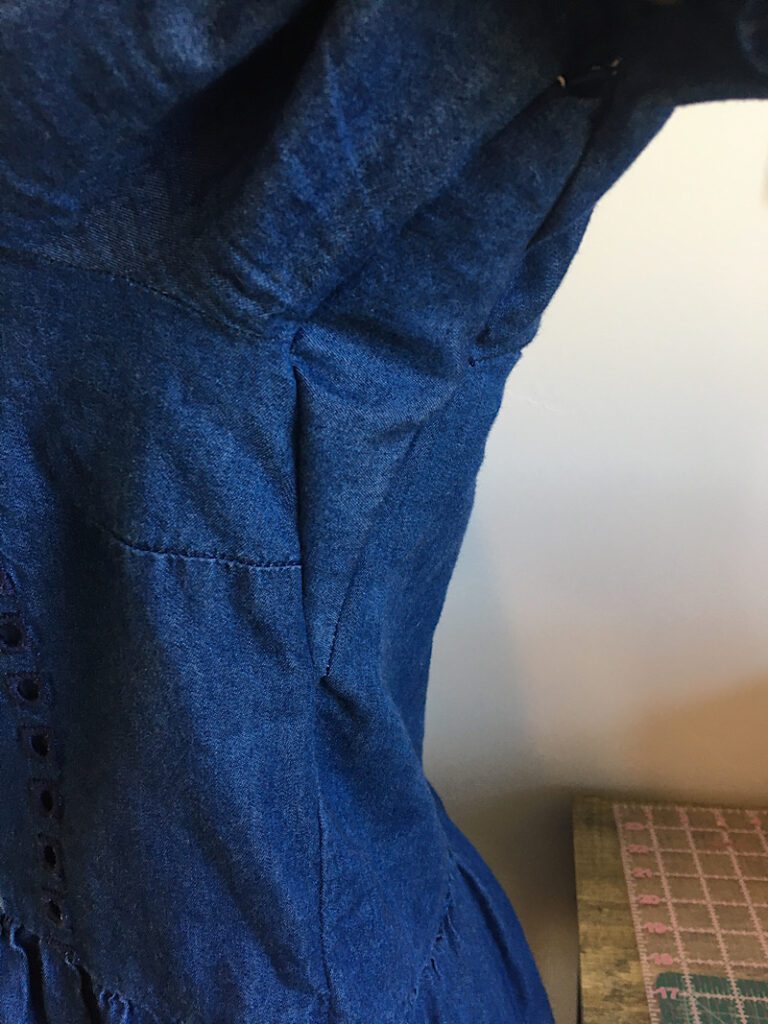
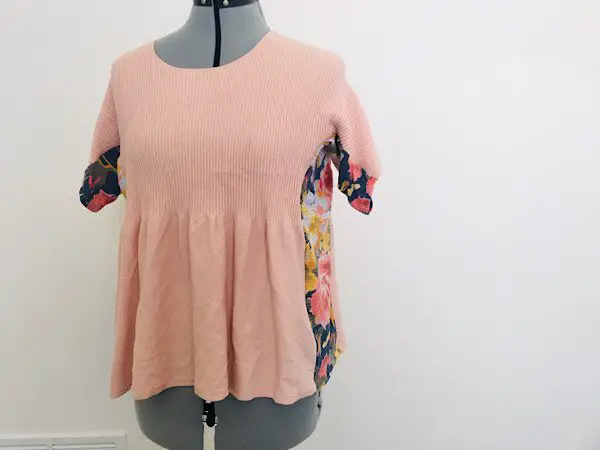
Here is my finished diamond gusset, I fit the shirt on my mannequin so I could take good photos!
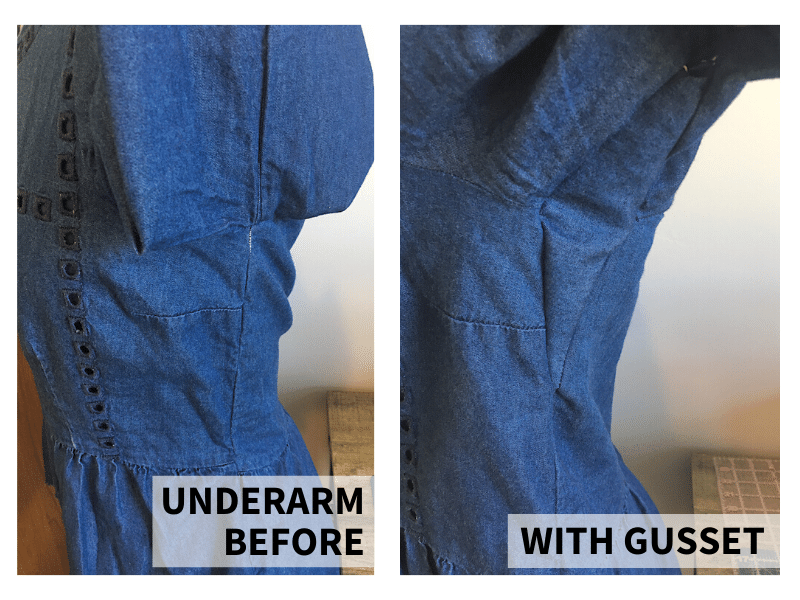
Here is a before and after of my shirt, You can see on the before photo that the armpit seam is pulling apart because it was so tight!
Conclusion
This completes the underarm gusset tutorial! It’s not too hard, but It really works to add more mobility and space to the underarm area.
It also adds a tiny bit of bulk, but I’ve never had it add too much to be bothersome.
If this post helped you alter your shirt to fit, please consider signing up for my email list below and pinning this post for others!
If you need more help, leave a comment I will try to answer your questions! Thanks!

Thanks, Seam Whisperer! 😊
I have inserted a gusset into a (op shop pure silk 50s) dress before, but years ago, & browsed the net today for a refresher.
Your diagrams & instructions are excellent. Very clear.
Ready now to gusset a (another op shop) shirt to better fit my ex-swimmer’s broad back!
Go well,
Gail
Hobart,
Tasmania
You are so welcome, good luck! Thanks for your comment!
this is super helpful guide! I have a dress with long sleeves that I’d like to add this gusset to, but it has a side zipper. Do you have any suggestions?
The side zipper is going to make it more complicated for sure. The two options I can think of are 1: insert the gusset right next to the zipper and make it a much more rounded diamond shape. This will be tricky because you aren’t going to have the original seam allowances…. Which leads me to option 2: remove the zipper, then make a modified diamond gusset that has the zipper in the middle of the gusset itself. You will have to re-draft the gusset to have a seam allowance on both sides in the middle to sew the zipper in, then insert it as normal into the dress.
Hi, I am so glad that I found your tutorial.
I never would have worn my sewed dress with those tight underarmseams. Any suggestions what to do or to cut differently when sewing this wrapdress again?
Thank you so much!!!
Hi Ingrid! You can alter the original pattern in the armscye and the sleeve to add more fabric! I don’t have a tutorial for this, unfortunately.
I added gussets to the underarms of a jacket, and your tutorial was invaluable. Thank you so much!
Lisa I am so glad!! Thank you for commenting!!
How would I make the gusset diamond for sleeveless dress?
Hi Beth, do you mean totally sleeveless or a tank top style? It would probably end up needing to be more of an upside down triangle than a diamond.