
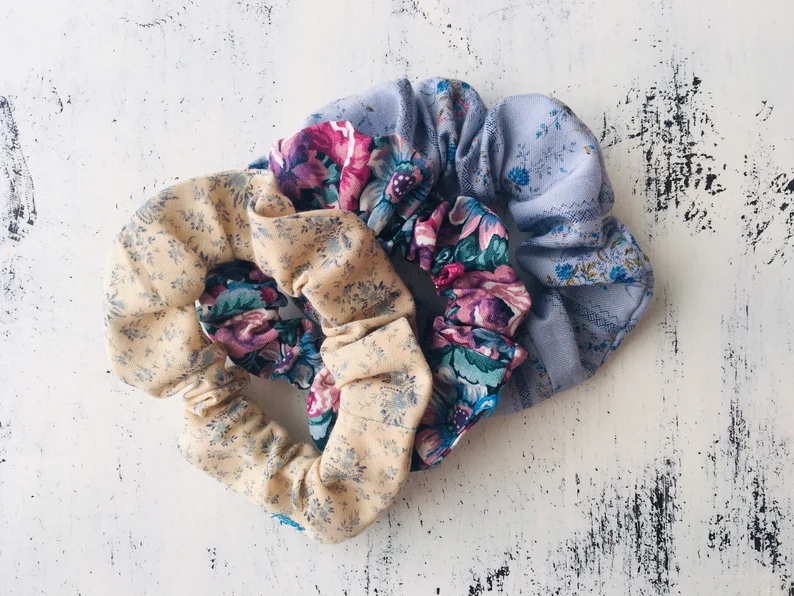
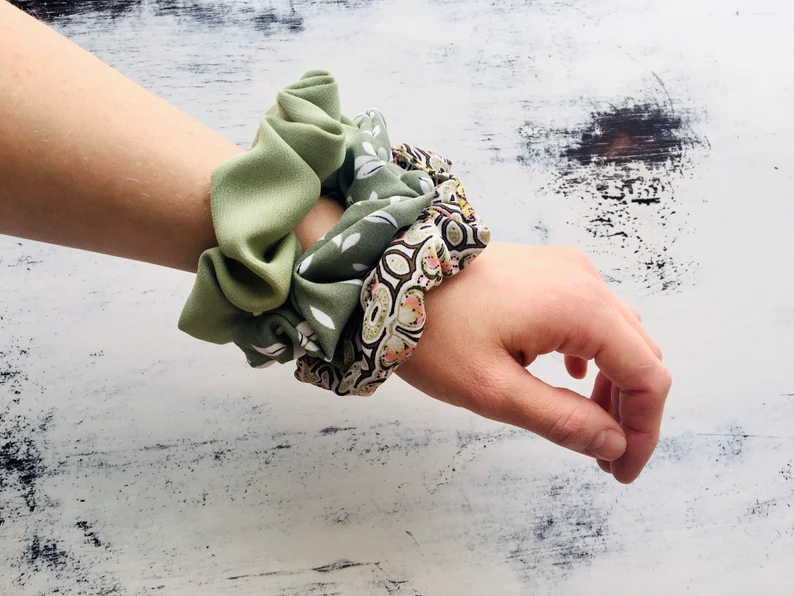
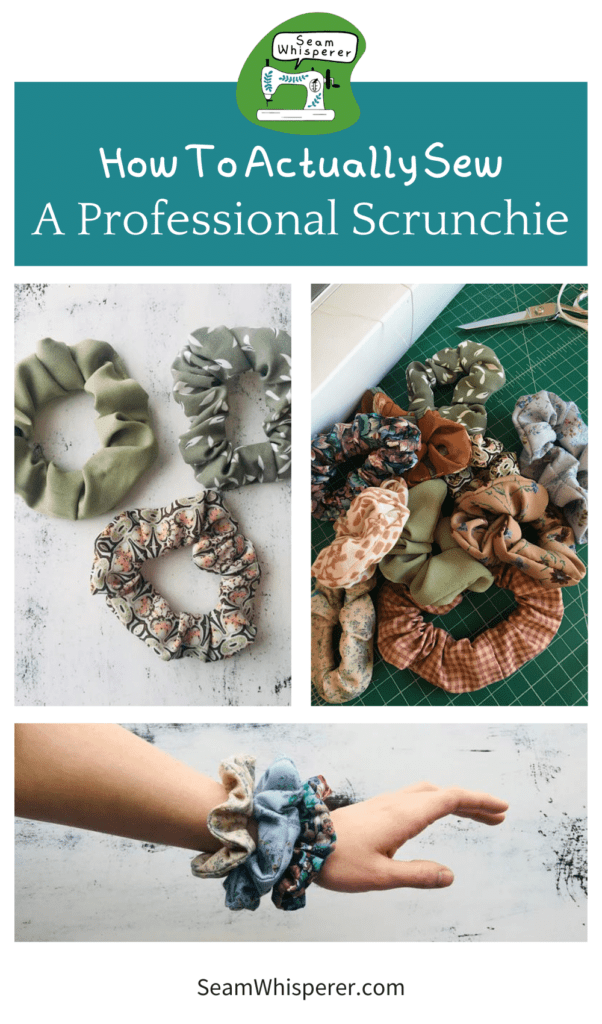
Want to learn how to sew some really professional and cute looking scrunchies? You’ve come to the right place! These beginner-friendly scrunchies are perfect to make as gifts, to sell, or to keep all around the house for whenever you need one.
This post may contain affiliate links. Read the full disclosure here.
Almost every scrunchie tutorial I have seen uses the “tube” method, (meaning you make a long tube, then flip it inside out and sew the ends together).
The tube method works fine but it is NOT the method you will see on professional scrunchies you buy from the store.
(I know this because I have inspected all my store bought scrunchies! I also make and sell scrunchies and I don’t use the tube method, I use the method I will introduce to you below!)
How do you sew scrunchies closed?
Let me teach you today the best way to make professional scrunchies using what I like to call the burrito method.
The burrito method is slightly more difficult than the tube method, however it is still a beginner friendly project and becomes very easy once you learn how!
When sewing the scrunchie closed, instead of making a tube and flipping it inside out, you should sew the short ends together first, then burrito the fabric and sew it closed around itself to conceal the seam inside.
Sound complicated? It isn’t, I promise! Keep reading to learn the easy method.
Why does the burrito method make a more professional scrunchie?
The main reason this method is superior in making a sellable and professional scrunchie is that the seams are neater! In fact, this method makes it possible to have NO visible top stitching at all, if you choose to close it by hand with a ladder stitch.
This method also makes the scrunchie and elastic two separate pieces that can stretch and scrunch independently of each other, (instead of being sewn together at the seam) which improves the look and function of the scrunchie a lot!
What You’ll Need To Make Scrunchies
Equipment:
- Sewing Machine
- Sewing Scissors
- Sewing Ruler
- Pins
- Rotary Cutter & Self Healing Mat (Optional but recommended to cut the fabric strip.)
- Sewing Bodkin or Large Safety Pin (For threading the elastic through the scrunchie)
Materials:
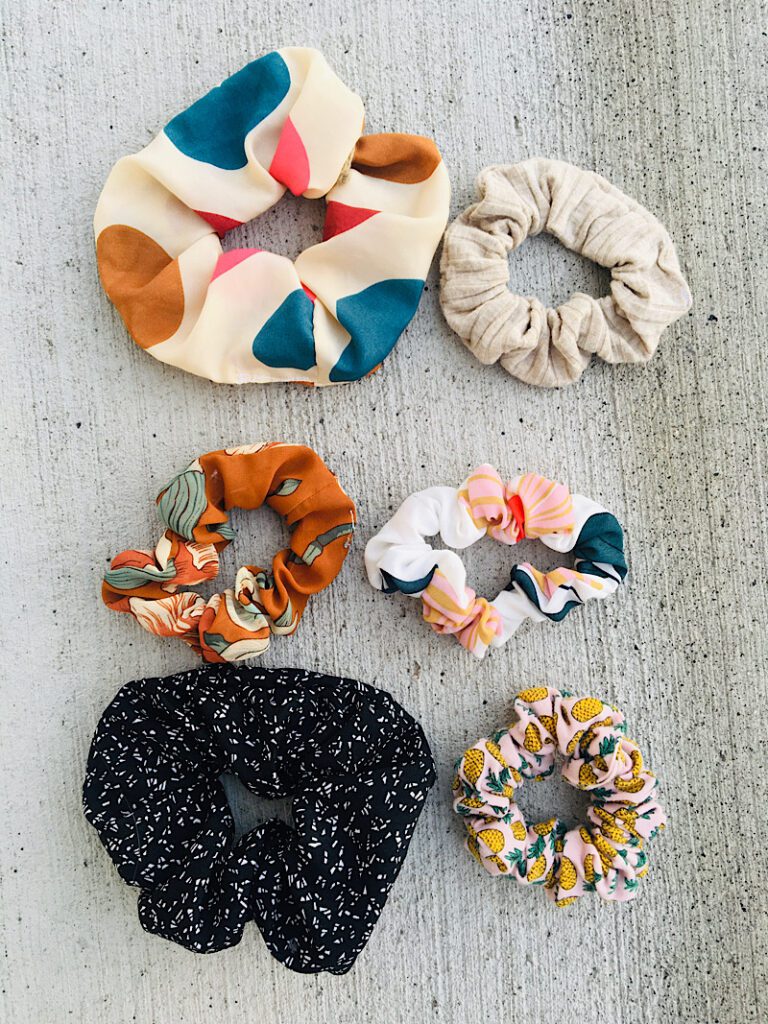
- Thin or Medium weight fabric – 4 inches by 20 inches. (There are endless fabric options for this project. Stretchy fabric works fine, as well as non-stretch fabric. Quilting cotton is a good option. Slippery fabric might make the scrunchie slip out of the hair. I tend to utilize whatever clothing scraps I have on hand!)
- ¼ inch elastic – 8 inches in length
- Matching Thread
Instructions
1. Cut the materials to size
Measure and cut your chosen fabric to size (4 by 20 inches is perfect for am basic scrunchie) using a sewing ruler, rotary cutter, and mat.
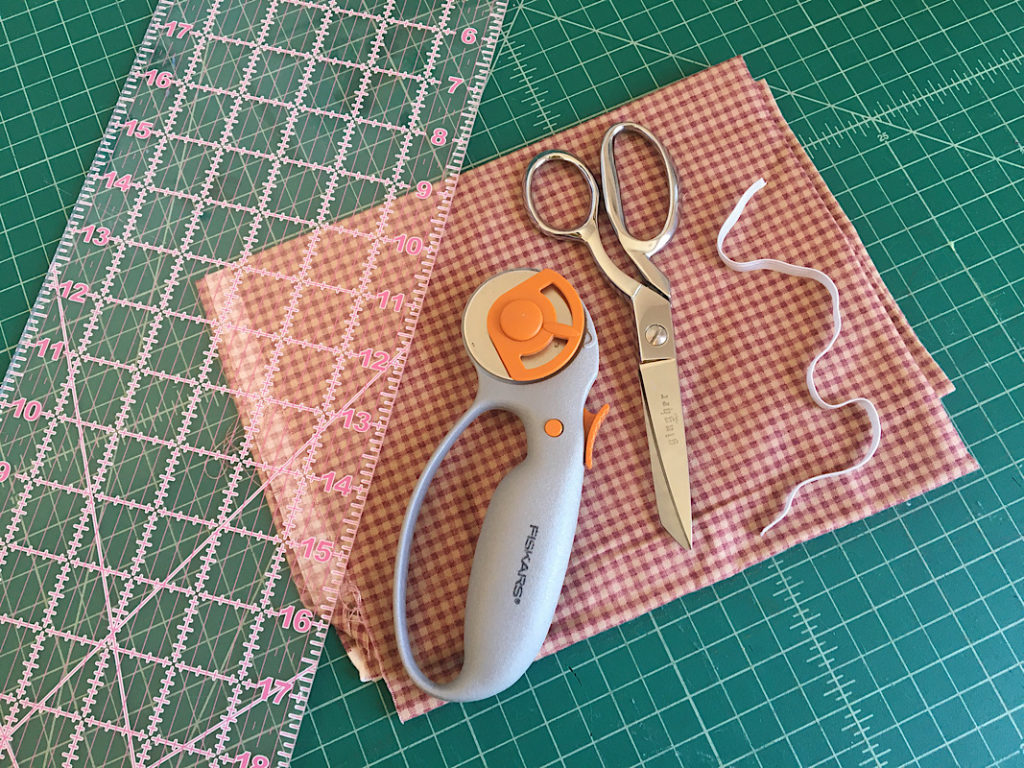
I personally prefer to use a rotary cutter and mat for projects like this because they make such perfectly straight lines! However, you can certainly use regular sewing shears if that is all you have.
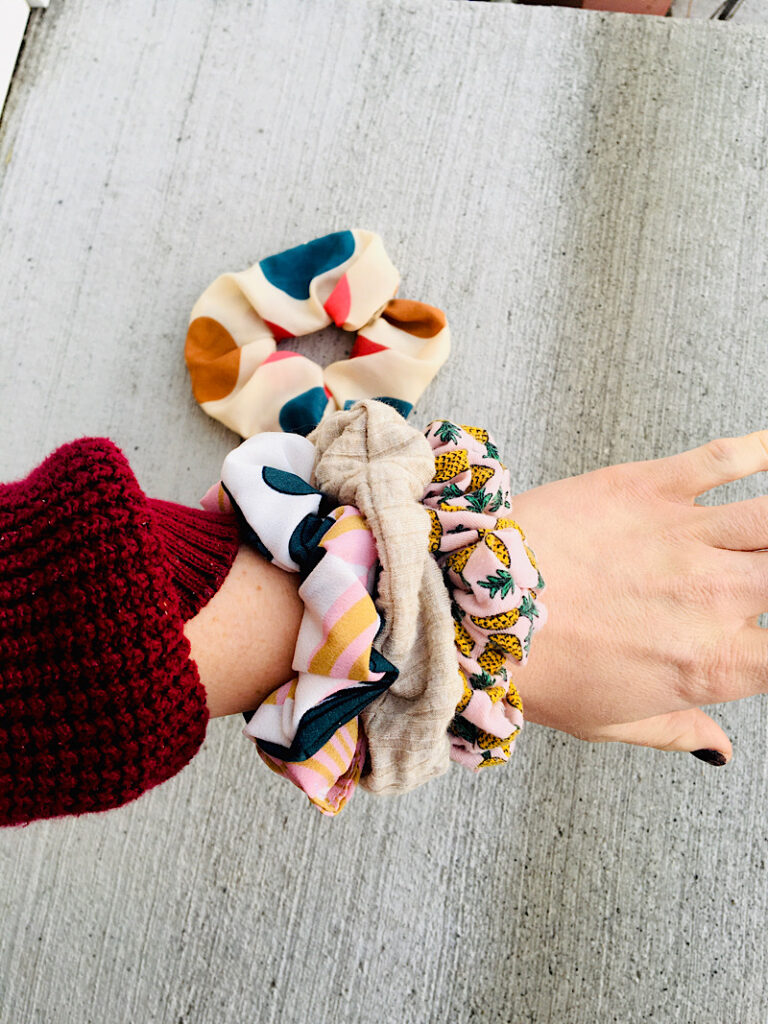
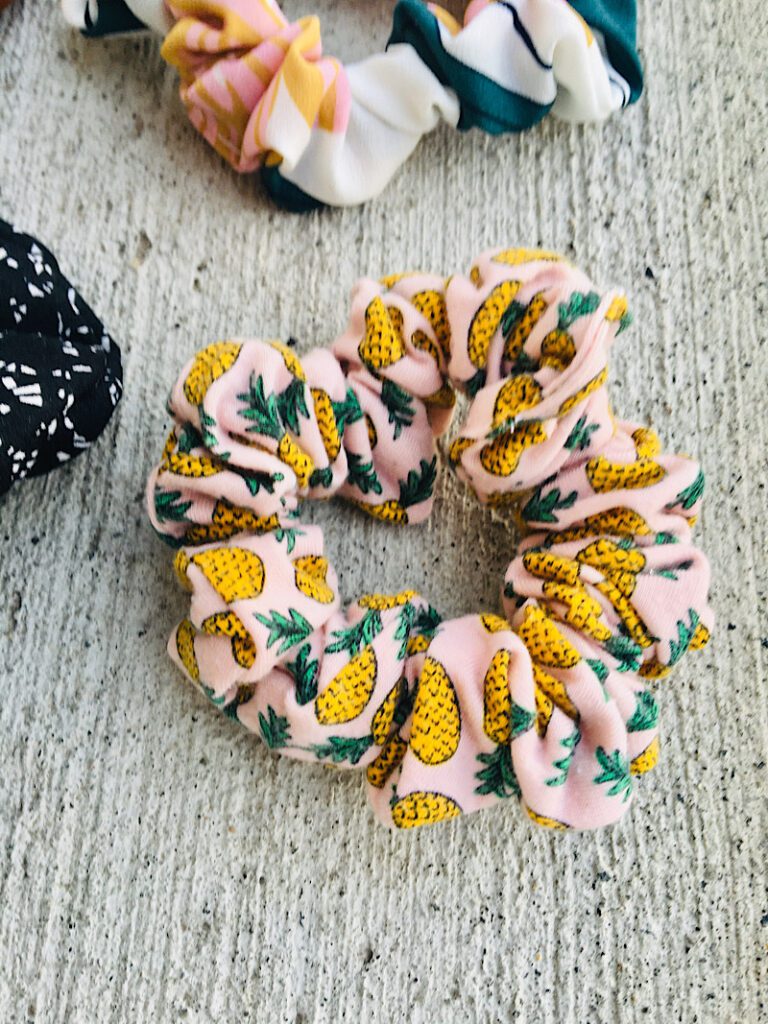
If you want a more gathered scrunchie like the pineapple one below, you can make the fabric longer. If you want a jumbo scrunchie, make the fabric wider.
Cut the elastic to size also. (8 inches in length.)
2. Sew The Fabric Into A Loop
With Right Sides together, sew the fabric along the short edge, into a loop. Make sure to backstitch at the beginning and end so it doesn’t fall apart later on.

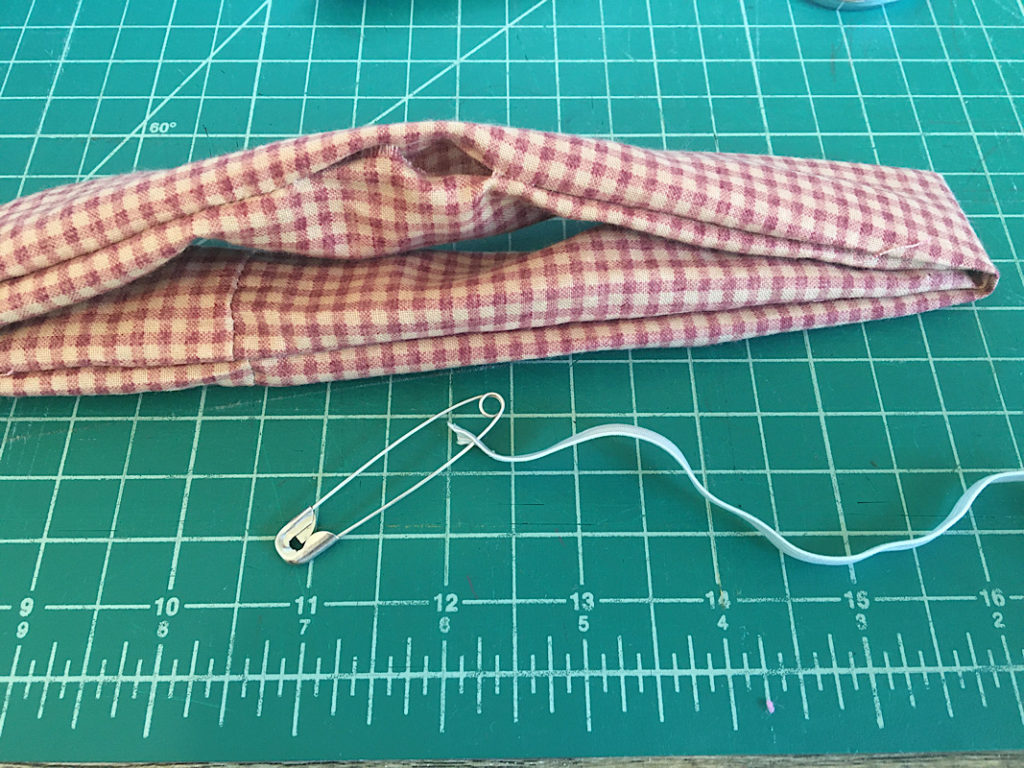
3. Fold The Fabric To Form the Burrito
(This burrito method sounds confusing when you read it, so make sure to take a good look at the photos!)
With the fabric loop laying flat on the table, pinch or fold the sides of the top layer together into center.

Now, you will fold the bottom layer up and around the pinched top layer, aligning the edges (with the right sides together.) You can pin it if that helps you keep it together.
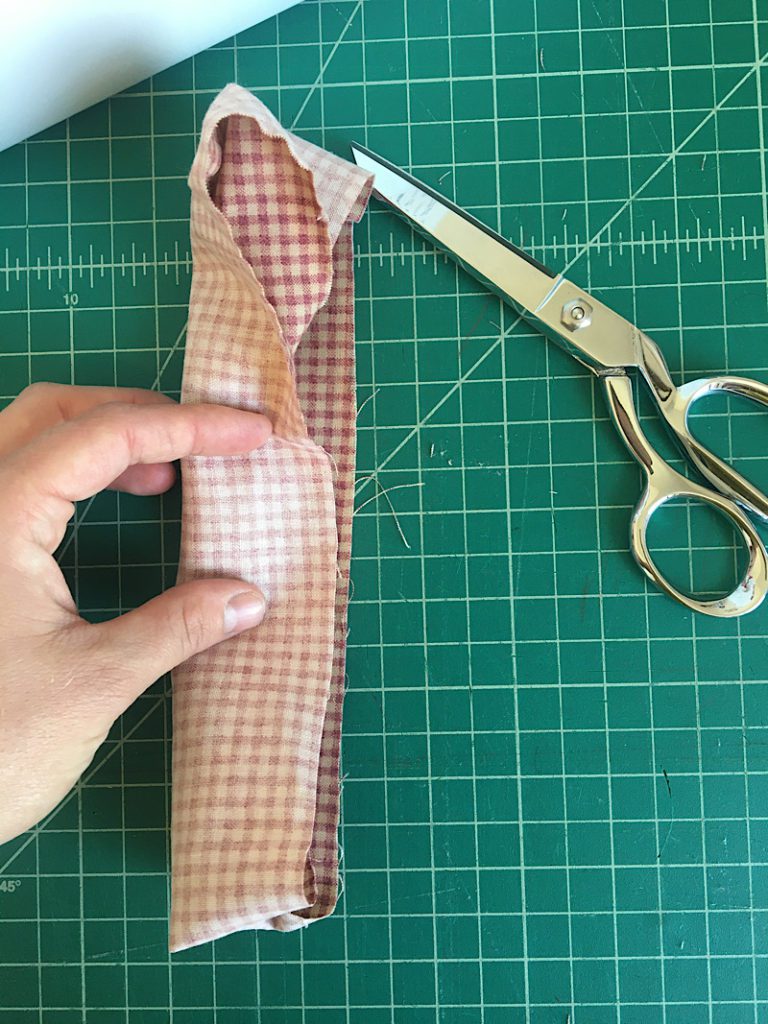
You now have a burrito, with the inner layer bunched/folded up towards the fold, and the outer layer’s edges aligned on the right.
Make sure the inner layer stays tucked to the left, so that it doesn’t get in the way of the sewing needle.
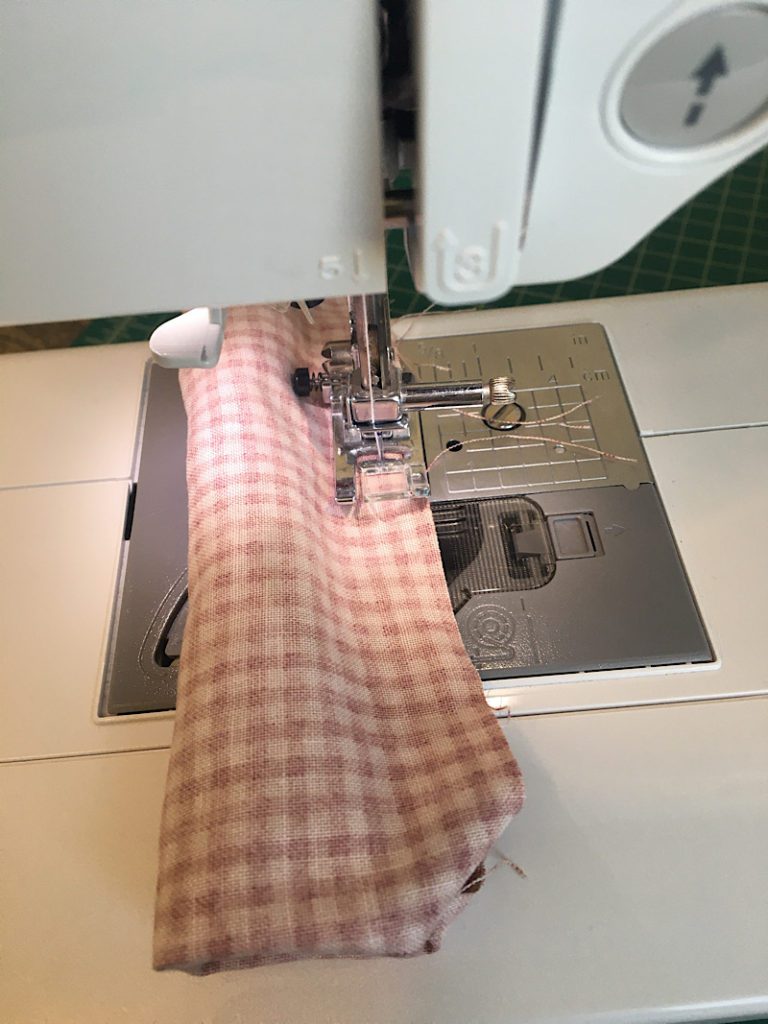
4. Sew the Scrunchie Burrito
Place the burrito under the needle so that the raw edges of the outer layer are on the right, and the fold is on the left.
Sew down the edge making sure not to sew the folded up layer that is inside the burrito.
When you approach the end of the burrito, reach inside and gently pull out some of the inner layer.
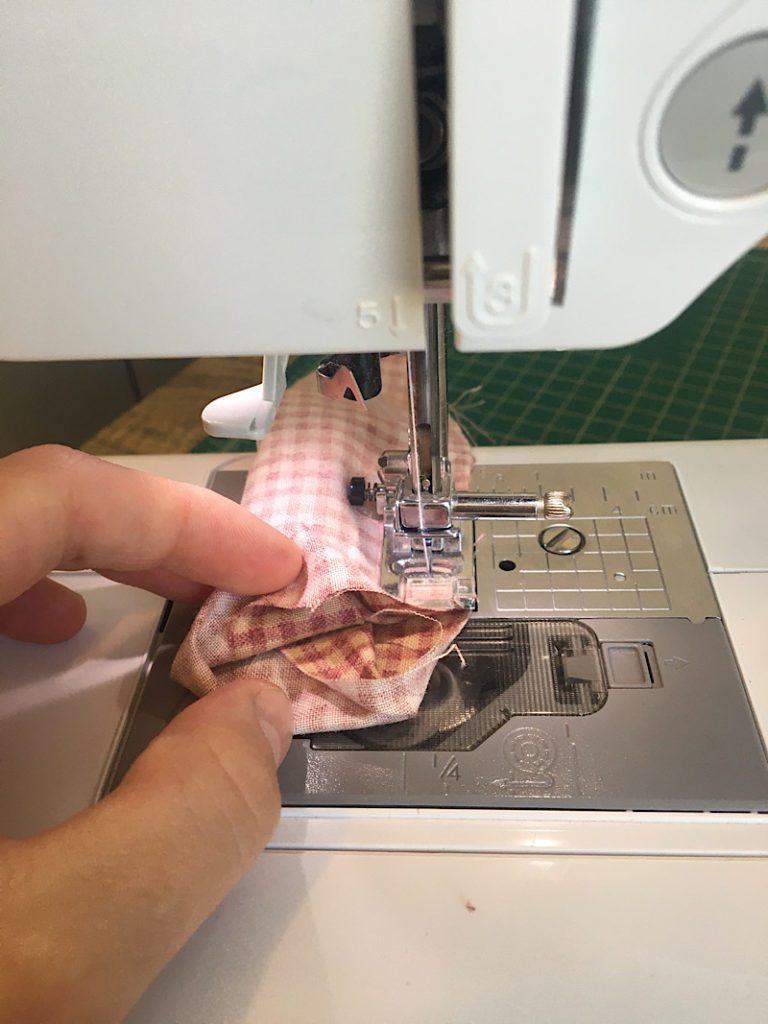
Once you have pulled out some of the inner layer, straighten in out and align the edges again, and continue sewing down the raw edge.

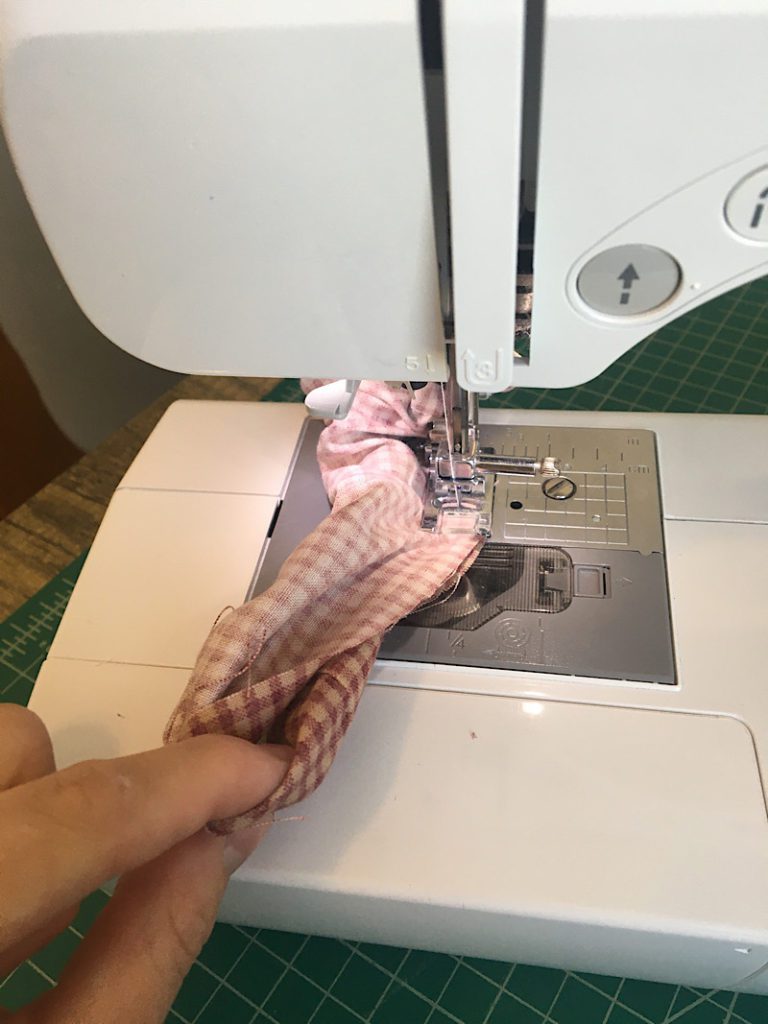
You will need to repeat this step a few times, pulling out the inner layer (which turns the scrunchie), realigning it, and sewing down the edge, until you sew nearly around the entire edge.
Stop sewing about 2 inches away from where you started in order to leave a gap, so that you can turn the scrunchie right-side out! (Make sure to backstitch.)
5. Turn the Scrunchie Right Side out
Through the 2 inch gap you have left along the edge, reach in and gently pull out the inner layer to flip the scrunchie right side out.
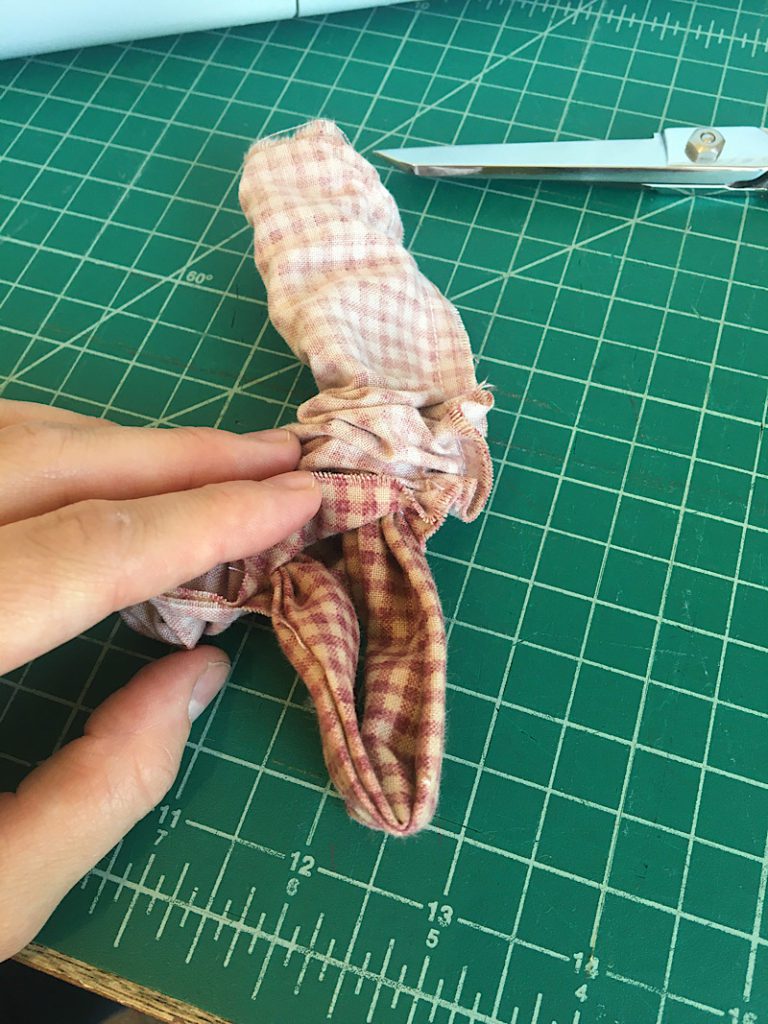
Like magic you now have a pretty hemmed loop!
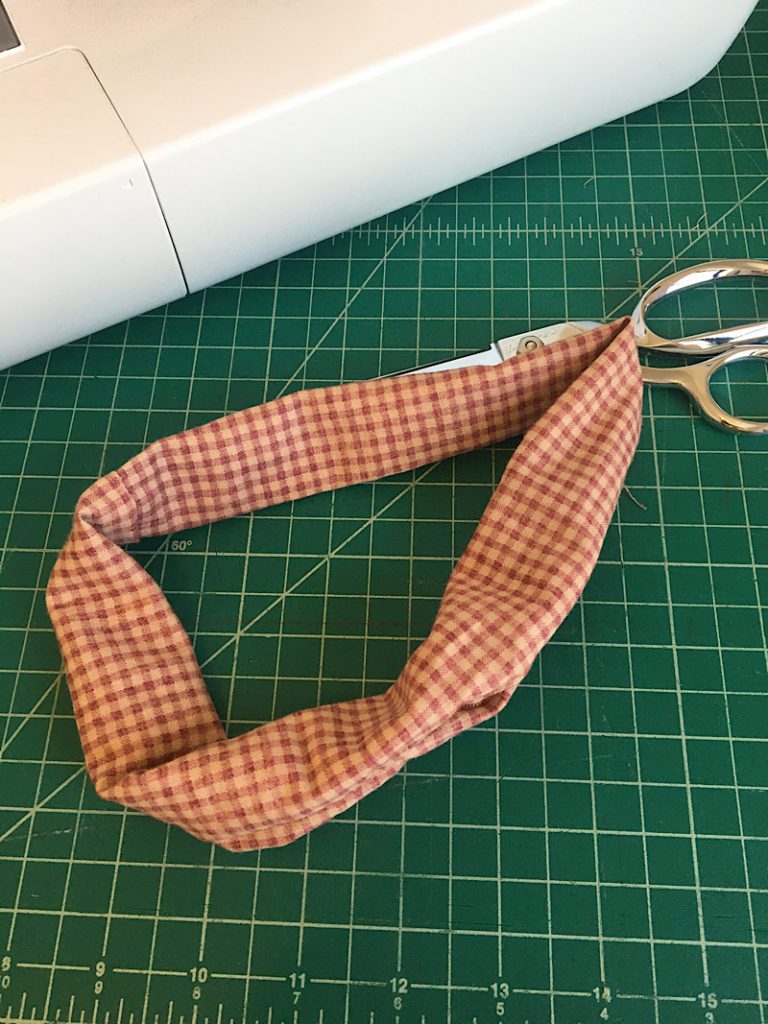
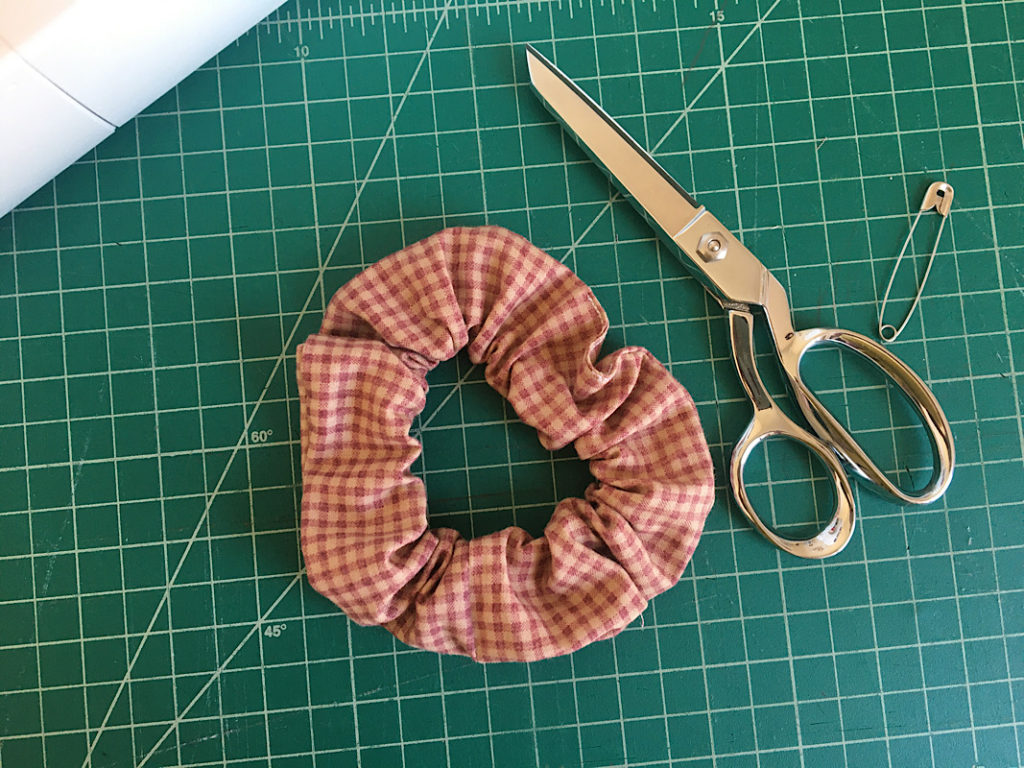
6. Thread the elastic Through
Using your bodkin or the large safety pin, thread one end of the elastic through the hole in the scrunchie, being careful not to pull it all the way through.
Once the elastic is threaded, tie or sew the ends together. (I like to sew them so there isn’t a bump inside.)
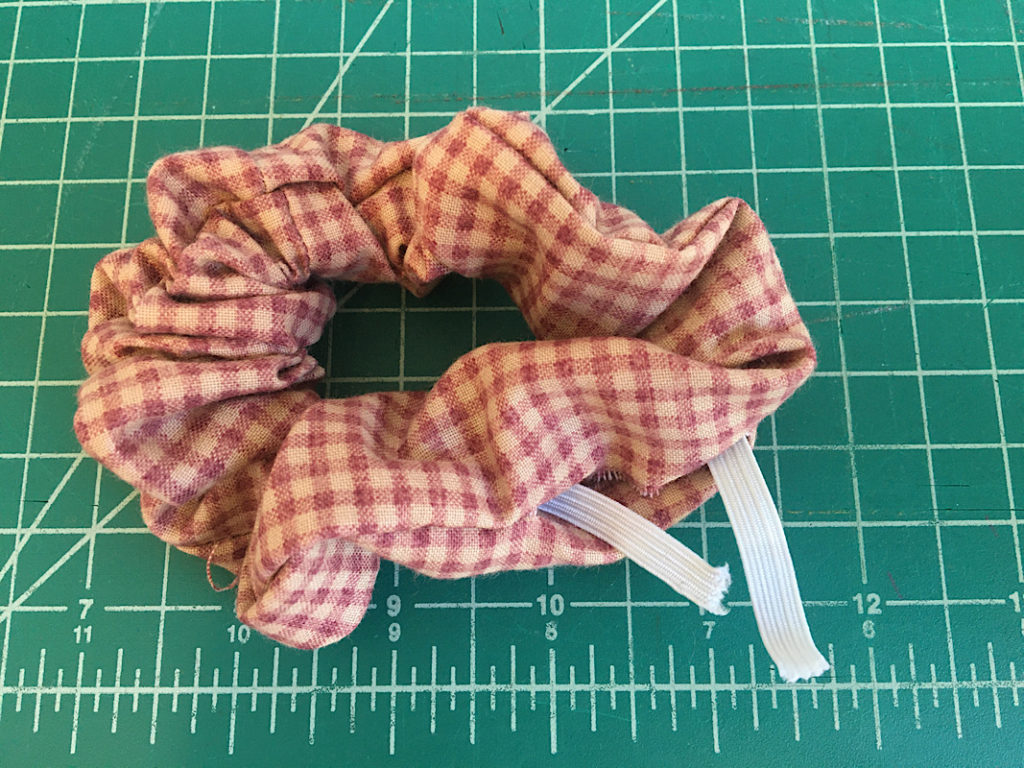
Your scrunchie is almost done, but you are still left with the open hole.
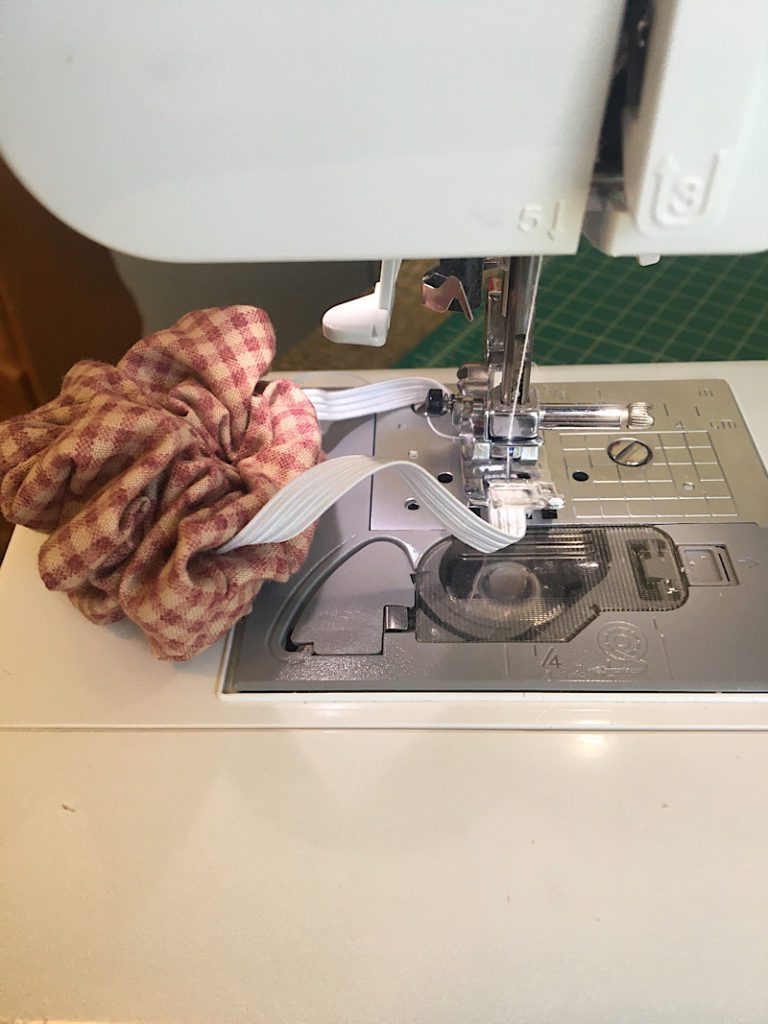
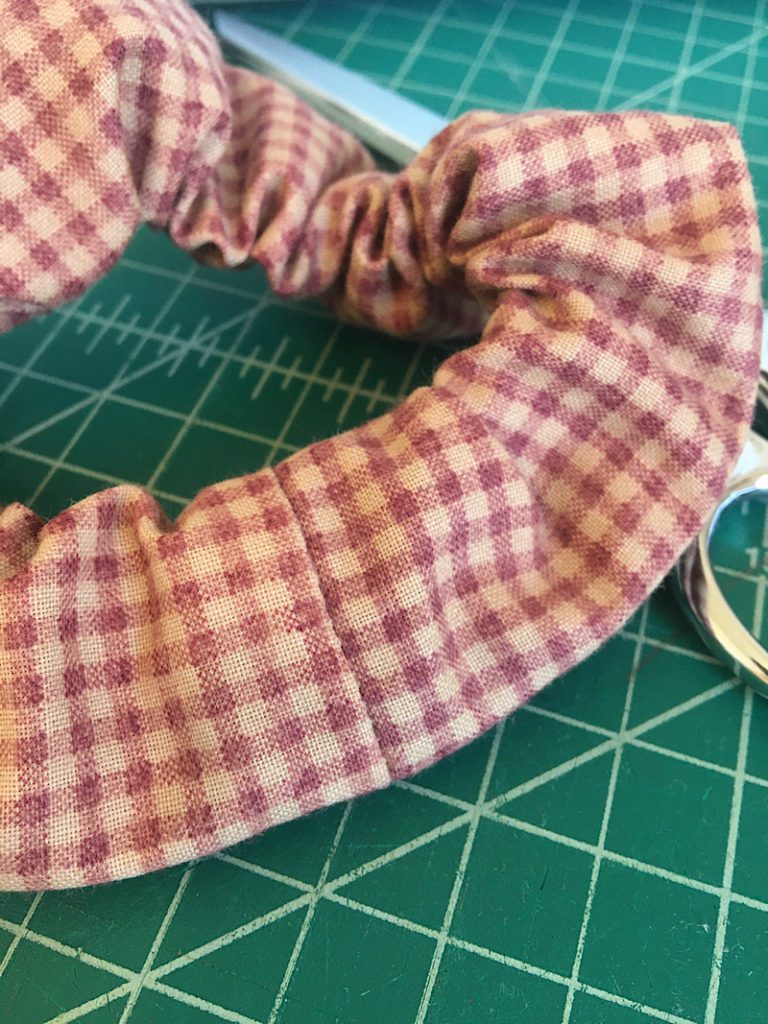
7. Sew the scrunchie closed
There are two ways to finish this scrunchie, one is easier and one is prettier.
The pretty method is to hand sew the hole closed using a ladder stitch or some other kind of invisible stitch. This hides the seam and makes the scrunchie really look top notch.
The easy method (the method I use) still looks great, and is quicker too.
Flatten out the section of scrunchie with the hole in the hem, and carefully align and straighten the folded edges. You may pin it in place if that will help you.
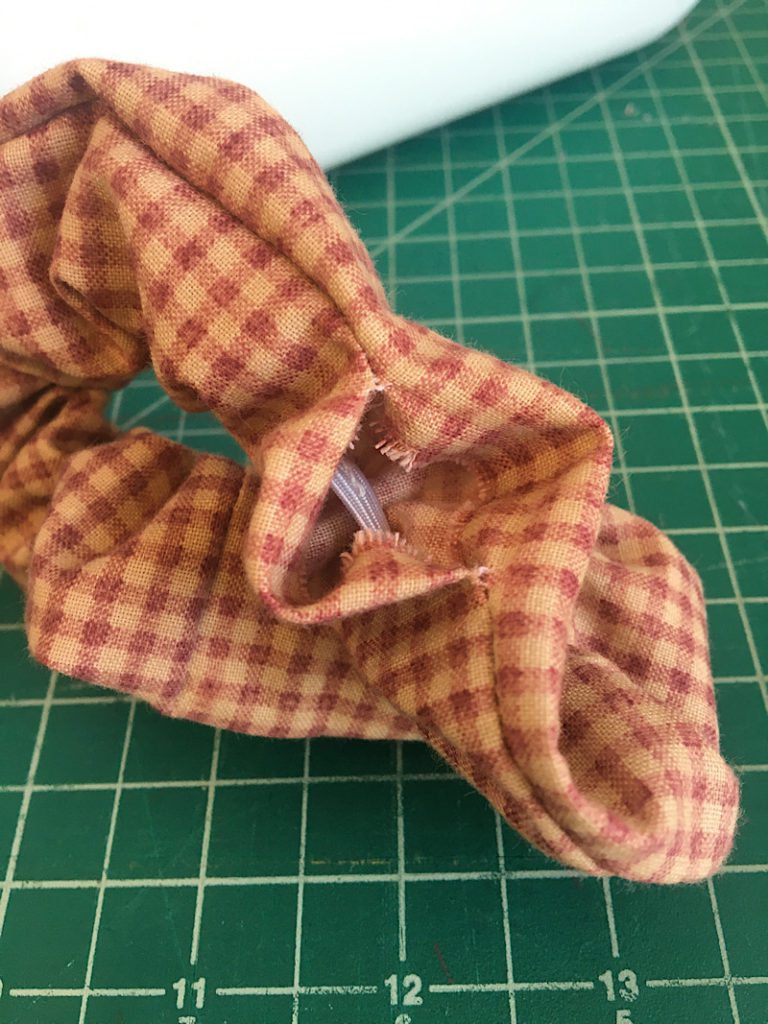
Sew the hole closed with a simple top stitch using matching thread. (I used white thread so you could see it better in the picture.)
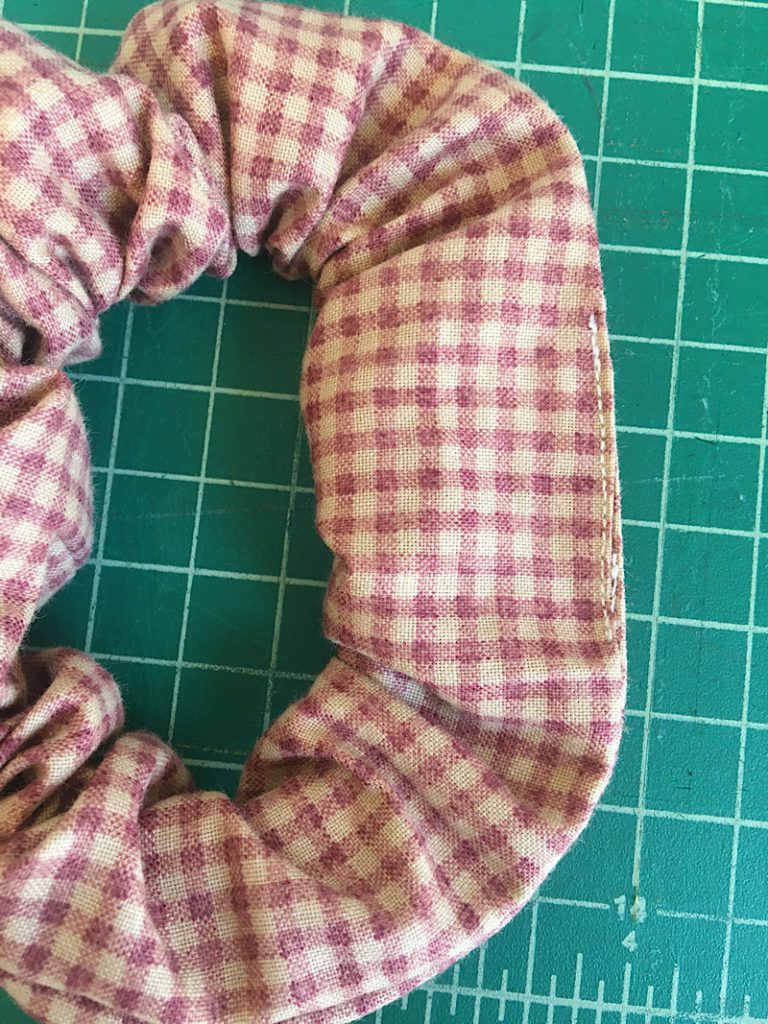
You can hardly see this top stitch when it is in your hair, and it still looks professional. (If you use stretchy fabric you might be able to get away with leaving a smaller hole, and there will be less top stitching. Just something to experiment with!)
That’s it! Look how good it looks!
Check out that gorgeous seam, it is so clean and nice. Compared to the tube method it is much more professional.
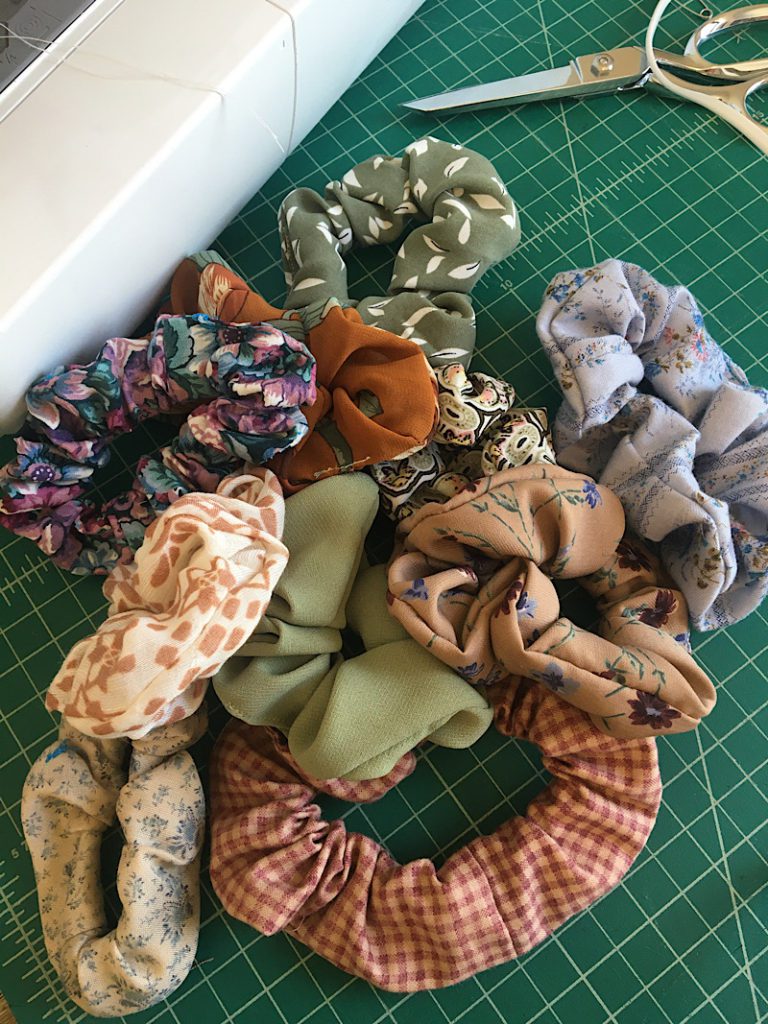
You have now learned the burrito method! In my opinion this is the superior method for scrunchie making. These scrunchies only take 5 minutes once you master the technique, and they are addicting to make, even for beginners.
I can’t wait to experiment with different variations of this basic scrunchie. I see bows, thin scrunchies, jumbo scrunchies, and scrappy scrunchies in our future! This is a great way to use up fabric remnants.
Make sure you also read my post on how to make an old scrunchie small again.
The last step is to make 100 more!
Do you have any questions about a particular step? Leave a comment, I’m happy to help.
Goals! Thank you for sharing this, I can’t wait to try it!
Awesome! Thanks!