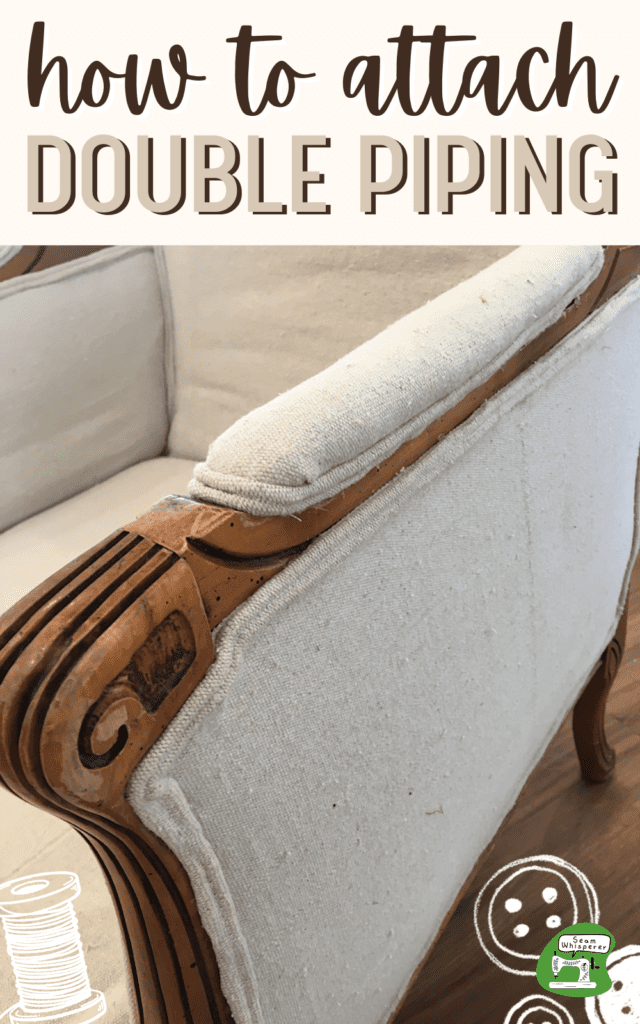
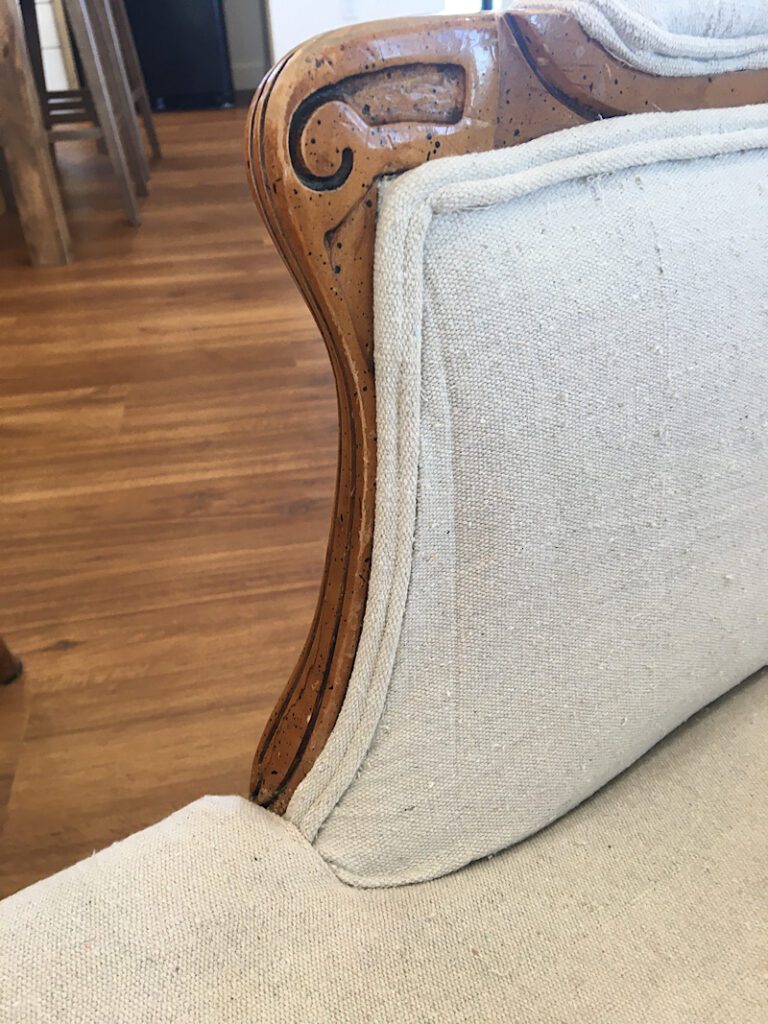
I recently re-re-upholstered a vintage armchair for my living room that needed a lot of double welt cording replaced! Learn the two methods I used to attach the double piping and which I like best…
In almost all reupholstering projects, the trim is the final, important, and sometimes trickiest part!
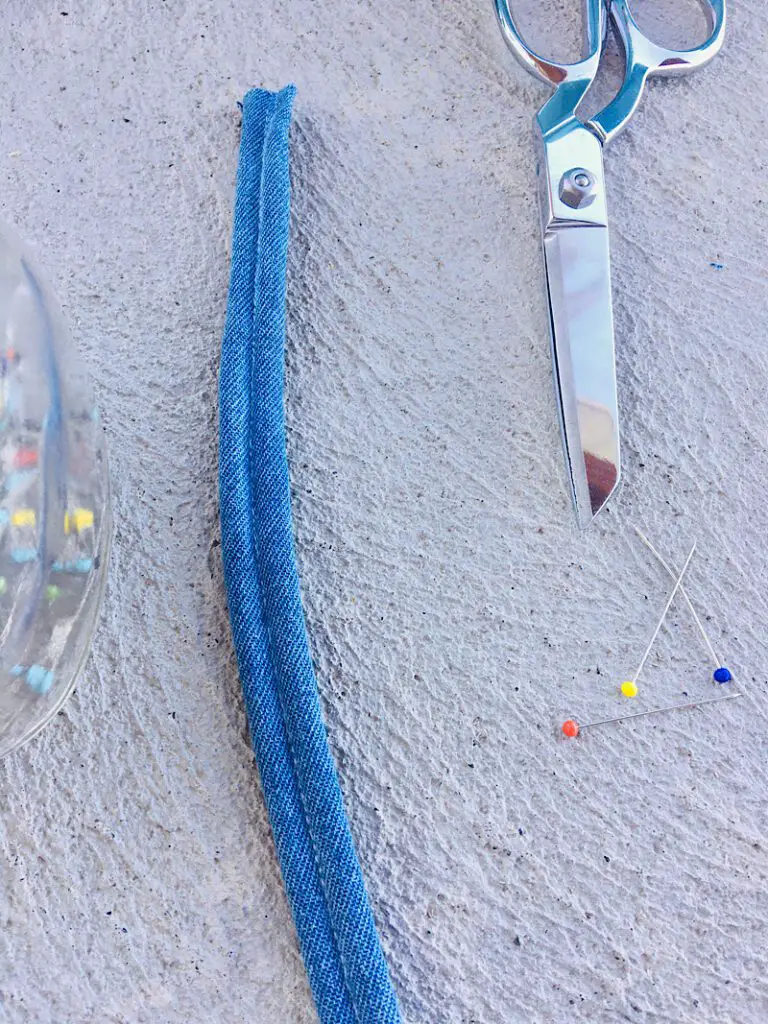
Which do you choose? How do you make it? How do you attach it to make sure it stays put and looks professional?
Well, I’ve already taught you how to make your own double piping, now let me show you the two easy ways you can attach it to your furniture and the pros and cons of each.
This post may contain affiliate links. Read the full disclosure here.
How To Attach Double Piping With Staples
The first method I used to attach double piping to my armchair was with my staple gun.
I was already using my staple gun to attach fabric to the chair, so it was easy to just continue using it for the piping.
Here’s how to do it:
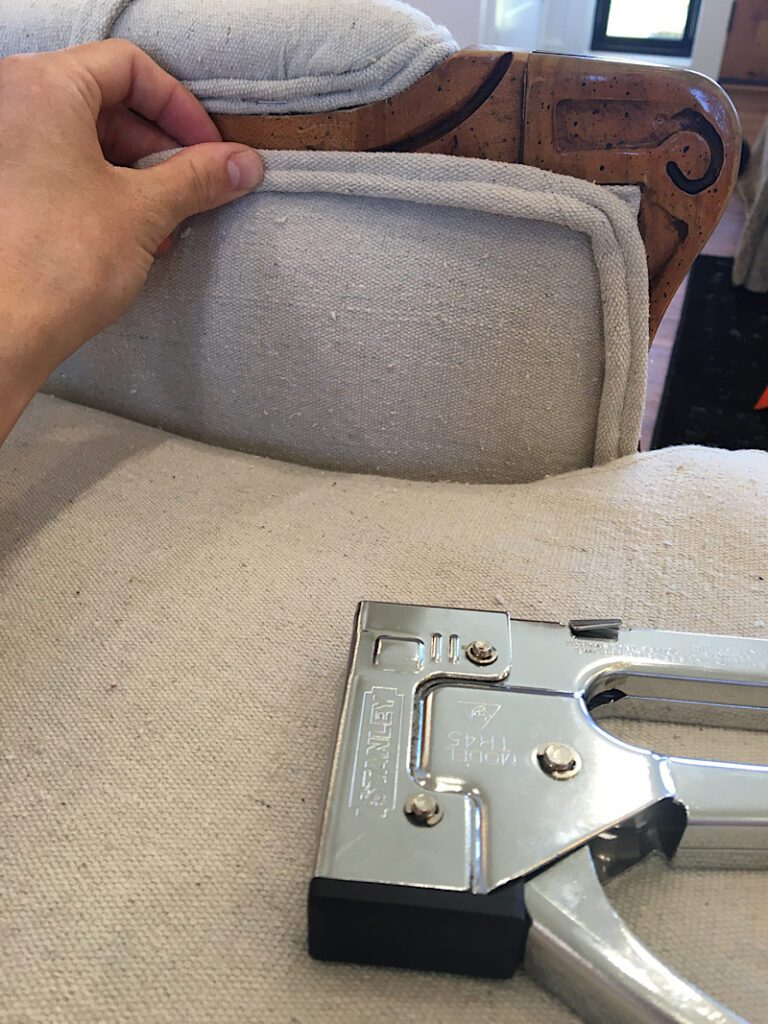
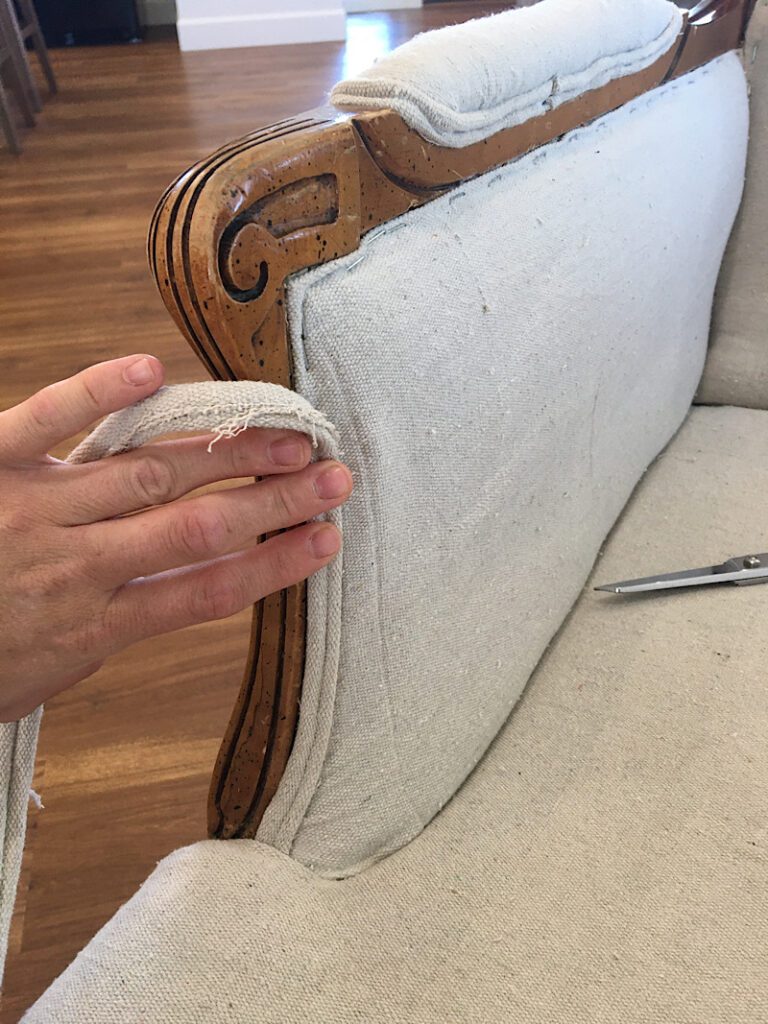
Step 1. Hide The Raw Ends
Before starting to attach your double piping, think about how it will be finished. The two raw ends of the piping will somehow need to be hidden by tucking, folding, or covering so that it looks neat.
When attaching piping in an area where the ends of the piping aren’t hidden in the inside or bottom of the chair, I like to “hem” the ends of the piping.
To do this, pull out an inch of the cording inside, and clip it out to remove the bulk. Then, fold over the fabric to the back of the piping to give the edge a nice professional look.

Don’t hem the other end yet, it might not end up the right length. Just start with the beginning edge for now.
Position the hemmed end in an inconspicuous location (such as the inside of the arm, or the bottom of the upholstery section) and prepare to staple it.
Step 2. Staple The Piping Correctly
To staple the double piping, you want the staple to land right in the center of the channel between the two piping cords. You also want it to staple in quite deep so the staple is as hidden as possible.
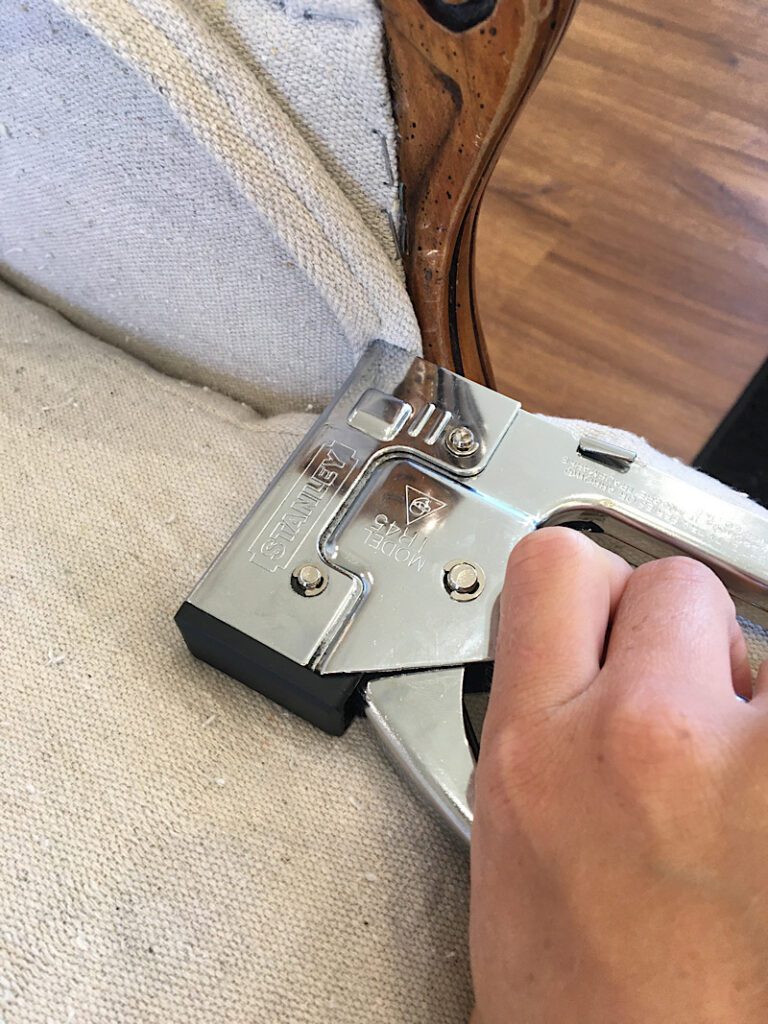
Make sure the stapes stay straight so one edge of them doesn’t hit a cord in the piping.
This can be a bit challenging when you have to hold the piping, position the staple gun, and push with a good amount of force all at the same time. You will probably have to practice a few times!
Using your tack remover to pull out the staples will help speed it up, if you need to try again.
If you have trouble with the staples not being totally hidden between the two cords, my number one tip is to pinch the two cords in the piping together after stapling to cover up the staple.

Step 3. Ending The Trim
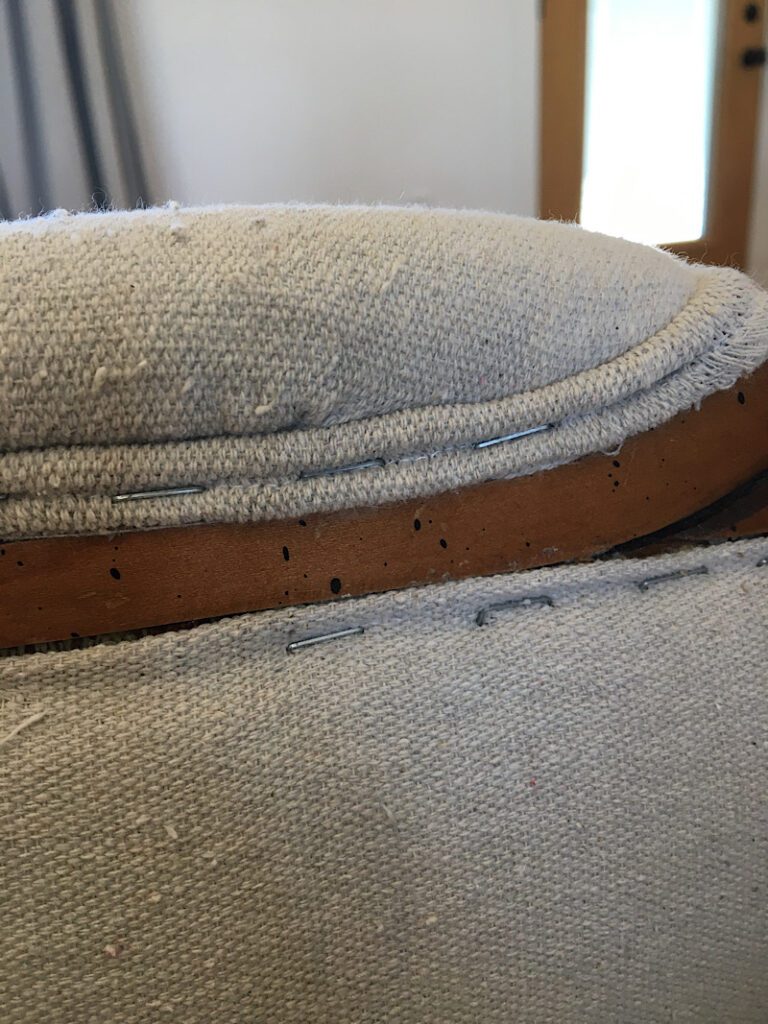
Continue stapling all along the line of trim you need to attach. It is tempting to only add a staple every several inches, but the more staples you add, the stronger it will be.
The less staples you add in the trim, the more the trim will look bumpy because not each part of it is being held down to the upholstery as strongly.
(When looking at my chair, I can kind of tell the areas along the trim that have staples and which areas don’t.)
When you come to the end of your trim-area, hold up the trim to measure how long it needs to be. Then, cut it an inch longer. Hem the end how you did at the beginning, by pulling out an inch of the cord and folding back the fabric to hide the ends.
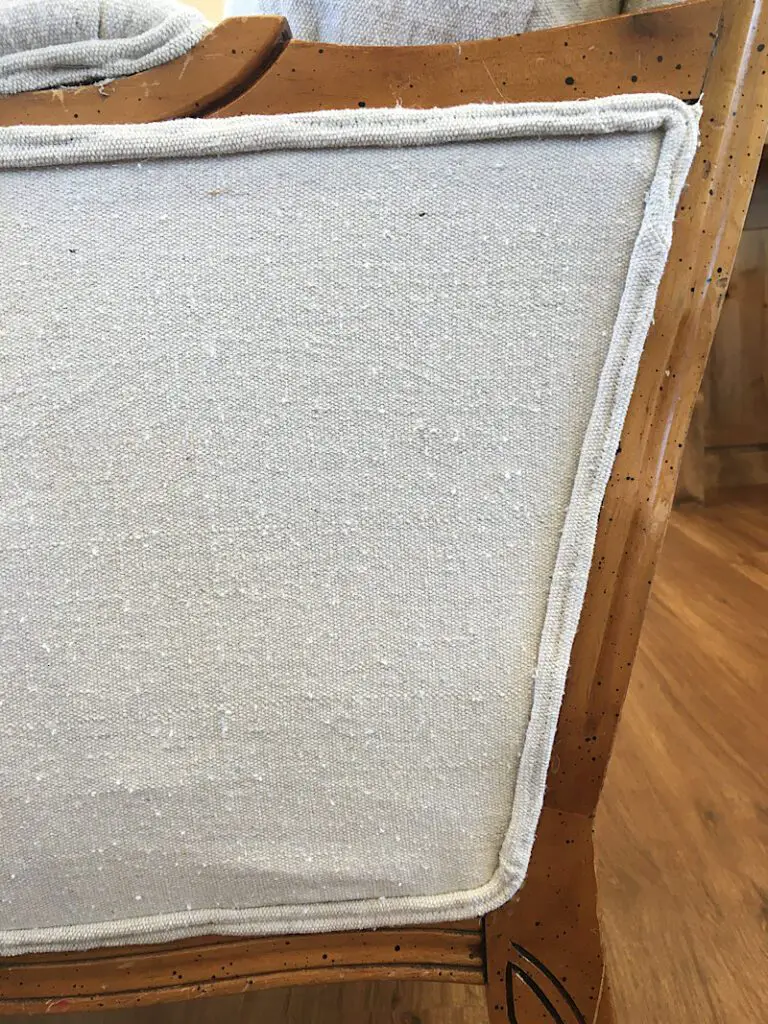
Place the now-hemmed end on the chair, and staple it to finish the trim job.
It looks great!
Pros & Cons About Stapling Double Piping
The Pro’s to using a staple gun for attaching the piping are:
- It is faster, in my opinion
- You don’t need extra tools
- You can easily pull it off and try again if you mess up
The cons are:
- It can be difficult to perfectly align the staples
- Sometimes the staples will still be visible, no matter how straight they are (this typically happens when the surface underneath has a bulky area)
- If there is a staple underneath where you are trying to staple, you may not be able to line it up just right
- It can be tricky to staple around a tight curve
Over all, I like the stapling method for attaching double piping a lot. It is quick, and easy to re-do if needed.

But, if I run out of staples (like I did with this chair!) Then I will try the gluing method.
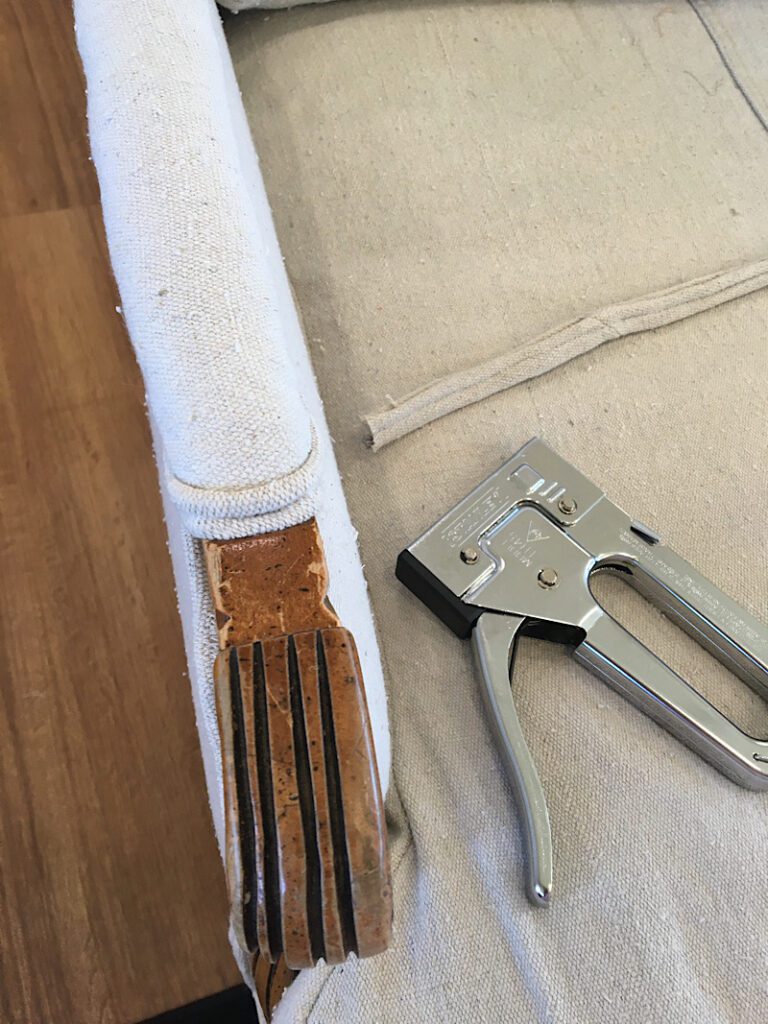
How To Attach Double Piping With Glue
There are different kinds of glue you can use to attach upholstery trim including double pipe cord. Fabric glue and hot glue are the two most popular choices.
I chose to use hot glue because it is what I had, and it is also much faster to bond than some fabric glues.
I the glue takes too long to dry, you have to hold the trim in place before moving onto the next length of trim which makes the whole process take a very long time!
I like hot glue for this reason.
Step 1. Hem The Piping End
You will start the same way as with the stapling method, by hemming the end of the piping. Cut out an inch of the cord, and fold the fabric over the back of the piping to hem the raw ends.
You can add some glue to hold the hem in place.
Step 2. Glue The Trim
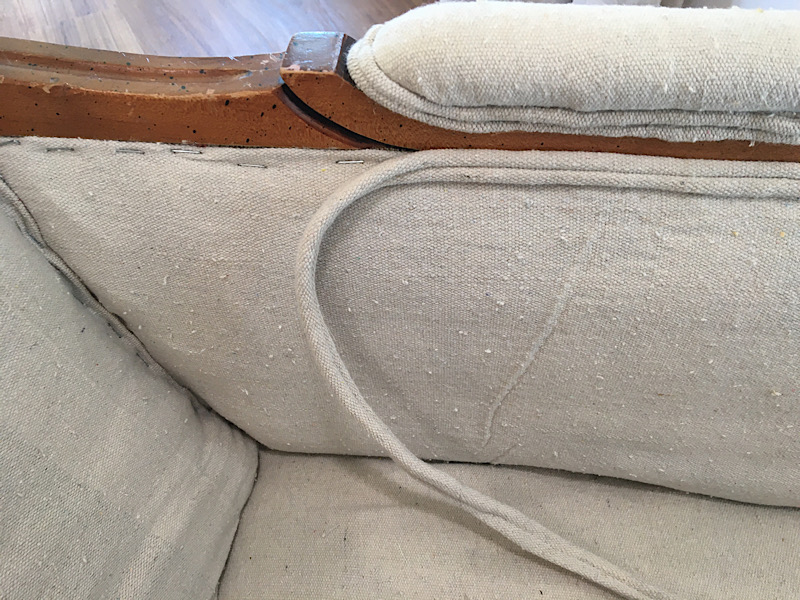
When hot gluing trim to the chair, I highly recommend quickly “laying” the trim along the edge of the upholstery before attaching it, so you can see how it will bend and curve.
Work only a few inches at a time, applying the hot glue to the TRIM, not the chair.
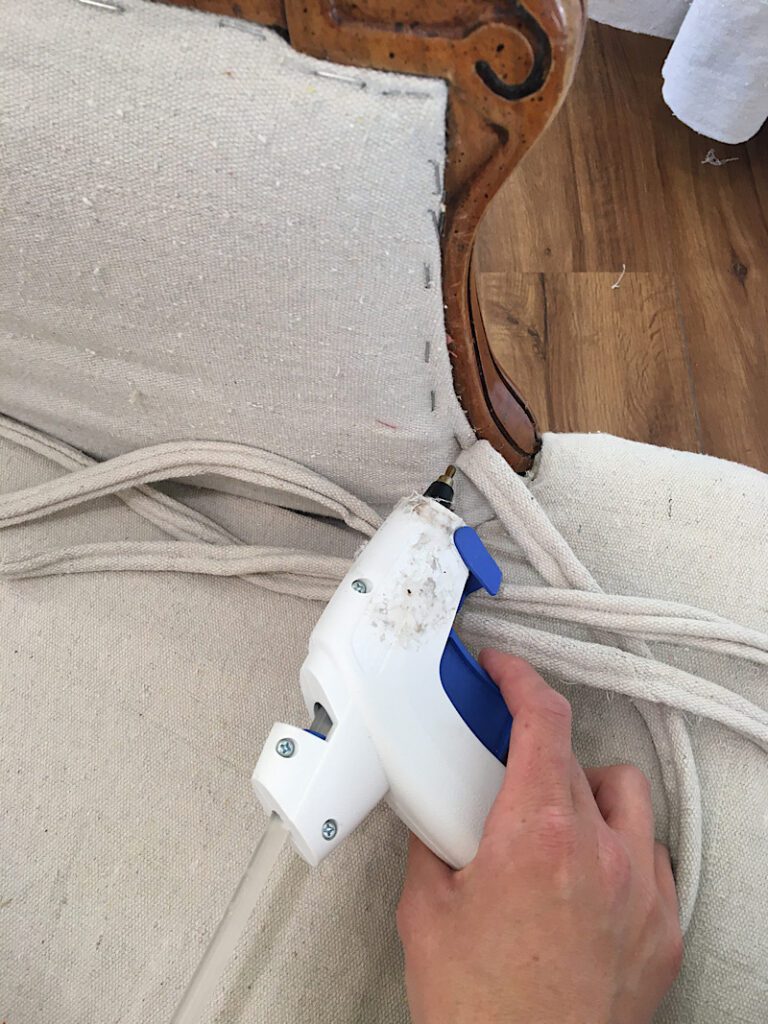
Push the trim into the chair for a couple of seconds to make sure it is well bonded before moving on.
When attaching the trim around a tight corner, I recommend holding the trim in place a bit longer since the trim will try to un-bend itself.
Be mindful not to overapply the glue to the trim, or when you press it down, it will overflow and be visible on the upholstery. It is almost impossible to get the excess hot glue off of the fabric. So be careful!
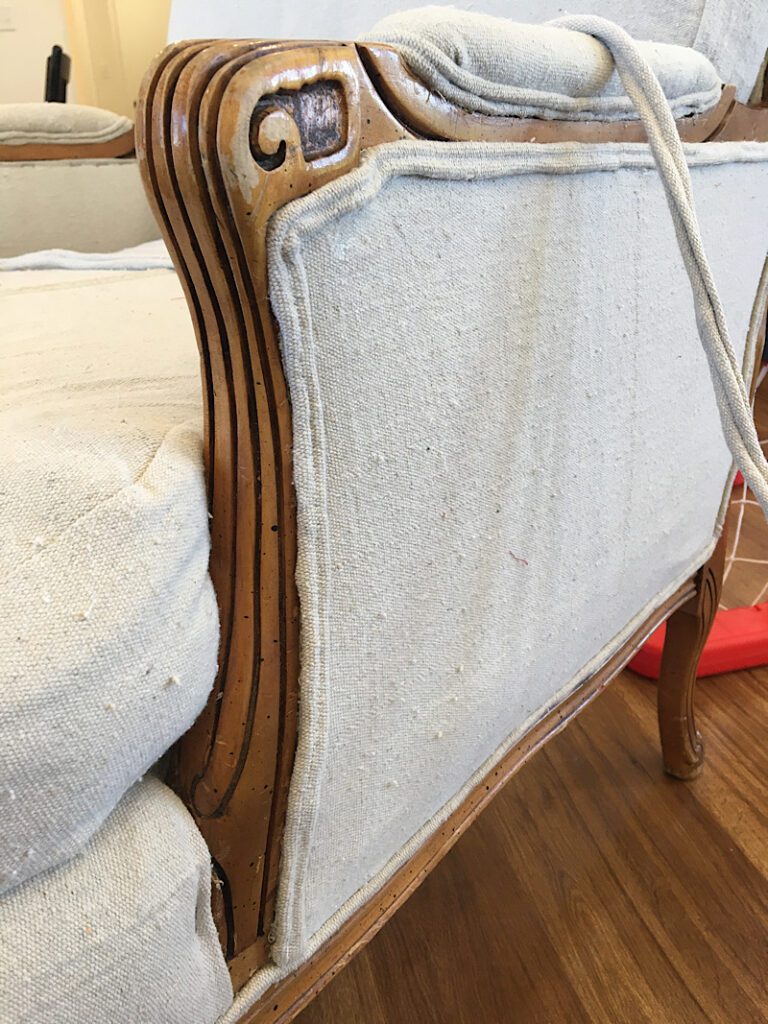
Step 3. Finish The Trim
Finishing the trim is the same as with the stapling method. Line up the trim to see how much length you need to finish, then cut it an inch longer. Cut out an inch of the cording, then fold over the fabric to hem it.
Then glue down the end, and you are done!
Pros & Cons About Gluing Double Piping
Overall, gluing double piping is a good method. Here are the pros:
- It is more durable of an attachment method
- There is no chance of visible staples
- It is easier to glue around curves and corners than to staple
Here are my cons:
- You have to be really careful not to overapply the glue or let any hot glue threads show.
- The hot glue stick and glue gun make extra materials you might have to purchase (whereas a staple gun was already used for the project)
- The piping looks a bit flatter, since the staple isn’t helping to define the channel
- You can’t pull the trim off and try again if it isn’t laying just right.
- It can also be tricky to apply the hot glue into small tight areas like the corner of the inside of this chair, without getting glue on the fabric!

Conclusion
Of these two methods to attach double piping, I think I prefer stapling in most cases. But gluing can also be useful, especially around curves!
Whether it is homemade double piping or store bought, it can elevate the look of your upholstery no matter how you apply it.
For more upholstery tutorials and tips, check out these other posts: