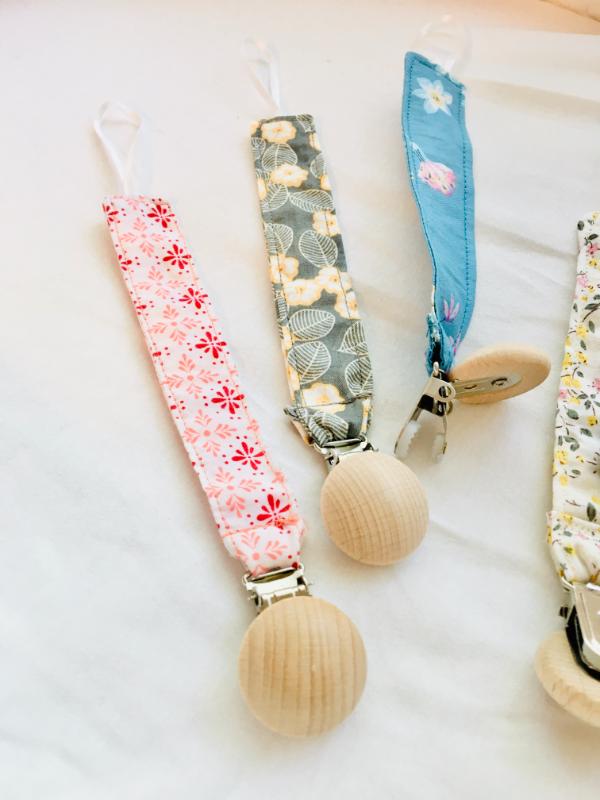
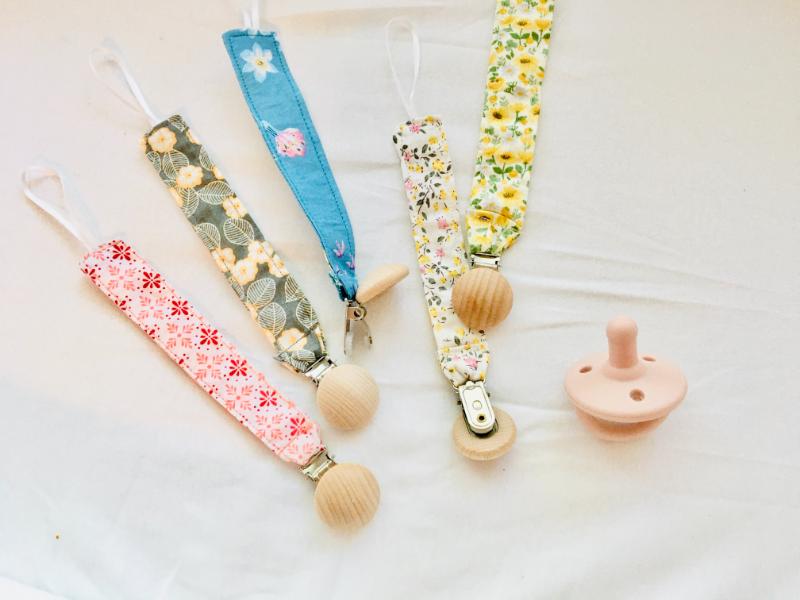
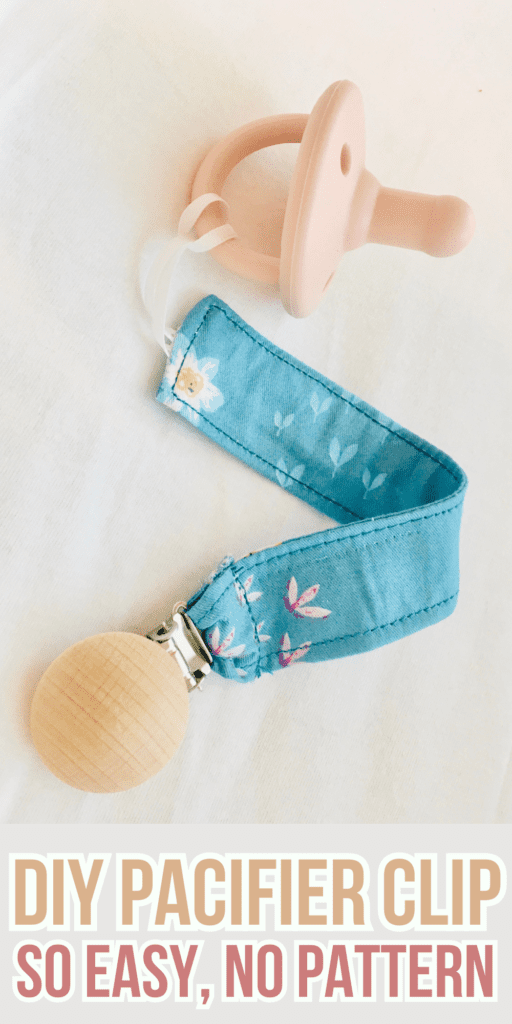
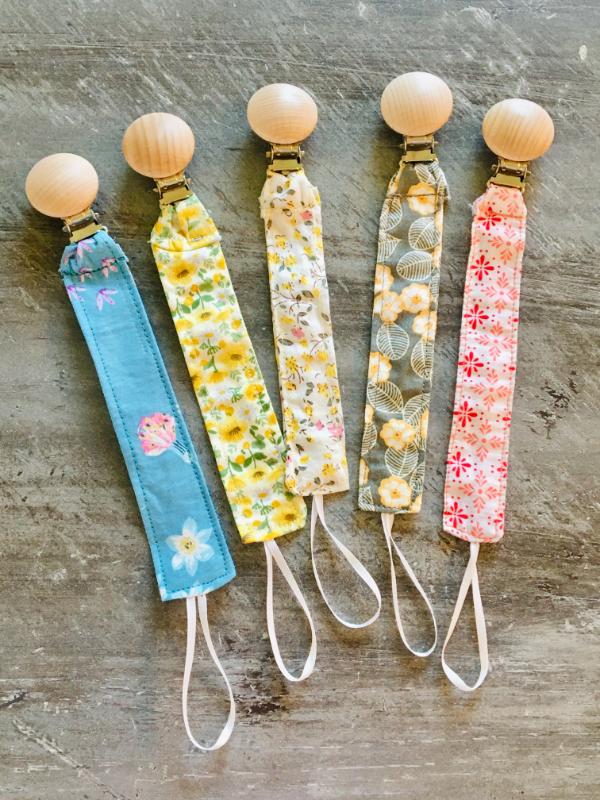
Fabric pacifier clips are so easy and fun to make, you can make a whole matching set in no time to match many outfits!
I was convinced I was having a baby boy this summer, so I made some boy-colored pacifier clips.
Well… It was a girl! So I went back to my sewing machine to make a whole bunch more in cute floral cotton fabrics.
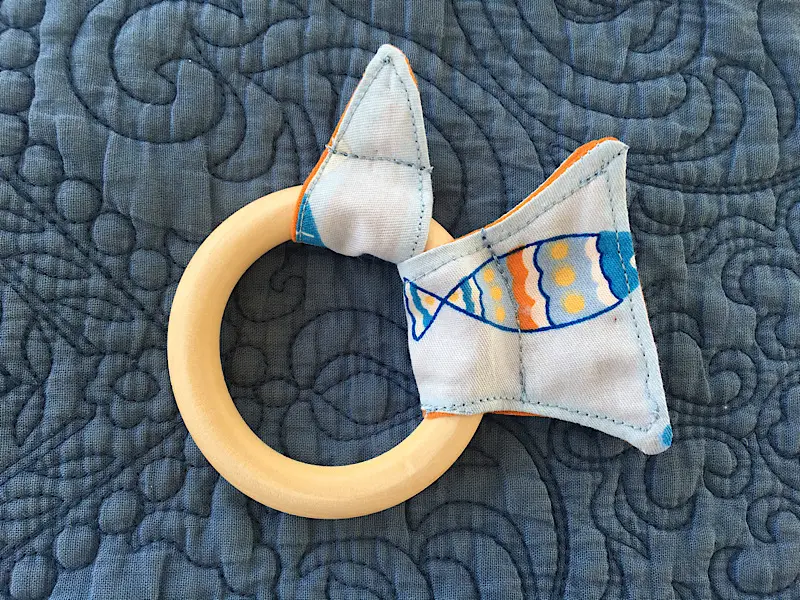
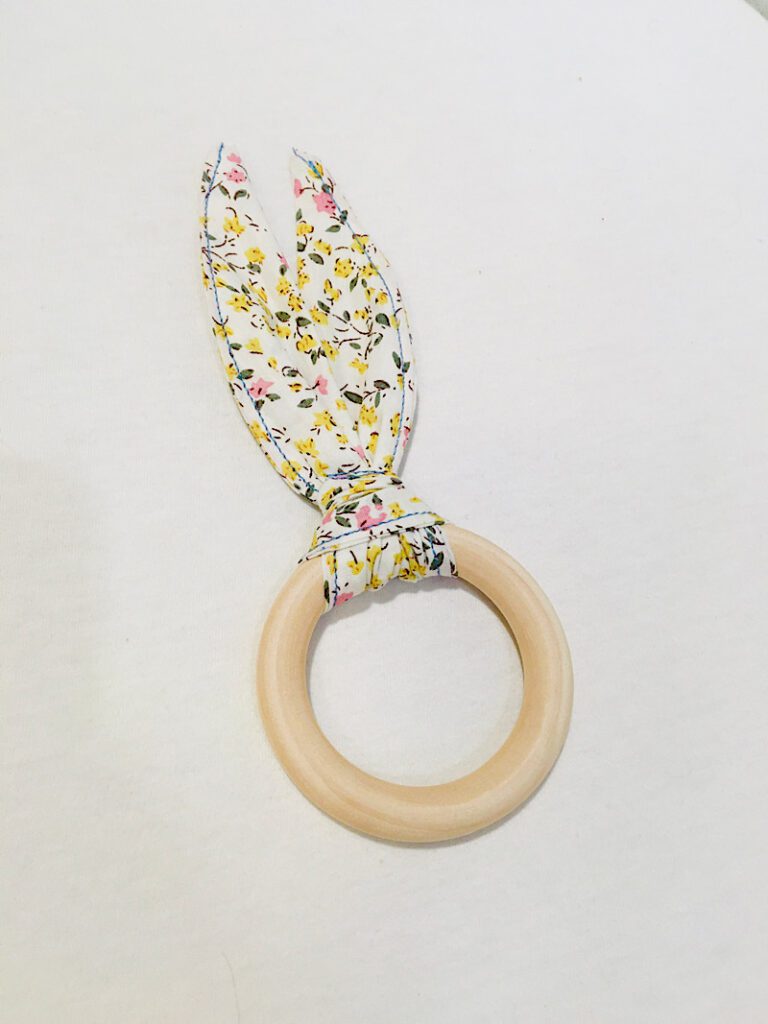
Before you start, here are a few more of my baby sewing patterns!
This post may contain affiliate links. Read the full disclosure here.
Supplies
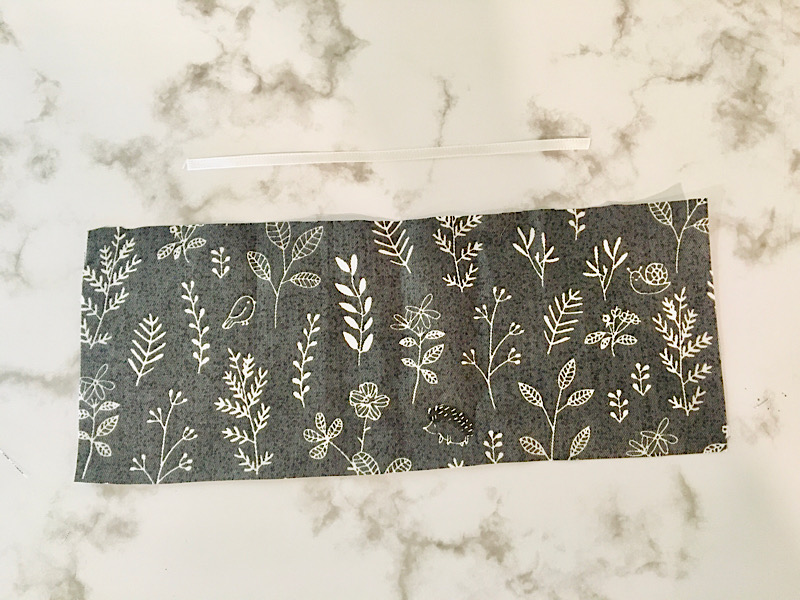
- 3″x8″ Cotton fabric (quilting material is perfect!)
- 5″ long ribbon- 1/8″ thick. You can also use cord or strong string
- Suspender clips (here are some ideas. you might also find plain ones in a craft store)
- Sewing Pins
How To Make A Pacifier Clip
Step 1. Make The Band
Cut a piece of cotton fabric into a strip 3″x8″. Also cut a 5″ length of 1/8″ ribbon, or you can use cord or string.
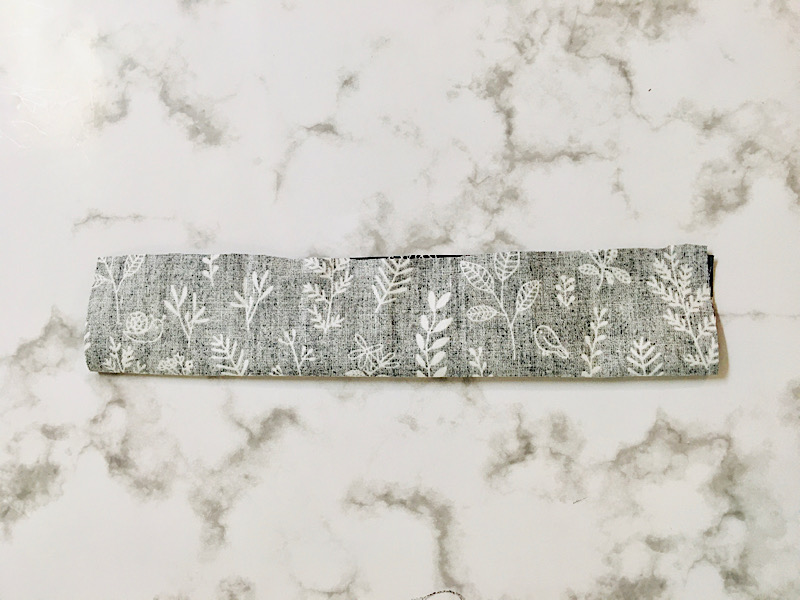
Fold the fabric in half lengthwise to make a center crease.
Fold the ribbon in half, and align the raw edges 1/4″ away from the center crease. Pin them in place.
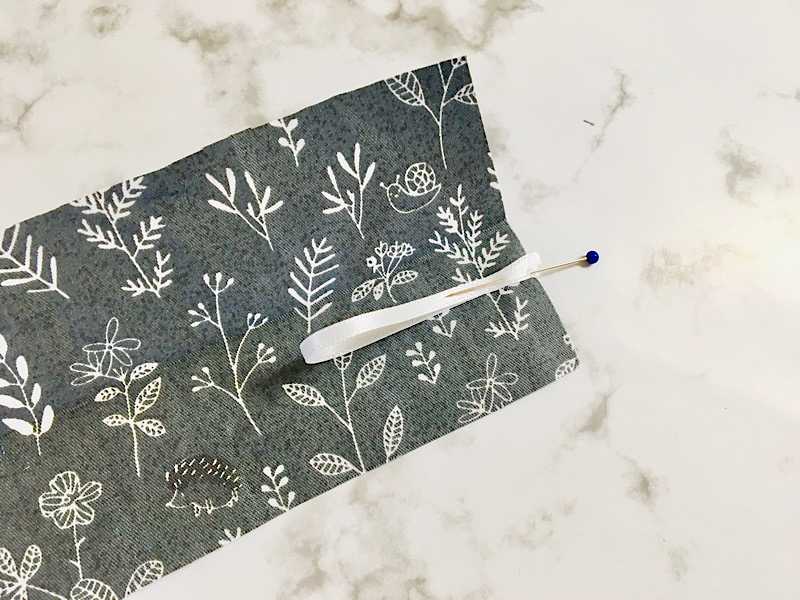
Fold the fabric in half again, and sew around the short end with the ribbon, and the long edge, with a 1/2 inch seam allowance.
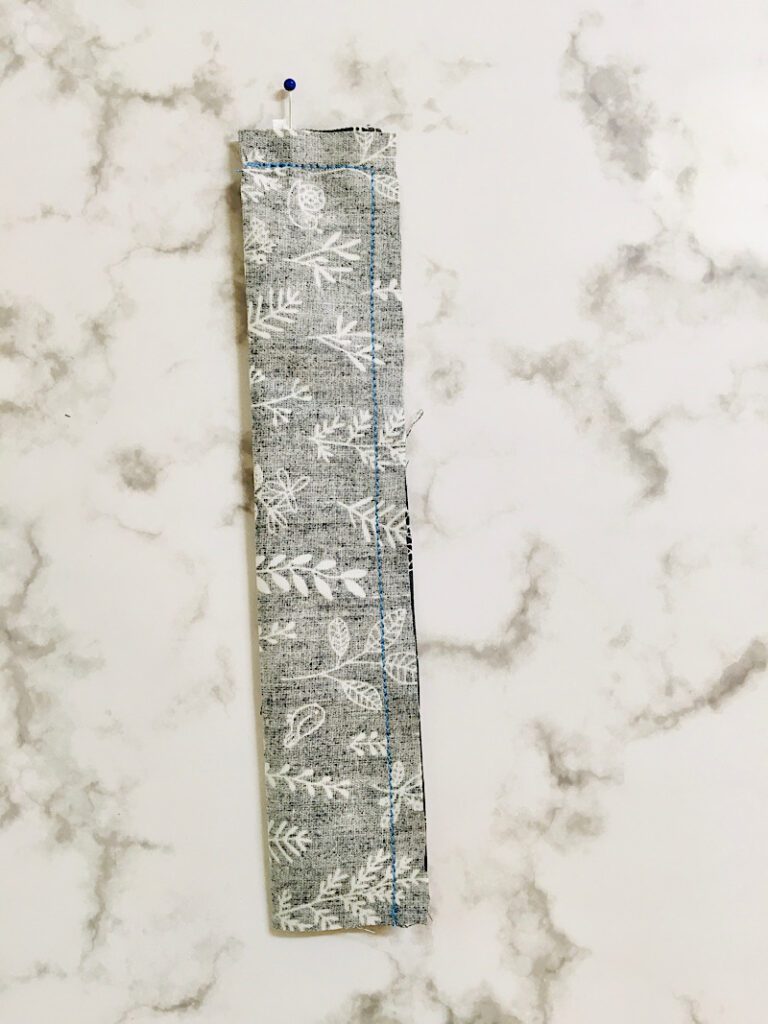
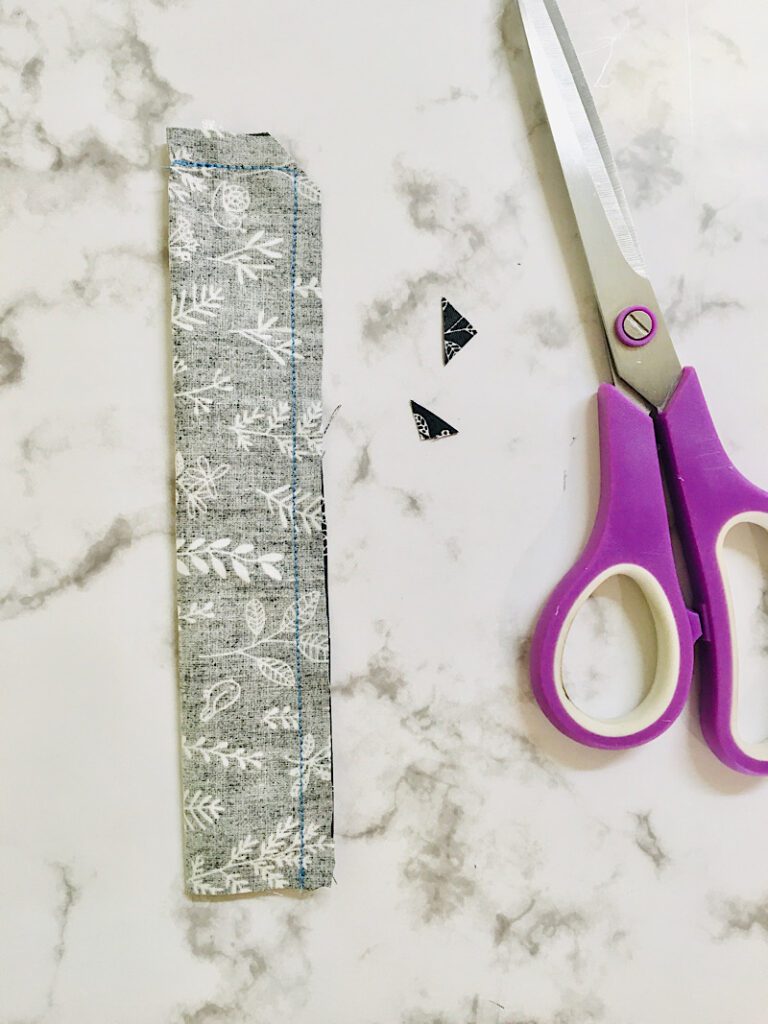
Trim off the corner without cutting through the seam.
Step 2. Turn and Stitch The Band
Use your fingers to poke the ribbon-end of the band into itself.
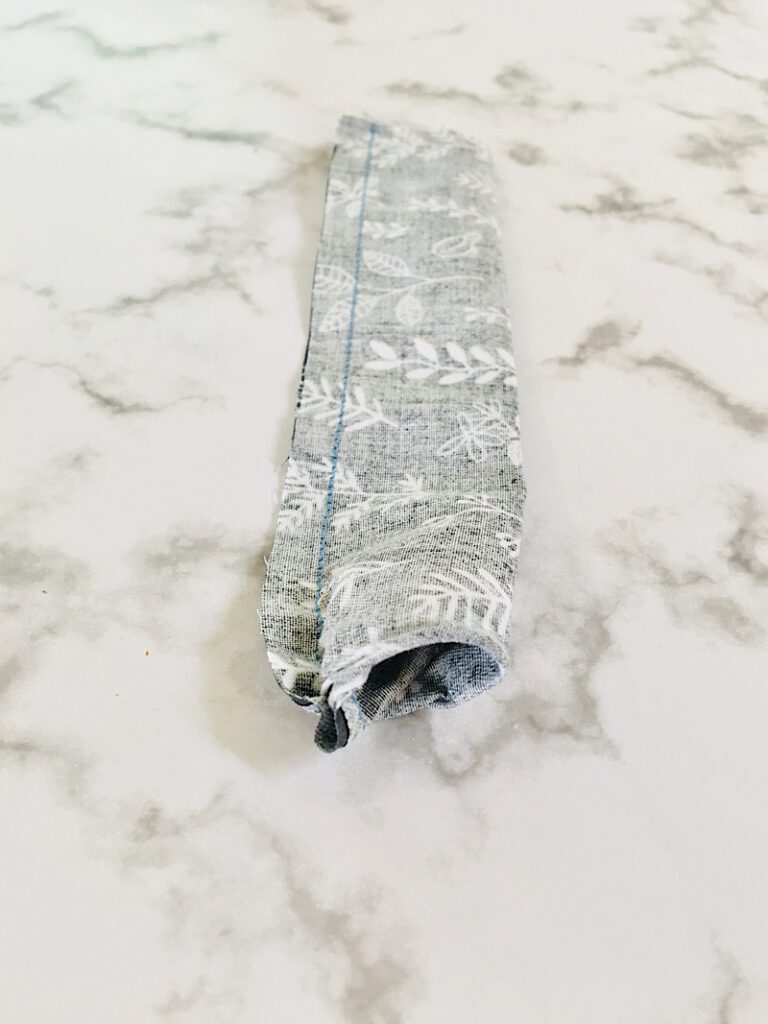
Then insert the end of a blunt object like the back of a pen or your scissors (carefully), and push the band right side out.
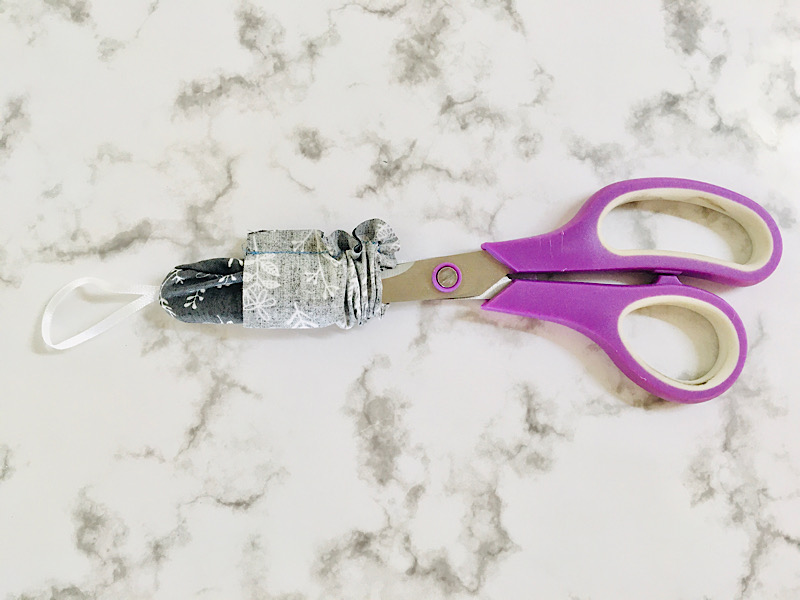
Carefully use the point of a pen or your closed scissors to poke the corners out.
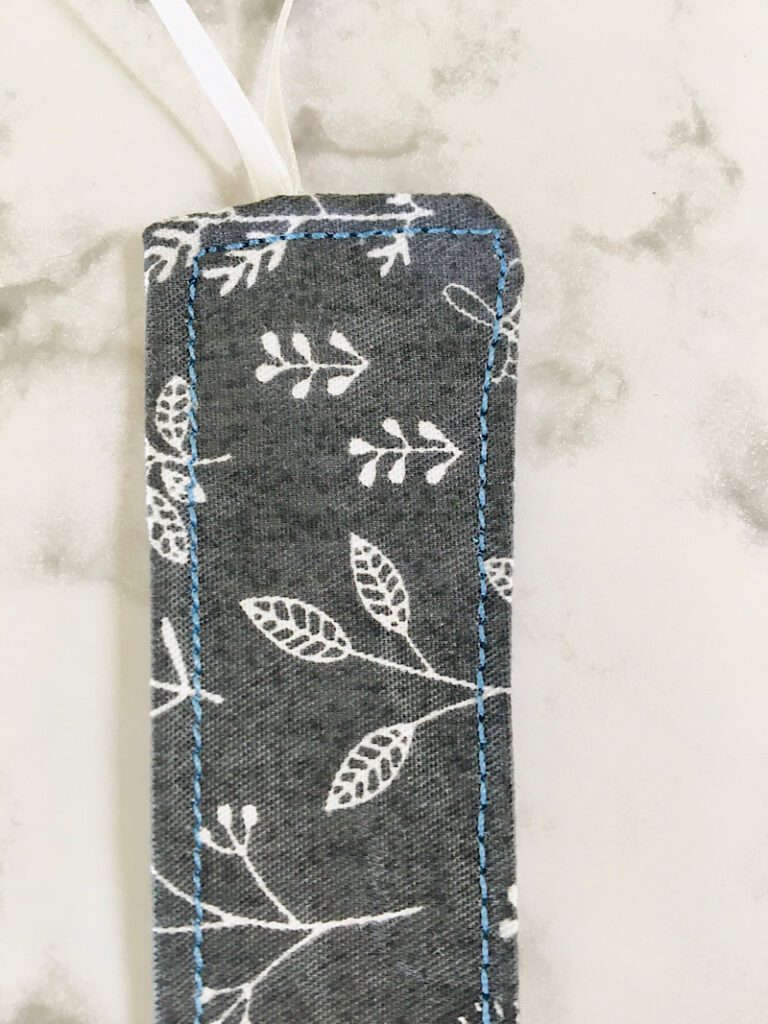
Press the band either with your fingers or an iron.
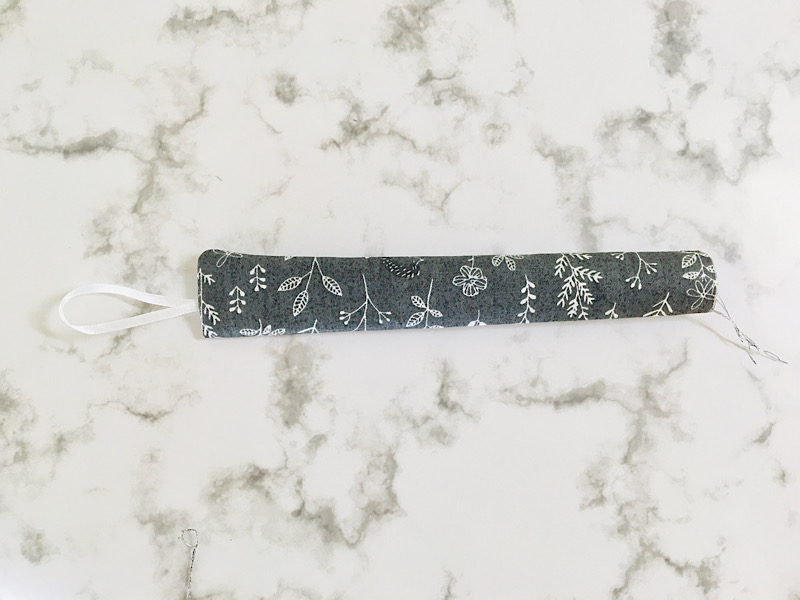
Sew a topstitch around the perimeter of the band with a 1/8th” seam allowance.
Step 3. Attach The Suspender Clip
Slip the end of the band through the ring on the suspender clip and pull it through about 1.5 inches or so.
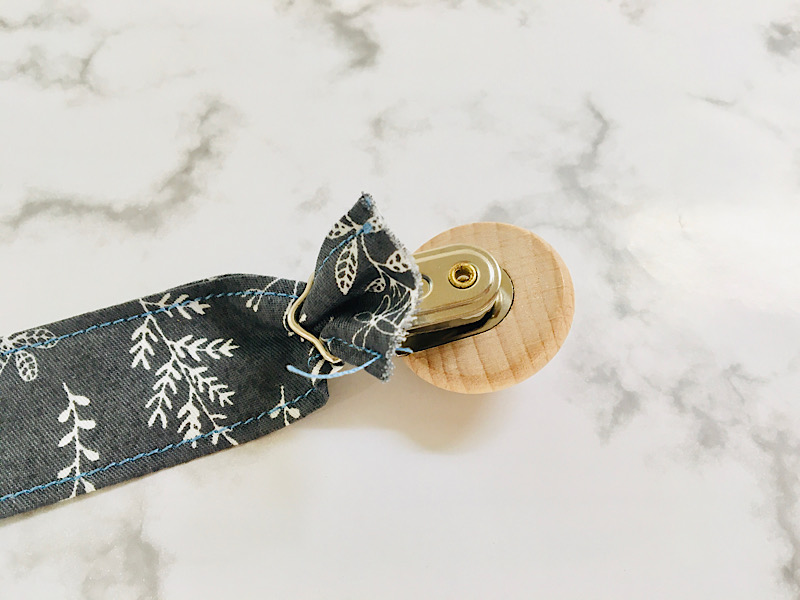
Fold the edge of the band down 1/2 an inch, then lay it over the ring and pin it to the other side.
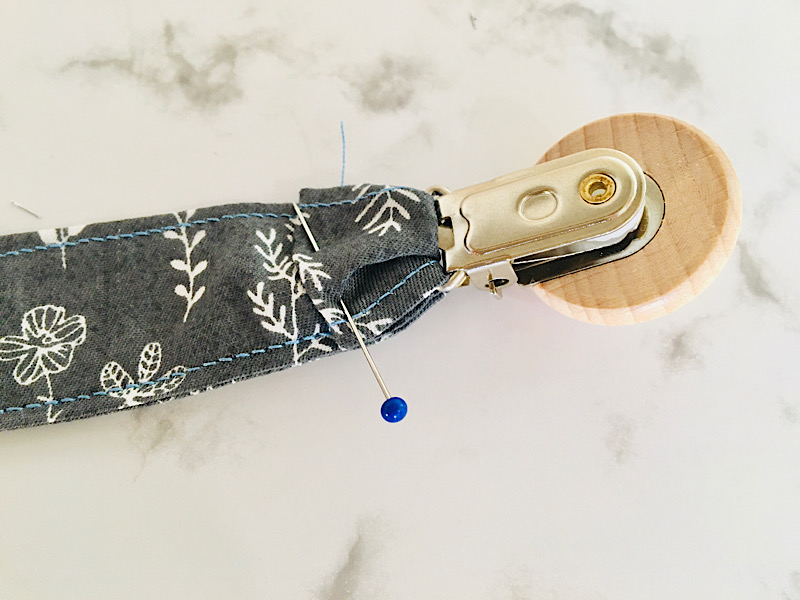
Sew along the folded hem to make a loop around the suspender clip and attach it.
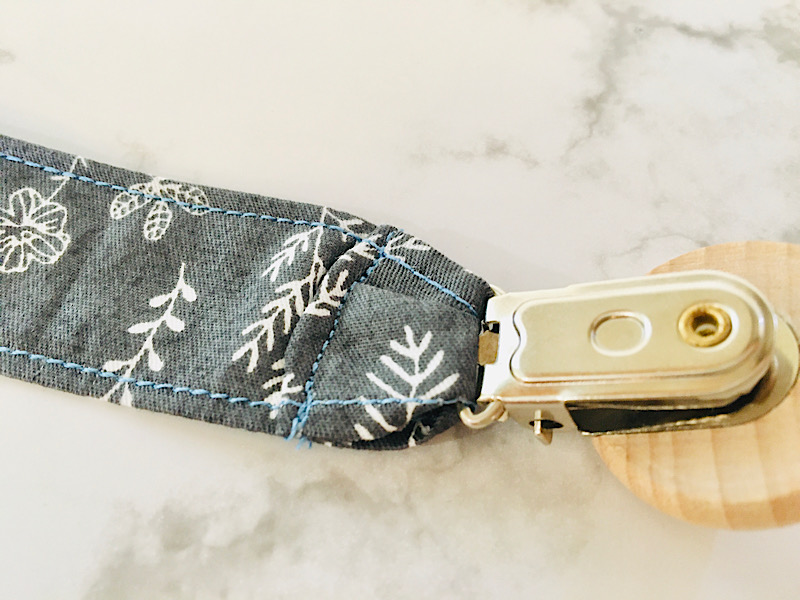
Then you are done!

I made this binky clip for my sister in law, and I made a bunch for myself. I like to have one for the car, one for my purse, one for the house, etc!
If you liked this tutorial, pin it to pinterest! Feel free to ask me any questions you have.
I also have a video version of this tutorial if you prefer to watch it in action: