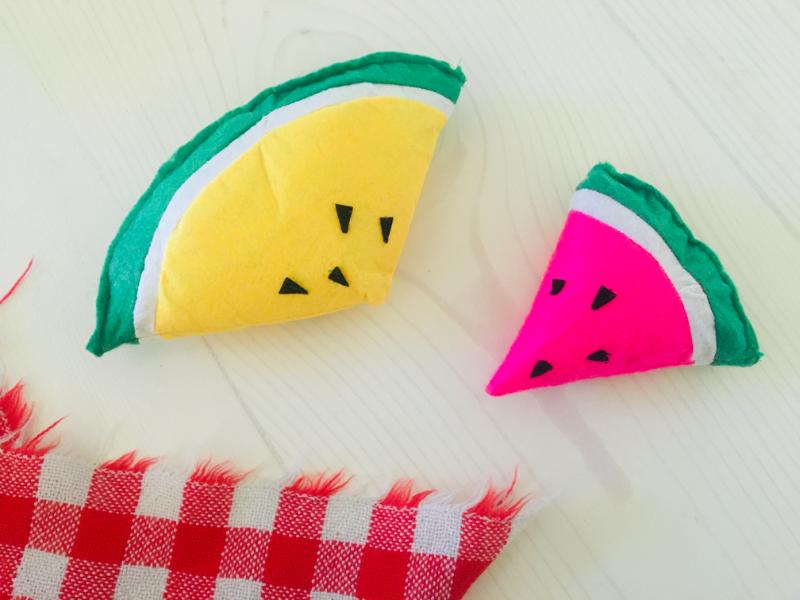
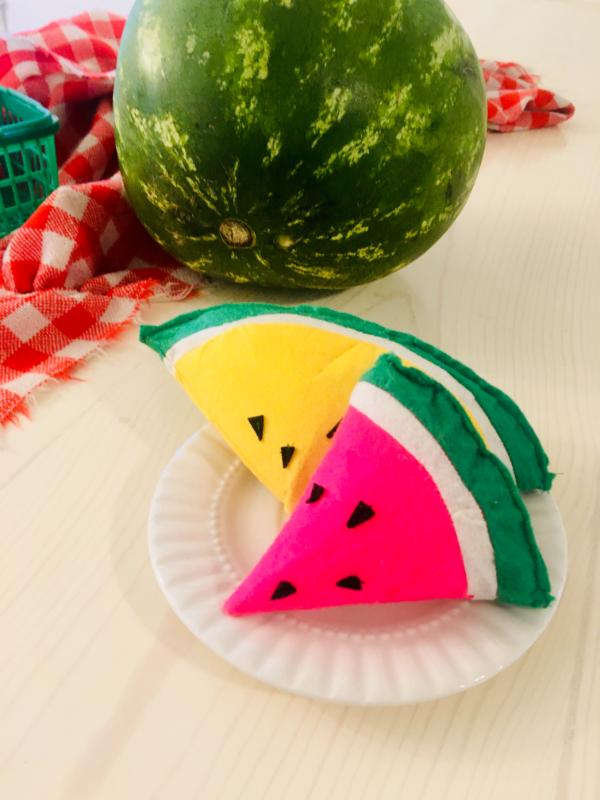
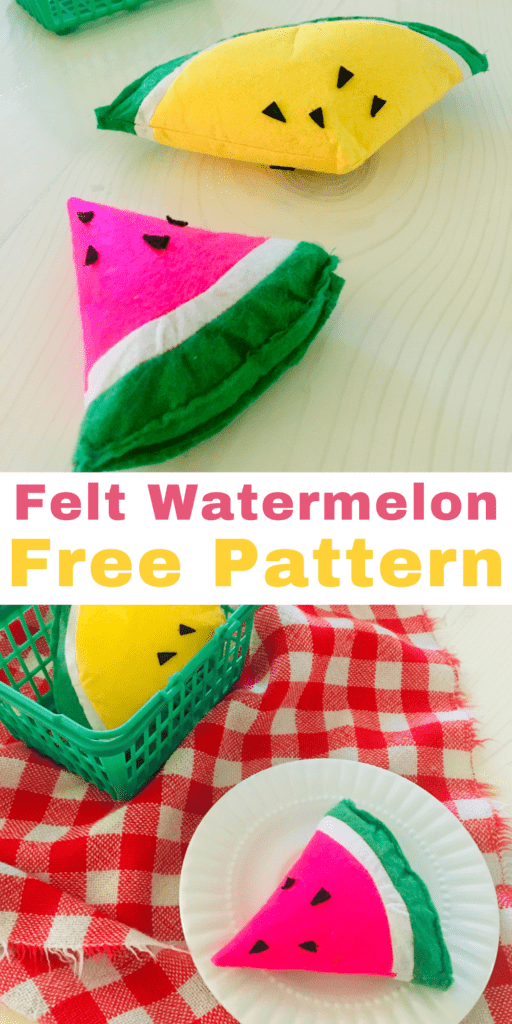
Make your own felt watermelons to add to your play food collection! Make a small slice or a large one, yellow or pink!
My kids love to pretend to cook. They have a small collection of play food, a lot of which I have enjoyed making them such as carrots, bacon eggs and avocado, a pumpkin, corn on the cob etc.
This week daughter asked me to make her some more play food, and we decided watermelon slices would be fun!
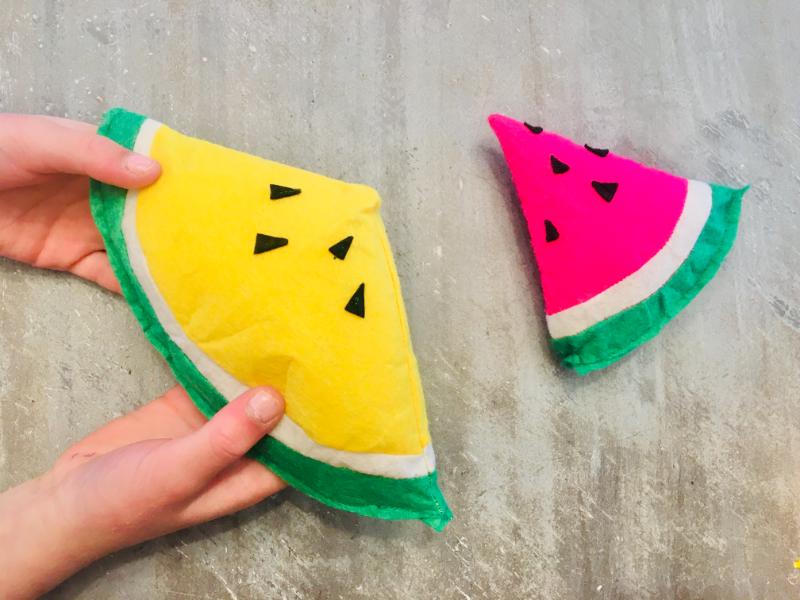
These aren’t perfect, but they are quick and my kids all thought they were adorable. That’s what matters to me!
Supplies Needed
- Craft Felt sheets – Pink, White, Green and Black
- Matching thread
- Hot Glue gun (optional)
- Fiber Fill/Pillow Stuffing
- Sewing Pins
- Free Watermelon slice template (Download below)
Free Felt Watermelon Template
Download the file below to make your watermelon! You can make a large slice, (like the yellow one in my photos) or a little triangle slice.
How To Make A Felt Watermelon Slice
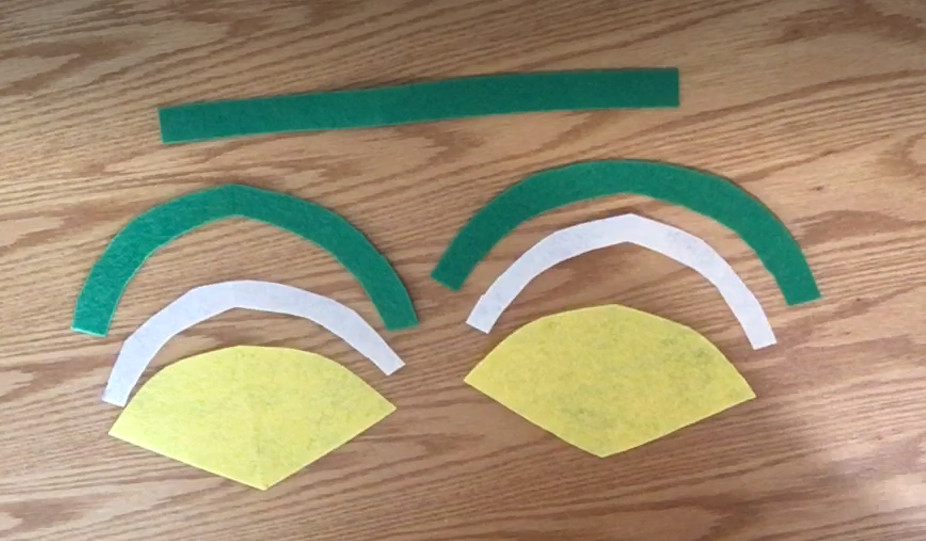
Step 1. Cut The Pattern Pieces
Decide which size of watermelon you want to make and cut out the pattern pieces for them! I used pink, white and green, and yellow white and green for my small and large watermelons respectively.
Here are my little slice pieces, which have been cut on the fold:
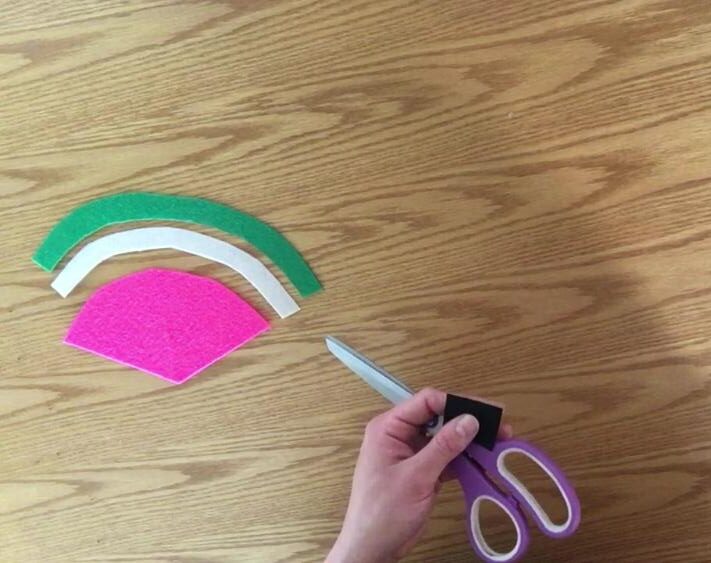
You will also need to cut out the straight strip, out of the green felt.
You will also need to cut out some seeds, I decided to just cut out a bunch of little triangles to make it easier but you can cut out little seed or tear drop shapes if you wish! How ever many you want is up to you.
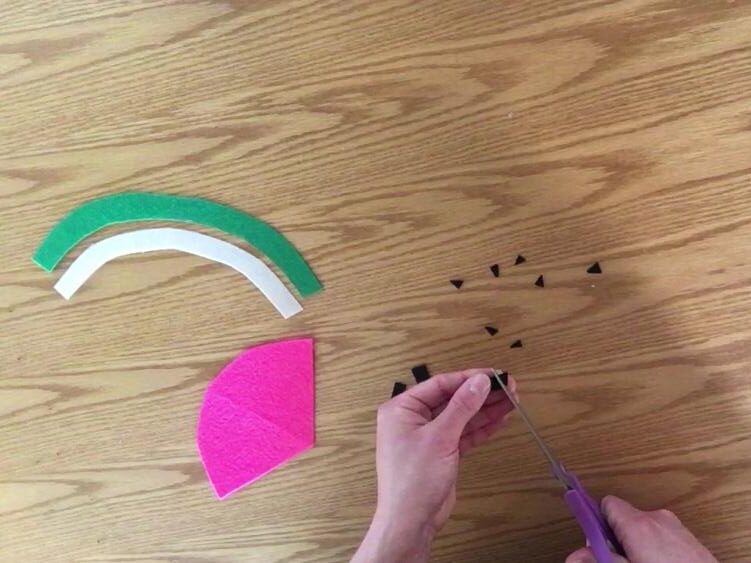
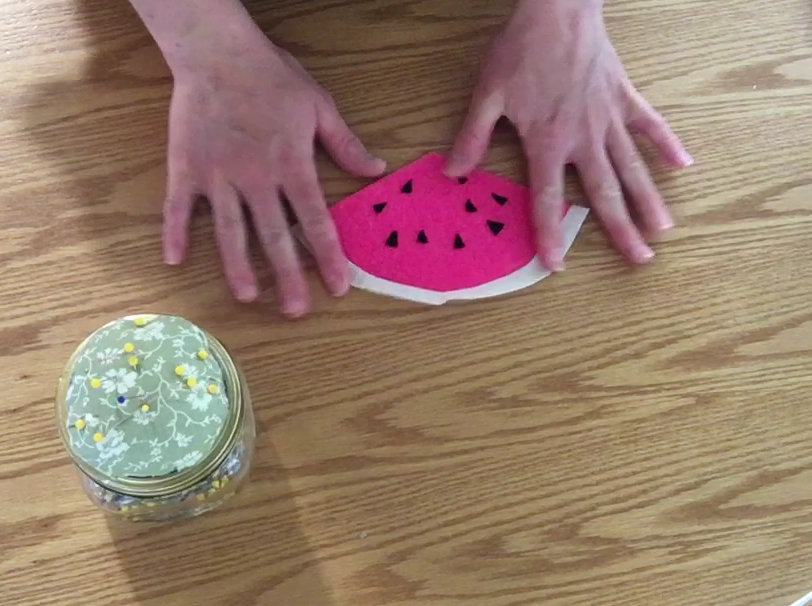
Step 2. Attach The Seeds
Arrange your seeds on your watermelon piece where you think they look good.
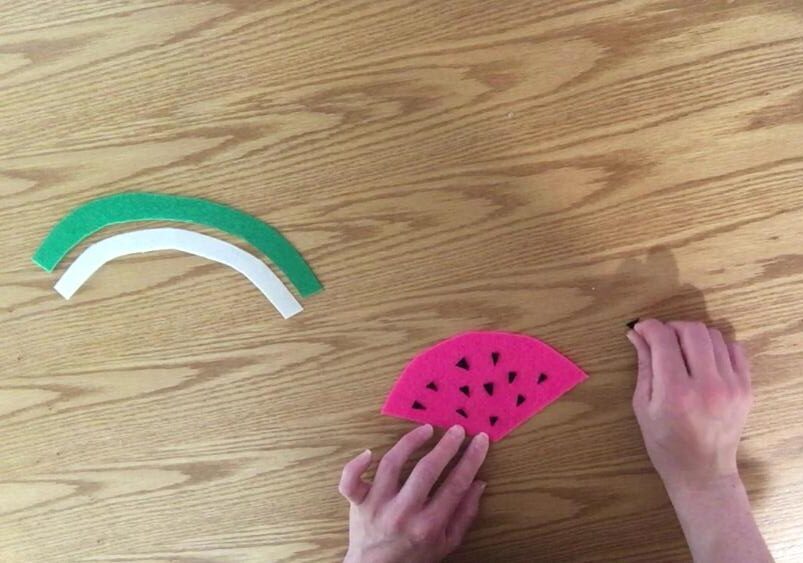
You can use a hot glue gun to attach them, or you can sew them all on one by one.
I sewed them on with a machine using a few stitches and backstitches in each one, then I clipped the threads off after I sewed them all.
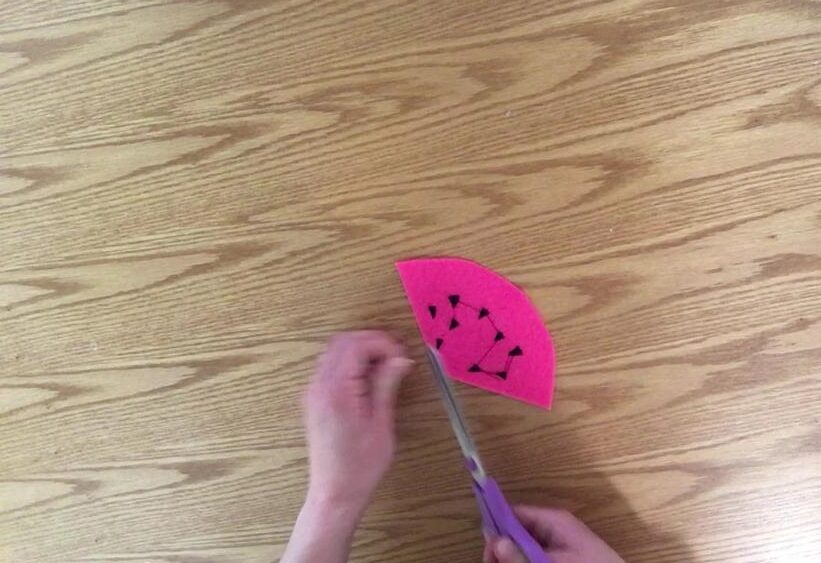
Step 3. Sew The Rind
Next you will sew on the watermelon rind. First start with the inner white rind.
Align the inner/smaller curve of the rind with the top curve of the watermelon, with the right sides facing. Pin it in place. The rind will look wrinkled, but will lay flat after you sew it.
Sew along the curve to attach the rind, with a 1/8ths inch seam allowance.
Then press it flat with your fingers.
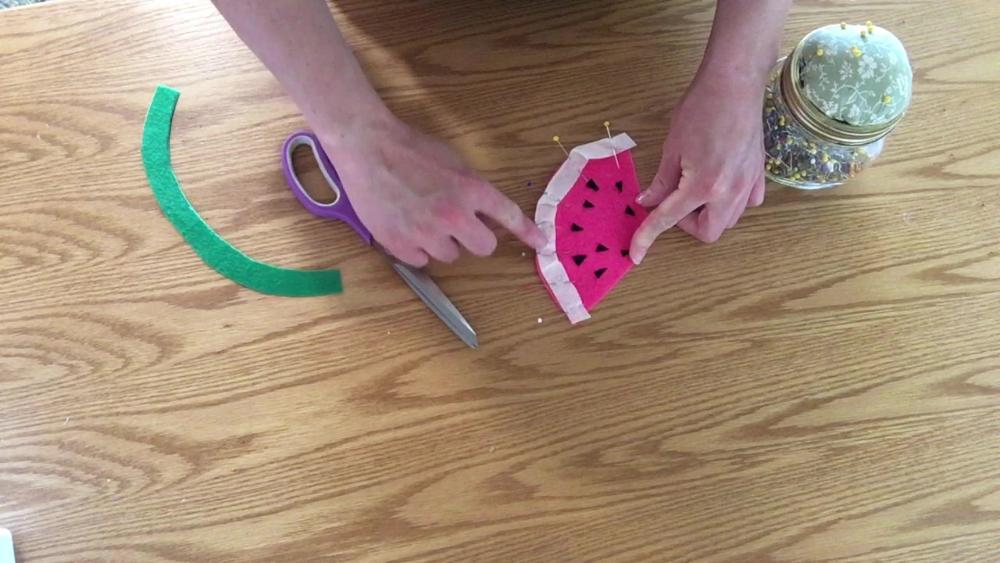
Pin and sew on the green rind the same way.
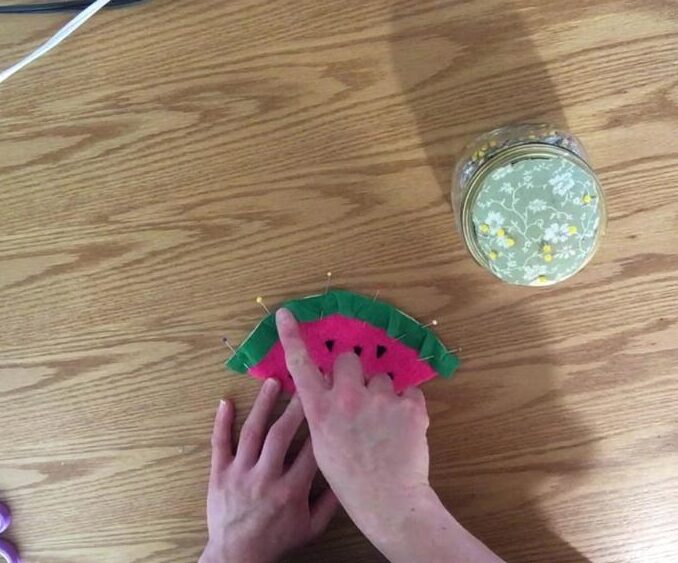
Then open the rind and press it flat with your fingers.
Step 4. Stuff The Watermelon
Fold the watermelon in half with the right sides touching, and pin down the side.
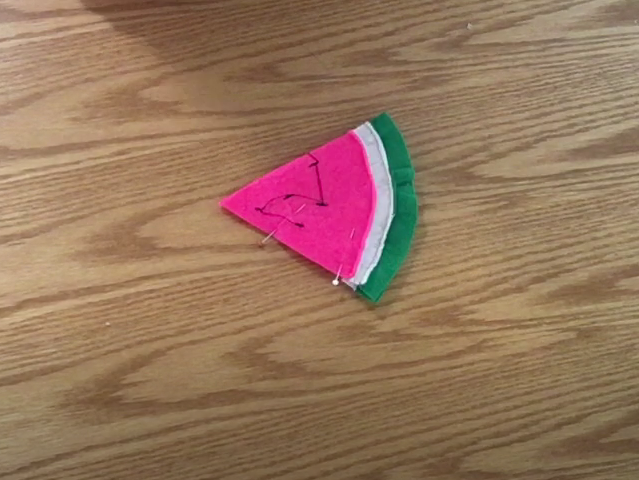
Sew down the flat side of the watermelon with a 1/4 inch seam allowance.
Then turn the watermelon right side out.
Align the green felt strip on the top of the watermelon. The two long sides should line up with the top curve of the rind, and the two short sides should align with the side seam and fold. You can trim the strip shorter if you need to. For now, only pin and sew one long side and the two short sides.
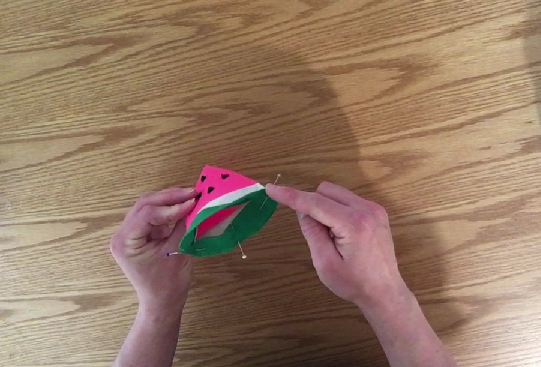
Now, stuff your watermelon through the opening in the top.
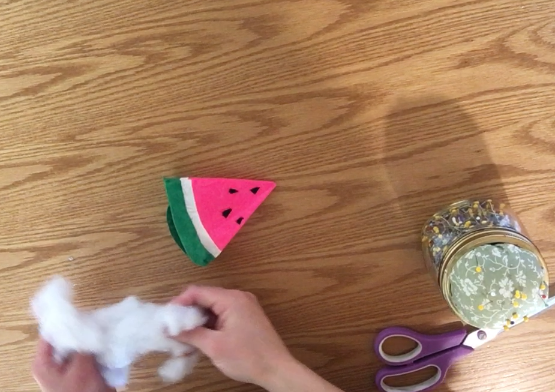
When it is as full as you like, pin the remaining long side of the strip to the top of the rind. Sew it closed.
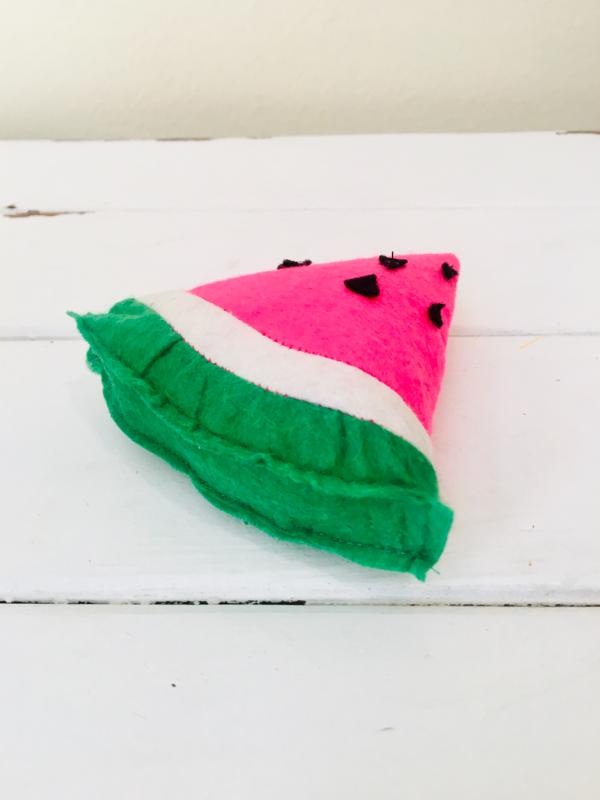
Now your watermelon is done!
To make the big slice, you will follow these exact same steps just with larger pieces!
If you have questions, don’t hesitate to ask for help!
Pin this post to pinterest, and make sure to try out these other play food tutorials:
they look great I am going to try and make them.
I would love a photo if you do!!