Learning to make a simple but beautiful doll doesn’t need to be intimidating. Whether you are a beginner or an experienced doll maker, you can use this in depth guide to learn how to make a cloth/rag doll, step by step!
I have been experimenting with doll making for a few years now, and although I am certainly not a perfect doll maker by any means, I have really enjoyed what I have been able to create for my children!
Making a doll doesn’t need to be hard. Let me outline the basic concept for you:
To make a doll you first need to collect your materials. Then, use your chosen pattern to cut out the front and back of the doll on some fabric. Sew around the perimeter of the doll, turn it, and stuff it. Finally you will need to add the doll’s face and hair, and make it some clothing to wear.
See, it’s not too complicated when you break it into steps!
I have compiled these resources to be a sort of ultimate guide for you, to walk you through the steps of cloth doll making. Think of this guide as a sort of “table of contents”, save it for later for easy referencing!
Let’s dive in!
This post may contain affiliate links. Read the full disclosure here.
What Materials Do You Need To Make A Doll?
The basic materials of cloth doll making include a tight weaved woven fabric, matching thread, embroidery floss, stuffing, and yarn. You will also need common sewing tools such as hand sewing needles, a sewing machine, scissors, pins, and a measuring tape.
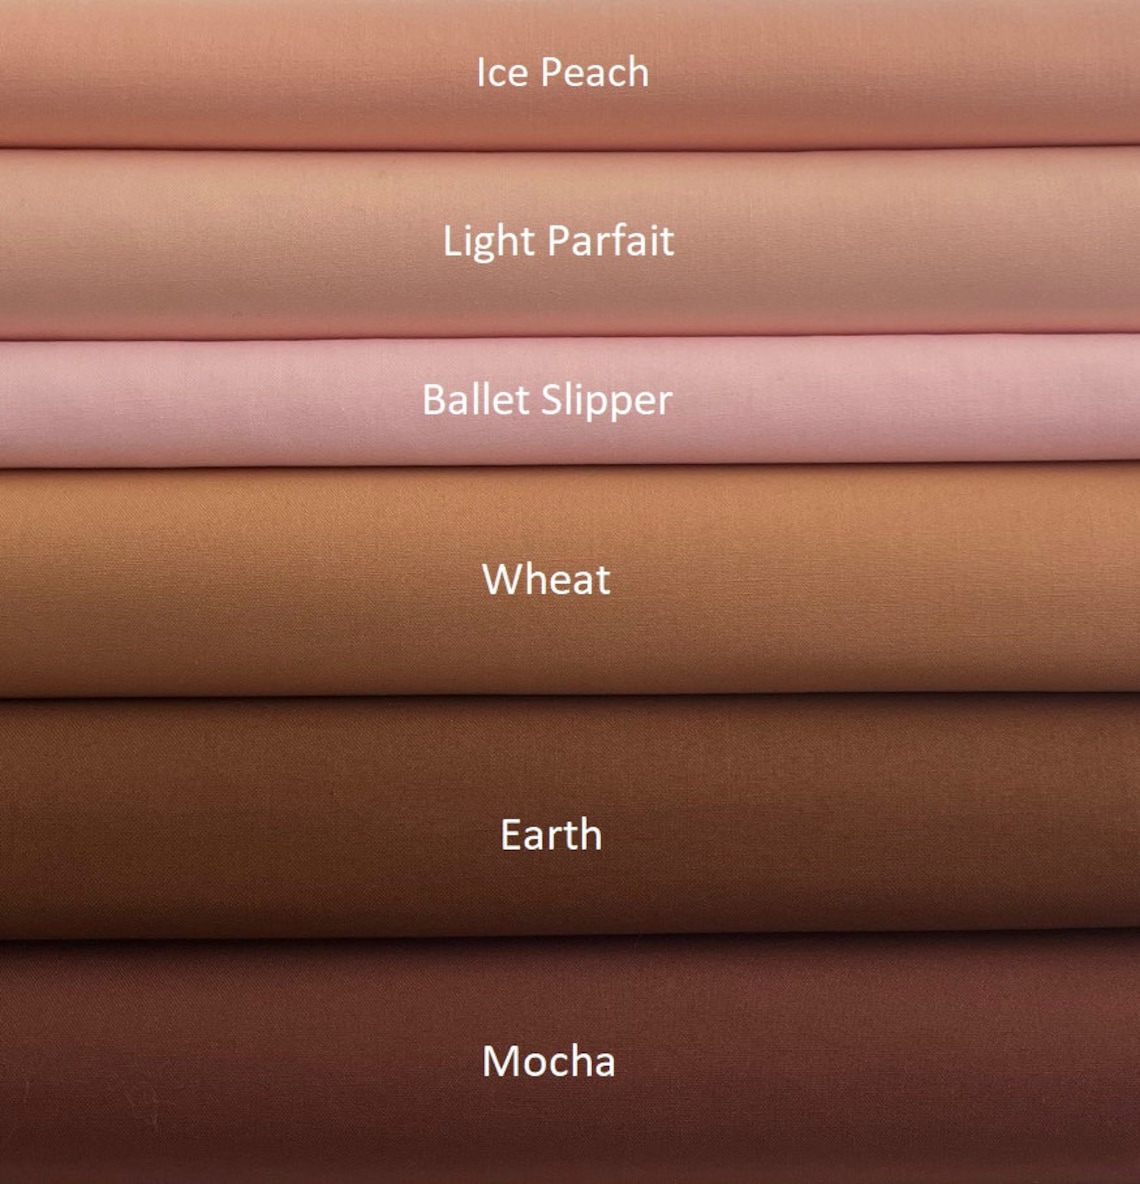
The best fabric for making rag dolls is a woven fabric with a tight weave, little to no stretch, preferably 100% cotton. (This 100% kona broadcloth is one of the best options out there, and it comes in many different colors to help you make dolls with all kids of skin tones.)
While you can get doll making supplies many places, as well as get creative and use what you already have on hand here are some of the high quality materials I recommend taking a look at to get started doll making:
- 100% Cotton Kona Broadcloth
- Organic Trio Yarn (SUPER soft!)
- Premier parfait chunky yarn (chunkier yarn is also fun for doll hair)
- Embroidery Floss (For the facial embroidery)
- Organic Kapok Filling stuffing
These are some of the best quality materials you could use for an heirloom quality doll. But you don’t have to spend a lot of money to make a great doll.
I like to upcycle materials to make some of my dolls, for example a sheet for the body material, the fluff of an old pillow for the stuffing, and leftover yarn for the hair.
What ever you can practice with, is good enough to get going!
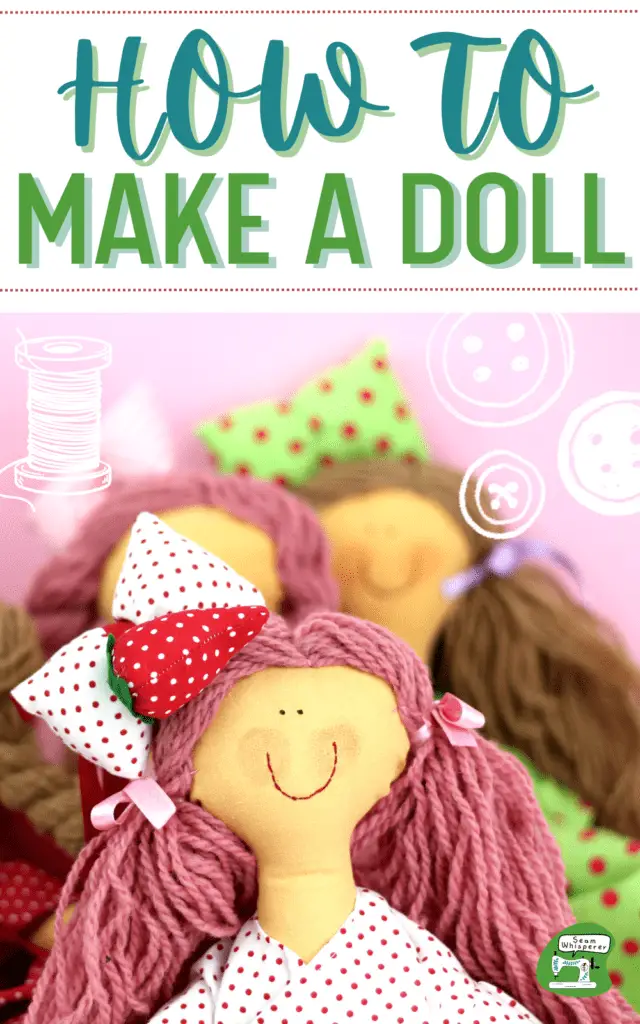
How To Make A Doll
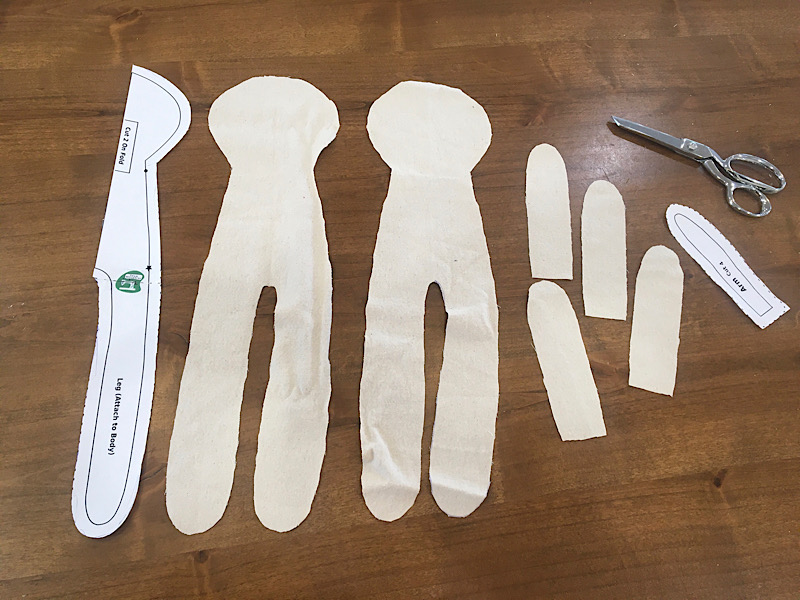
1. Assemble The Doll’s Body
There are lots of ways to make the body of a rag doll. An easy way to start is with a pattern that has the legs already attached to the doll’s body so you don’t have to fiddle with inserting them later.
I recommend you try out my FREE basic cloth doll body pattern. It is very simple to assemble, involves no hand sewing (if you don’t want to hand sew), and produces a nice sized doll with a big head that is perfect for detailed faces, pretty hair, and custom clothes.
For some variation, you can also attach the arms, legs, or head to the finished doll by hand sewing them on after the main body is assembled.
One doll I made, had buttons attaching the arms which was very cute!
2. Create The Doll’s Face
Traditionally, cloth doll faces are made by embroidering onto the finished doll. Doll face embroidery is something you will have to practice to master, but don’t be afraid!
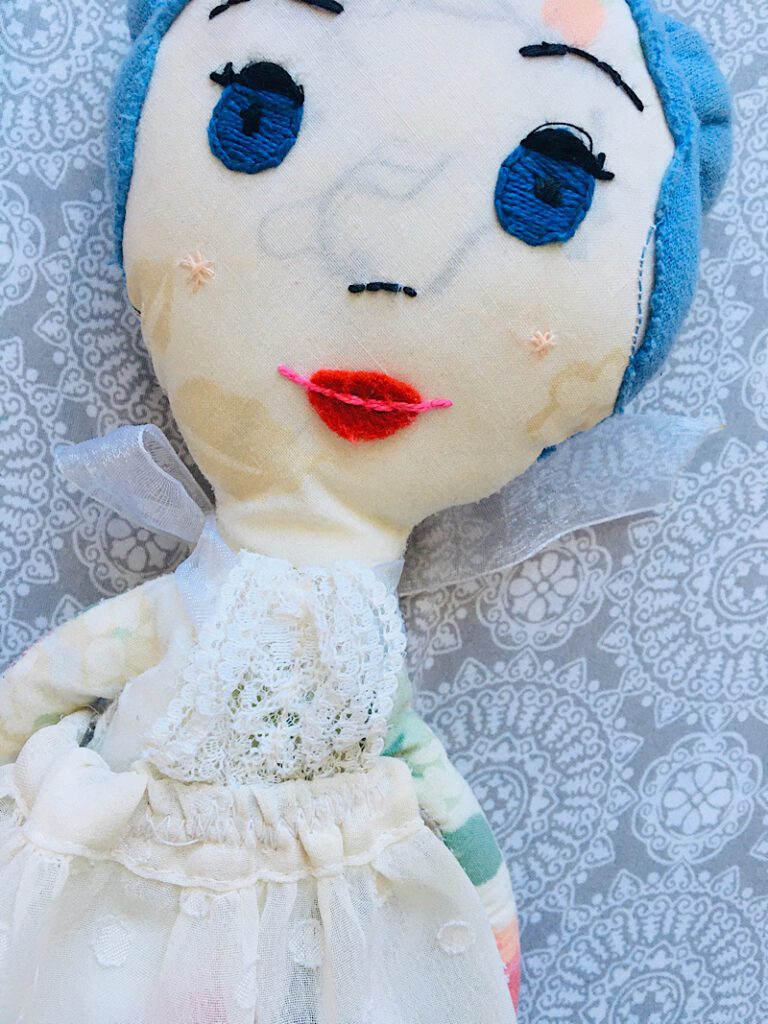
(My first doll was hideous! But I have gotten much better.)
You can also embroider the fabric before cutting out and sewing the doll, for an even more polished finish.
Here are some tutorials about embroidering cloth doll faces:
Before you start, make sure to also download my free collection of doll face template printables!
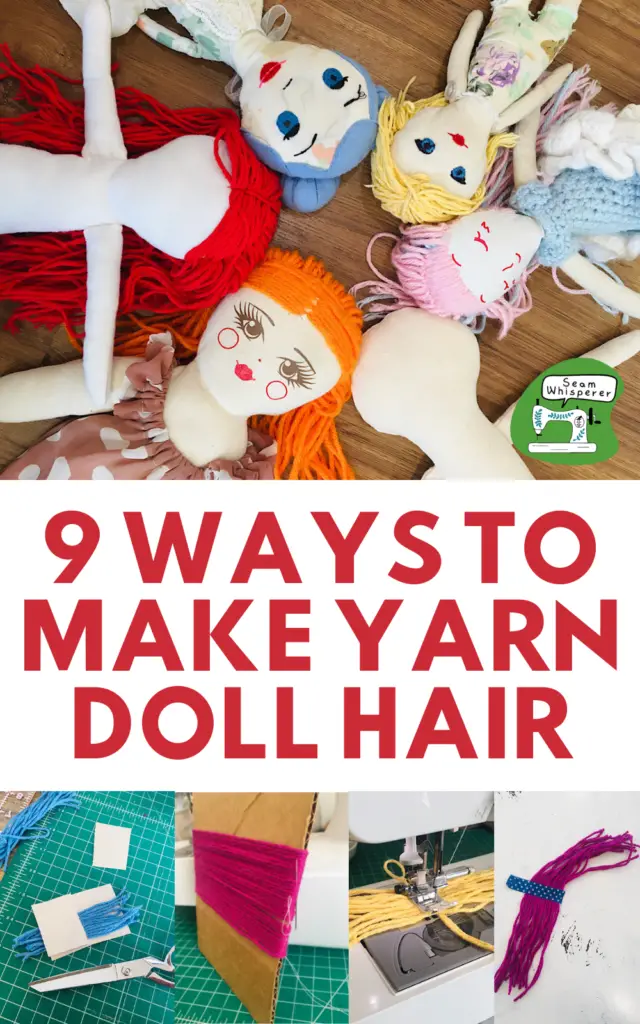
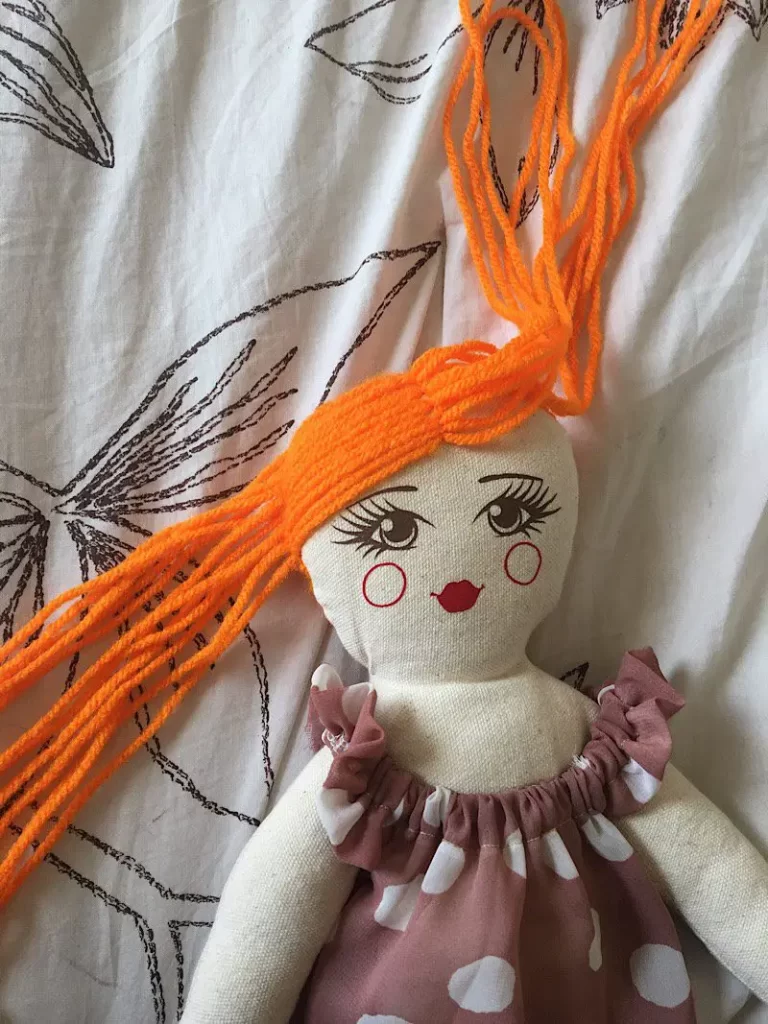
3. Add Hair To The Doll
Next you will need to add hair to your doll. The easiest and most common way to do this is with yarn!
There are TONS of ways to add yarn hair to a doll, and I have outlined 9 of the most common techniques here, so that you can pick the one that appeals the most to you!
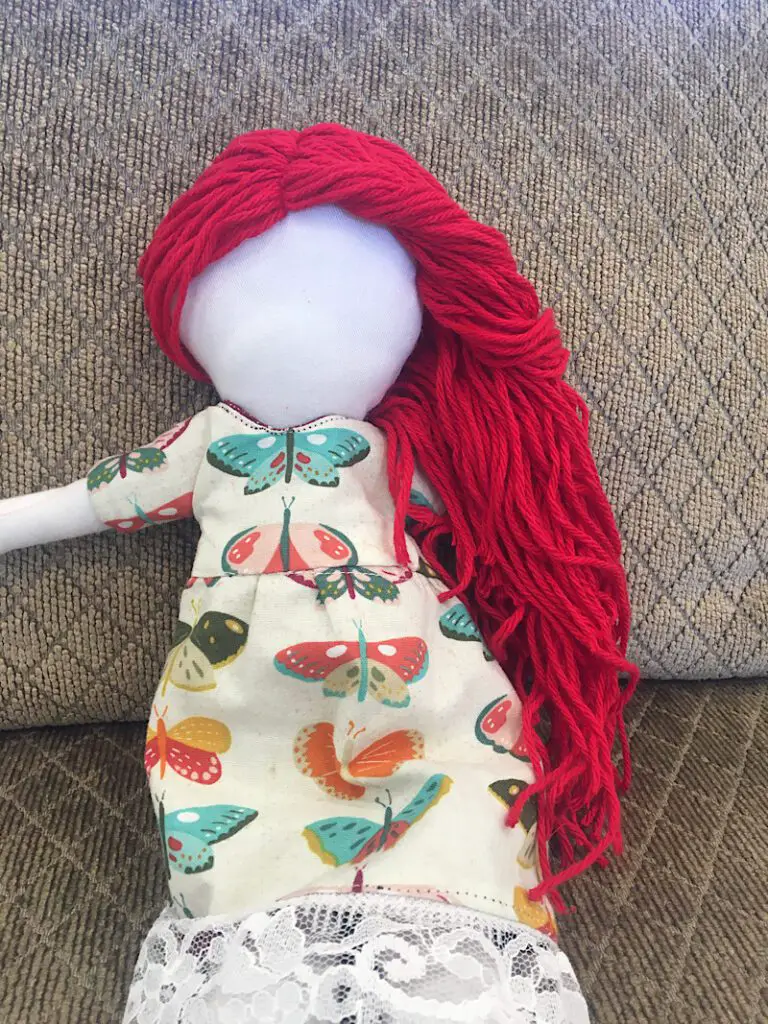
You can also make doll hair out of fabric. This is great for hair that isn’t styleable, such as buns or even long hanging hair.
When using fabric to make doll hair, you have to sew it to the doll’s body pattern pieces before finishing the doll’s assembly. Whereas yarn hair can be placed after the rest of the doll is complete.
I personally like to hand sew the hair to the doll because I can do it from the couch. I have also done fabric buns on a doll which turned out really fun, but my daughters prefer yarn hair that they can braid.
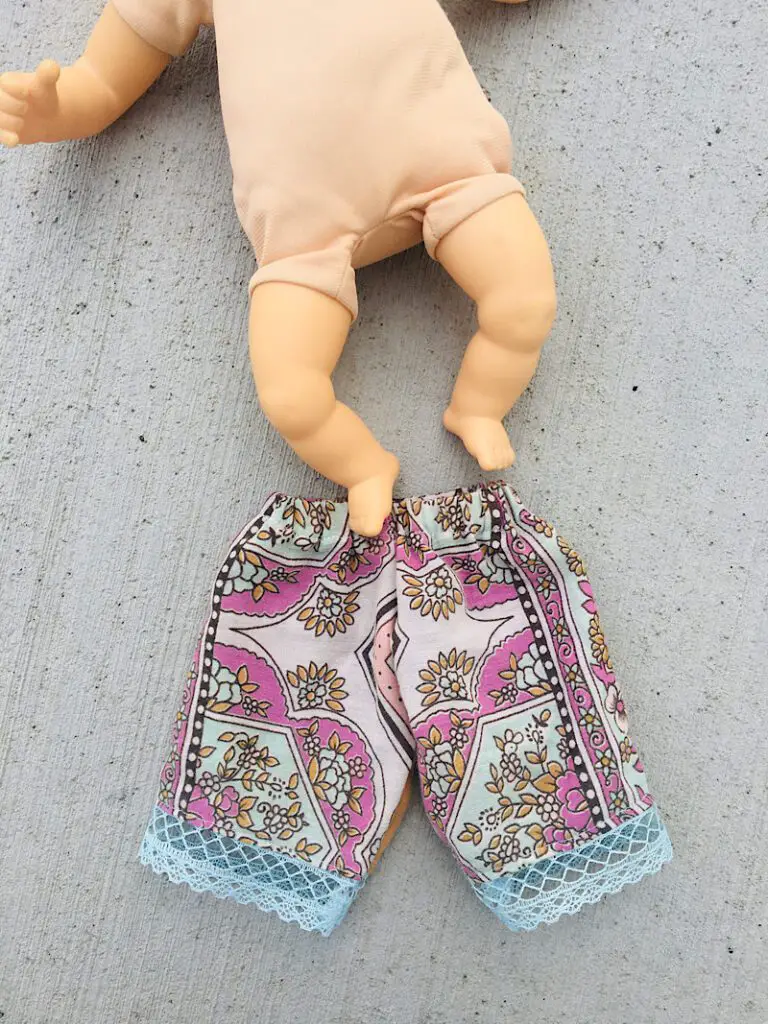
4. Sew Clothing For The Doll
This is one of the best parts of doll making! Sewing the doll’s clothes is fun and challenging. You have so many possibilities of how to style your doll.
Sewing doll clothes can be tricky because of how small it is. Over years of sewing doll clothing, I have figured out many techniques that make it easier and quicker. Be sure to read all my doll clothing tips in my guide about how to make your own doll clothes.
There are shops online (here is one I love on Etsy, and another good option) that sell mini buckles, buttons, zippers, trim, and more that are perfect for making doll clothes!
Some of my favorite clothes to make for dolls include:
- Dresses
- Boots
- Caps & Bonnets
- Skirts and tutus
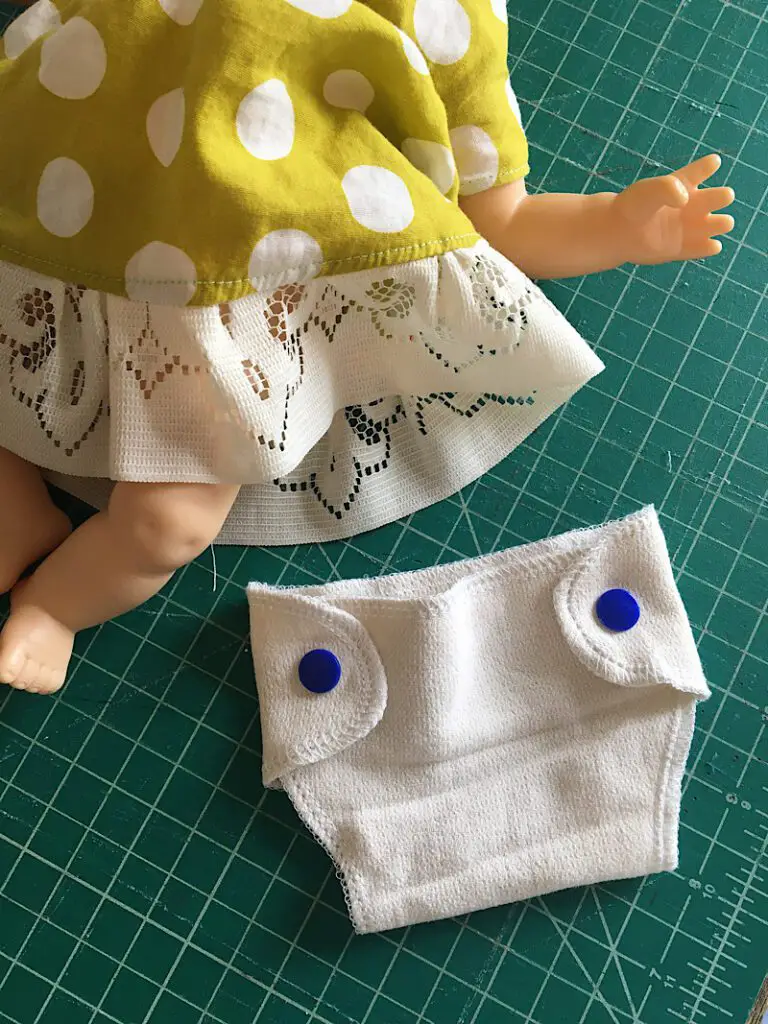
- baby doll diapers
One of the best ways to make your doll look more realistic is layers! Just like we wear layers of clothing, sewing layers of clothes for the dolls adds texture and realism.
5. Make Your Doll Some Accessories
Last of all, you can make your doll some accessories to go with it’s clothing such as:
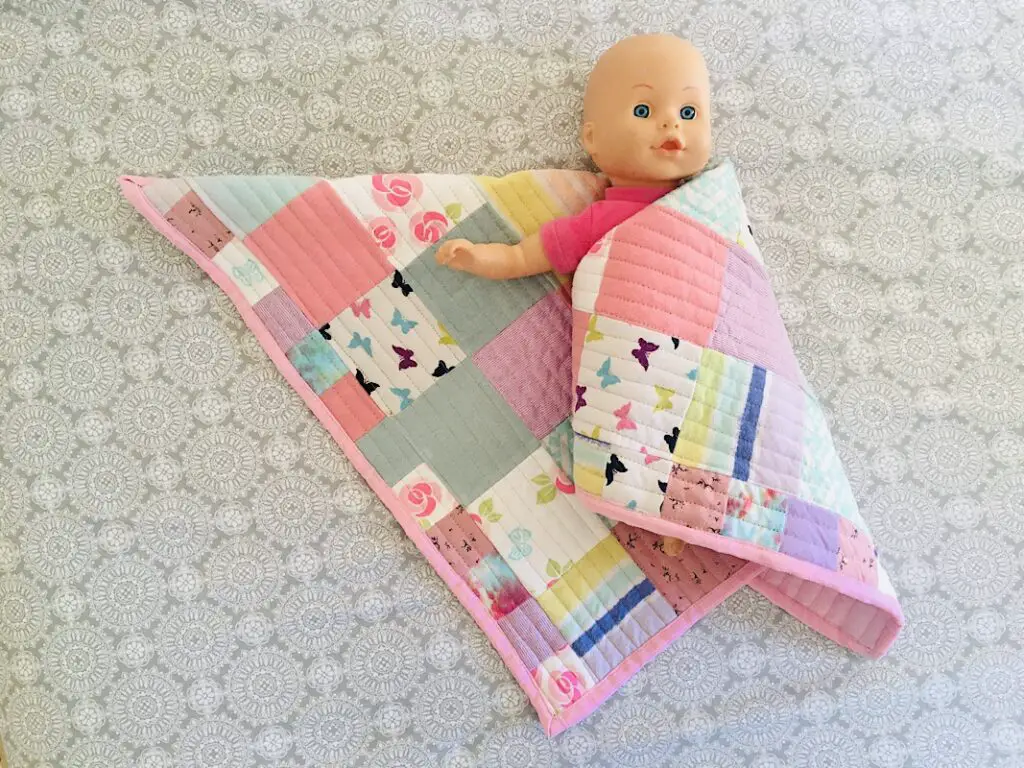
- A blanket and pillow (The tiny quilt in this tutorial is one I have made for a doll!)
- A backpack or purse
- A fabric doll house
- Tiny home goods
- Tiny felt foods
- etc.
There are lots of doll accessory tutorials online, especially tutorials for barbie doll sized accessories which can work for rag dolls too. (Think tiny hangers, tiny pots and pans, chairs, etc)
Conclusion
Making a doll can seem like a big project, but if you break it down into steps it is something you can totally tackle!
After practicing on a doll or two, you can start to find your own rhythm and you will figure out which doll making techniques you like the best.
For example, after practicing on several dolls, I now like to make the faces with HTV (iron on vinyl) after they are finished, OR embroider them on FIRST. But many doll makers like to embroider the finished doll!
Make sure to check out all of my free dollmaking tutorials!
If you have specific questions about how to make your doll, don’t hesitate to ask.
Show & Tell
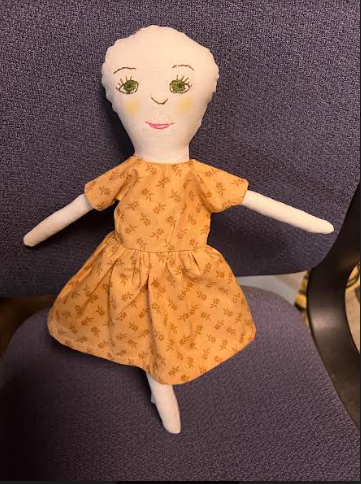
Deborah sent me this in progress photo of the doll she started making using these directions. It is looking great, I love the dress!
She said ” Here is a picture of my first heirloom doll try. I learned a lot. Ready to try again. “
Maxine also used this blog post to try her hand at doll making. Here is what she told me:
“Here she is a Christmas present for my great niece. I used all your patterns and advice to make her. I didn’t always get it right first time, but that was due to too much enthusiasm by me”
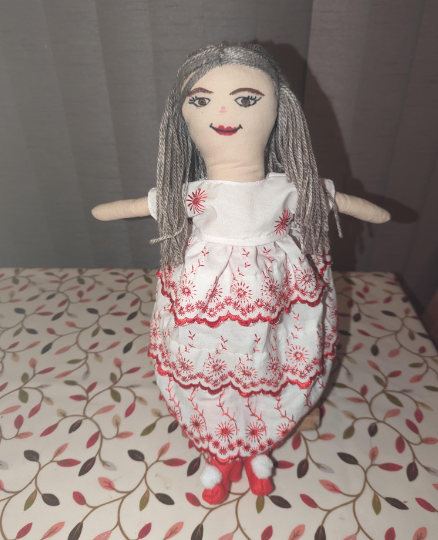
I love her shoes! Nice addition of pom poms.