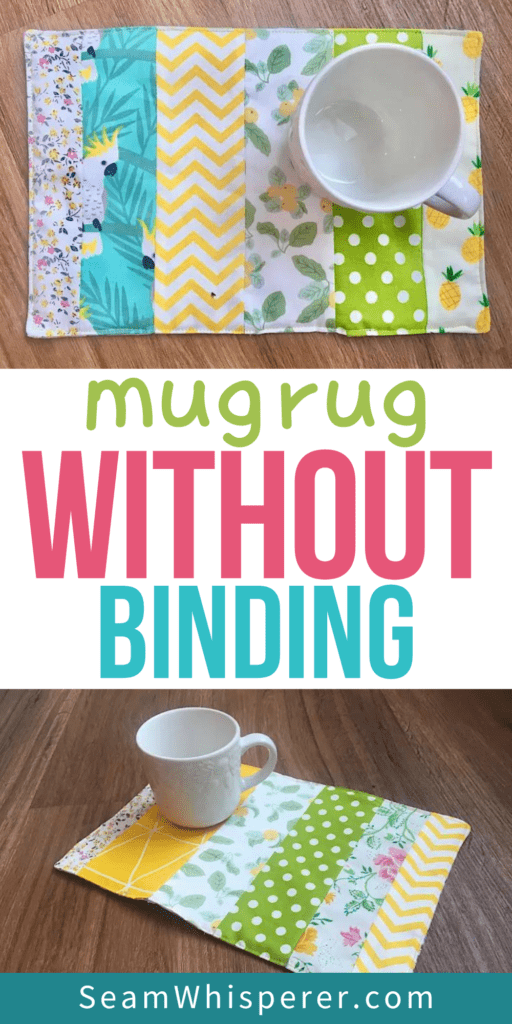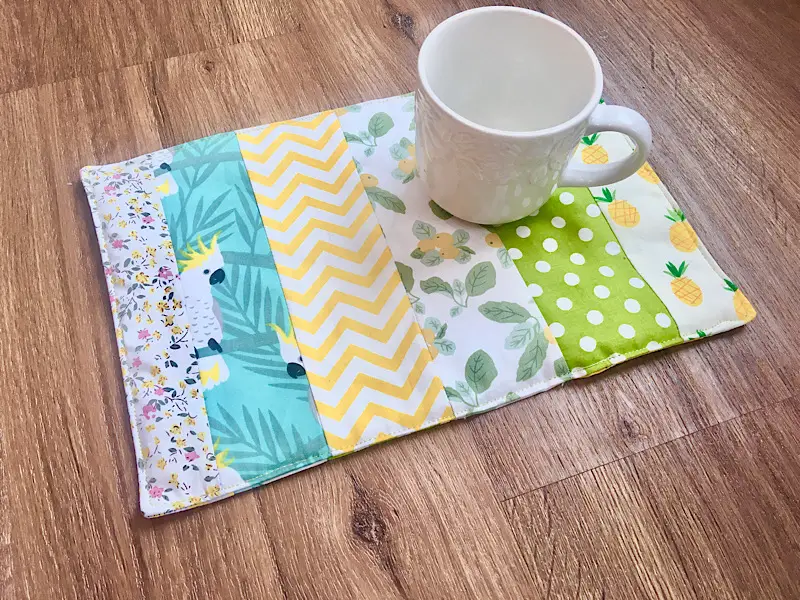
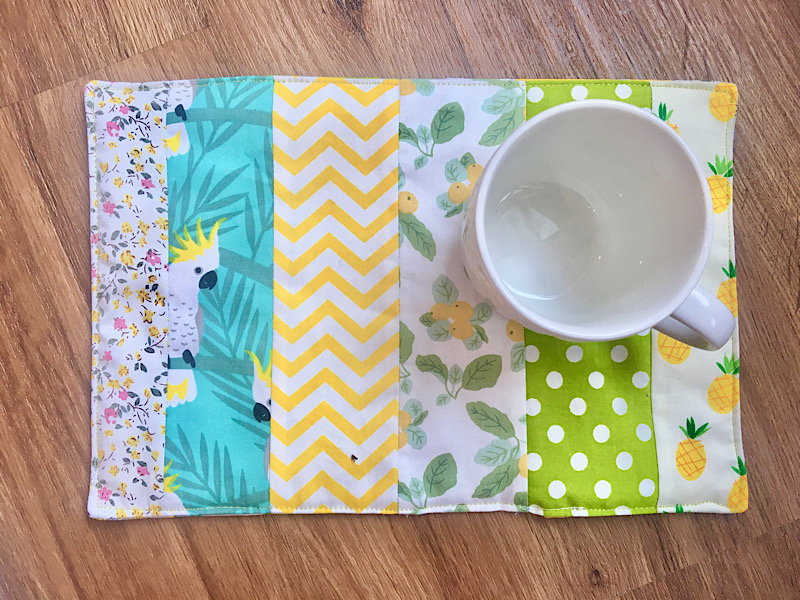
Looking for a simple mug rug to make that is not only quick, but adorable? Try this easy binding-free pattern that is PERFECT for scraps or jelly rolls!
I have been on a kitchen-sewing roll lately! It is so fun to sew items that are actually USEFUL (especially when you are sewing a gift.)
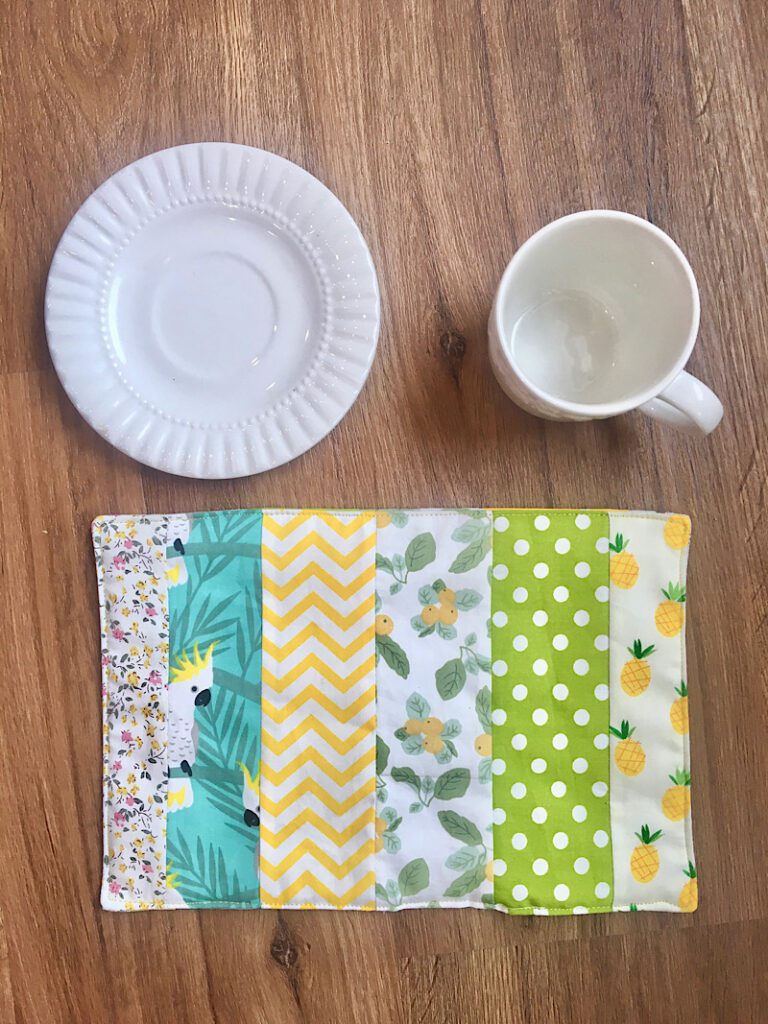
These mug rugs are the perfect size to hold a mug and a tiny plate, plus you can easily adjust the size to suit your own preference. The completed size of this rug is about 12×9 inches. They are also double sided. Let’s get started!
But first: make sure to check out my other kitchen patterns!
This post may contain affiliate links. Read the full disclosure here.
Supplies Needed
- 12 cotton fabric strips – 2.5″x10″ (A jelly roll is perfect for this!)
- 1 piece of thin batting – 10″x13″
- Matching Thread
- Sewing Pins
- Iron & ironing board
How To Make A Mug Rug Without Binding
Step 1. Assemble The Pieces
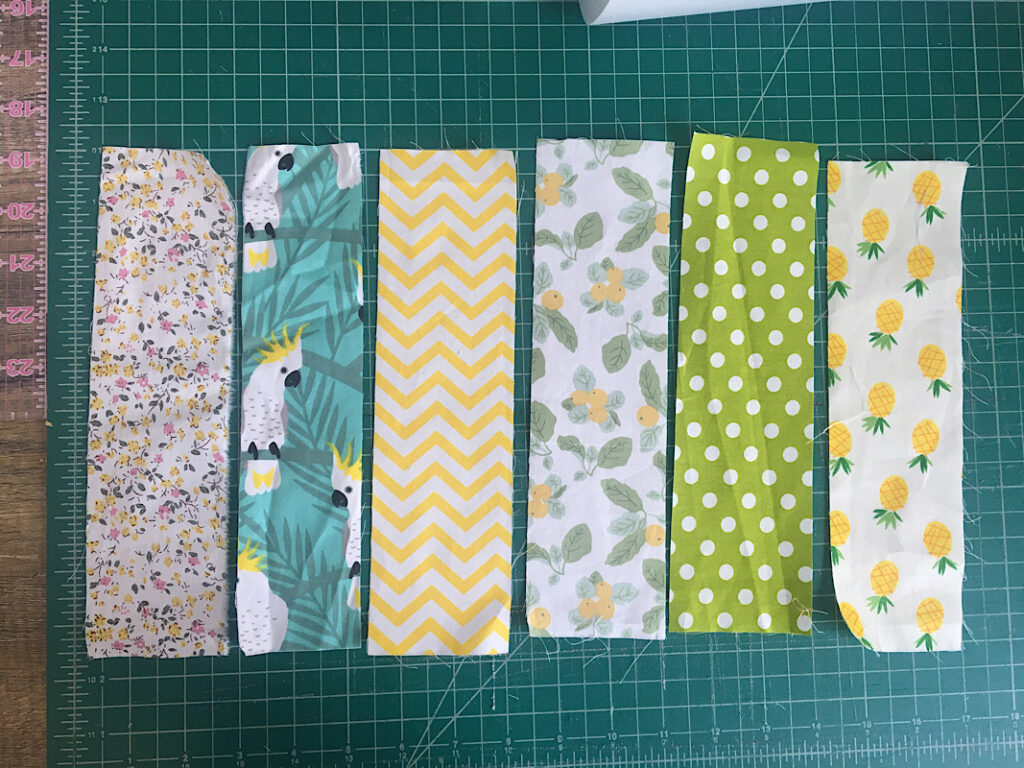
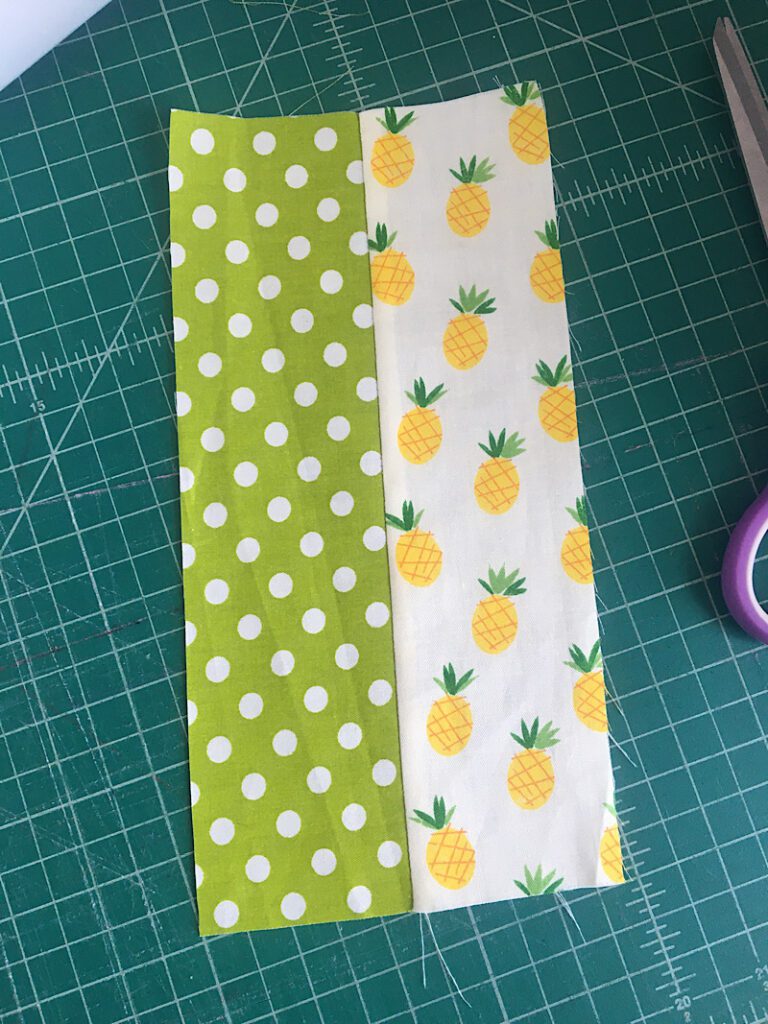
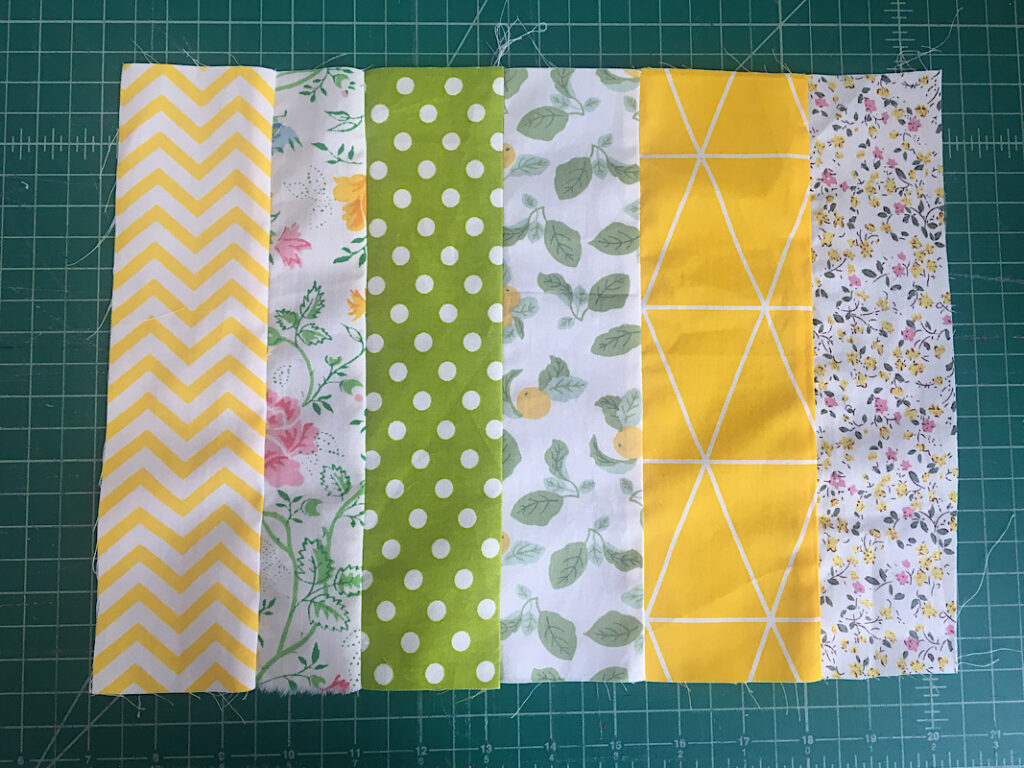
Cut your fabric into strips, or cut lengths from a jelly roll until you have 12 strips that are 2.5″x10″ in size.
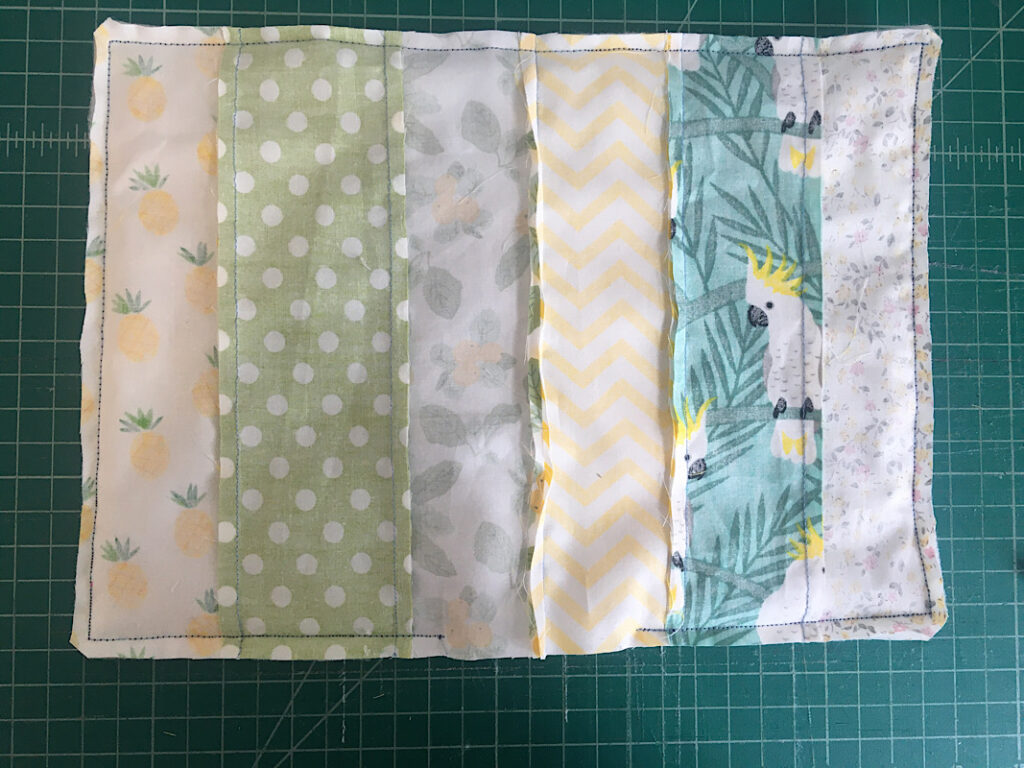
Then, lay 6 of them them out on the table in the order that you want to sew them in. This will be the front piece of the mug rug.
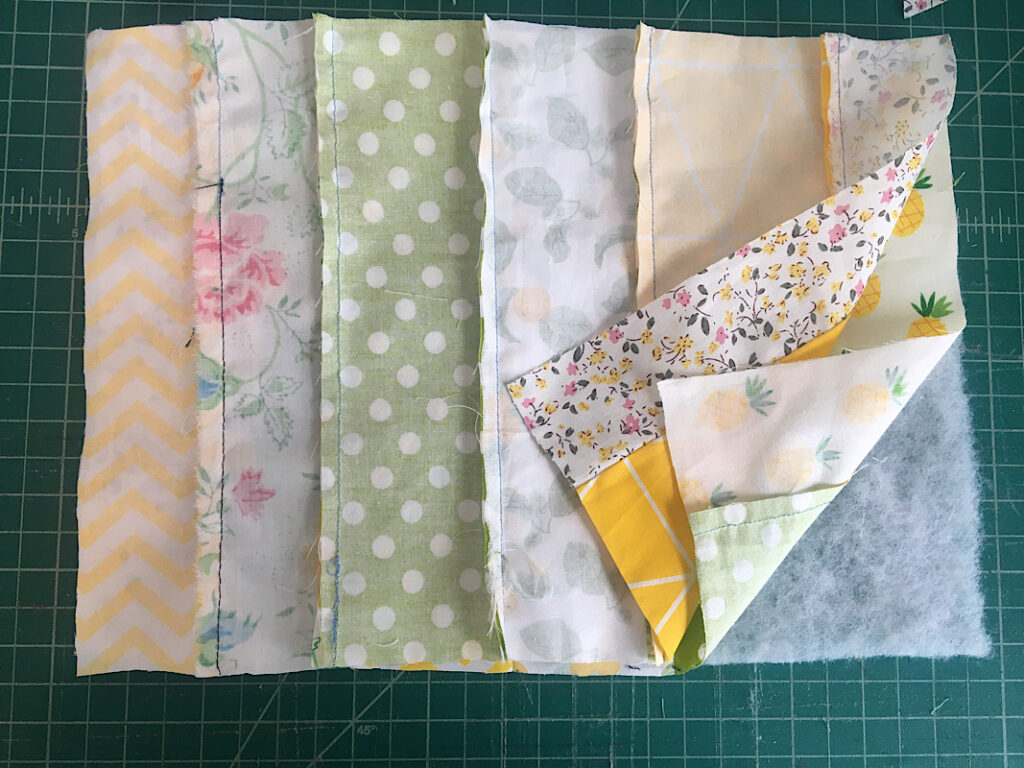
Begin sewing the strips together by stacking two on top of each other with the right sides together, and sewing down the long edge with a 1/4 inch seam allowance.
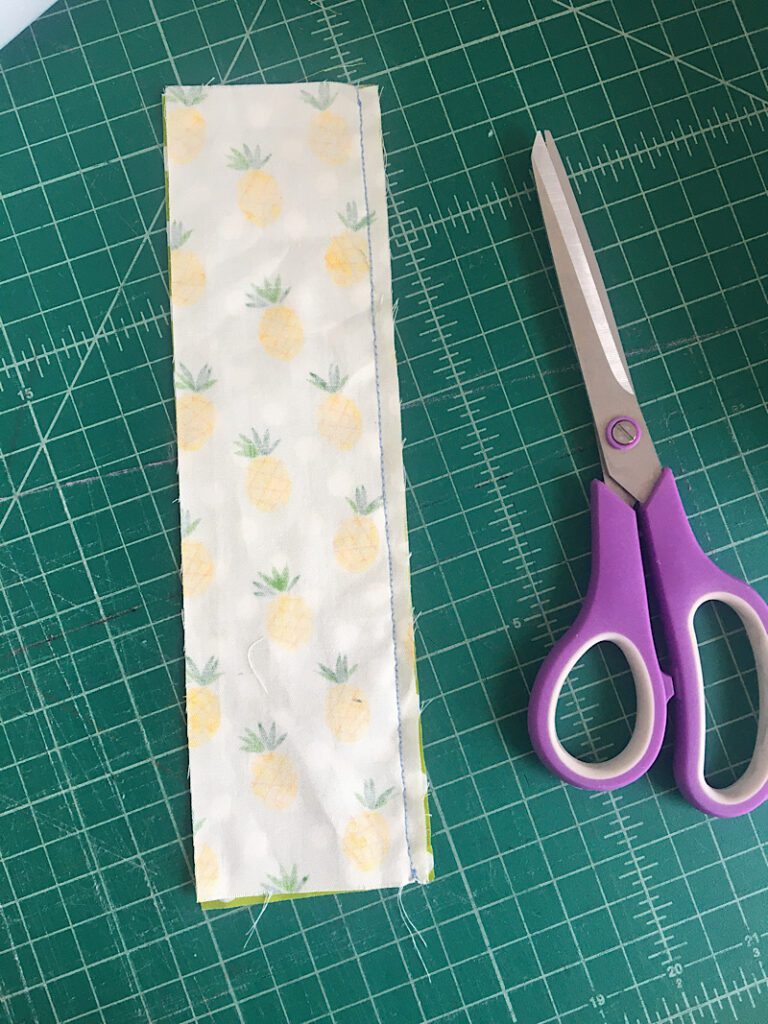
Open up the strips you just sewed, and press the seam flat. Turn it over and press the seam to one side neatly.
Then, follow these same steps to sew the rest of the strips together for the front side. Press it well.
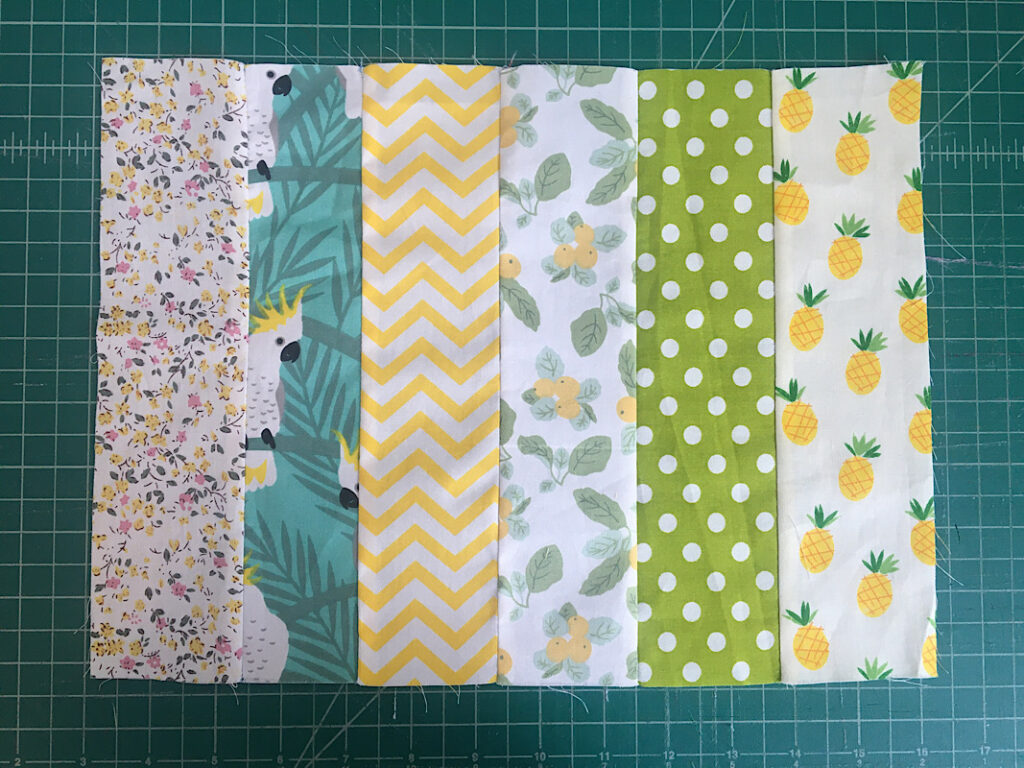
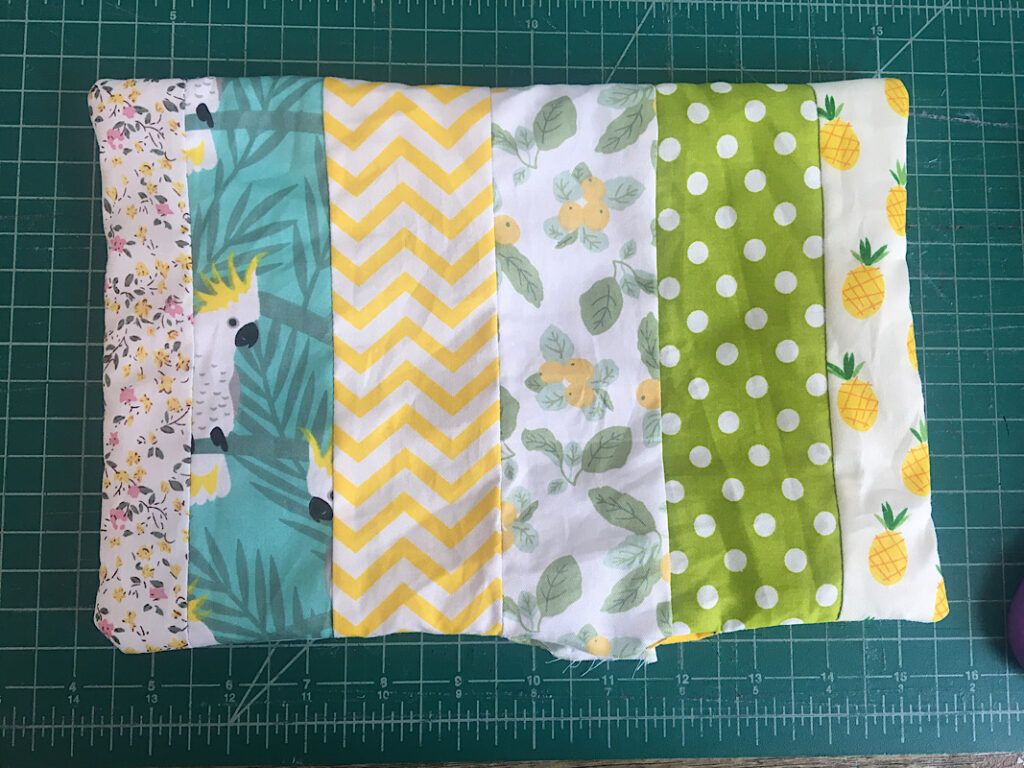
After the front piece is assembled, set it aside and repeat step 1 to make the back side piece as well.
My back piece ended up slightly different than the front piece, I ran out of some of the fabrics.
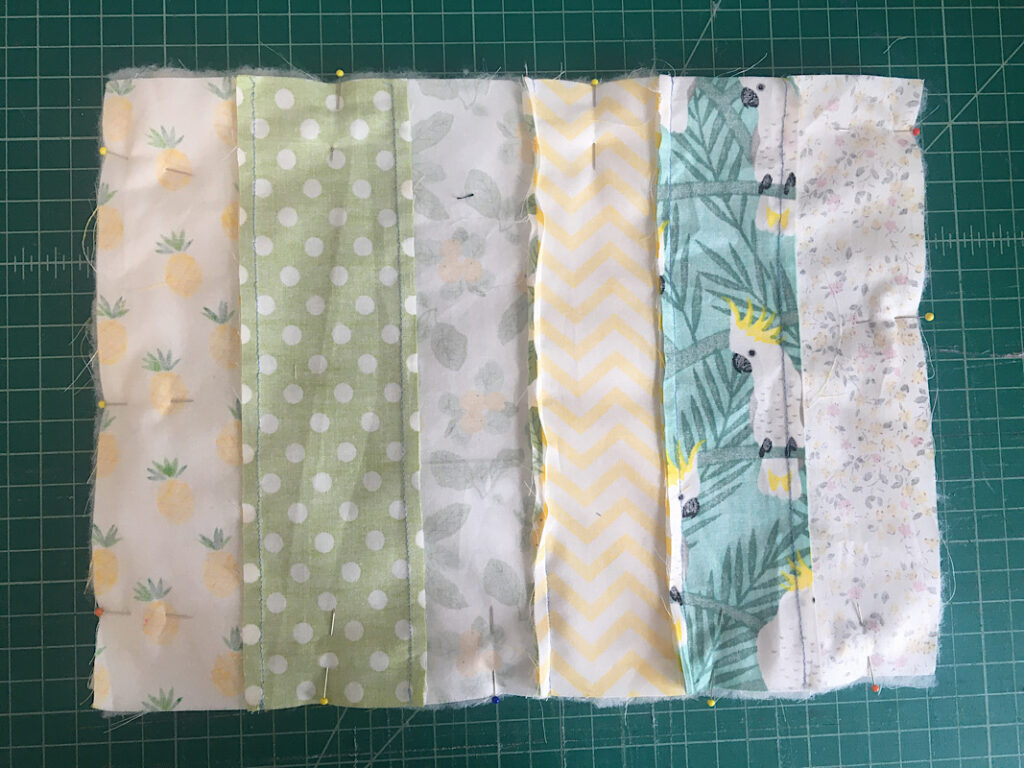
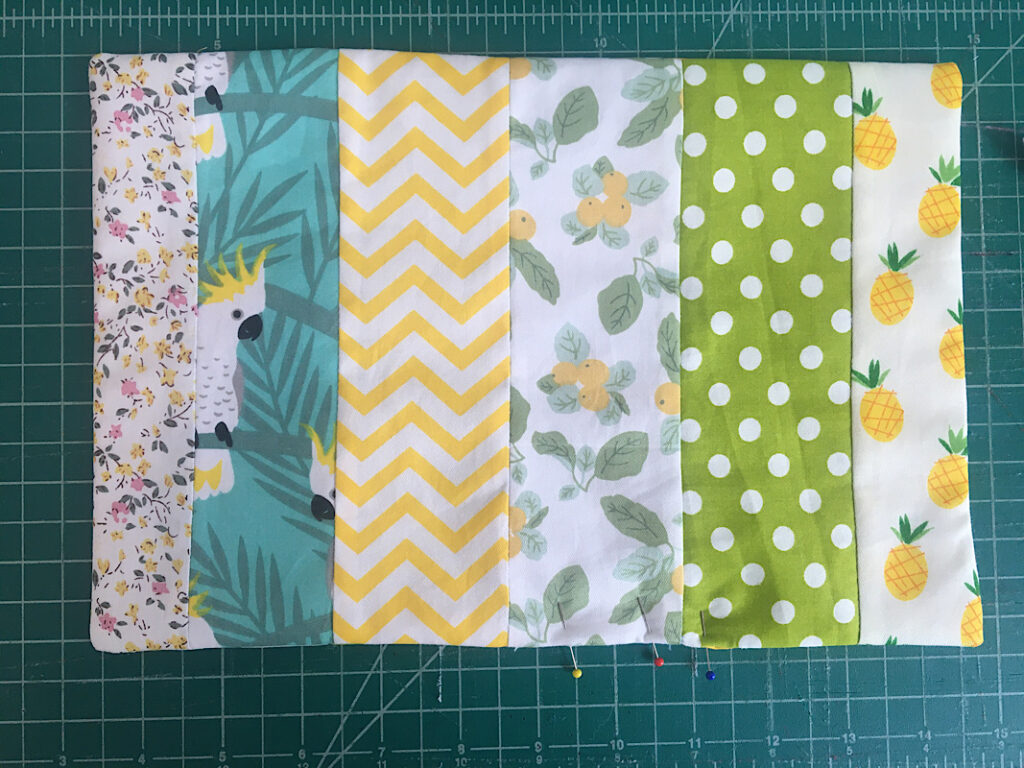
Square up both pieces if you need to, to make sure they match.
Step 2. Layer The Pieces
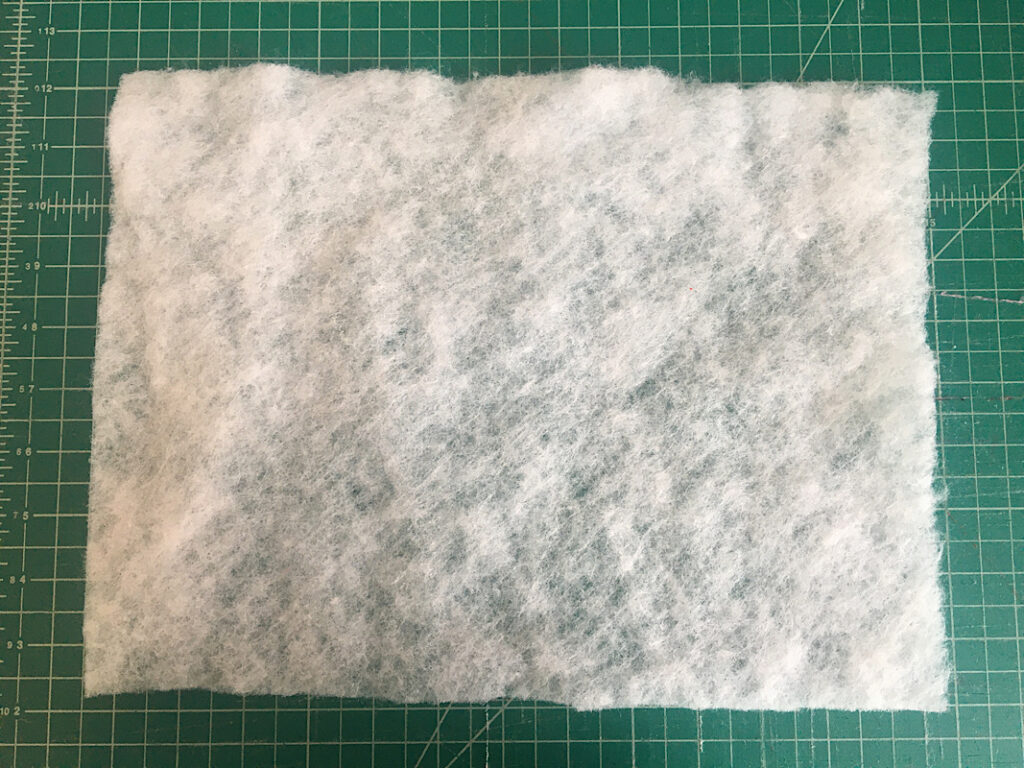
Next, cut out your piece of batting if you haven’t yet. It should be 13″x10″ or the size of your mug rug if yours is different.
Next you need to layer the three pieces. Lay them on the table as follows:
- Batting first
- Then bottom piece, with right side facing UP
- Then top piece, with right side facing DOWN.
Here is how it should be layered:
Note that this is NOT the same as a regular quilt sandwich.
Pin around the edges of the mug rug, making sure to get all three layers.
Step 3. Sew & Turn The Mug Rug
Next, sew around the perimeter of the mug rug, with a 1/2 inch seam allowance. Leave a 2 inch gap on one side. (I left mine on the bottom.)
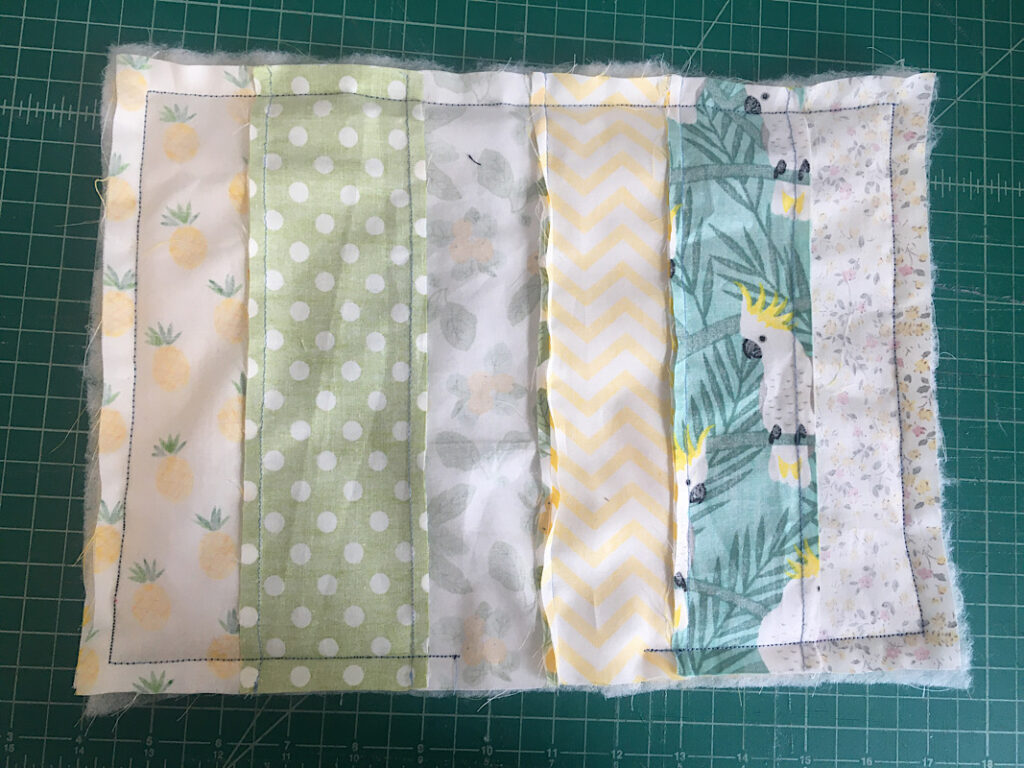
Clip off the corners to remove the bulk, about 1/4th inch away from the corner seam so you don’t cut through it.
Then, trim down all the seam allowances to be 1/4 inch or so, to remove the bulk.
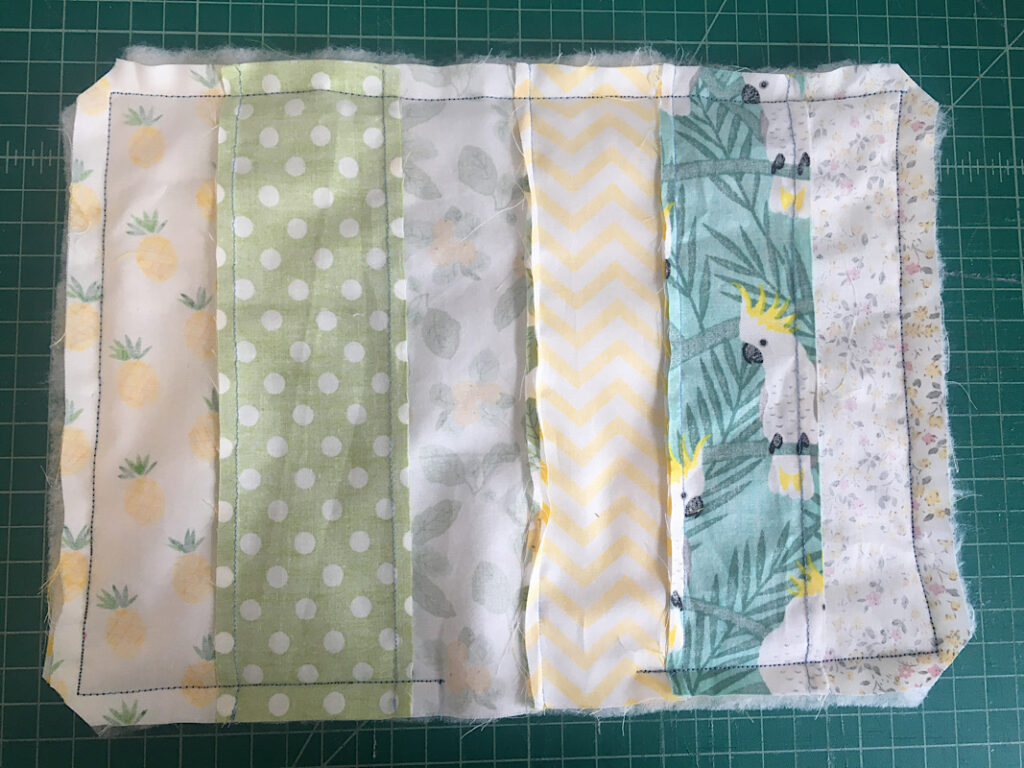
Through the gap you left open, turn the mug rug right side out.
Insert the end of a pen or another object inside the mug rug to gently poke out all the corners and make them crisp.
Press the mug rug well. Fold the raw edges at the open gap inside, and pin accross the gap.
Step 4. Topstitch To Finish The Edges
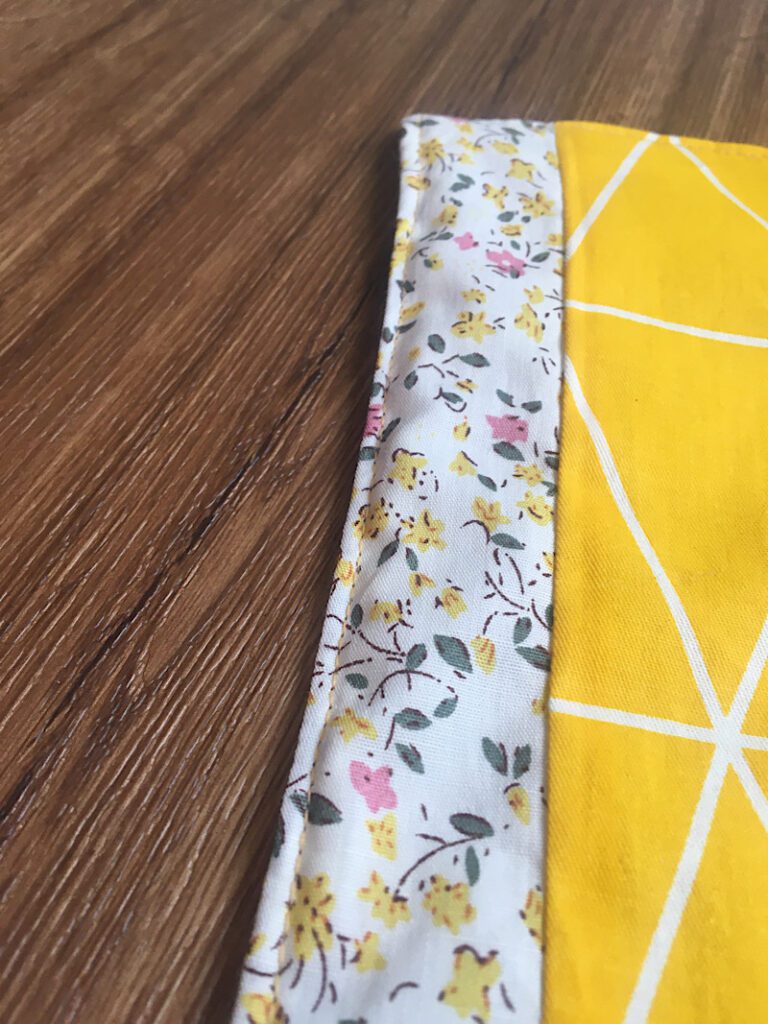
The final step is to top stitch around the perimeter with a 1/8″ seam allowance to finish the edges. This is how you make sure it looks nice and crisp without using binding!
Now you are done! It looks so cute and was so easy to throw together!
I love how this turned out, I am all about scrappy looking projects if you know me!
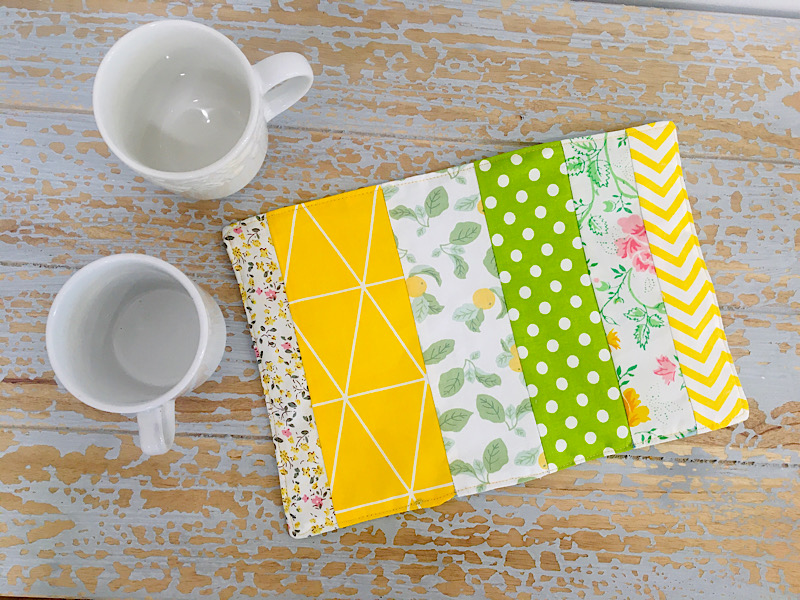
Here is the other side…
I hope you liked this simple mug rug project! Pin this post to pinterest if you want to say “thanks!” and let me know if you need any help.