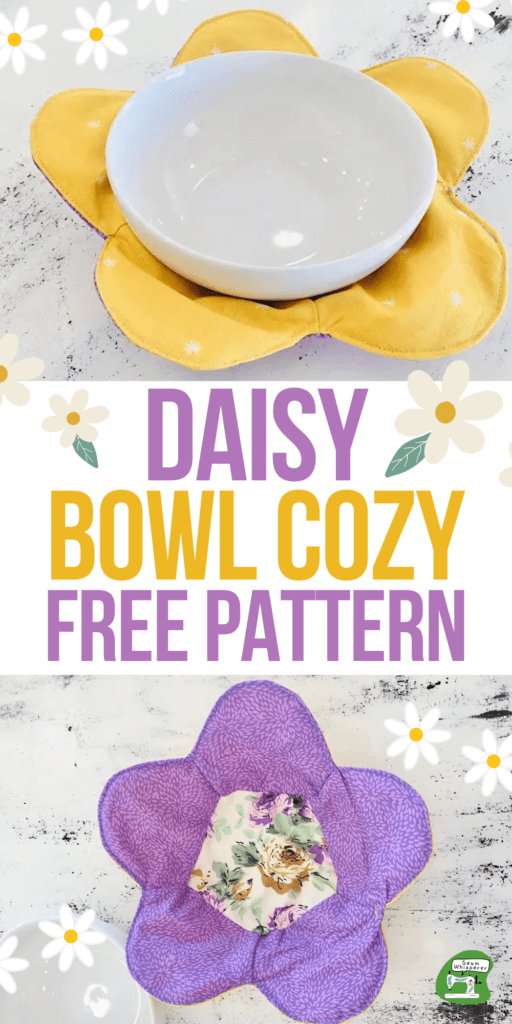
Enjoy your food in comfort and style, with a double sided daisy shaped bowl cozy to protect your hands from a hot or cold bowl!
Bowl cozies are a super popular sewing project for new and intermediate sewers! I have been seeing them all over the place lately.
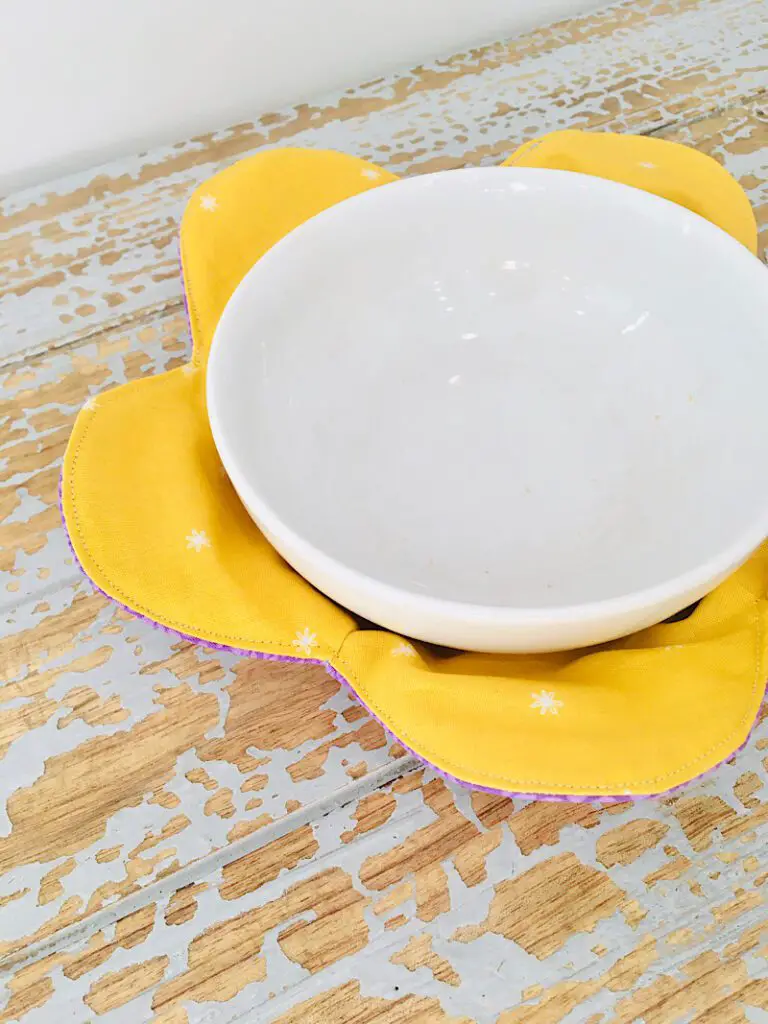
I decided to upgrade the typical square bowl cozy into something a little more stylish and sweet! These daisy bowl cozies are double sided, washable, and really fun!
This is a great sewing project for experienced beginners, with two difficulty options to complete the inner batting layer.
Note: These cozies are not for putting into the microwave, but for holding your bowl afterwards!
This post may contain affiliate links. Read the full disclosure here.
Supplies Needed
- 4 fat quarters of 100% cotton (this is especially important so that your material doesn’t melt if your bowl is quite warm.)
- 1/2 yard of insulated batting. (If you are only going to use your bowl cozy for cold bowls, regular batting can work fine too)
- Coordinating Thread
- Sewing Pins
- Pinking Shears (optional)
- Iron & Ironing Board
- Free Daisy Bowl Cozy Template (Download Below)
Download The Free Pattern Template
The template for this pattern is totally free for all my email subscribers.
I love the email list because after my readers finish sewing, they send my pictures of their projects and we talk, it is so fun!
Download the file by signing up below, and I will email it to you right away!
How To Make The Daisy Bowl Cozy

Step 1. Assemble The Daisies
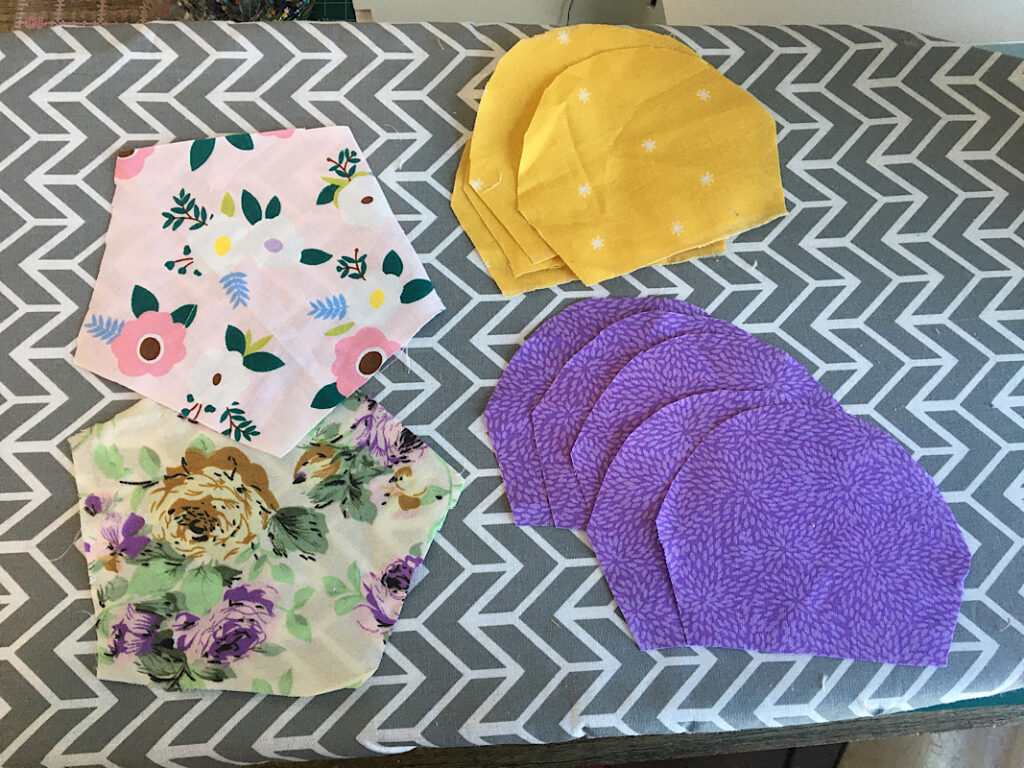
Cut and press the pattern pieces. There should be 1 center and 5 petals for both the front and back of the cozy.
First you will sew all the petals together into a loop.
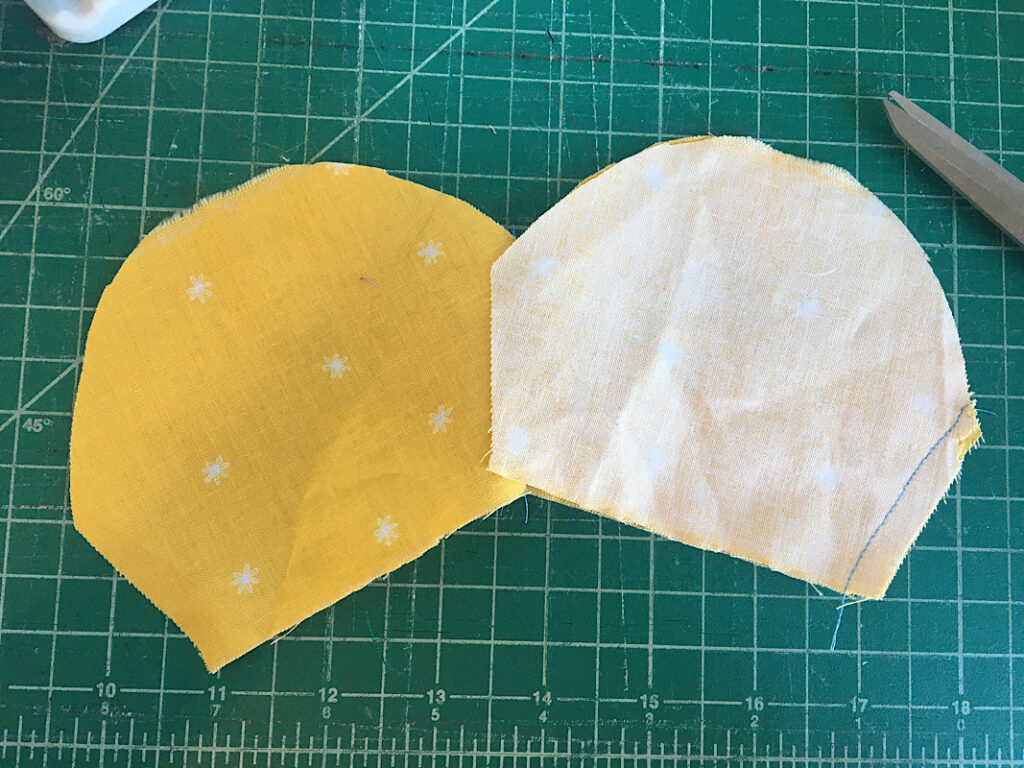
Lay one petal down, then stack another on top of it so the right sides are facing each other. Sew them together along one of the slanted sides.
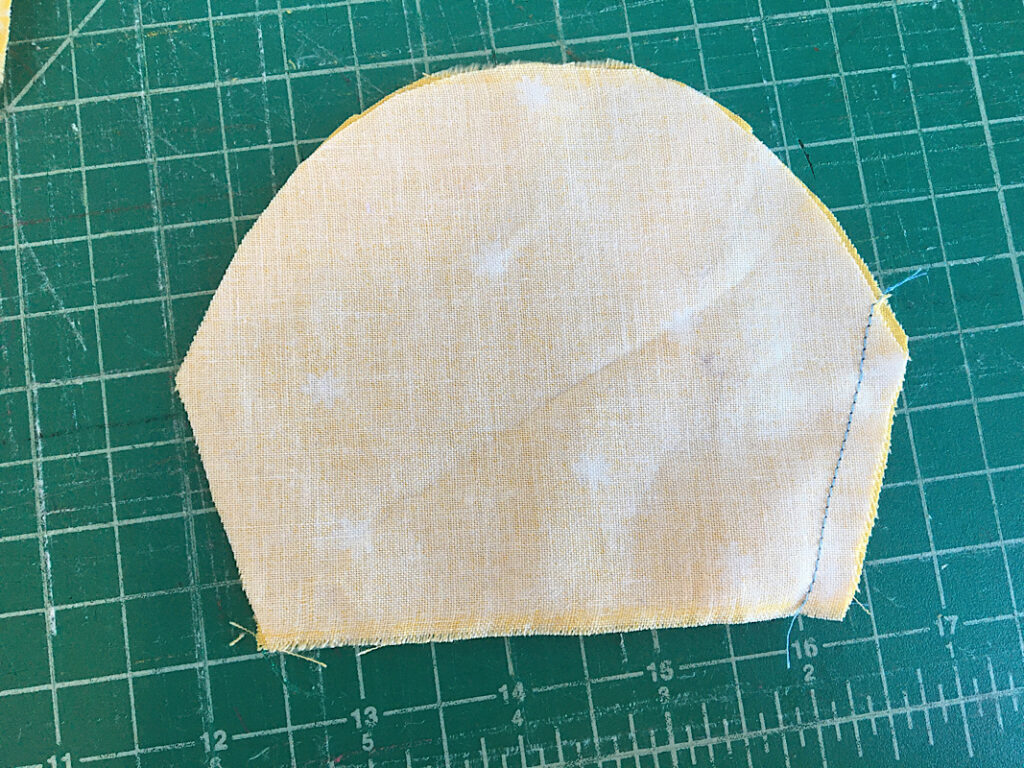
Then open up the petals, and stack the next petal on the next petal, and sew down the next side. When you open them, they will all be in a line.
Continue until all five petals have been sewn together into a line. Then, connect the two end petals the same way.
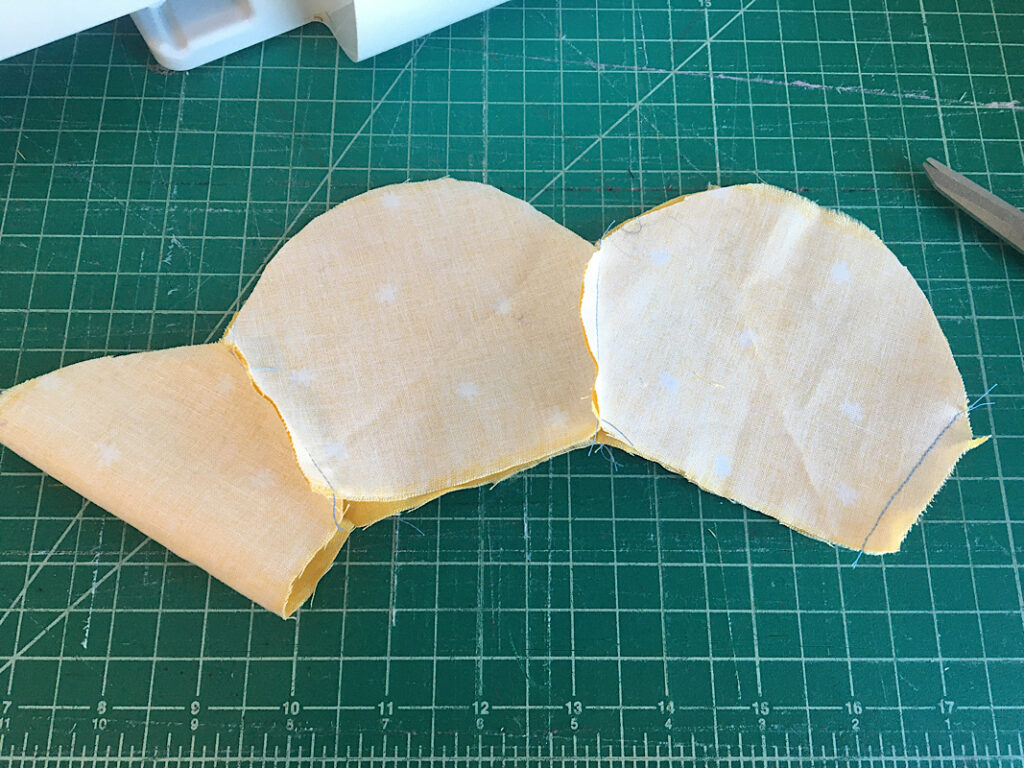
Now you have a loop of petals.
Step 2. Sew The Petals To The Daisy Center
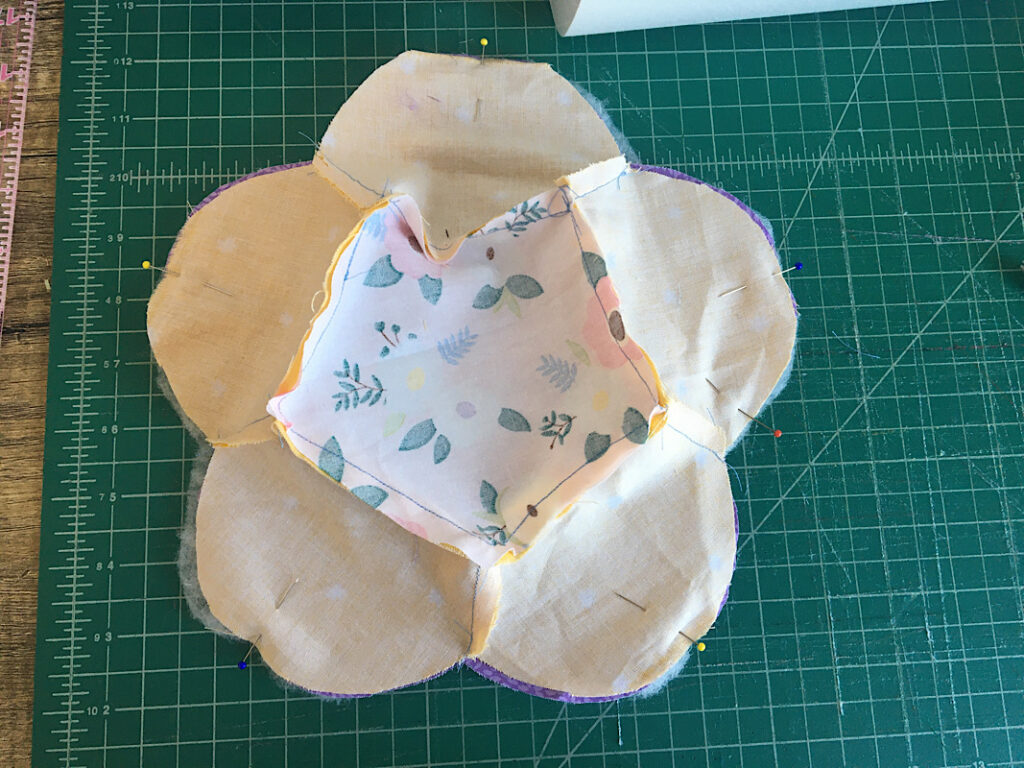
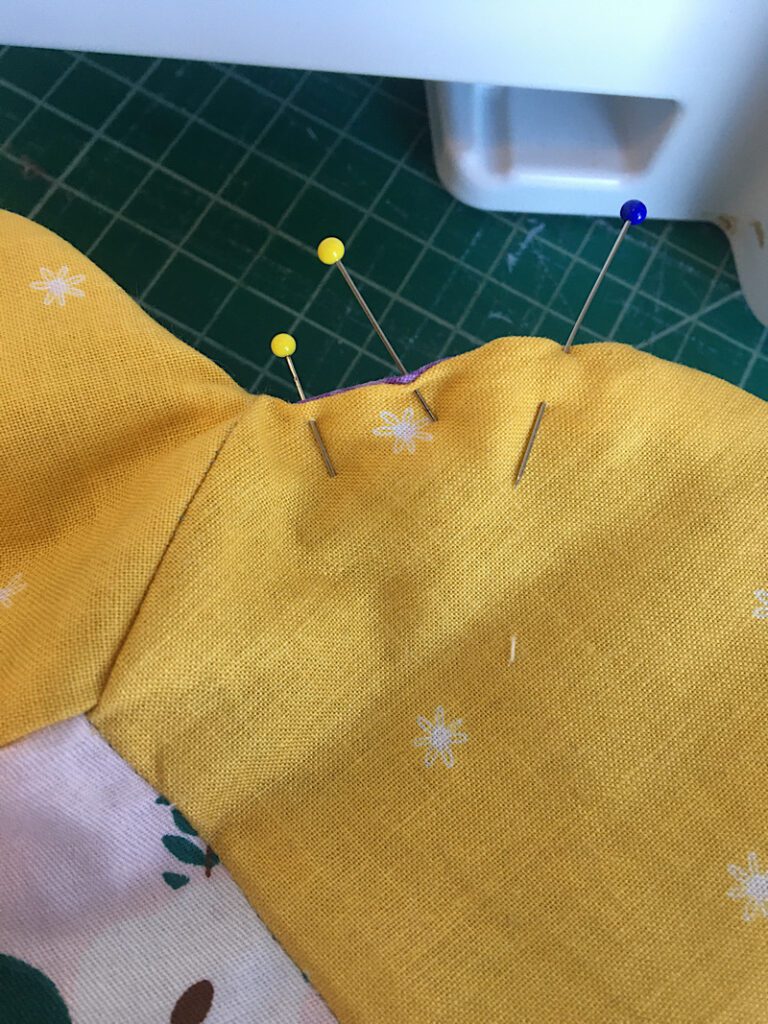
Lay the daisy center piece down in front of you. With right sides facing, line up the flat edge of one of the petals in the loop onto one of the plat edges on the daisy center, and pin it in place.
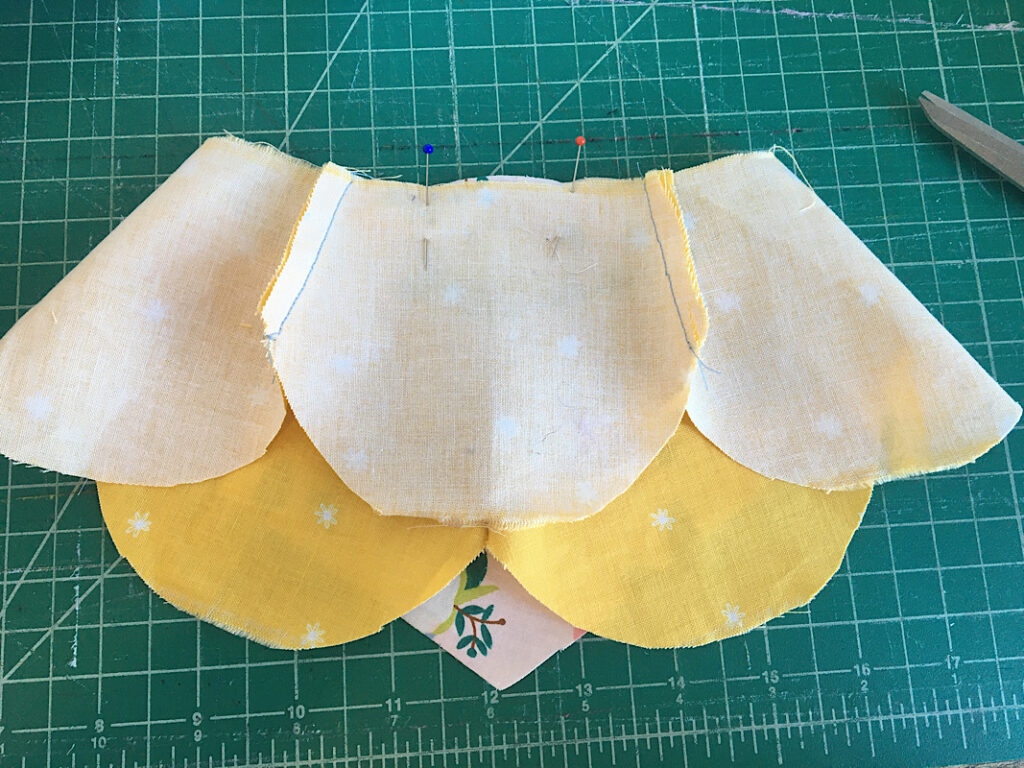
Work your way around the center piece, pinning the petals to each side. The corners of the pentagon (center piece) should line up with the seams on the petals.
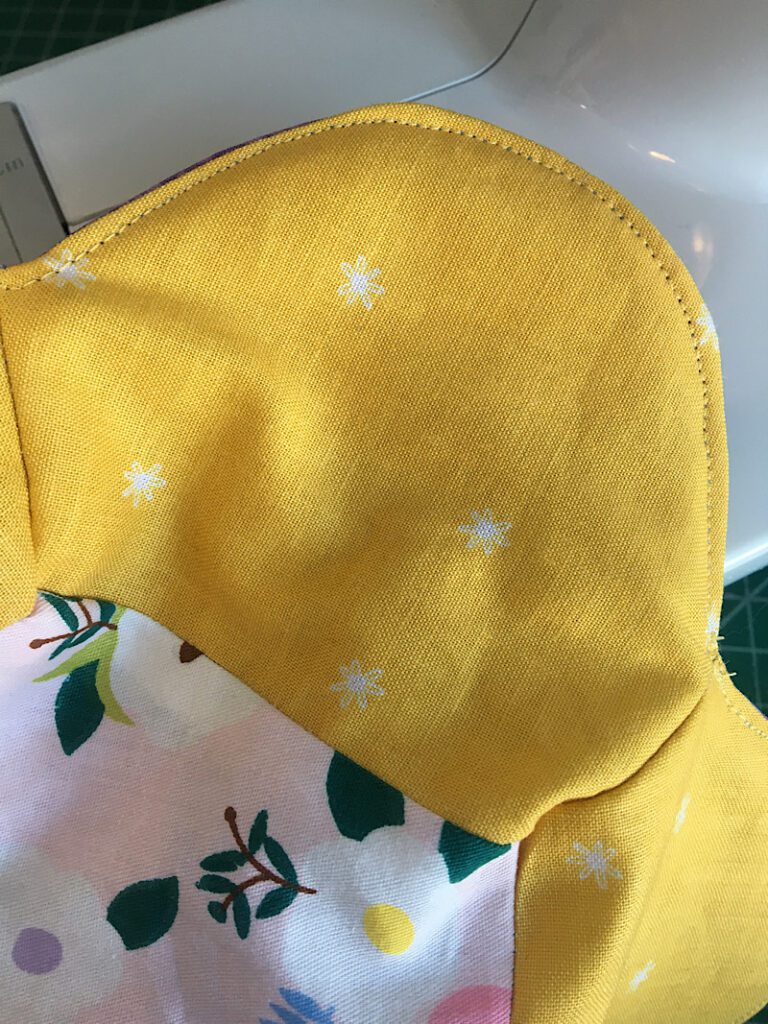
Now you will sew the petals to the center. Sew around the perimeter with a 3/8ths inch seam allowance, pivoting at each corner/seam.
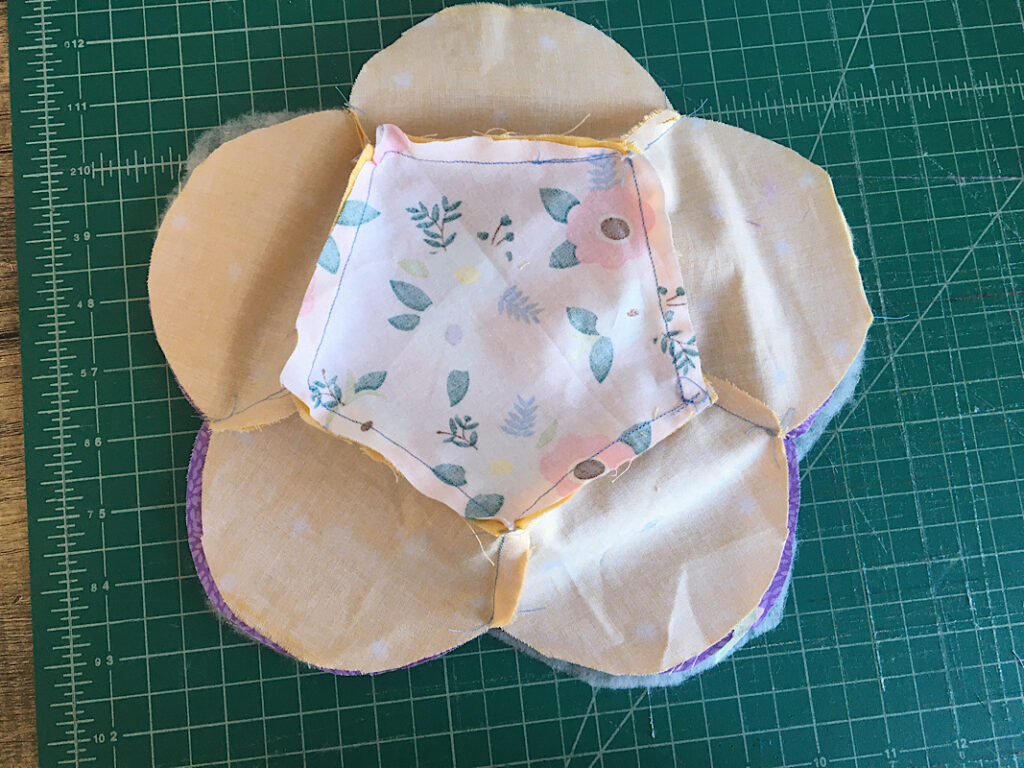
From the bottom of the daisy, the stitch line will look like this:
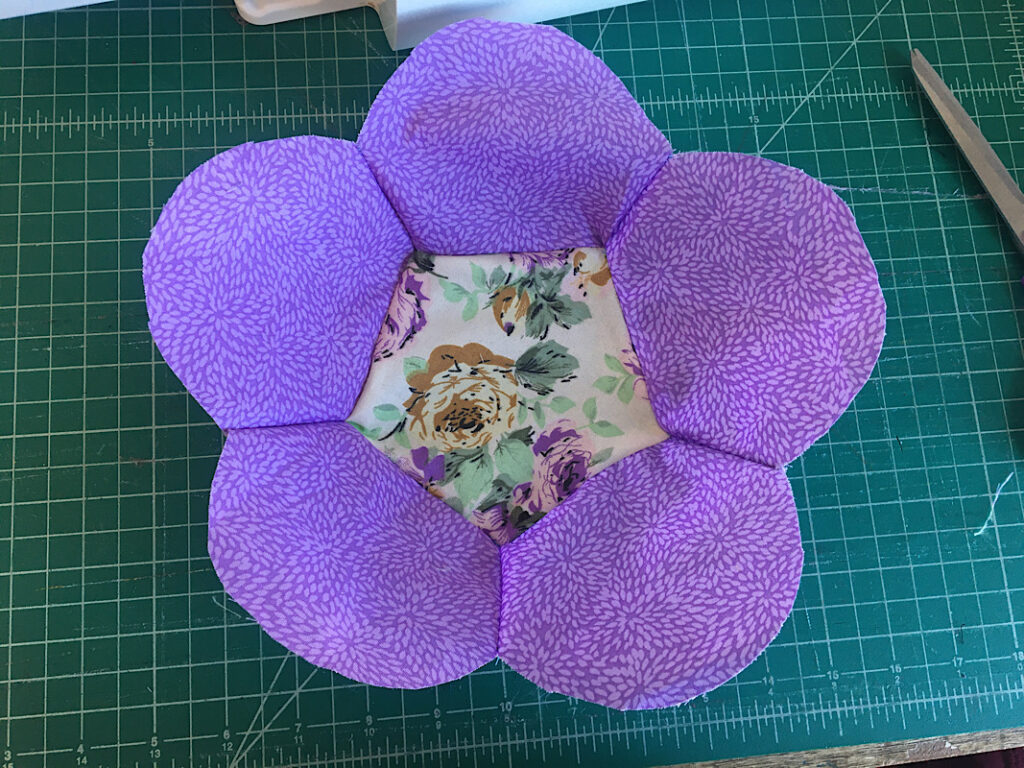
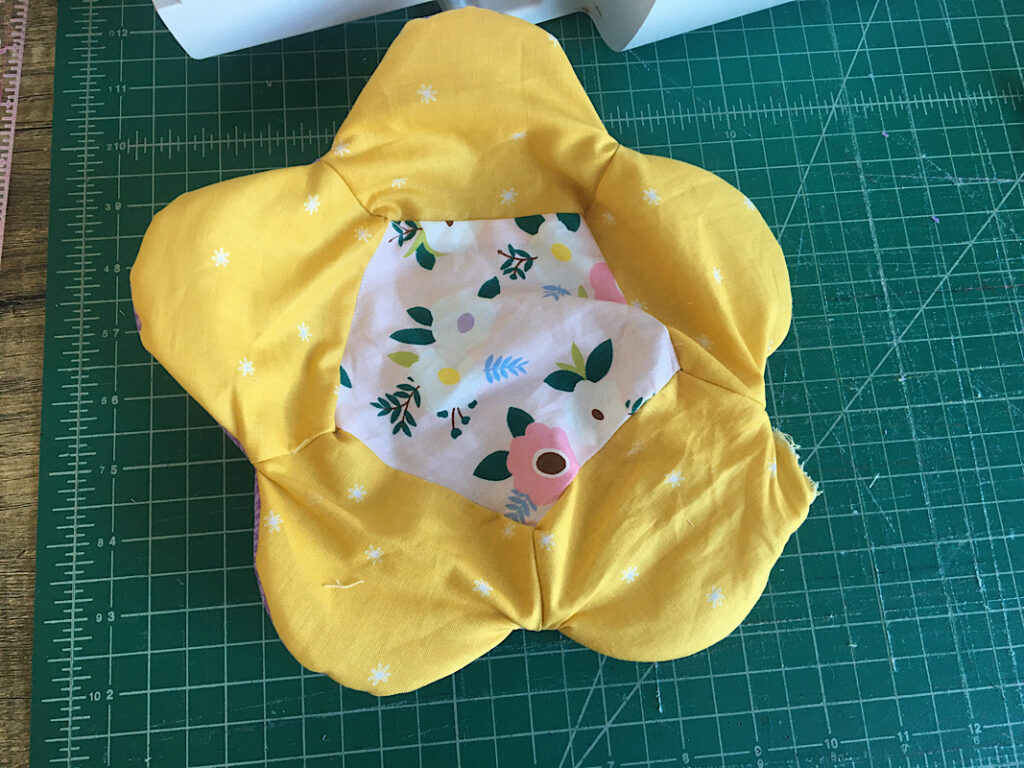
Unpin the petals if you haven’t already and open it up to see how it looks.
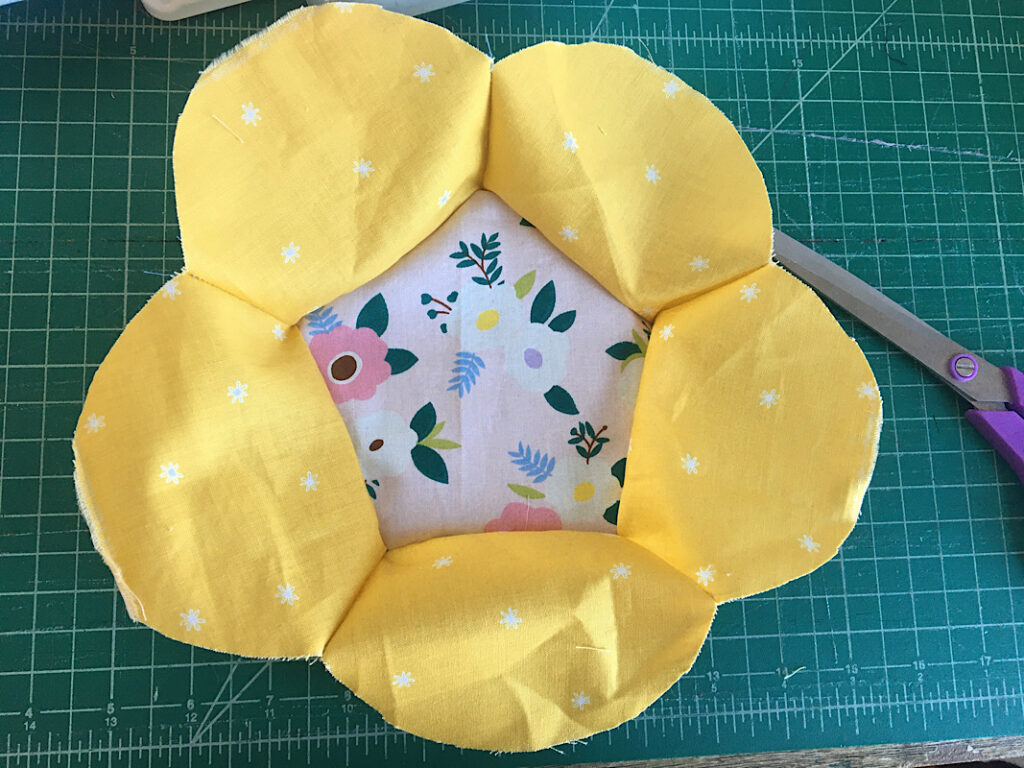
It looks awesome!
Now you need to decide how you are going to do the batting layer. There are two options. The faster/lazier way that potentially has less shapely results, and the proper way which takes just a bit longer. (I did it the lazy way. Read on to see how.)
To make the batting the proper way:
Cut out a center and 5 petals from your batting, and place them on the backs of each of the fabric pieces you have already cut out for the second side of the bowl cozy. You will assemble this side of the bowl cozy in the same manner as before, but now you will sew each petal as if the batting is glued to the back of that piece.
Do the same with the batting for the center piece, layer it underneath the fabric you cut out for the center before pinning the petal loop to it.
Then complete your daisy, so you have a front and a back piece with batting already attached!
To make the batting the lazy way:
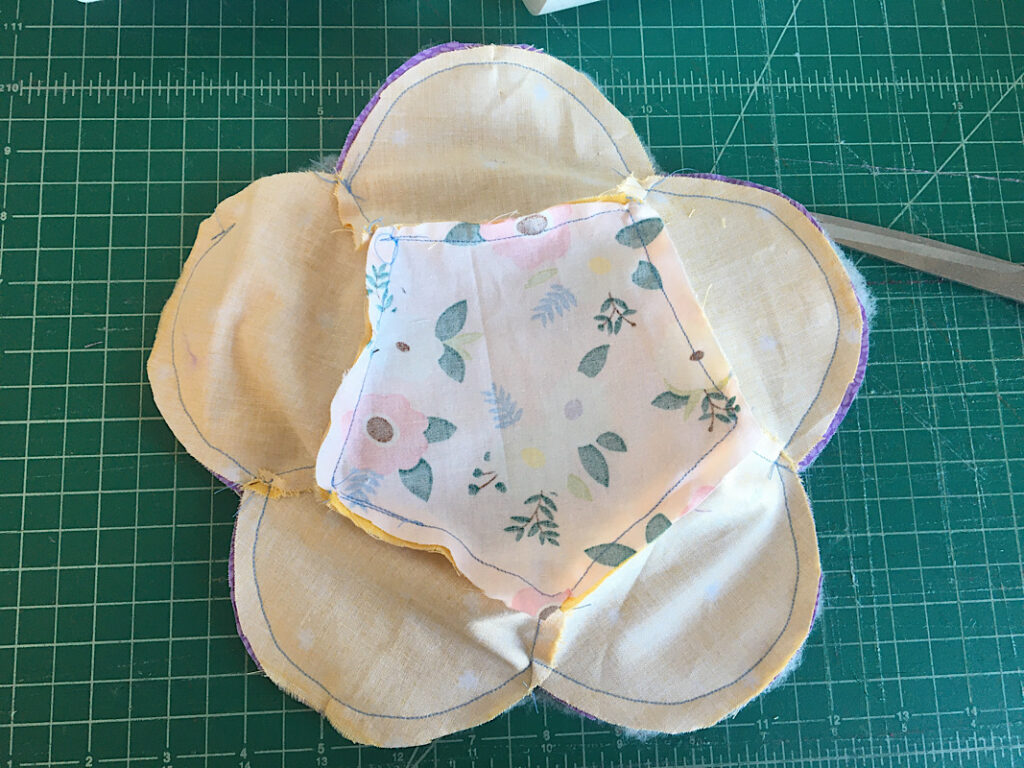
If you prefer to make the batting the lazy way like I did (which may not give you as crisp of a flower shape, but is faster), lay out the batting on the table and place one of the daisies on top of it.
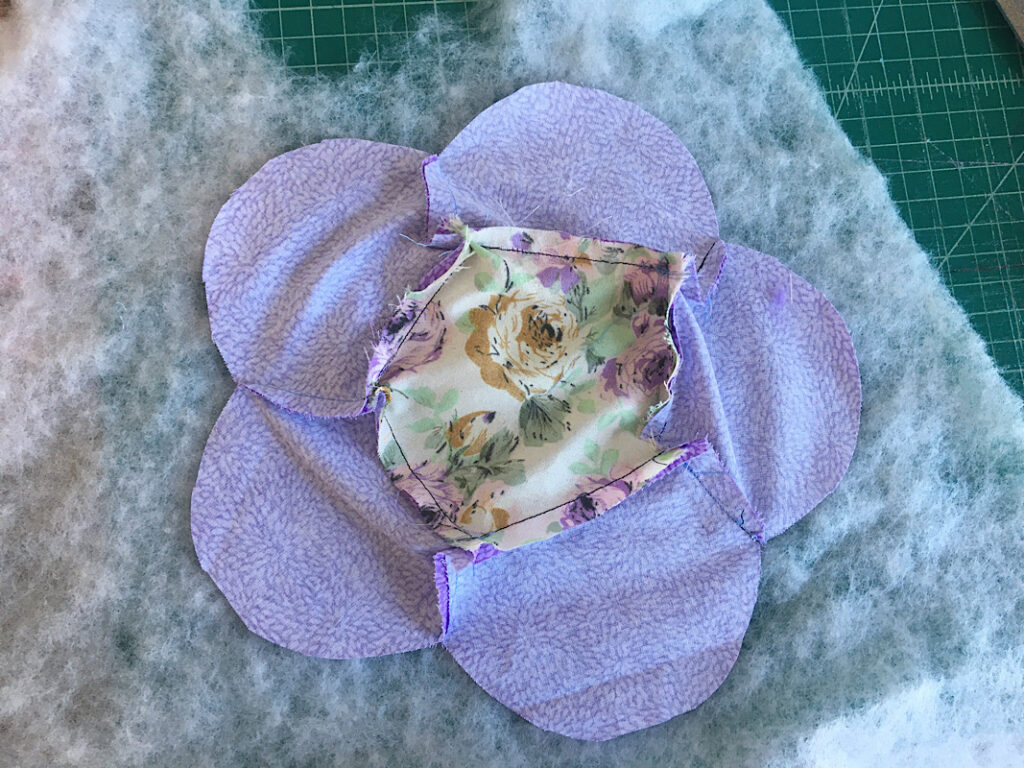
Flatten out/smash down the daisy as good as you can, then use it to trace and cut out a piece of batting.
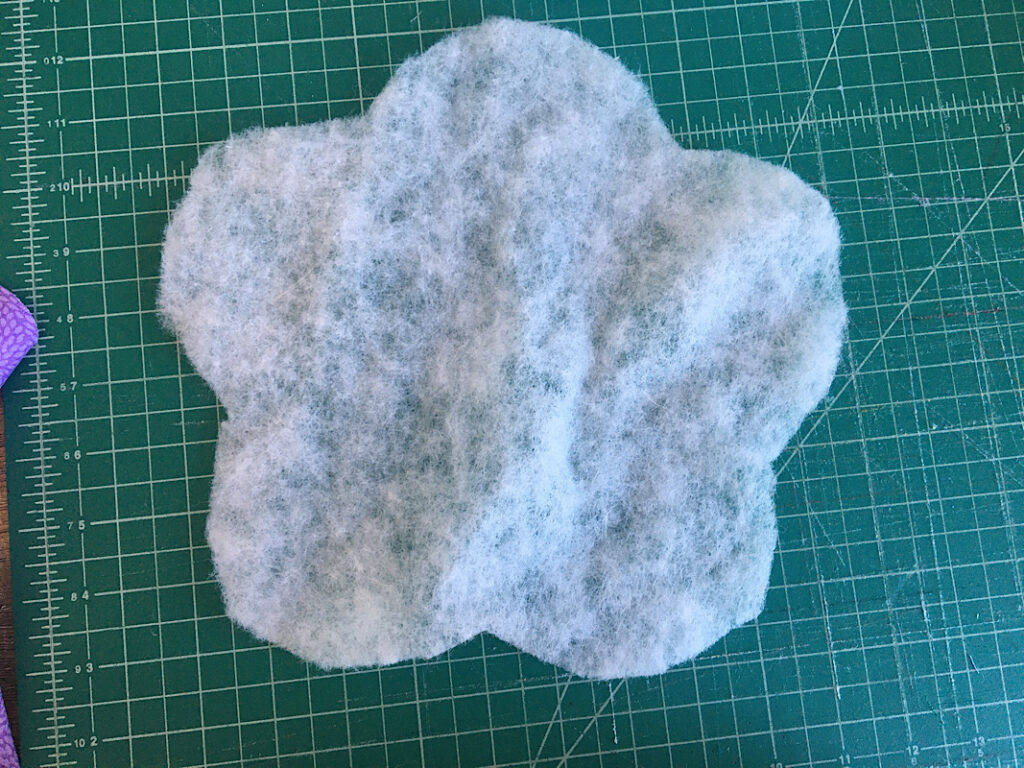
Now, place the daisy back on top of the batting with the right side facing up. You are now going to act like the batting is glued to the back of that piece. You can pin them together if that helps.
And now with batting attached with whichever method you chose, you can move on to the next step.
Step 3. Sewing It All Together
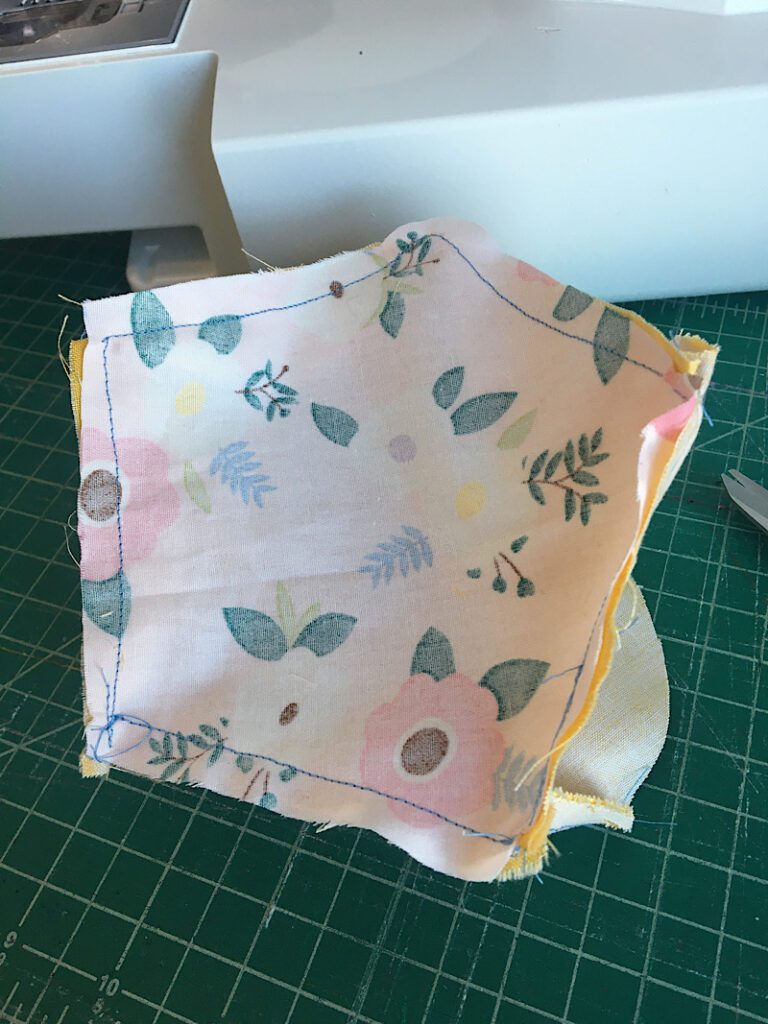
Stack the daisy front and daisy back together, with right sides facing.
Pin the pieces together.
Now, with a 3/8ths inch seam allowance, start at a seam and sew around the perimeter of the petals, leaving a 2 inch gap at the end.
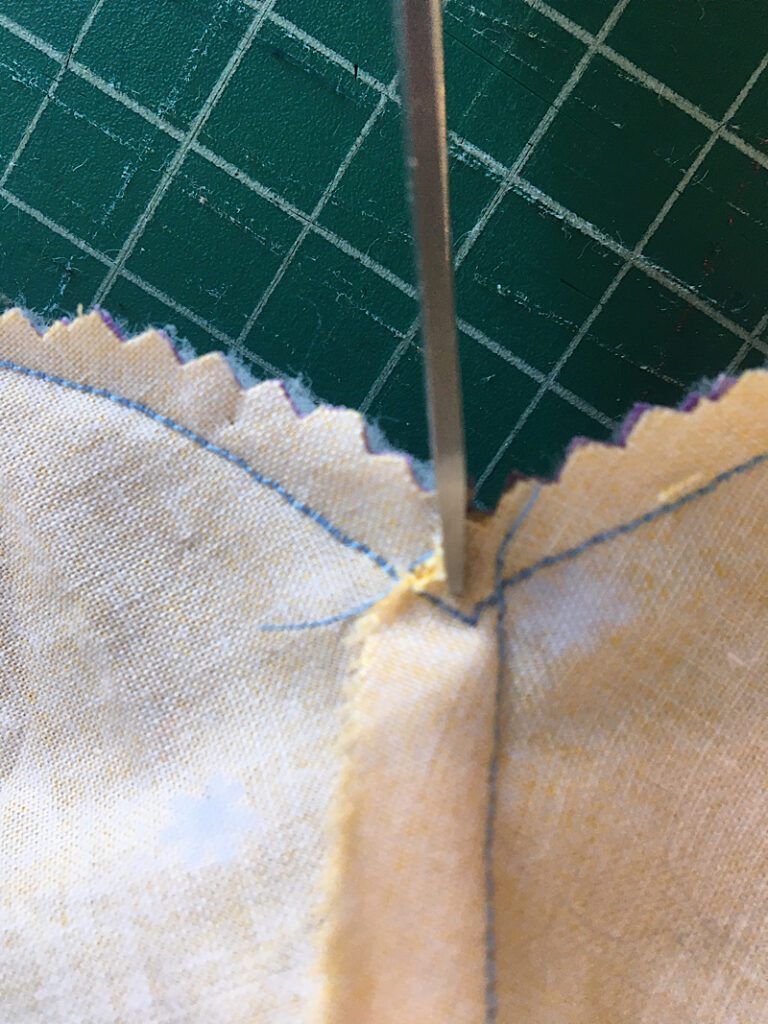
Notch around the curves of the petals to remove the excess fabric and make it easier to turn. To make this quick, I just used pinking shears.
Also, snip down a bit with your scissors into each “dip” between the petals without cutting through the seam line.
Step 4. Turn and Finish The Bowl Cozy
Turn the bowl cozy right side out.
If you sewed the batting the lazy way, you will notice that it doesn’t have the same shape as the fabric pieces. No matter! Simply pull to stretch each petal away from the center to stretch out the batting and fix it’s shape.
It is looking a bit lumpy now, so take a few minutes to really shape it nicely. Use your finger or a blunt object to stick into the gap and press out the petals. You can use your iron to press the petals flat as well.
Once the shape is nice, close the gap by folding the seam allowances in, and pinning it down.
Now, sew a top stitch along the perimeter of the petals about 1/8ths inch away from the edge. This will close the gap as well.
Now you are done!
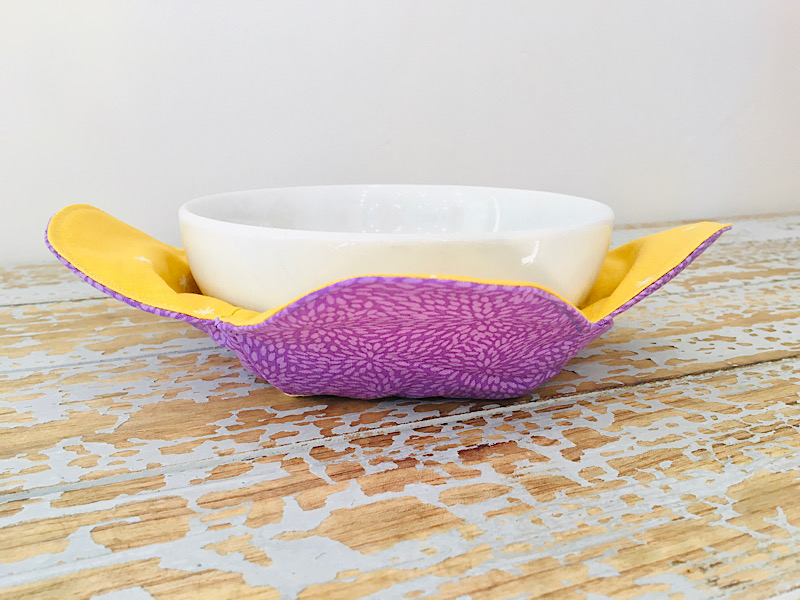
Take a look at both sides of your bowl cozy to see how cute it turned out!
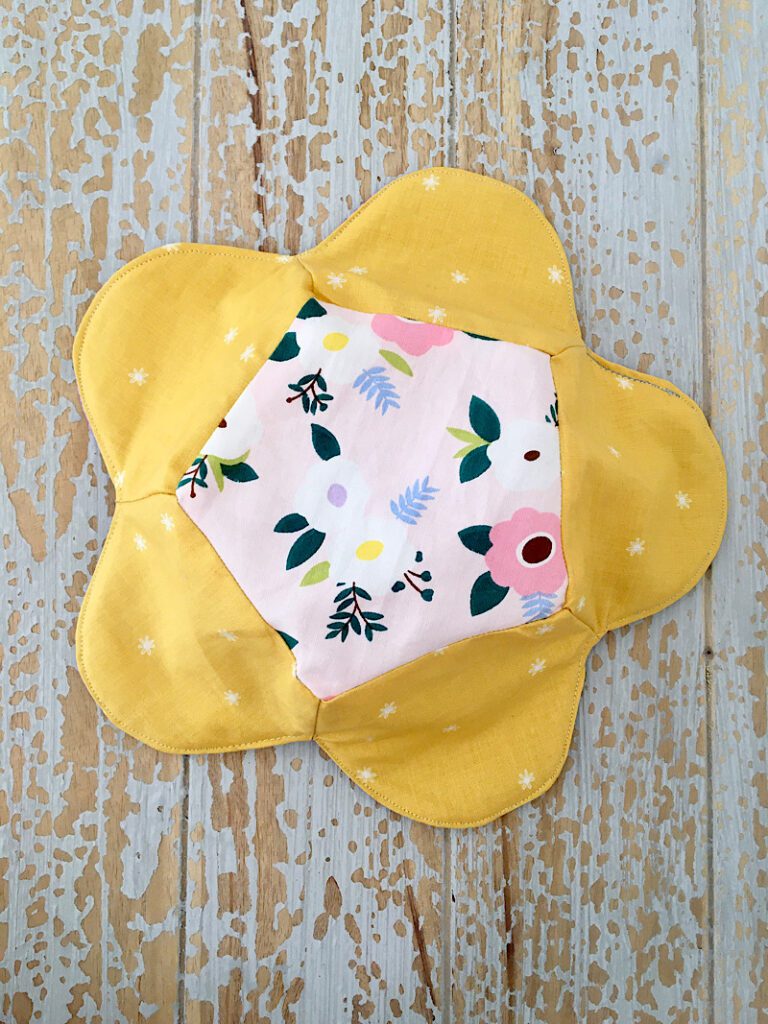
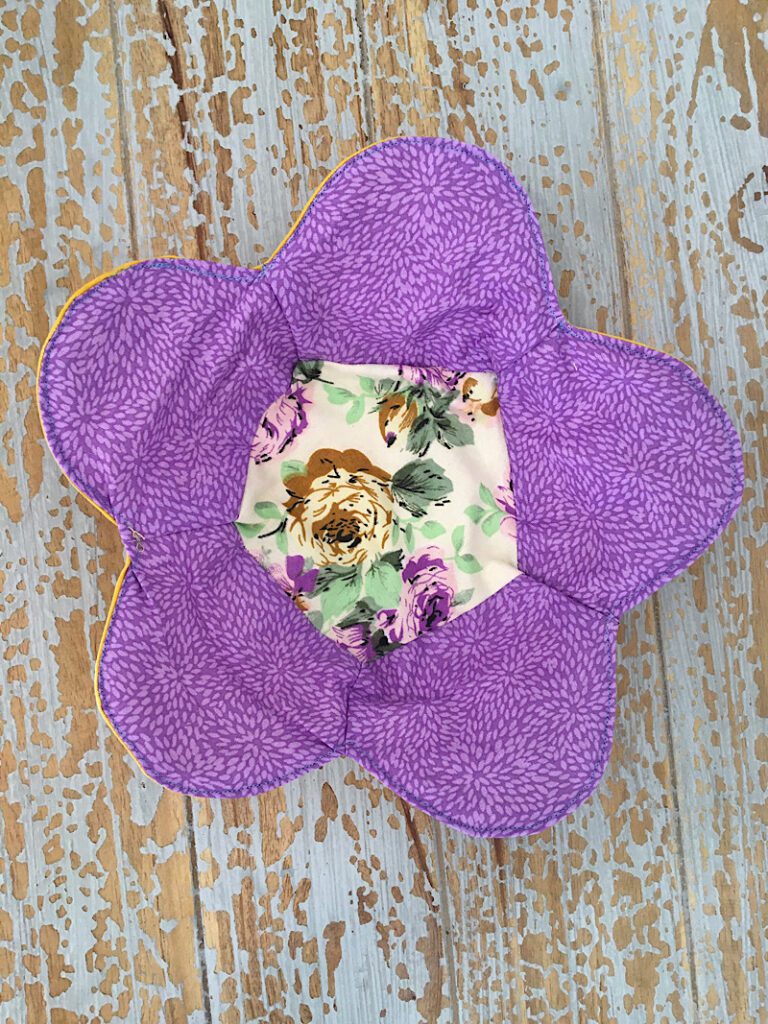
I LOVE it! It is so cute and colorful. Both sides are so fun, it turned out so well. I can’t decide which side I like better.
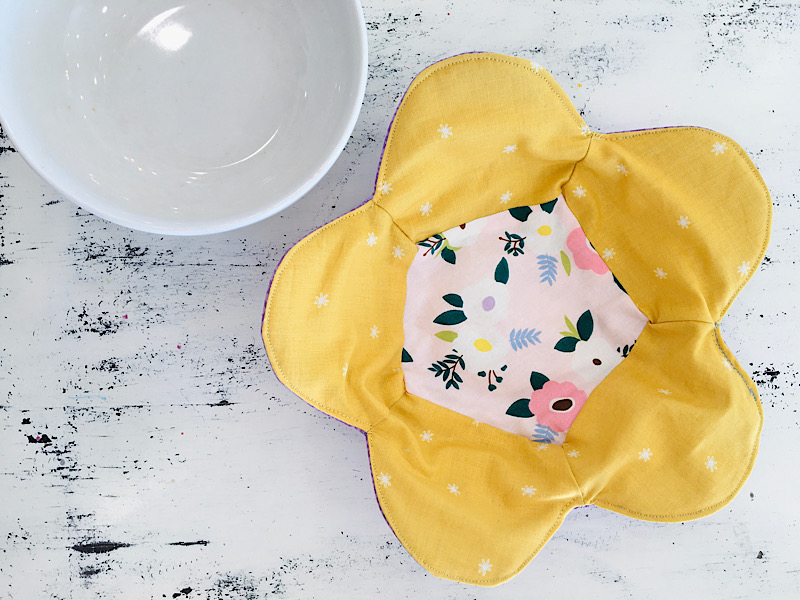
I love that the bowl looks like the center of the daisy too. And the petals are nice and long to wrap up the sides of the bowl when you hold it, but lay more flat and out of the way when you set it down.

Well I really hope you liked this tutorial, I had SO much fun drafting up this pattern, my kids were so curious about what it was going to be. These would be such cute gifts in a little set, or even with loops to hang in the kitchen.
Let me know if you need any help and please pin this post to Pinterest if you want to help me in a huge way!
I’ve always heard that Insulbrite has metal in it, and it’s not to be used in the microwave. Is this different, now?
Hi Linda I didn’t know the answer to that so I Googled it, and it does appear that insulbright contains metalized fibers and should not go in the microwave.
But if you will notice at the top of my post, I mentioned that these bowl cozies are for after you have already microwaved your bowl. I am personally not comfortable microwaving them, even without the insul bright. Thanks!