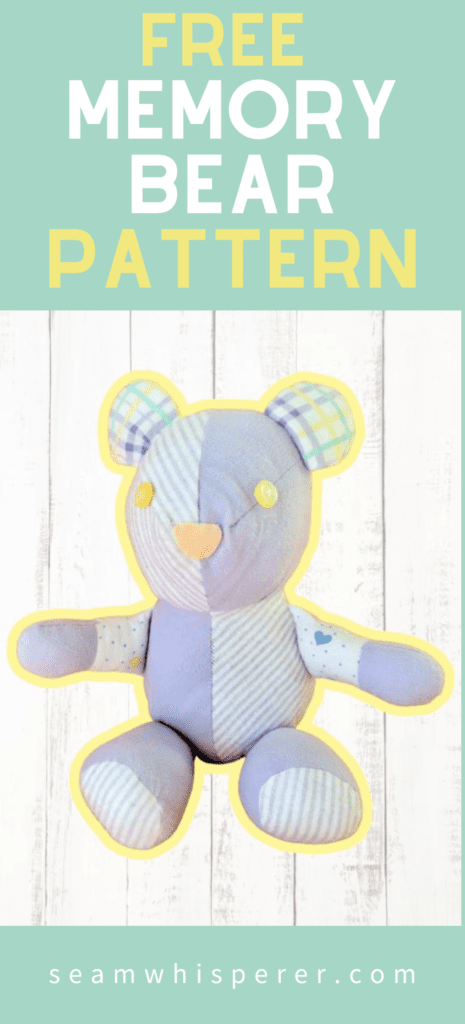
If you want to learn how to make a simple but cute memory bear, check out this great tutorial and free pattern! You can even make it into a memory bunny!
Memory bears are such a special way to repurpose old clothing and other textiles. They make great keepsake gifts, and are not hard to put together!
This free memory bear tutorial and pattern can be made two ways, a bear or a bunny. I will show you how to make the bear in this post!
Keep reading to learn how to get the pattern and start your project today.
Prefer a printable option? Thanks to popular demand, I have created a beautifully formatted printable version of the instructions below, that you can print at home and use again and again. Purchase the printer friendly files for only $4! Or you can scroll on this page for the same instructions, for free.
Supplies Needed
- Several fabric items to repurpose, the number you need depends on the size of items you have. (Some people like to make each part of the bear with a different fabric for a more scrappy/vintage look, which means you will need more items to cut from.)
- Matching Thread
- Plastic Safety Stuffed Bear Craft Nose (Or you can Make one with a button, felt, or embroider it on)
- Plastic Safety Stuffed Animal Eyes (Or you can make them with buttons, felt, or embroider them on)
- Polyfil stuffing or wool stuffing
- Hand sewing needle and thread
- Basic sewing supplies
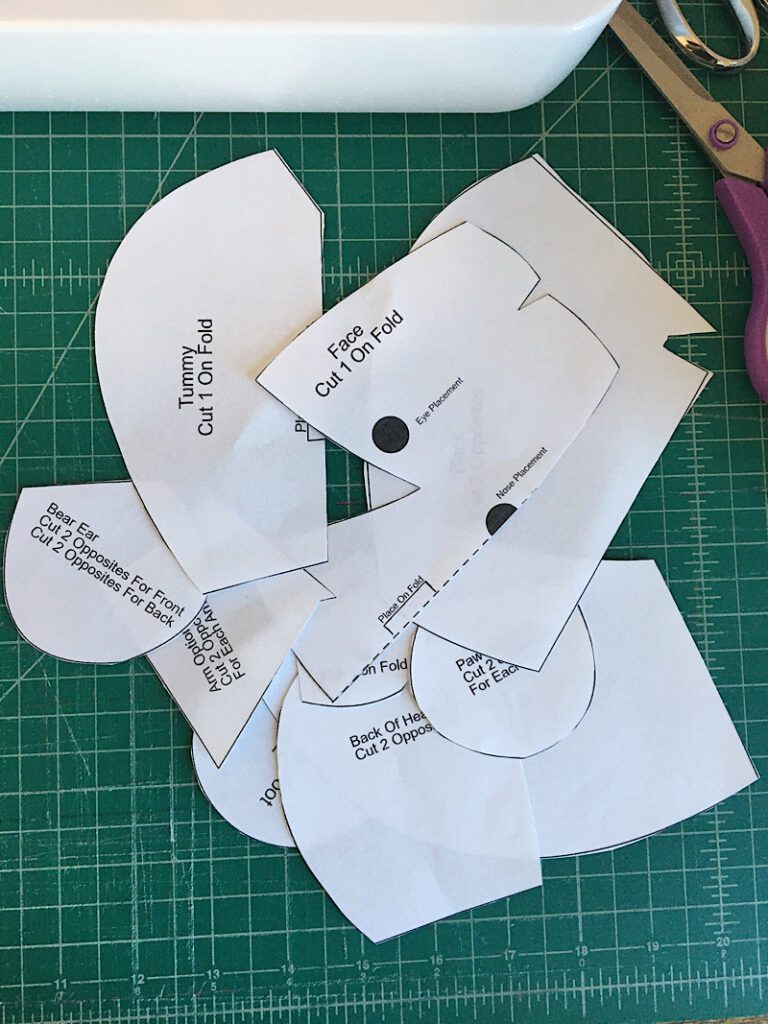
- Free Stuffed bear Pattern (Download it below)
How To Download The Memory Bear Pattern
This pattern is 100% free for members of my email list! You can sign up below and I will send the PDF file to you.
This is a 4 page pdf file with the templates only, the instructions are in this blog post.
Print the file at 100% scaling and cut it out on the black lines.
How To Make A Memory Bear
Notes: The seam allowances for this sewing pattern are all 1/4th inch. Sometimes I serged my seams, but you can sew them all on a regular machine!
Step 1. Cut Out The Pattern Pieces
Cut out your paper patterns on the solid black lines. The seam allowance is already built in.
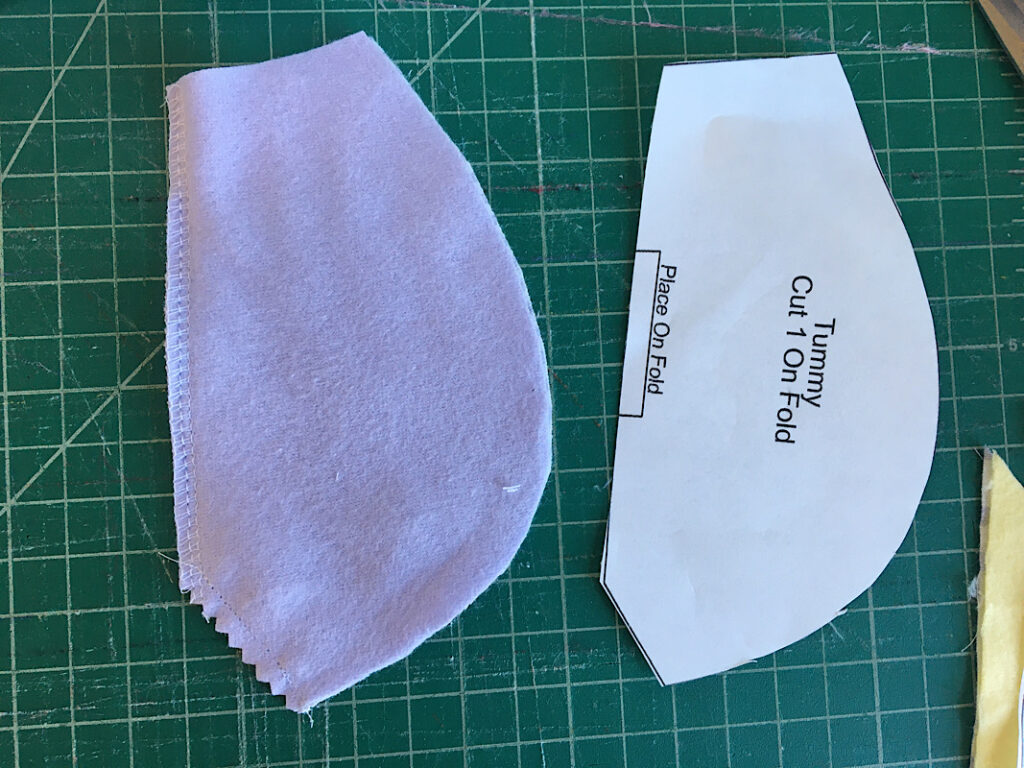
Use the patterns to cut out the fabric, noting where the pattern says to place on the fold. If you prefer a more scrappy look like the bear I made, you can sew two pieces together and use the seam as the fold.
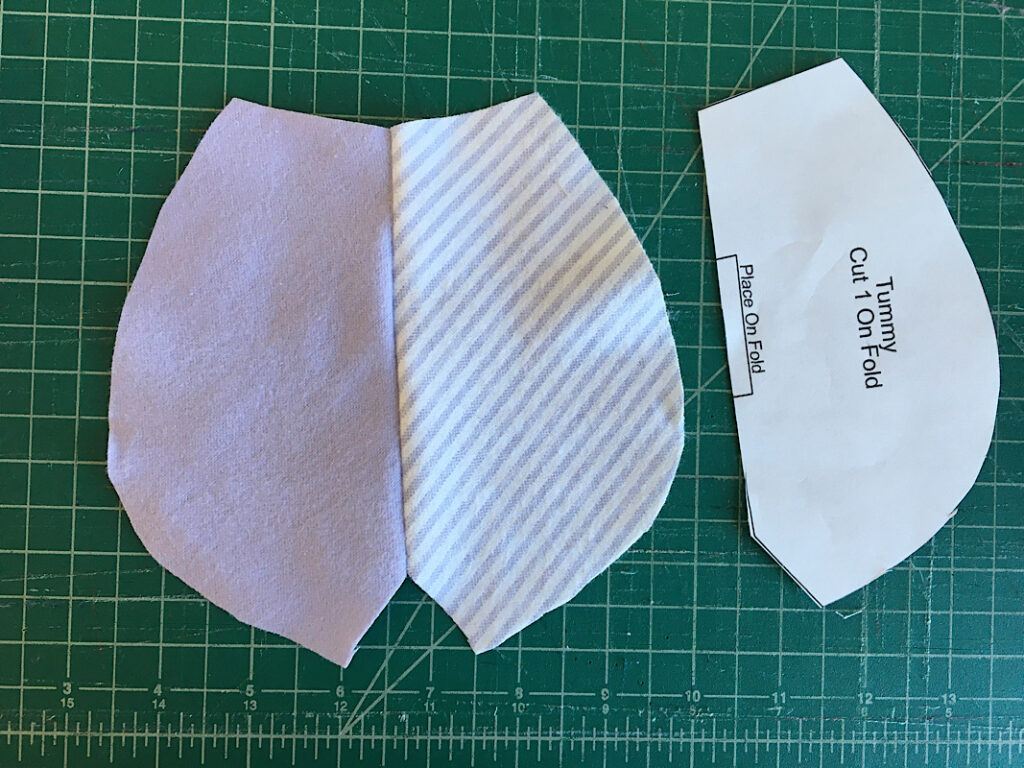
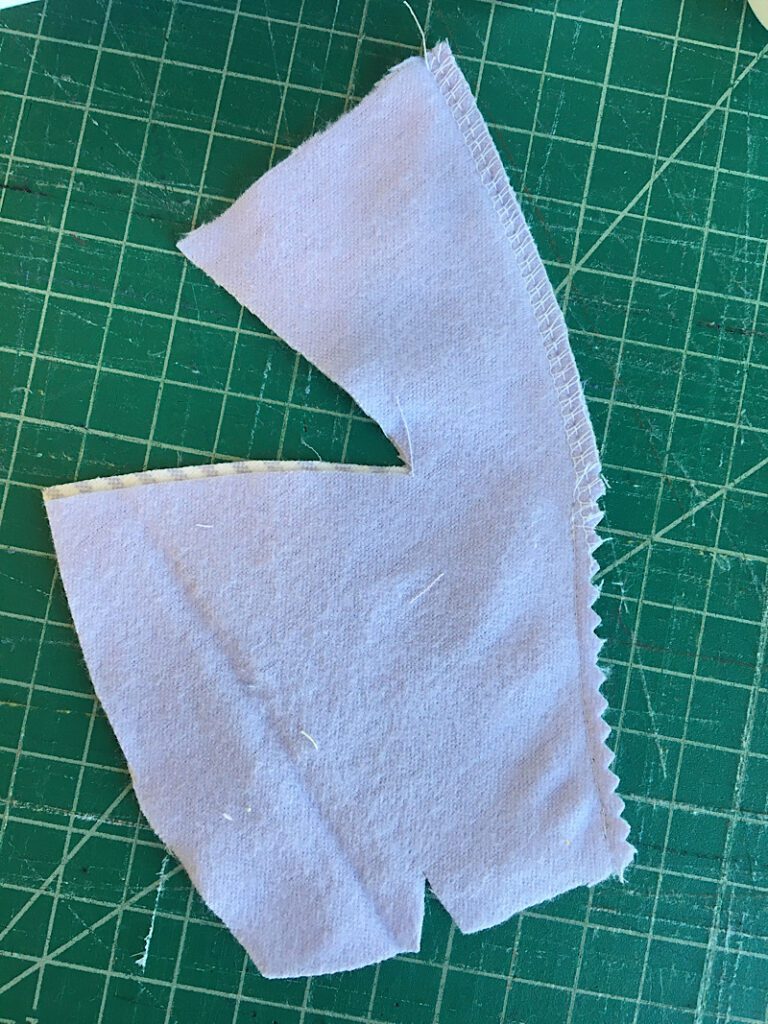
When you cut the “face” piece, you will notice that at the bottom under the nose, the edge curves. When you place the pattern on the fold, the line will curve away from the fold. This is intentional. When you cut out the pattern, it will have a triangle gap in the middle bottom area like in the image below.
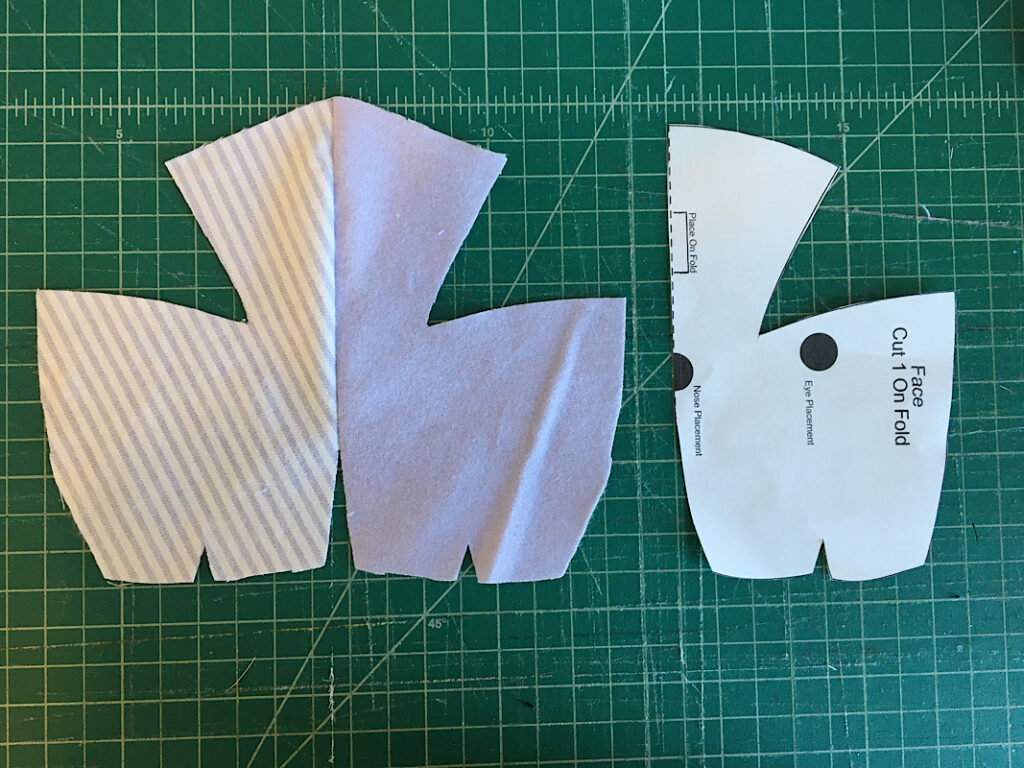
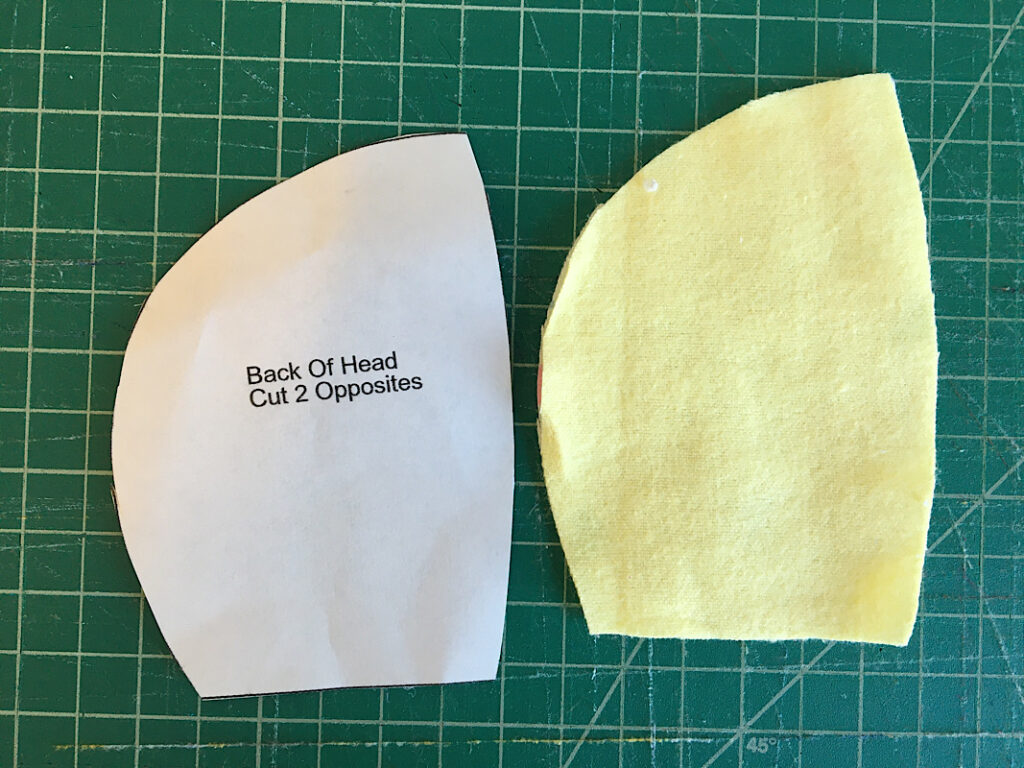
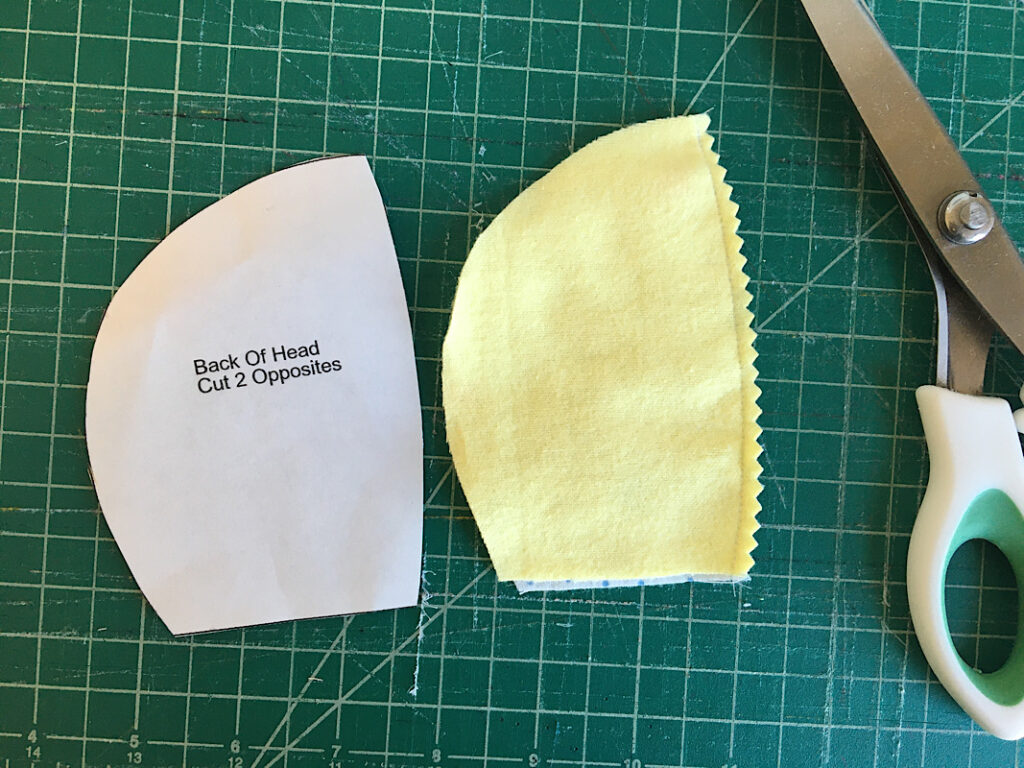
Wherever the pattern says to “cut 2 opposites”, cut two pieces, but with the fabric flipped over for one of the cuts.
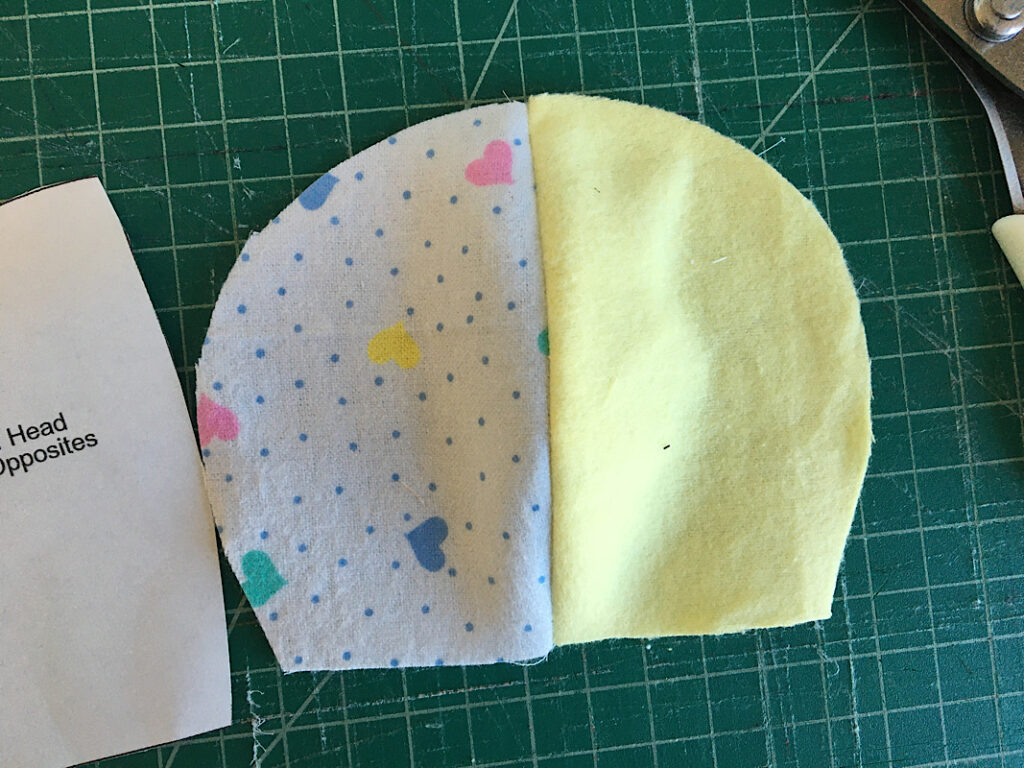
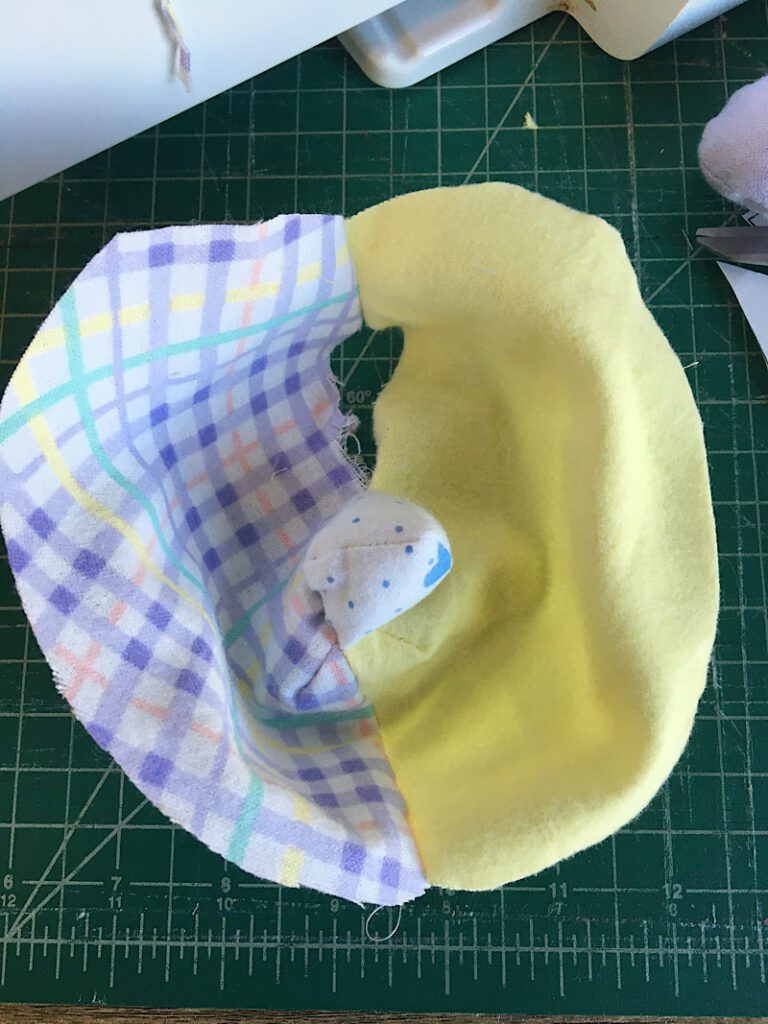
Step 2. Assemble The Head
First assemble the back of the head. Place both “Back of Head” pieces on top of each other with the right sides together.
Sew down the right edge (it should be the more straight side of the piece) as in the image below.
Then, carefully cut notches or pink the edge to remove the bulk.
Then open it up to see how it looks and you can set it aside for now.
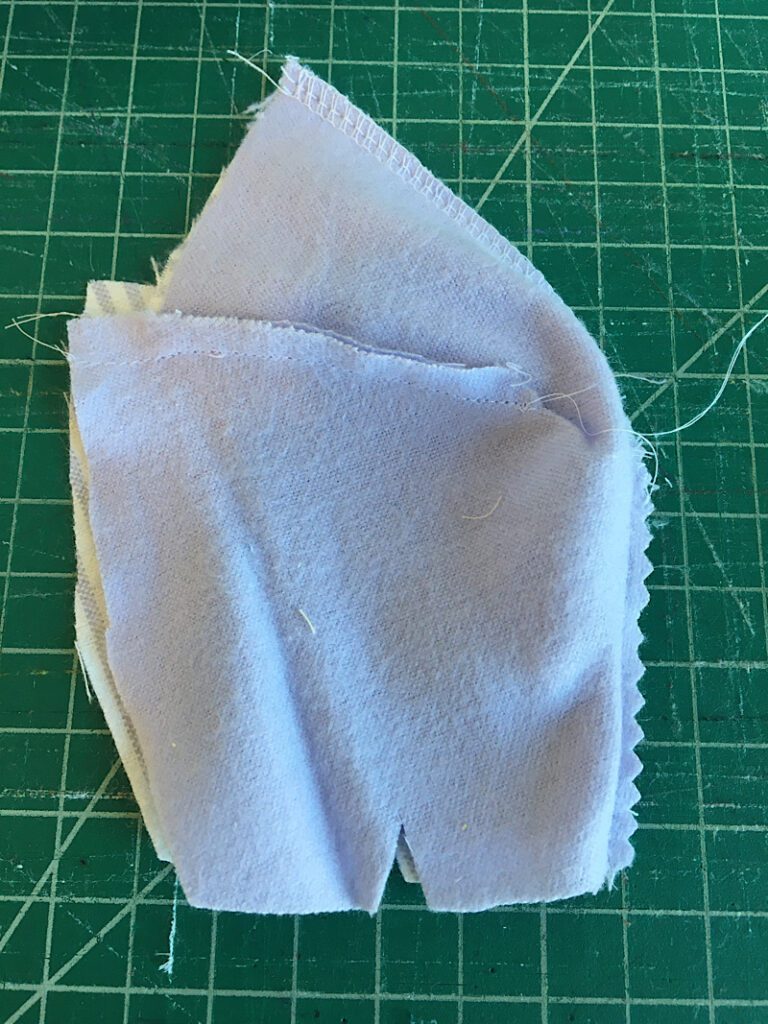
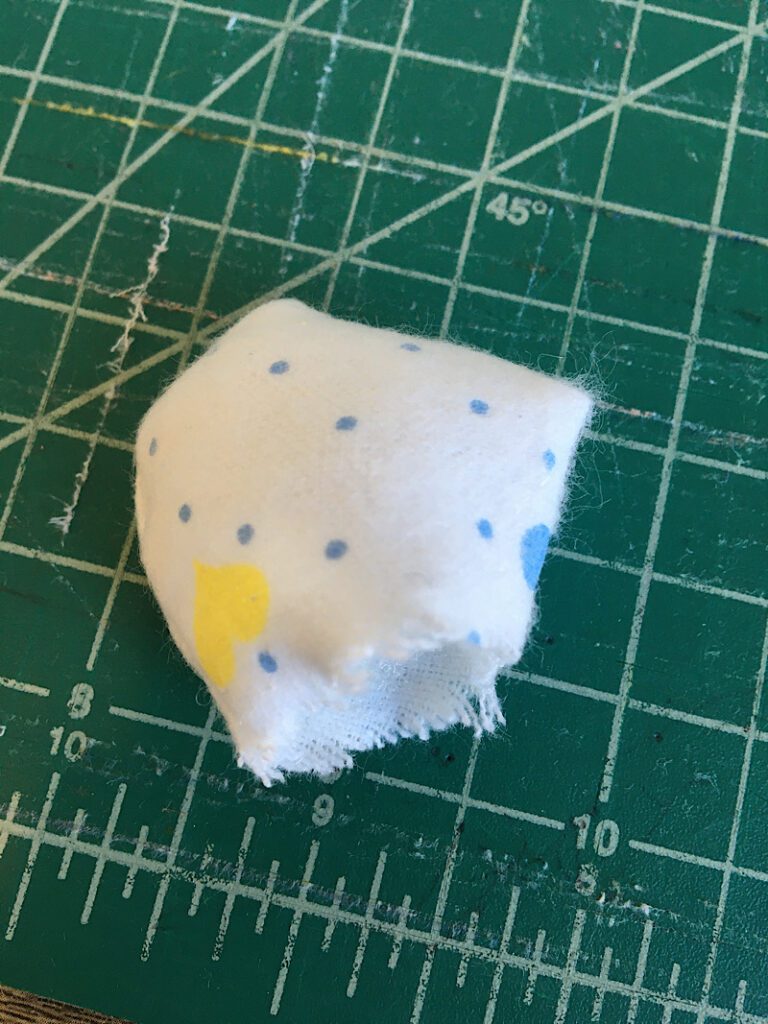
To assemble the face, fold the fabric piece in half on the fold or seam you cut it on, and then sew along the edge of the triangle gap on the bottom.
Next, you will sew together the two large darts on the top of the face. Align the edges of one dart with right sides together, then sew down the edge. (The outside edges won’t perfectly align, that’s okay, it will help you line up the ears better later.)
Repeat this step with the other large dart, then open the face to see how it looks.
Next you will sew together the two small darts on the bottom of the face. You can pink or notch the edges if you wish.
Now the face is complete and you can set it aside.
Step 3. Make The Ears
Stack the front and back ear pieces together with right sides touching, and sew around the curve, leaving the bottom flat edge open. Notch or pink the edge.
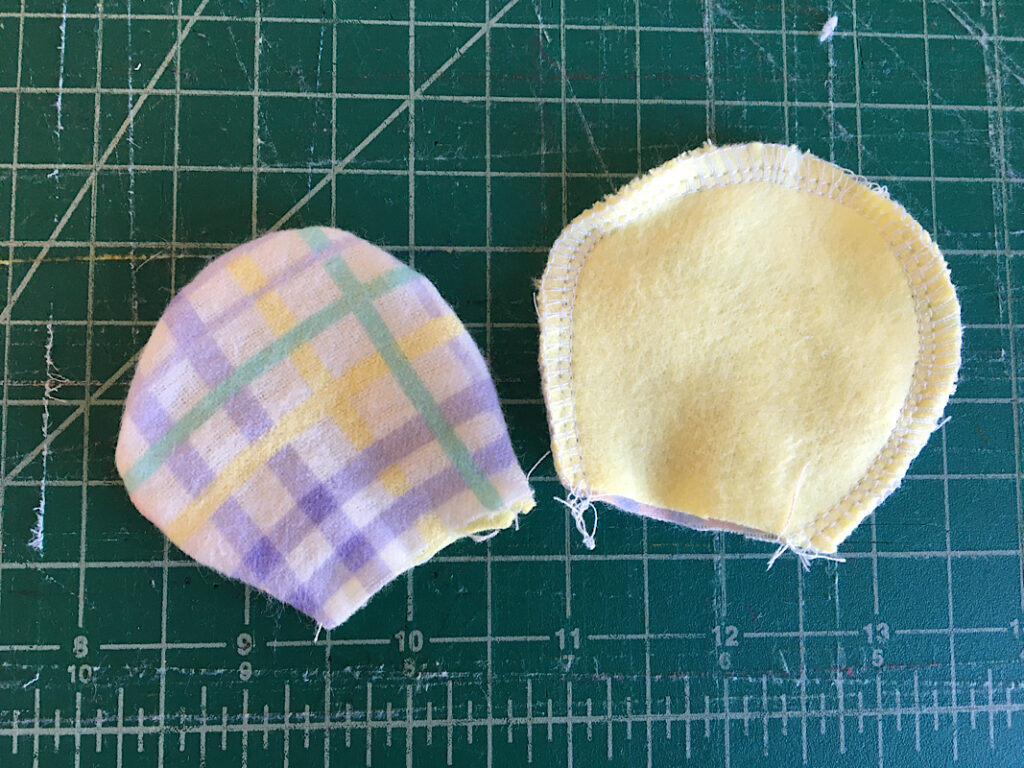
Turn the ears inside out. Poke a finger into the ear to shape it and smooth out the curves.
Fill the ears with a bit of polyfil, not too much, you still want them to be somewhat flat.
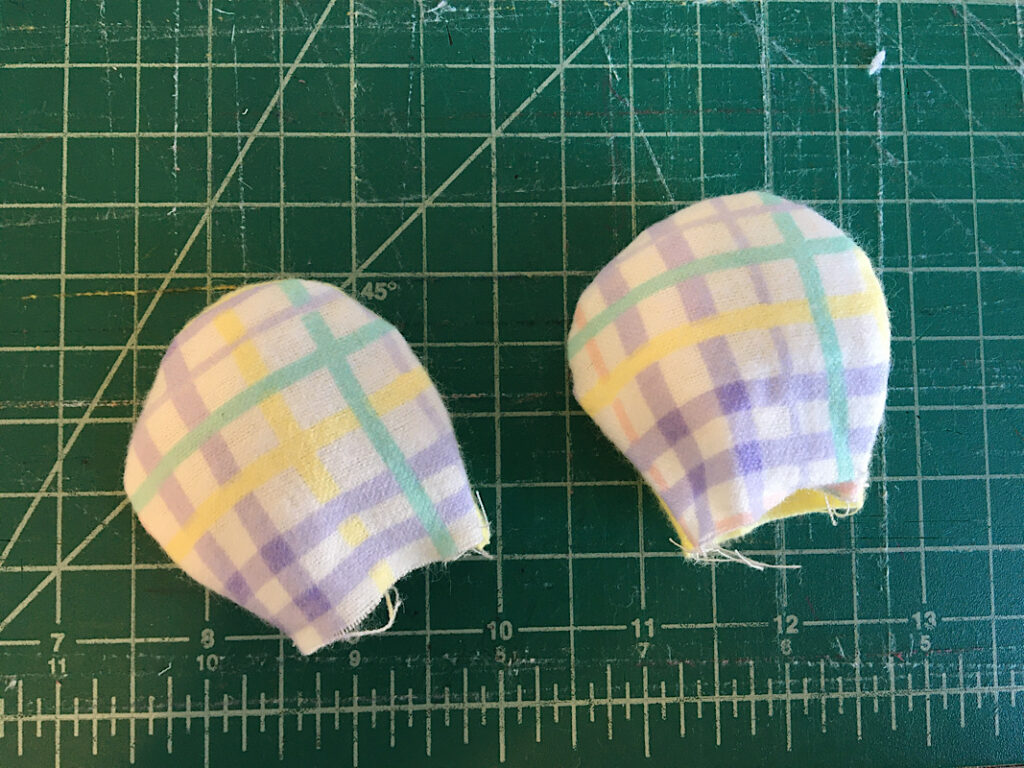
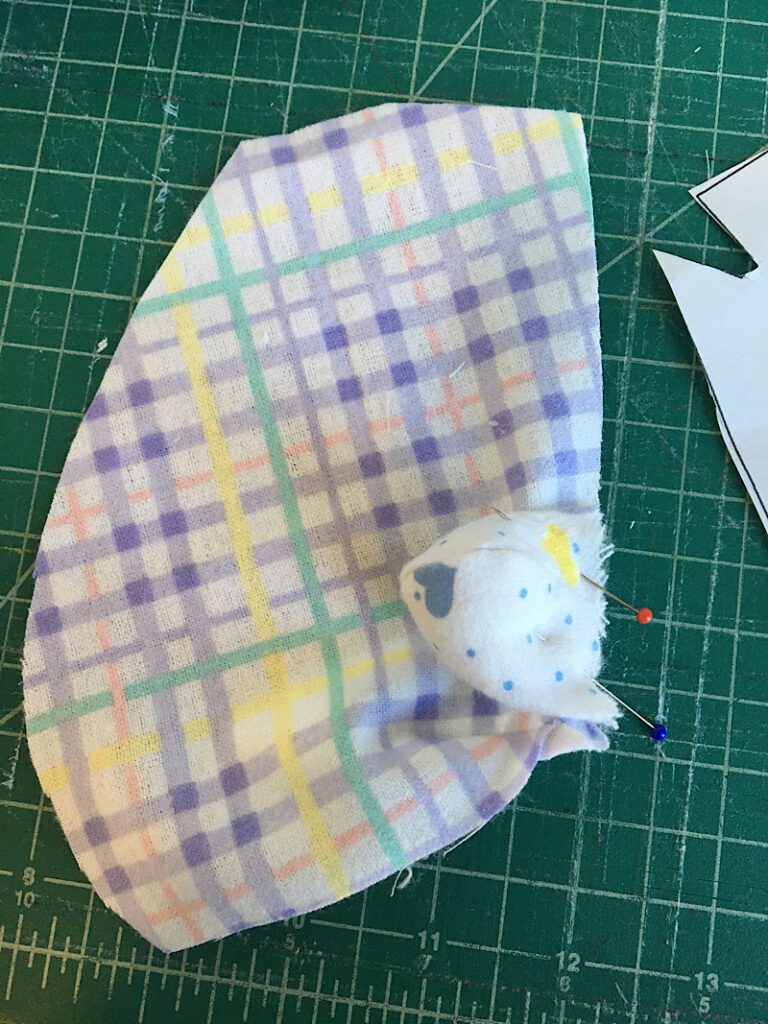
Lay the face piece down with the right side up. Pin the ears to the face, on the insides of the large dart seams. The raw edge of the ears should be touching the top raw edge of the face. The front side of the ears should be facing the face fabric so that when you flip them up later they are facing forwards.
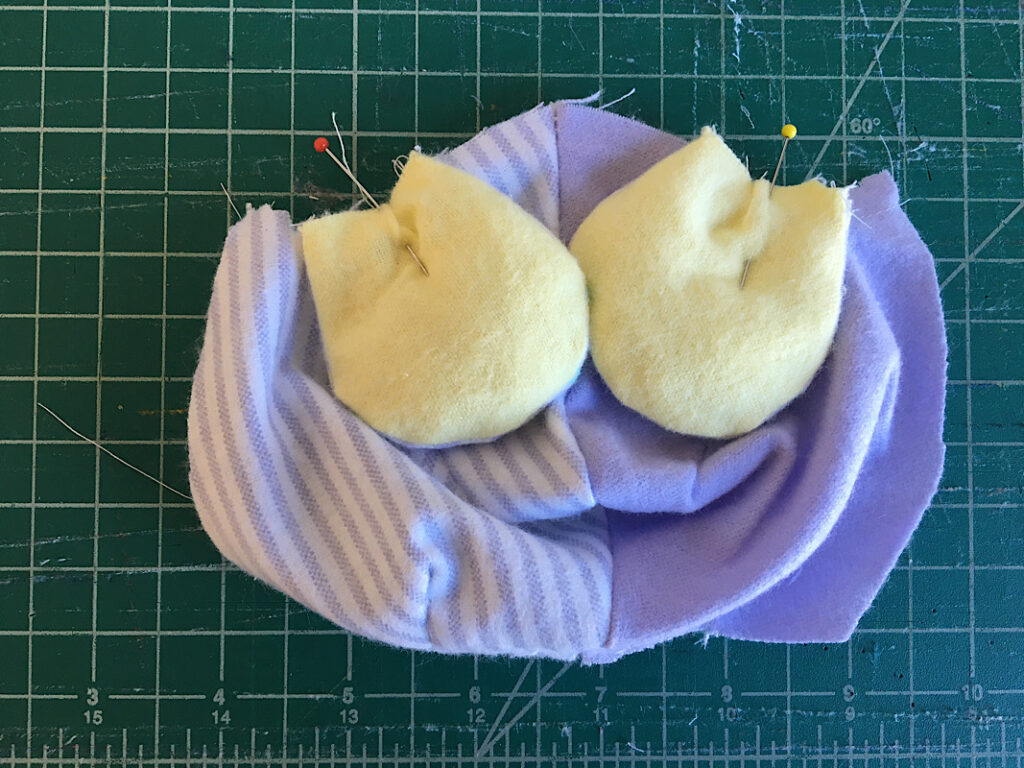
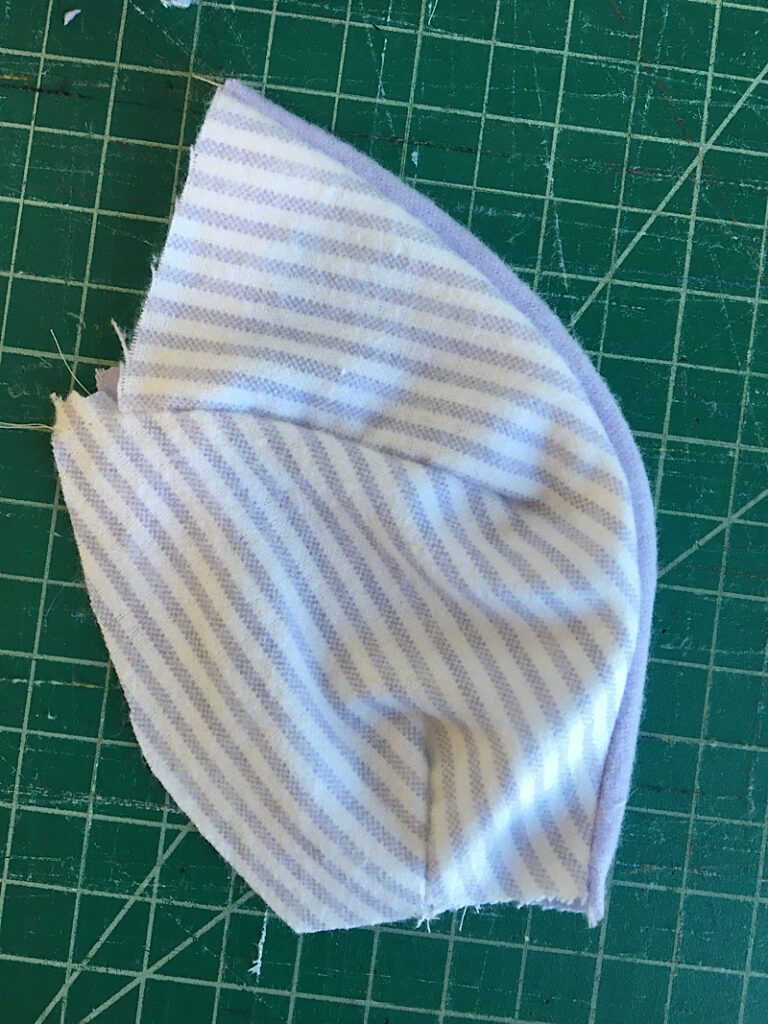
Place the back of the head piece on top of the face piece, with the right sides together, and pin around the top curve.
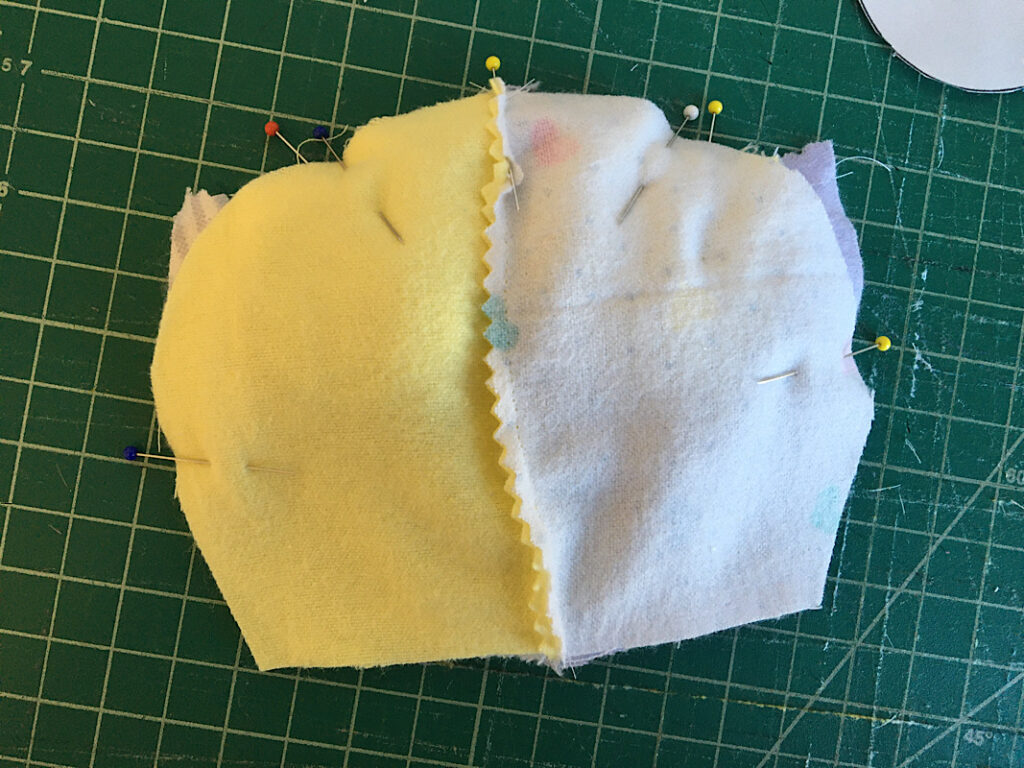
Sew around the top curve, then notch or pink the edges.
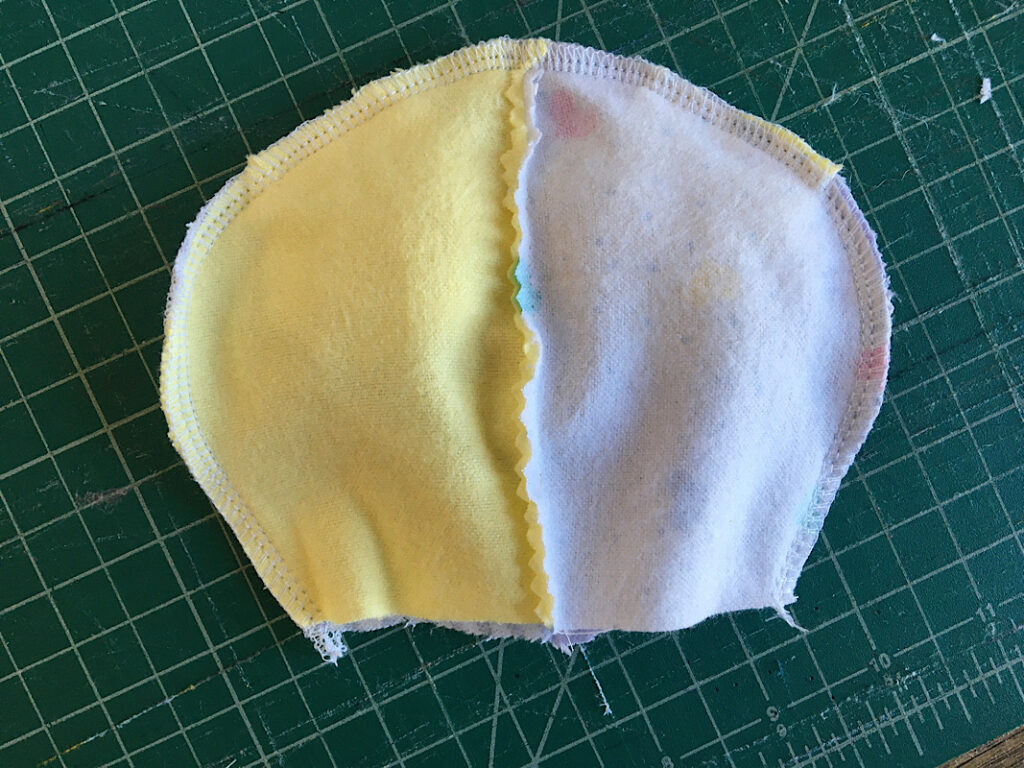
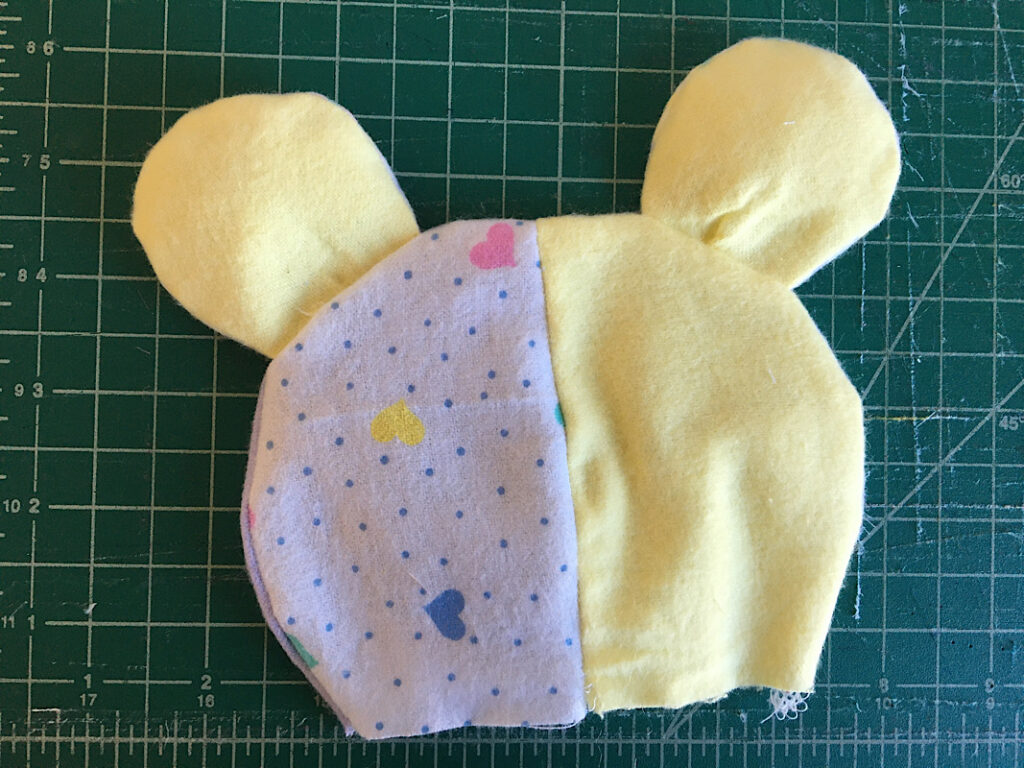
Turn the head right side out to see how it is looking so far!
It kind of looks like a mouse at this point:
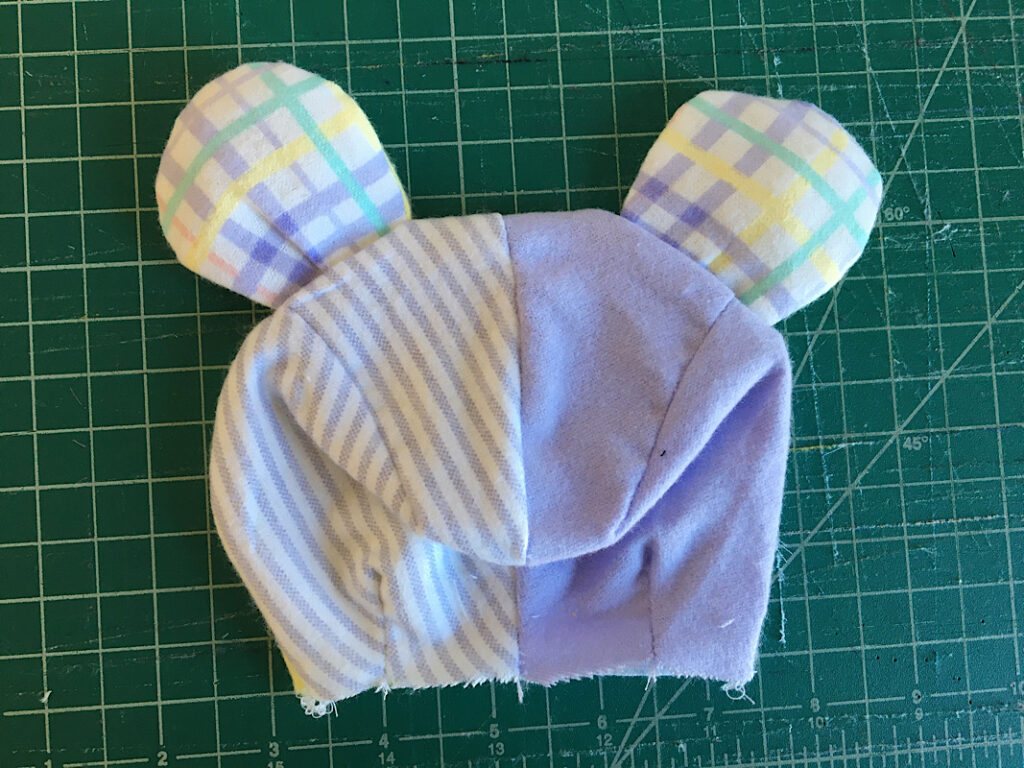
Here is the back of the head:
If you wish, you can attach the nose and eyes now. (Do this if you have plastic safety pieces.)
I chose to sew on buttons and felt later after the bear was stuffed.
Now you can set it aside until later.
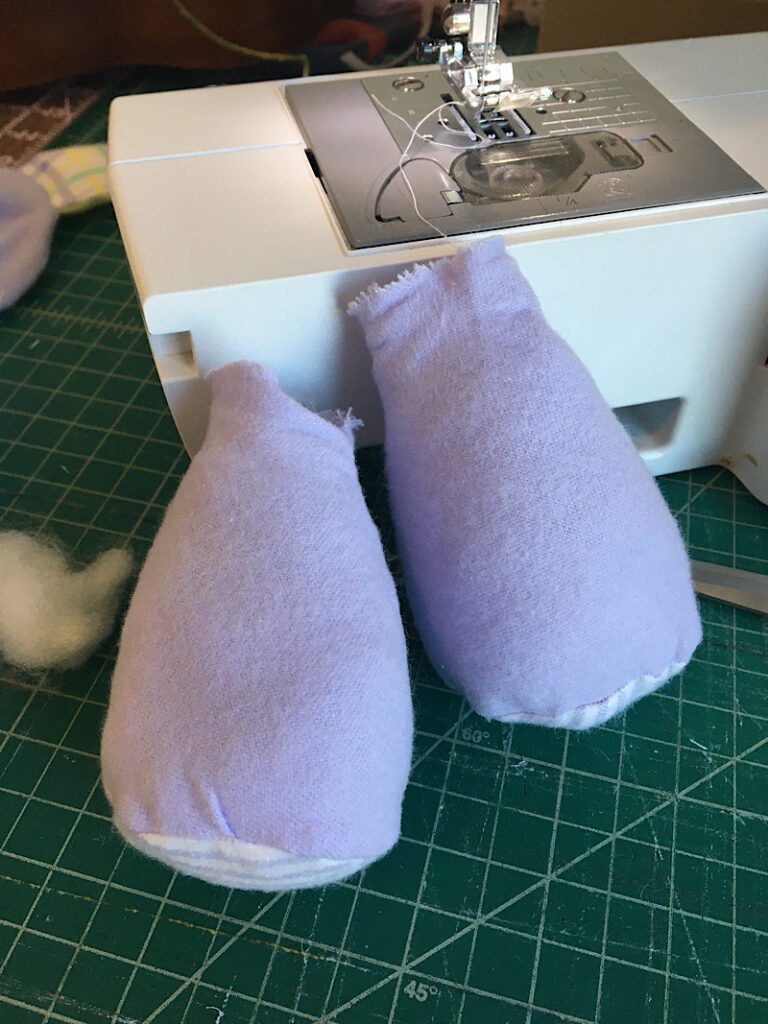
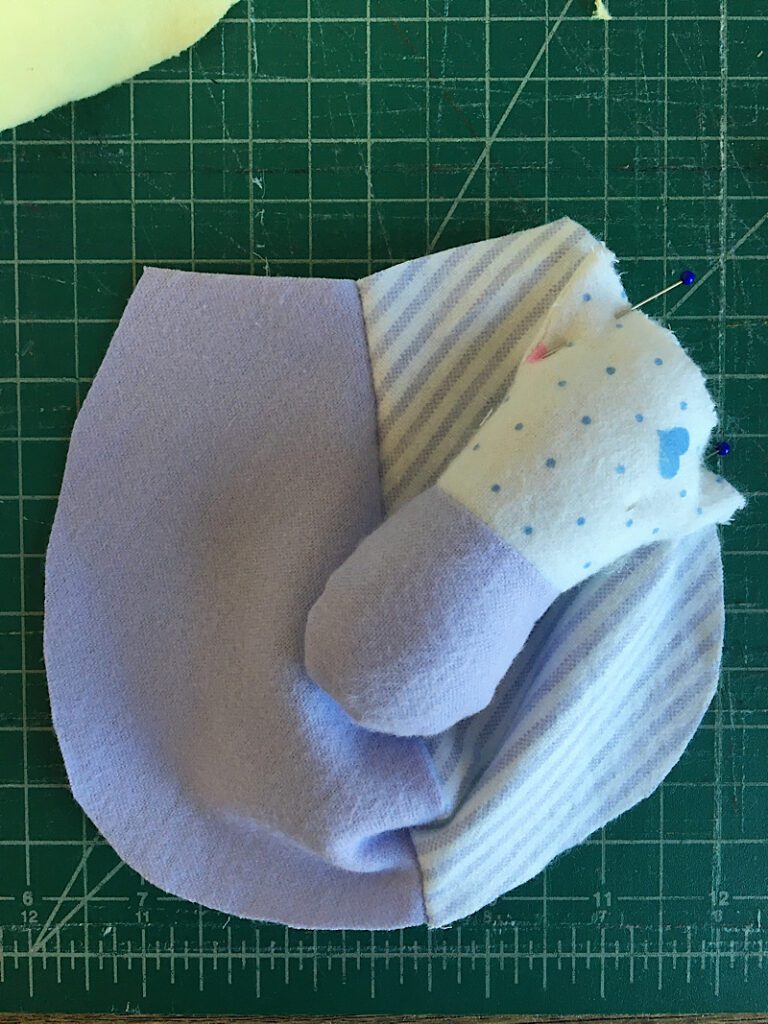
Step 4. Make The Legs
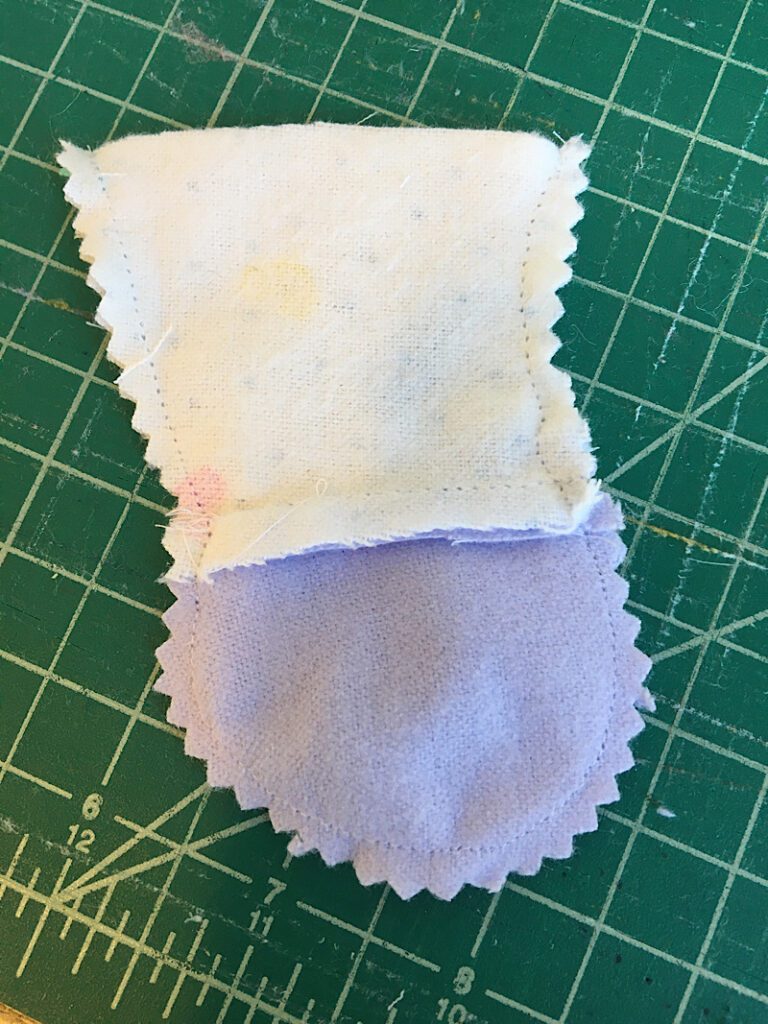
Fold the leg pieces in half to line up the side edges, with the right sides facing. Sew down the side seam. Repeat for the other leg.
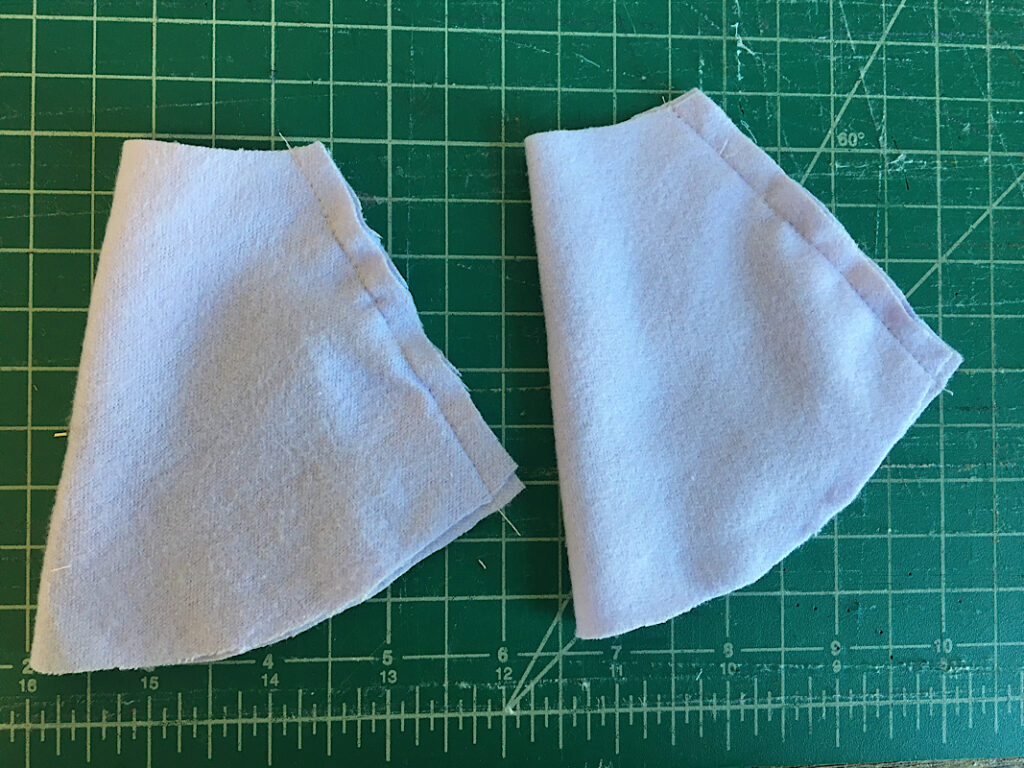
With the right sides facing, pin the circle “bottom of foot” piece to the wider opening of the leg. If you have a pattern on your circle pieces, make sure to line it up with the legs, the seam of the leg will be the back of the foot so the bottom of the circle should line up there.
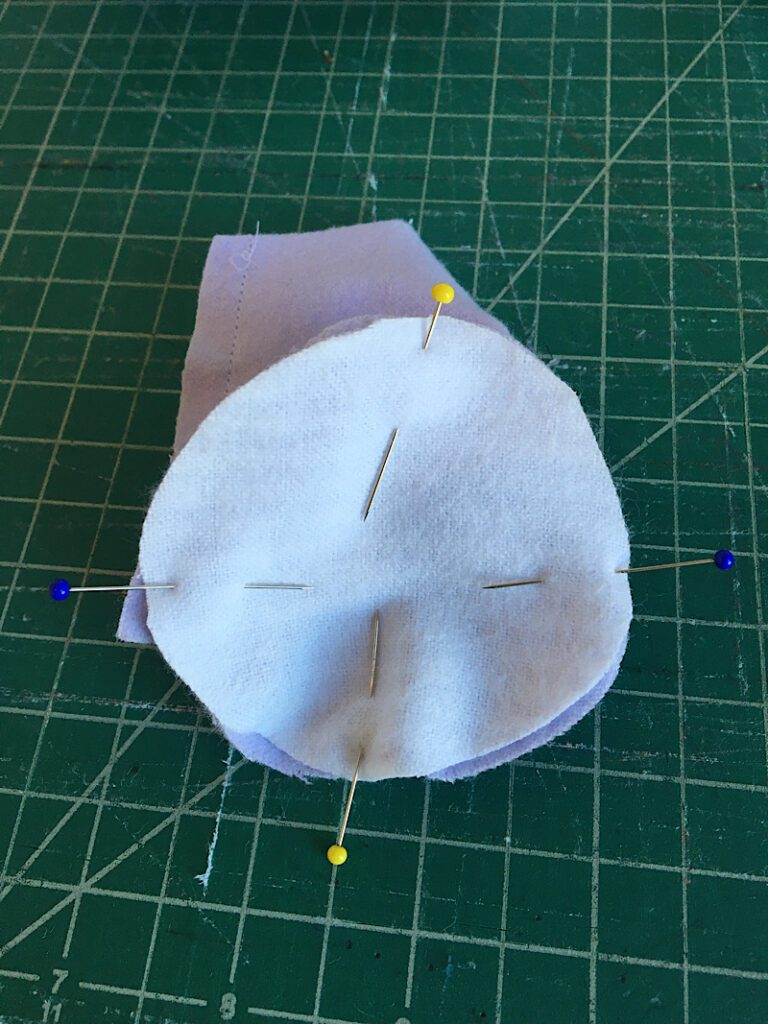
Carefully sew around the perimeter of the circle. You will need to pause and adjust the fabric to straighten it as you go.
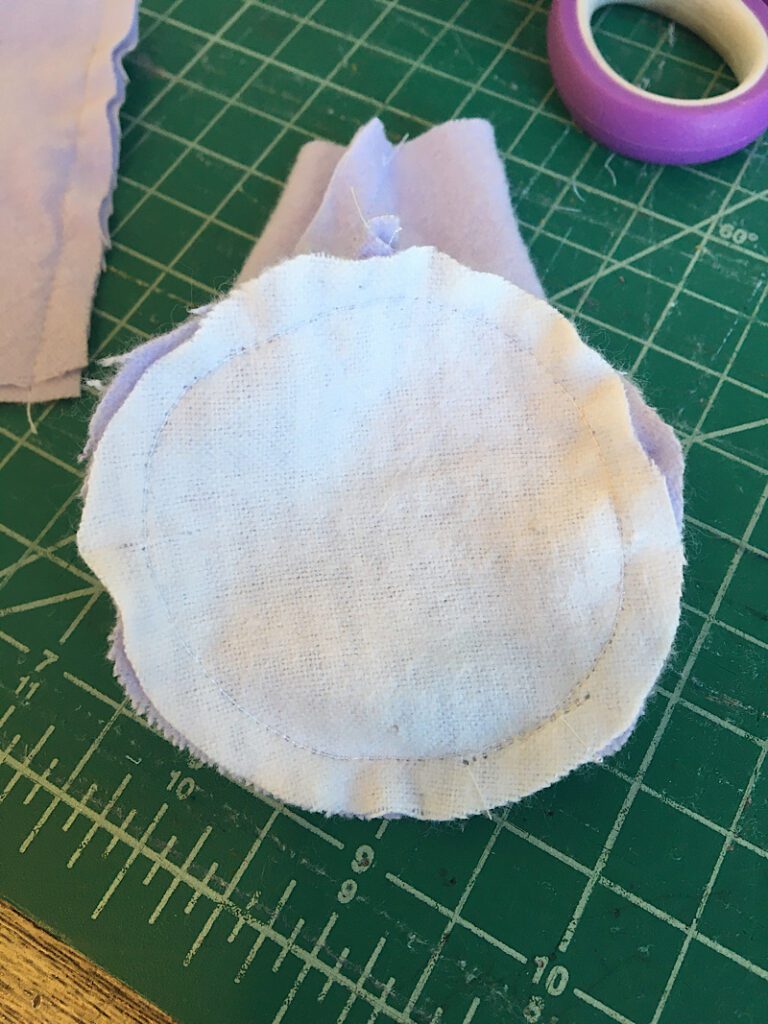
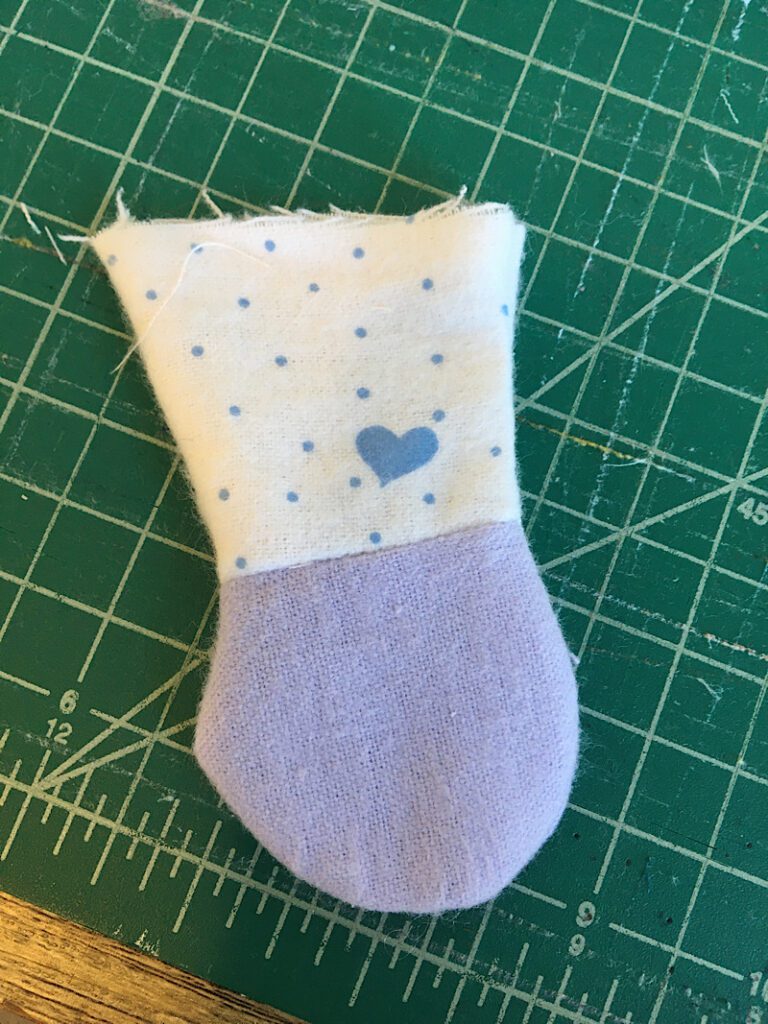
Notch or pink the edges carefully, then turn the leg inside out for the finished result.
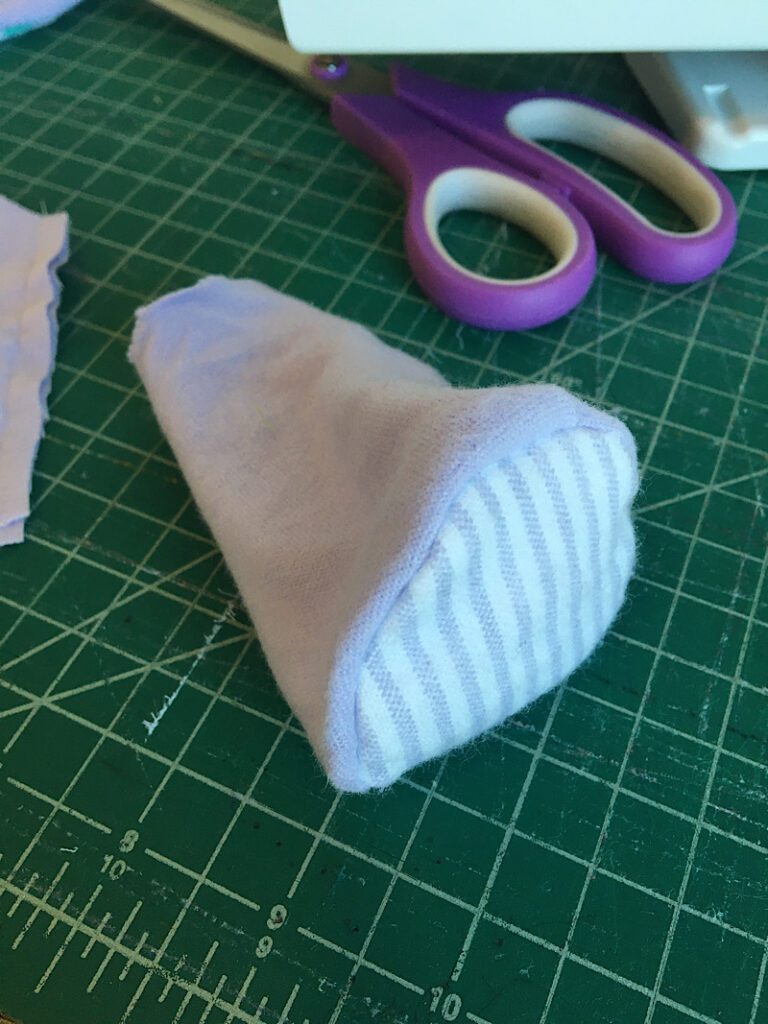
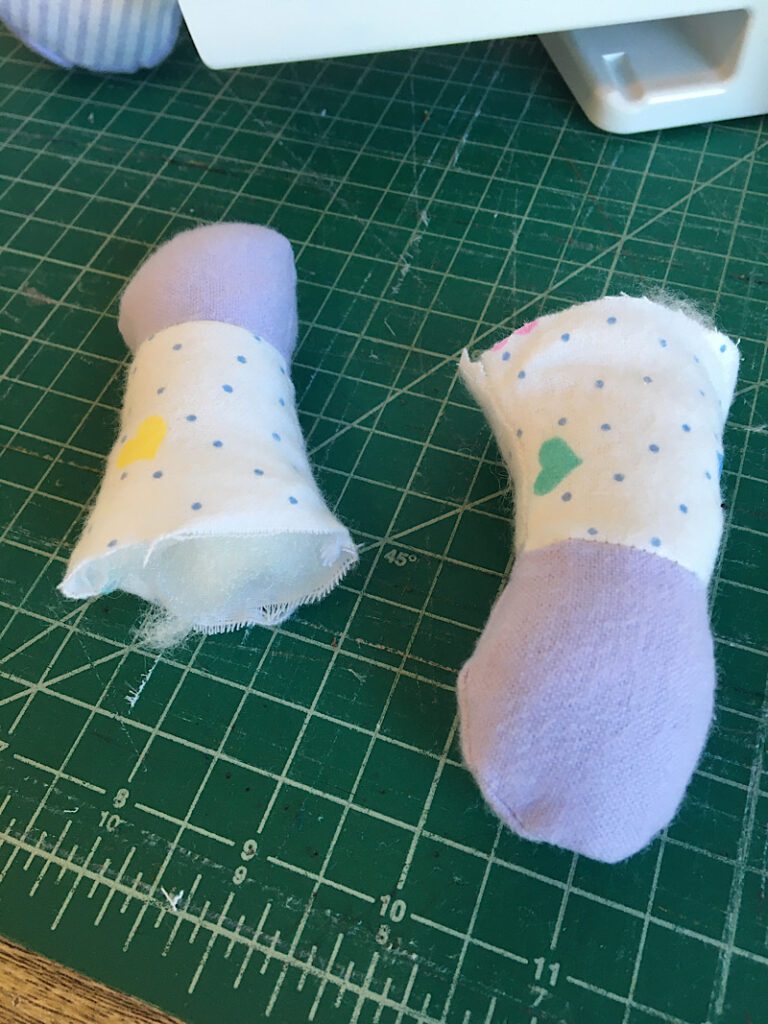
Repeat these steps for the other leg. Then, stuff the legs with poly fil.
The more you stuff the legs, the fuller it will look, BUT the harder it will be to finish the bear later. If you are a beginner, I recommend leaving at least 1-1.5 inches of fabric unfilled at the top. It will be much easier to assemble later with that extra space.
Step 5. Sew The Arms & Tail
This pattern has two arm options. You can make solid arms where the arms and hands are one piece, or you can make the hands (paws) and arm two different colors.
I chose to do the separate hand color option.
Lay out the fabric pieces of the hands and arms so you know where the each belong.
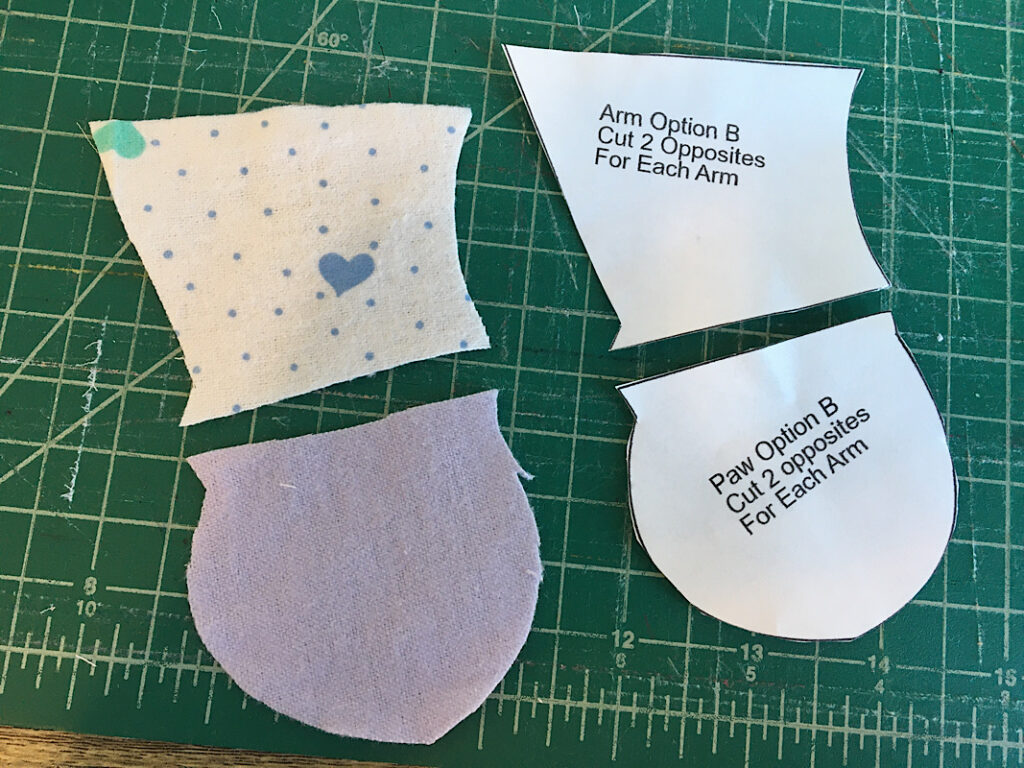
Align the flat “wrist” edges of the arm and hand with the right sides facing. Sew along the wrist seam.
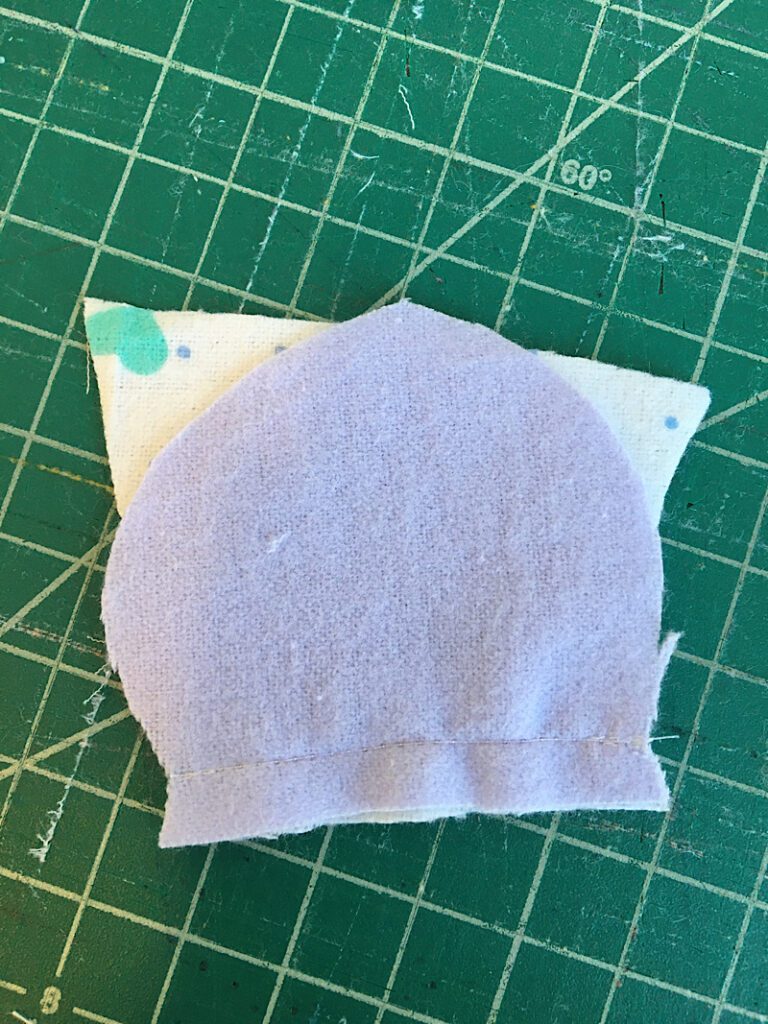
Repeat this with the other side of the arm. Then, open each piece and stack them together with the right sides facing. Sew around the perimeter, leaving the top flat edge open.
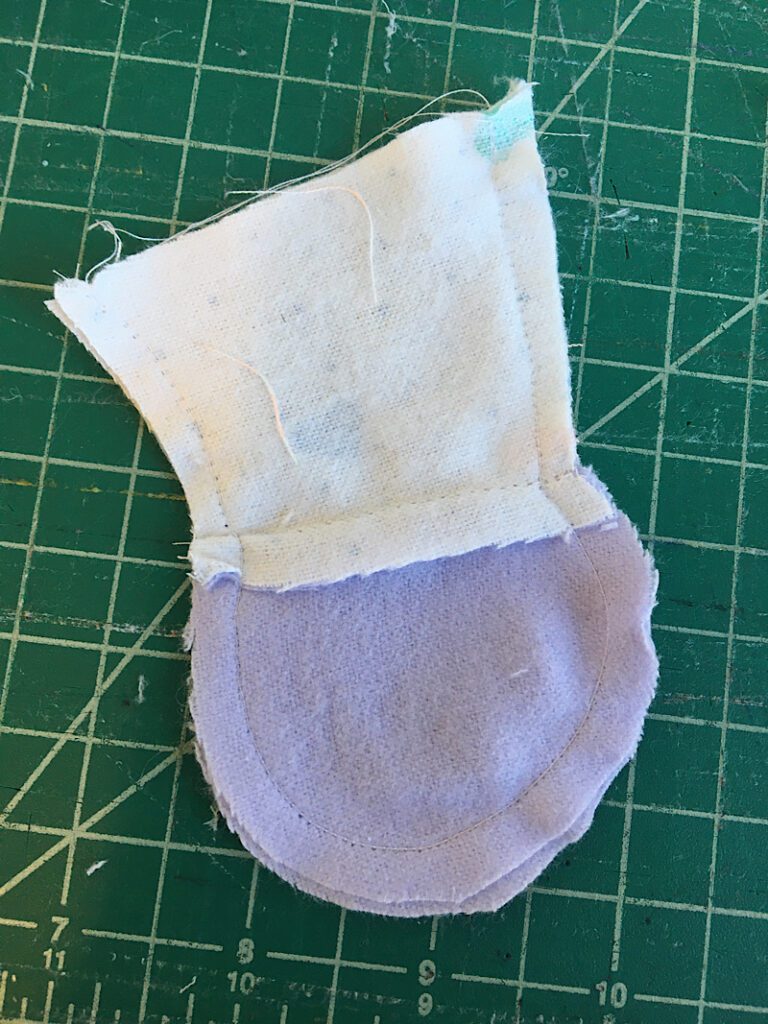
Notch or pink around the edges, then flip it right side out.
Repeat these steps for the other arm.
Then, stuff the arms with polyfil. Like with the legs, it will be easier to sew later if you leave about an inch or so unstuffed from the top.
Now to sew the tail, fold the tail piece in half with the right sides together, and sew around the perimeter leaving the flat back gap open.
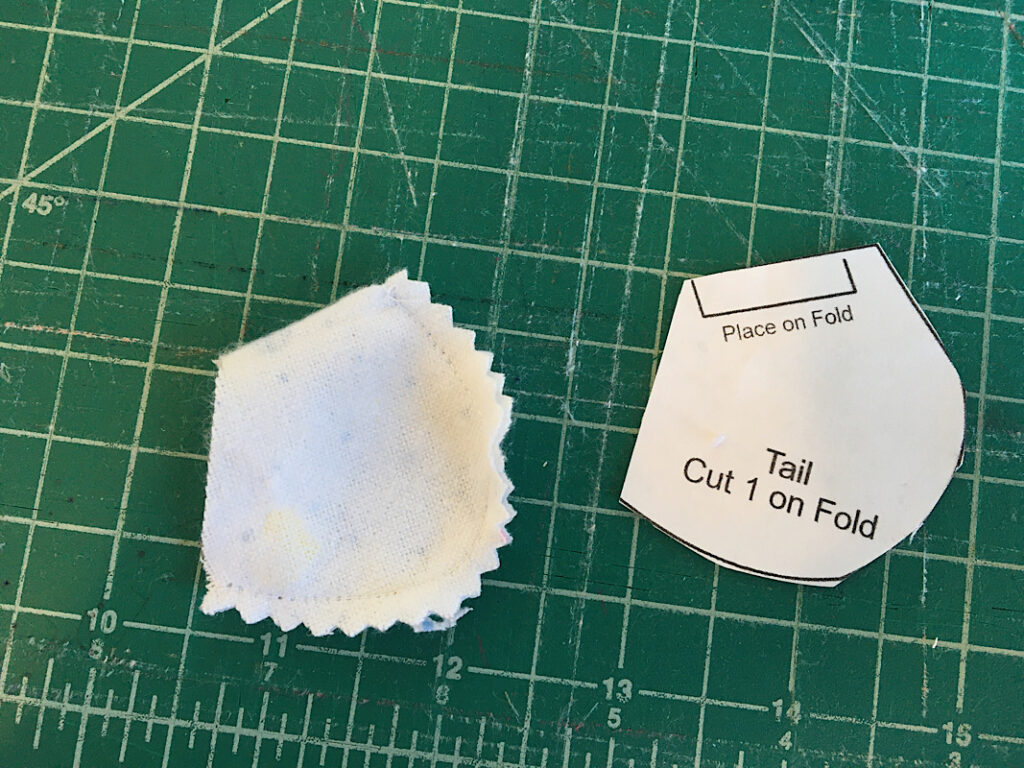
Then turn and stuff the tail.
Step 6. Assemble The Body
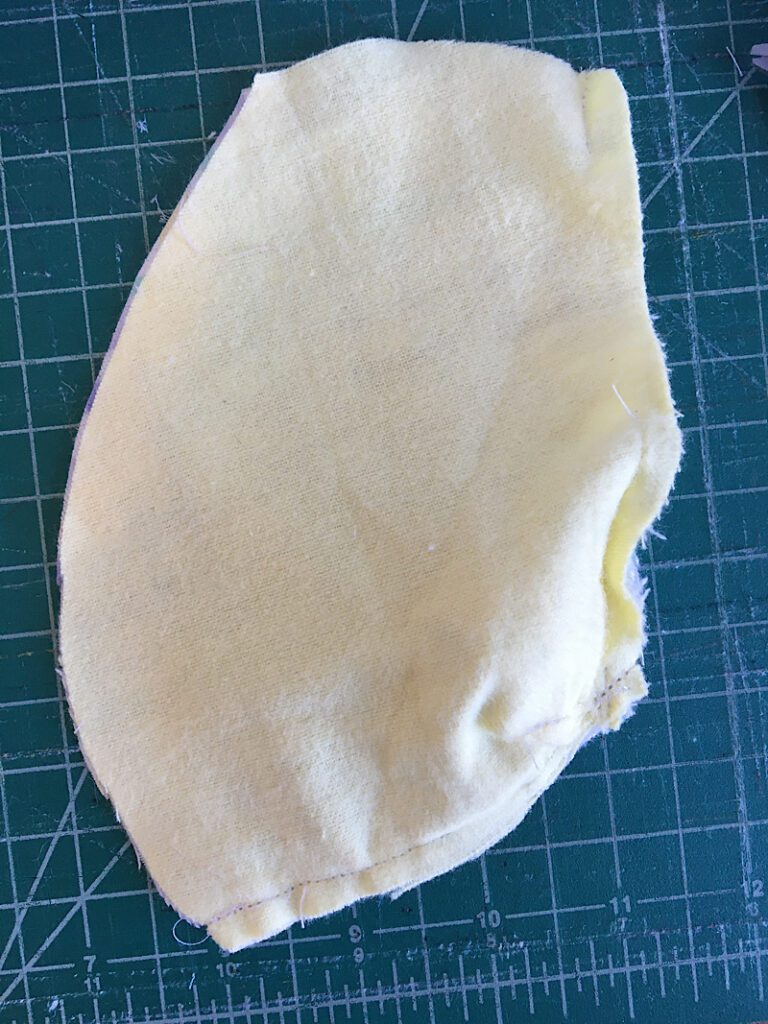
Fold the “tummy” piece in half on the fold with the right sides together. Sew along the flat edge in the bottom left corner. Notch the edges.
On each “Back” piece, fold the fabric to align the two long sides of the notch at the bottom. Then sew across the notch edge.

Open up one of the back pieces and pin the tail in place above the notch seam you just sewed.
Place the other “Back” piece on top with the right sides facing. Pin and sew down the flat side, sewing a half inch long stitch from the top, then leave a gap until the tail. Then, sew only from the top of the tail down to the bottom.
Then sew along the bottom edge as well, leaving the curved edge and top edge open.
When you open up the back now, the tail will be attached and there will be a gap above it.
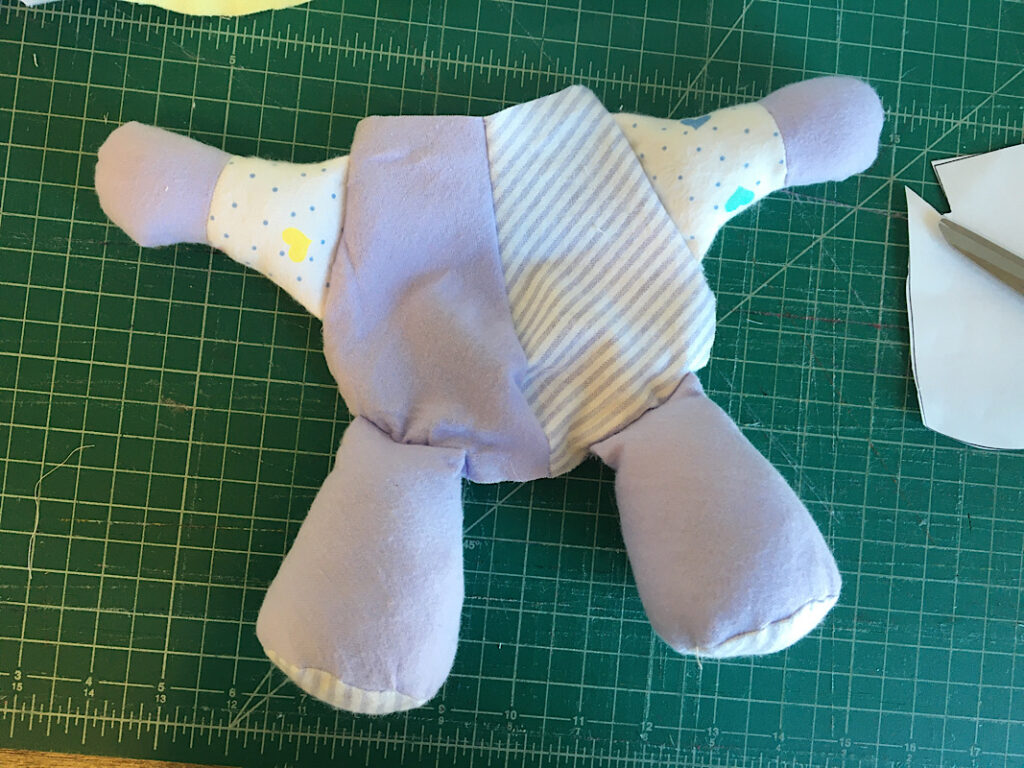
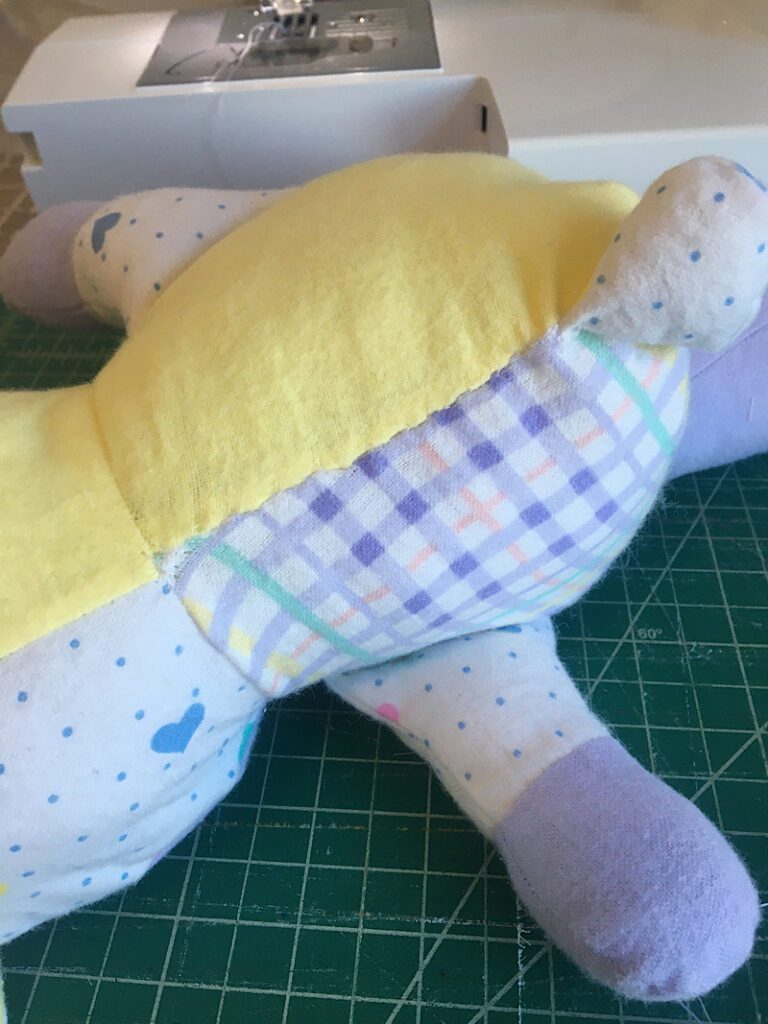
Step 7. Attach The Arms & Legs
Place the “Tummy” piece on the table with the right side facing up. Pin the arms to the sides, about a half an inch below the top edge.
Then, sew the arms to the edge of the tummy and remove the pins.
Next, position the legs near the bottom of the tummy, about an inch away from the midline. Then sew them on as well.

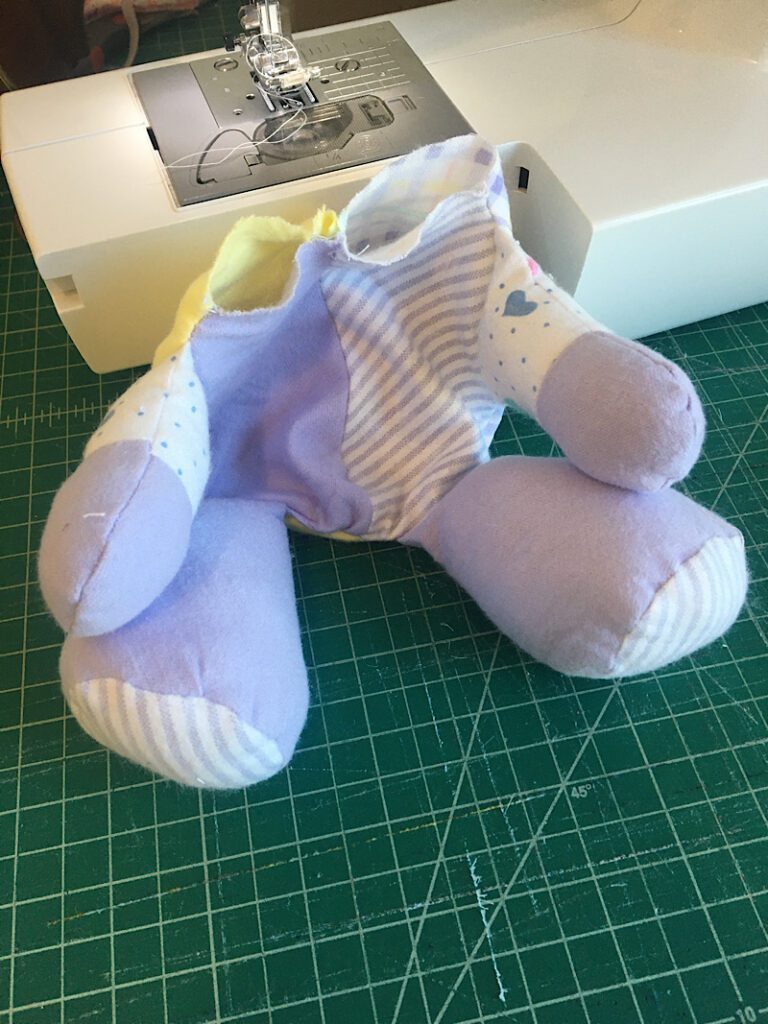
The legs and arms are now attached to the tummy, like this:
Okay, the next few steps are a little bit more tricky, especially if your legs and arms are very stuffed like mine were. (If you took my advice and didn’t stuff them all the way, this part will be easier!)
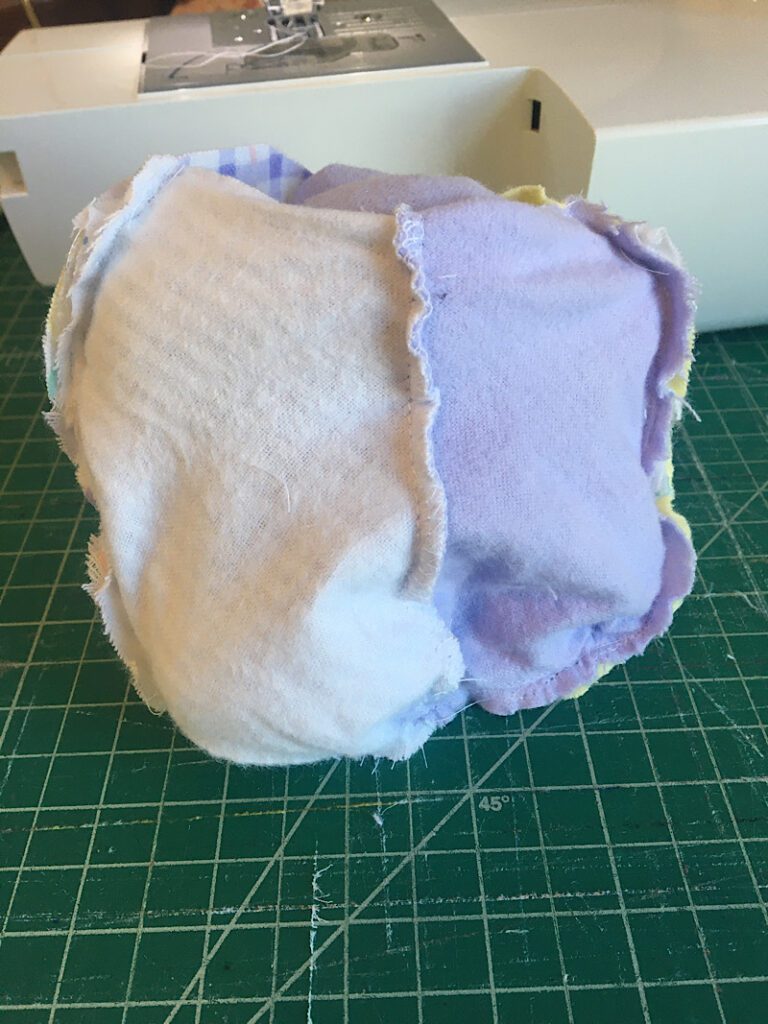
Fold the arms and legs back into the center of the tummy so that the raw edges are facing the outside of the fabric. Then, place the “Back” piece on top of the tummy, and pin around the edges.
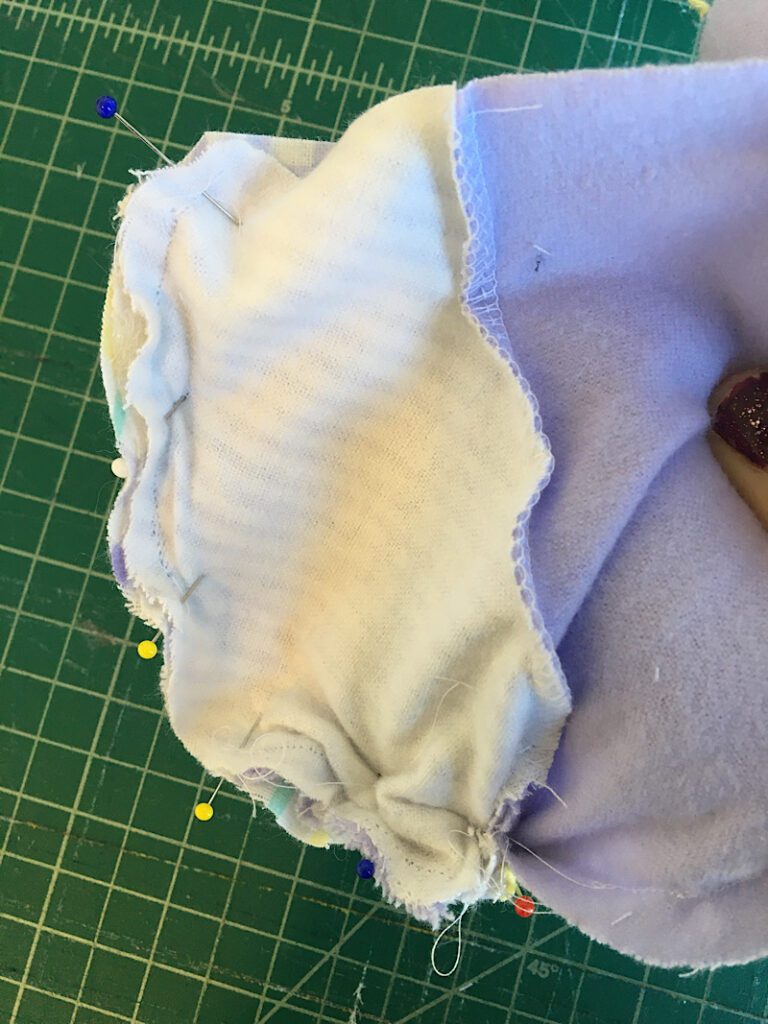
Sew or serge around the sides and bottom of the body, leaving the neck area open.
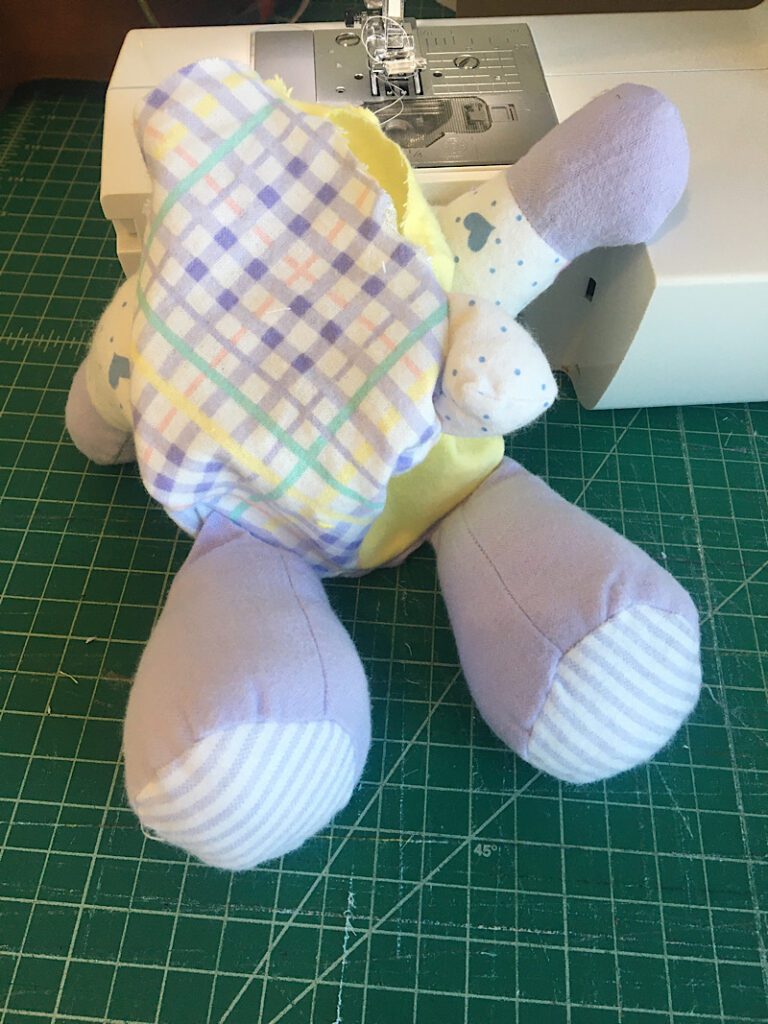
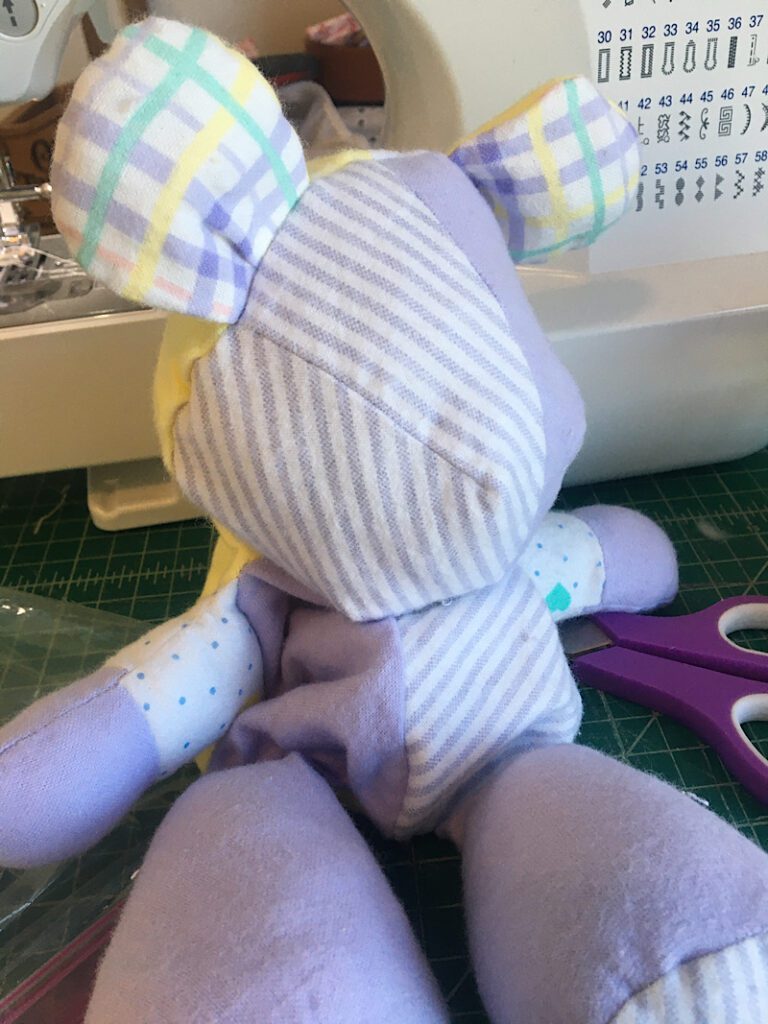
When you flip it right side out it will look like a body with arms and legs!
The back of the bear should still have an open gap that you will use to stuff it later.
Now turn the bear inside out again and stuff the limbs back inside.
Turn the completed head inside out, and place it into the neck of the bear’s body, being careful to align the front of the face with the front of the bear. Pin the head to the neck.
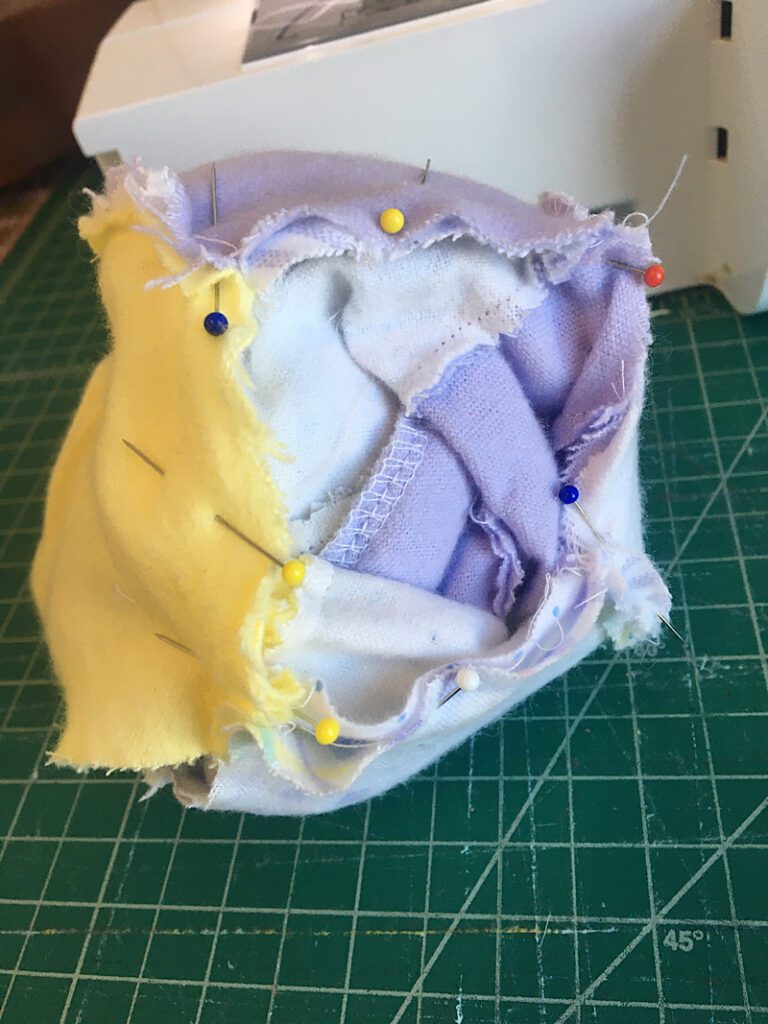
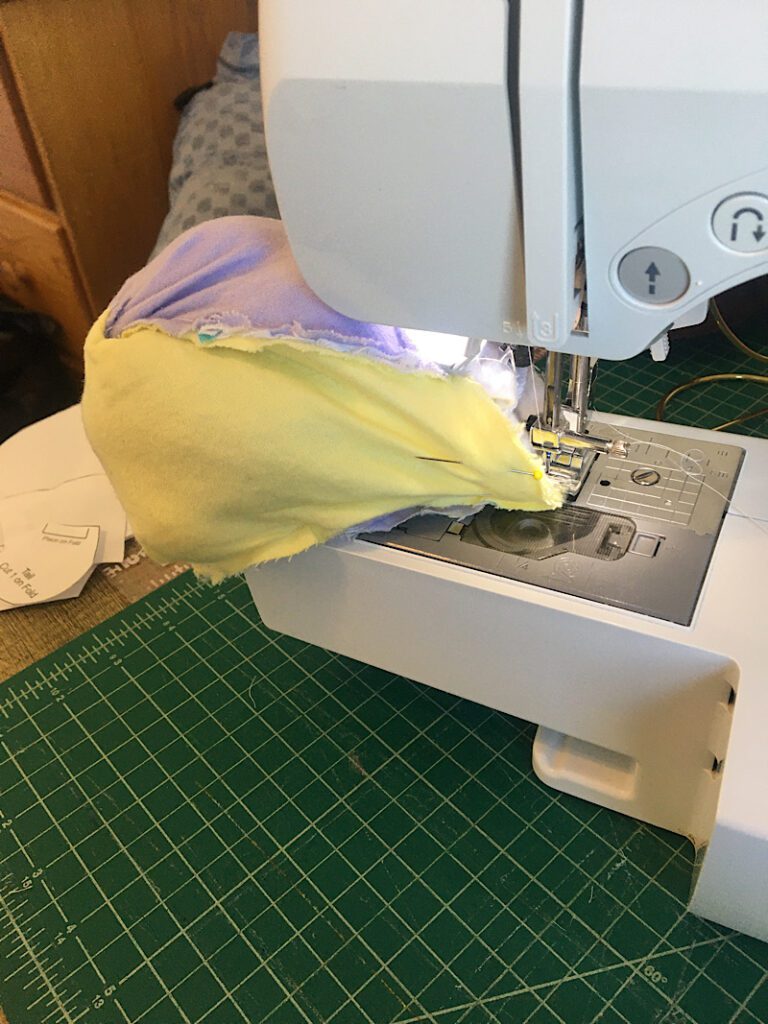
Now, sew along the edge of the neck to attach the head. This will be tricky since the body is full of stuffed arms and legs, you will have to go slow and straighten/turn the neck every few stitches to make sure it is all lined up properly.
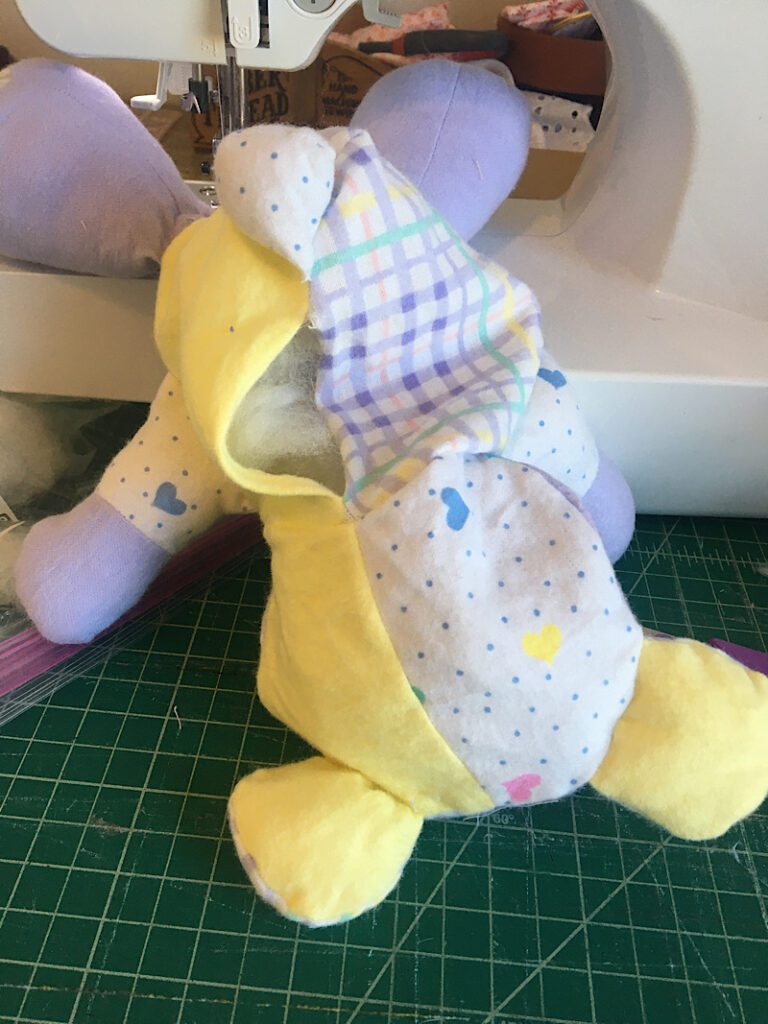
When the head is sewn on, carefully flip the whole thing inside out through the gap on the bear’s back.
It’s really looking like a bear now!
Step 8. Stuff The Bear
Through the opening on the bear’s back, first stuff the head full with polyfil.
After the head is nice and full, fill the body.
When the back is nice and full, fold the two raw edges down towards the inside. Then, sew the gap closed with a ladder stitch.
Now the bear looks like a bear! You are so close to being done! (If you already attached the eyes and nose then you are done!)

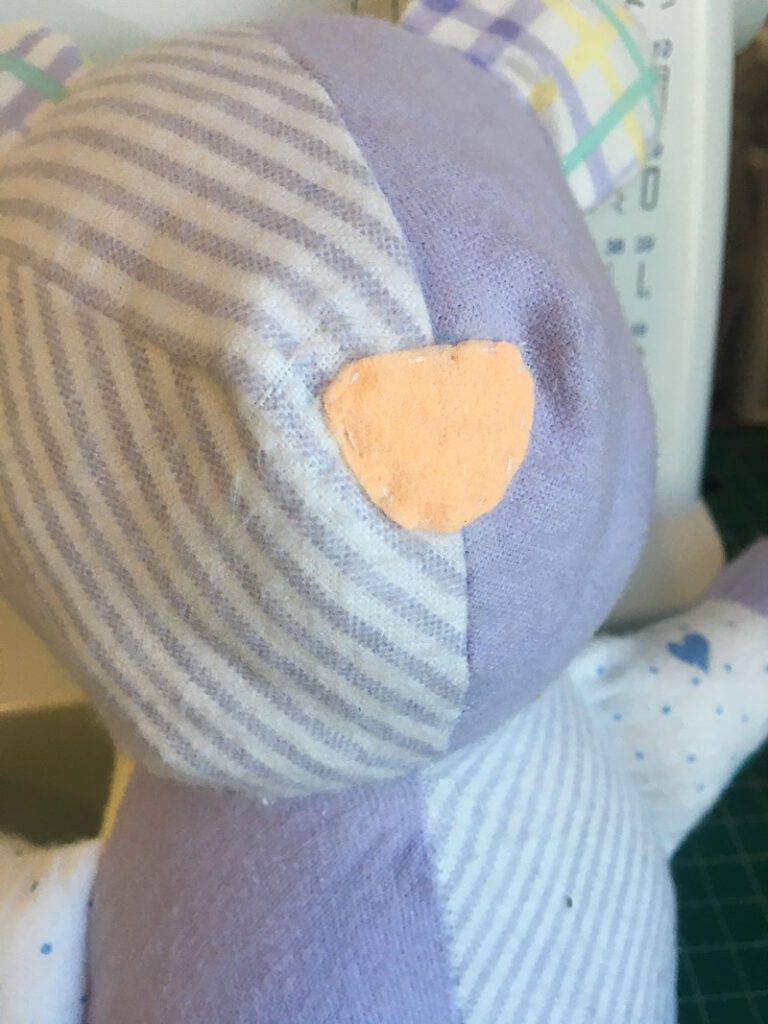
Step 9. Add A Face
I decided to make a felt nose and button eyes. But you can embroider it, use HTV, paint it, or anything else!
First I sewed on a piece of pink felt for the nose.
Next, I sewed on two yellow buttons for the eyes.
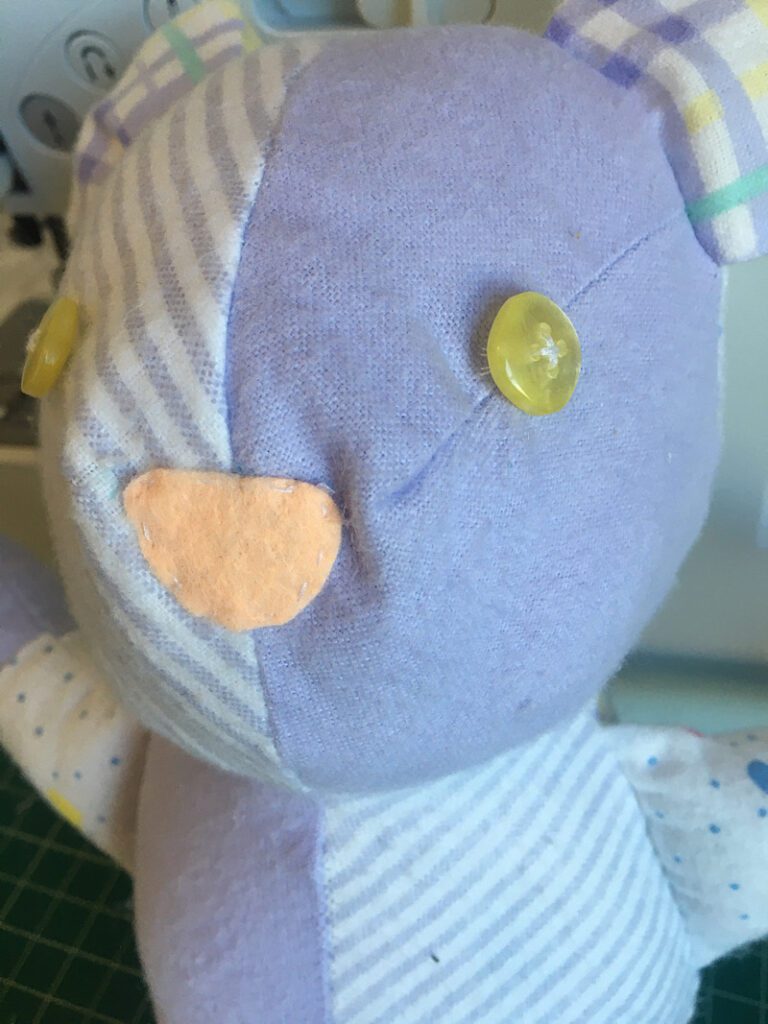
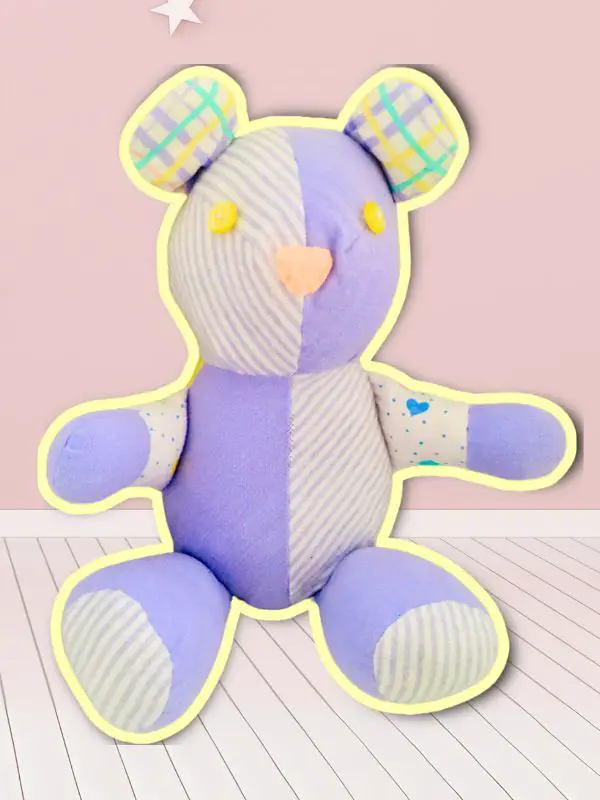
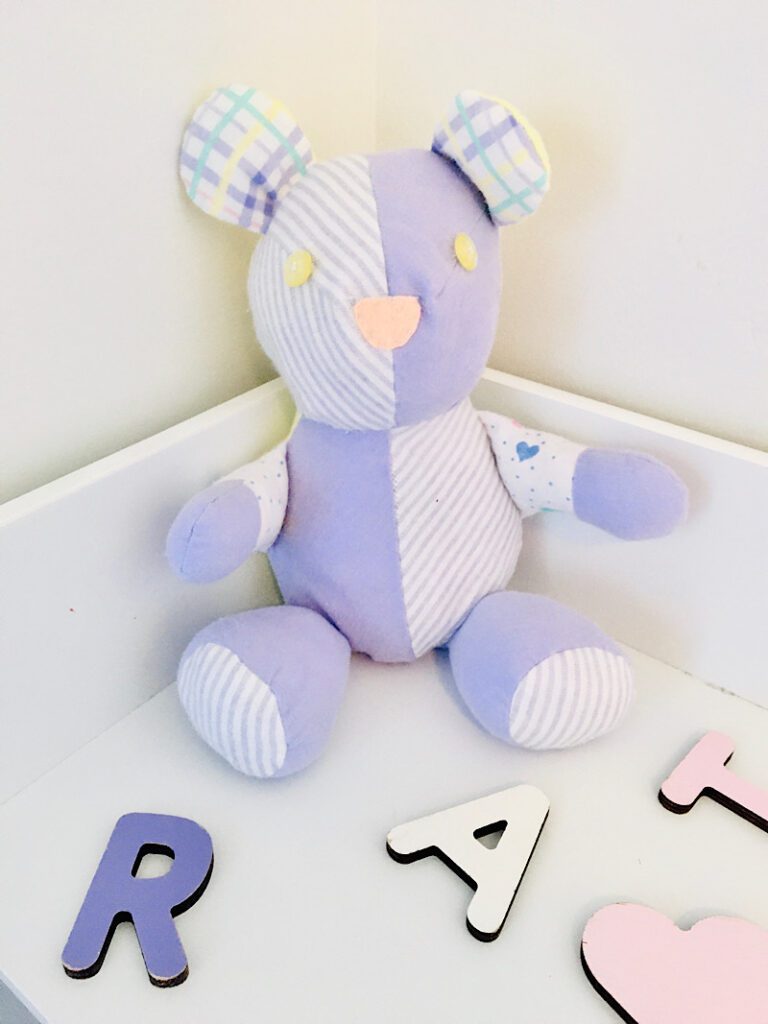
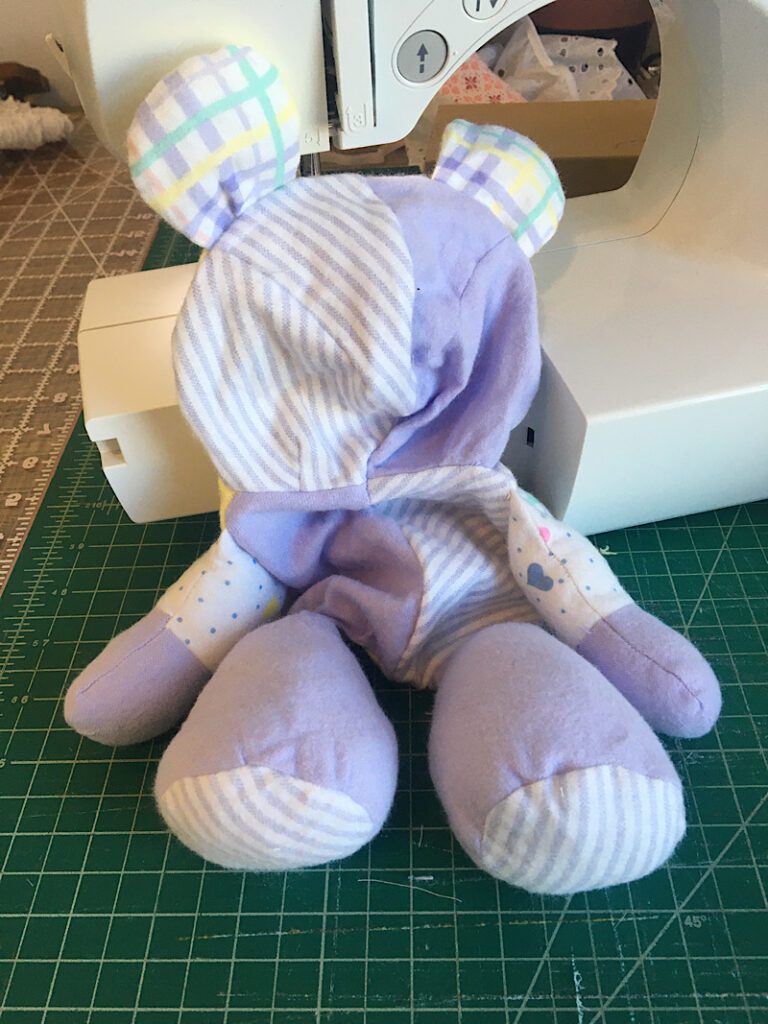
Now the bear is complete!
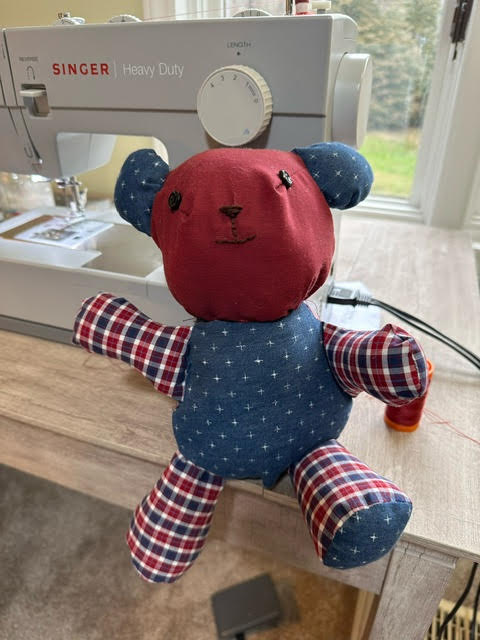
I really like how scrapy this bear turned out. Using several pieces of color coordinating flannel made a soft and playful bear.
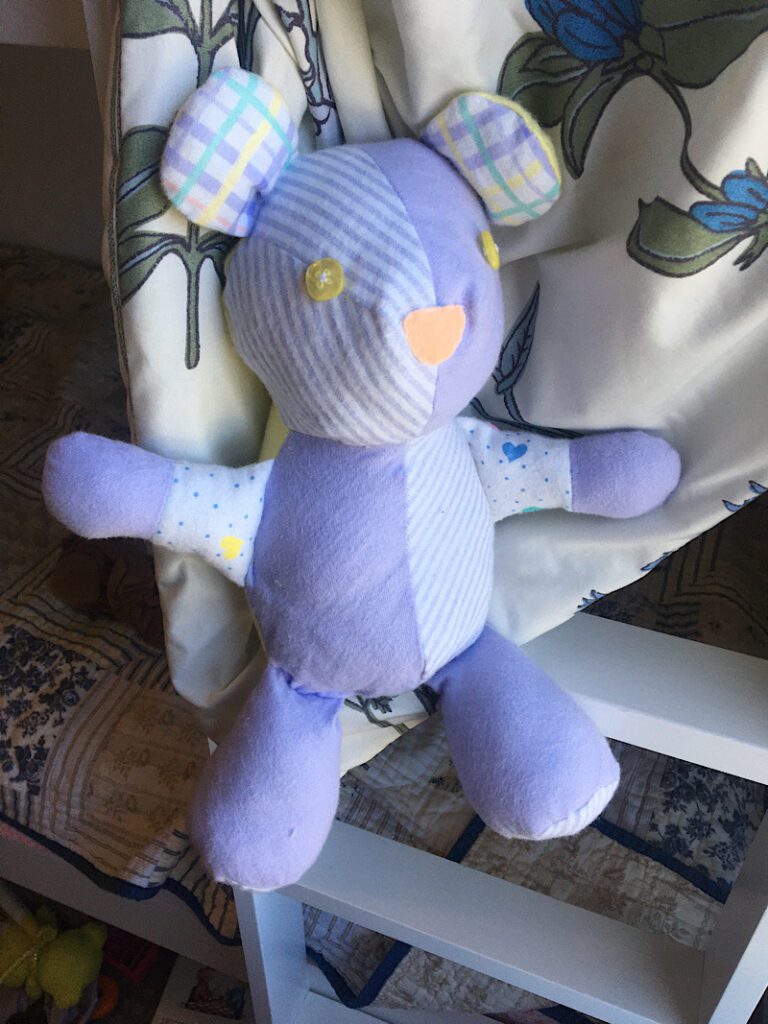
Here’s the top view:

This was a fun project to use up some fabric I inherited from my husband’s grandmother who recently passed away. This bear was a great way to remember her and her talent as a seamstress!
It would also be great to make with baby clothes or blankets!
If you liked this tutorial, please share this post on pinterest.
If you have questions, please don’t hesitate to let me know. Sometimes the way I describe things isn’t the way you might understand it. I’d love to help!
Looking for more “Memory” sewing projects? Be sure to check out my adorable Memory Baby Quilt pattern set!
Show & Tell
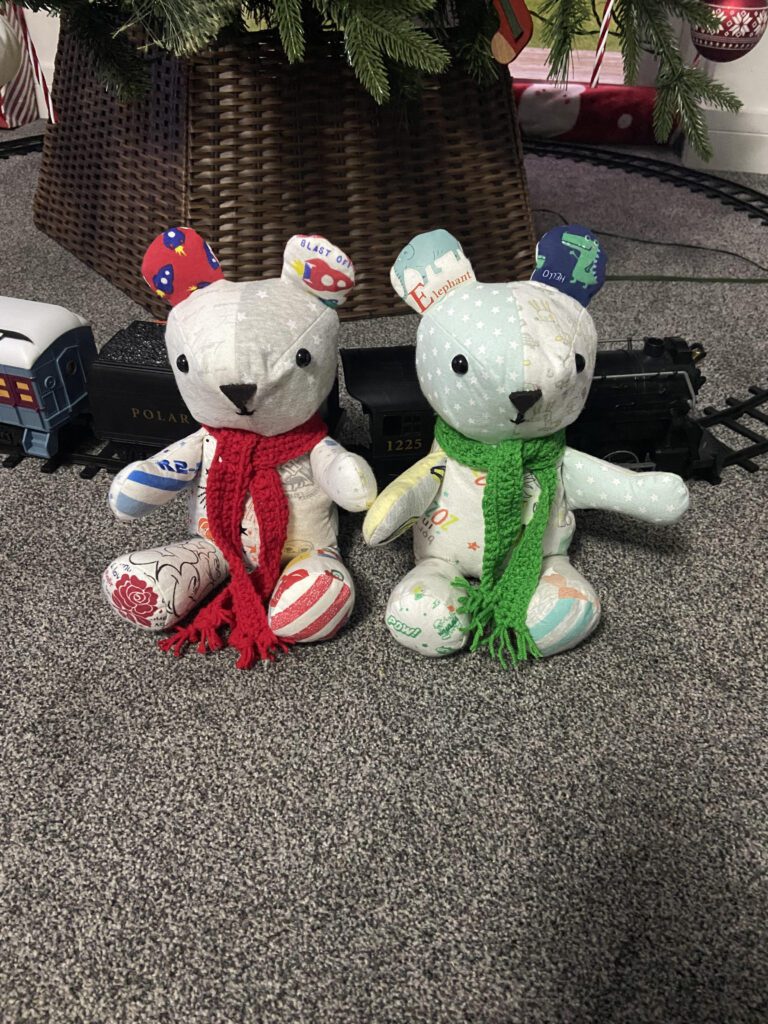
Diane sent me this adorable photo of the bears she made! I love the scarves and smiles. They turned out so cute!
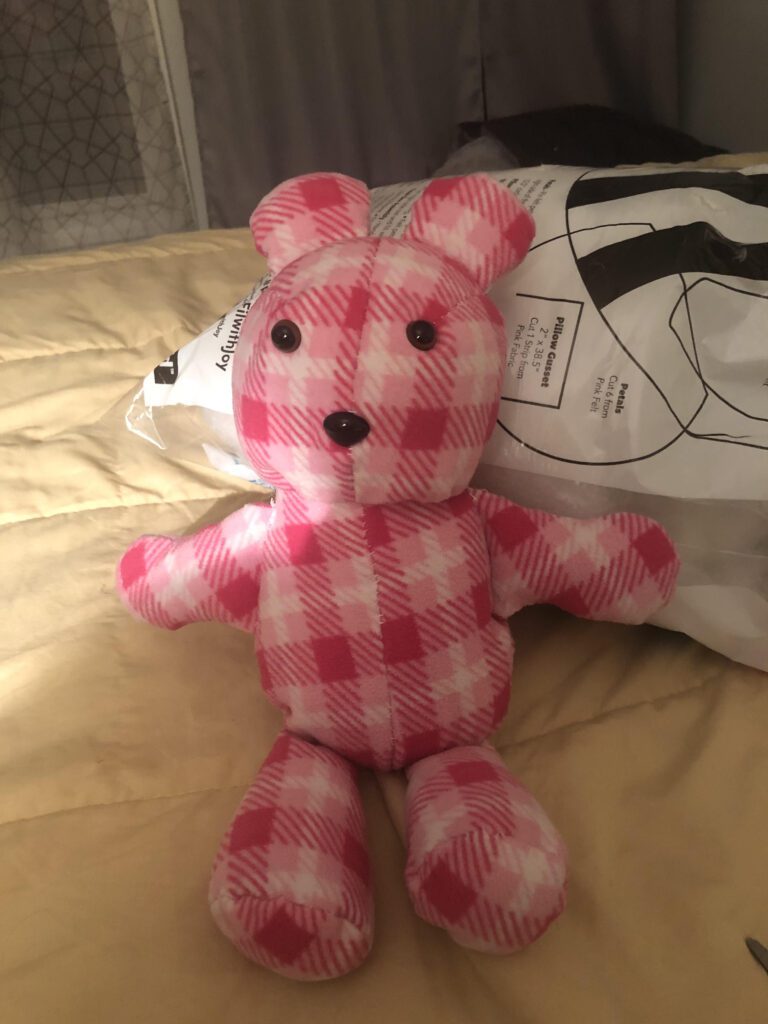
Skylar sent me this cute photo of this pink bear, It turned out lovely! Thanks so much!
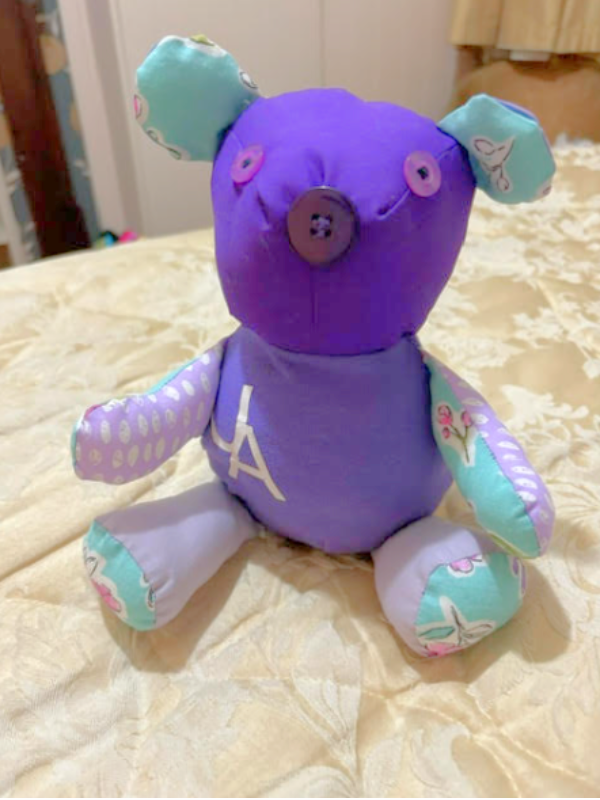
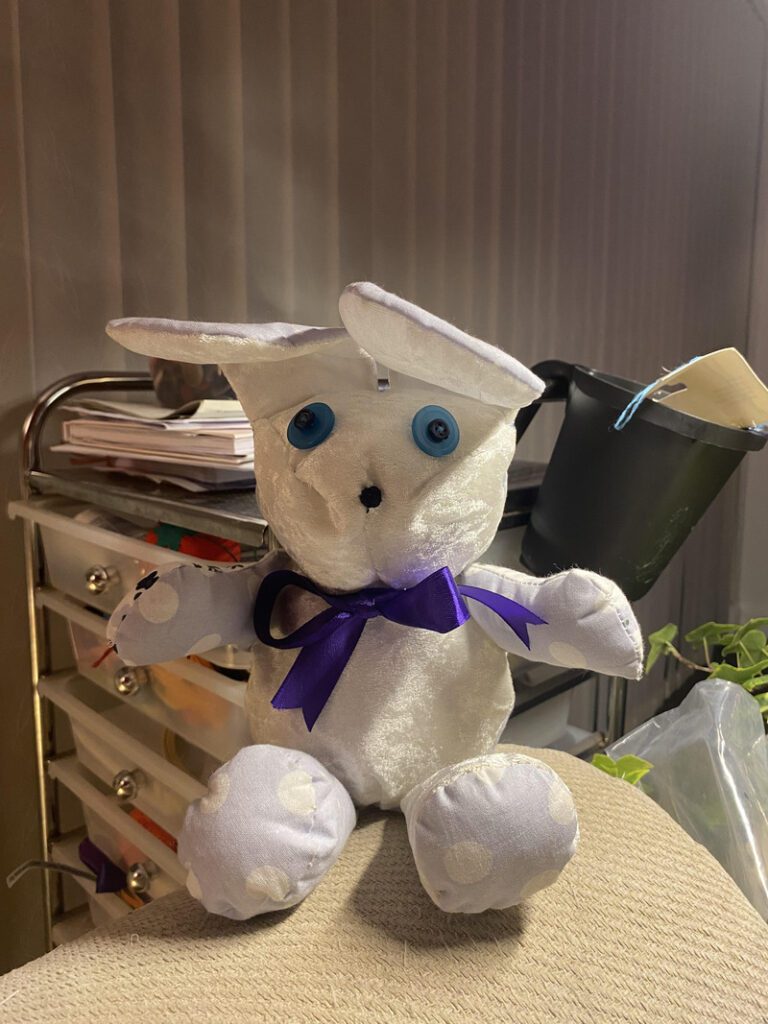
Lou made this super cute purple bear for her friend.
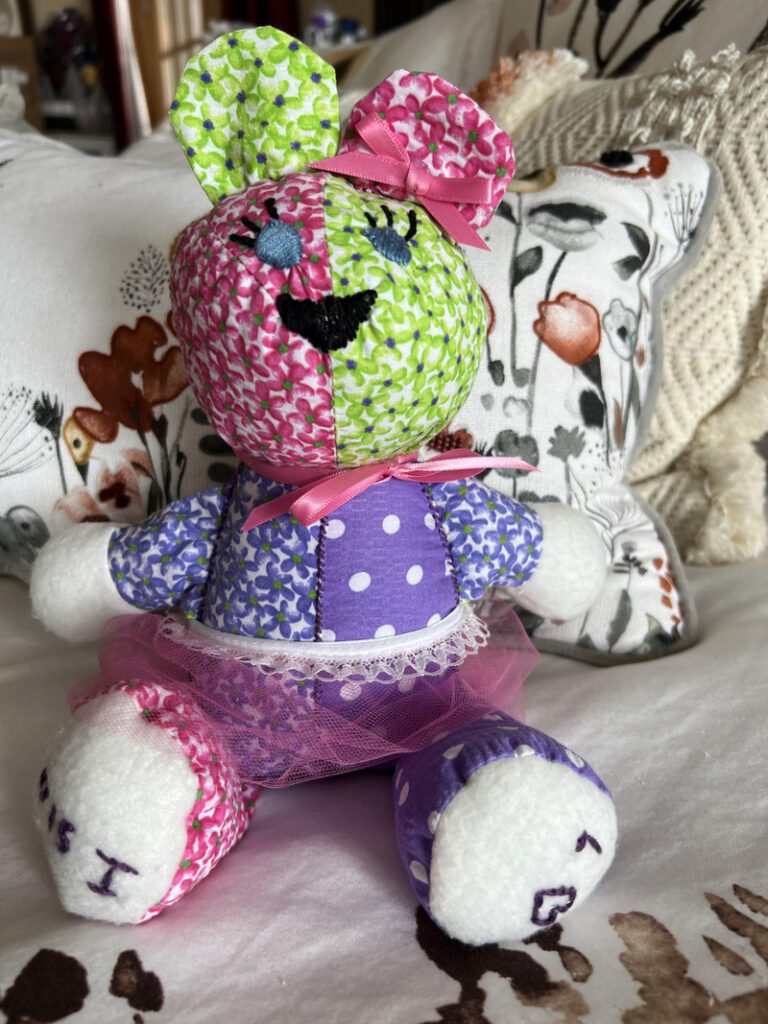
LaDawna made this cute floral bear and added a homemade tutu!
Audrey Tried out the bunny version of this pattern!
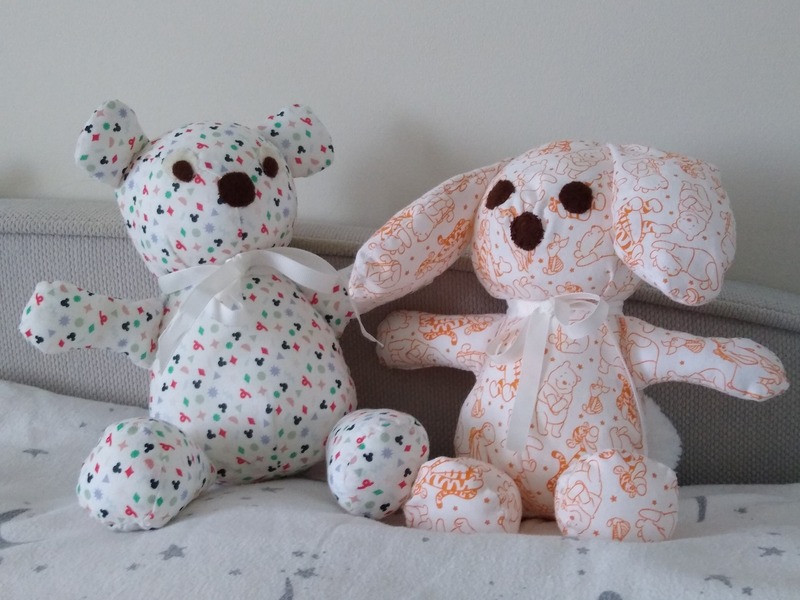
J. made the memory bear and bunny with such cute fabric! I love how they turned out!
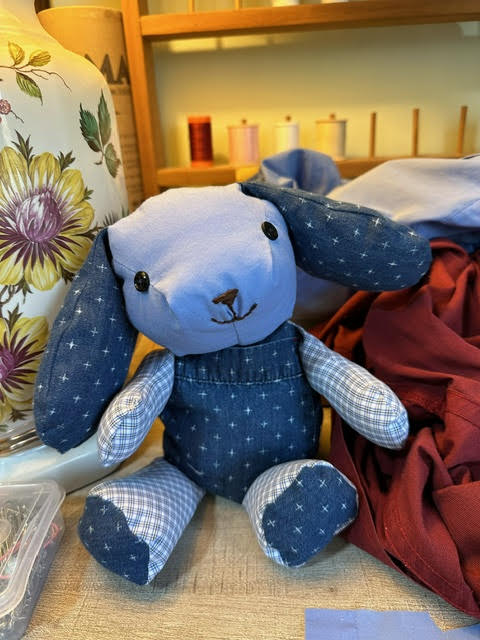
Rita made a bear and a bunny, I am in love with the bunny’s smile! so cute.
Please could you provide a downloadable pdf of the instructions. Thank you
Hi Elaine! I would be happy to, but it would be a paid product at that point, not a free one since it would take extra time to make!
There are 90 pages with multiple ads for the instructions, would love just tge instructions. My brother passed at tge end of Nov unexpectedly and trying to creat a bear with his jeans and shirts. This is so emotional. He was tge first of 7 siblings. His birthday is Jan 30th. Now I’m in tears just typing this, sorry never easy. Thank you for all you do.
Carol, I understand the frustration! I have had multiple requests and have made instructions for this pattern. I have to get paid somehow, so for those who prefer not to scroll through ads, the printable pattern will soon be available for a few dollars. I will email you.
Edit: It is now available!
What is the finished size of the bear?
Hi stella! I can’t find my bear to measure it, I should have thought of that! It’s probably between 12 and 18 inches or so!