It is really annoying when a serger needle breaks, but it’s even worse when it happens again! If your overlocker needles keep snapping, don’t give up just yet. In this post you will learn how to fix it once and for all!
If you own a serger for a while, you will probably find yourself having a broken needle once or twice! That can be normal, even for experienced sewers.
But if they keep breaking over and over, there is probably something else going on. So what causes a serger needle to break?
Some common reasons serger needles break include: using the wrong needles, threading the machine without raising the presser foot, having a loose needle plate, and pulling the fabric through too forcefully.
Let’s dive a bit deeper into these several common (and not so common) reasons why serger needles break, so you can get to sewing again!
1. You’re Using The Wrong Needles
There are two things you need to take into consideration when choosing needles for your serger.
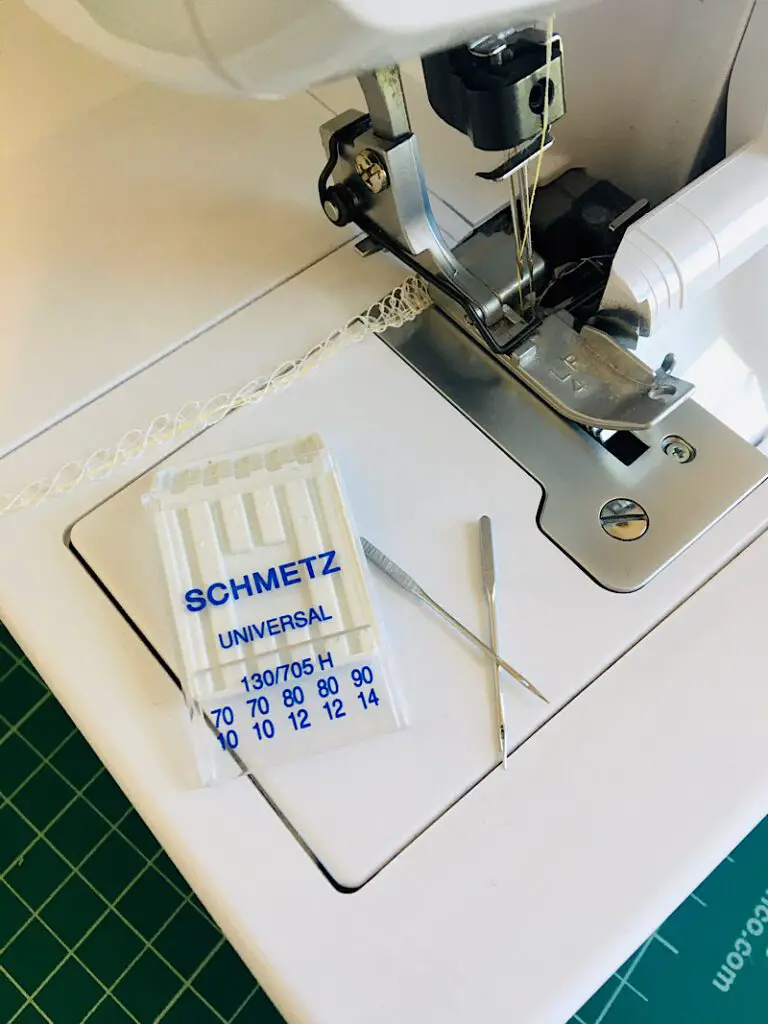
First, you need to use needles that are compatible with your machine. Most domestic sergers use regular universal sewing needles (#12 or #14 are the ones I see recommended for sergers), but you should check your manual to see the exact type it recommends, just in case!
My brother 1034D overlock recommends using SHMETZ 130/705H needles (which are basic universal needles with a flat shank.)
Using round shank needles instead of flat shank needles will prevent them from locking into the needle housing correctly, causing them to shift and break. Similarly, using needles that are too long or too short might cause issues with timing and potentially break, or not make stitches properly.
The second thing to keep in mind is that your needles need to be appropriate for what kind fabric you are overlocking.
Serging over thick seams on denim or heavy weight fabrics can break too-thin needles!
2. Your Needles Are Bent or Dull
Over time the tips of sewing needles become dull from usage. A needle with a blunt or dull tip won’t be able to pierce through the fabric as you sew, which can cause the tip to bend and snap right off.
Or, if the needle bends but doesn’t snap, you should still throw it away. Bent needles are not safe to sew with, because they can hit the needle plate and break off. This has happened to me!
Sometimes needles are bent without you even being aware, so turn your serger sideways and look at the needles from that angle to make sure they are straight!
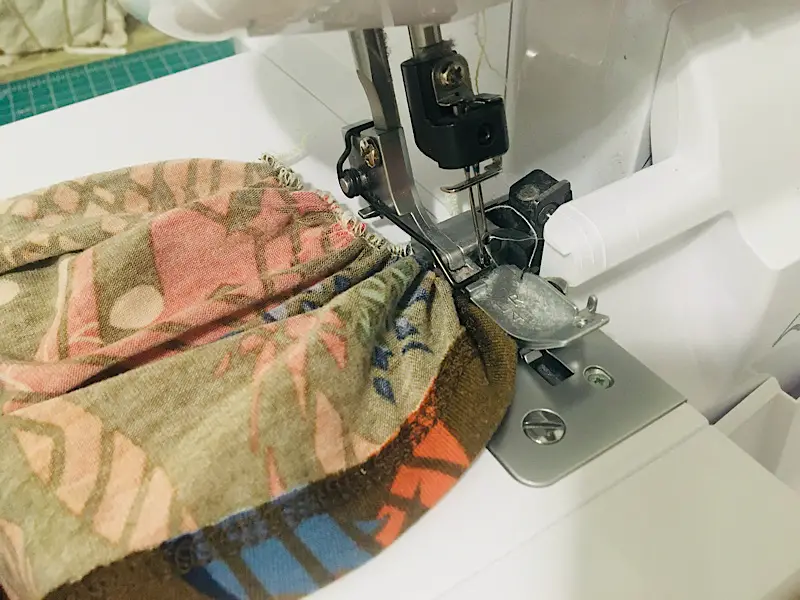
3. The Fabric Is Not Being Fed Properly
When the fabric moves through the machine as it should, it is smooth, doesn’t bunch up, and doesn’t shift. If there is any shifting, sliding or bunching, your needles can deflect off of the fabric, and that forceful bending causes needles to break.
Some causes of fabric not being fed through the serger properly include: improper tension settings which bunch up the fabric, inappropriate presser foot pressure, and (the most common) pulling the fabric through the machine too fast instead of letting the feed dogs move it naturally.
Make sure the fabric makes contact with both sides of the feed dogs so it is pulled straight through, and don’t try to make it go faster.
If your fabric is thick and having trouble feeding, you can gently help it along, but do so at the speed the feed dogs would naturally move it!
You also want to make sure that you are trimming fabric off when you serge, even if its only the slightest amount.
The reason for this is that if your fabric isn’t far enough to the right (by the knife) then the feed dogs may have trouble grabbing it, which could cause jamming or bunching, and needle breakage.
4. Needle Is Not Correctly Inserted
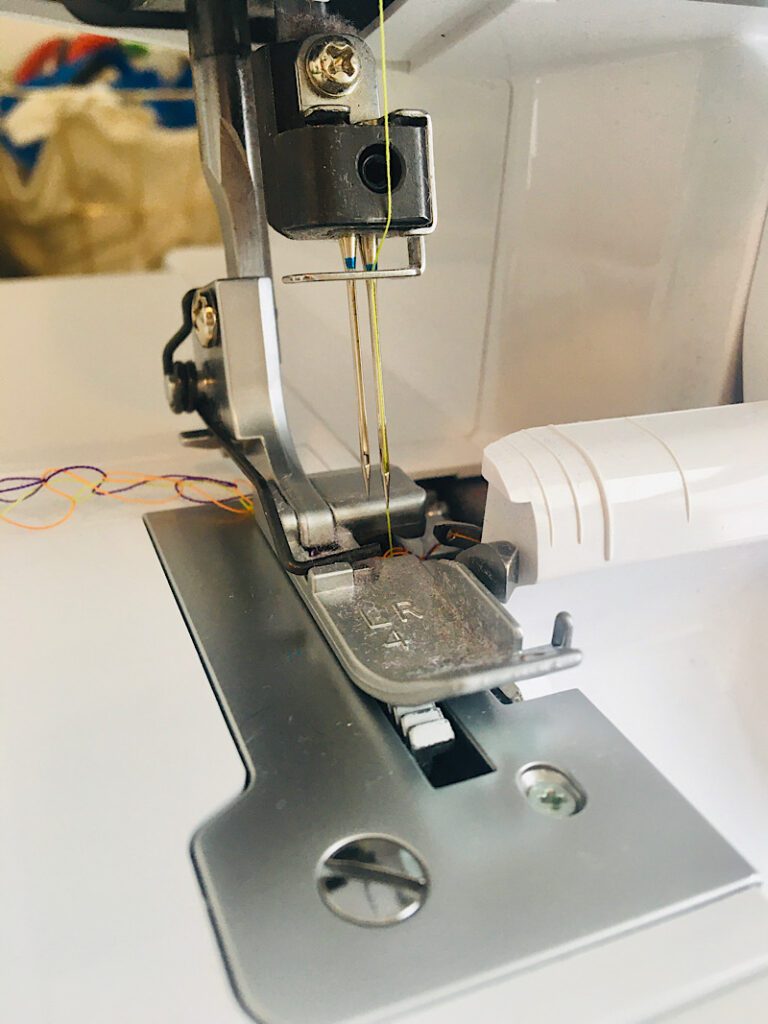
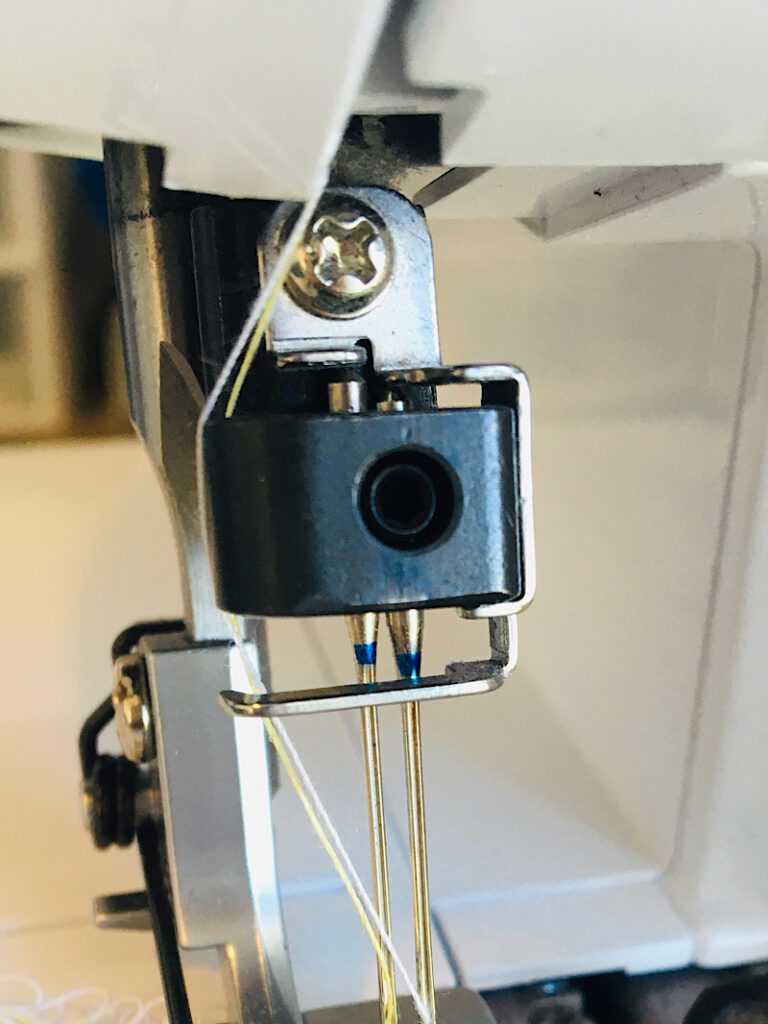
When inserting your needles they need to be properly seated for the machine to function as it should. Needles should be pushed up as far as they can go, and facing forward.
Each needle will end up being a different height, but they should both be pushed as high as they can go.
When needles are incorrectly inserted, they might shift, turn, and break.
It is always a good idea to quickly replace or reinsert the needles when you have serger problems. Loosen the screw and reinsert the needles, and make sure the screw is retightened well.
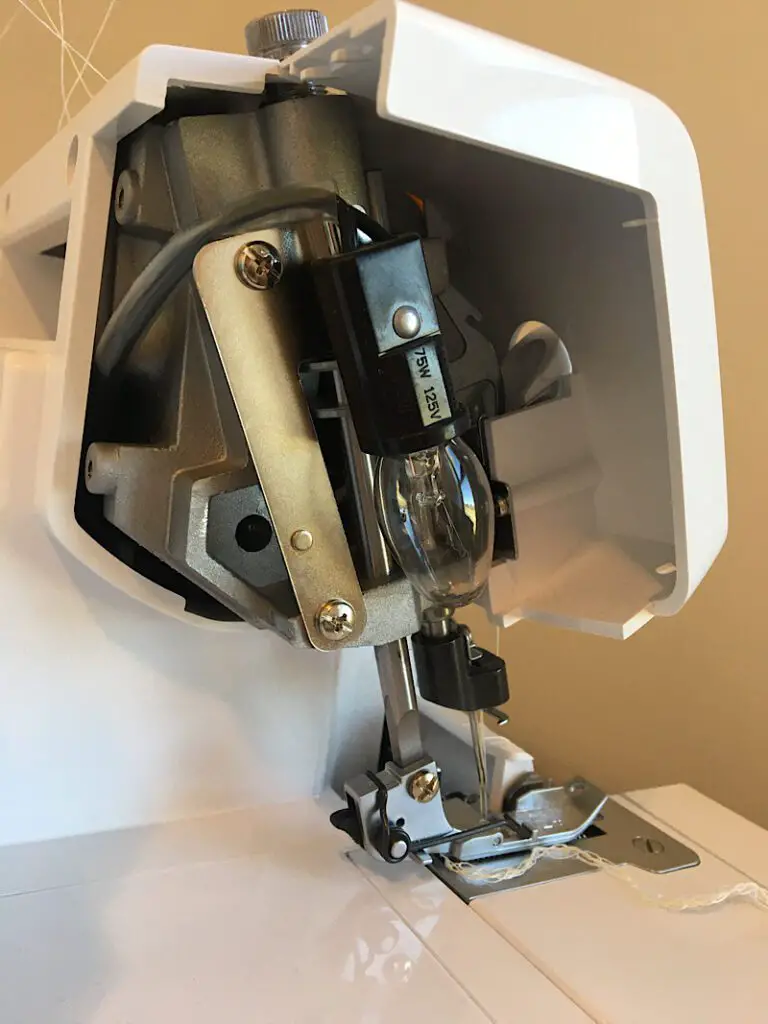
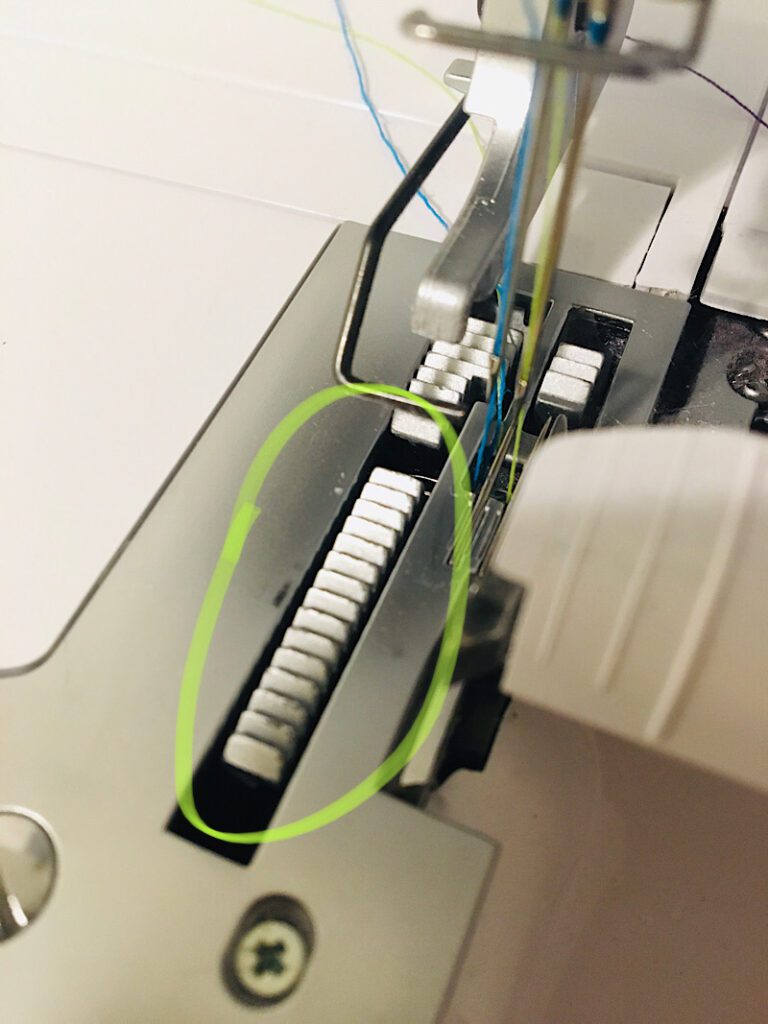
5. Problem With The Needle Plate
Take off your presser foot and slowly turn the side wheel to watch what happens when the needles go down.
Do they get too close to the needle plate? If so, check to see if the plate is loose or has slid out of place. If the needles get too close to the plate, they can hit it and break on impact.
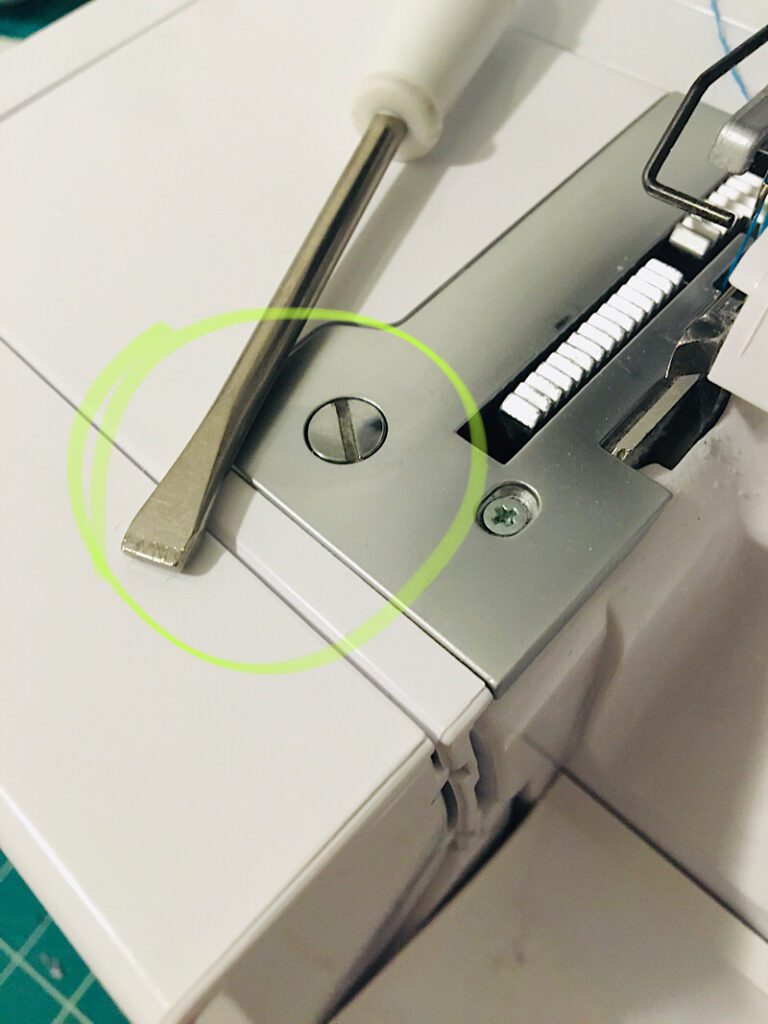
In addition, pulling the fabric too quickly while the needle is piercing through it can cause the needle to deflect enough to hit the needle plate. This has happened to me on my sewing machine, and it can also happen with a serger.
If you ever need to replace the needle plate, make sure you replace it with the right one. They are not universal!
Even Janome says in their 7034D serger manual:
“Always use the proper needle plate. The wrong plate can cause the needle to break.”
6. Machine Is Incorrectly Threaded
Did you know that when you thread your serger, you are supposed to raise the presser foot? When you raise the presser foot it opens up the tensions disks and allows the threads to easily thread through.
Without raising the foot and opening the tension disks, your threads might not slide through the needles, and instead they can tighten up and pull on the needle and cause it to break!
Tip: The thread might also catch on something else, like the slit edge of a spool of thread. When in doubt, re-thread!
7. Machine Is Out Of Time
If your serger is old, used, or it’s just been a while since it has been serviced AND none of these other solutions fix your problem, it might be time to check the time!
The inner workings of your serger all have to work in harmony, if they are out of time with each other, the needle might hit a looper while lowering down into the machine.
A sewing machine out of time is typically not a DIY fix, but it still might be cheaper than buying a new machine.
If you need help finding a place to take your machine, here are some tips on how to find a good sewing repair shop.
Conclusion
When your serger needles break it can be frustrating! The way to solve this problem once and for all is to perfect your sewing techniques and machine upkeep!
As long as you are making sure to use the right needles that aren’t damaged, insert them correctly, and feed your fabric through, you have eliminated most of the causes already.
Be sure you look over my other serger troubleshooting guides as well, to prevent bunched fabric and skipped stitches.
Which one of these solutions fixed the problem for you? Let me know in the comments below.
Be sure to pin this post to help others find it as well, and join my email list for more free tips.