Learn how you can easily make your own double piping that will match any of your upholstery projects, without buying special equipment!
This post may contain affiliate links. Read the full disclosure here.
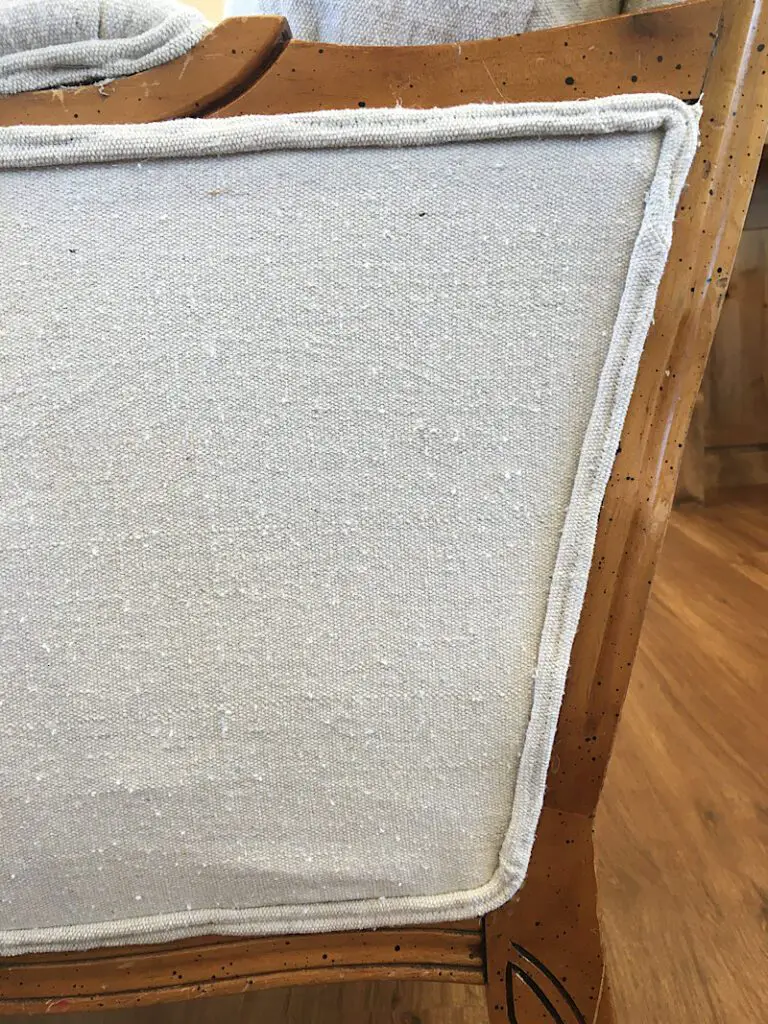
This is the technique I use to make piping for all sorts of upholstery projects I’ve done around the house. I like how it turns out, and I like how much it costs!
(In fact, I have re-used the old piping and just re-wrapped it to make new piping, as well as upcycling other items I had on hand to make the double cord!)
Supplies Needed
- Rotary Cutter, Rotary mat, and acrylic ruler
- Upholstery fabric
- Upholstery piping in the size you want to use (mine was just under a quarter inch wide, about 6/32)
- Sewing Pins, Fabric Scissors, Sewing Machine
- Zipper Presser Foot (Optional)
- Matching Thread (I used white thread so you can see it easier, but you should use matching thread)
How To Make Double Welt Piping
Tips & Notes
Before getting started, there are a few tips and notes I wanted to go over with you!
- For the absolute best results, you can use a double piping presser foot and double cording. BUT that is not what I do, because I like to use what I have! You can definitely use two single cords, and a regular presser foot.
Using a zipper presser foot in addition to your regular foot can help you get great results, which is what I did here, but again, if all you have is a regular presser foot, you can still make it work. - It is not strictly necessary to cut your fabric on the bias. However, if you can cut it on the bias, it will help make it bend smoothly around corners and curves when you apply it to your furniture.
I did not cut my fabric on the bias in this tutorial, or in either my DIY red couch Reupholstery or antique chair makeover projects. - If you have more loosely woven material that tends to fray, (like my drop cloth did in the antique chair project) you can make sure it doesn’t fray on the back after trimming by adding some fray check or hot glue along the edge. Or you can cut it on the bias, which will help it not fray as bad!
- Make at least 10% more trim than you think you need. Measure your upholstery, then add 10% to make sure you have enough.
Okay, Lets dive in!
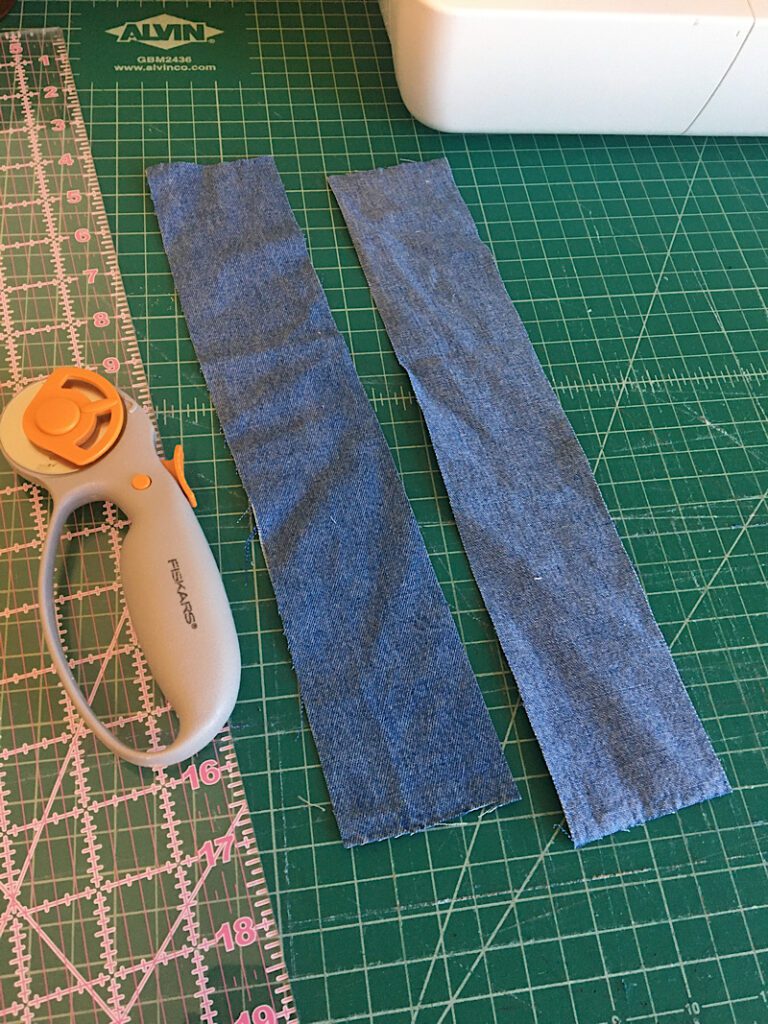
Step 1. Make A Fabric Strip
The fabric strip you cut should be wide enough to wrap around two pieces of cord, at least 1.5 times. There needs to be plenty of room to sew and trim away the excess. So if you are using larger piping, take a minute to measure around it and determine the width of fabric YOU should cut.
For piping that is about 6/32 inches wide, cut a 2.5 inch strip of fabric, as long as you need it to be.
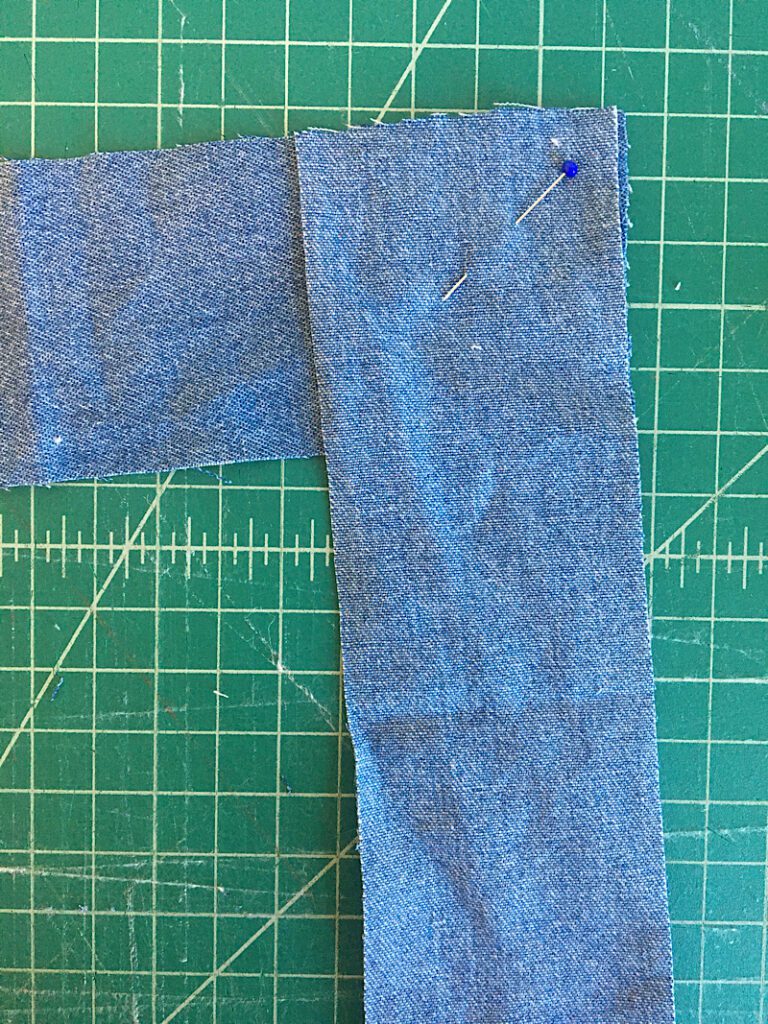
If you need a very long length of trim and your fabric isn’t long enough to accommodate it, you can connect shorter strips together.
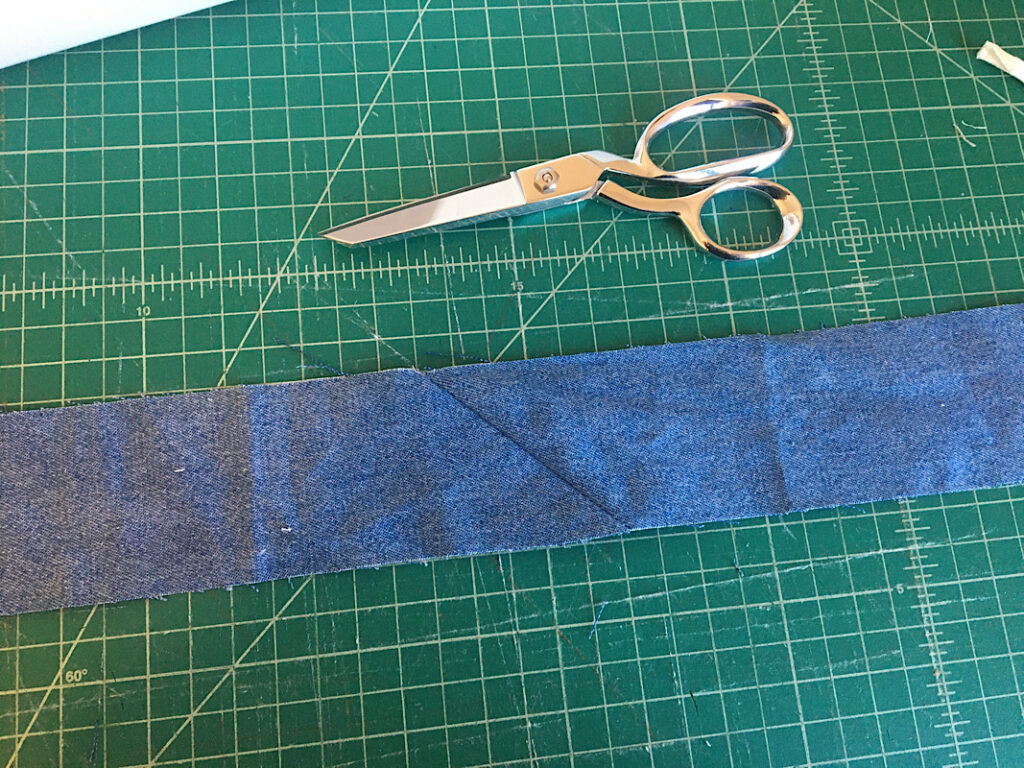
To connect the strips, align the corners of the two strips so they make a right angle, and make sure the right sides are facing.
Pin the corner.
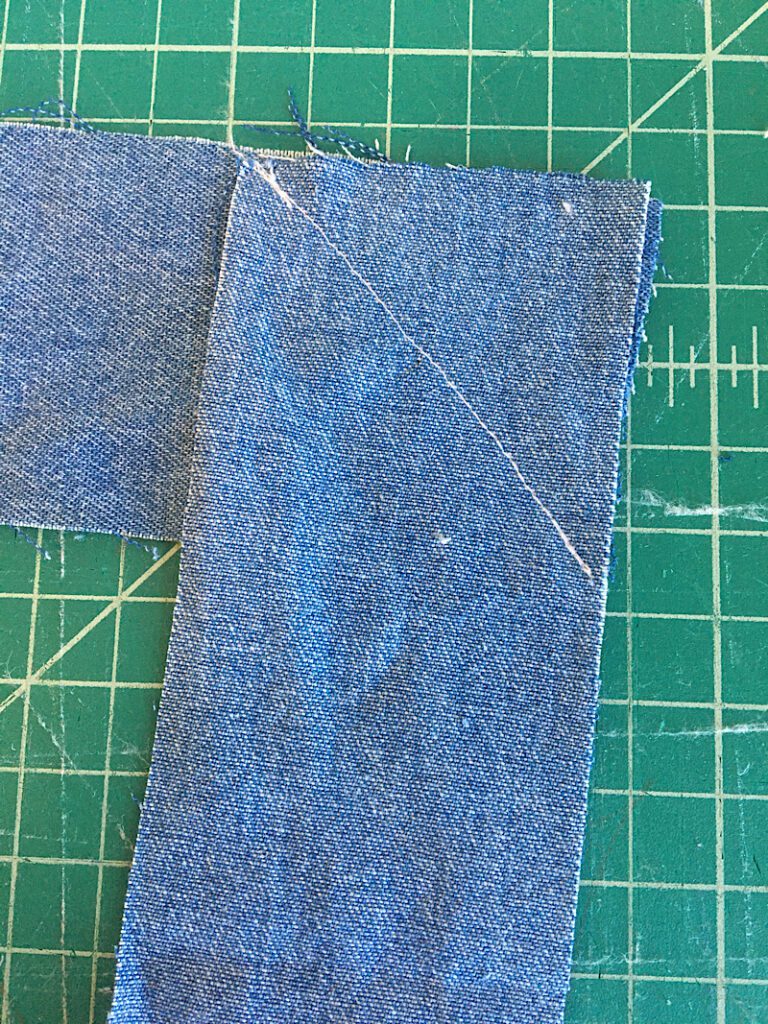
Then, sew diagonally from the top edge, to the bottom opposite edge, so that it makes a corner.
Trim away the excess fabric (I used pinking shears).
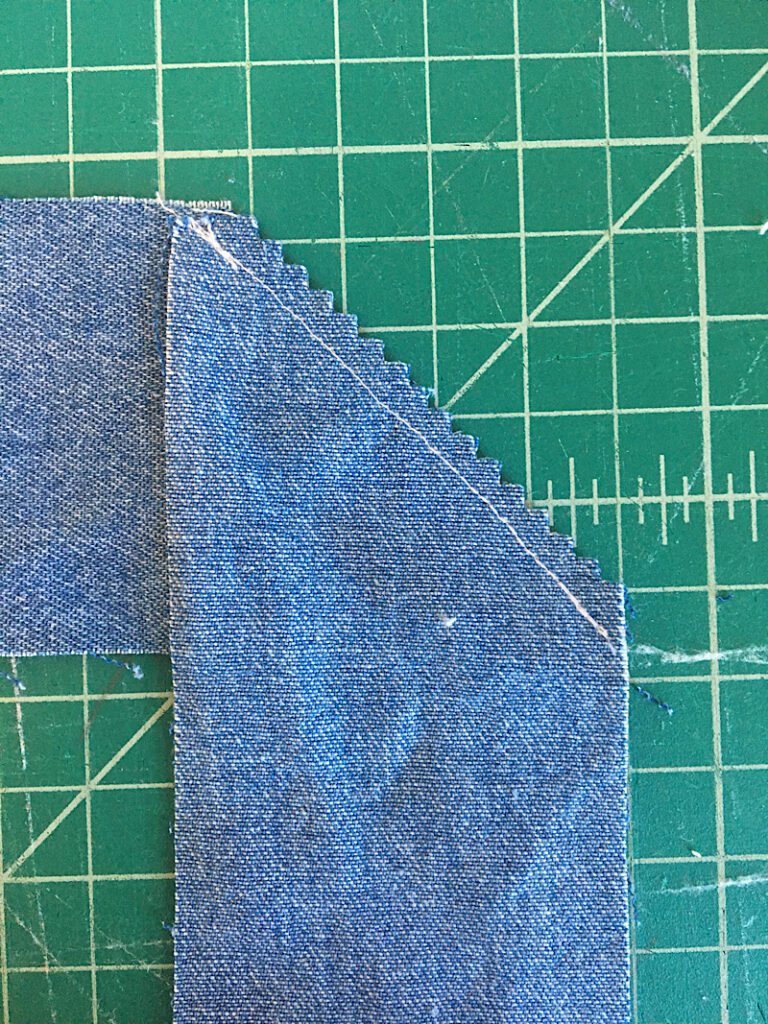
Then, open the strip and press it flat.
Once you have enough length of fabric strip, then you can sew the cording together!
Step 2. Sew The First Cord
Lay a single cord on the wrong side of the fabric strip, and wrap the edge of the fabric over it.
You want the fabric to cover the cord, and then have some extra edge where you can sew it down.
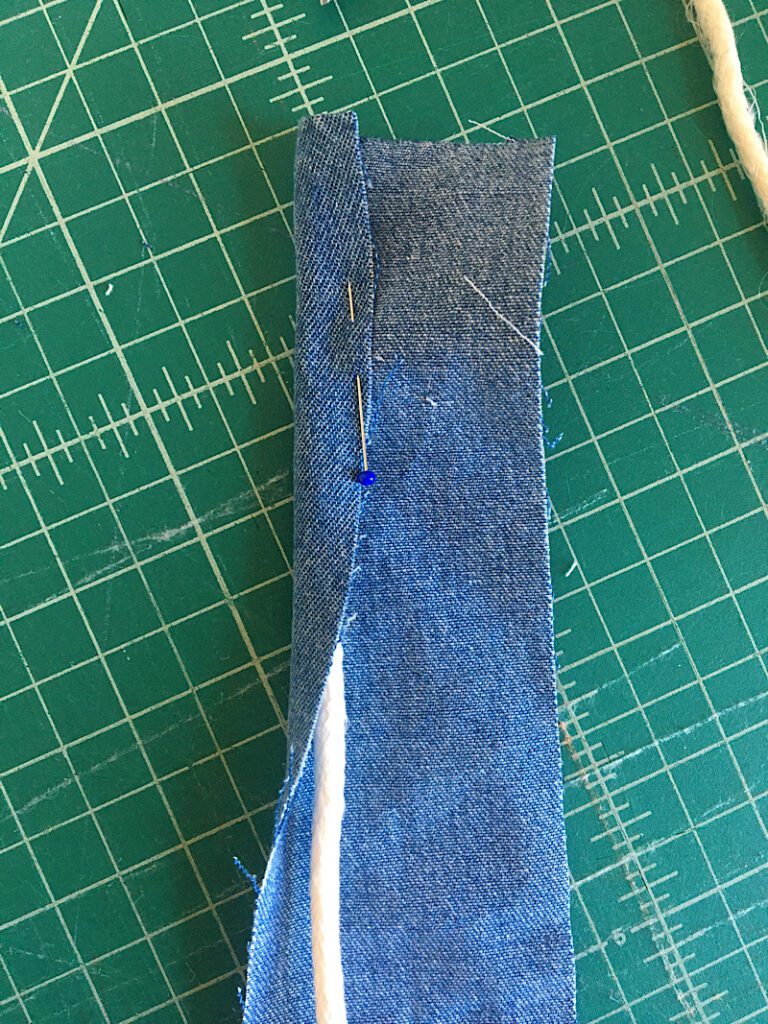
I found that it was easier to wrap the cord and sew it as I went, without pinning. But I pinned it at the beginning just to get it started through the machine.
Sew down the trim, right along the edge of the cording, as close as you can get. This is where a zipper foot comes in handy. (But don’t worry, it will still work even without a zipper foot.)
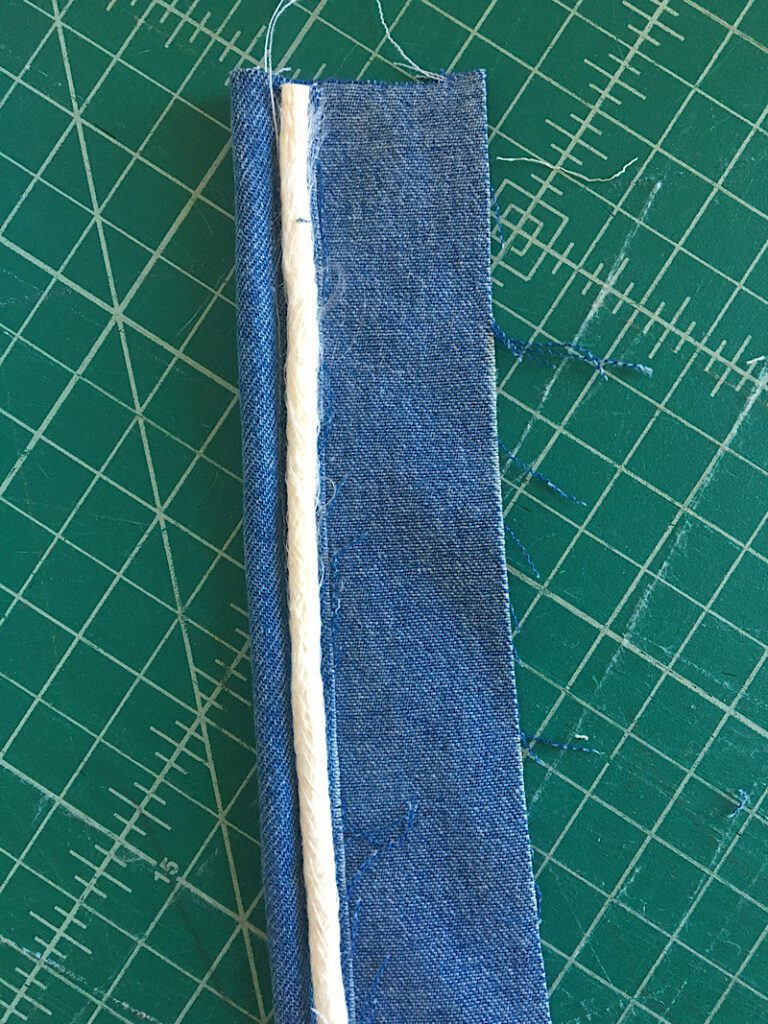
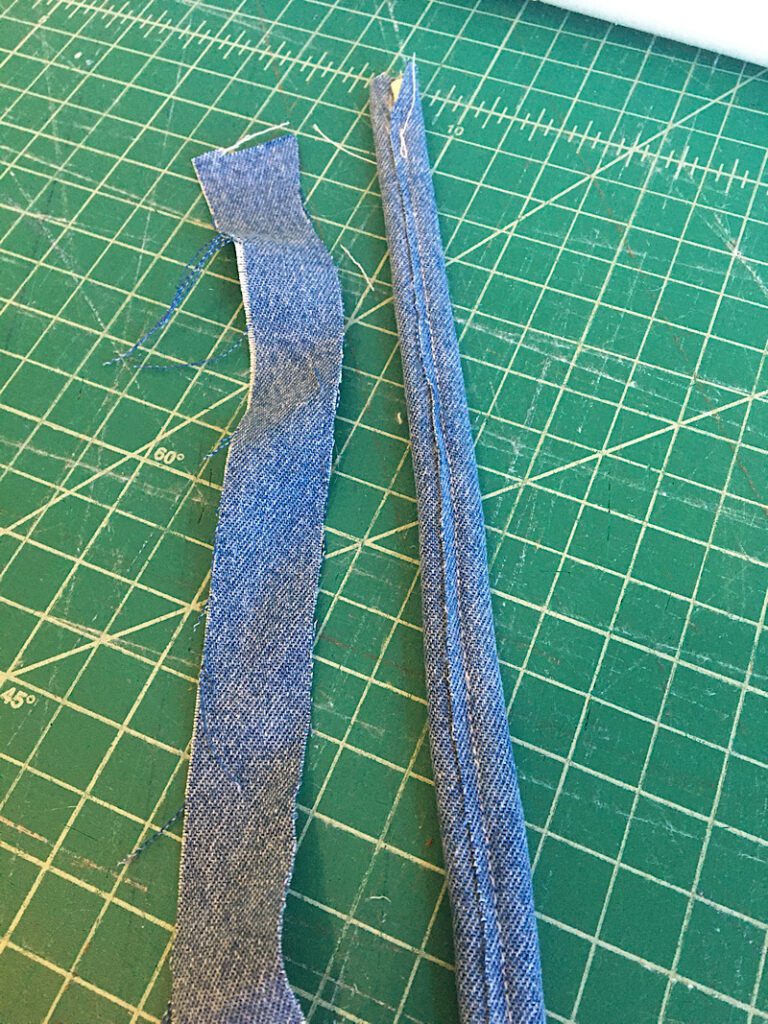
When you have finished sewing along the edge of the first cord, it will look like this:
Step 3. Add The Second Cord
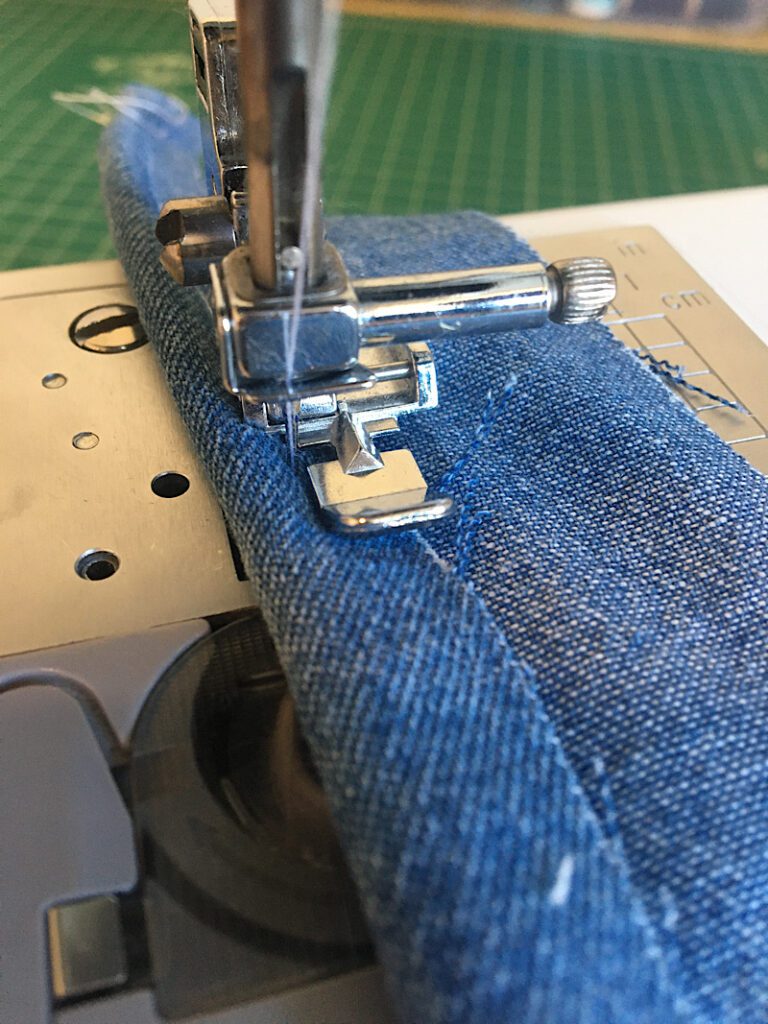
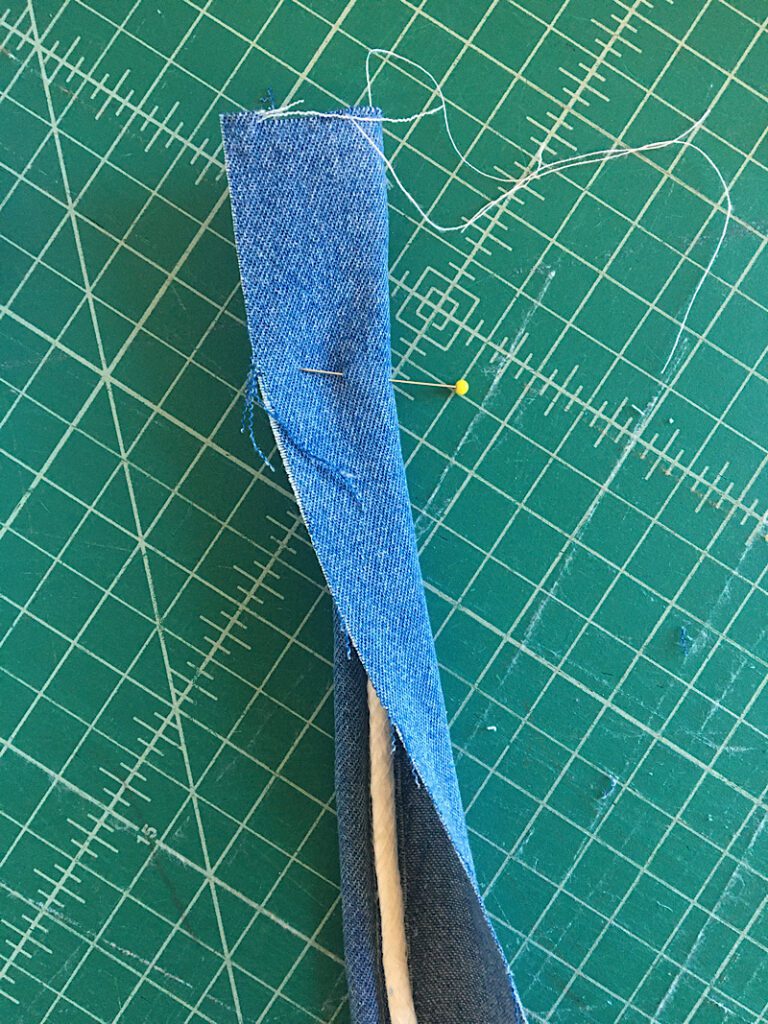
Place the second cord right next to the first cord, on top of both layers of trim.
Next, wrap the other side of the fabric up and over both pieces of cording to cover them.
Again, I found it easier to wrap and sew without pins, but I added a pin just at the top to get it started through the machine.
Turn the piping over to the back side, and you will see the previous stitch line you made. This will become the front side of the trim, and the side you will sew on.
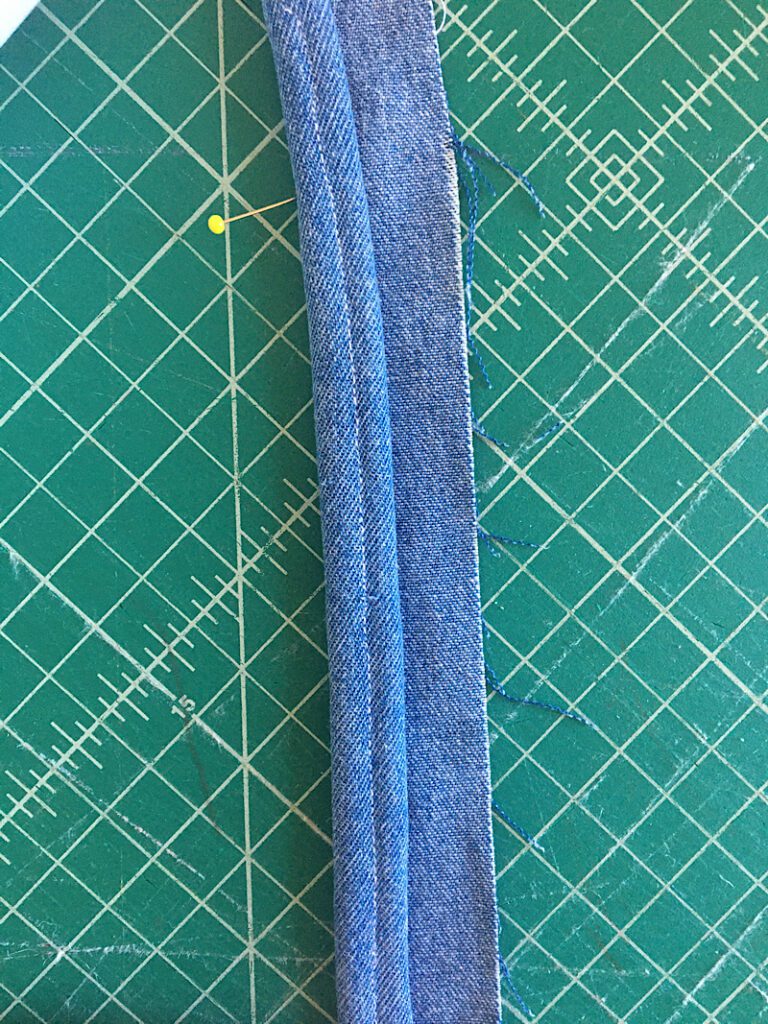
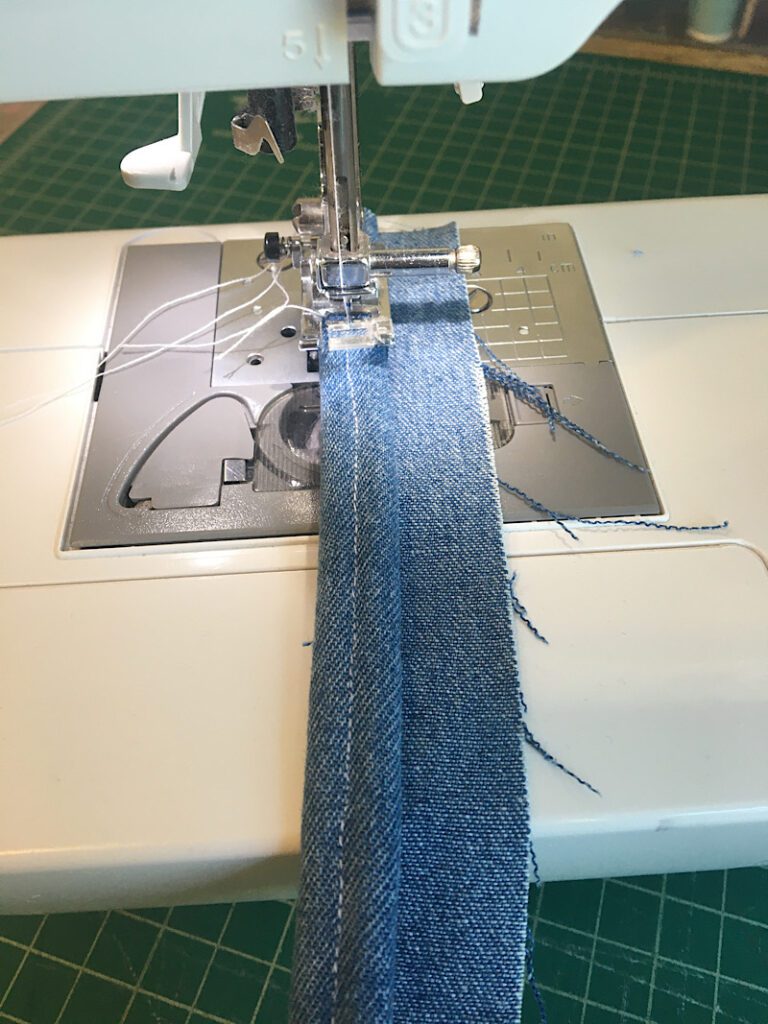
Place the piping under the machine, and sew right through the center, down your previous stitch line.
Step 4. Trim The Double Piping
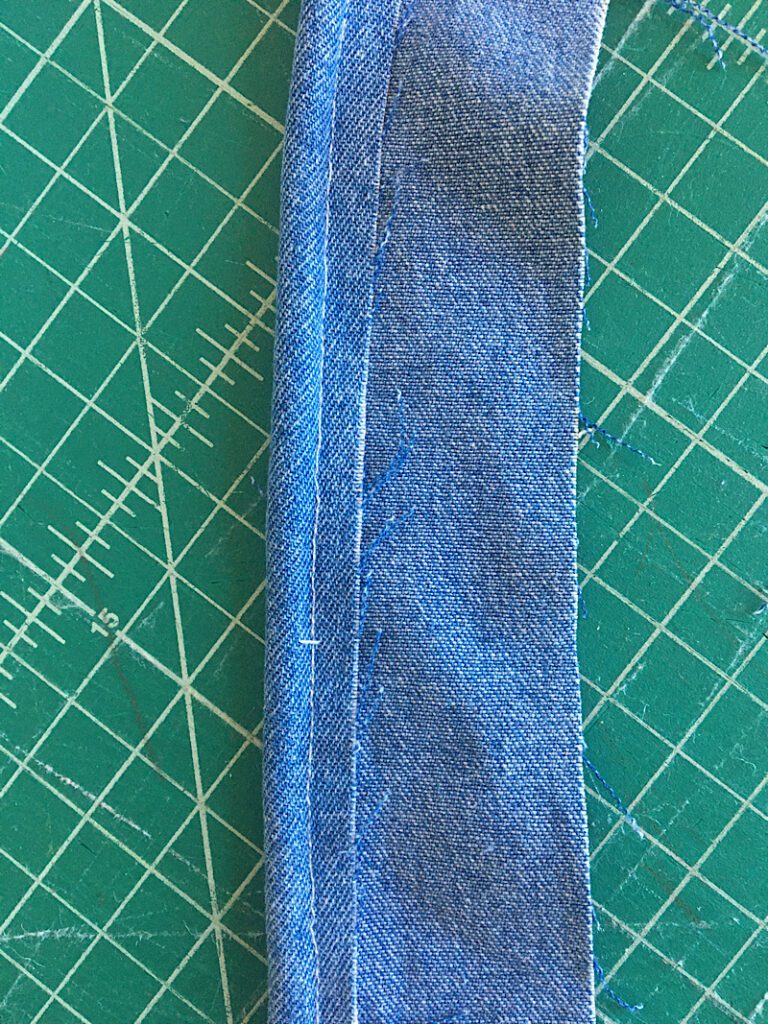
When you are done sewing, flip the piping over and carefully trim away enough of the excess fabric that it is not visible from the front, but also is far enough away from the stitch line that it won’t fray.
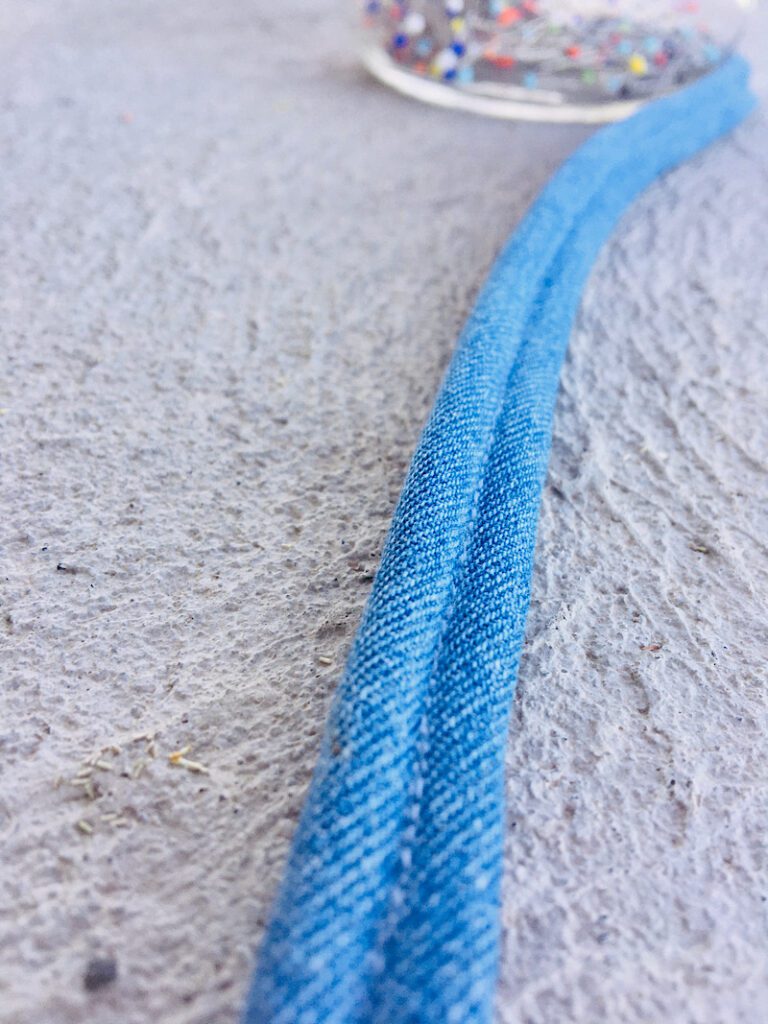
Because you used a regular presser foot, and not a cord foot, the deep channel won’t be as defined in the center.
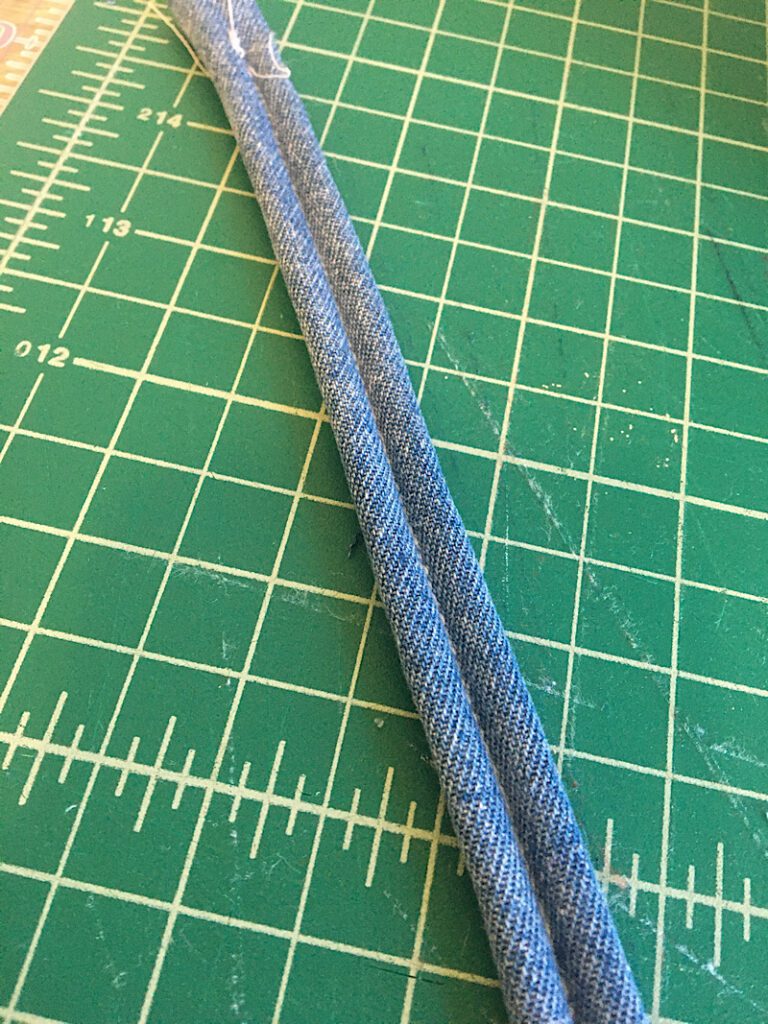
An easy fix is to drag something down the center to really press down the channel. I used my closed scissors.
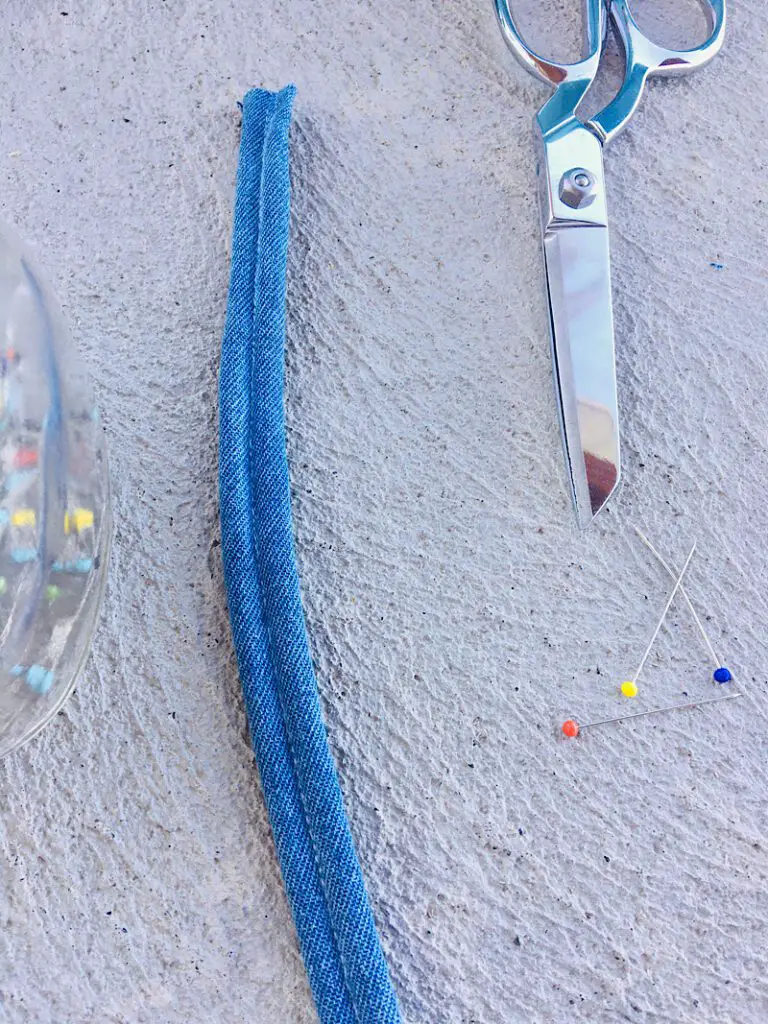
It turned out very nice!
Then you are done!
See how easy it was. Now you can save money, and make great upholstery at home.
All you need to do now is learn how to attach double piping!
Let me know if you have any questions.