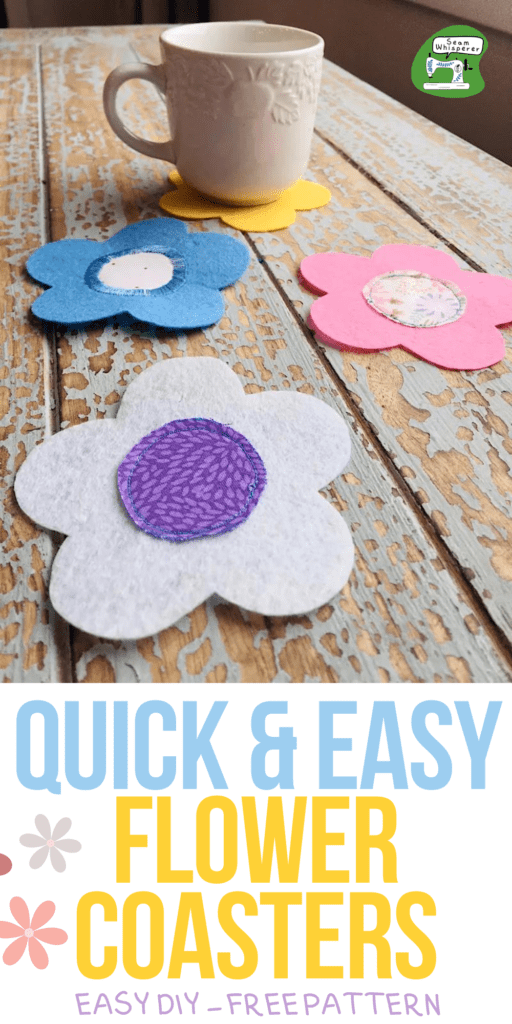
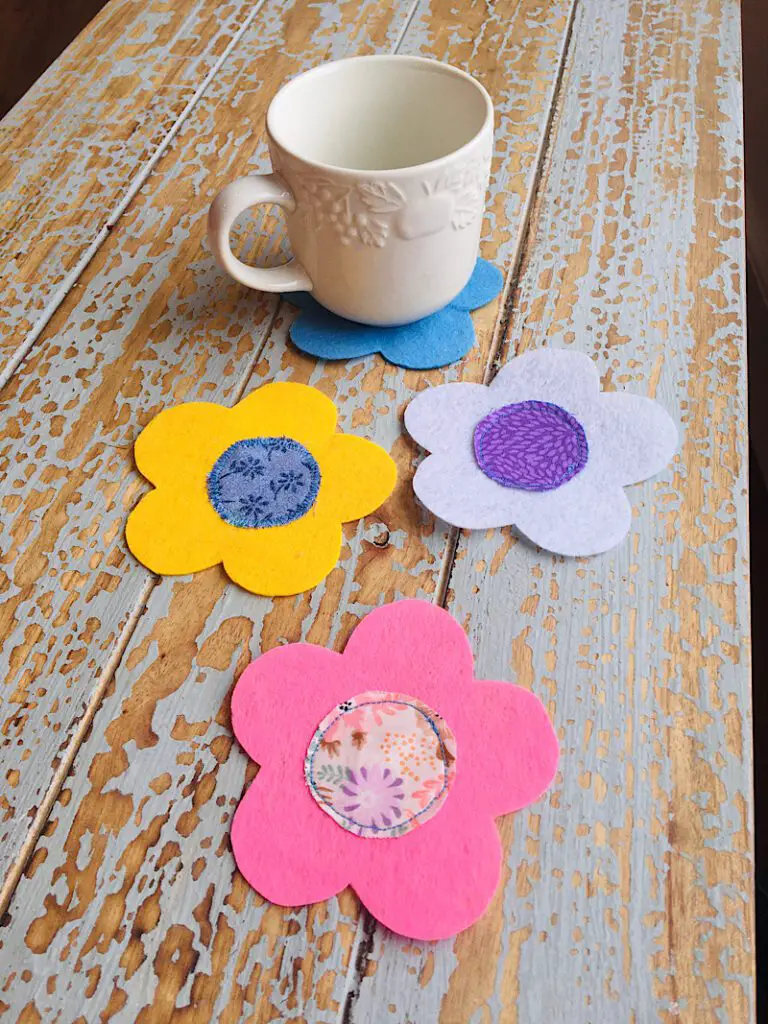
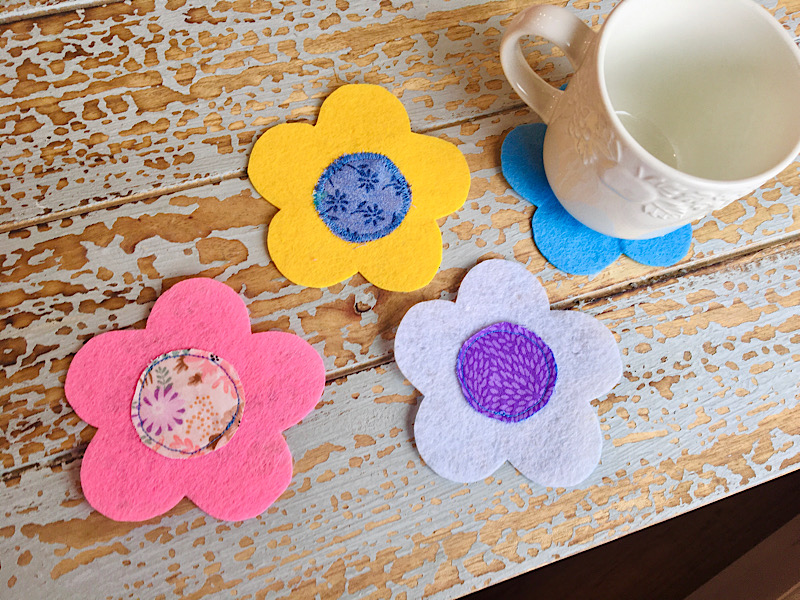
These are the EASIEST spring coasters you will ever make, and oh so cute! Use up some fabric scraps and felt to make these colorful flower shapes in no time!
These coasters are so easy, do you even need a tutorial? Well, here is one!
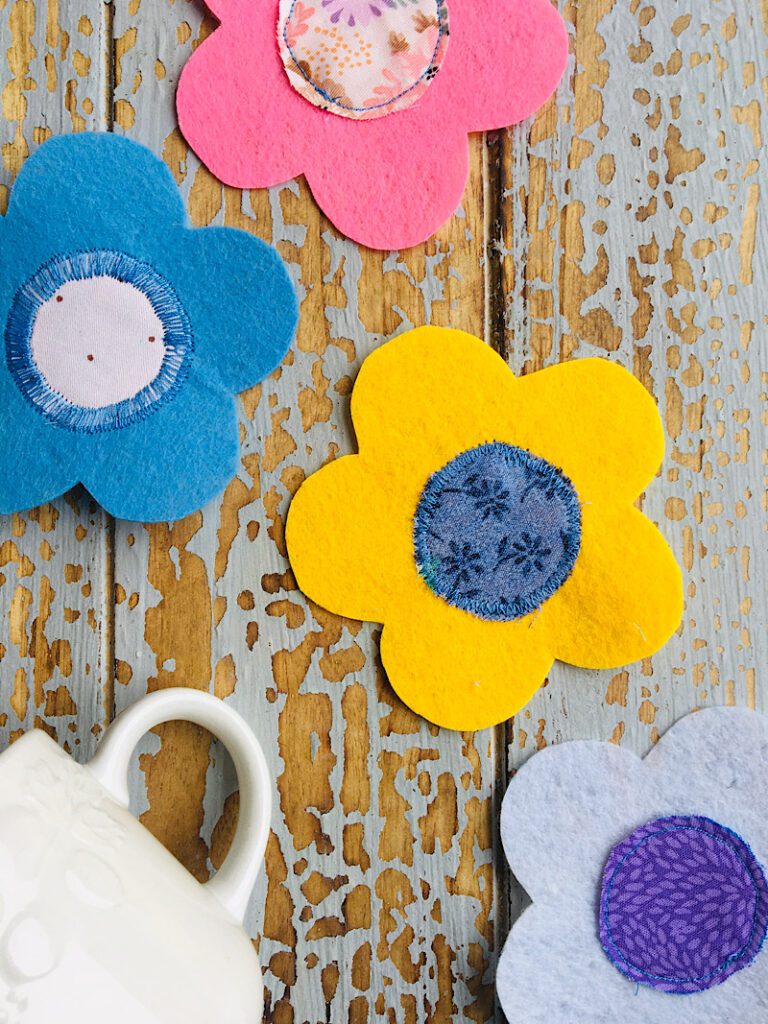
I whipped these flower coasters up in only 15 minutes and they were a hit! I love the scrappy pop of fabric in the center, and the simple playful shape.
Use craft or acrylic felt for a washable coaster, wool can shrink when wet, though with care they can also be a great choice.
Supplies Needed
- Craft felt sheets
- Scrap fabric (I used cotton)
- Coordinating thread
- Disappearing ink fabric marker (optional, you could just use a pen and trace on the back)
- Sewing pins and scissors
How To Make Felt Flower Coasters
Step 1. Trace The Pattern
Save and print the flower template below, then print it out at 100% scaling. (I normally require an email, but here is my nice gift to you today, you can just have it!)
The flower should end up to be around 4 inches or so. It doesn’t really matter, so make it bigger or smaller if you want!
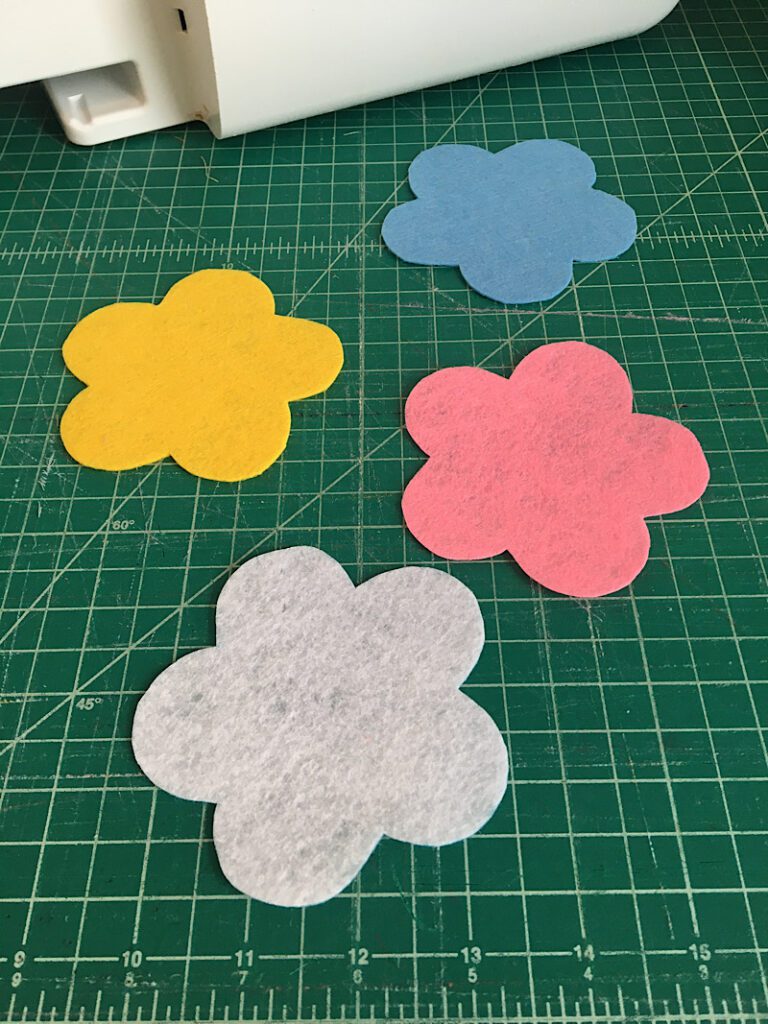
Cut out the template and place it onto the felt. Use your disappearing ink marker to trace it.
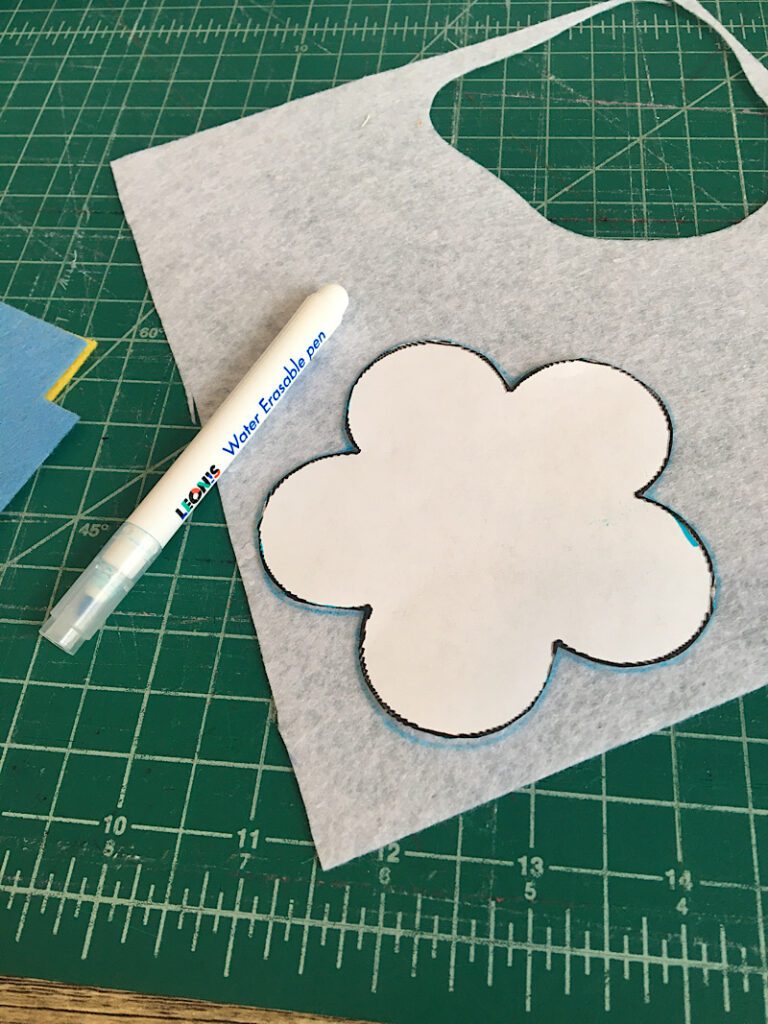
Cut out the flowers from the felt.
Step 2. Cut Out The Flower Centers
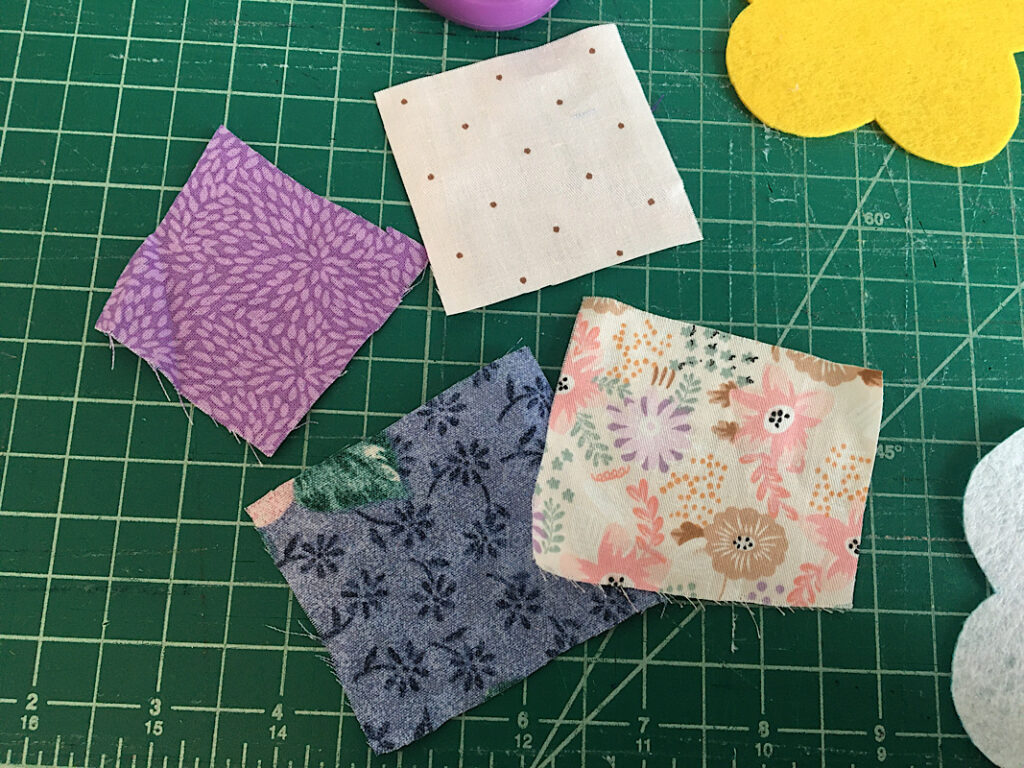
Cut out some fabric scraps, about 2×2 inches each.
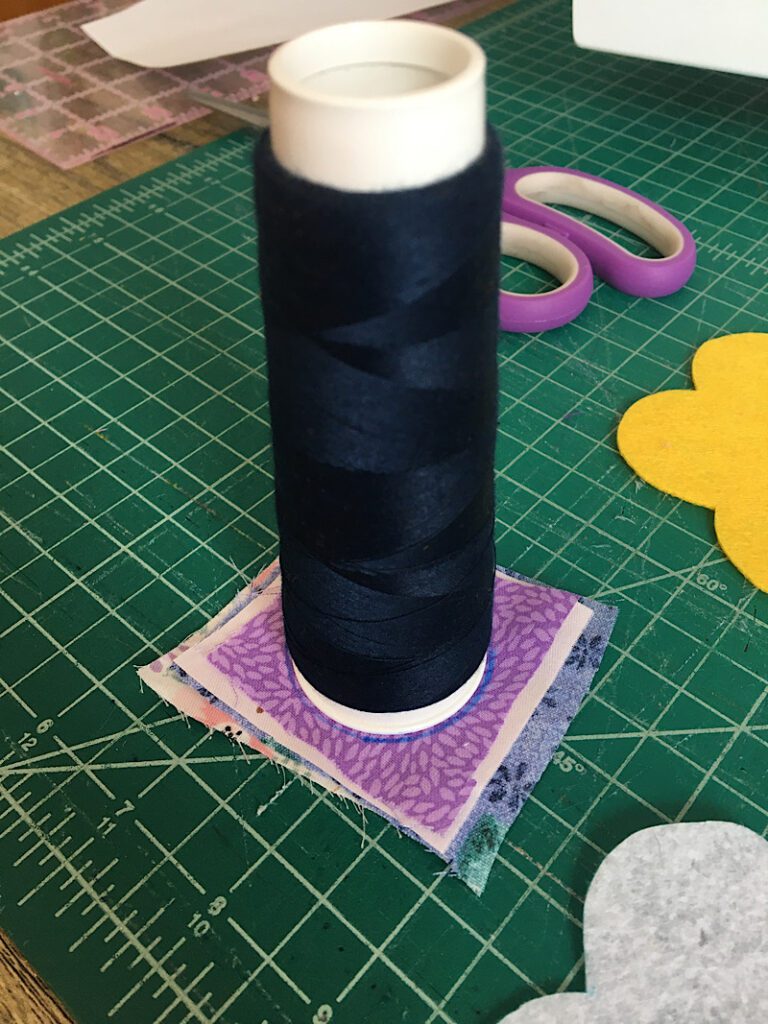
Find something to trace onto the flowers to make a circle, or free hand it if you want. I used the bottom of a large thread spool.
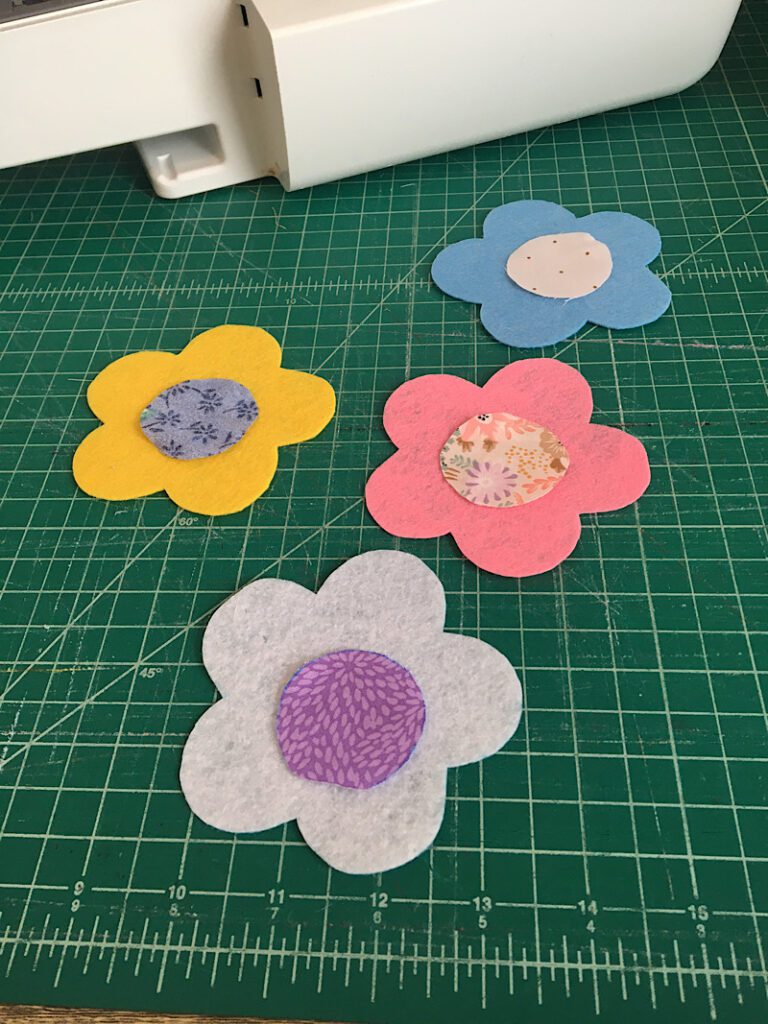
Cut out the circles, and pin them to the center of each flower.
Step 3. Sew The Flowers
Sew the circles to the flowers, with whatever stitching you like. You can do a zig zag, a straight stitch, or hand stitch a blanket stitch.
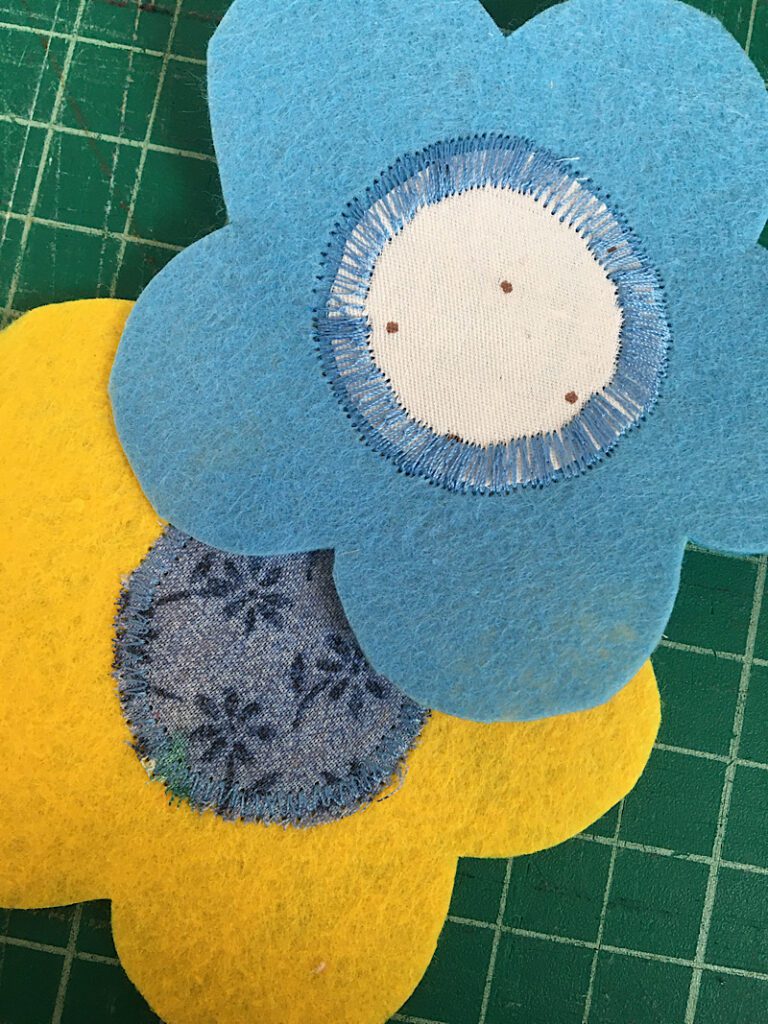
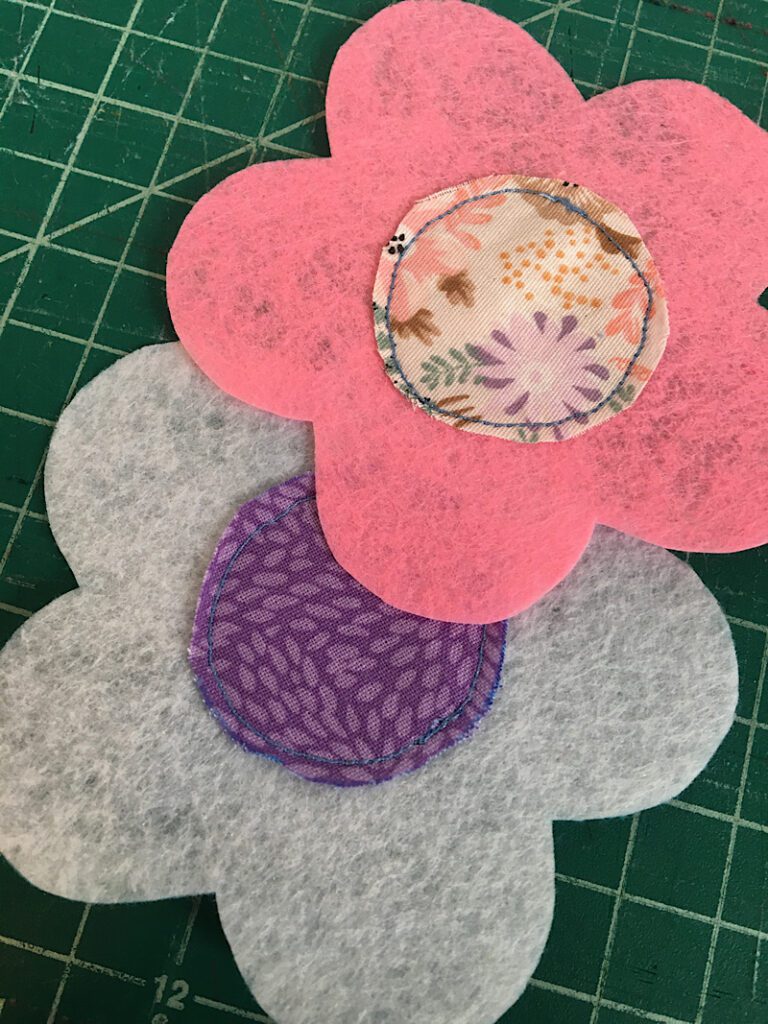
Then, you guessed it… you are done!
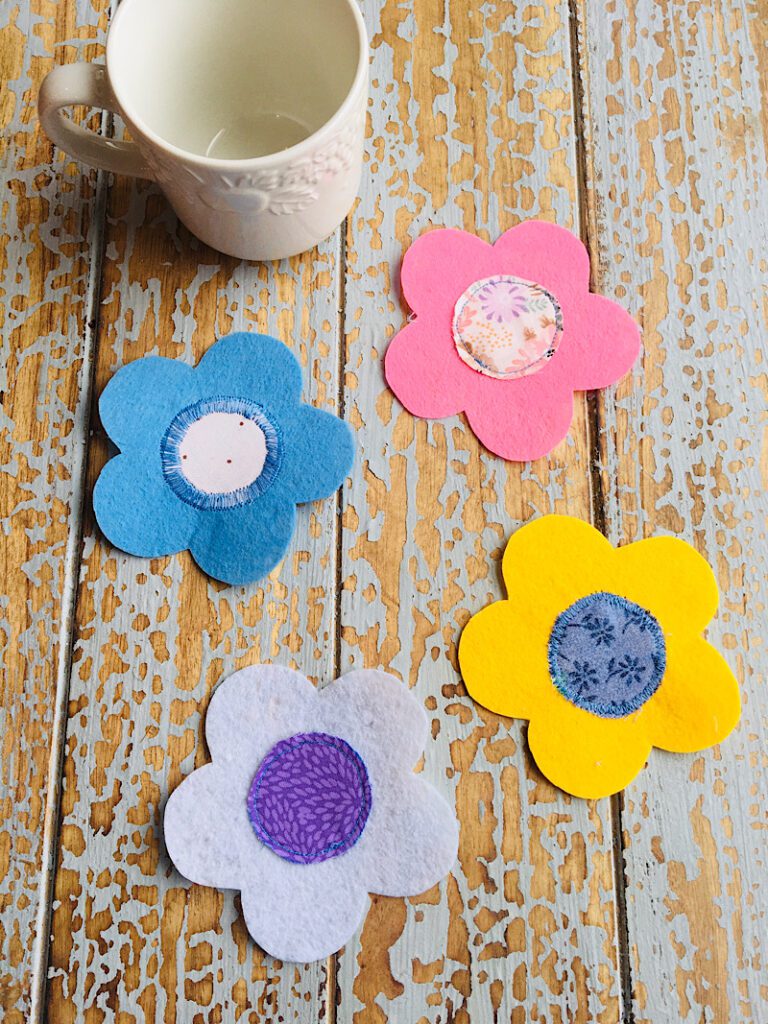
They turned out so cute and they are so simple and fun.
These would make great tea party favors for a kid’s party, or they could be turned into something great…
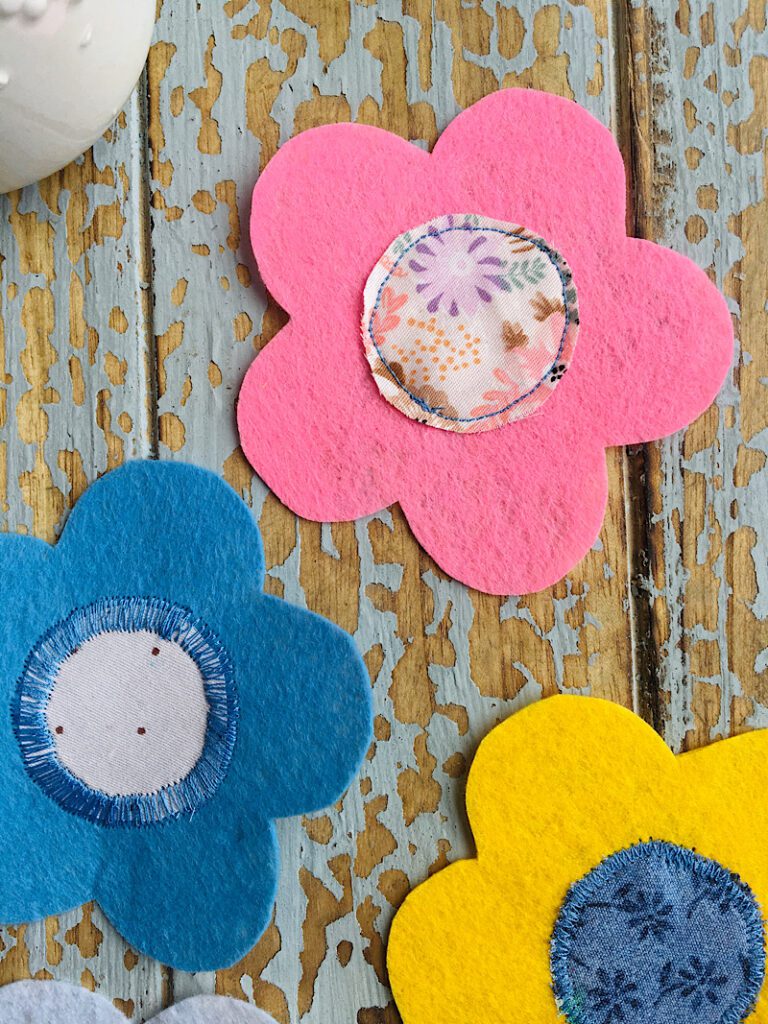
I hope you like them and I can’t wait to see how yours turn out. Send me a photo!
Pin this post to Pinterest if you want to make me smile!
