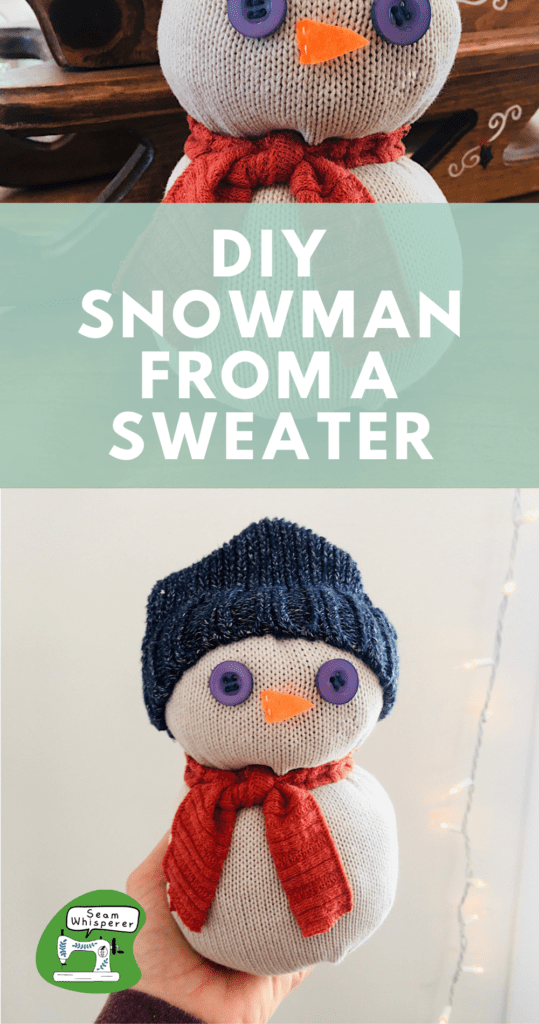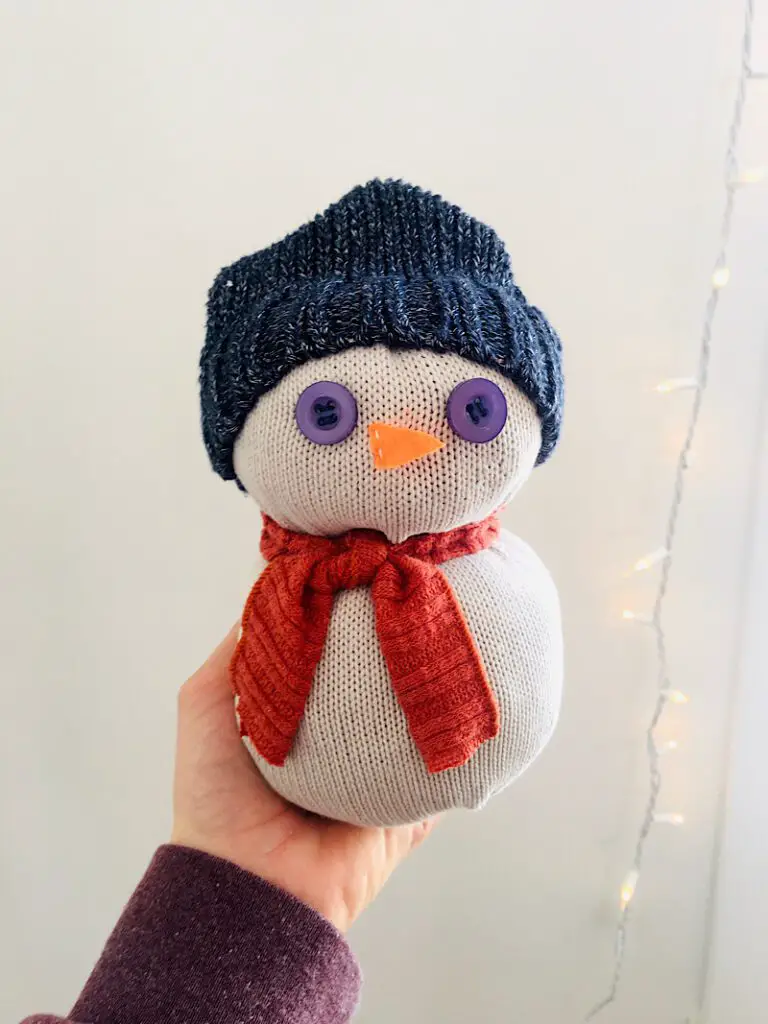
An old sweater or two are perfect materials to make a cute festive snowman decoration. All you need is a few buttons or felt for the eyes, and orange felt for the carrot nose!
I’ve been knee deep in Christmas sewing projects this year, but I hadn’t yet made a snowman! After finishing my super cute little sweater gnomes, I had some materials left over and thought they would also make a cute snowman.
Don’t miss these other easy Christmas sewing projects, too!
- How To Make A Christmas Gnome From A Sweater
- How to make a reusable Christmas Countdown Chain
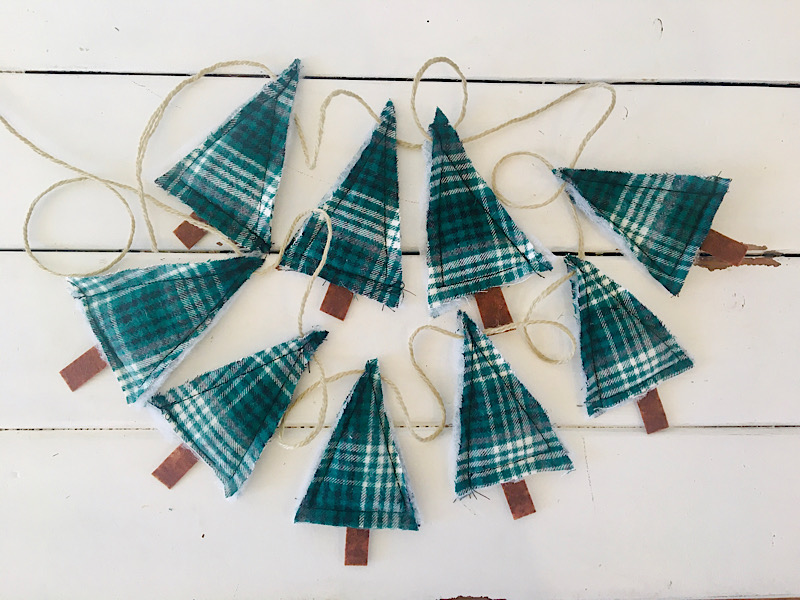
- Rustic Christmas Tree Bunting DIY
- Patriotic Stocking Free Pattern
- Rustic Mitten Christmas Ornaments
This post may contain affiliate links. Read the full disclosure here.
About This Tutorial
This is a hand sewing tutorial and is very easy for beginners! There is no one right way to make a sweater snowman, and you can use whatever materials you have in your sewing room.
For the eyes I used buttons, but you can also use black felt. I cut an orange felt triangle for the carrot nose, but you can use a black button or black felt as well.
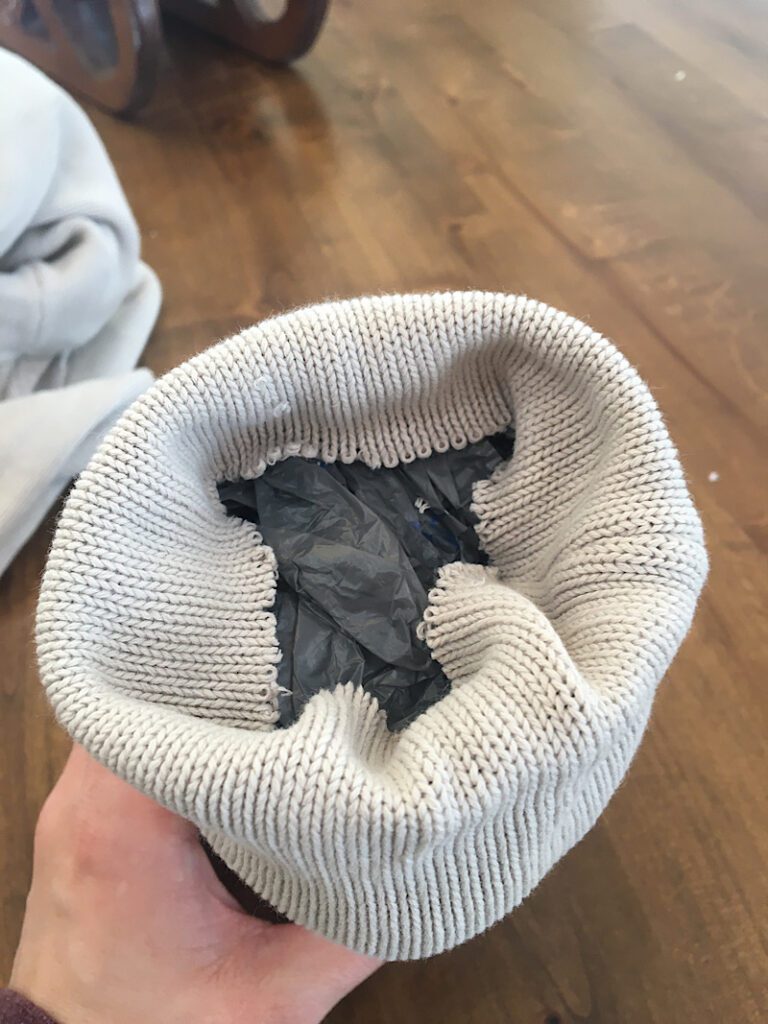
For the stuffing, I used a bunch of plastic grocery bags since I was out of batting, but for the softest results batting is recommended. But you could also use fabric scraps if you want.
The scarf and hat were made of some pieces of two different sweaters, but you can use ribbon for the scarf, and stretchy material or a sock for the hat.
Lastly, I made a medium snowman out of the sleeve of an off-white sweater, but if you want to make a giant snowman you could use the torso portion of the sweater. That would be so fun!
Supplies Needed
Materials Needed
- White Sweater (For the snowman’s body)
- Another Sweater (For the scarf and hat)
- 2 buttons (For the eyes)
- Orange Felt (For the nose)
- White Thread
How To Make A Snowman From A Sweater
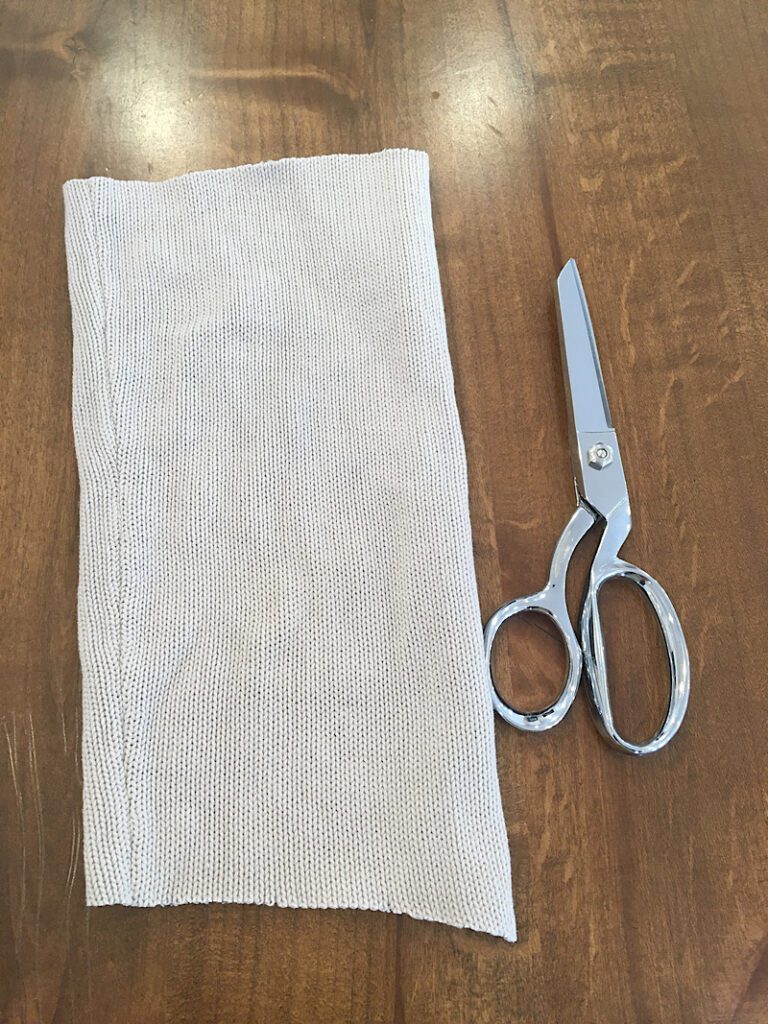
Step 1. Make The Snowman’s Body
Cut the sleeve off of the sweater and cut it so it is about 10 inches long (or however long you want your snowman to be, plus a few inches).
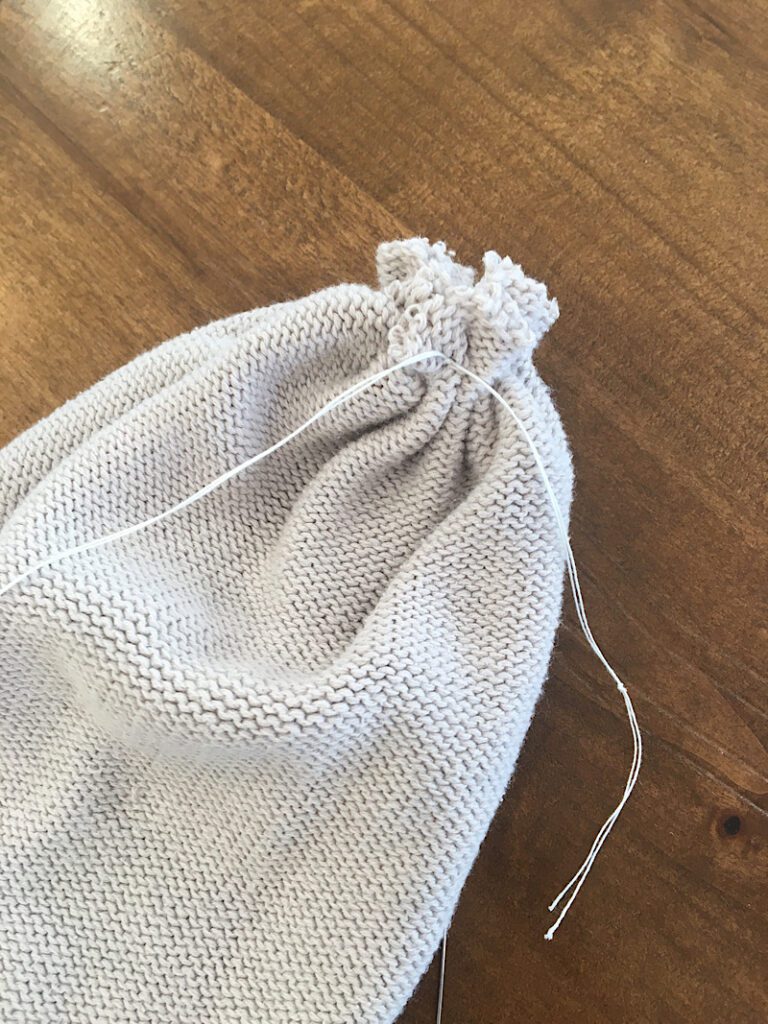
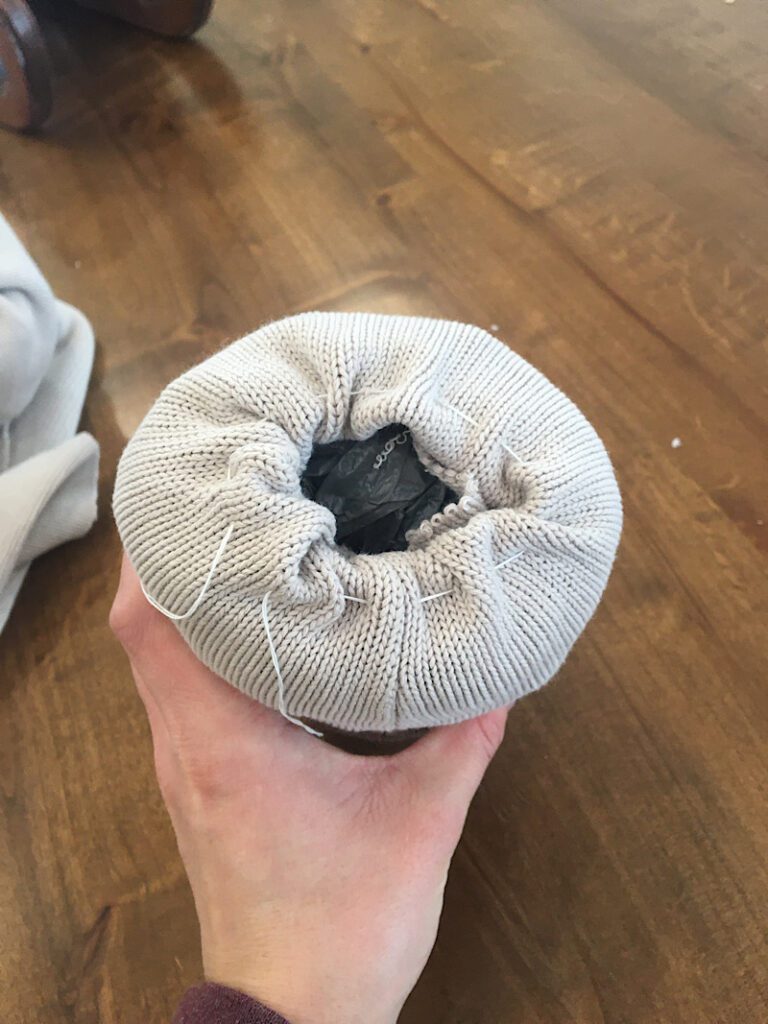
The wider part of the sleeve will be the bottom. Turn the sleeve inside out, then sew a running stitch around the circumference of the bottom edge of the sleeve.
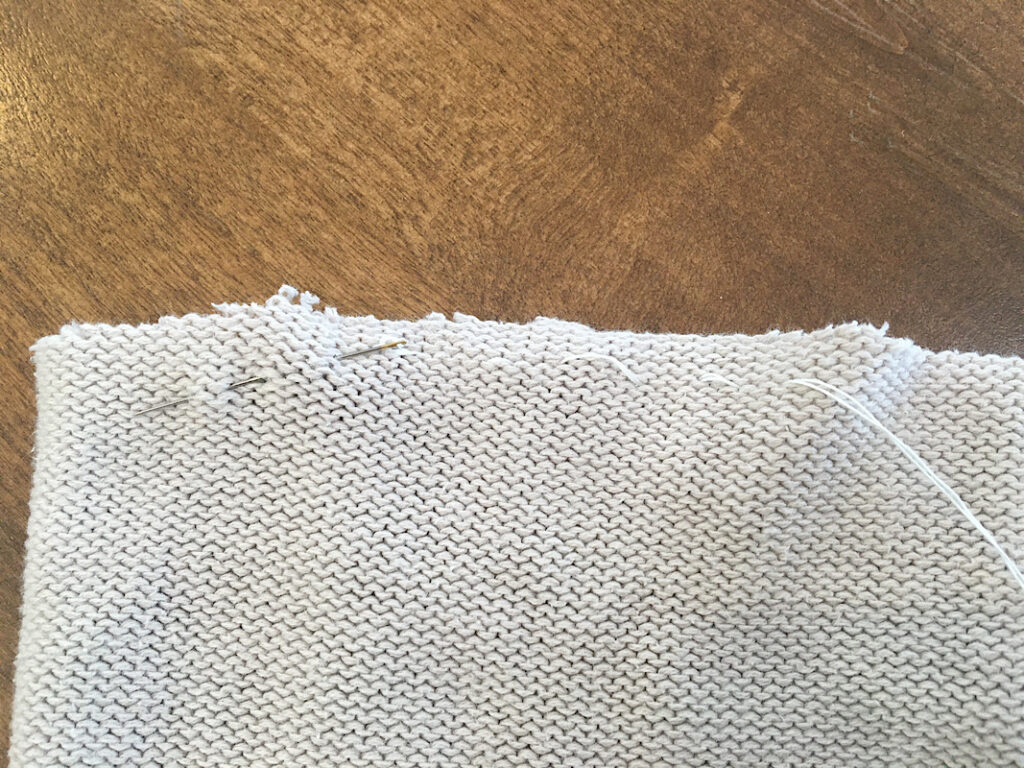
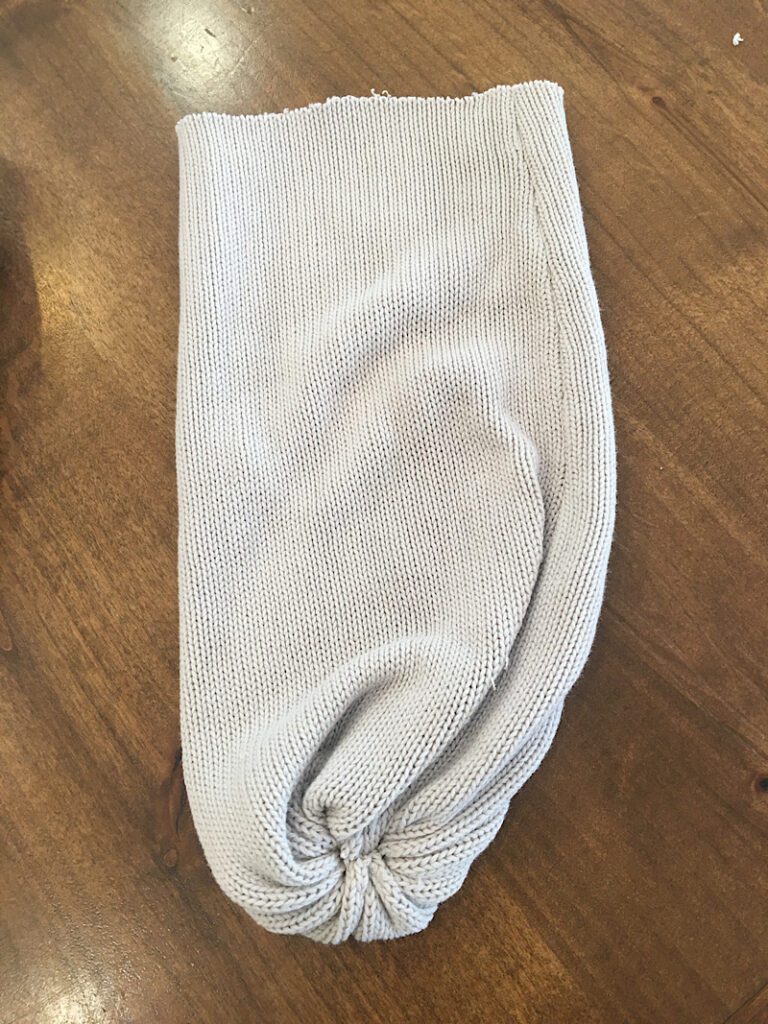
Pull the threads tight and tie a knot to bunch up the bottom edge.
Then, turn the sleeve right side out.
Stuff the snowman with batting or grocery sacks until it is very full. If you want it to stand up better, you could put a heavy rock in the bottom.
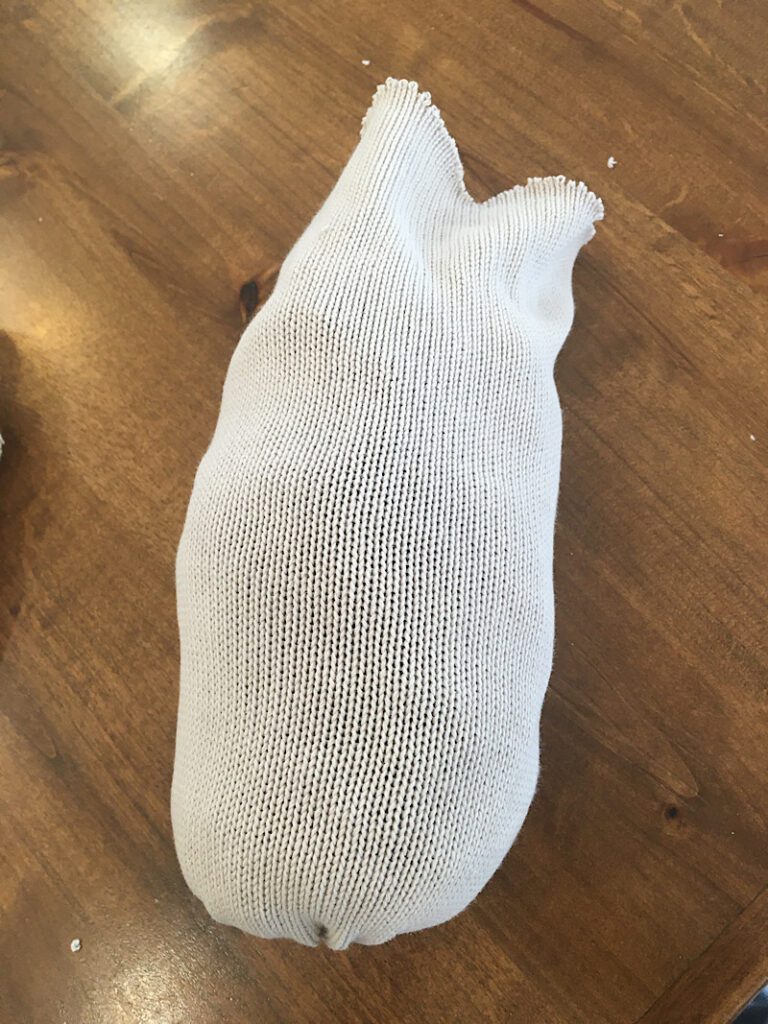
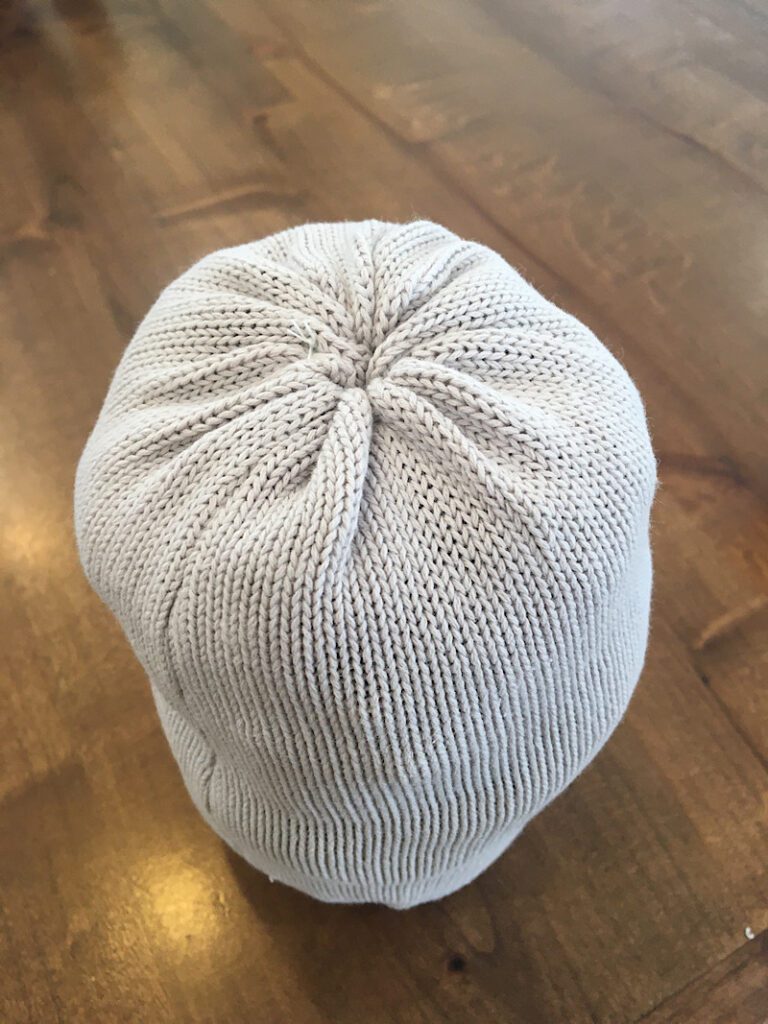
To finish the top, fold down the raw edges, and sew a running stitch around the top folded edge of the sleeve.
Then tighten the threads and tie a good knot, and trim the ends.
Decide how big you want the head to be. I wanted it to be just a bit smaller than the bottom of the snowman, and I only wanted two “snowballs”. I decided to make the “neckline” a bit higher than the middle line.
Starting on the back, sew a running stitch around the snowman, then tighten it and tie a knot.

Step 2. Make The Snowman’s Scarf
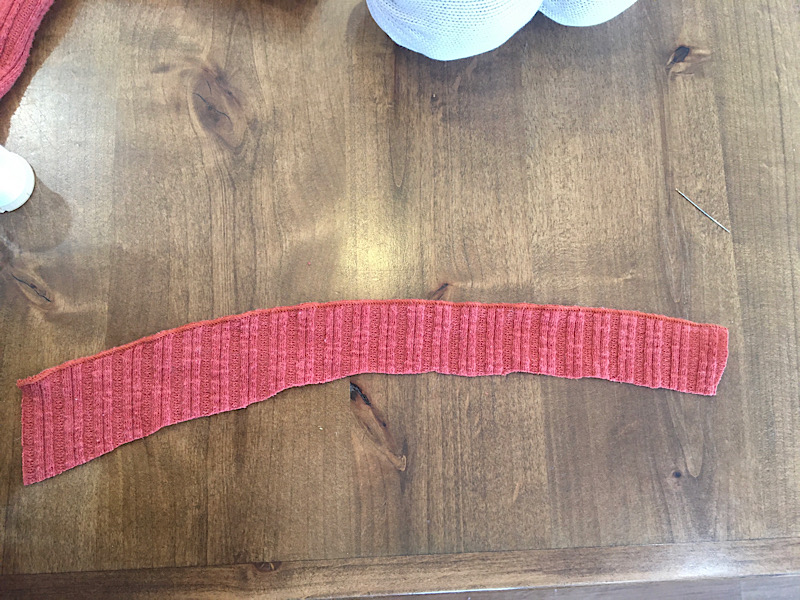
Cut out a long strip of the material you will use for the scarf. If you are using a knitted material, it won’t fray like a woven one will, so you don’t need to hem it if you don’t want to.
Tie it around the neck of the snowman.
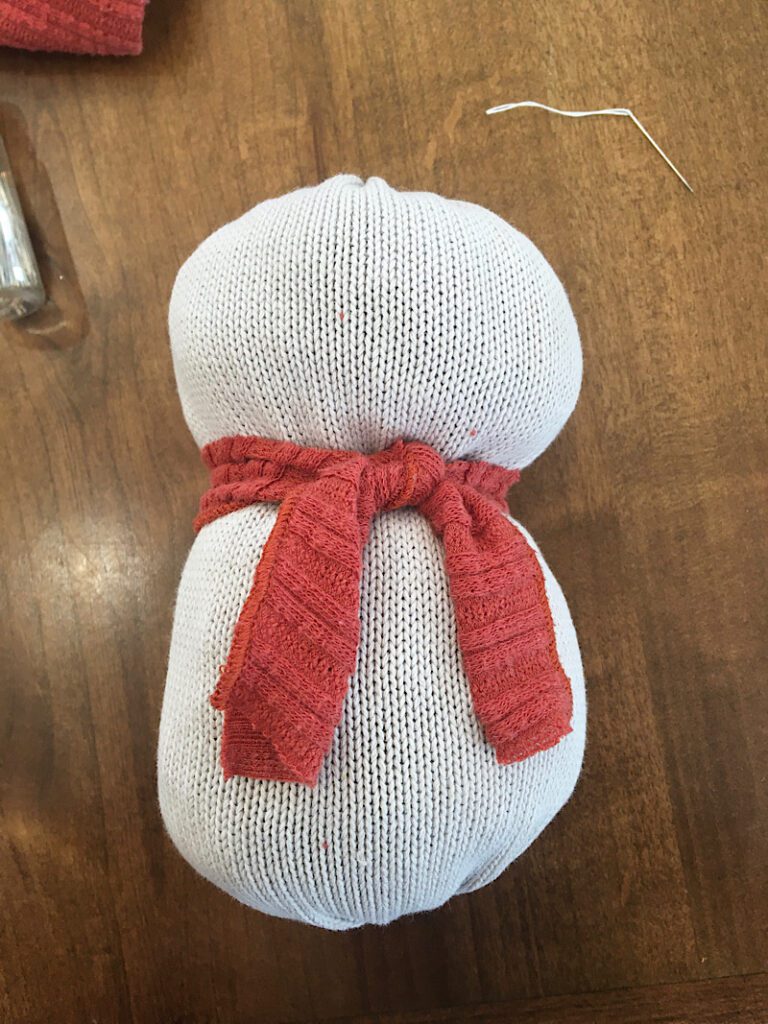
I also sewed the bottom of the scarf’s sides down so they would hang nicely.

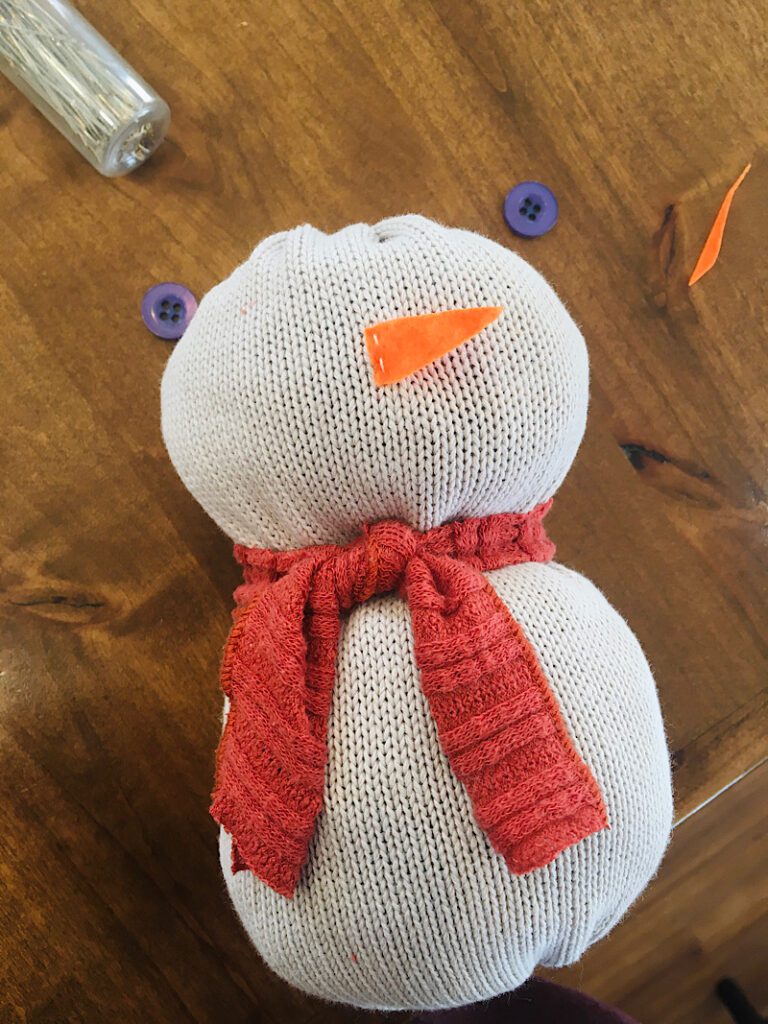
Step 3. Sew The Snowman’s Face
Cut out a piece of orange felt for the nose, and arrange the nose and eyes on the face to decide where they look nice.
Sew the carrot nose on, and hide the knot behind the nose. (Or, you could hot glue it.)
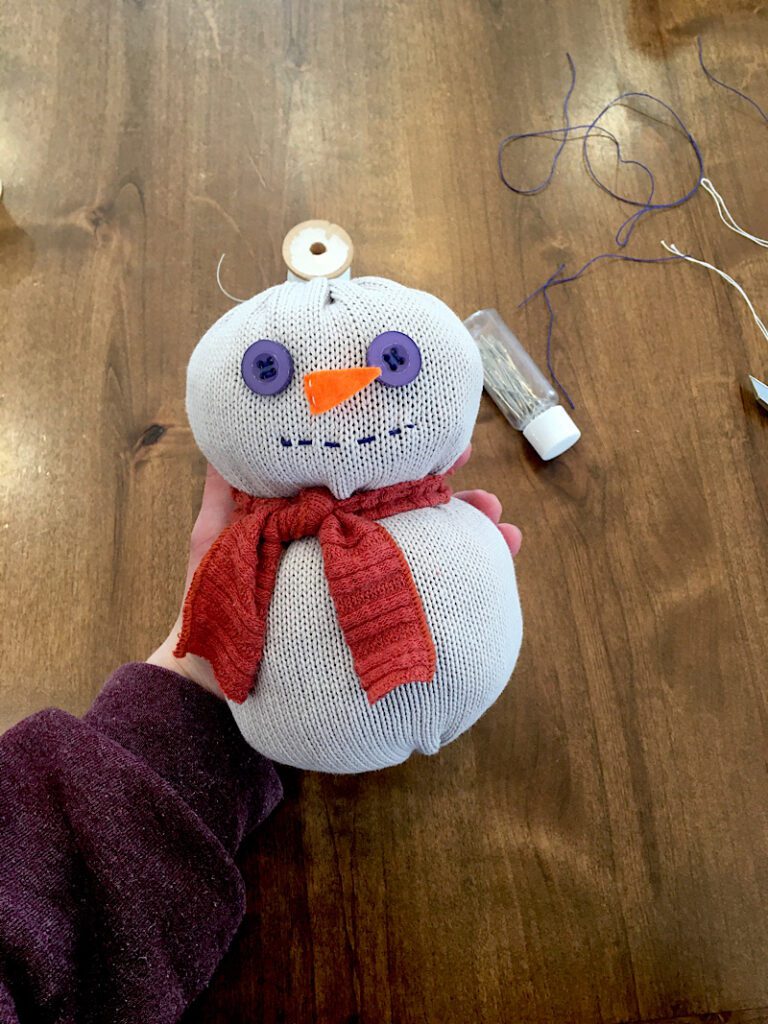
Then, sew the buttons on and hide the stitches behind the buttons.
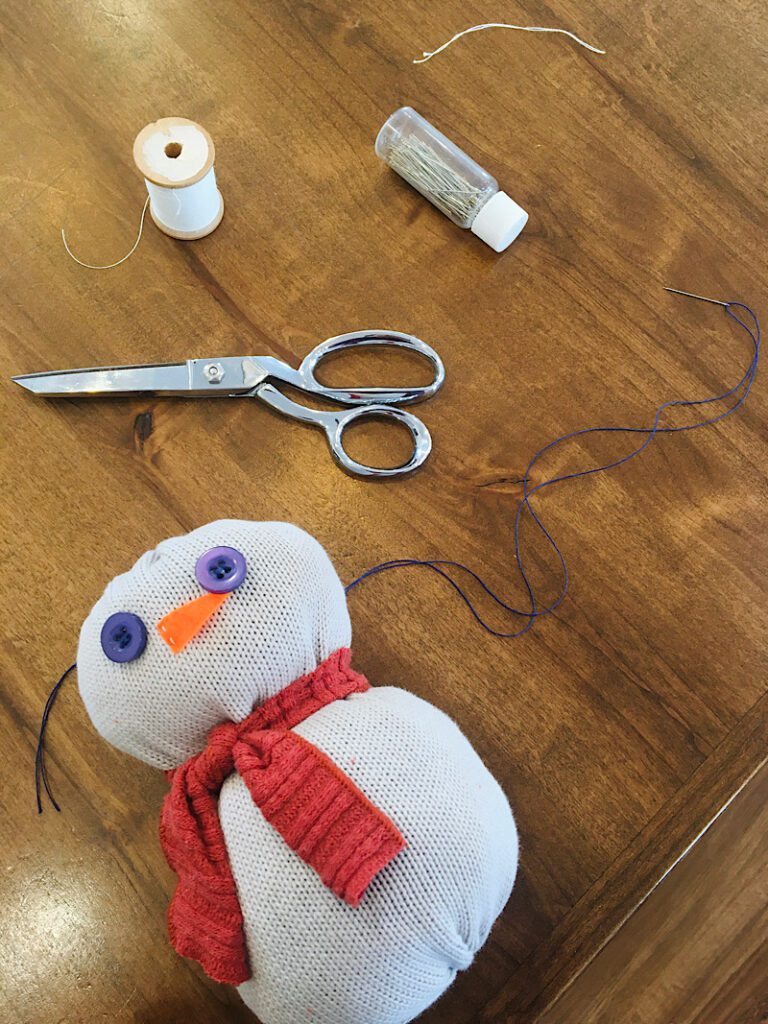
There are lots of ways this snowman face could look. Even just a nose would look cute. You can do it however you want!
If you want to stitch a smile, you totally can. I tried a running stitch smile, but decided I didn’t like it so I removed it after.
Step 4. Make The Hat
To make the hat, measure around the snowman’s head and cut out 2 little hat shapes from the bottom hem of another sweater. Then sew the two sides together.
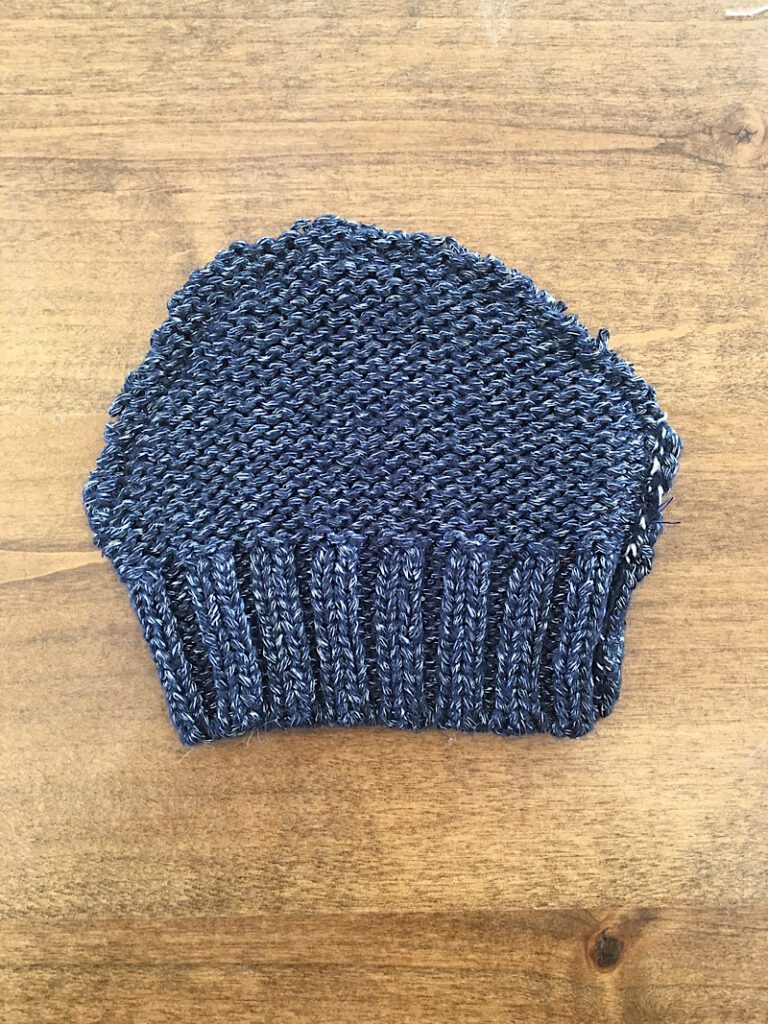
Put it on your snowman, and sew or glue around it to attach it to the head.
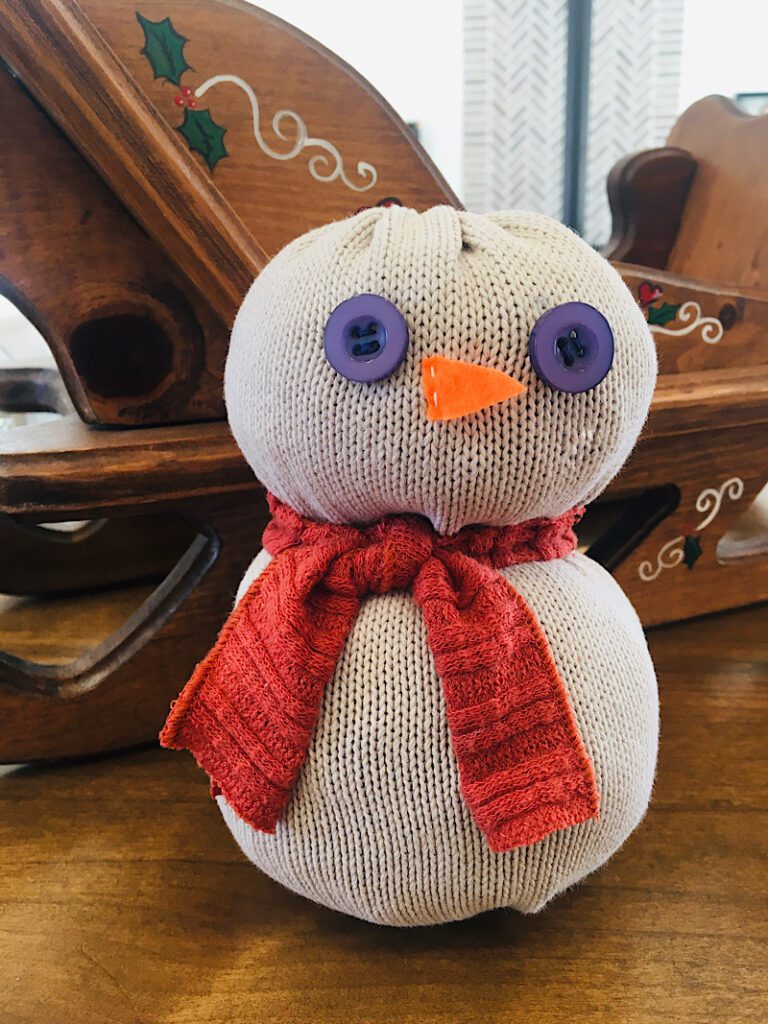
Then, you are done! Here is how it turned out:
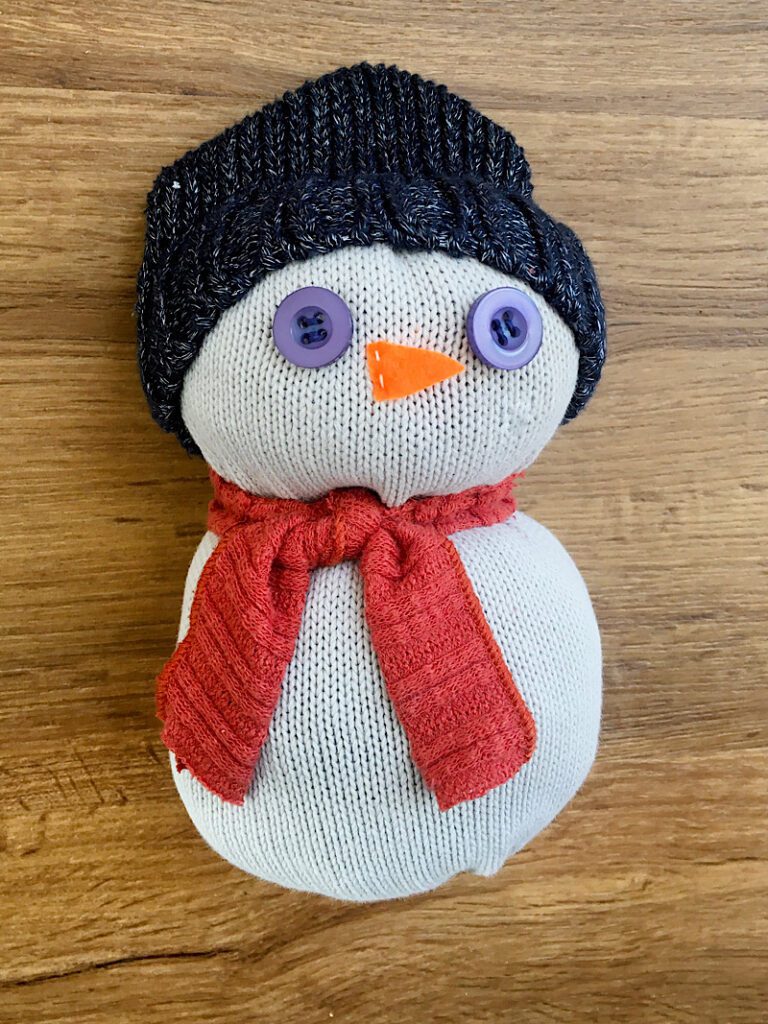
It kind of looks like an owl… I can’t unsee it now. But I still think it is cute!
My daughter said I should make it some “twig” arms with brown felt. That is a great idea too! Or maybe some buttons on it’s “belly”. Or maybe a black top hat from felt… Lot’s of possibilities here!
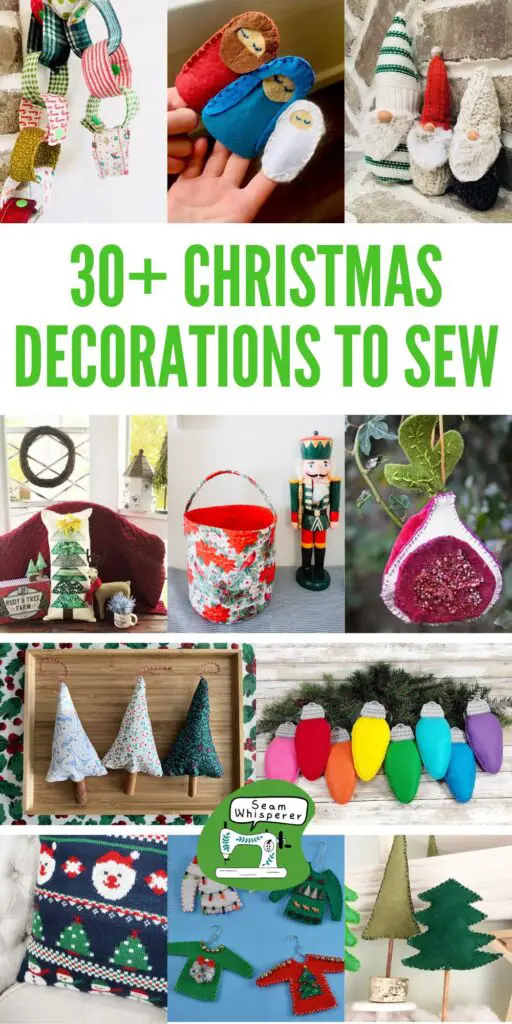
For now he is going to live in the Christmas tree along with all my other decor (Which you can learn to make by clicking here!)

Conclusion
I hoped you like this quick 20 minute project to make a snowman from a sweater! I am always looking for quick ways to use up scraps and be creative, and I especially love Christmas crafts.
Let me know if you have any questions, and if you make your own snowman, email me a picture by signing up for my email list below. I would love to see what you create.