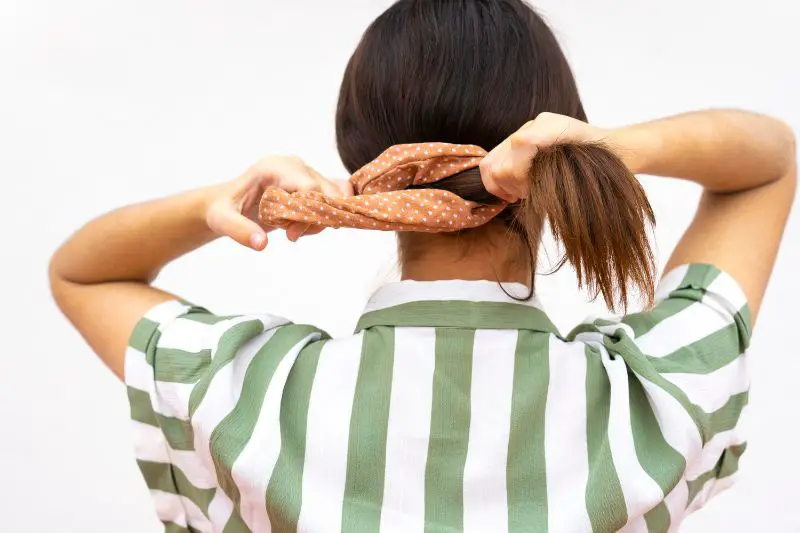
Have your scrunchies been stretched out, or are they simply too big? Maybe you like to wear them around your arm like I do, and they keep falling off? In this easy sewing tutorial, I will show you how to quickly make them smaller!
It seems like the perfect scrunchie is few and far between. Some are just too big to wear on your wrist, and some are too small to wrap around your hair just one more time…
Unless you make perfect scrunchies yourself! Then they can always be the right size.
This easy sewing tutorial will help you save your scrunchies.
This post may contain affiliate links. Read the full disclosure here.
About This Tutorial
To fix too-big scrunchies, you will have to do a bit of sewing. This is a beginner tutorial, and it really isn’t hard to figure out. Don’t be afraid!
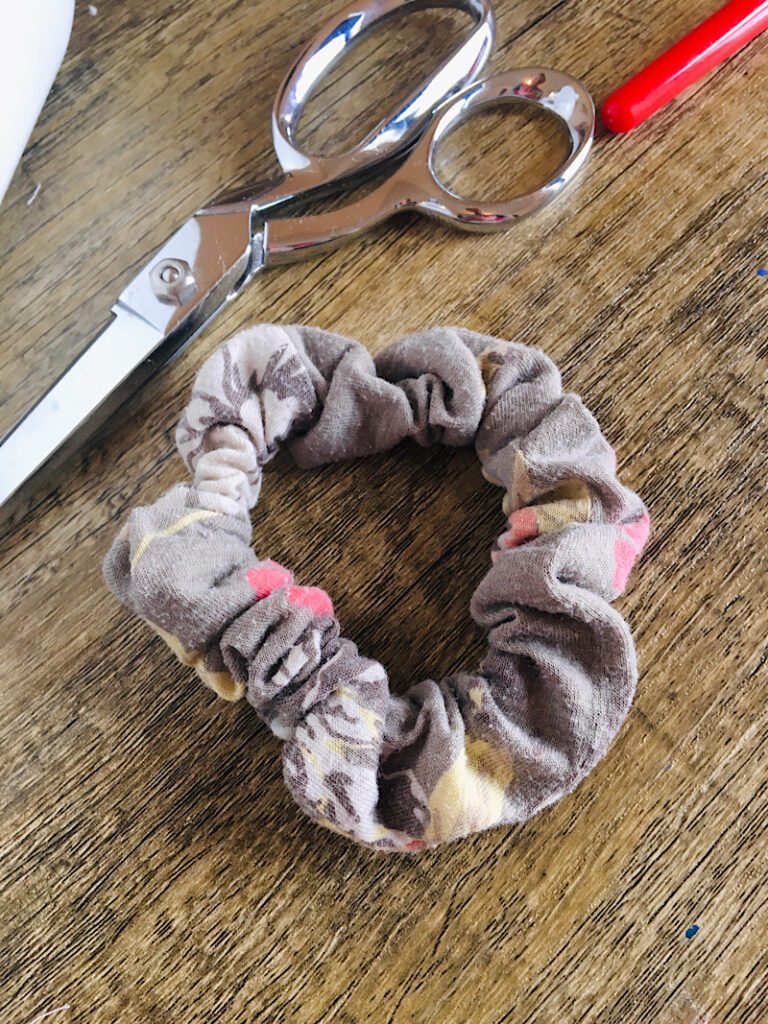
I am fixing a scrunchie that has a top-stitched-closed-gap, but you can fix scrunchies made other ways too. I will help you figure out how.
Although I do this alteration with a sewing machine, you CAN do it by hand if you want!
Here is what you will need to make your scrunchies smaller again:
Supplies Needed
- Sewing Machine
- Fabric Scissors
- Seam Ripper
- Sewing Pins
- A Large Safety Pin (If needed to help insert new elastic)
Materials Needed
- Scrunchie to be fixed
- Matching Thread
- New Elastic if needed (1/4 inch)
How To Make A Scrunchie Smaller
Step 1. Unpick The Top Stitching
Look at your scrunchie and figure out how it was sewn closed. Then carefully use your seam ripper to unpick that little seam.
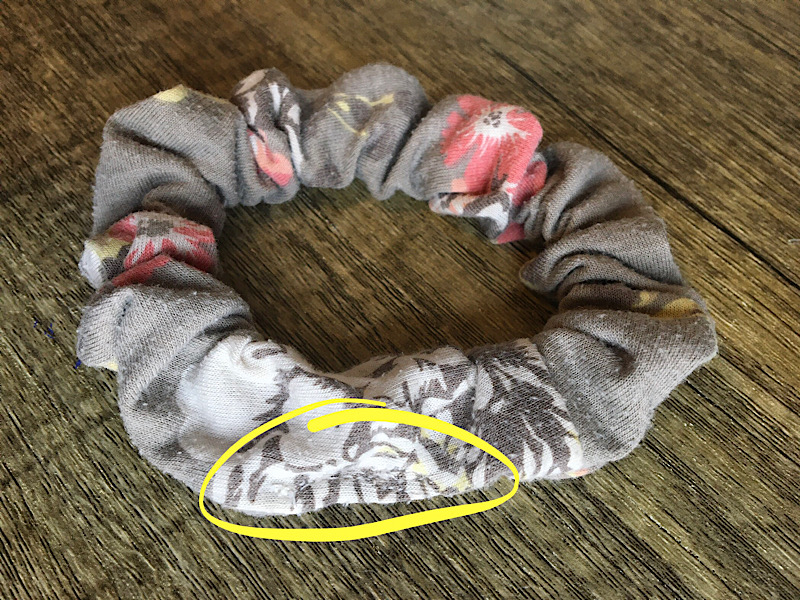
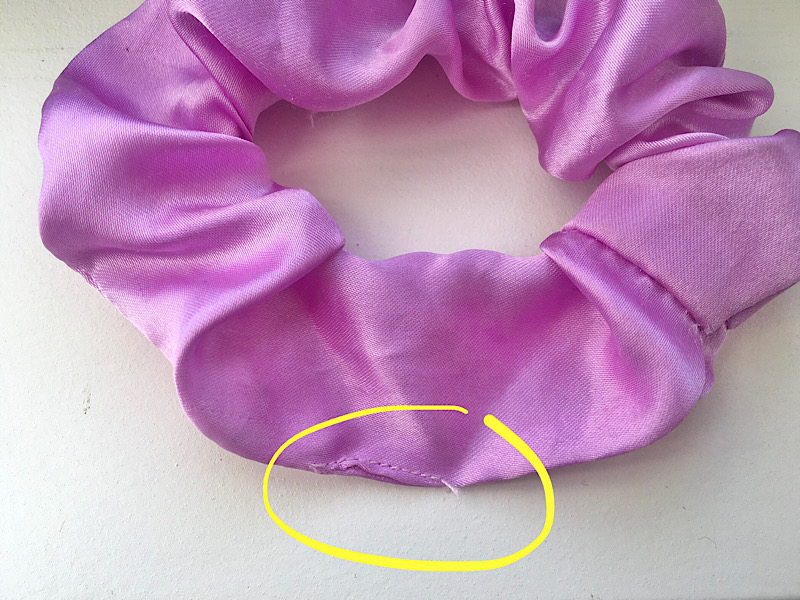
Most scrunchies I have seen are have a small gap in the side seam that is topstitch closed with a machine. Here are two examples of what it could look like:
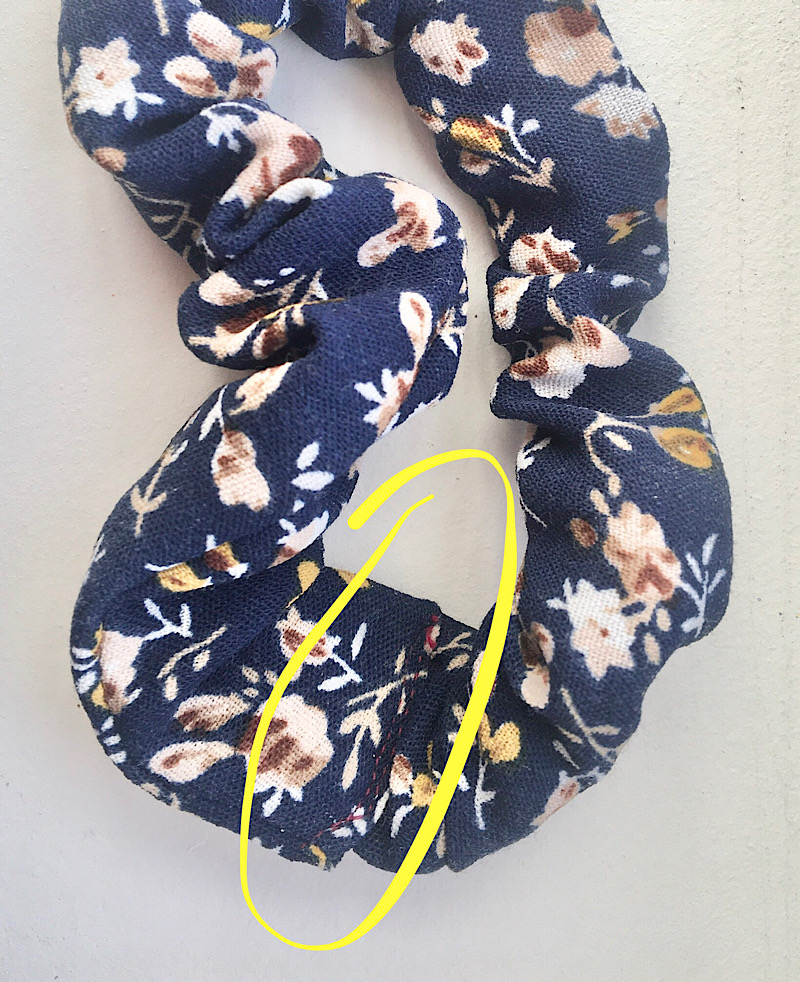
Some scrunchies are made by sewing a long tube and then sewing together the two short ends, (these will be slightly harder to unstitch) so the topstitching will be in the middle of the scrunchie like this:
If you can’t find any top stitching, you may have a very expensive fancy handmade scrunchie, where the gap in the side seam was hand sewn back together. If this is the case, you will have to look all around at the seam to try to locate it.
If you can’t find it, you can carefully seam rip open an inch or 2 gap in the side seam.
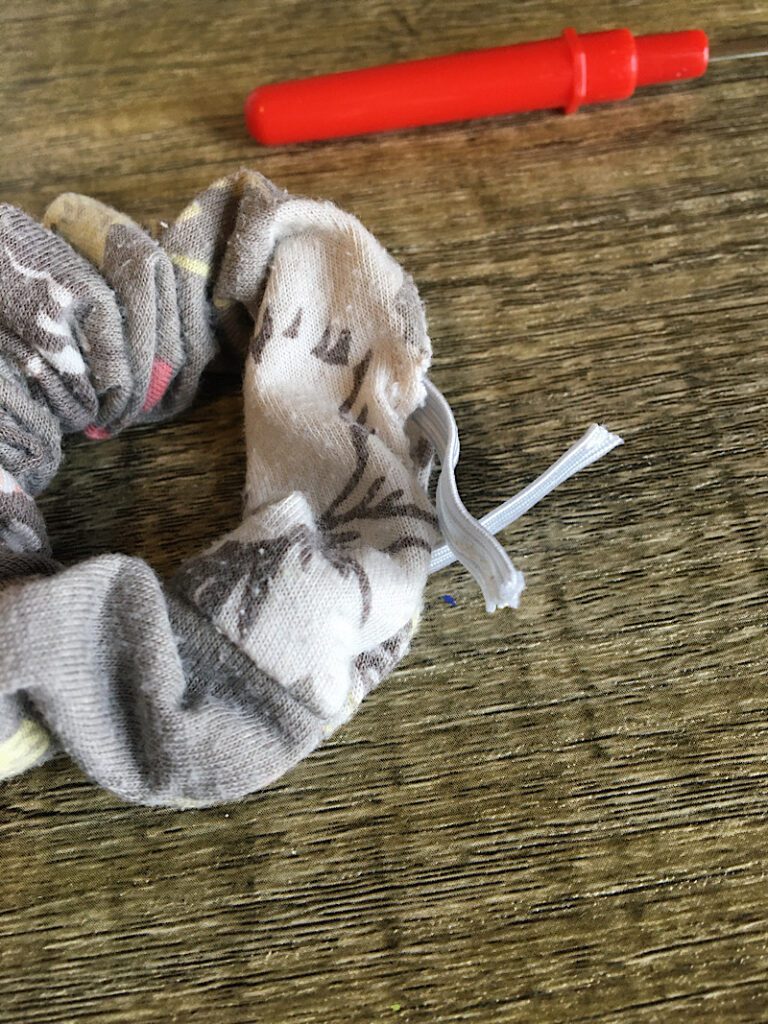
Step 2. Pull Out The Old Elastic
Reach inside the scrunchie and pull out the old elastic.
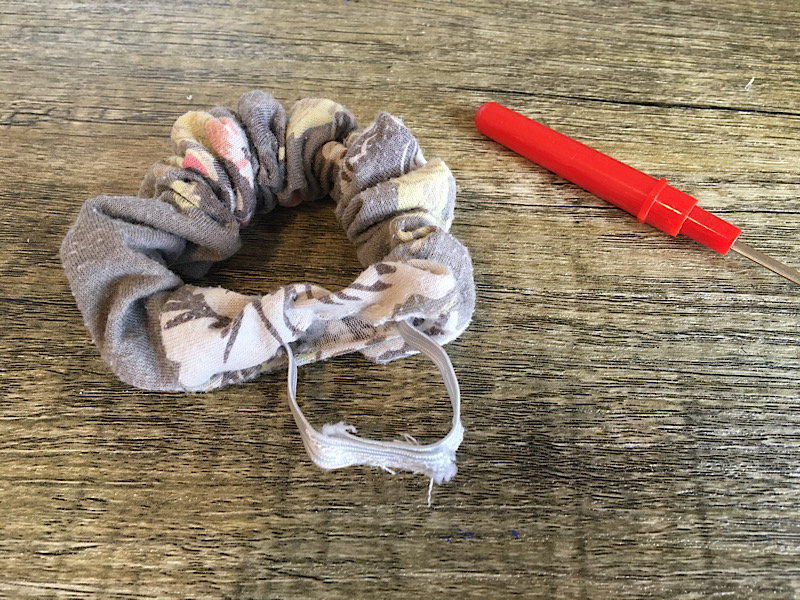
If you are going to completely replace the elastic, cut it and pull it out. If you are going to use the same piece of elastic like I did, cut it be be careful not to let it come out of the scrunchie.
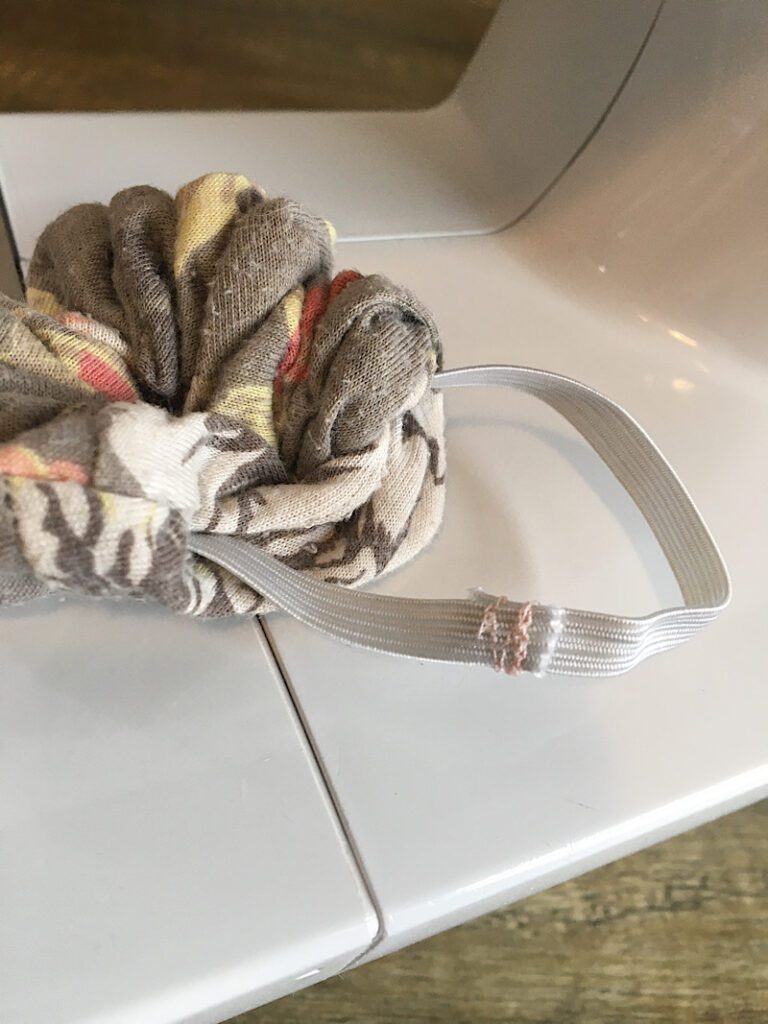
Step 3. Fix or Replace the Elastic
Determine how much smaller you want your scrunchie to be, and re sew (or tie) the elastic to be the smaller size. Then clip the ends of the elastic so they don’t stick out.
If you are using a new piece of elastic, measure how big you want it to be, then use a safety pin to help you thread it back into the scrunchie, then sew it or tie the ends together.
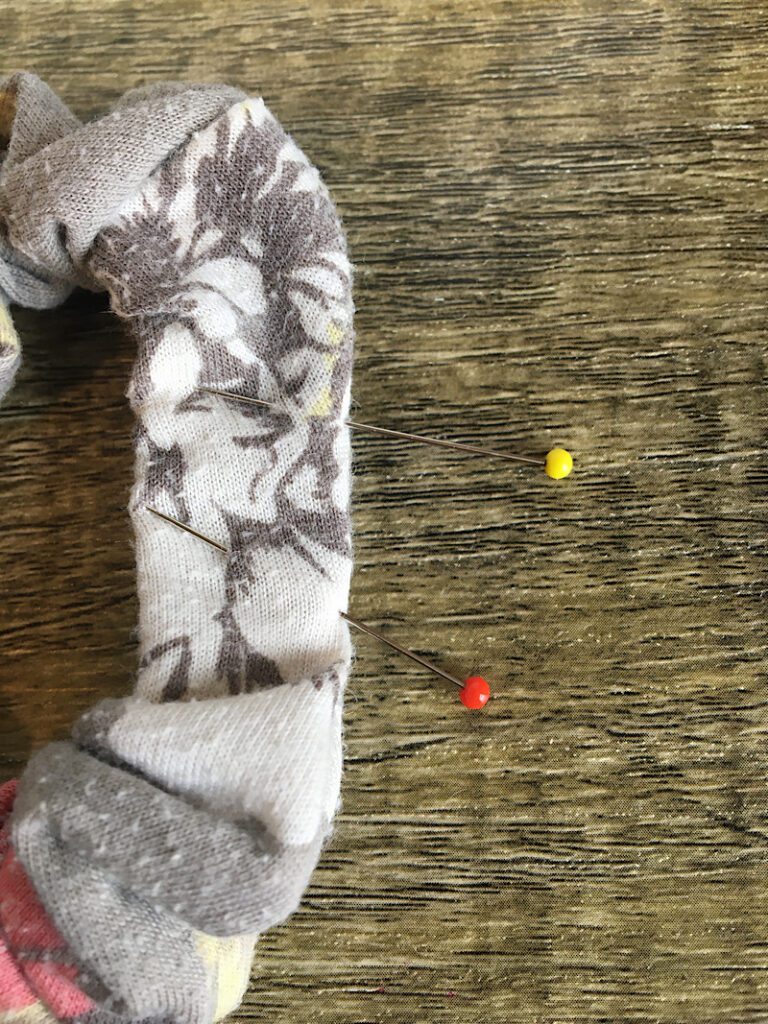
Step 4. Sew the Scrunchie Closed Again
Straighten the scrunchie out and fold the gaps near the little opening neatly inside again, and pin them in place.
Finally, sew a new topstitch where the old one was, make sure to sew along the entire gap. Sew as close to the edge as you can, but make sure you are catching all the layers.
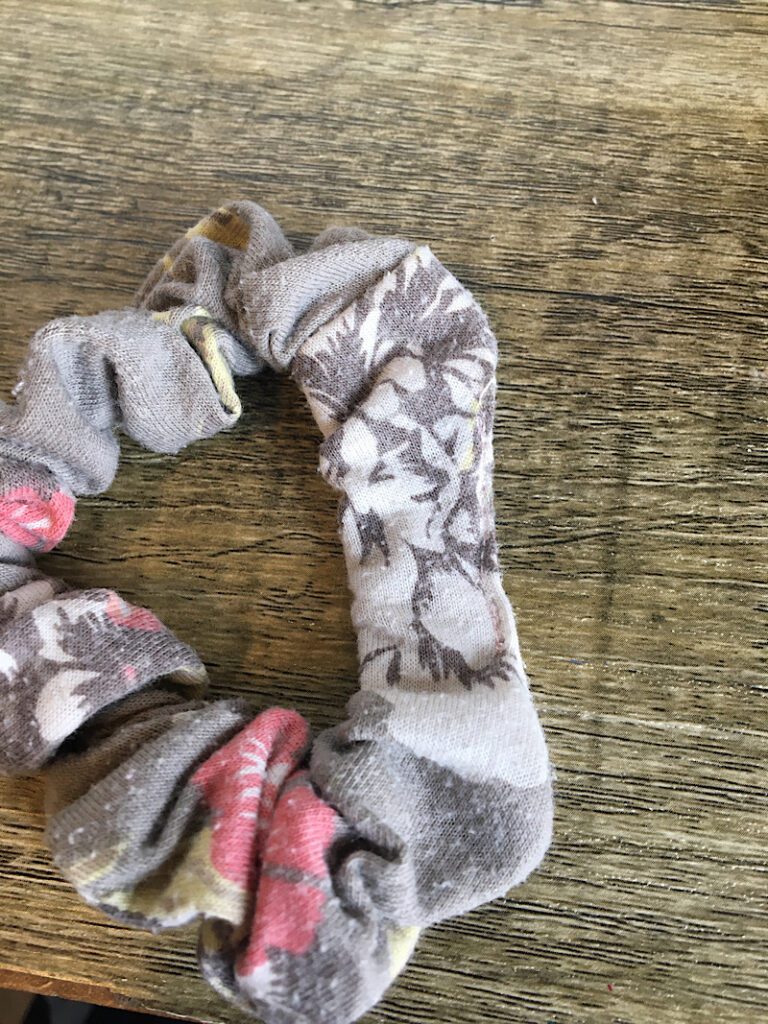
Stretch the scrunchie out and reshape it. You are done! It is no longer too small.
That completes the tutorial.
Conclusion
There you have it, a super easy sewing fix for making scrunchies tight or small again.
Did you know you’ve completed most of the steps to make your own scrunchie at this point? You might as well learn how to do the rest!
If you thought this post was helpful, please consider Pinning it to Pinterest so others can learn how too. And sign up for my email list for more tips!