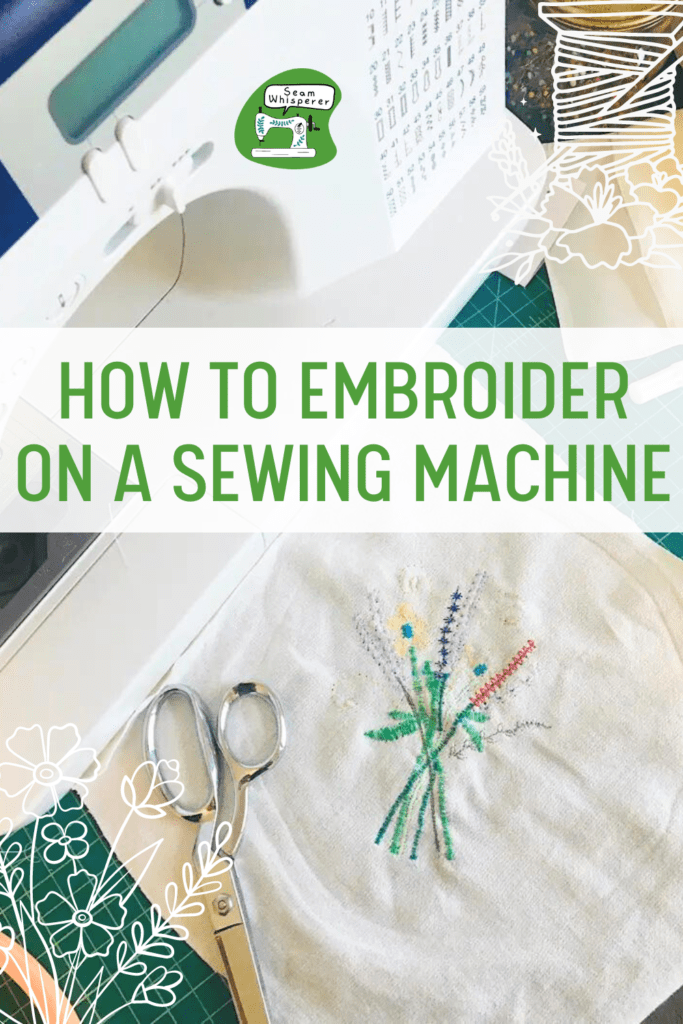
No embroidery machine? No problem! There are still several ways you can use your domestic sewing machine to make embroidery quick!
Embroidery on a sewing machine. Is it possible? The answer is yes and no.
A home sewing machine is not an embroidery machine, which means you can’t use it to upload embroidery designs.
However, you can use a regular sewing machine to create embroidery like designs by using specialty stitches, sewing applique stitches without the applique, and by using special presser feet.
There are also a couple of helpful tools you should have to help you more easily embroider on your sewing machine.
Let’s go over it all!
This post may contain affiliate links. Read the full disclosure here.
Supplies Needed
To embroider with a sewing machine, you will need to following supplies (depending on which technique you are using):
- 8 inch Embroidery hoop (This will help stretch your fabric as you move it through the machine)
- Fabric Stabilizer, embroidery backing, or spray starch (If needed, it will help your fabric stay stiff and straight)
- Disappearing Ink Sewing Marker
- Free Motion Quilting Foot (You can read about the 15 most common presser feet here, with photos)
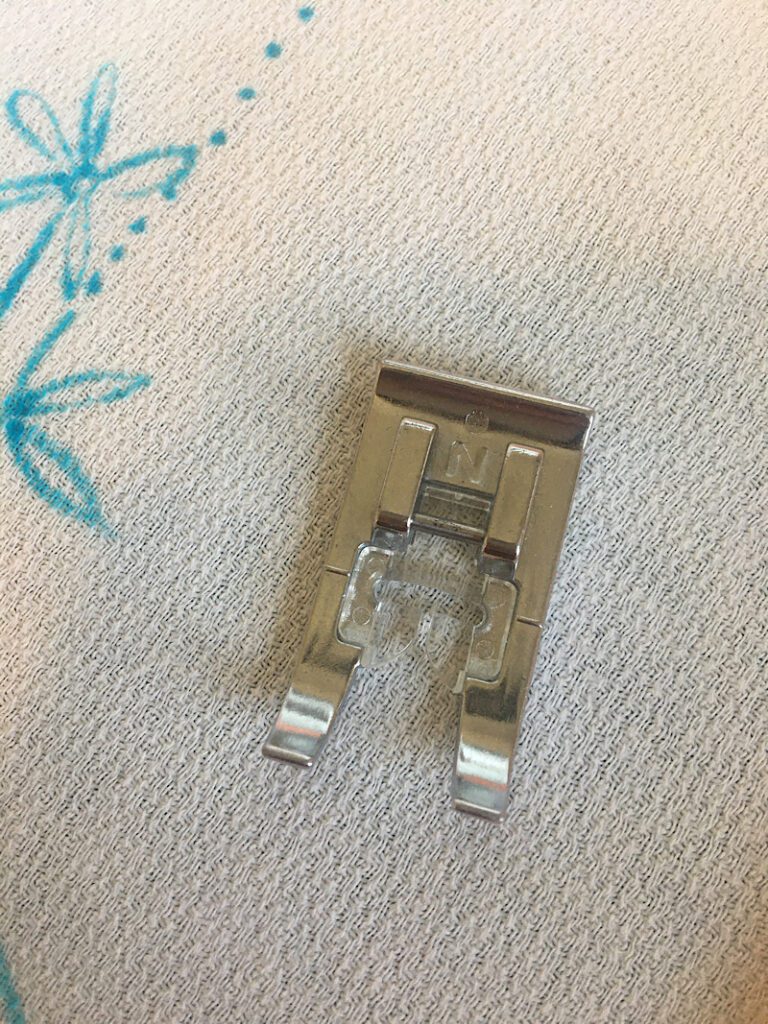
- Monogramming Foot
- Colored threads (and a thread the matches the fabric for the bobbin)
How To Embroider With A Regular Sewing Machine
Fun fact, the work “embroider” means to decorate cloth with decorative thread. So although this is a regular sewing machine, it technically is embroidery!
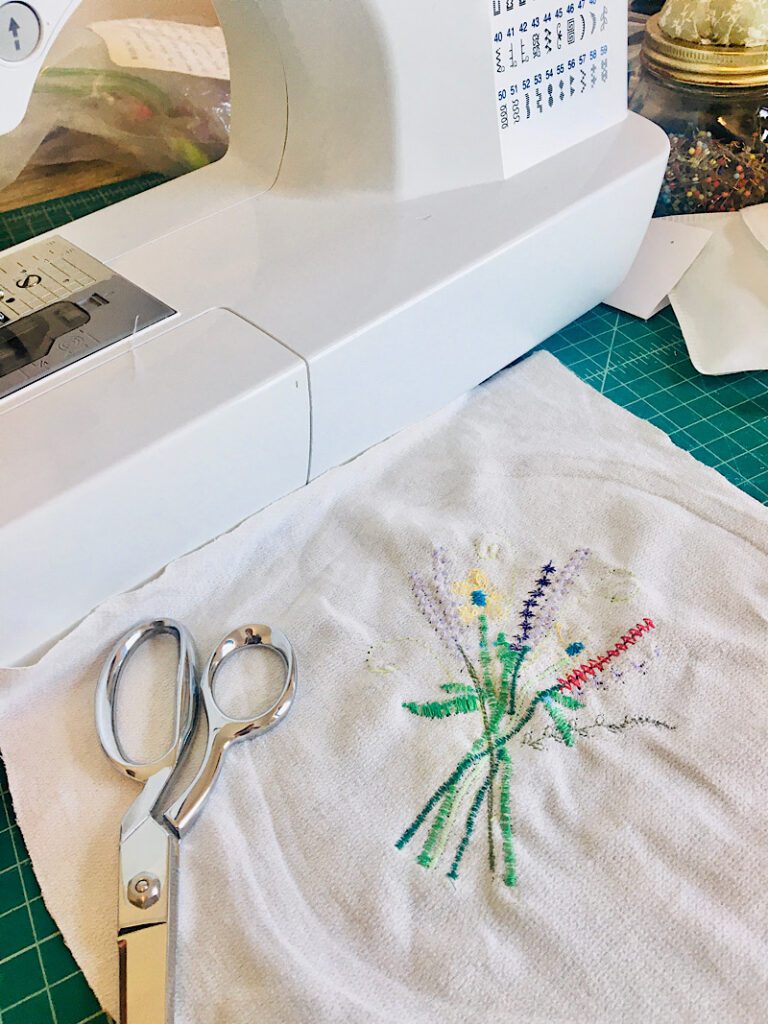
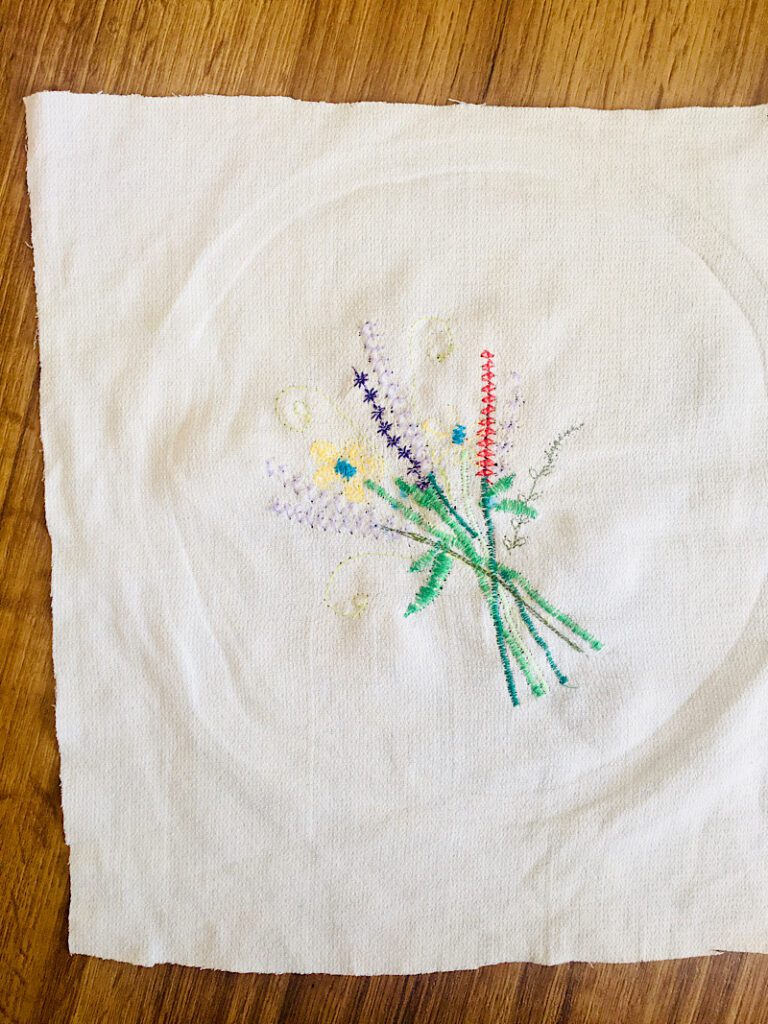
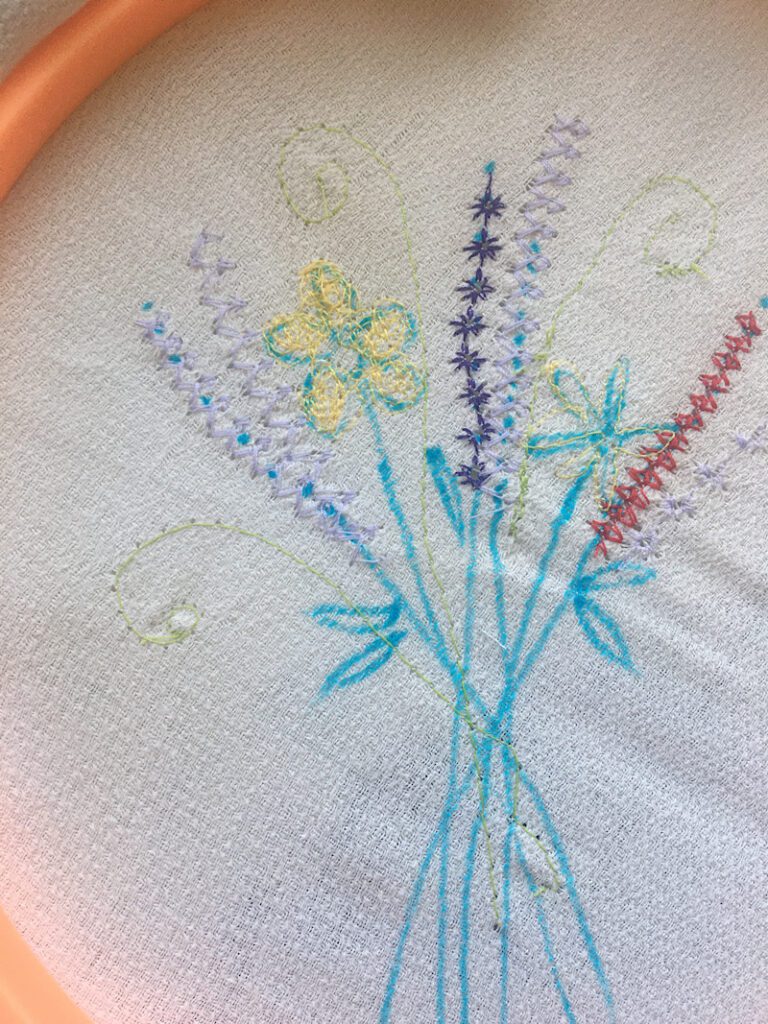
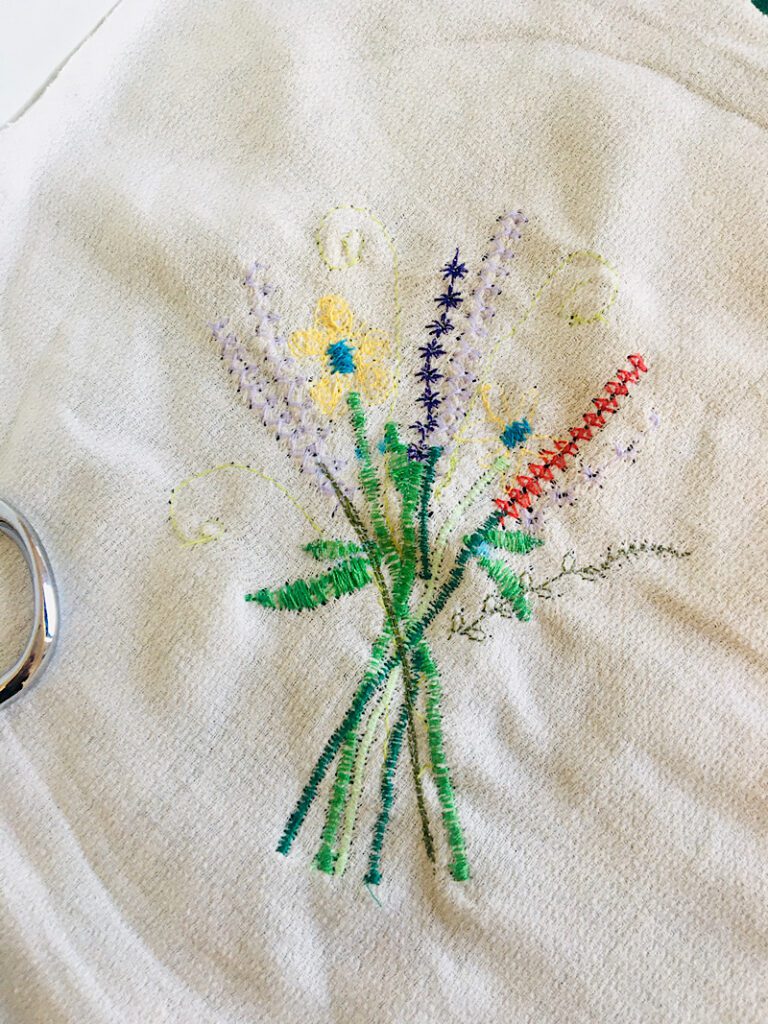
Today I am going to show you how I made this pretty wild flower bouquet design.
Prepare The Embroidery Pattern
The first thing you need to do is use your disappearing ink marker to draw the basic design you want to make.
I drew the rough outlines of some flowers and stems and leaves on the center of my fabric.
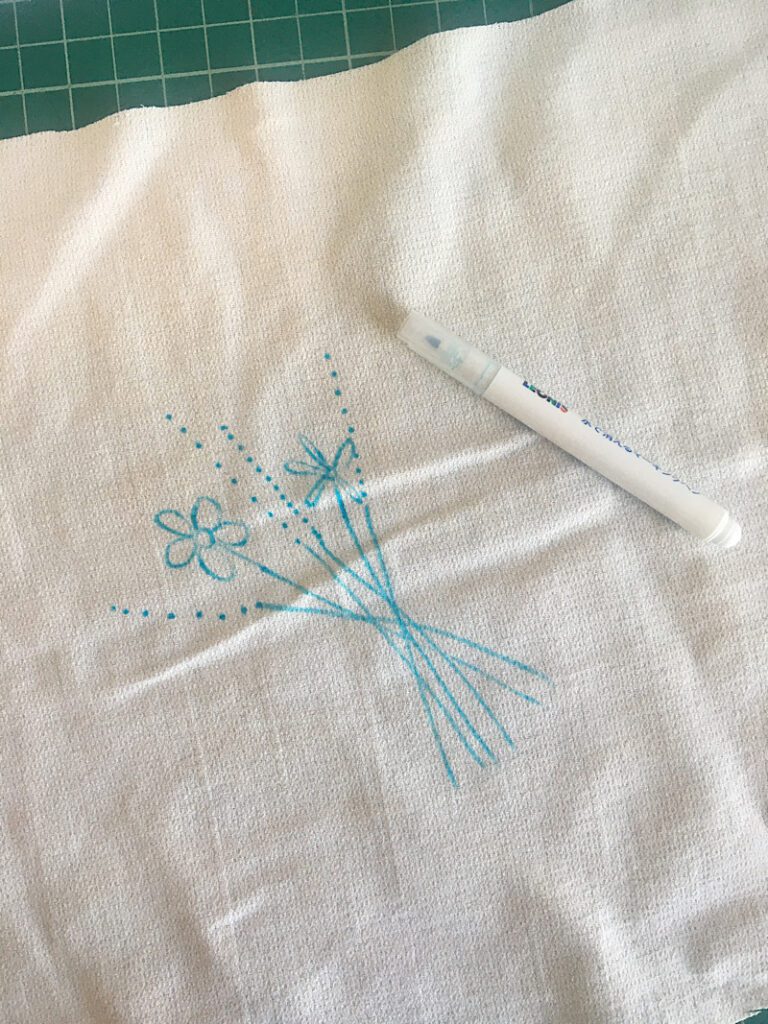
You can even print a pattern on then trace it onto your fabric.
(The easiest way to trace onto fabric is to tape the pattern to a window, then tape the fabric on top of it. When the sunlight shines through, it makes it easy to trace your design.)
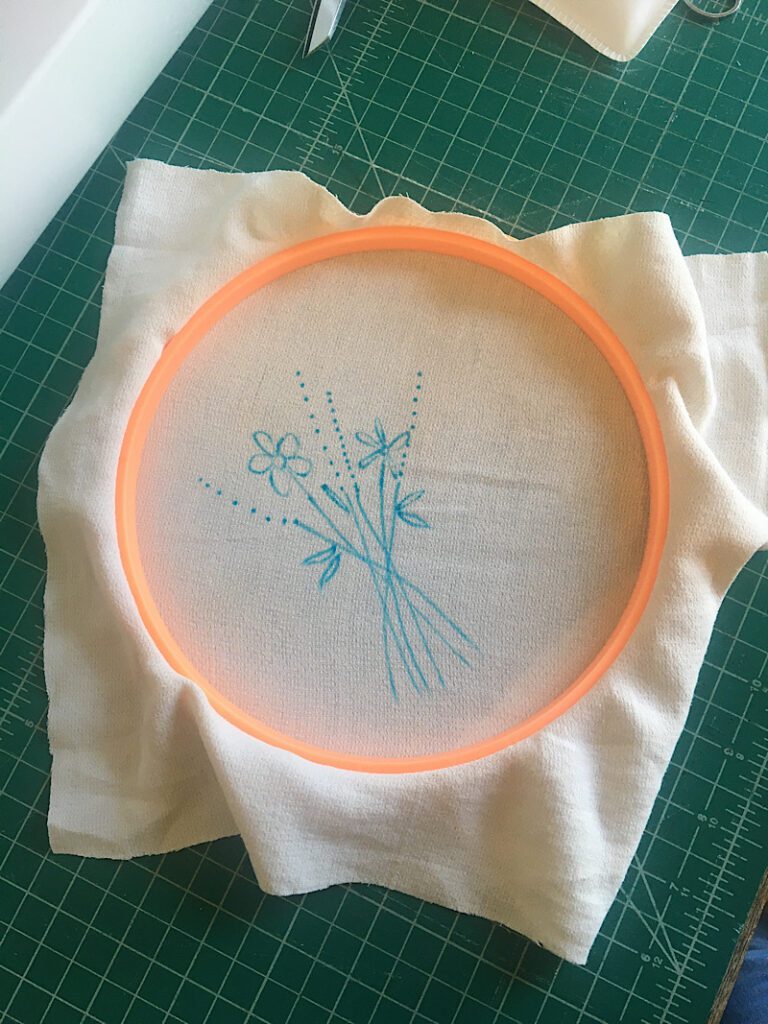
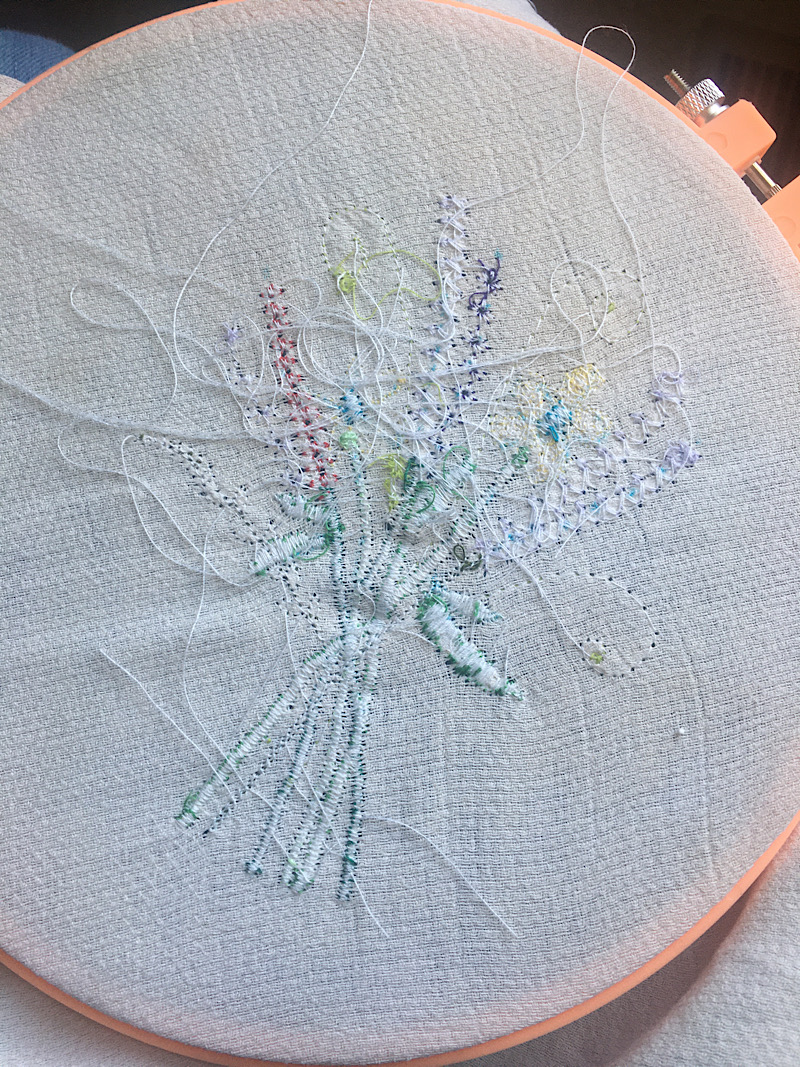
When your pattern is drawn, put the fabric into the embroidery hoop, but upside down. It is easier to sew when you use the hoop upside down so it rests flat on the sewing machine’s arm.
*Note, if your fabric is thin, you may need to stabilize it before putting it into your hoop*
Now you are ready to embroider!
Technique 1: Use Decorative Stitches
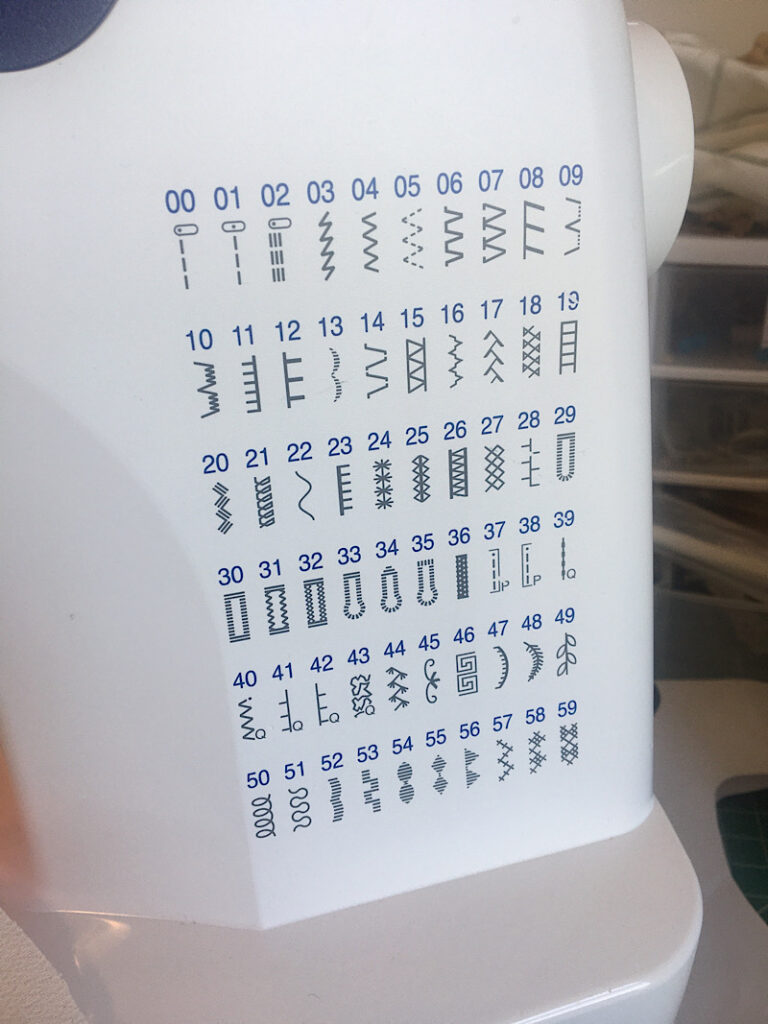
The first method you can use on your home sewing machine to embroider is to use any decorative stitches that it has programmed in.
My machine (a Brother cs6000i) has many decorative stitch options, so I had plenty to choose from.
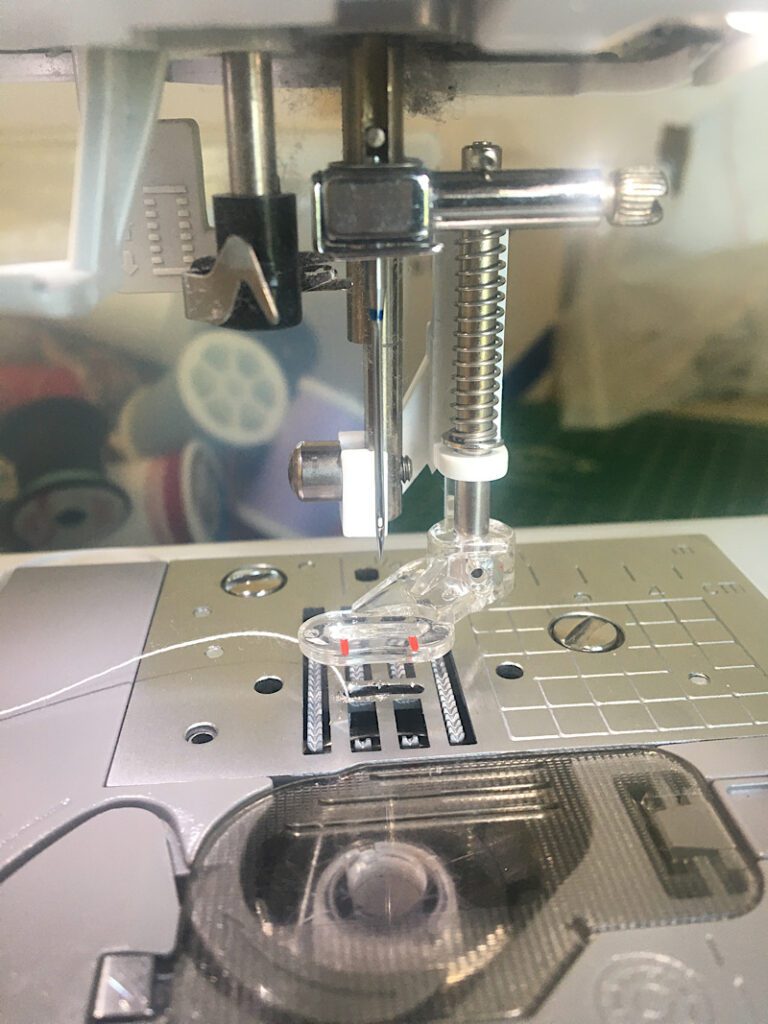
It is useful to use a monogramming foot that has a clear “toe” area to make it easier to follow your drawing.
Raise the presser foot and place the embroidery hoop underneath it, with the pattern facing up.
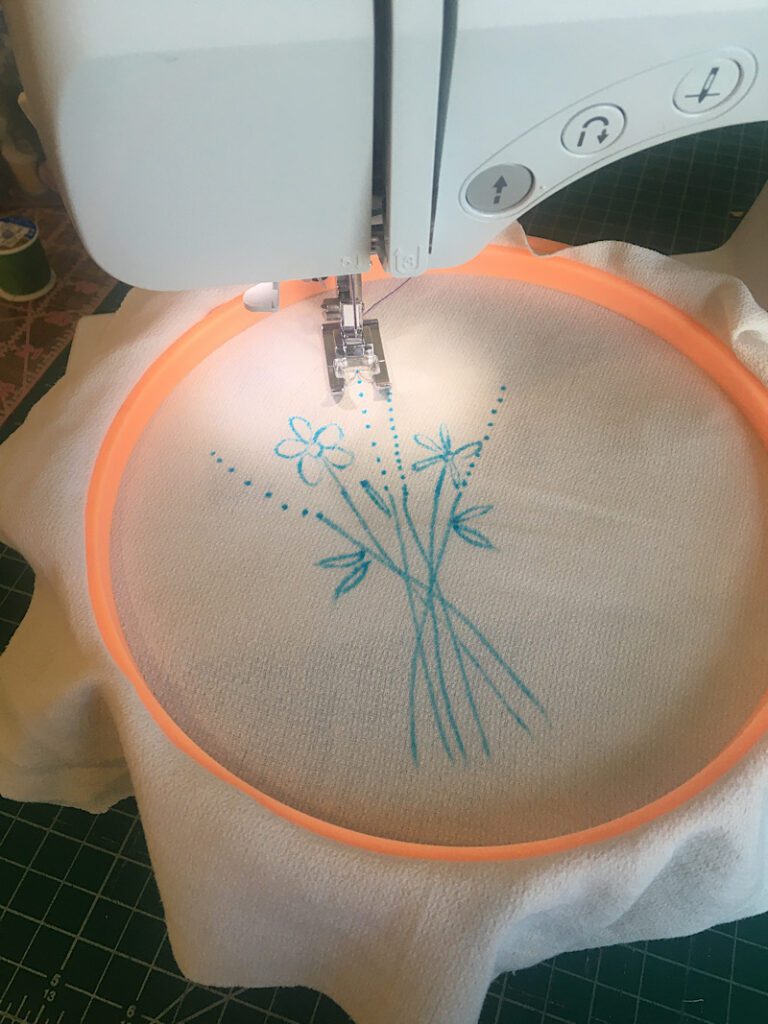
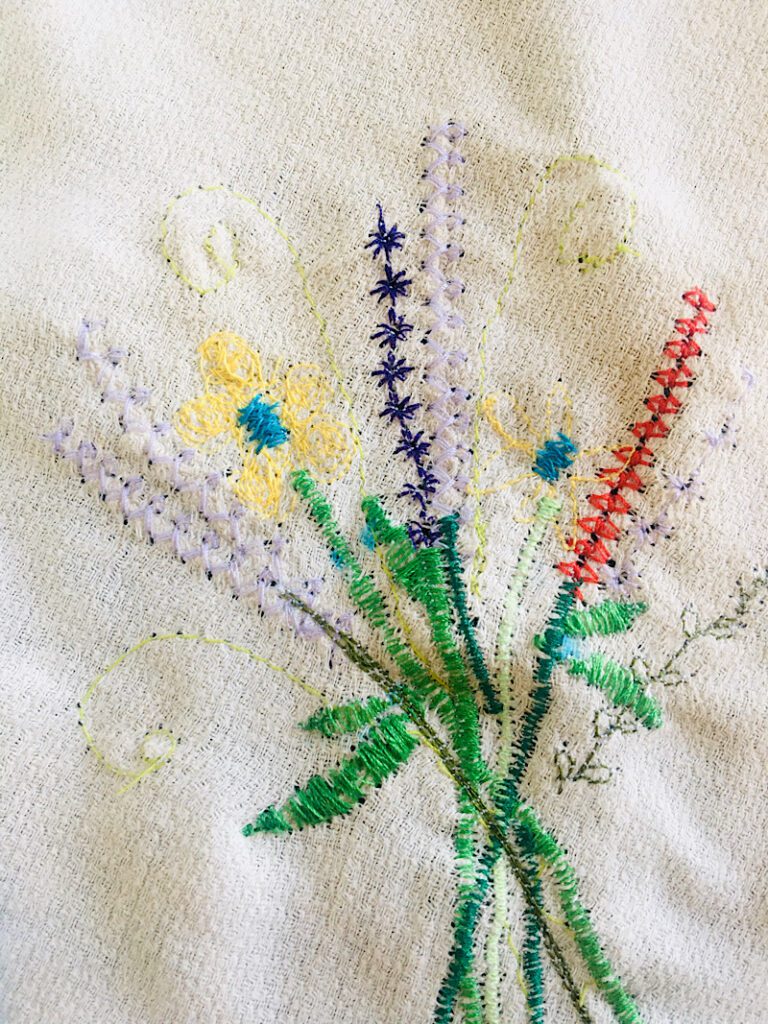
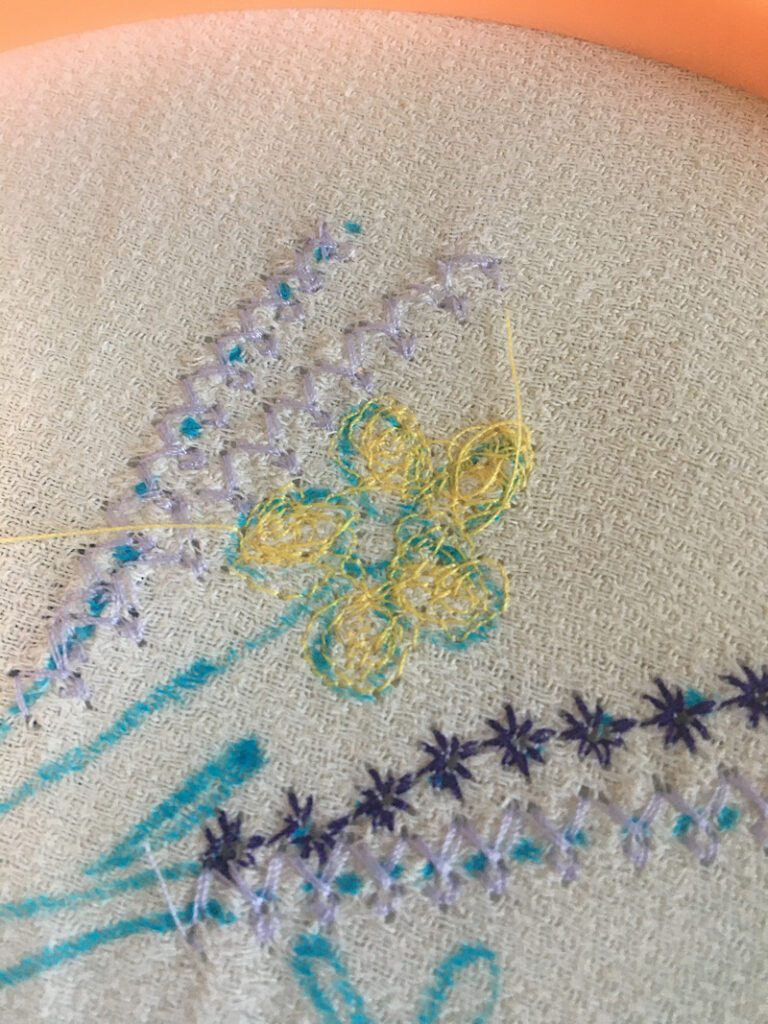
I started with the most floral looking one, and used it to sew a lavender like flower with purple thread.
I gently guided the hoop through the machine, but let the feed dogs do most of the work.
When

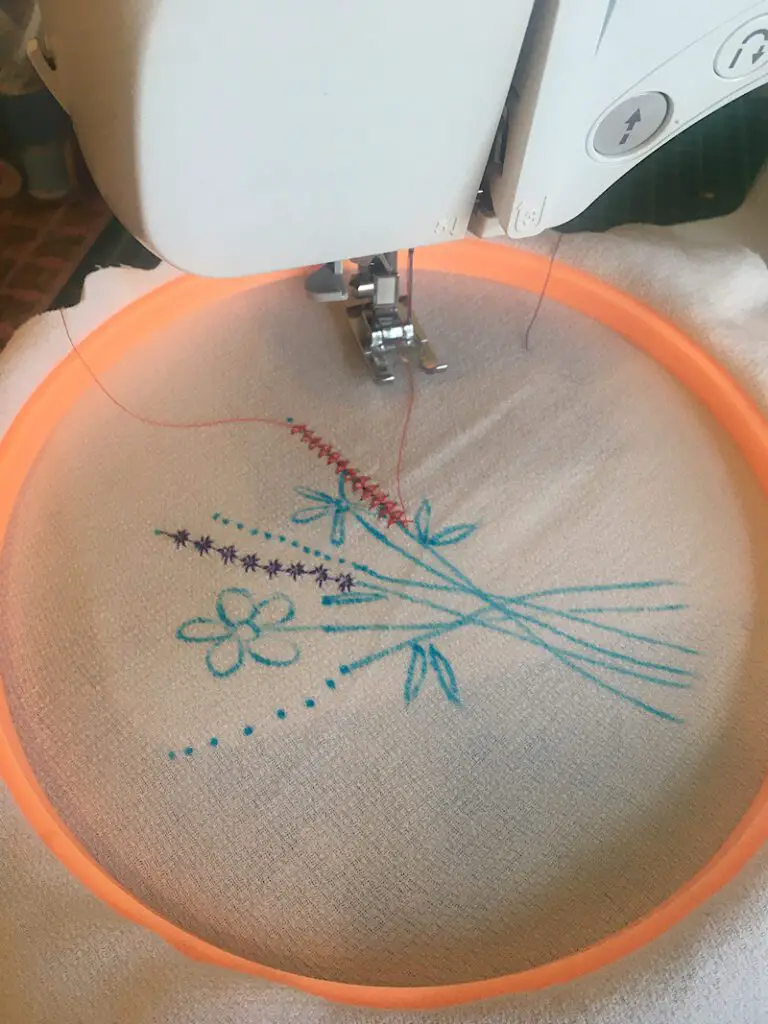
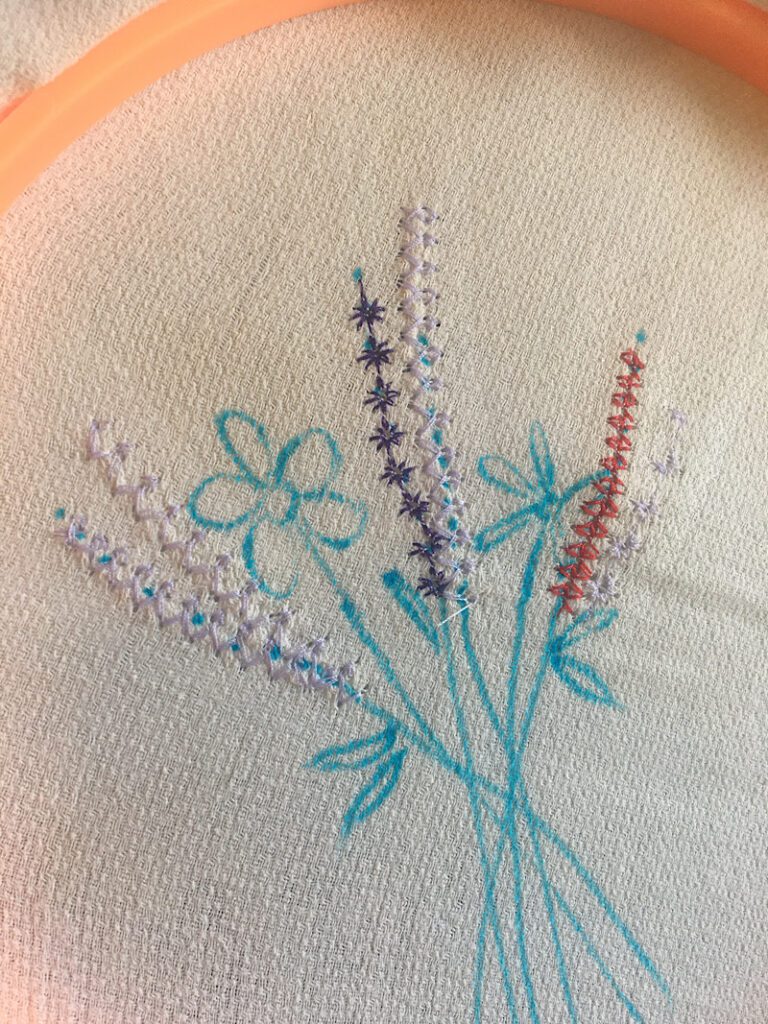
Then I changed colors, and tried a few other stitch options to make some more tall flowers. I used two purple threads and a red.
If you are embroidering something other than flowers, get creative with how you use the stitches. I have used them to make snowflakes, edging, and more.
You can use the square stitches to make a road, or the button hole stitches to make a window. The possibilities are plenty!
If your machine doesnt come with this many stitches, that’s okay! Move onto the next techniques to see what you can do.
Technique 2: Draw With A Freemotion Foot
The freemotion quilting foot (also called a darning foot or hopping foot) is the tool I used for this next technique.
This foot allows you to move the fabric in ANY direction as you sew! You need to drop the feed dogs to use this foot.
You can use the freemotion foot to sew back and forth very tightly to fill in empty areas and make it look like real embroidery.
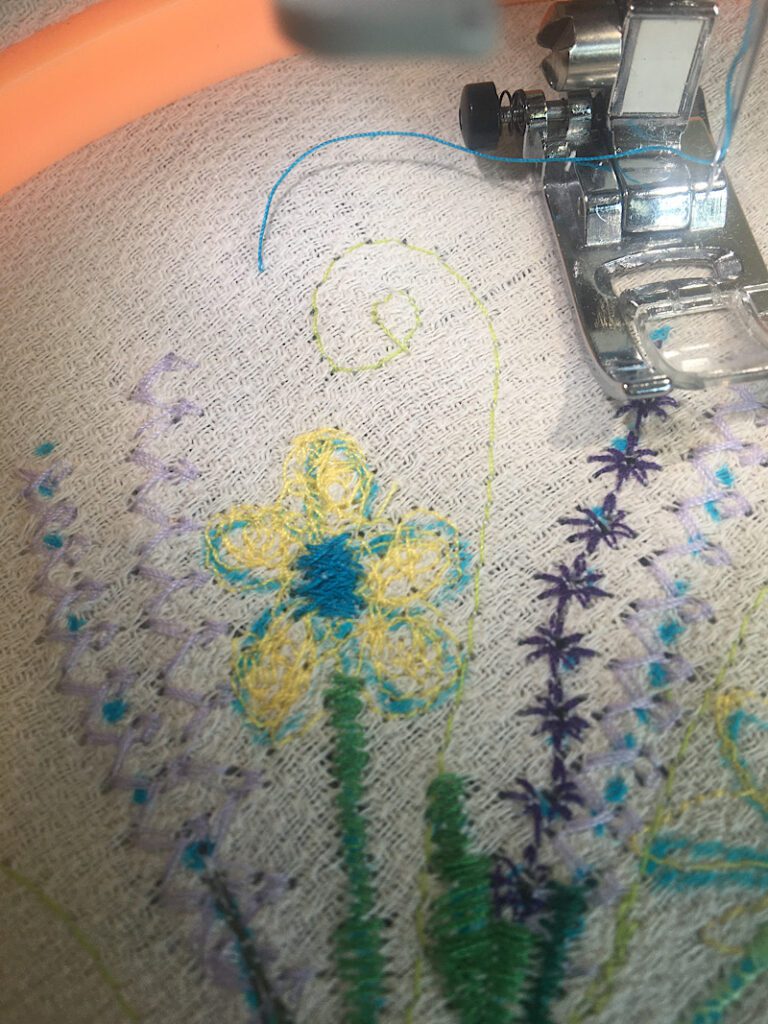
You can also use the freemotion foot to sew loops or circles, which is how I filled in the petals on this flower.
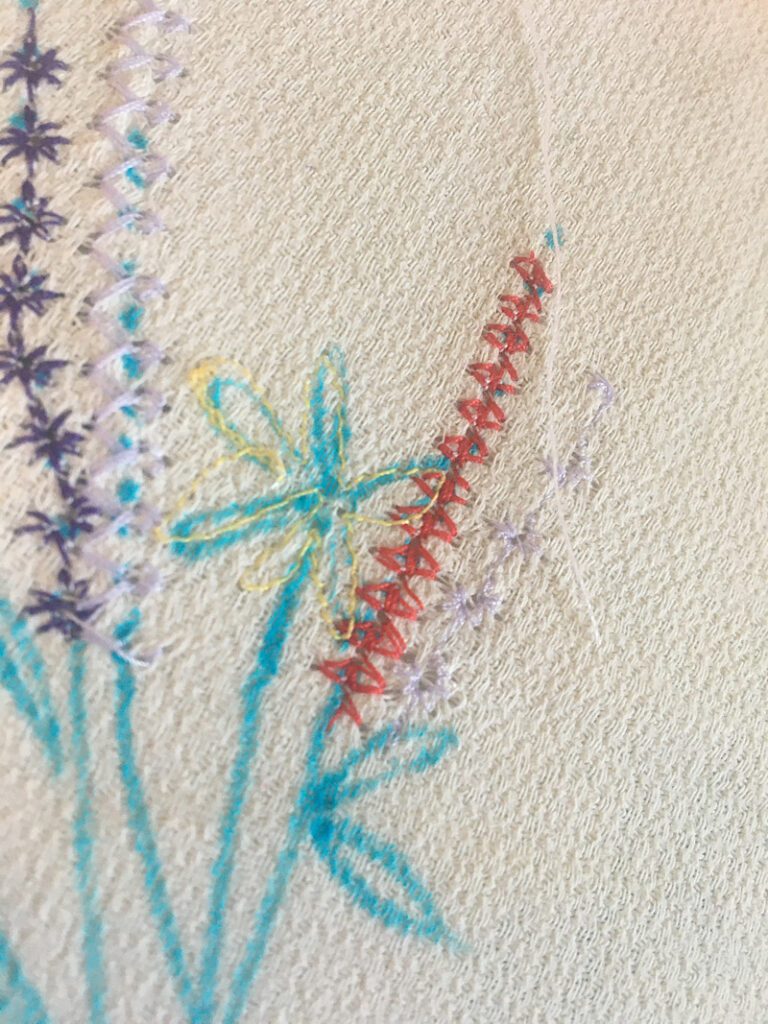
You can also “draw” with this foot. I used it to trace the outline of the other flower on my design.
You can also write cursive, write letters, or draw pretty much anything this way!
I also added some swirls to the design with the free motion foot.
Technique 3: Embroider With Applique Stitches
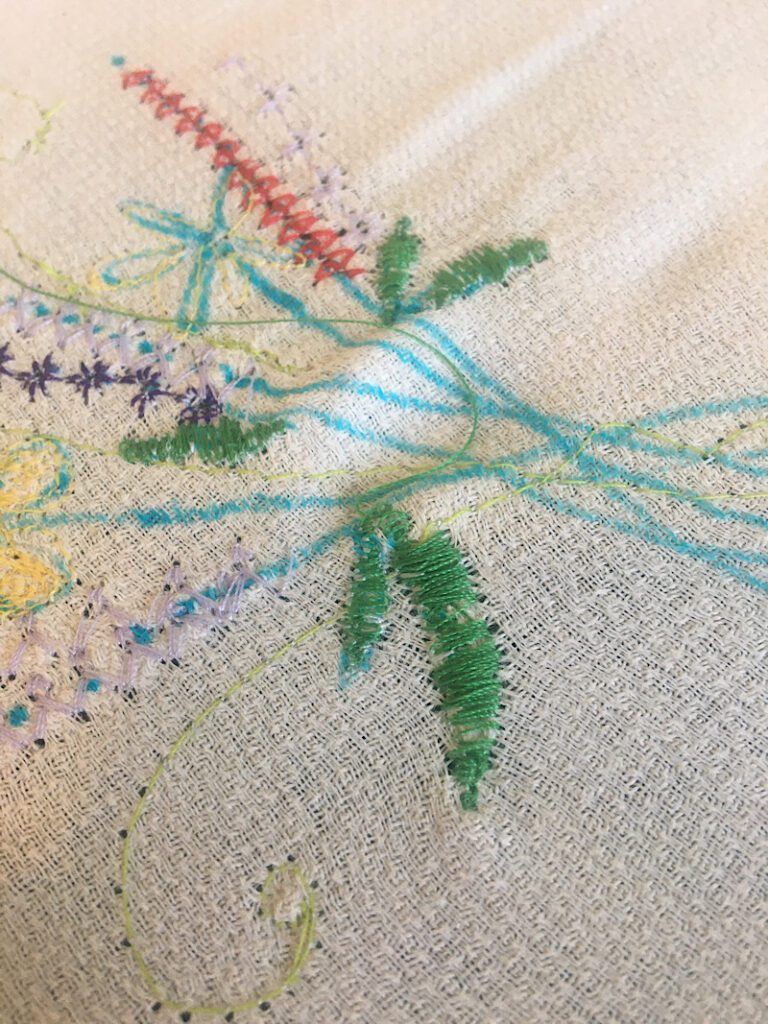
The last embroidery method I used on my sewing machine is to sew “applique” stitches (which are tight zig zag stitches).
To do this, set your machine to the zig zag stitch, then lower the stitch length so the stitches are made very close together.
As you sew, the line it makes will be quite thick since the zig zags make it wide. It will be a little bit slow, but you need to let the feed dogs pull the material through so that there aren’t large gaps in the stitch.
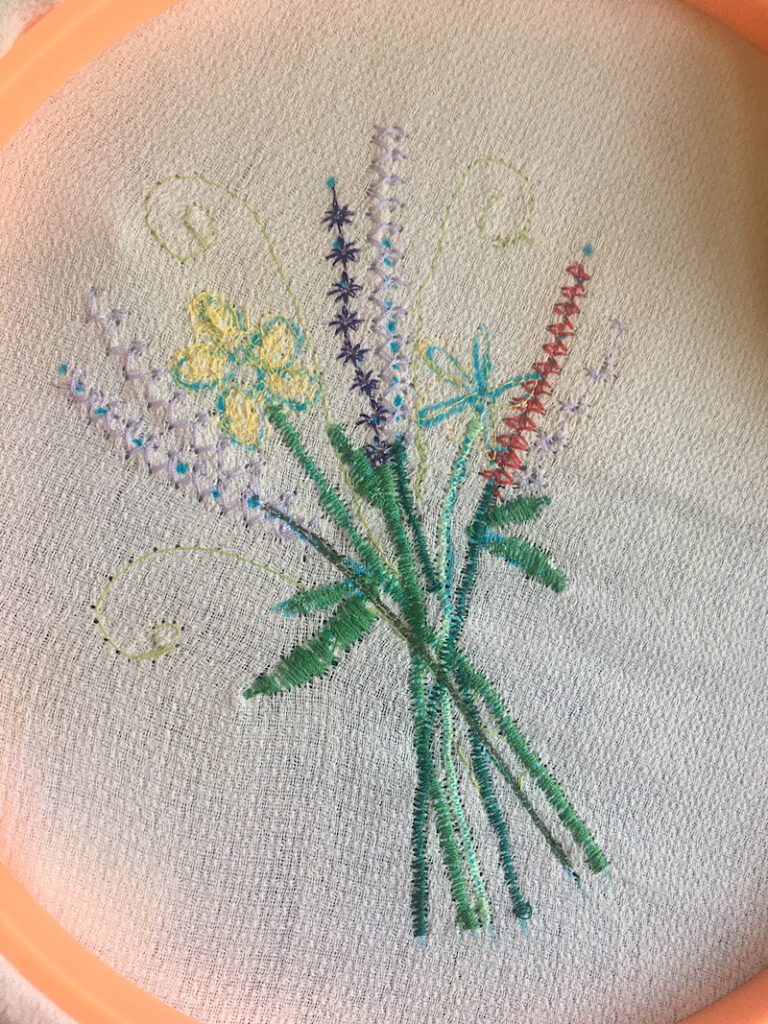
I used this method to make several stems on the bottom of my bouquet. I used different colors of greens to make it look more real.
To make the leaves on the stems, I also used the zig zag stitch, but as I sewed, I quickly raised and then lowered the stitch width so that it would get wide and then go to a point like a leaf.
Finally I used the zig zag stitch to make the square blue centers of the flowers.
I also made one stem by sewing a regular old straight stitch, up and down the stem a few times.
Finishing The Embroidery
Once you are done, you can turn the embroidery over and trim off the threads.
It looks really pretty on the back!
Last of all, you need to remove the ink marker.
Lightly wet a rag, and dab it onto the marker and it will instantly dissolve.
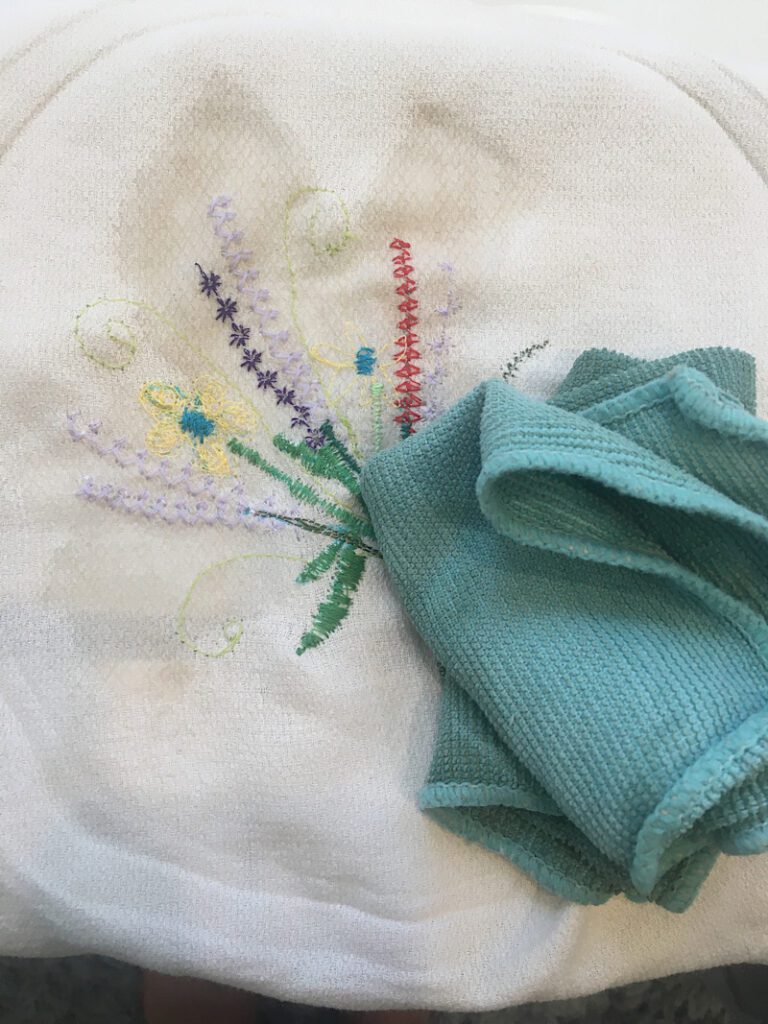
Then you can dry the fabric using a low heat setting on a blow drier or just let it air dry.
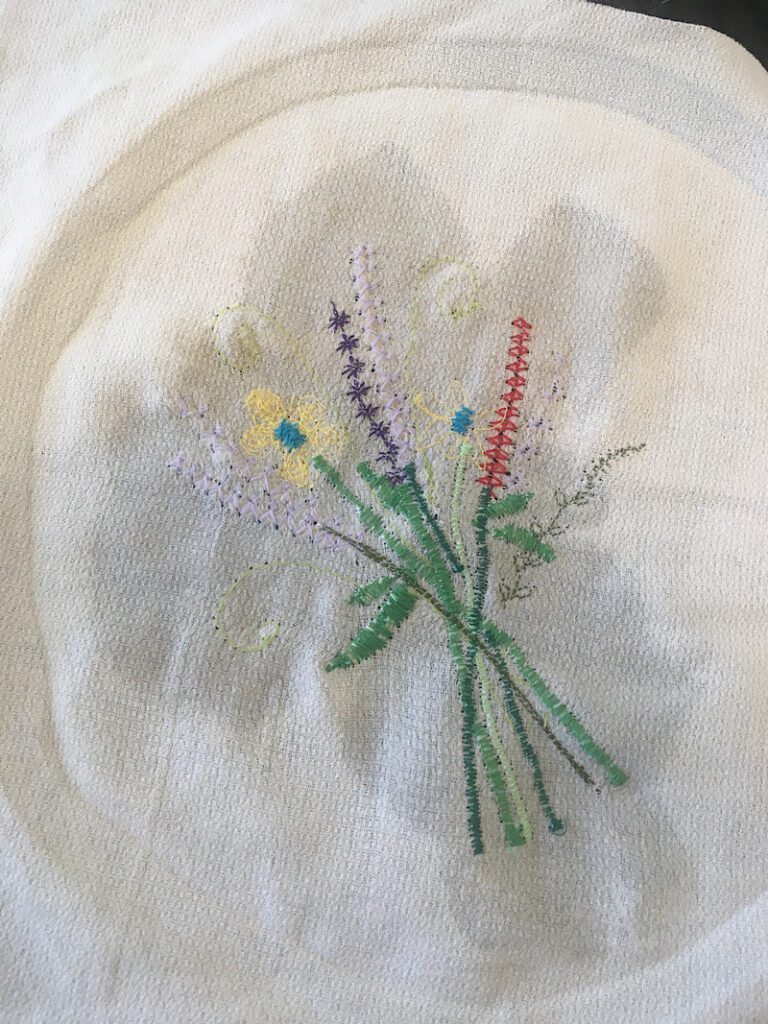
And it is complete!
I am in love with how cute it turned out! My only regret is that I didn’t choose some darker colors, a few flowers are hard to see.
Conclusion
Embroidering with a sewing machine isn’t too hard, but it will take some practice to learn how to use new techniques you may have never tried before.
You can try these three techniques with all sorts of designs if you just get creative!
Pin this post to pinterest and let me know if you have any questions!