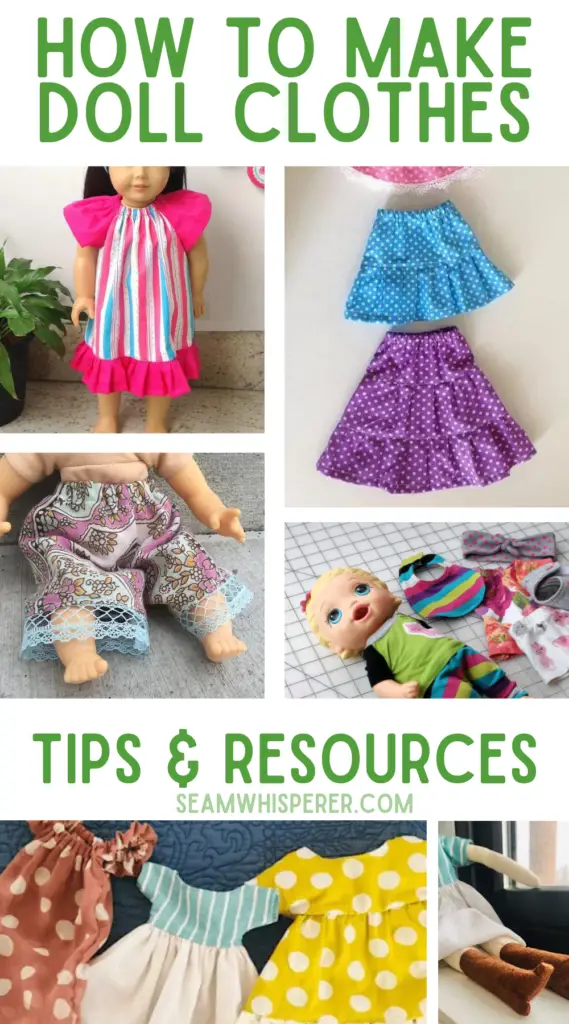
Want to learn how to make (and even design) your own doll clothes? This post will teach you the tips I have learned over my years of doll making, as well as direct you to other resources I reccomend!
This post may contain affiliate links. Read the full disclosure here.
DIY Doll Clothes Tips
Sewing doll clothing is similar to sewing human clothing, but because of the way dolls are shaped and sized there are some difficulties and differences in the techniques.
Let me give you a few tips I have learned through trial and error that will help you get great professional results on your handmade doll clothes!
Consider The Proportions
To make doll clothing look realistic, you need to keep in mind the proportions of the items you are used to using will change as you go smaller.
When hemming a women’s skirt, for example, a 1 inch hem would look fine. But on a doll, a 1 inch hem would feel overwhelming and large. Plus, the smaller you cut your fabric, the less it will flow and drape as it would in human scale.
When hemming doll clothes, I like to do small 1/4 inch or smaller hems. An easy way to do this is to use a rolled hem foot on your machine.
Another option is to use a rolled serge hem on your serger! (This is quick and easy.)
This tip is relevant for seams as well. A 5/8ths or 3/8ths seam allowance works fine in real life, but on a doll there would simply be too much fabric bunched up inside a sleeve, so try to go as small as you can make it, without sacrificing sturdiness.
Lastly, Because of the smaller proportions of a doll’s bodice, regular small buttons might feel too large as well. Small buttons, thin hook and loop, and tiny trim will help make the clothes look realistic, as if they were simply shrunk down.
Designing Your Own Doll Clothing
I see a lot of people searching for free doll clothing patterns online and on my blog, but because every doll is so different it can be hard to find patterns that fit your doll perfectly, unless you are using a doll that has a set standard body size. (Like a Barbie doll, or an American Girl doll.)
This is why in most of my own doll clothing sewing tutorials on this website, I try to not only provide the pattern, but show you how I actually drafted the pattern so you can replicate the process for your own doll.
Learning simple pattern drafting is the key to being able to design your own doll clothing. It is a skill that will take some practice, but in reality pattern drafting is all about taking measurements, and that is totally doable!
You can learn how to draft an extremely basic bodice in my tutorial to make your own doll dress, and once you have figured out how to do that, you can customize the basic bodice pattern in almost any way. Add ruffles, add length, add trim, the sky is the limit!
Some relatively easy drafting projects for your doll you could try include:
- A gathered skirt
- Elastic waist pajama pants
- A kimono style top
- A wrap skirt
You can google tutorials to draft any of these patterns, and then just use your doll for the measurements instead of yourself!
**There is also a simple but very helpful set of instructions here for very inexpensive that will give you a great technique you can use to resize doll clothing patterns to fit almost any doll. Lots of people have purchased this and tried it with success, you should totally give it a try if this is something you are interested in!**
Make The Clothing Easy To Put On
Doll clothes can be hard to put on a doll because of how small it is. You should keep in mind that if it is hard for you to get those arms and legs through the clothes, it is definitely going to be hard for a toddler or child to do it!
In general with my own children I have learned that doll clothing that you have to pull on can be hard for them to figure out, (unless it is wide enough that the limbs can easily slip through) but clothes that wrap or tie around the doll are easier!
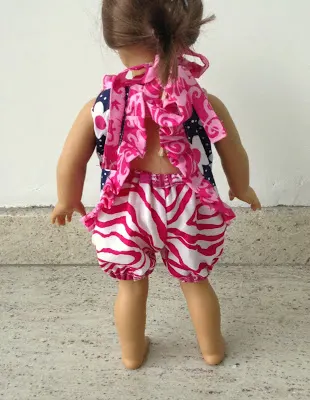
For example, a dress that is totally open on the back like the one in my tutorial is easier than one that is closed on the skirt portion.
Wrap skirts with Velcro are great, wrap style tops with a snap work too.
Backstitching With Tiny Seam Allowances
Have you ever tried to backstitch a thin material only to find that it gets sucked down into the machine? It is so frustrating, and ends up with a big knot in the fabric!
This happens more often when trying to sew with a tiny seam allowance, as you do when sewing doll clothes. Luckily, I have found a way around this problem! Here is how:
Typically you would start sewing on the edge of the material, then backstitch, then continue sewing down the seam.
To prevent the edge of the fabric from getting stuck down in the machine, start sewing about a half an inch or sew IN from the edge, so there is enough excess fabric to hang behind the hole the needle goes down into, then backstitch back to the edge, then when you come forward again, HOLD ONTO the thread tails and pull them backward to keep the fabric from getting sucked down.
It really works for me!
I typically also end with a backstitch slightly before the edge of the fabric for the same reason, but find that this isn’t as vital as the first backstitch.
Sewing Small Spaces
Probably the hardest thing about sewing doll clothing is how small it is. Sewing small spaces is hard! You can try sewing it by hand for more precision, but that takes longer.
There’s no getting around it, using pins is harder in a small space, backstitching is harder, and getting the correct seam allowance is trickier.
One great tip I have learned is to learn how to assemble the doll clothing in a different order than you typically would, to make it easier to sew.
For example, when sewing a human sized shirt, you would sew the bodice, set in the sleeve and then hem it.
For a doll shirt, there is no way you could hem that tiny little sleeve once it was sewn together, so you have to instead sew only the bodice’s shoulders, hem the bottom of the open sleeve, and then sew the open sleeve to the bodice, then close the sleeve seam and bodice seam last of all.
The same goes for doll pants. Hem those leg openings BEFORE sewing the legs into a pant. You will thank me!
Now that you have gone over these doll clothes making tips, lets move onto the specific supplies you might need when making doll clothes.
Doll Clothes-Making Supplies You Might Need
You should know: Two great Etsy shops for purchasing small sized doll sewing supplies and notions are CharleneluDesign and ISewForDoll.
Making doll clothes requires (or benefits from) a few special items of sewing gear that will make it go much easier!
- Snap Applicator (For plastic snaps, of which you can buy different sizes. Here is a good example of one.)
- Fusible Interfacing
- Skinny Hook & Loop (The skinnier the better, this particular one is perfect for dolls due to the sizes and color options!)
- 1/8th and 1/4th inch Elastic (This one has color options!)
- Rolled Hem Presser Foot (You can read about this and other presser feet in my presser foot guide)
- Button fitting foot and button hole foot
- Mini accessories such as micro buttons, mini buckles, 1/8ths inch thin ric rac, tiny zippers, and small sized trim like this adorable ruffle.
If you have never used a snap applicator before, they are very cool! I use them for ALL sorts of sewing projects, not just doll clothes. Smaller snaps are better for doll clothes because they are not as hard to unsnap. I always add interfacing behind the snaps or at least double up fabric by folding it to make sure the snap doesn’t pull through and break the fabric.
Hook and loop is off-brand Velcro, if you didn’t know, and the super skinny sew-on kind is great for closing doll dresses and pants and jackets!
In addition to these helpful tools and materials I want to mention fabrics.
When sewing doll clothes, thin and medium weight fabrics are best. Heavy weight fabrics will not drape properly at such small sizes!
Woven fabrics are easier to sew small, in my opinion. But knit materials can be left unhemmed without fraying which is also a huge advantage with doll clothes!
Free Doll Clothing Tutorials
Doll Dress & Skirt Patterns
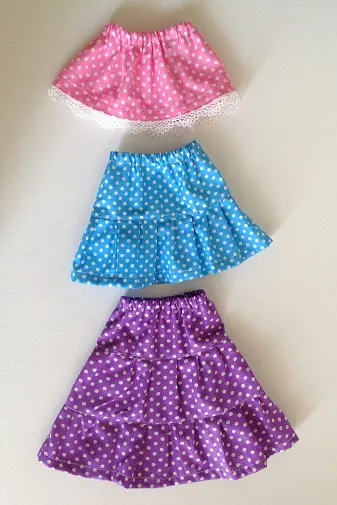
This easy doll skirt sewing pattern by Sew Crafty Me is great for an American Girl doll or other similar sized dolls, but the pattern is so simple you could probably figure out how to make it for any doll!
I like how basic and yet customizable it is! Make it mini, midi, or maxi, with tiers or ruffles.
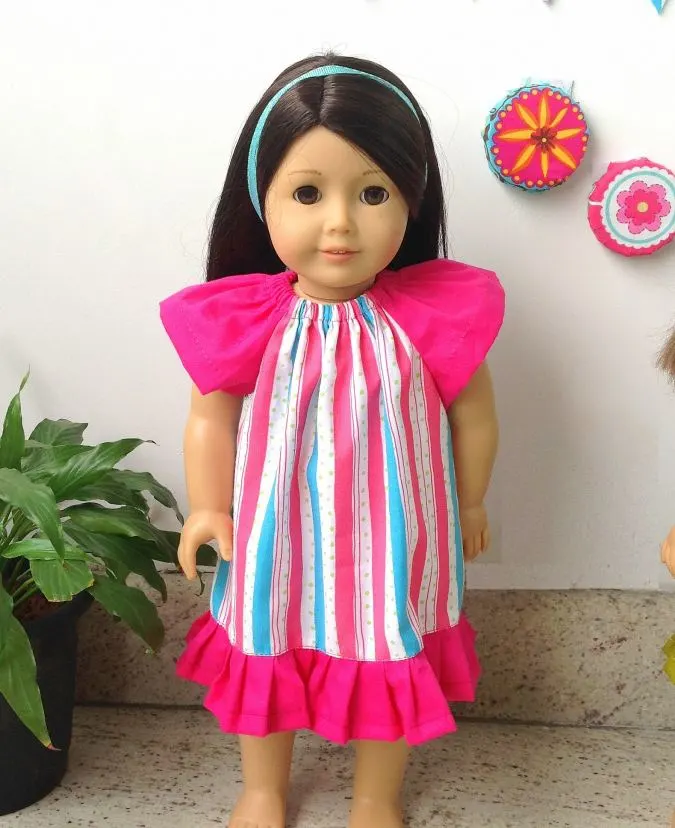
These darling doll peasant dresses are bright and fun, I love the mix-and-matched fabrics for the sleeves and ruffle accent.
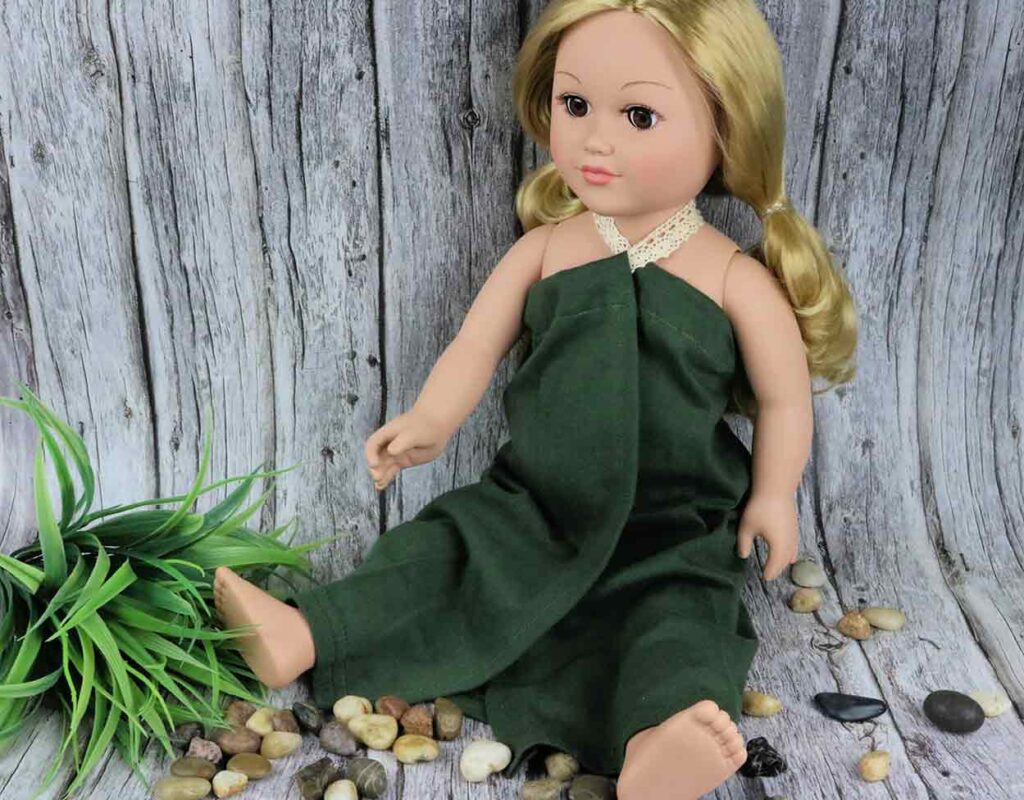
Make an easy wrap style doll dress from lace and an old t shirt with this free tutorial that is great for beginners.
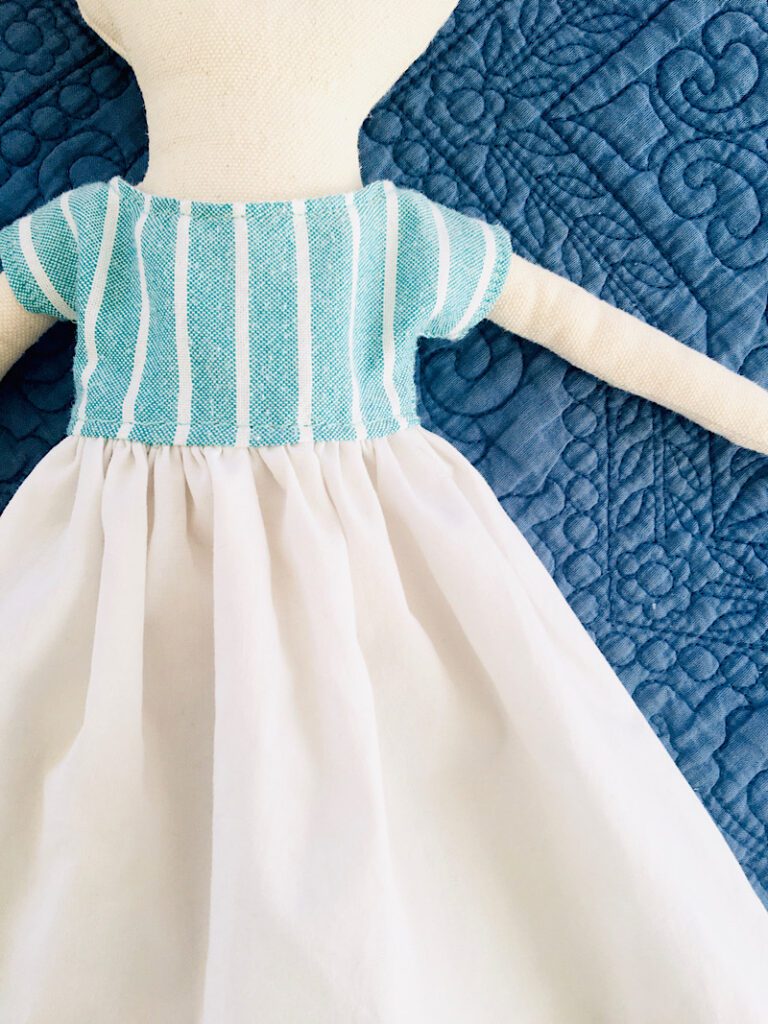
A Beautiful Mess shares a simple gathered doll dress with their cloth doll pattern!
Doll Shirt & Pants Patterns
I have a very basic tutorial for a doll bodice and dress as mentioned above. You can use it to make a short sleeved t shirt, or alter it to add ruffles, long sleeves, or make it an open kimono style.
Learn how to draft your own doll pants pattern for any size of doll with this free tutorial I made for my kid’s baby doll!
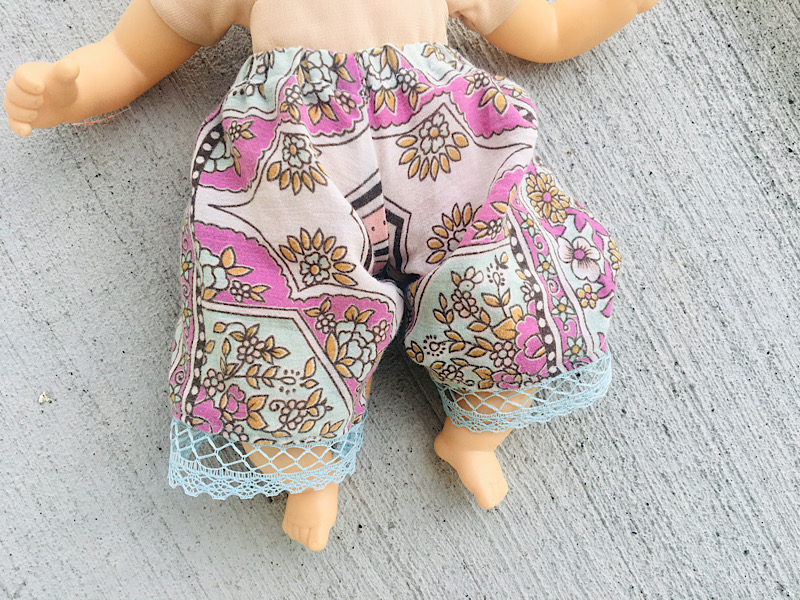
Make a pair of gathered shorts for your American Girl Doll with this free pattern and tutorial! They are gathered at the waist and knees for a cute look.
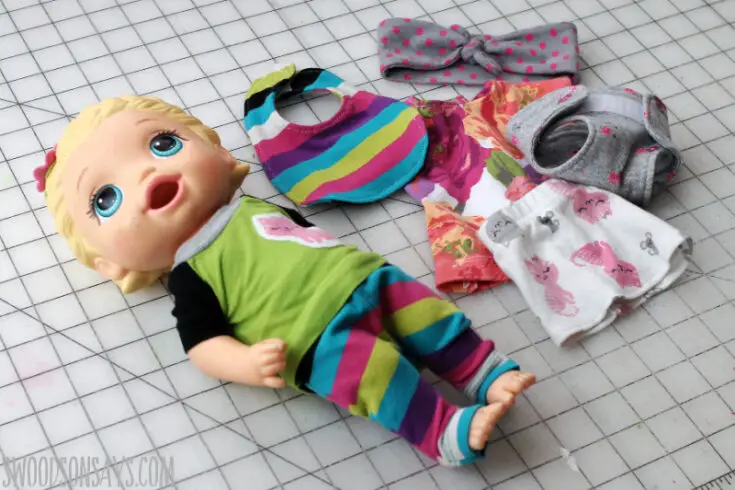
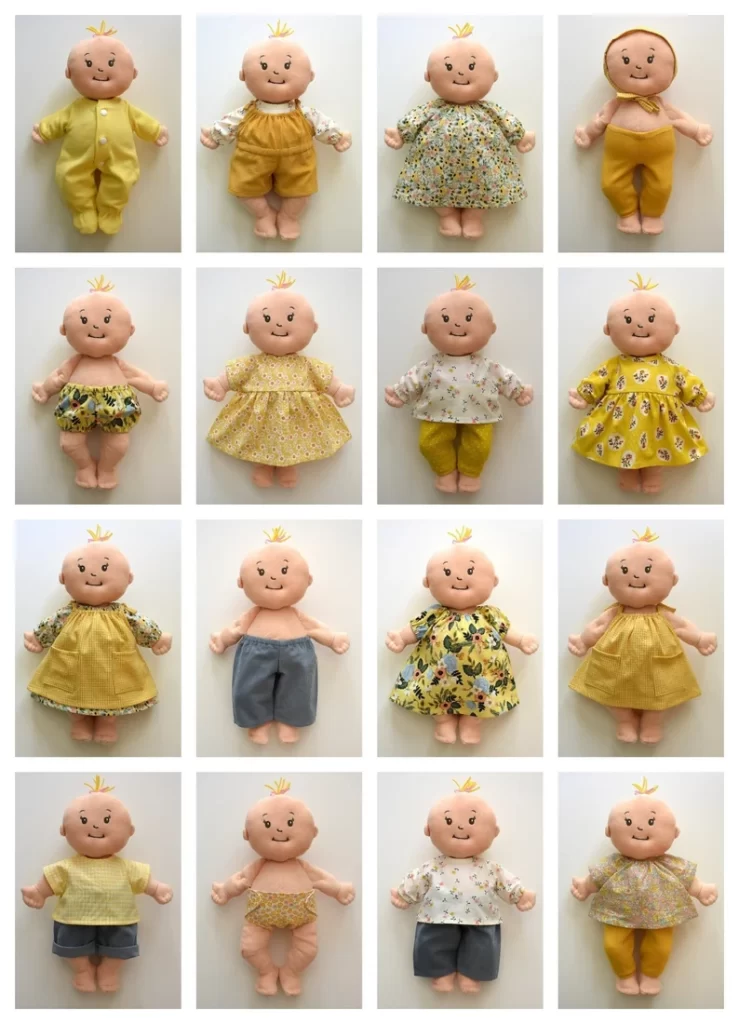
This set of free patterns is great for the baby alive doll, and includes a shirt, pants, and several accessories! I love these patterns because they utilize old clothing which is a fun way to upcycle clothes and make it look realistic!
Ann Wood has an adorable doll pants pattern available that can be resized for different dolls. I love the button detail!
Doll Accessories Patterns
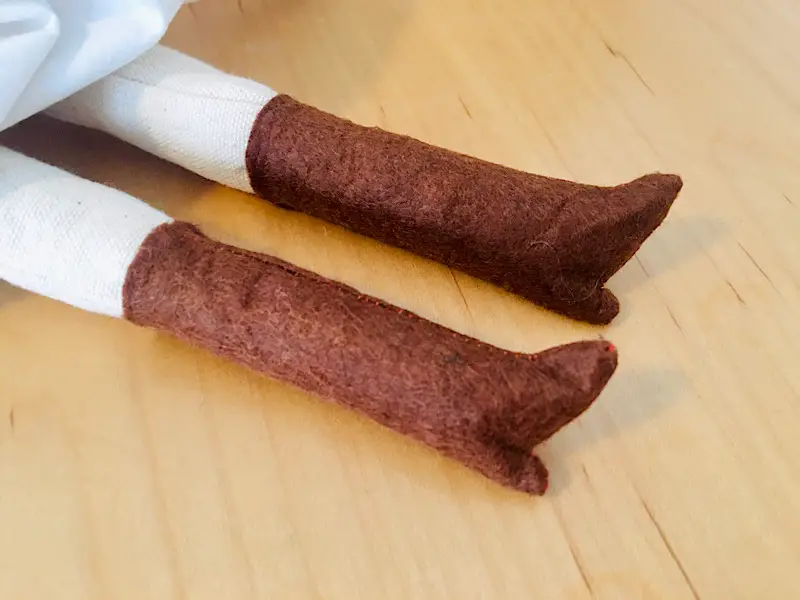
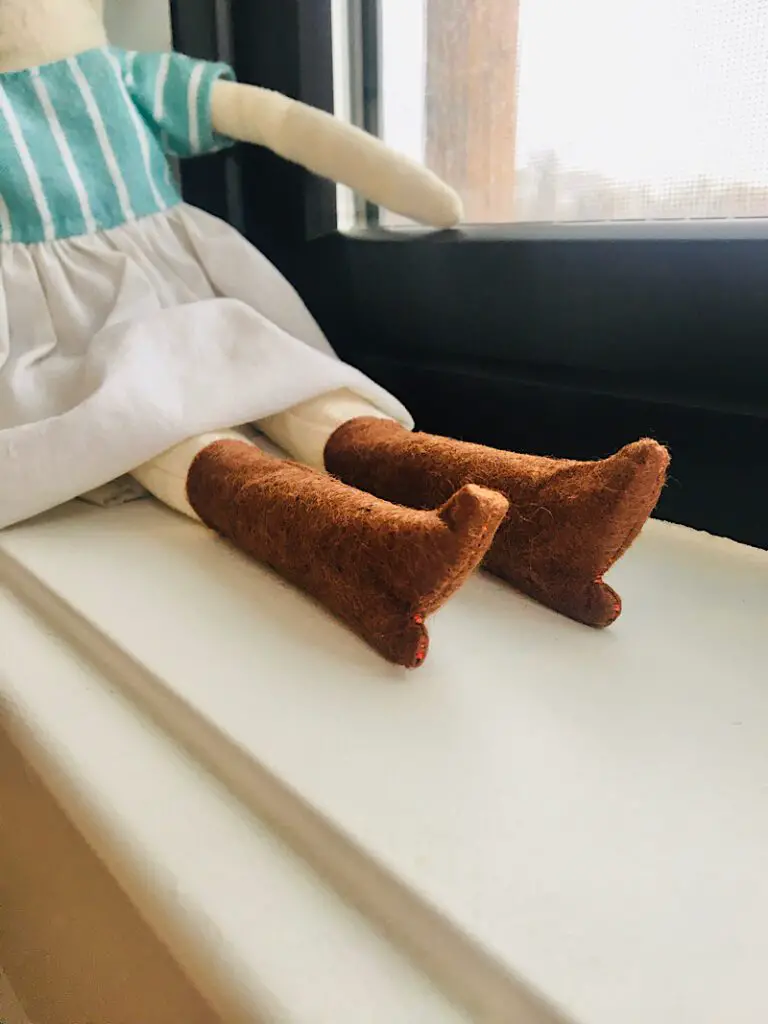
For rag dolls with ‘peg leg’ style feet, check out my free tutorial on how to make doll boots!
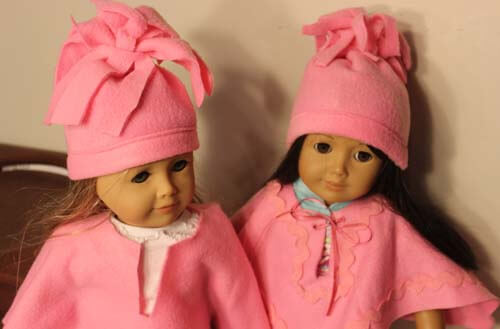
Make a fleece winter hat with fringe for your 18 inch doll with this easy video tutorial.
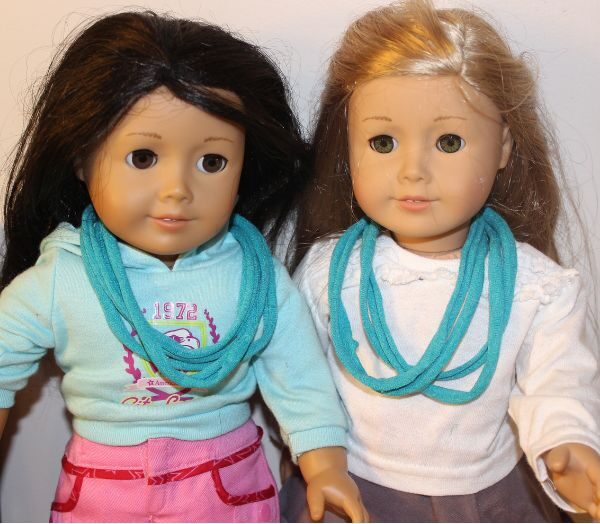
These easy infinity scarves could be made fast for ANY size of doll, all you need is some t shirt yarn made from an old t shirt!
My Favorite Cheap Doll Clothes Patterns
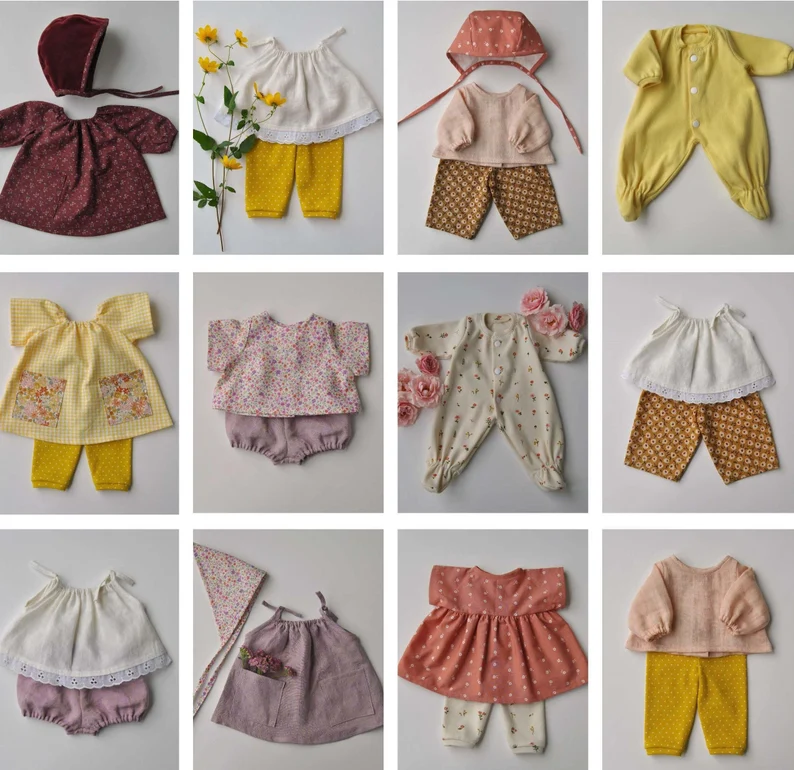
WildMarigold is one the my FAVORITE shops for doll clothes sewing patterns on Etsy, there are so many different indivudual patterns as well as pattern sets for all types of different dolls.
I hope you found this guide on how to make doll clothes useful! Most of what I have learned has just come with practice, and the most important thing about sewing is to ALLOW yourself the grace of failing several times as you are learning!
I call myself a “seam whisperer”, but it sometimes I am unpicking more than I am sewing! Practice makes perfect.
You can learn the very basic overview of how I make a doll here, which will guide you to other tutorials to help you on your journey.
These doll clothes making tips will get you started off right. Pin this post to pinterest so that you can reference it later!

I just found your website by accident and am loving it. Thank you for all the free information. Can’t wait to start some new projects!
Thank you Pati, that is so great to hear!