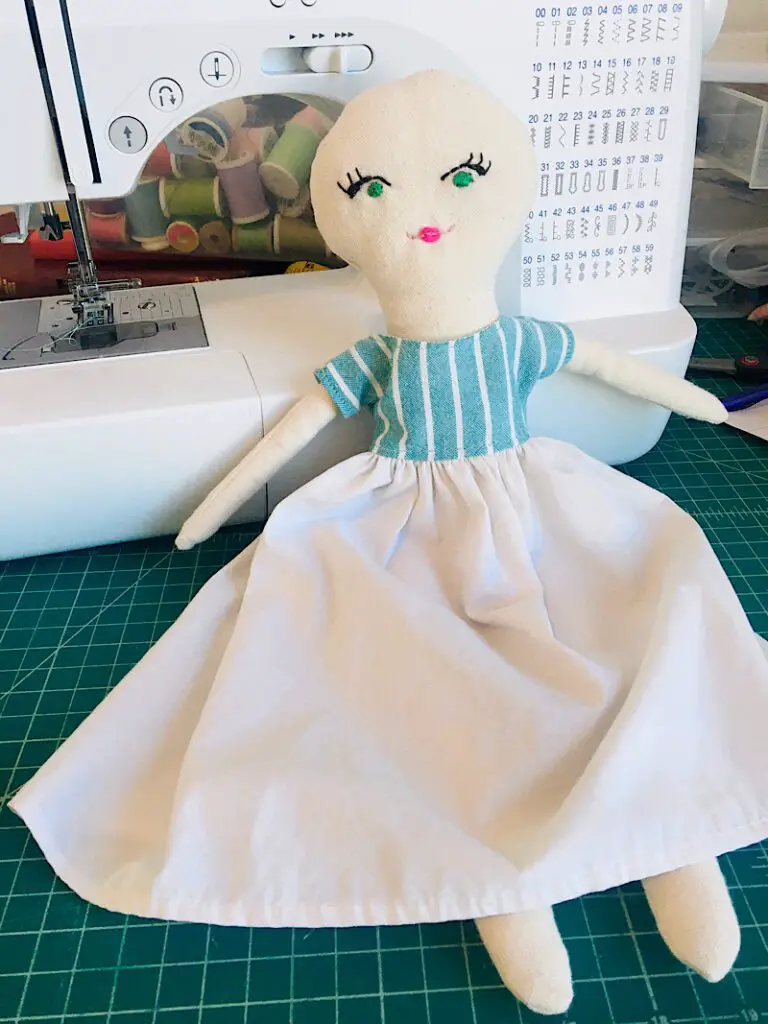
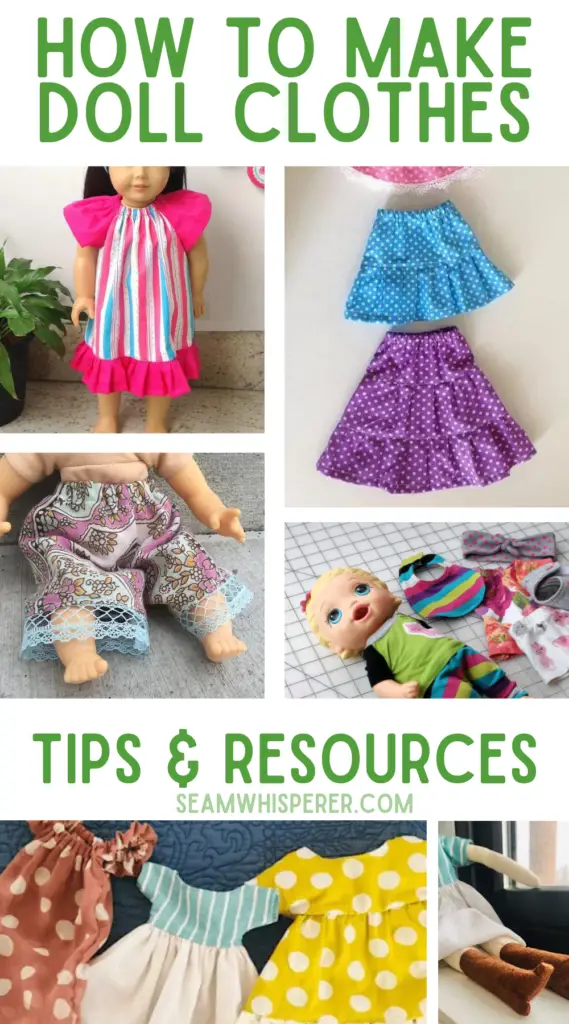
Want to learn how to make a simple but cute rag doll dress? This tutorial will show you how to make your own doll dress for ANY rag doll (in fact, even plastic dolls!) The pattern is simple and the possibilities are endless!
I love making doll dresses, so when my 5 year old ran up to me this morning asking if I could quickly whip up a new dress for her new doll, I was happy to!
You will love how easy this tutorial is, and you will love even more how endlessly customizable this dress is. Use this pattern as the base, and go wild from there!
First: Learn my top doll clothes making tips as well as supplies you might need in this guide!
This post may contain affiliate links. Read the full disclosure here.
About This Tutorial
I will walk you through the method to make your own basic block for a doll top. Don’t worry, it is easy!
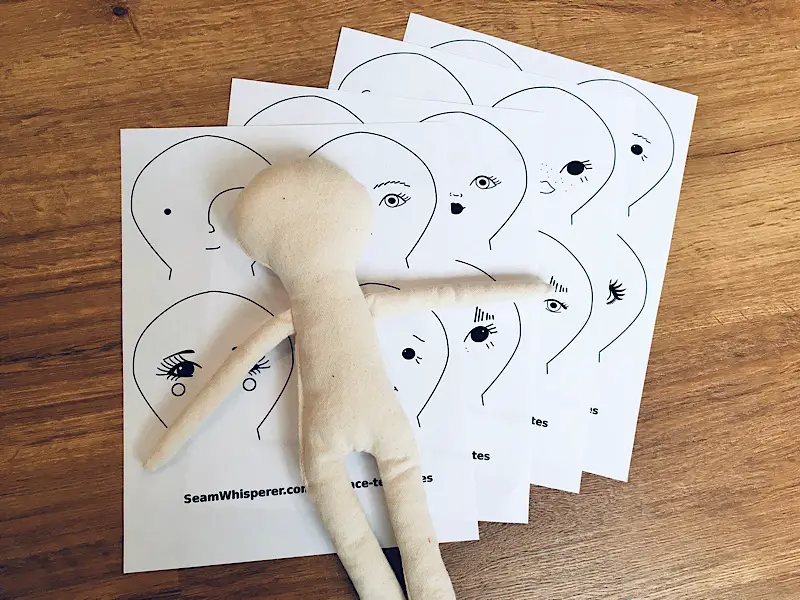
If you are sewing a dress for my “Heirloom Cloth Doll” body pattern, then you can download a free pattern for this dress, and skip the first steps where you draft the pattern, and go straight to the cutting fabric!
This tutorial uses hook and loop (velcro) to close the dress, but you can use buttons, snaps, ties, whatever you want.
I serge a lot of seams in this tutorial, but if you don’t have a serger you can zig zag stitch your edges instead.
Supplies Needed
- Sewing Machine
- Fabric Scissors
- Sewing Pins
- Pen & Paper
- Measuring Tape
Materials Needed
- Fabric for the dress (A fat quarter of cotton will do, but I just used scraps I already had!)
- Matching Thread
- Several inches of 3/8ths inch Velcro for closing the dress (alternatively you can use snaps, buttons, etc.)
Download The Free Dress Pattern
For those of you sewing for my heirloom cloth doll body, download the basic top for this dress tutorial by entering your email below.
Make sure you print your pattern at 100% scaling, and measure the test square to double check everything is the right size.
Cut it out on the black line. Easy as that!
How To Make A Rag Doll Dress
Step 1. Draft A Bodice Pattern
In this step I will teach you how to draft an extremely basic bodice or top pattern for your doll. If you are using my pattern for the “Heirloom Cloth Doll”, you can skip this step and go to step 2!
Fold a piece of paper in half, this is what we will draw our pattern on.
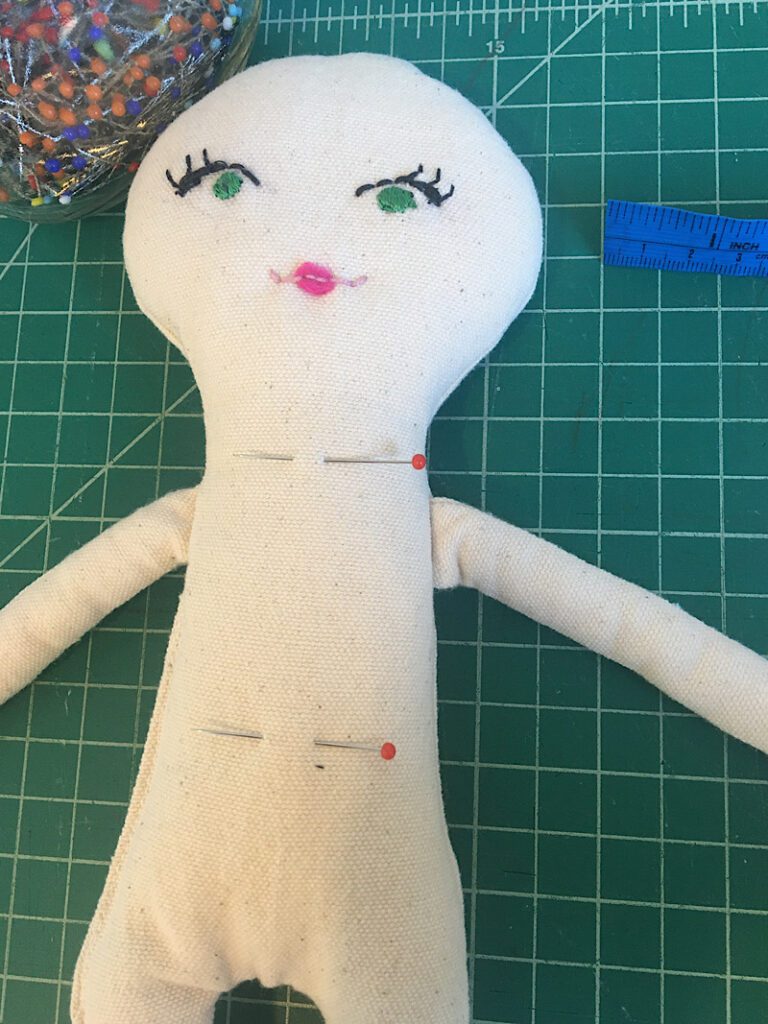
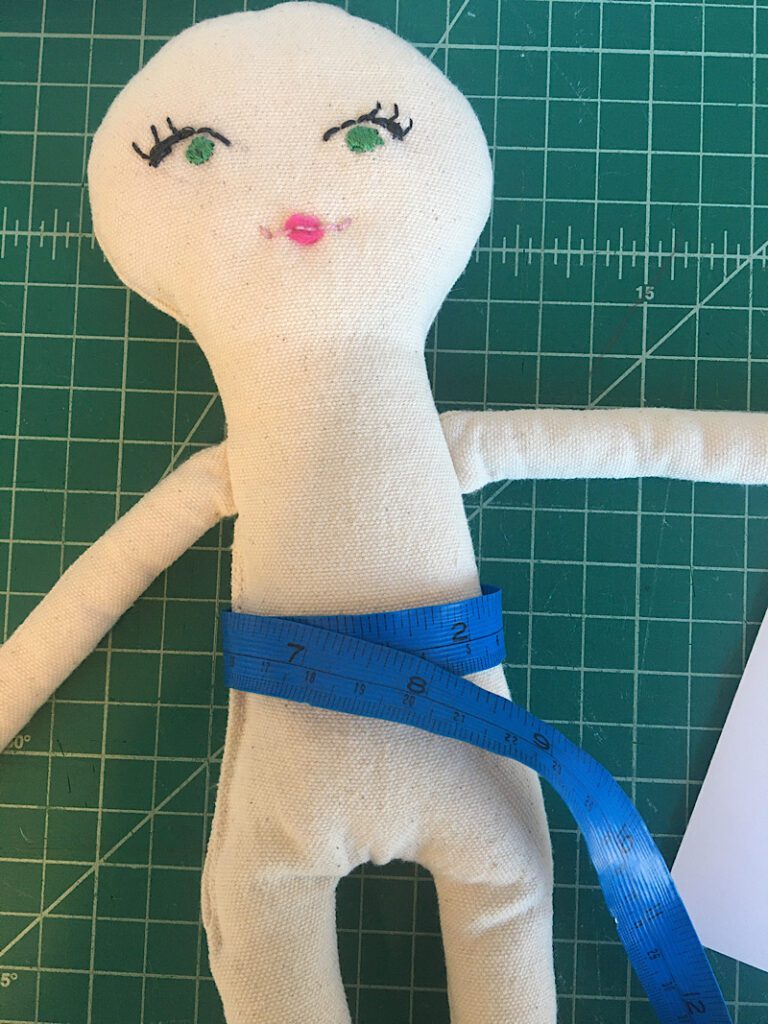
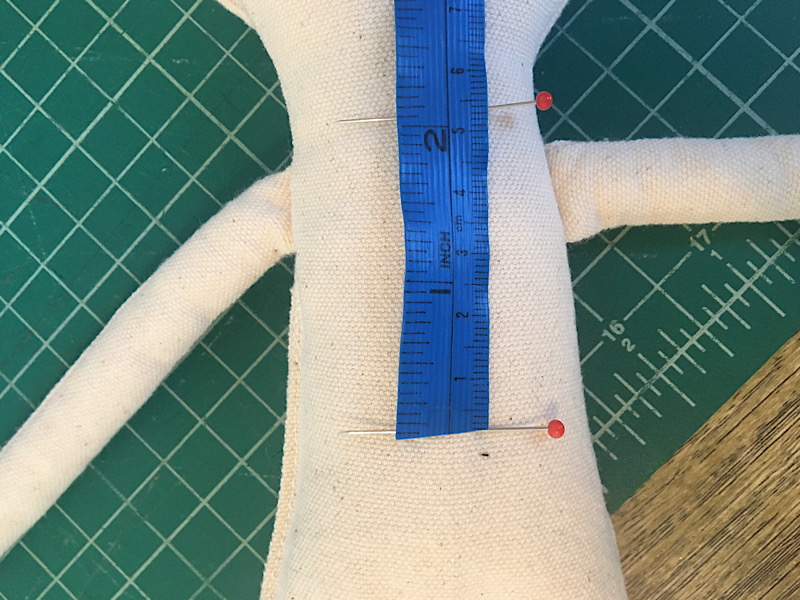
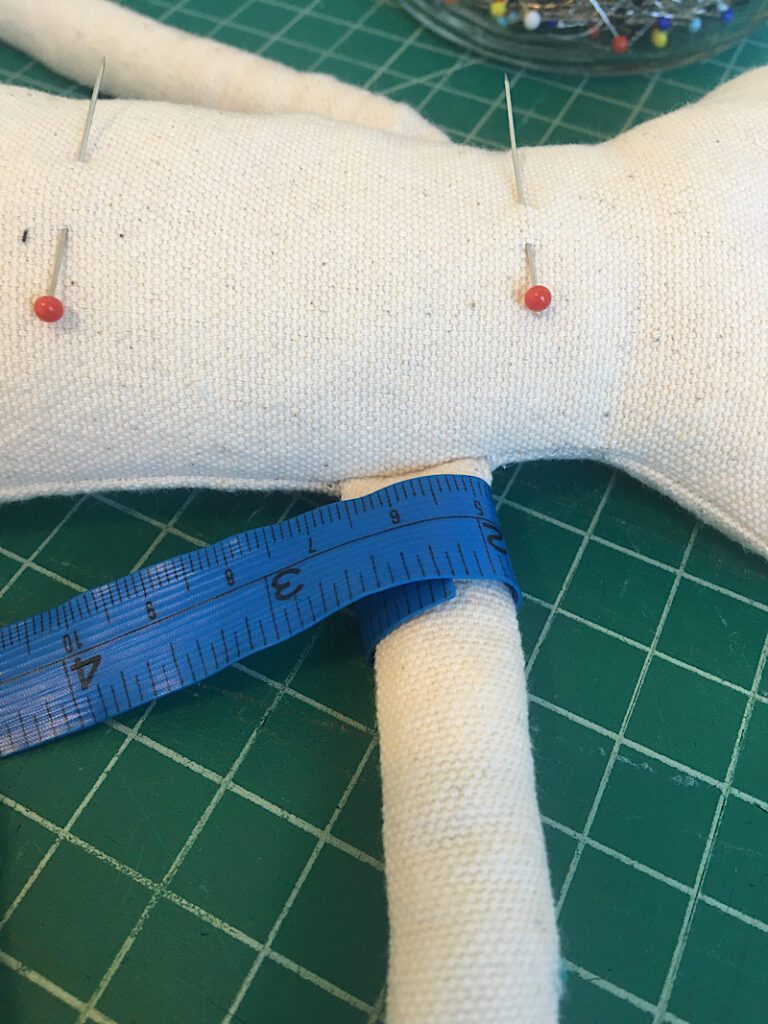
Place a pin on your doll to mark it’s waist, and one on it’s neck just above the arms to mark its “shoulder height”.
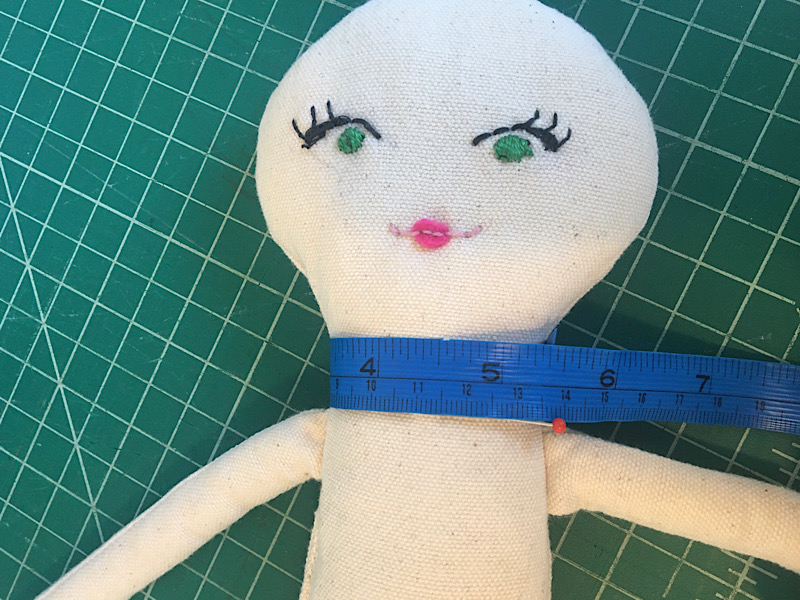
Measure loosely around the doll’s waist.
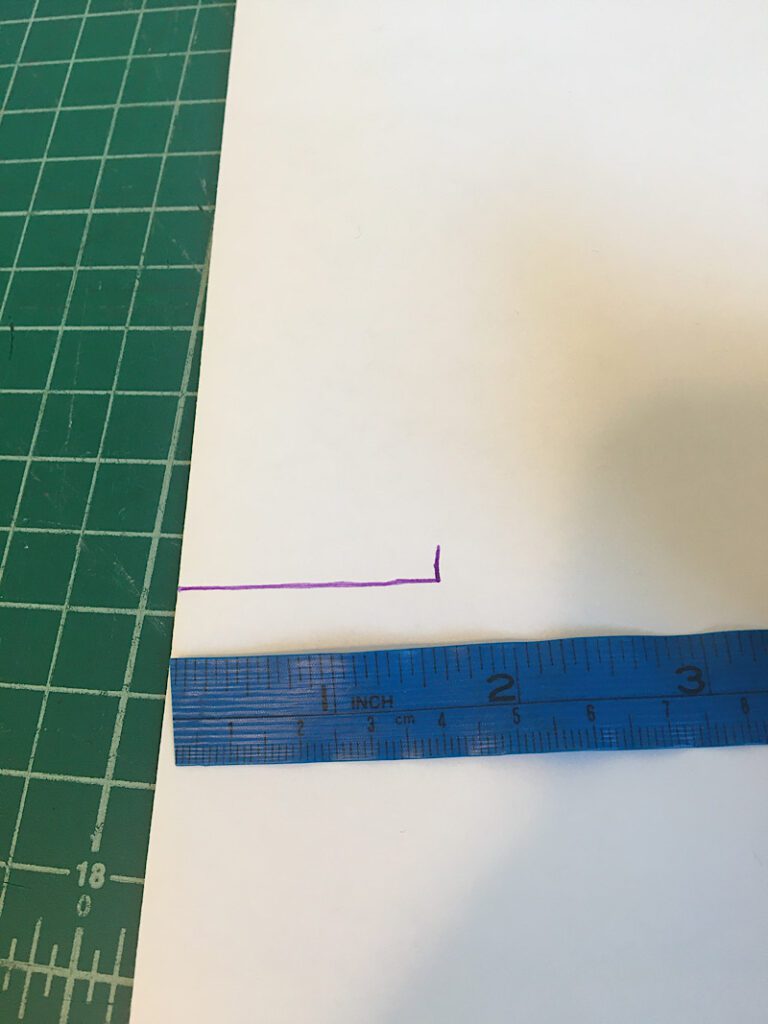
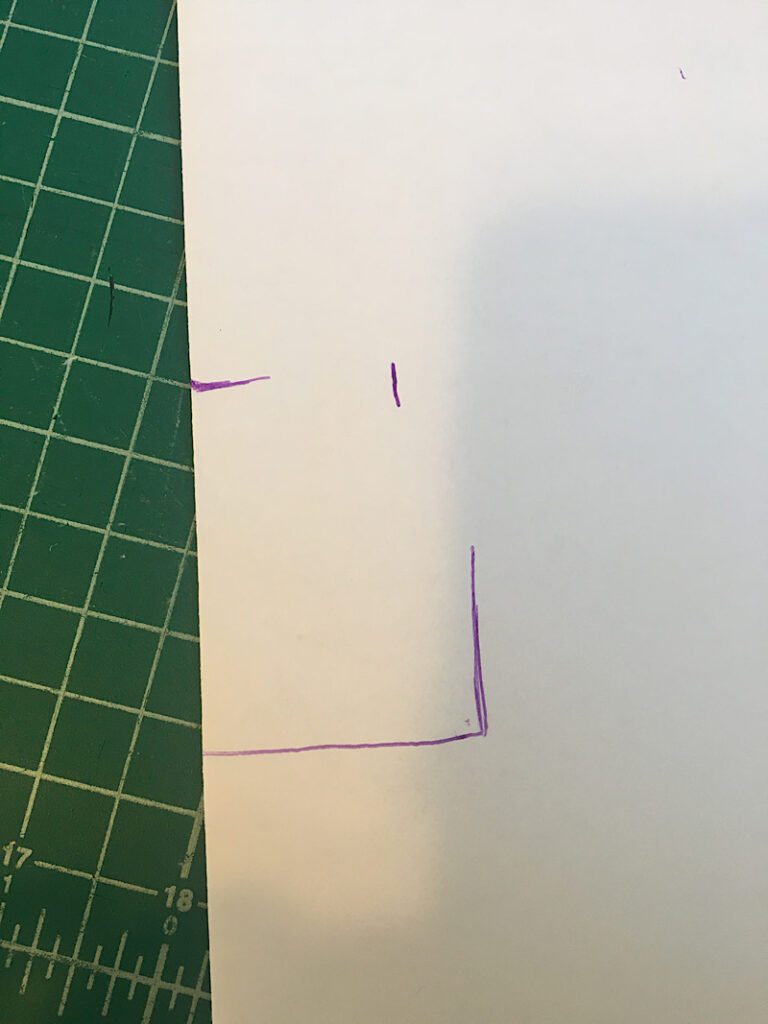
Divide this waist measurement by 4. This is your bottom hem measurement
On your paper, measure from the fold the number of your bottom hem measurement, and make a mark.
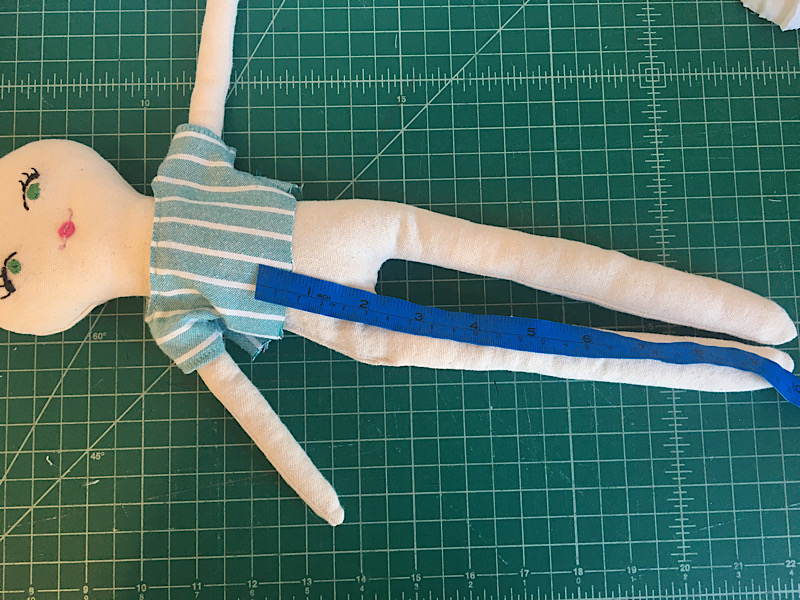
Next, measure on your doll from the waist line up to the bottom of the arm. This is your side seam measurement.
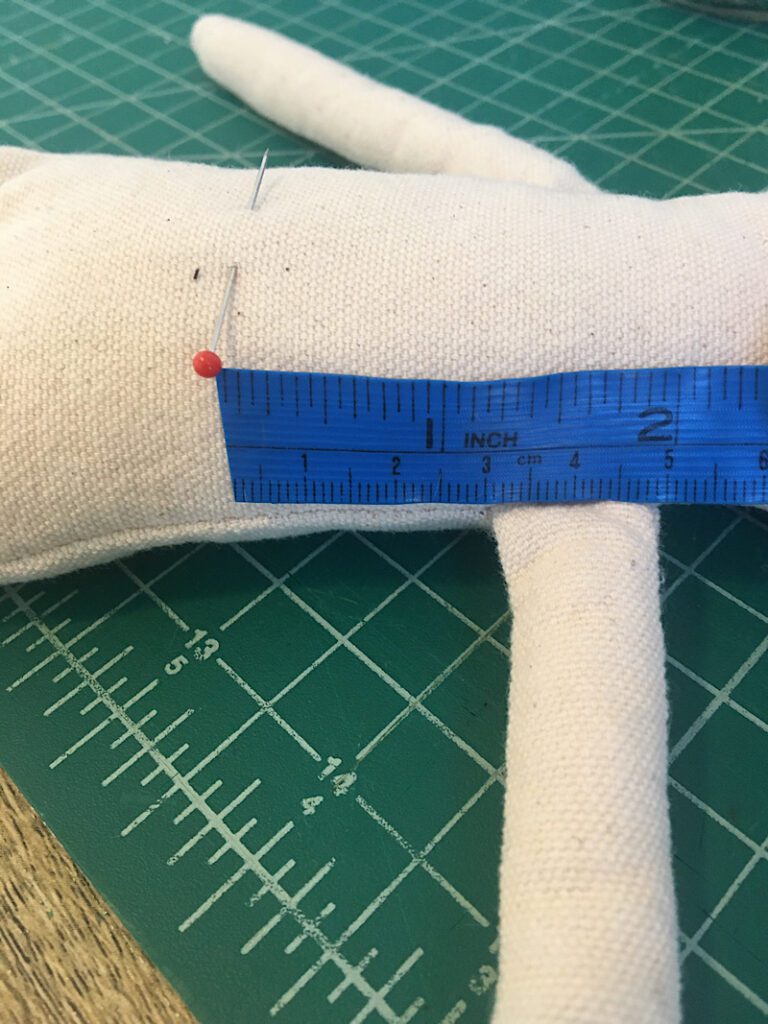
On your paper, measure up from the bottom hem mark the same amount as the side seam measurement and draw a line.
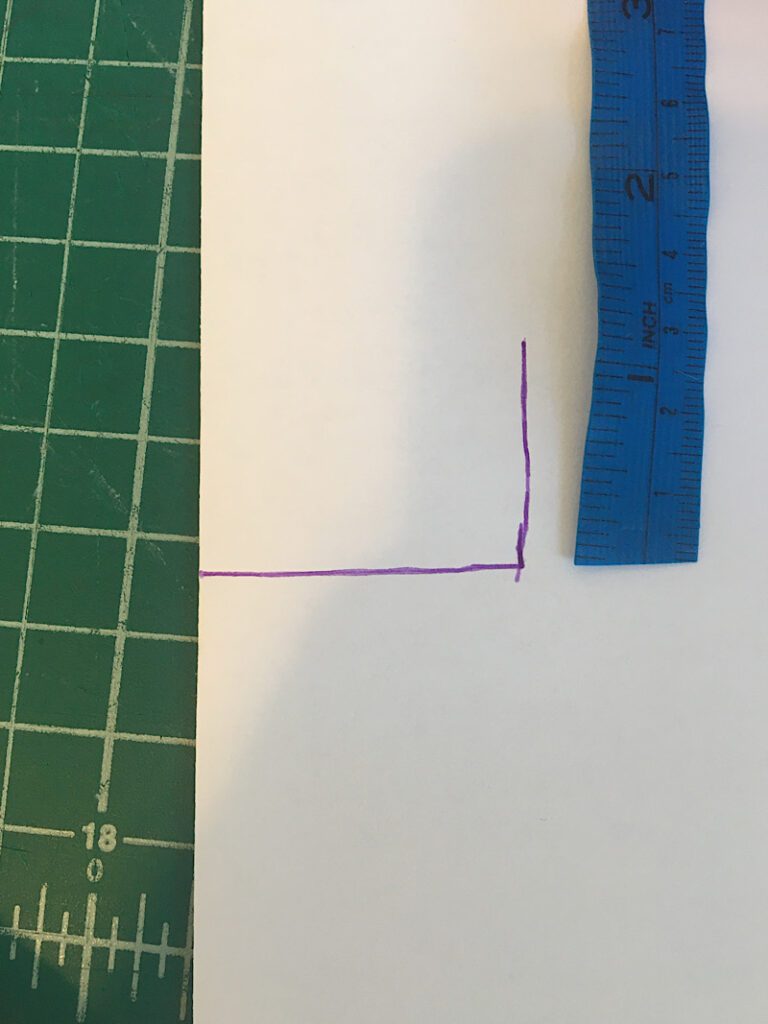
Next, measure your doll from the waist pin to the neck pin. This is your bodice height measurement.
Also measure around the dolls neck, then divide it by 4 for the neckline measurement.
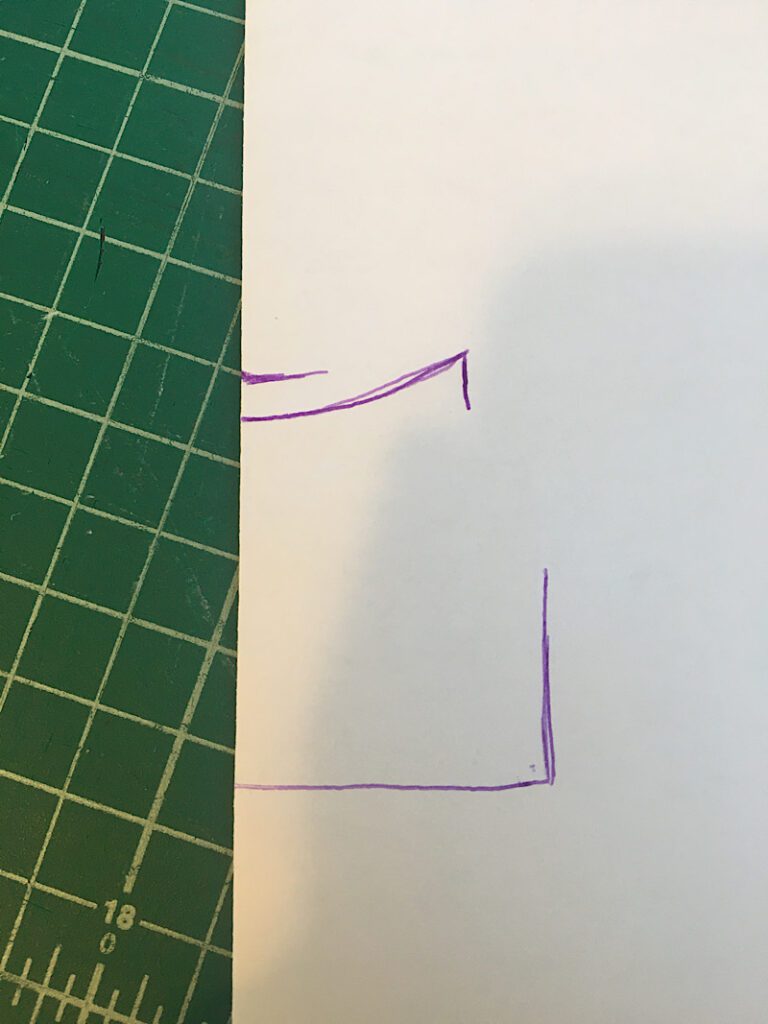
On your paper, make a mark up the fold from the bottom hem line equal to your bodice height measurement. Then, measure out your neckline measurement, from this mark perpendicular to the fold, and make a mark.
From the neckline mark, make a little scoop shape towards the fold to make a nice scooped neckline. Don’t go too low, just a small curve.
Next, measure loosely around the arm of your doll and divide it by two for the sleeve measurement. (If it is too tight, it will be hard to get the dress on.)
Also determine how long you want the sleeves to be.
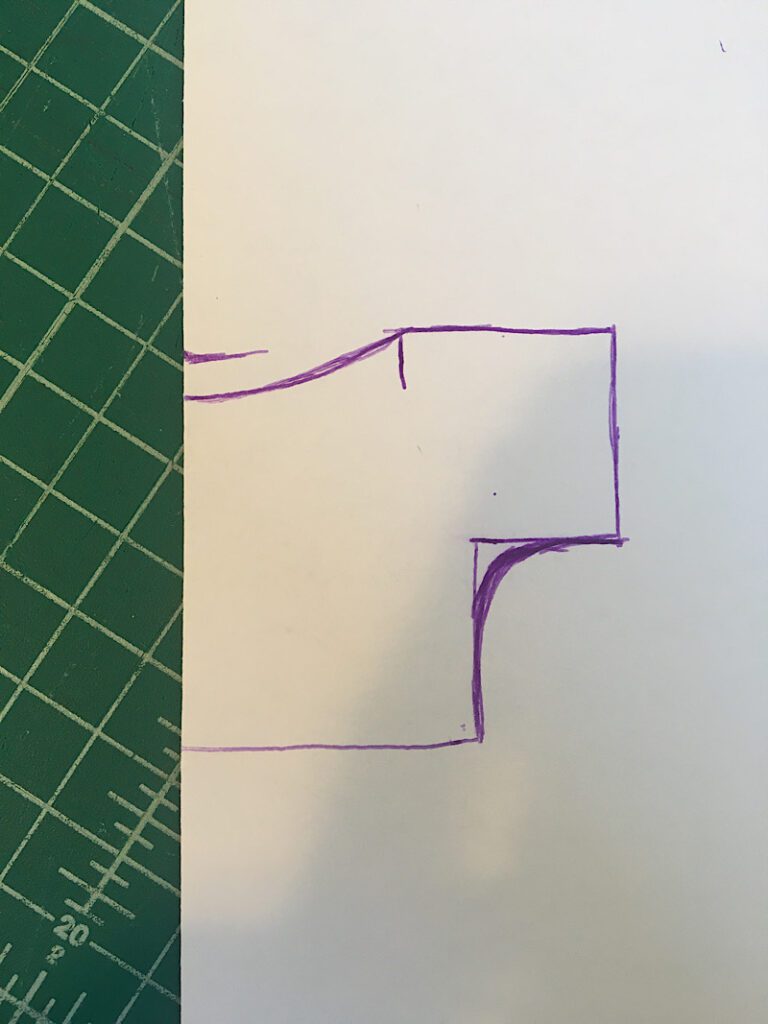
On your pattern, finish drawing the bodice by drawing a line straight out from the neckline mark, and making a boxy sleeve that is as wide as your sleeve measurement and as long as you wish.
Notice that at the bottom of the sleeve, I curved the line from the sleeve down to the side seam to add some ease and make it easier to sew. You should also do this.
Finally, add a 3/8ths inch seam allowance around your pattern, and cut it out on that line.
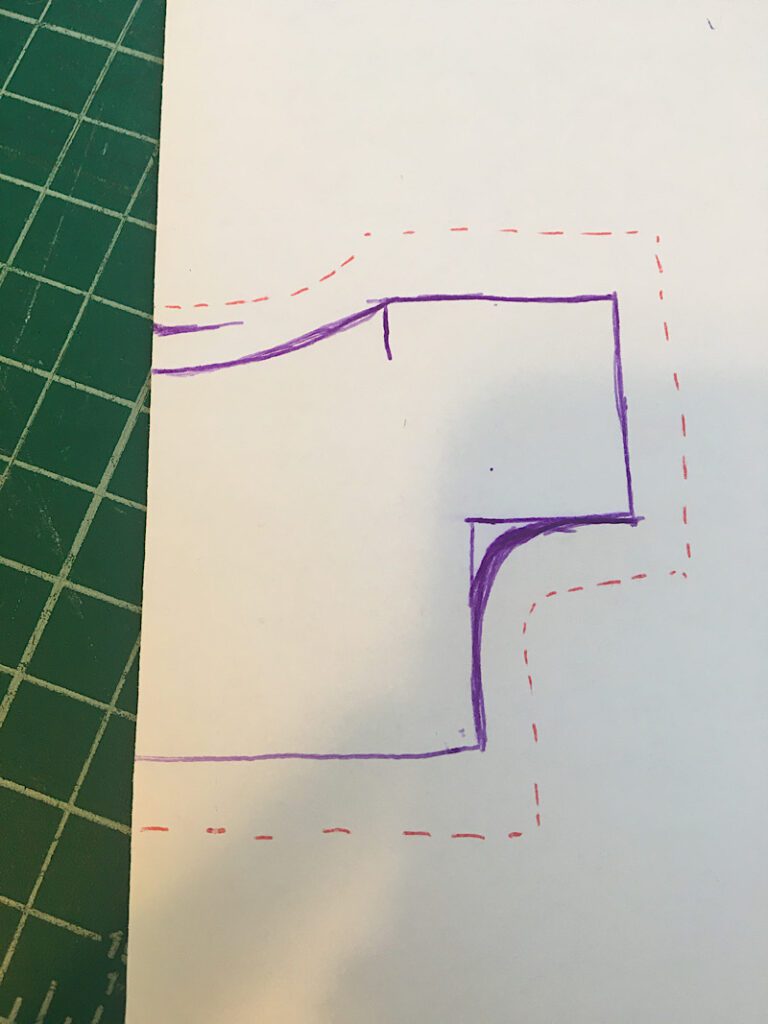
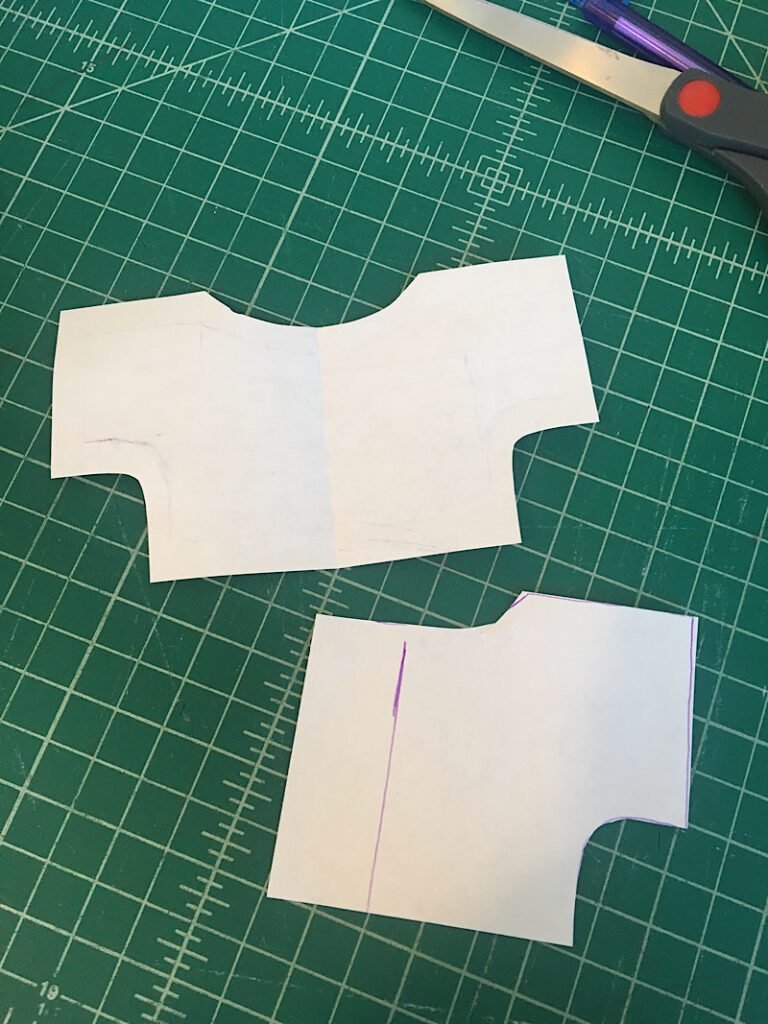
This is the front of your doll bodice pattern, which we will use to make a dress!
To make the back of the bodice, place the folded edge of the pattern 1 inch away from the edge of a piece of paper, and trace it on.
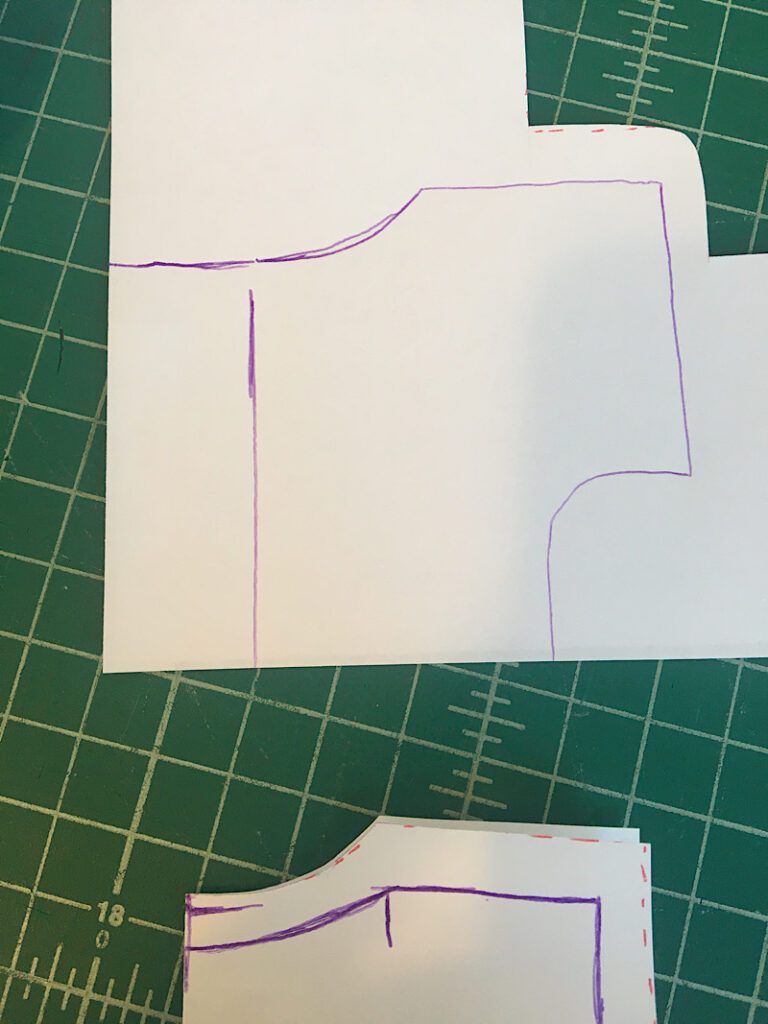
Cut it out and now you have your pattern pieces!
Now I will teach you how to use these patterns to make the dress!
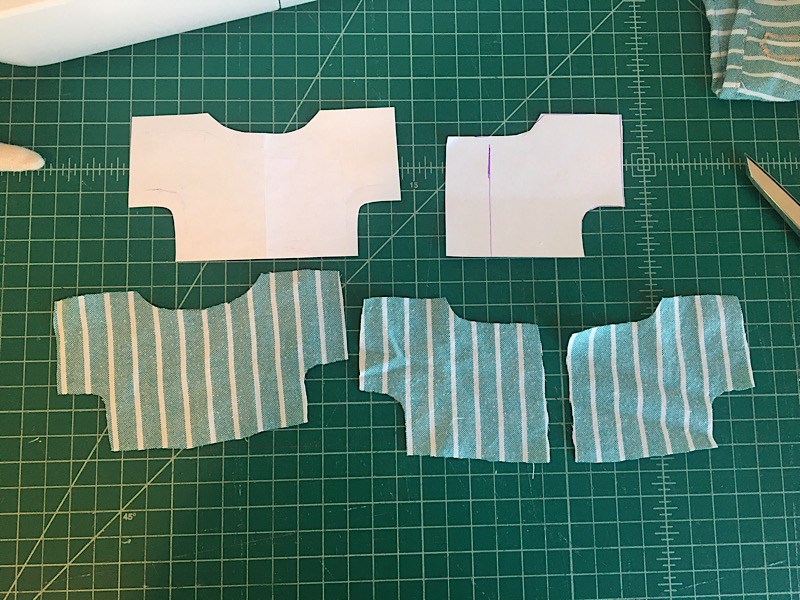
Step 2. Cut Out The Fabric
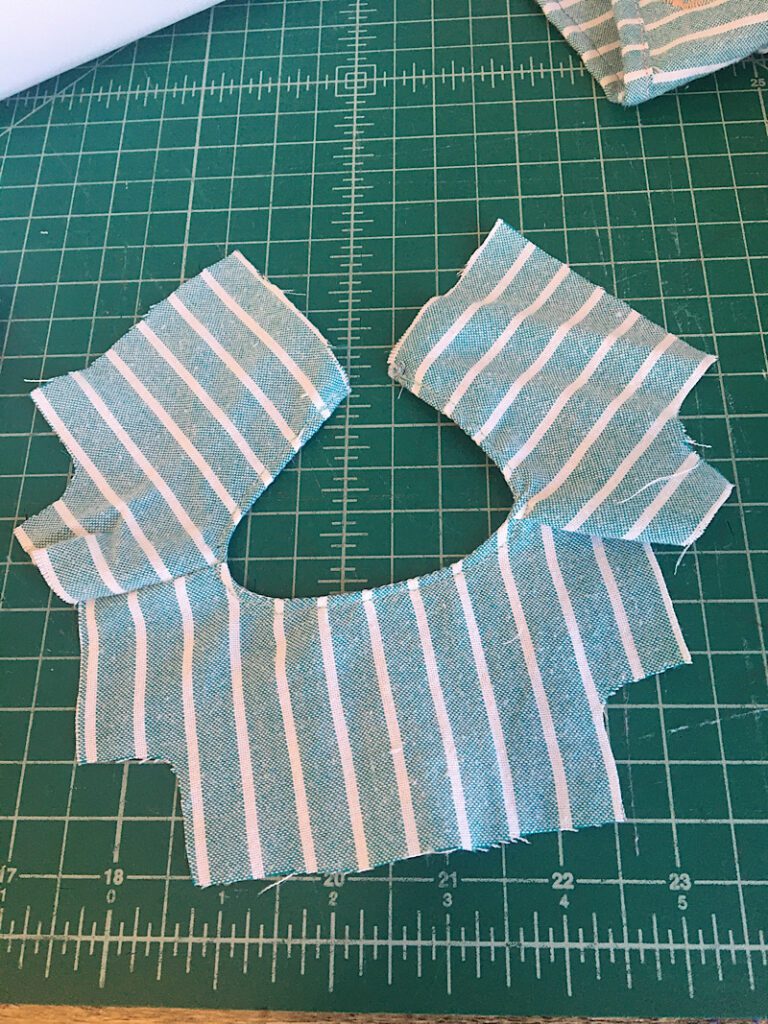
Fold a piece of fabric in half, and align your front pattern piece on the fold, and cut out the fabric.
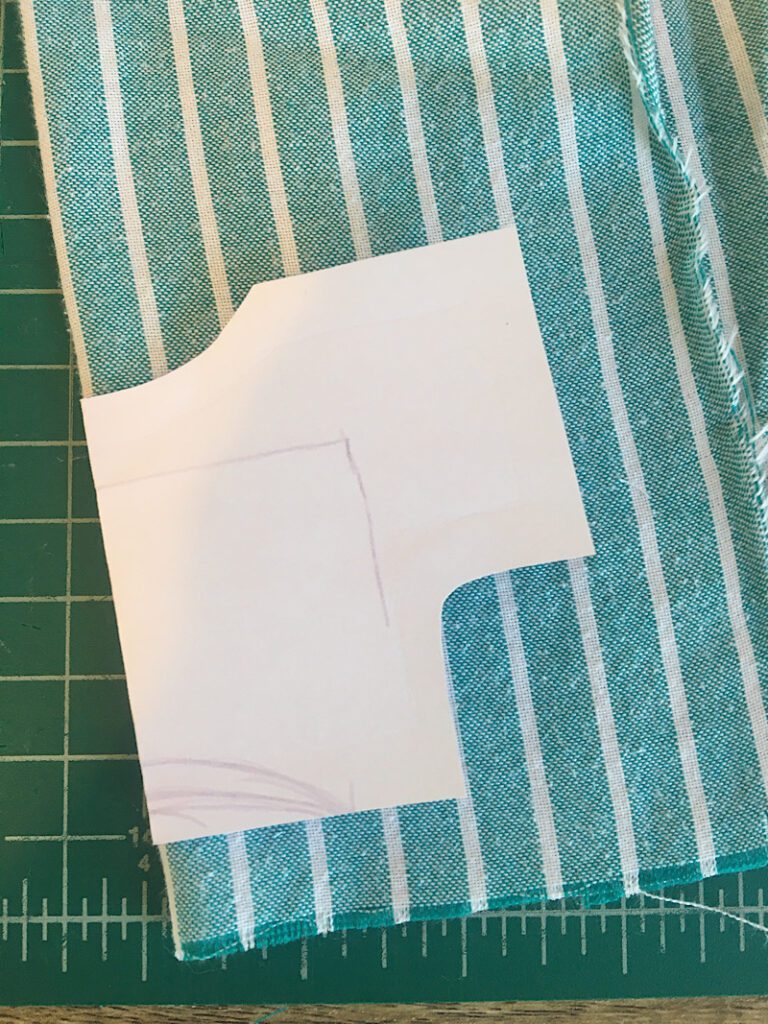
The back piece is NOT cut on the fold like the front piece, and you will need to cut out two of them, one with the fabric facing right side up, and one with the fabric facing right side down. (So you end up with two opposites of the back piece.)
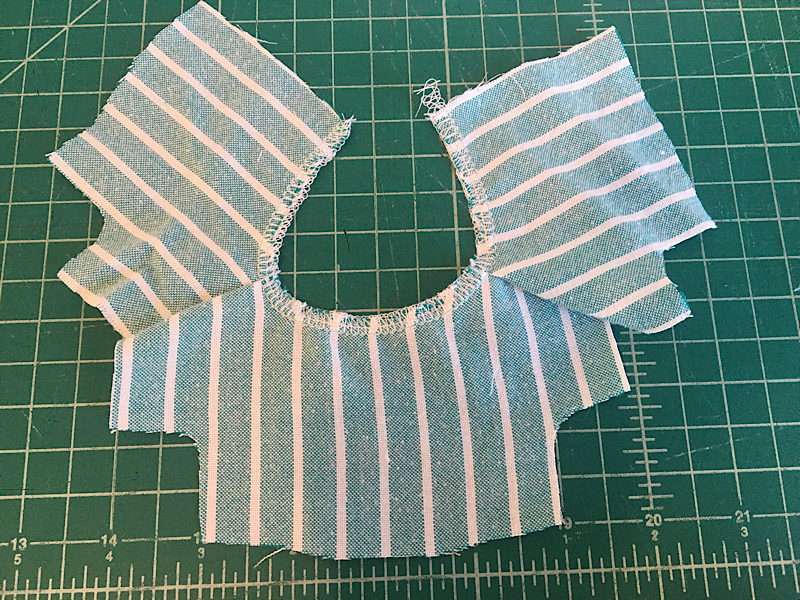
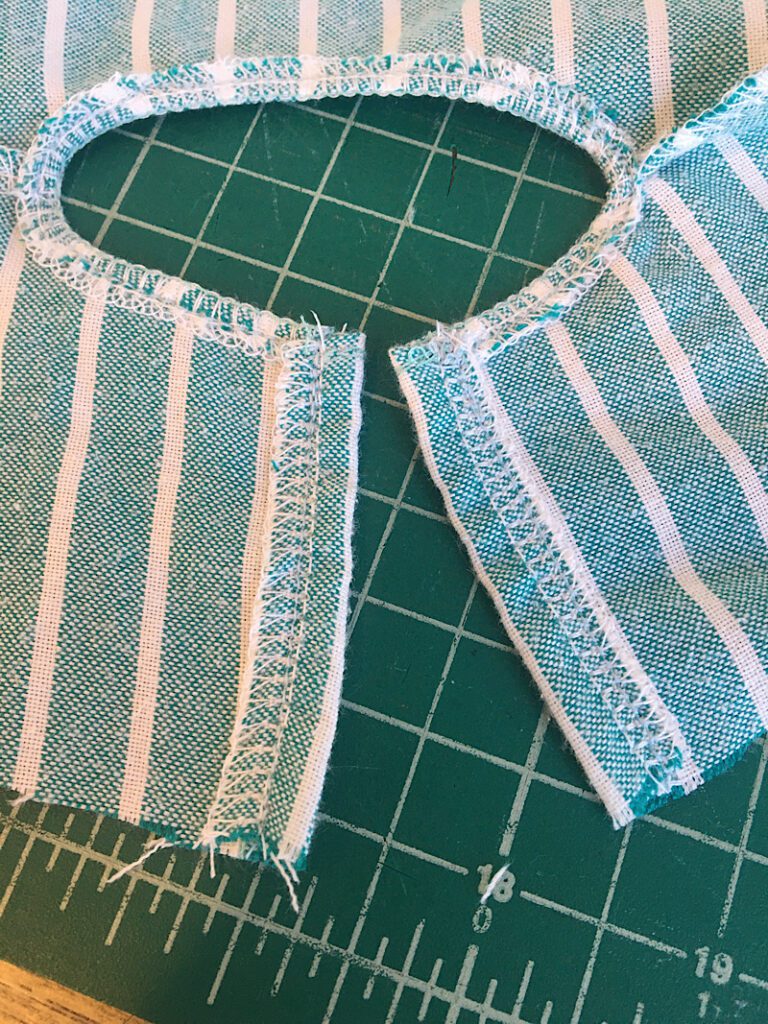
Step 3. Sew The Shoulders & Neckline
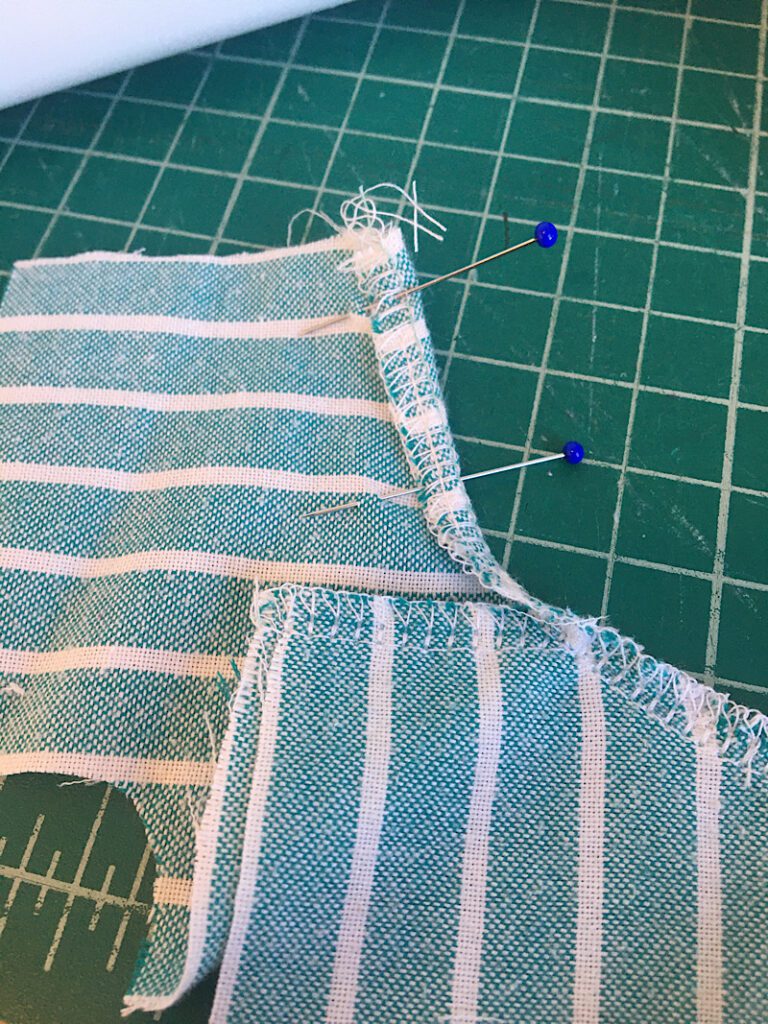
Place the front bodice piece and one of the back bodice pieces together with right sides facing each other, and the shoulder seams lined up.
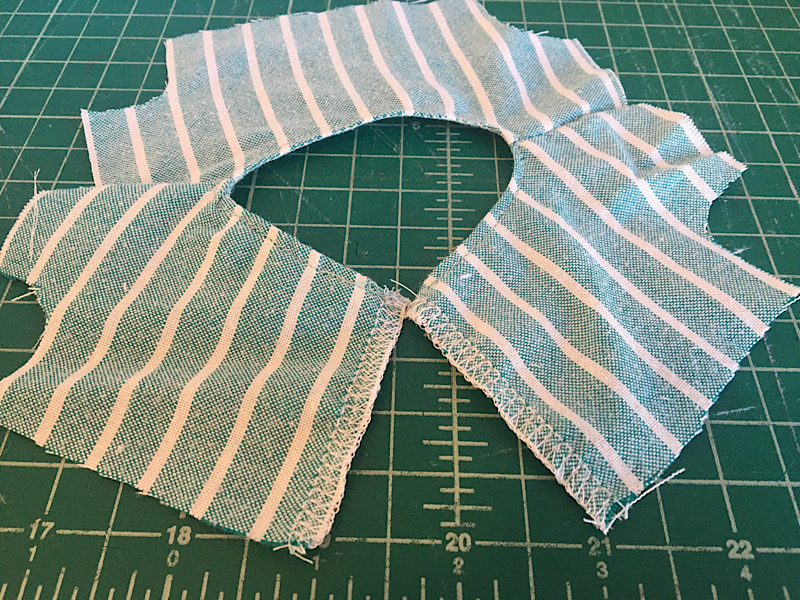
Sew the shoulder seam with a 3/8ths inch seam allowance. Then, zig zag the edge. (I use a serger in this tutorial but you can zig zag it!)
Then, do the same with the other piece and other shoulder.
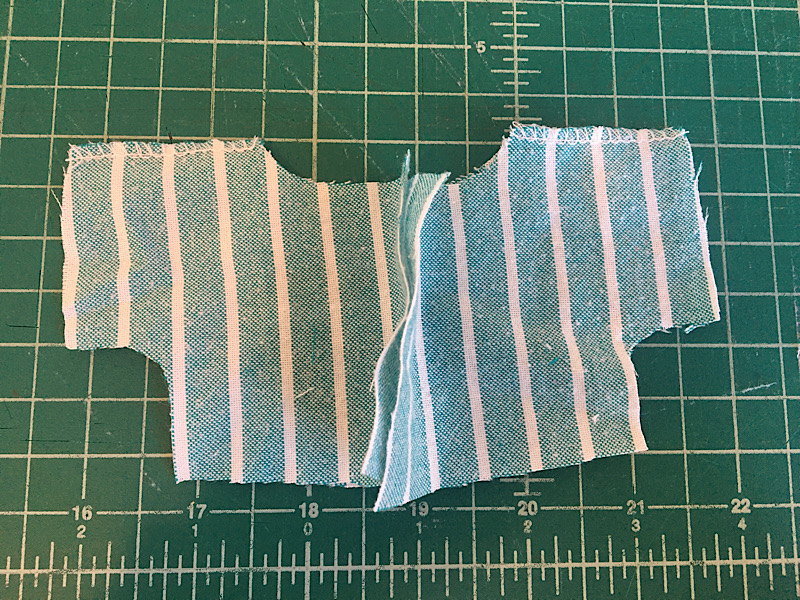
To make the neckline, open the shirt and serge or zig zag the neckline edge.
Fold the neckline over 3/8ths of an inch towards the wrong side of the bodice and pin it in place.
Sew a straight stitch down the middle of your zig zag line to hem the neck.
Step 4. Hem The Back of The Dress Bodice
To hem the center openings on the back of the bodice, you will do the same thing you did with the neckline.
Zigzag the two edges.
Fold each edge towards the wrong side of the bodice, about half an inch. Then pin it in place, and sew it down.
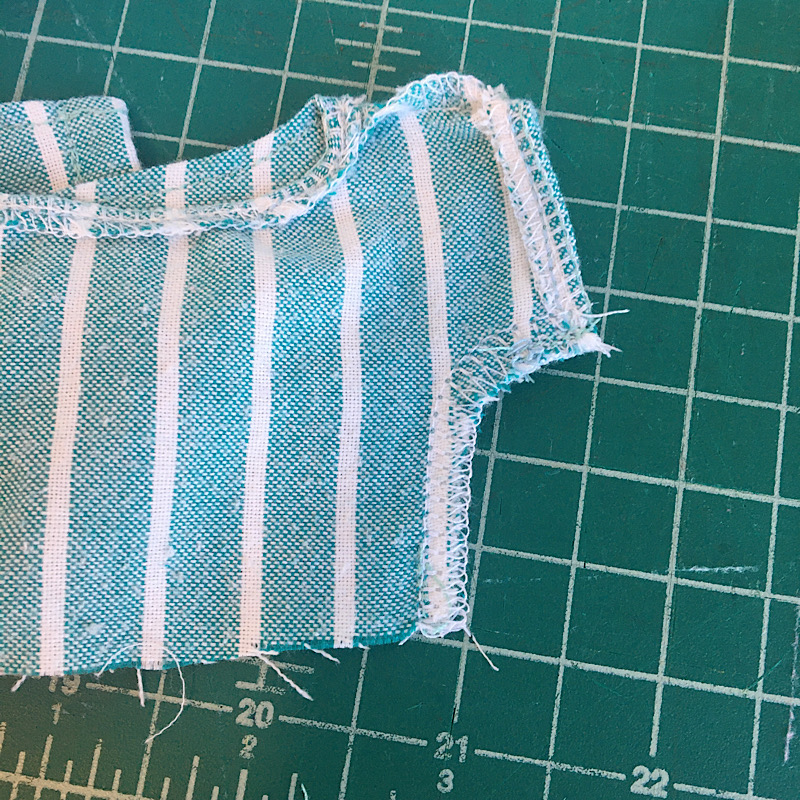
Step 5. Hem The Sleeves
The sleeves are also hemmed in this manner.
Zig zag the bottom edge of each sleeve, then fold them towards the wrong side 3/8ths of an inch, and sew it down to hem.
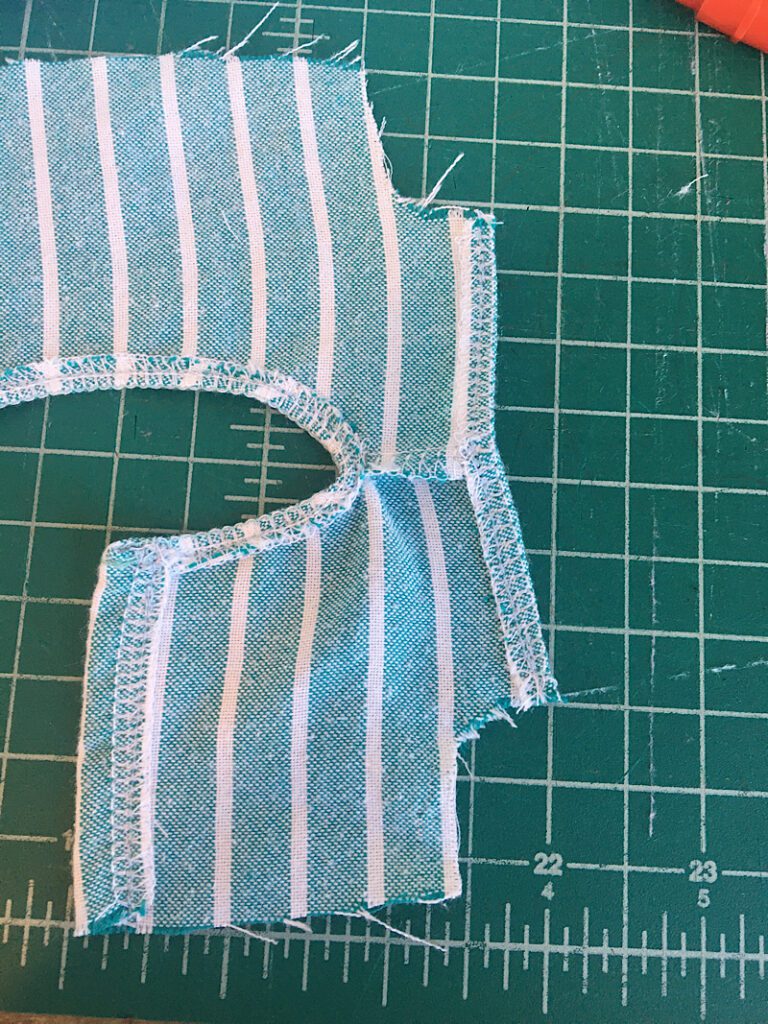
Step 6. Sew the Side Seams Together
Fold the bodice back together so the right sides are facing and the side seams are lined up.
Sew down both side seams.
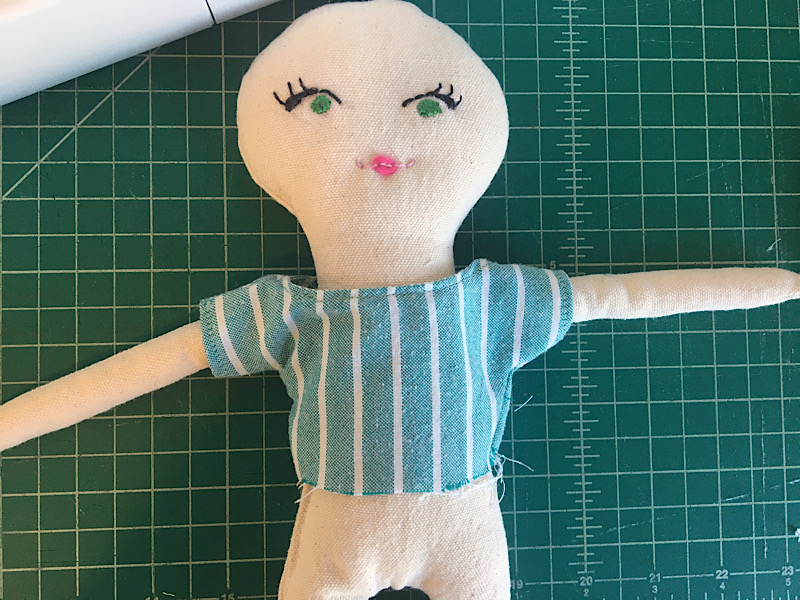
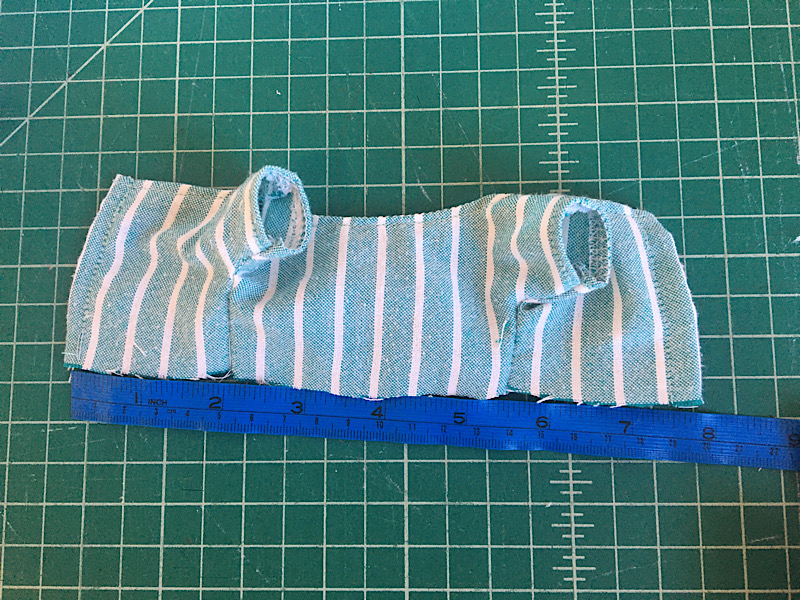
This completes the bodice. Try it on your doll and it should fit!
Step 7. Create The Dress’s Skirt
Measure your doll and decide how long you want the skirt of the dress to be. Add an inch to that measurement for the skirt length.
Open your finished bodice and measure the bottom. Multiply that measurement by 2 for the skirt width.
Cut out a piece of fabric the width and length of the measurments you just took.
To hem the skirt, fold the bottom edge over 3/8ths of an inch, then over again to hide the raw edge inside. Sew down the edge to hem it.
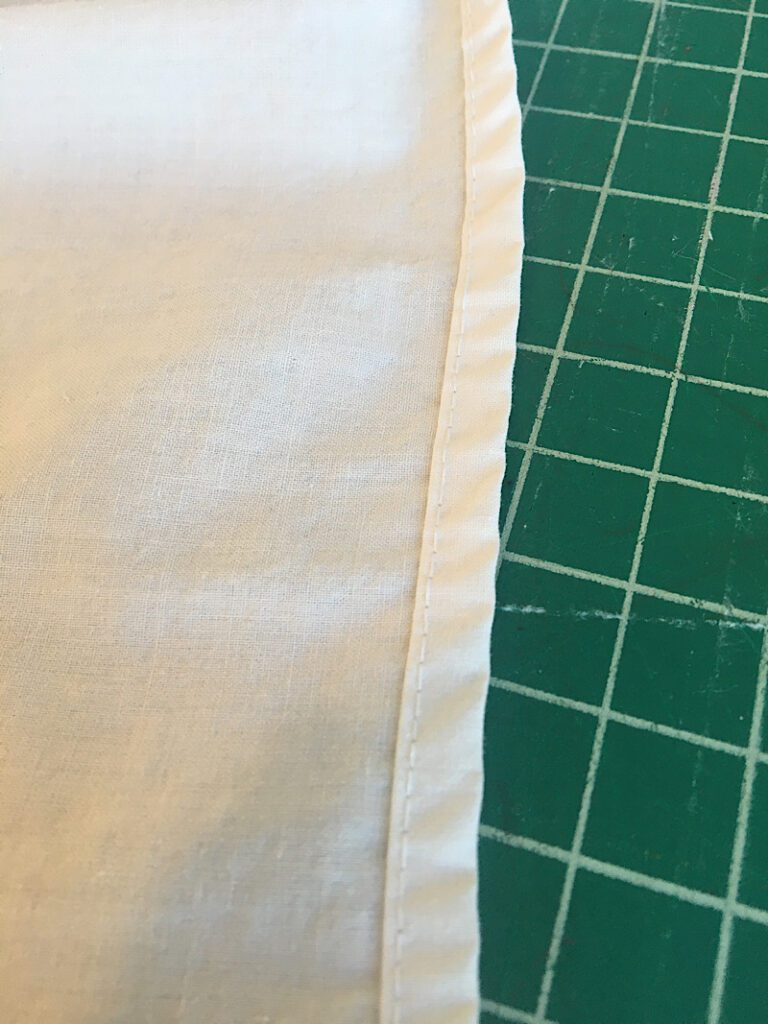
Then, hem the two sides of the skirt the same way you did the bottom. Leave the top edge raw.
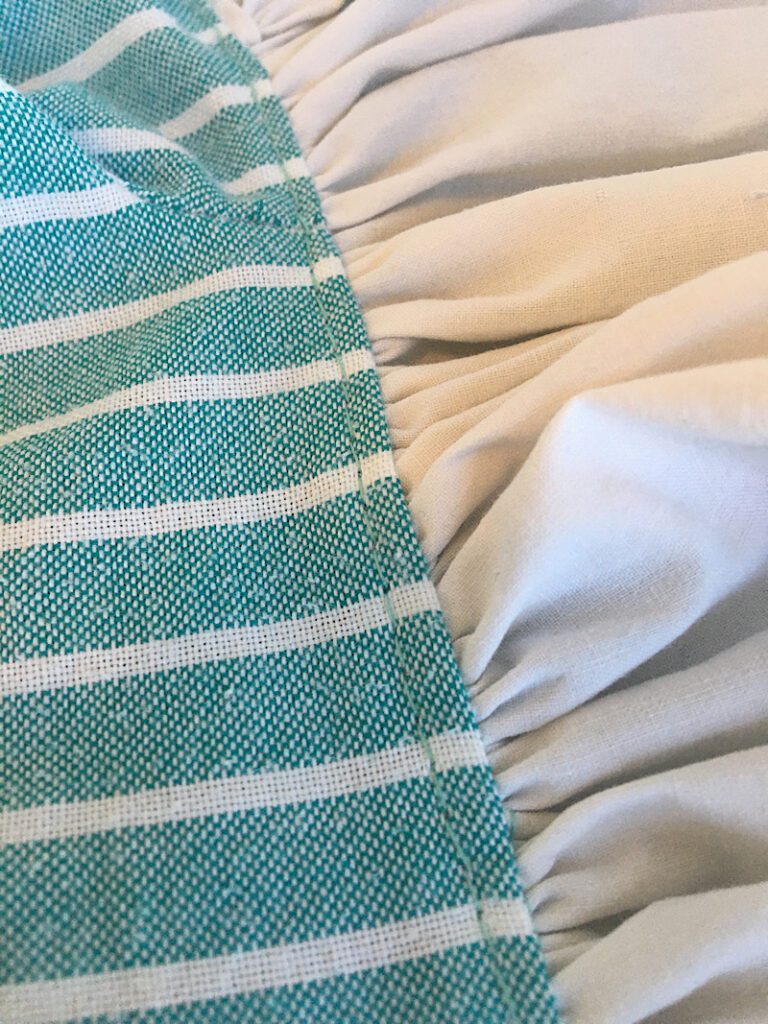
Next, sew a basting stitch (a stitch with a long stitch length) across the top of the skirt.
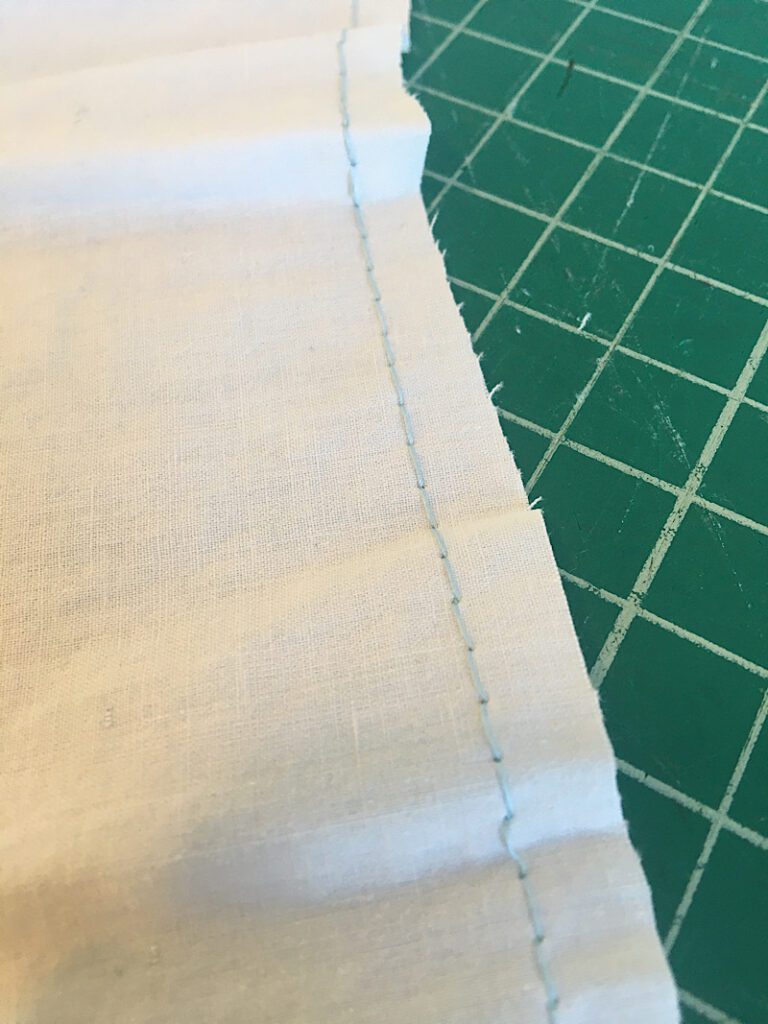
Pull on one of the threads to gather the skirt. Work on gathering it until the width of the gathered edge is the same as the width of the open bodice.
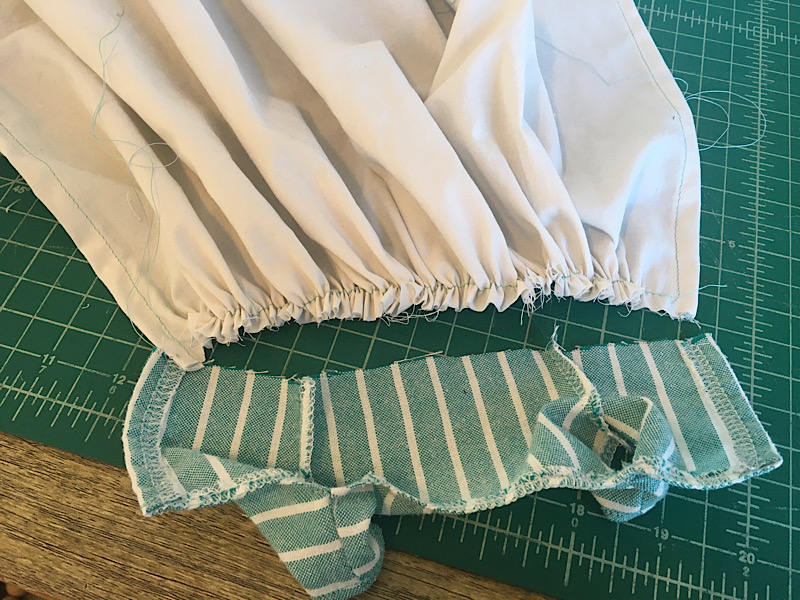
Pin the gathered skirt to the bodice, with the raw edges aligned and right sides together.
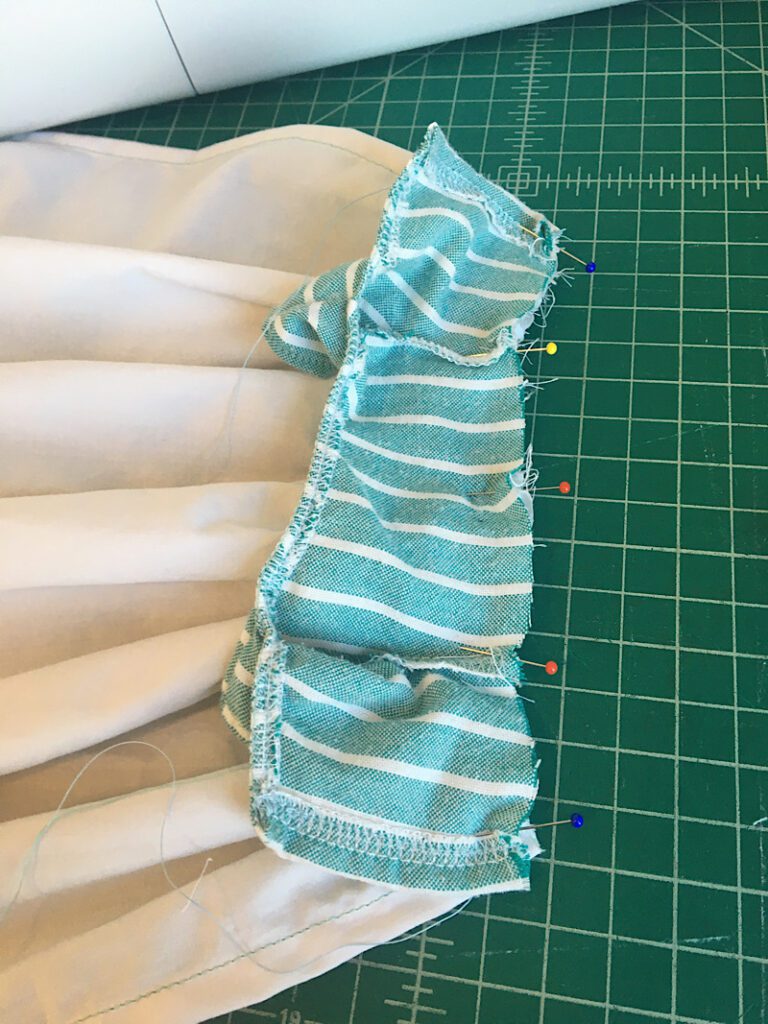
Sew down the raw edge with a 3/8ths seam allowance, then zig zag the edge.
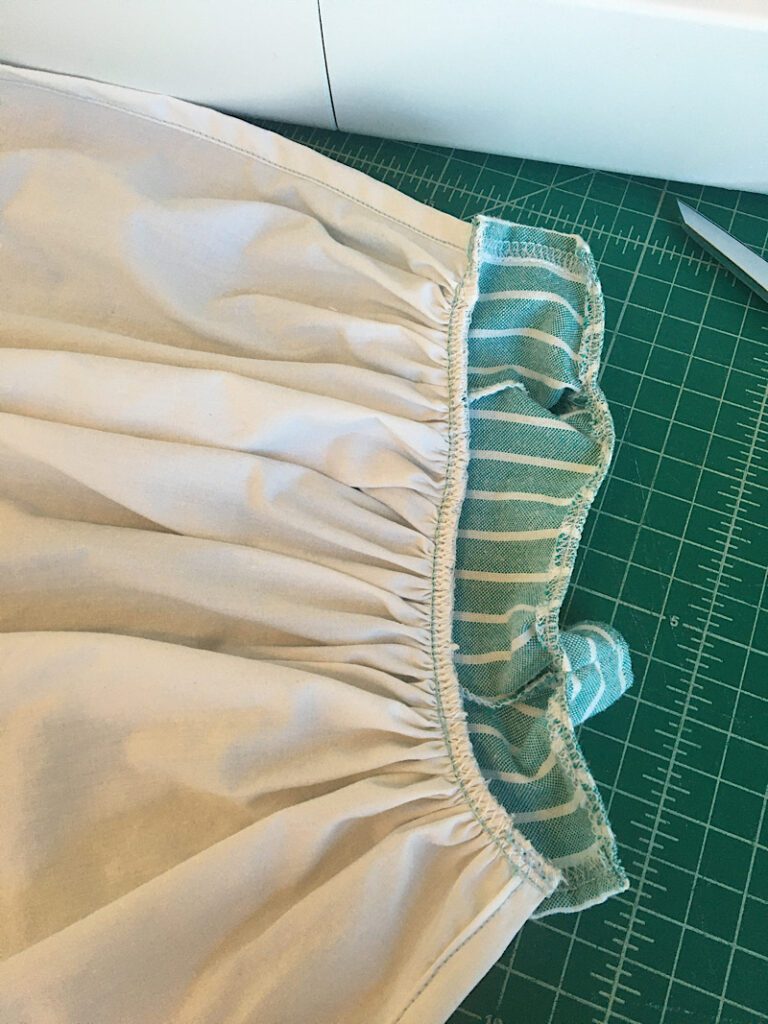
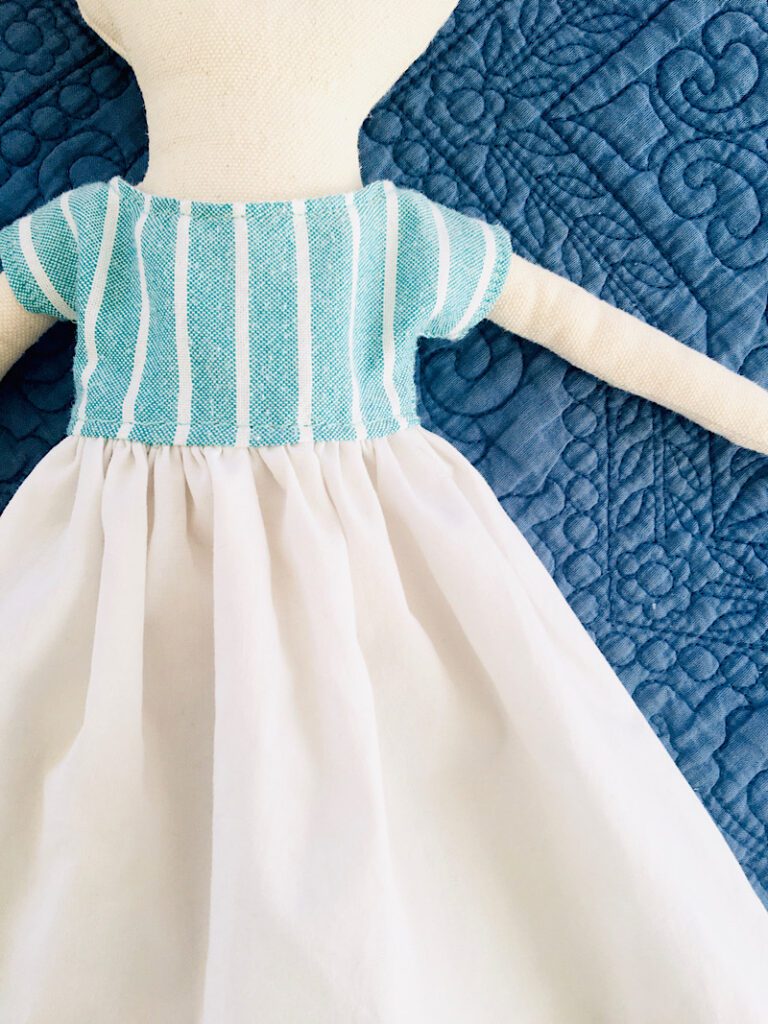
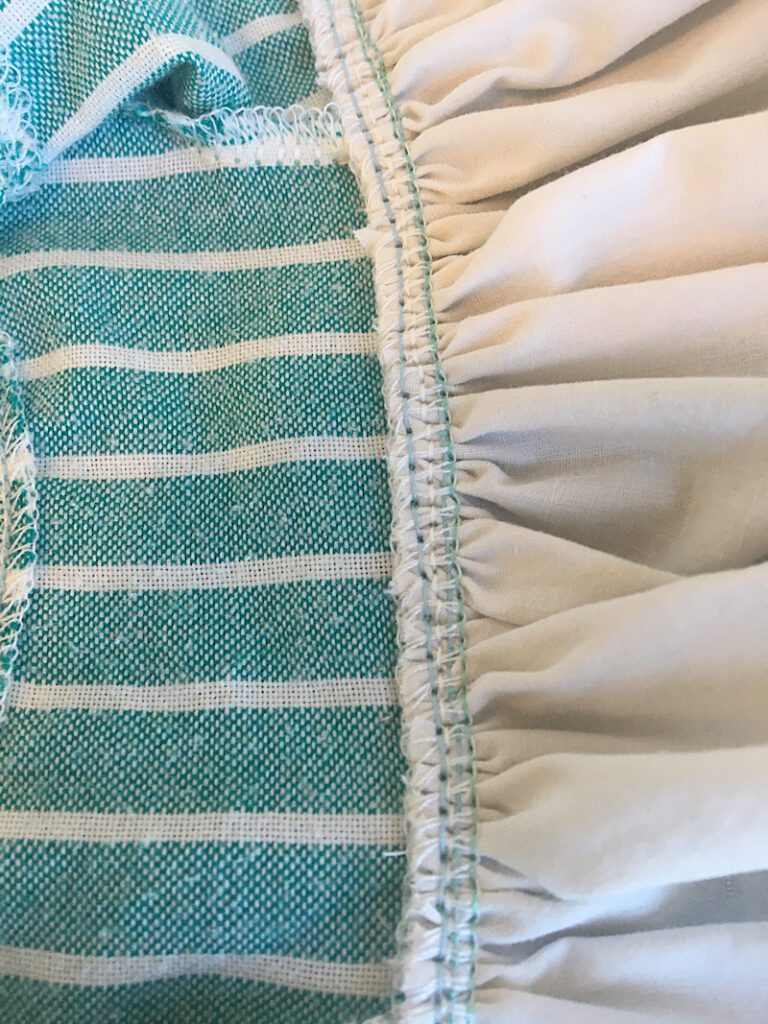
Lay the zig-zaged edge of the skirt upwards, and press it down well with your fingers. You can also pin it if you want.
Then sew a straight stitch down the center of the zig-zaged seam. This adds a top stitch to the front of the dress and helps everything lay flat.
This completes the skirt!
Step 8. Add Hook & Loop Closure To Back Of Dress
The final step for this rag doll dress is to add the hook and loop closure (or snaps).
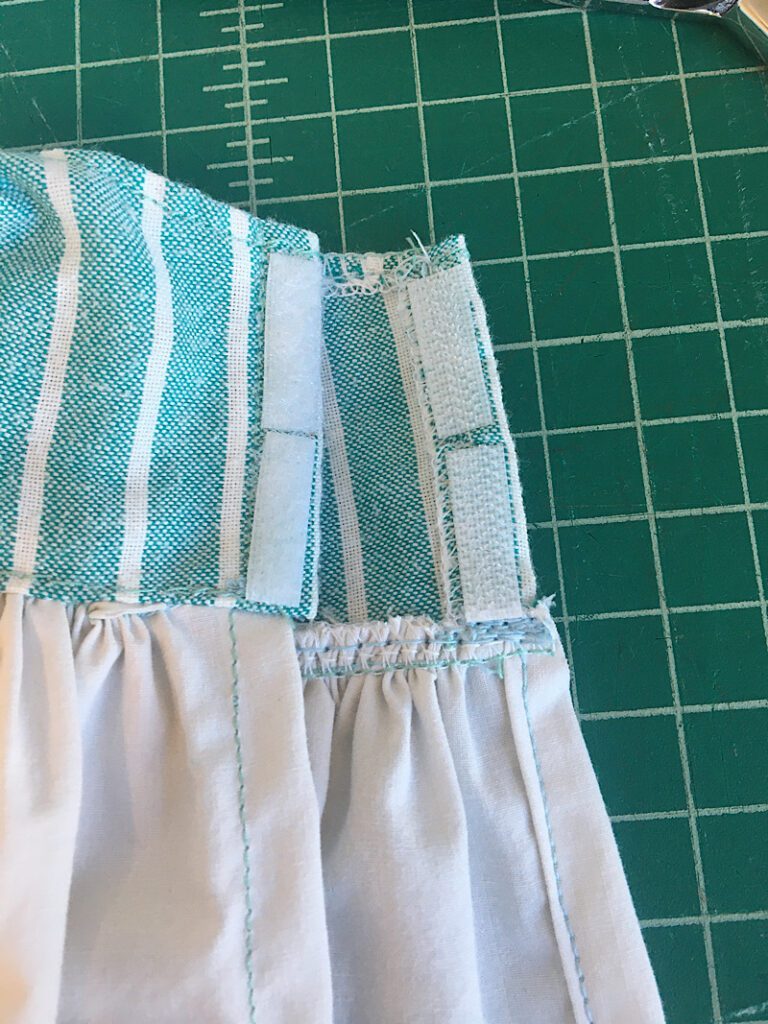
Cut enough hook and loop to fit on the back of the bodice. (I don’t add any to the skirt because it really isnt needed, but you can if you want.)
Sew one piece of the hook and loop to the outside of the bodice, and the other piece to the inside of the bodice. I sew it on with a single stitch right down the middle.
(I used two small pieces because that is what I had available)
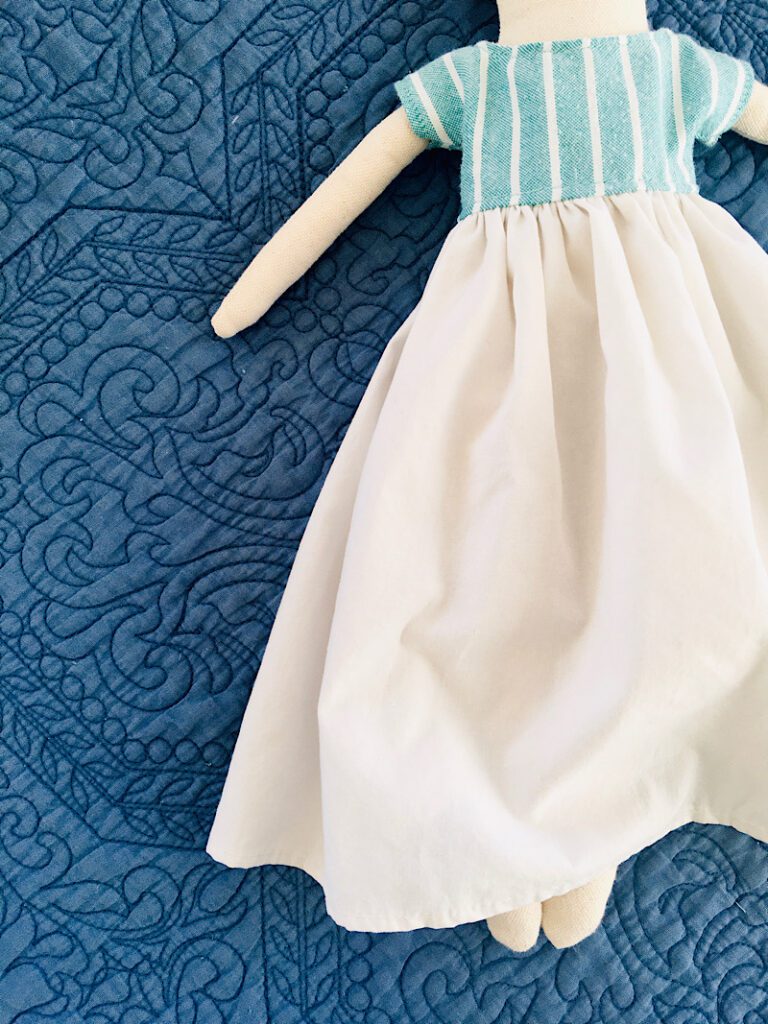
And now you are done! The dress is complete.
Try it on your doll and see how it looks.

Very cute!
My toddler said she loves it, so that is about all I need to know!
How To Customize This Dress
Now that you have made the basic dress, I wanted to list several ideas of how you can customize it to make it your own.
- Make the dress shorter or longer
- Make a V Neckline
- Add lace to the bottom of the dress
- Add trim to the waistband
- Make a tiered skirt, or a bubble skirt
- Make the sleeves longer
- Add buttons to the front of the dress
- Add pockets to the skirt
- Add bows
- Embroider on the blouse or skirt
- Use Tulle for a princess gown look
There are so many more options than these, but I hope that gets your wheels turning!
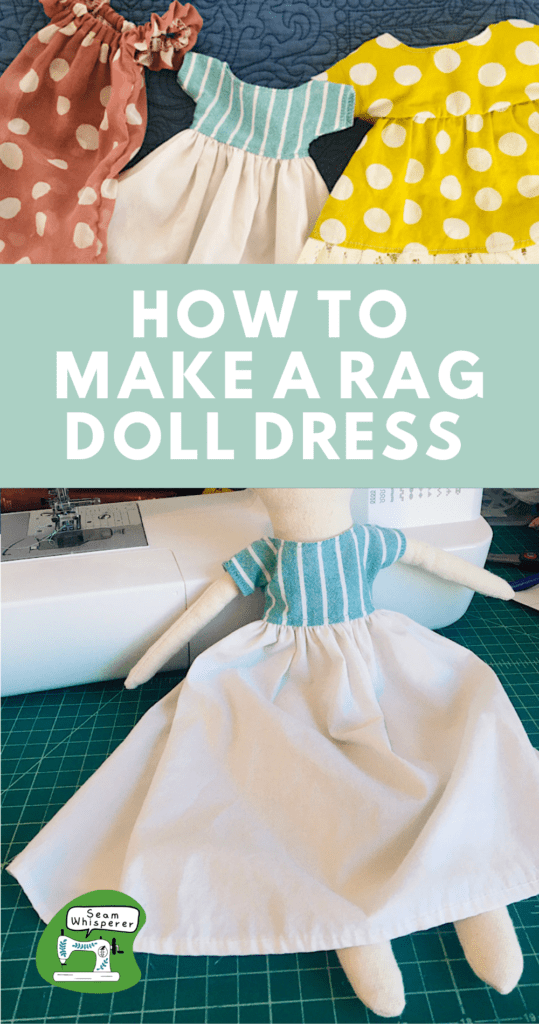
Here are some other dresses I have made, I love adding lace or trim to the bottom for an easy but pretty detail.
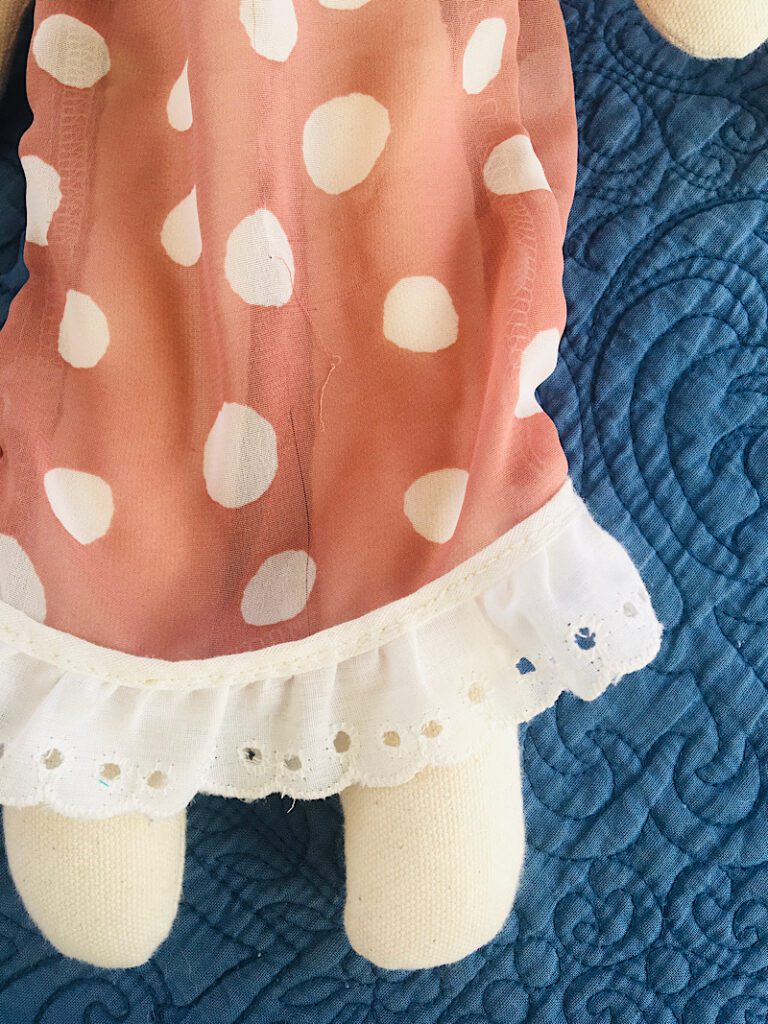
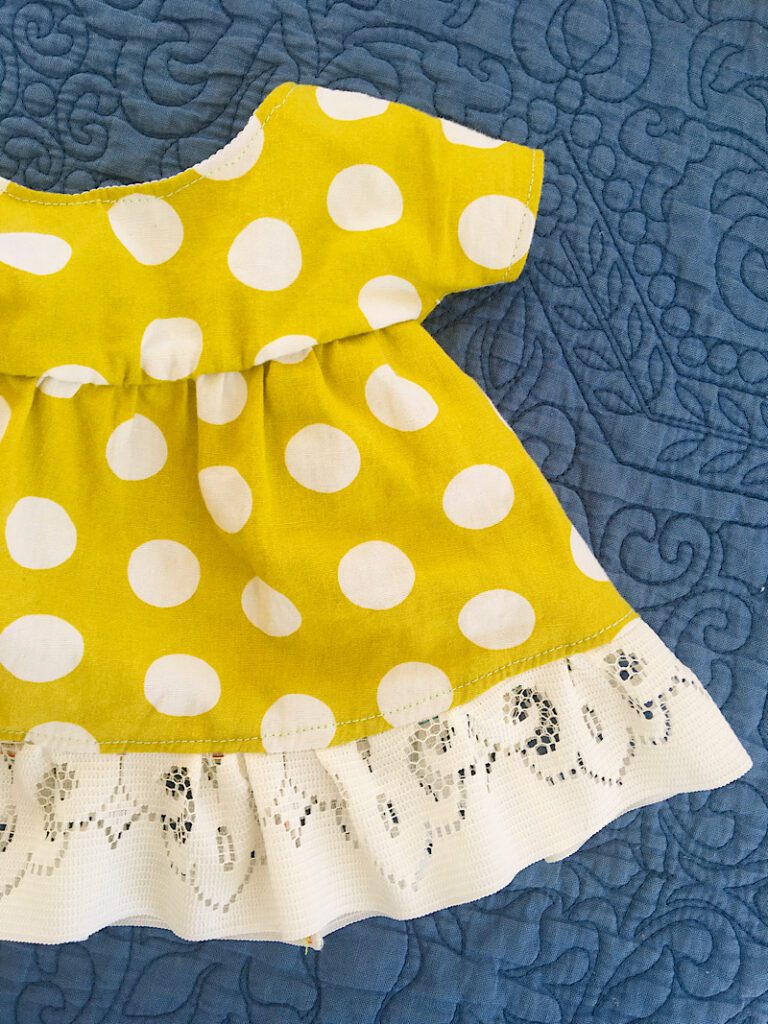
Wow, I didn’t realize I had a thing for polka dots…
Show & Tell
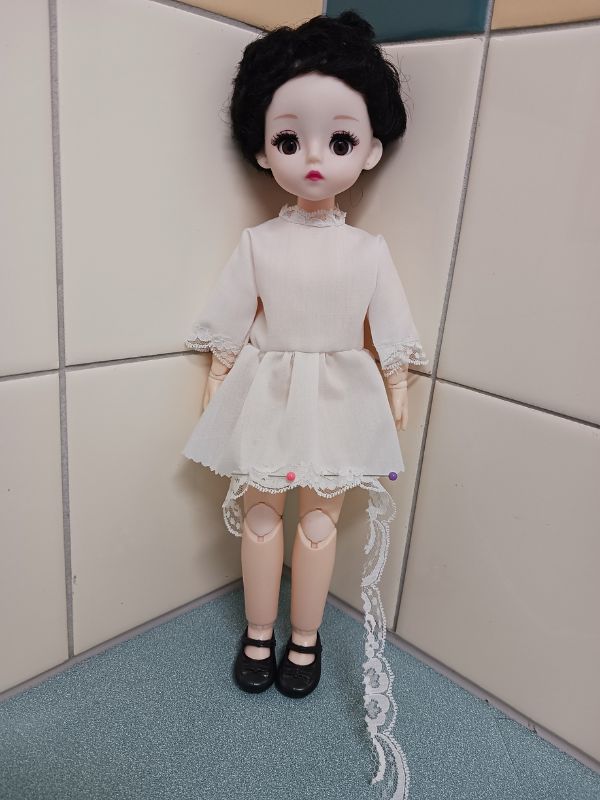
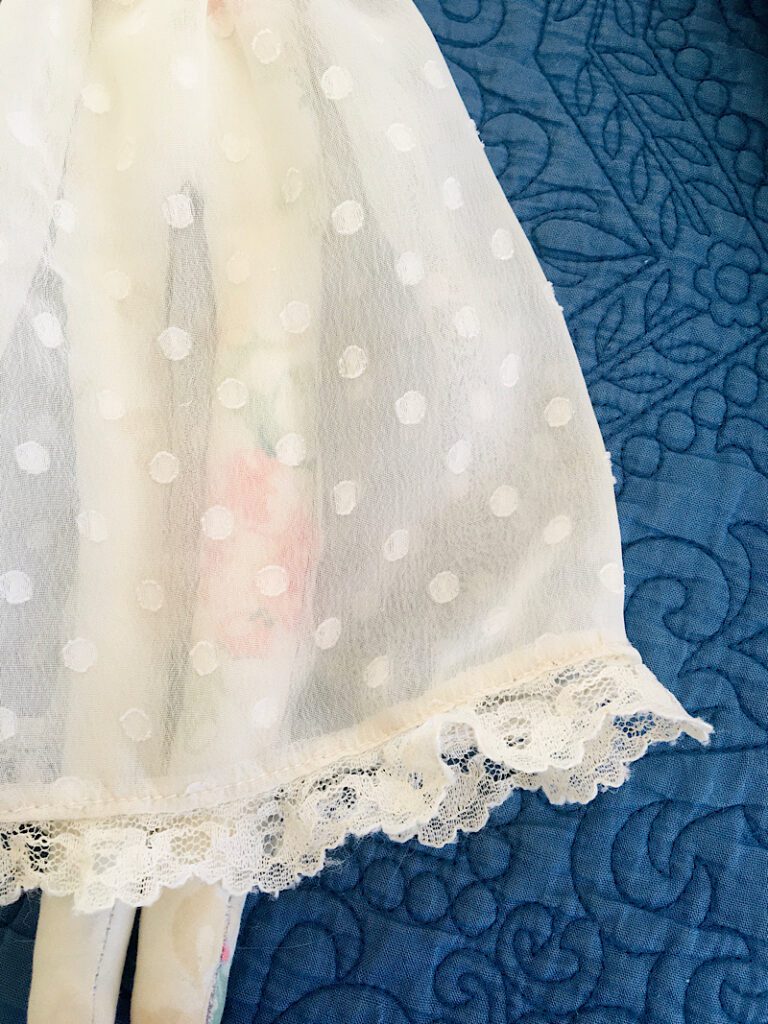
Belinda sent me this photo of her gorgeous doll and handmade dress.
She says: “I’m trying out the basic dress top and it’s working out. I’m fitting a plastic doll and I’ve tried the measurement guide to different ones and so far it’s a miracle. “
I love the lace detail on this dress.
Conclusion
You are now a doll dress maker! This is a very simple base pattern that I can’t wait to expand upon. I have dreams of a peter pan collar, bows, and sequins…
If you want to learn more about this doll, you can read how I made it’s embroidered eyes and felt lips & mouth by clicking these links.
I hope you liked this tutorial. If you feel like I could do better explaining any of the steps, please let me know.
As always, comment with any questions below, and make sure to pin this post so you can easily reference it later!
thanks, will try out yours. nice to find a doll blank that’s no history attached to it or brand name.
ps..love the shoe idea. pants. can you make the pants for the raggie?
Hi Belinda, Yes I do have a doll pants tutorial! just use the search box at the top of my website and search for doll pants.
ugh this guide was amazing and has given me some ideas of how to fashion other clothes for my daughter’s bashful bunnies. She isn’t in to dolls and most patterns I find are designed for more human proportions and I’m not quite skilled enough to adapt them however this method is fool proof! I feel like I could even make some for her more unusually proportioned bunny dolls… thank you!
Trust me, my first attempts were BAD! It just takes a few tries. Thanks for your comment, good luck!
Awesome instructions. Thank you! Clear and easy to follow! I can’t wait to sew some more clothes!