No matter what kind of doll you have, you can learn to easily and quickly draft a simple pair of elastic waistband pants, with this tutorial!
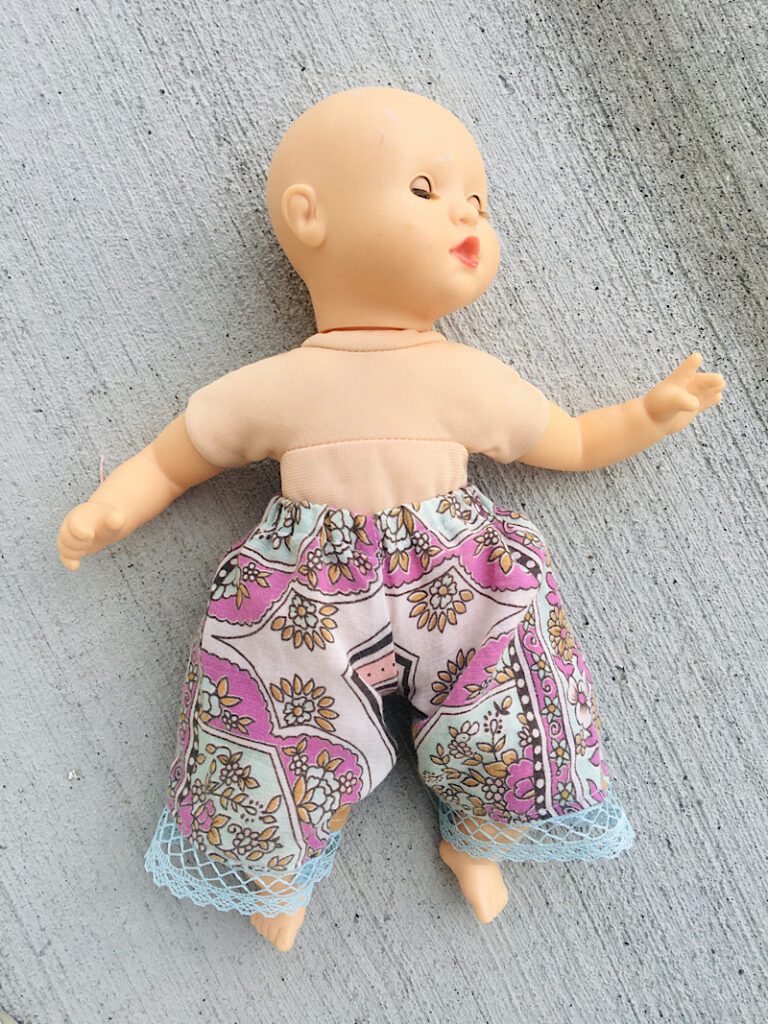
My daughters have two little baby dolls that came with pajamas, but no other clothes! I have been slowly but surely adding dresses, caps, and other items to their wardrobe and today I am going to show you how I easily made a pair of doll pants!
These pants have an elastic waist band, and are SO easy to draft! You can make them for any size or type of doll, I will show you exactly how.
*Make sure to check out my guide with tips on how to make doll clothes if you are new to it!!*
This post may contain affiliate links. Read the full disclosure here.
Supplies Needed
- 1/2 inch or 1/4 inch elastic (here is an option)
- Light or Medium weight fabric for the pants (size will depend on your doll. A fat quarter is probably enough for most small dolls)
- A flexible measuring tape
- Pen and Paper
- An acrylic sewing ruler (optional but helps draw the pattern, you could just use the measuring tape)
- Trim for the hem of the pants (optional, you could just hem it)
- Fabric Scissors, Sewing Machine, Pins, etc.
- Serger (Optional) (you can zig zag your edges if you want to finish them without a serger)
How To Make Doll Pants
Note: drafting a pair of human pants is a little more precise and involved than this tutorial, but this works fine for flowy doll pants!
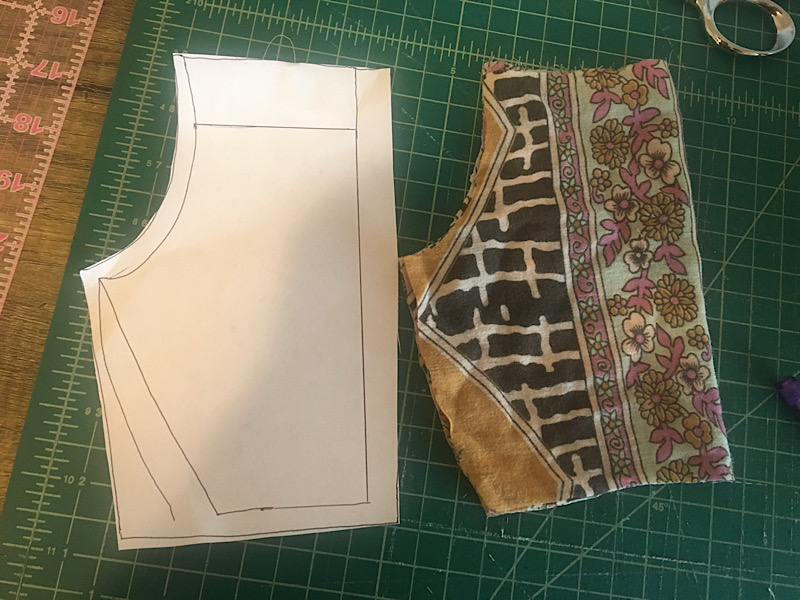
Step 1. Draft The Pattern
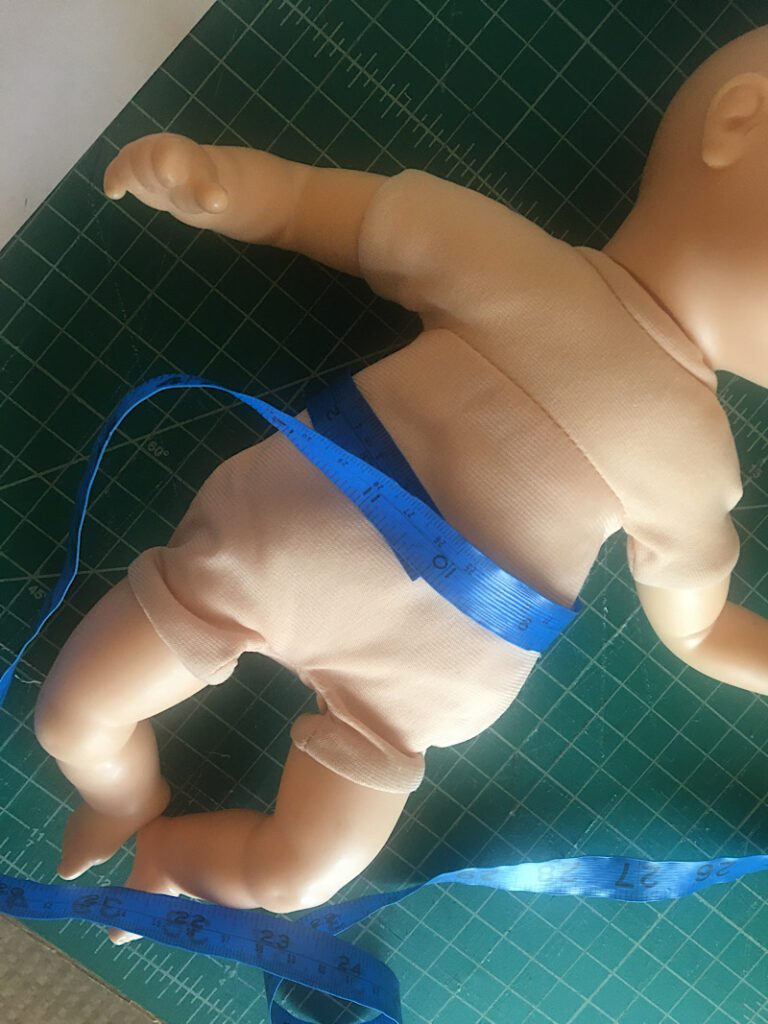
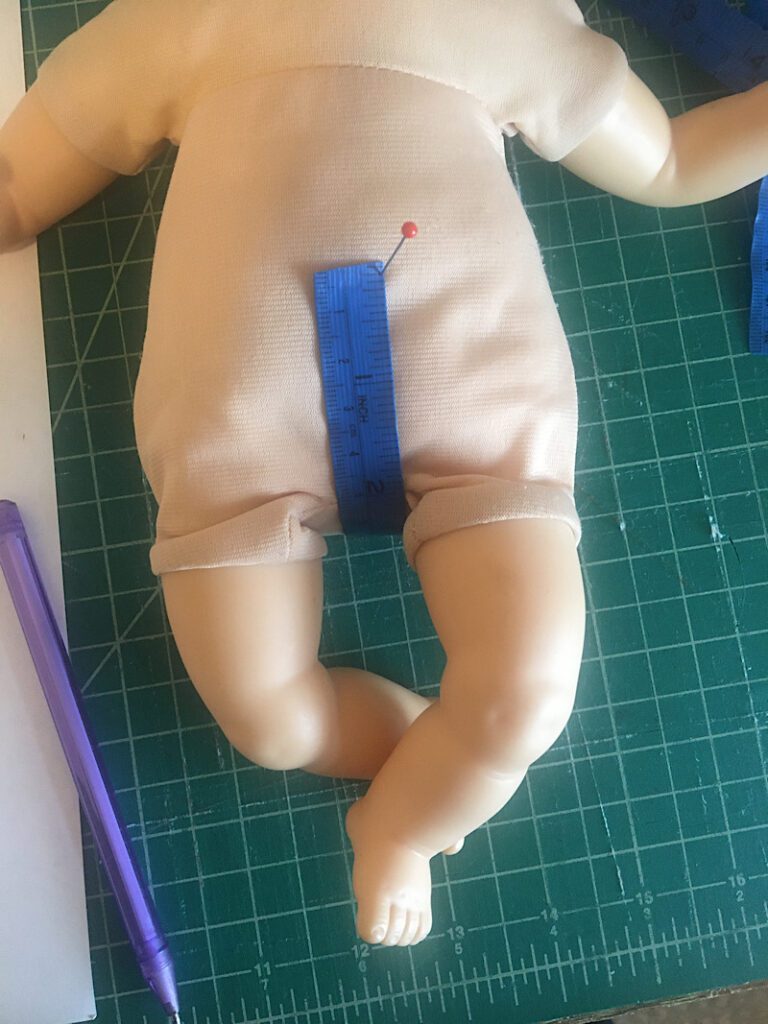
Using your flexible measuring tape, you are going to take several measurements then draw the pattern on your paper.
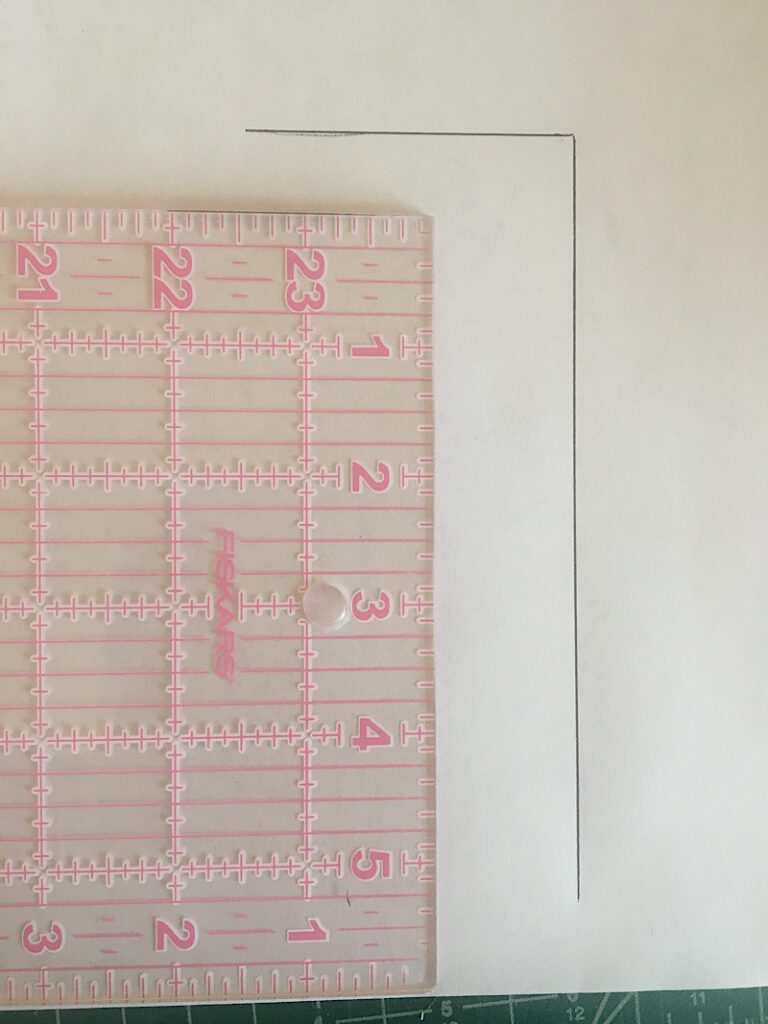
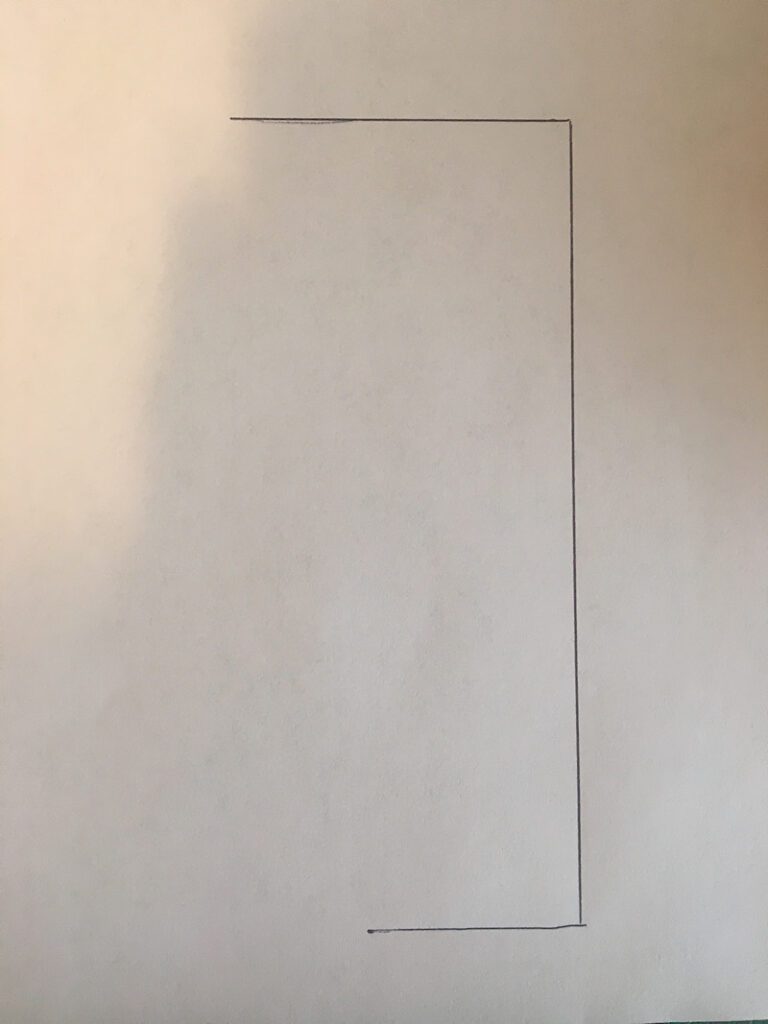
First measure around the doll’s waist where you want the pants to sit. Divide that waist measurement by 4 and draw a horizontal line with that length on the paper.
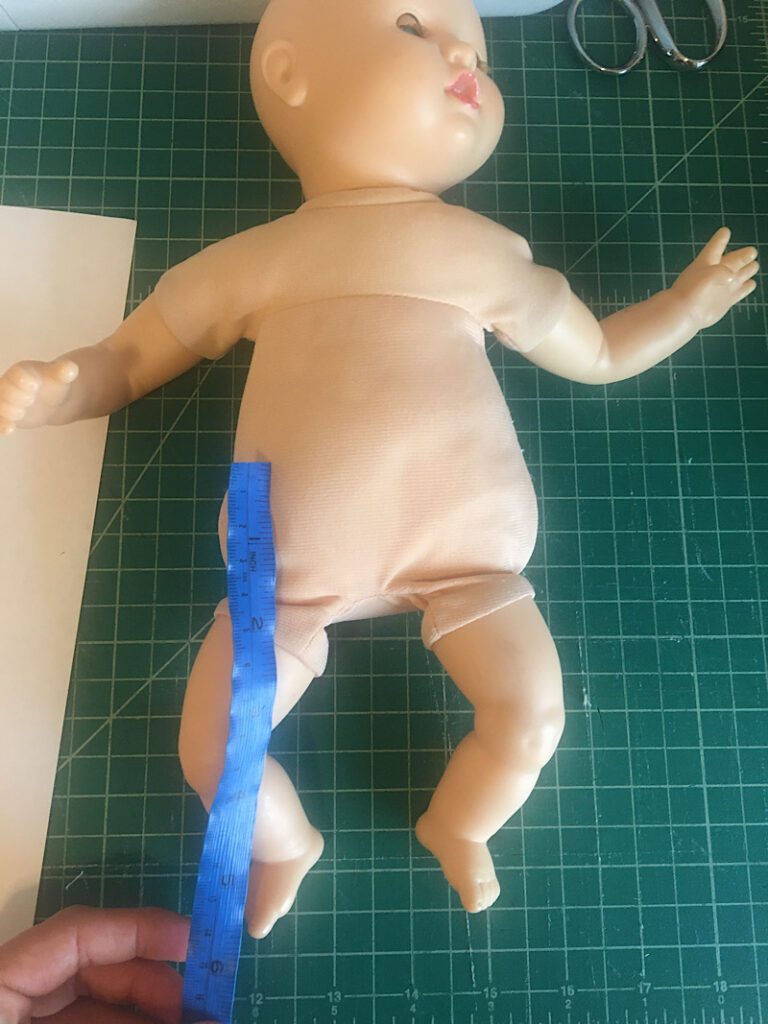
Next, measure the length from the waist to the ankle and draw a line on the paper at a right angle to the previous line, on the right side, going down.
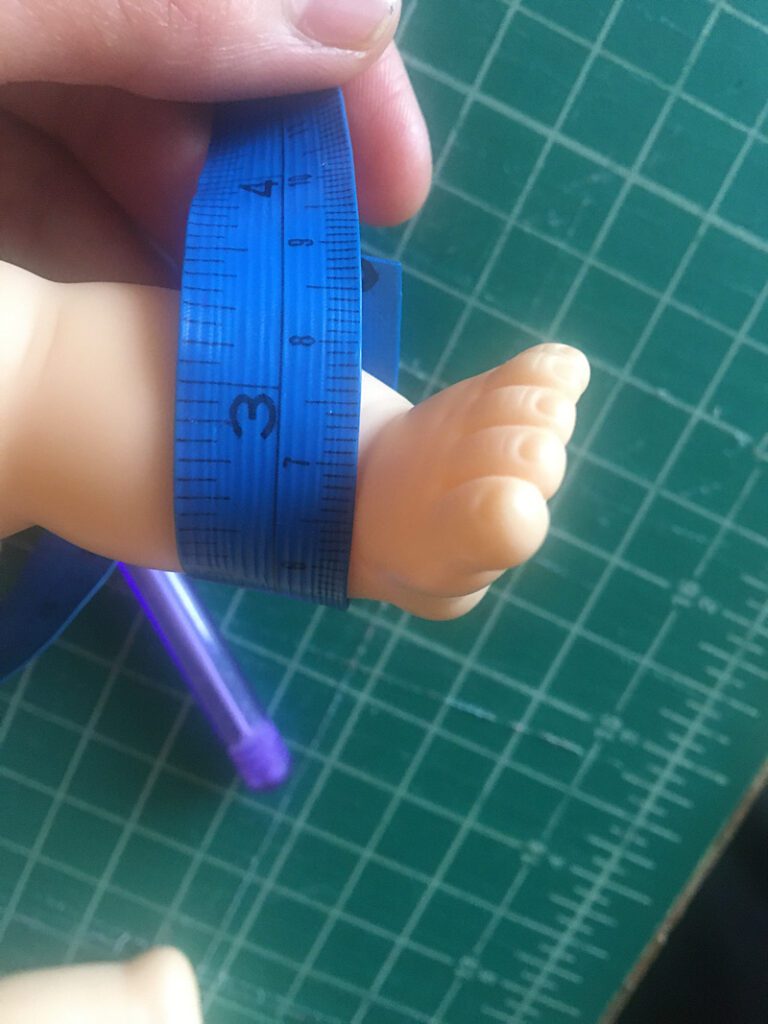
Now, measure the ankle circumference, divide it by 2 and draw a horizontal line at the bottom of the vertical line you just drew.
For the final measurement, you will measure the crotch length, starting from the front middle waist, down the crotch, and up around the back to the back center waist.
Then, using your flexible measuring tape, draw a curved line on the paper with the same length measurement, coming down the open side of the top horizontal line of your pattern.
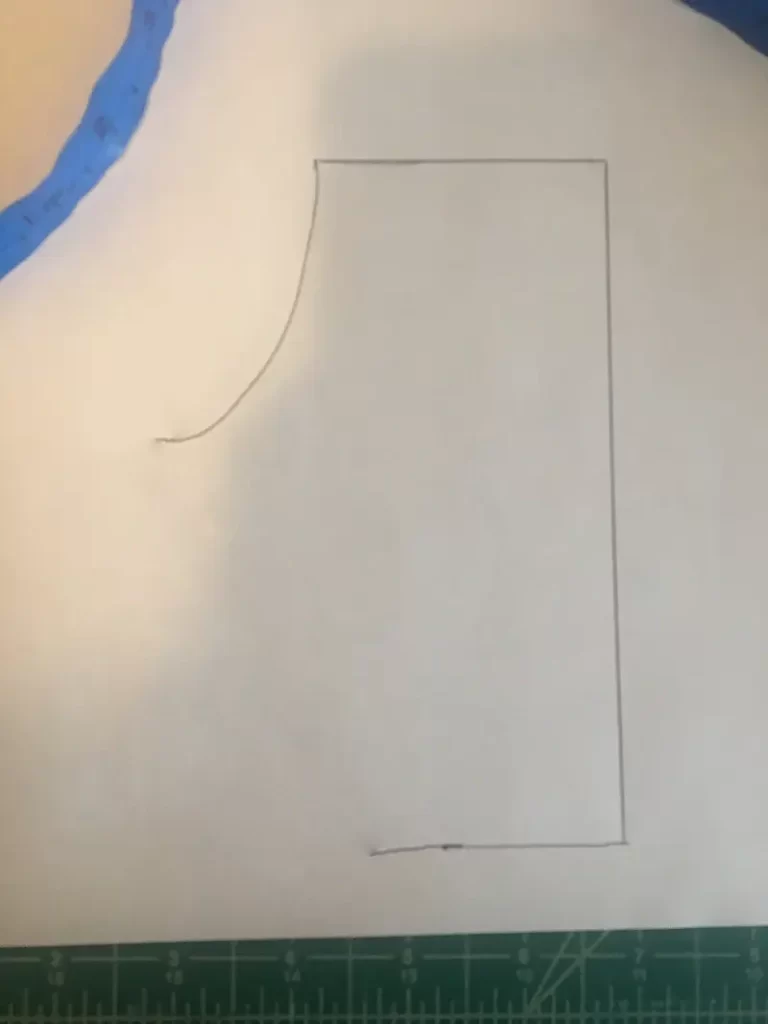
Finally, draw the diagonal line to connect the crotch curve to the ankle line.
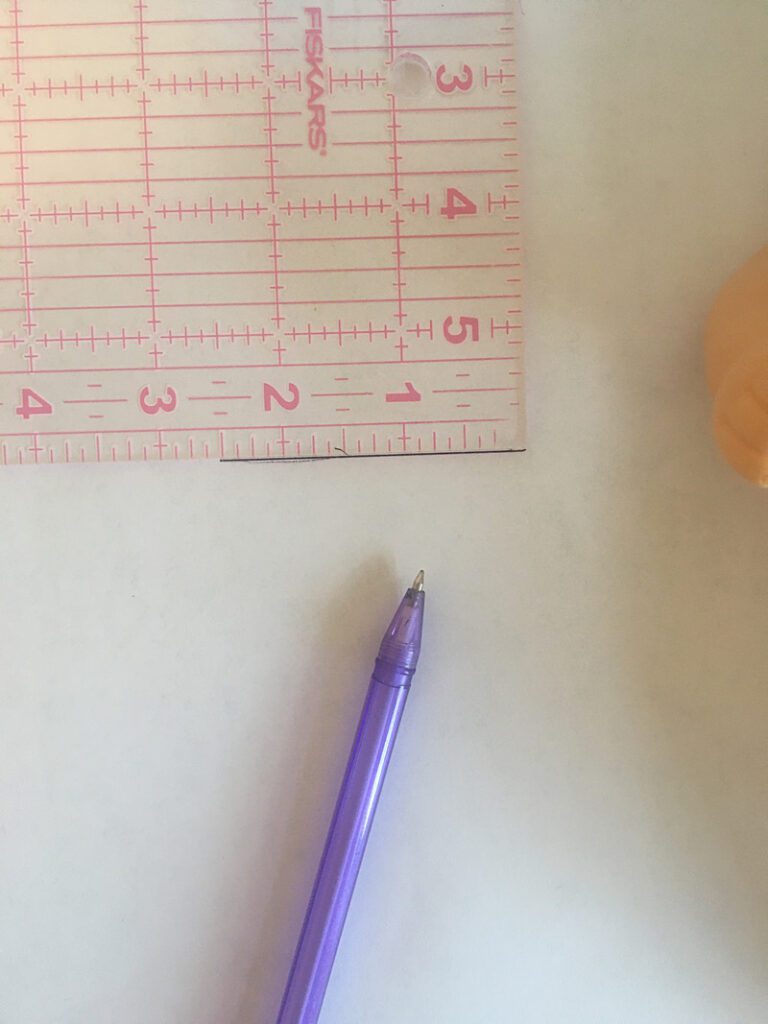
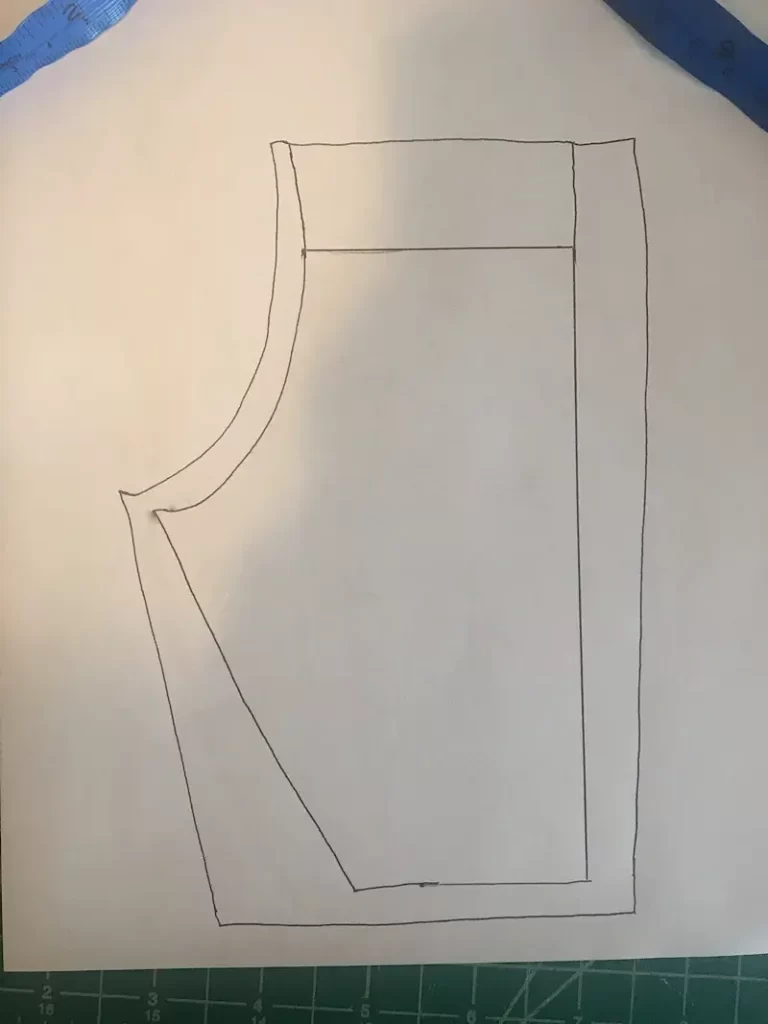
Then you need to add seam allowance and ease, otherwise the pants wont fit when you sew them. Add an inch of width to the flat side of the pants (the right side in my photo below). I also added some extra width to the ankle seam allowance on the left, and about 3/8ths of an inch seam allowance at the crotch. Finally add about 1.5 inches of allowance at the waist so you can hem it later.
Step 2. Cut Out Your Pattern
Now that your pattern is drawn and has seam allowance, cut it out.
The flat side of the pattern needs to be placed on the fold, and you will cut out two of these folded pieces.
Fold your fabric, and then cut out two pant pieces.
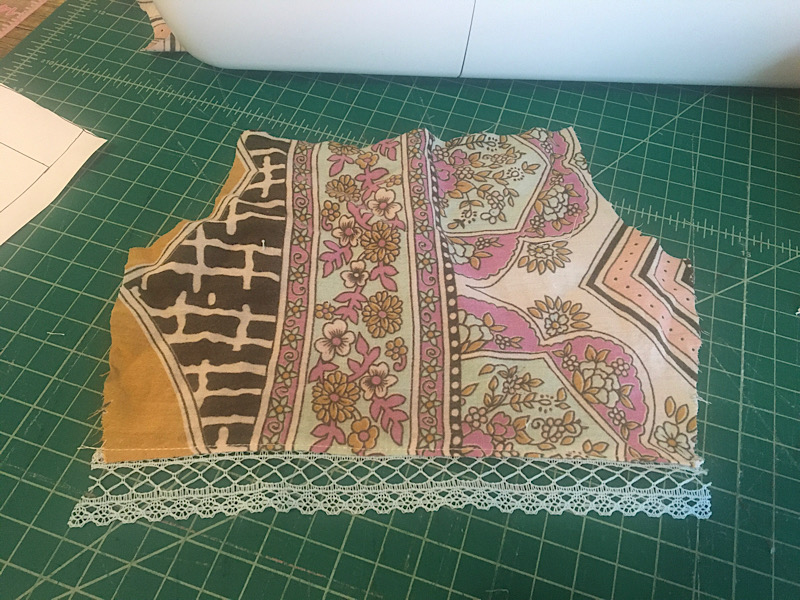
Step 3. Hem The Pants
Choose how you would like to hem the ankles of the pants.
I added a little but of lace trim to the ends, but you can do whatever you want.
For a simple hem: fold the ankle up towards the wrong side of the fabric 3/8ths of an inch, then 3/8ths of an inch again, and pin it in place. Then, sew across the fold.
To do the lace hem: instead of folding it to hem it, line up the lace on the edge of the ankle with the right sides together. Then sew it together. Then open the lace and flatten it, and add a top stitch on the front to keep it flat.
Repeat this with the other pant as well.
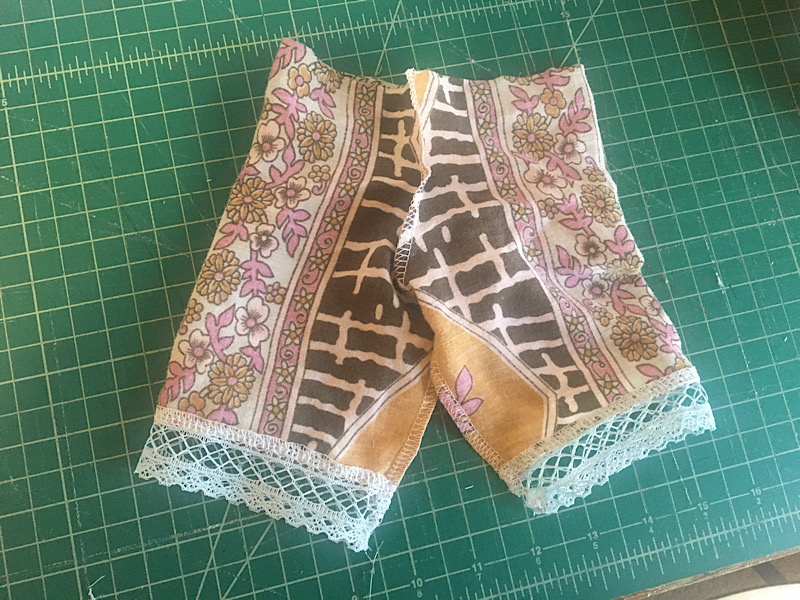
Once hemmed, fold each pant leg in half with the right sides together, and sew up the other side but stop at the crotch point.
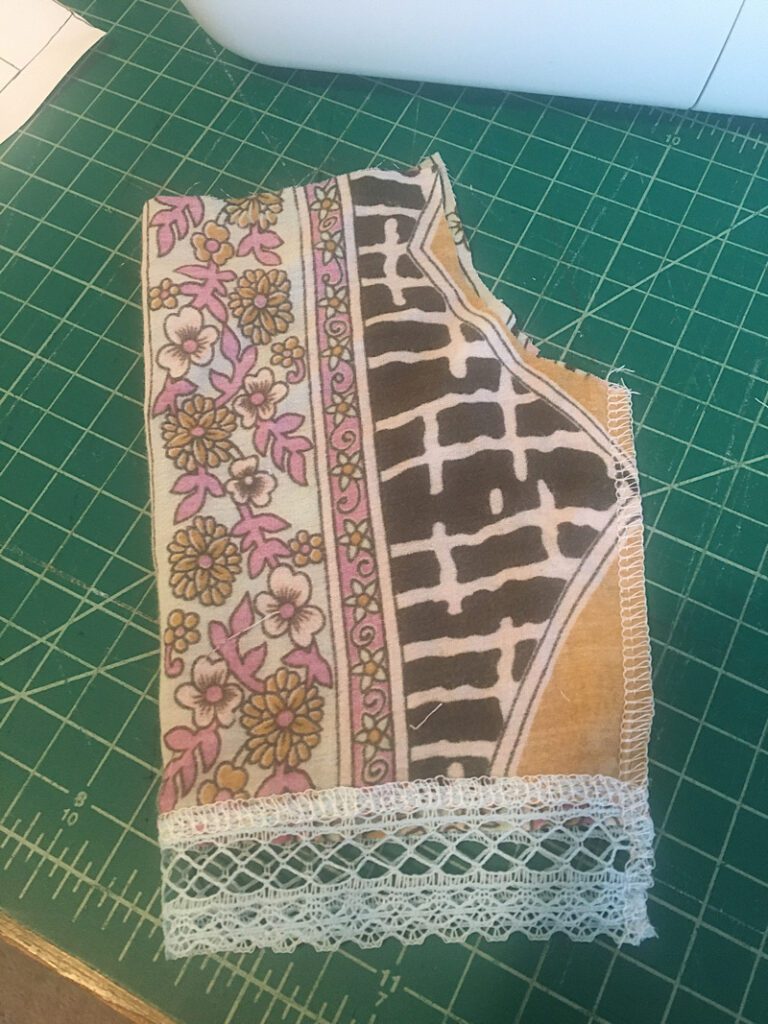
Step 4. Sew The Pants Together
Once both legs of the pants are sewn, turn one of them inside out, and place it over top of the right-side-out leg, lining up the side seams. Make sure the right sides are facing each other.
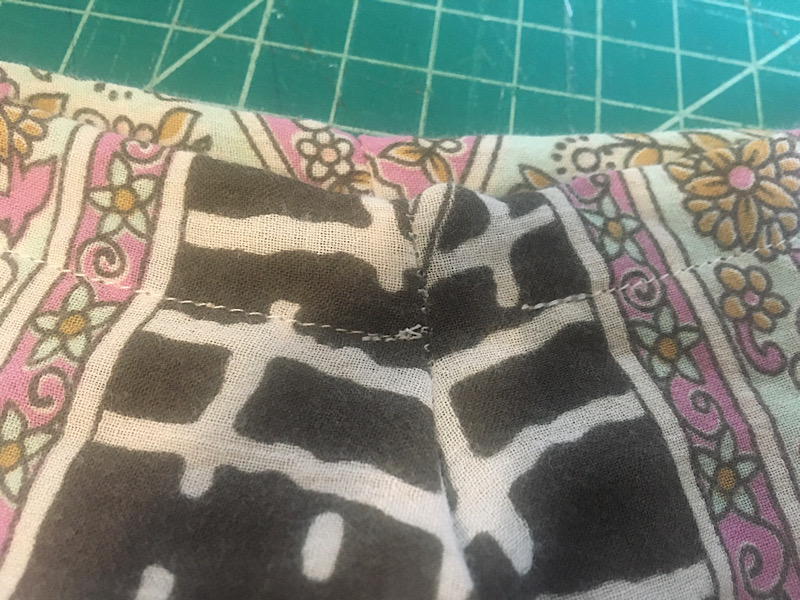
Then, pin the pieces together along the crotch curve, and sew the crotch curve with a 3/8ths inch seam allowance.
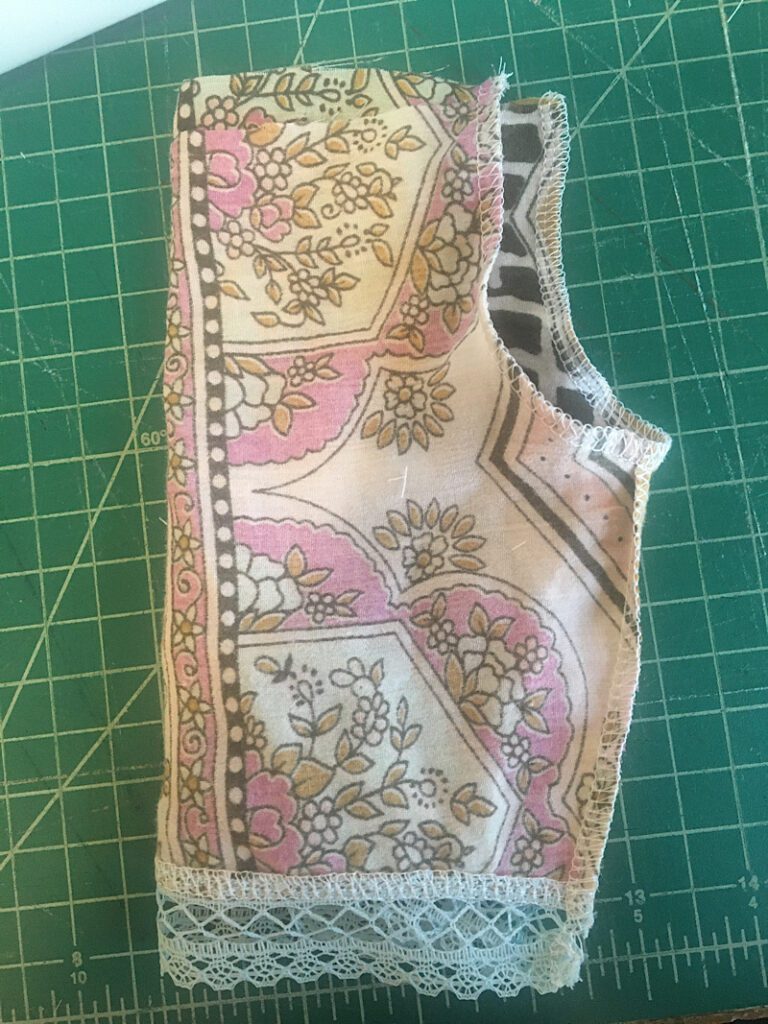
Step 5. Add The Waistband
Turn the pants inside out and see how they look so far.
To hem the waist, fold the waistline down towards the wrong side of the fabric 1/2 inch, then carefully fold it down again 1 inch. Pin it down.
Sew around the fold, leaving a 1 inch gap in the center over the back seam.
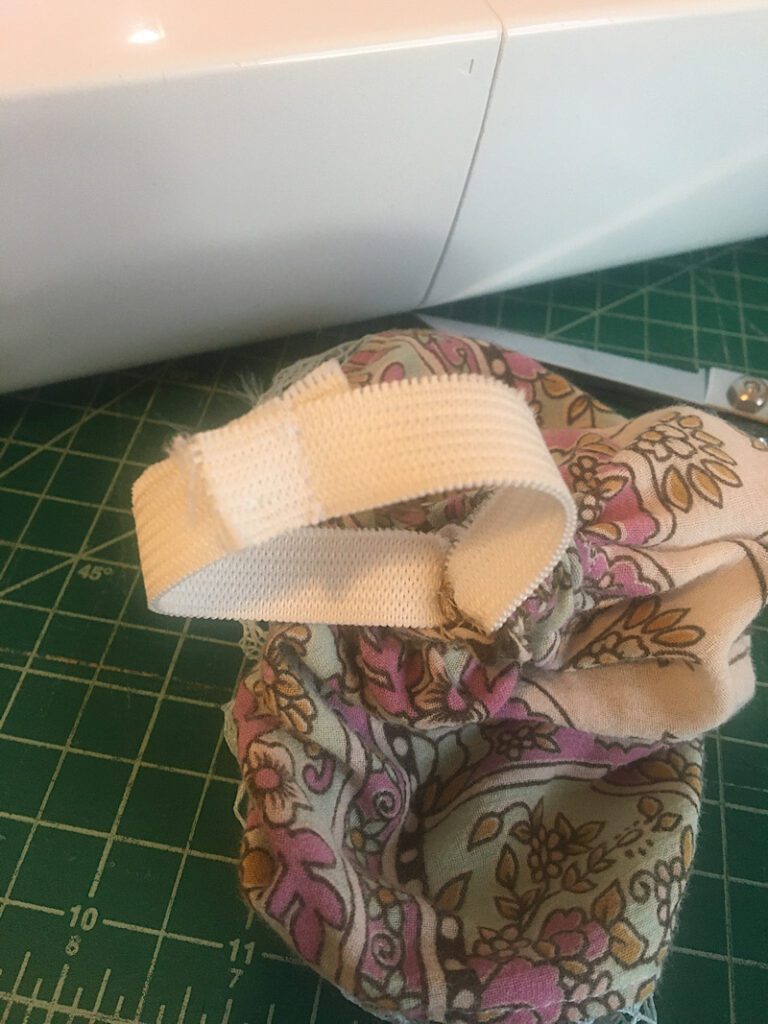
Now, cut a piece of elastic that is as long as the waist circumference of the doll. Use a bodkin or large safety pin to thread the elastic through the waistband.
Then sew the two ends together, and stretch to pull the elastic into the waistband.
Finally, straighten out the waistband and sew the gap closed to seal in the elastic.
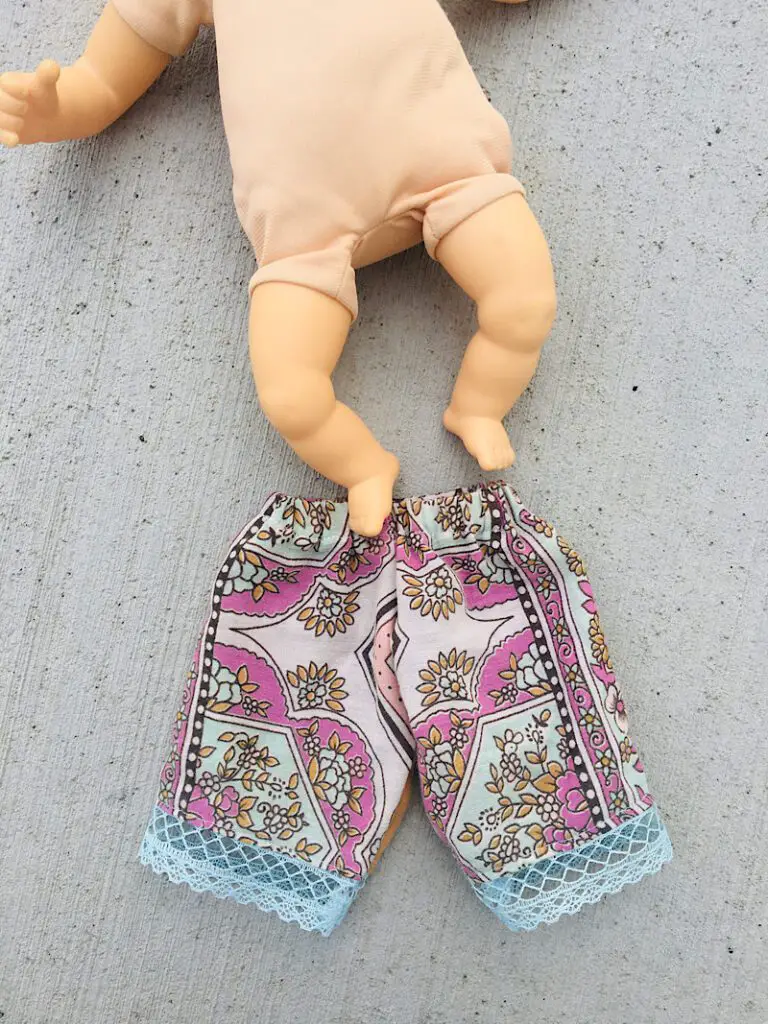
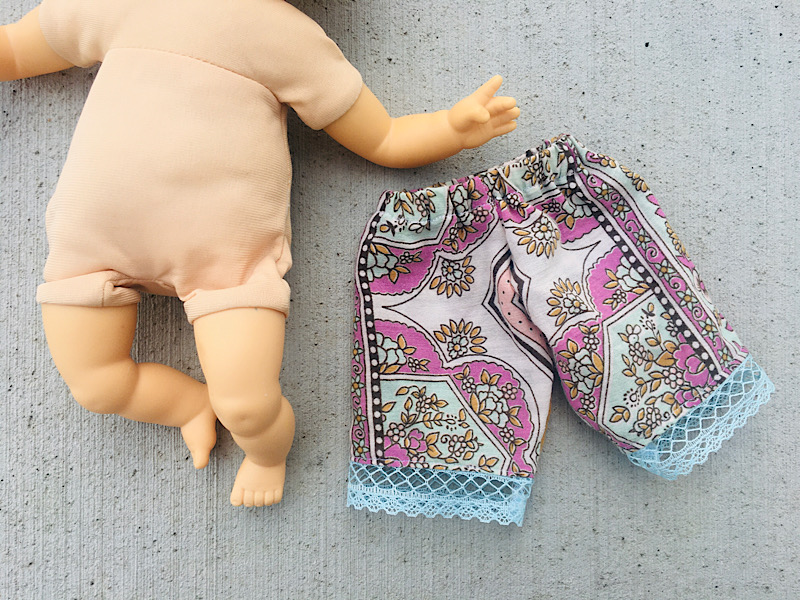
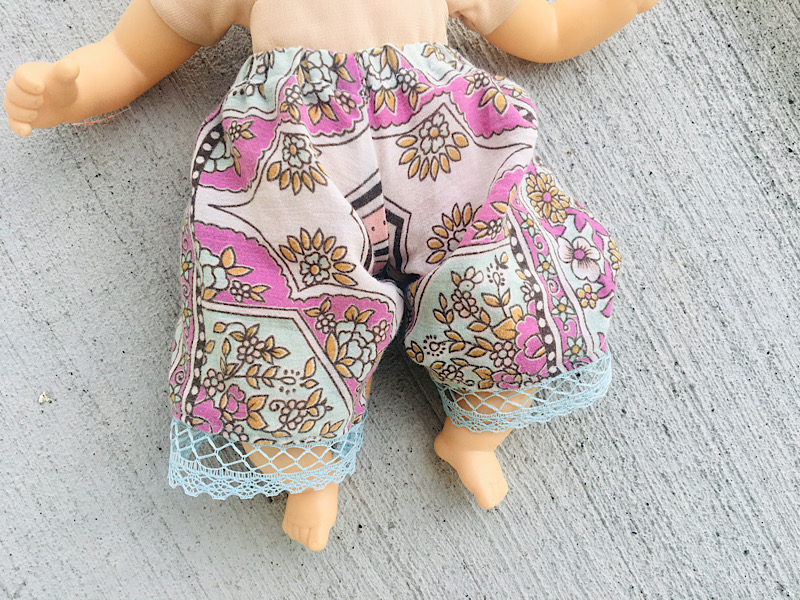
Then you are done! Here is what they look like!
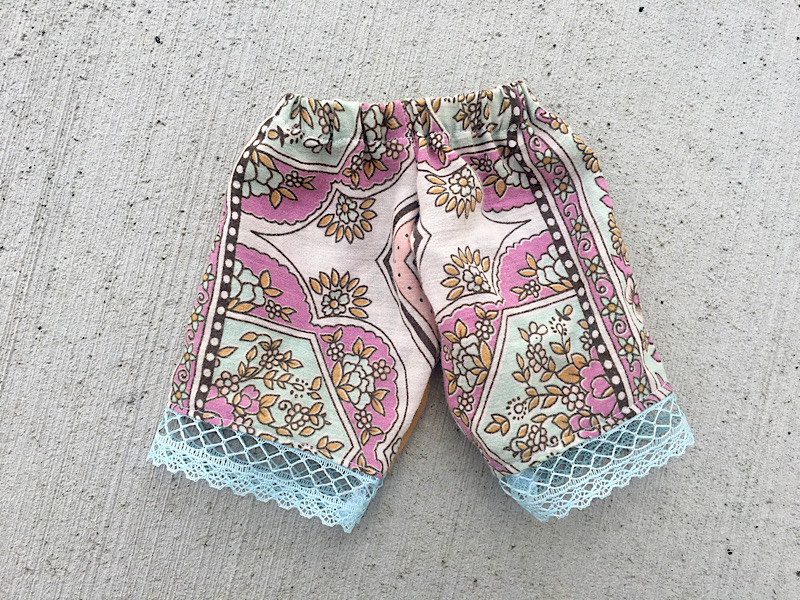
These were so easy to make, and very customizable!
I hope you can see that drafting your own pattern doesn’t have to be complicated! It really is just a bunch of measurements!
If this post was helpful to you, I would love to see a photo of your project. You can find my email on the “about” page, or add a photo to our facebook group. I would love to add some photos to this blog post, if you are willing!
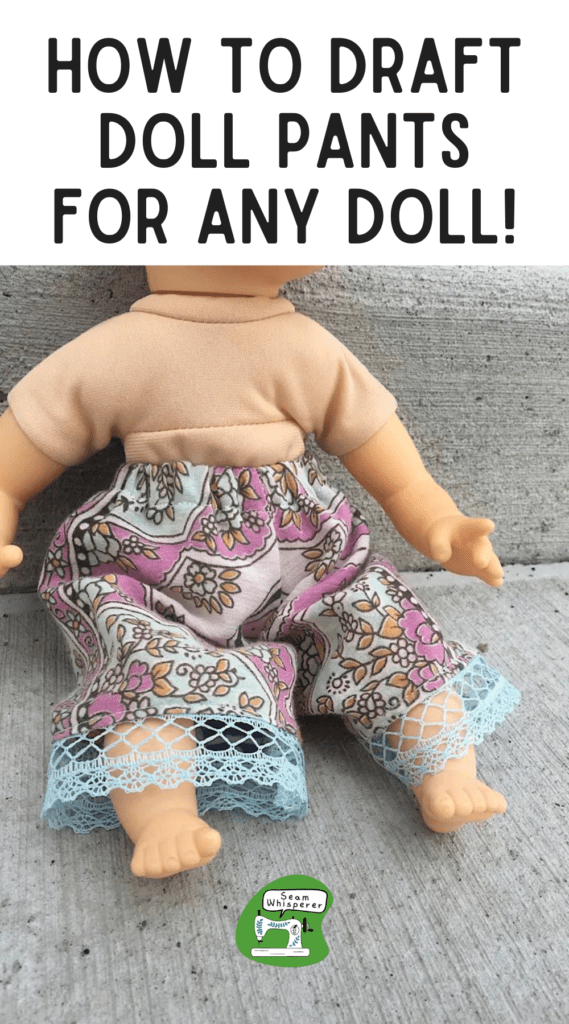
Pin this post to pinterest so others can find it too!
hello. ever thought of a neck ruffle?
also a sleevless sundries?
there a doll pattern on esty that has both?