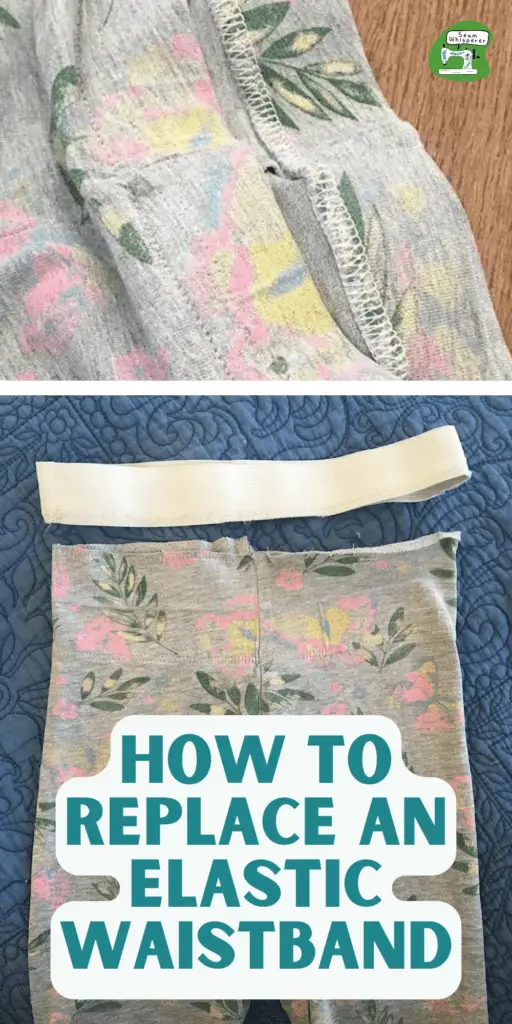
Need to replace the waistband in your pants or skirt? It can seem tricky with all those different threads to unpick. Let me show you how!
I love to buy clothes for myself and my kids from thrift stores. Sometimes the garment is a little old, but still in great shape–except the elastic. And sometimes I need to shorten or lengthen an elastic to fix a sixing issue.
Replacing the elastic in a sewn-in elastic waistband is trickier than in an encased waistband, (If you have a folded over, encased waistband, see this tutorial) but it is still possible. Just follow these steps…
Supplies Needed
- Garment to un-pick
- Seam ripper
- Thread snips or scissors
- Matching Thread
- Replacement elastic
- Serger (optional but helpful)
Remove & Replace A Sewn-in Elastic Waistband
Step 1. Unpick The Coverstitch
The first thing you need to do is locate the stitches that are on the very top. This is mostly likely going to be a cover stitch, especially on skirts and pants that are stretchy, as well as leggings.
Sometimes these waistbands will have multiple layers of stitching. You will be able to remove the stitches the easiest if you carefully look and unpick only the top layer of stitching at first.
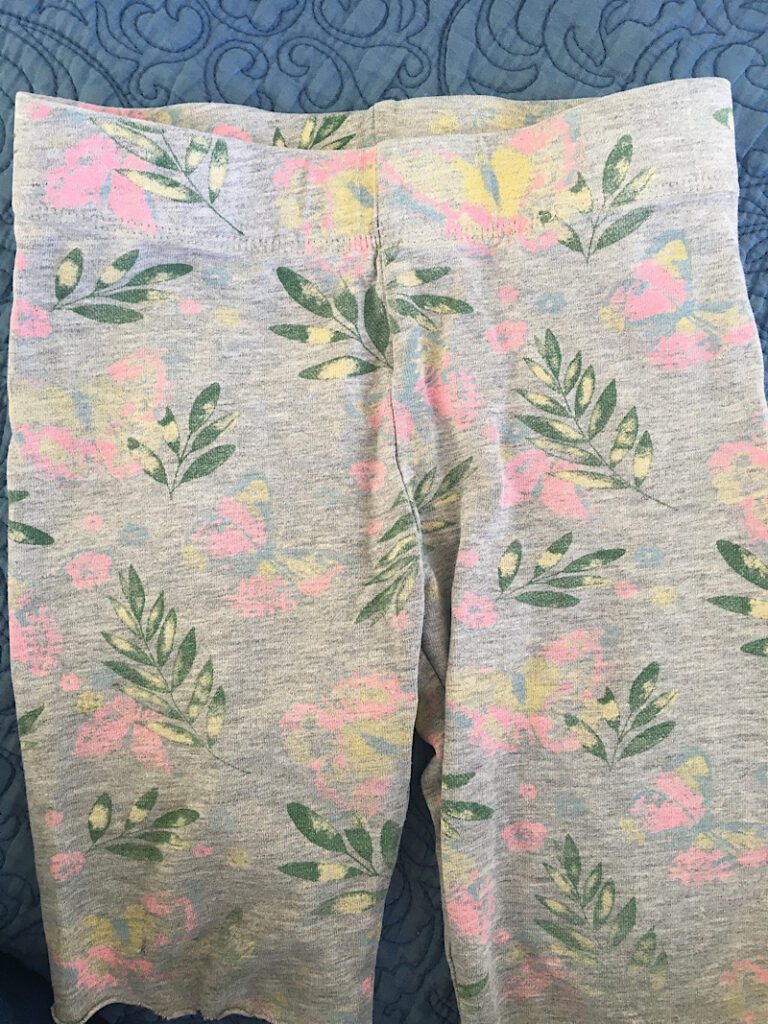
Your garment might be more like the pants in the photo on the left, with a typical cover stitched (one way you can tell it is cover stitches if it has two rows of straight stitches on the front) elastic band that is folded over. Or you might have a skirt like the image on the right where the fabric is gathered, and has a top stitch that may be a cover stitch or a plain straight stitch.
Look at these photos below and see which one looks like yours:
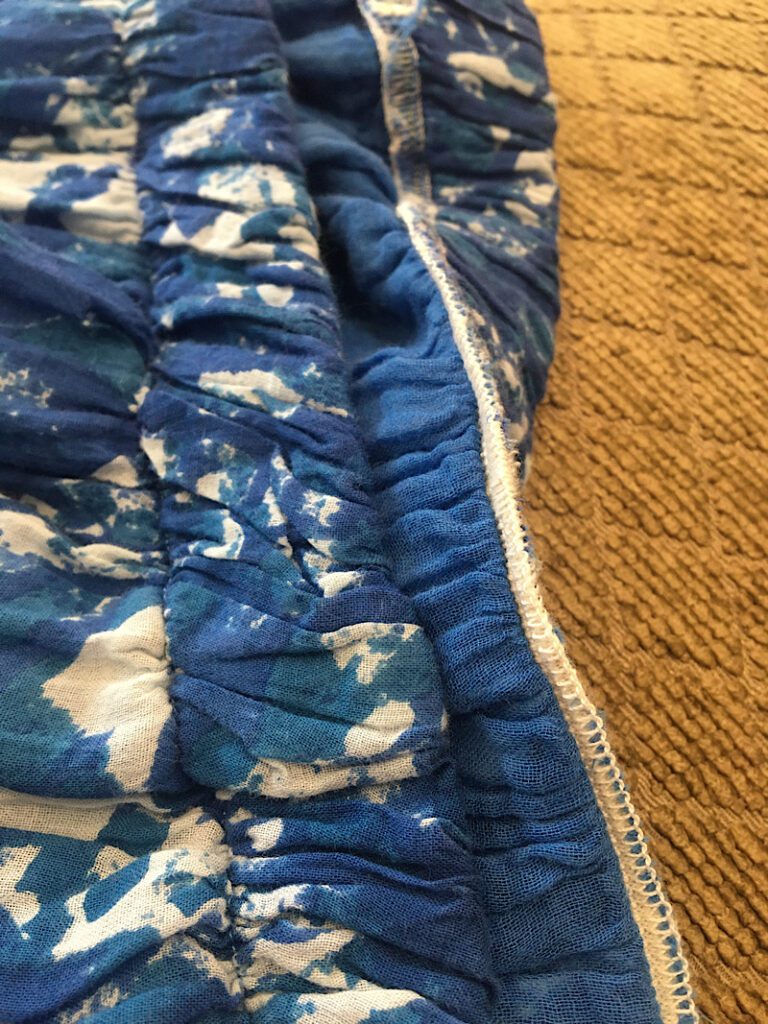
Both of my garments have a serged edge holding the elastic to the cloth, and then they are folded over, and have a cover stitch on top.
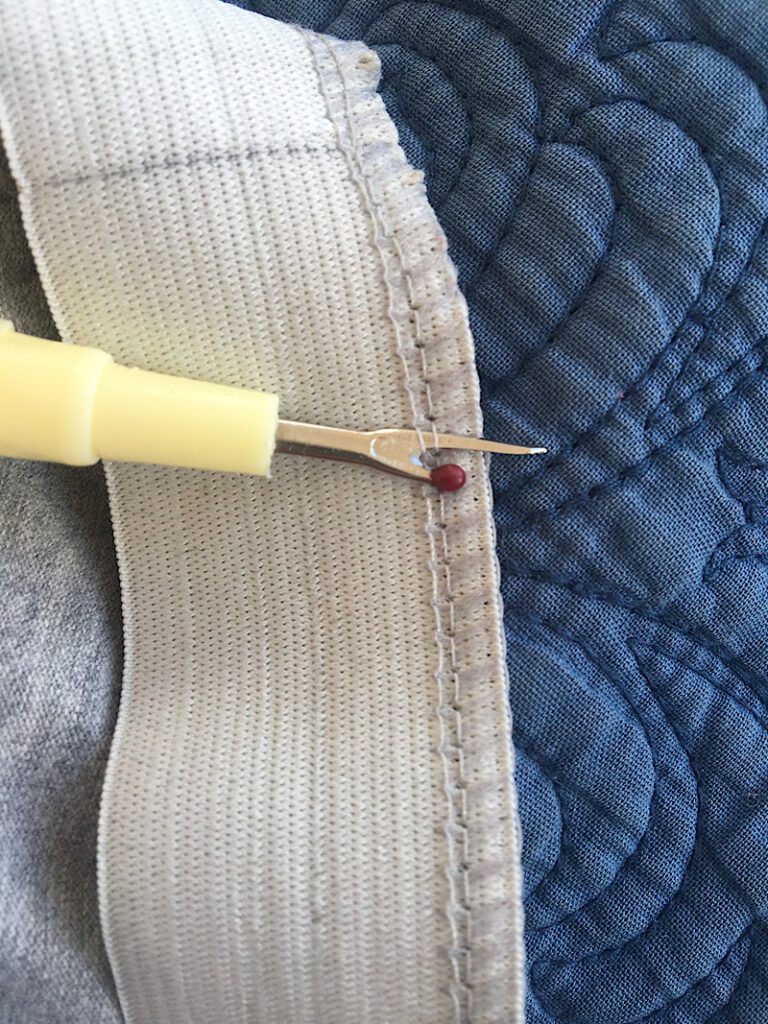
To unpick a coverstitch, first insert your seam ripper into two parallel stitches and rip them.
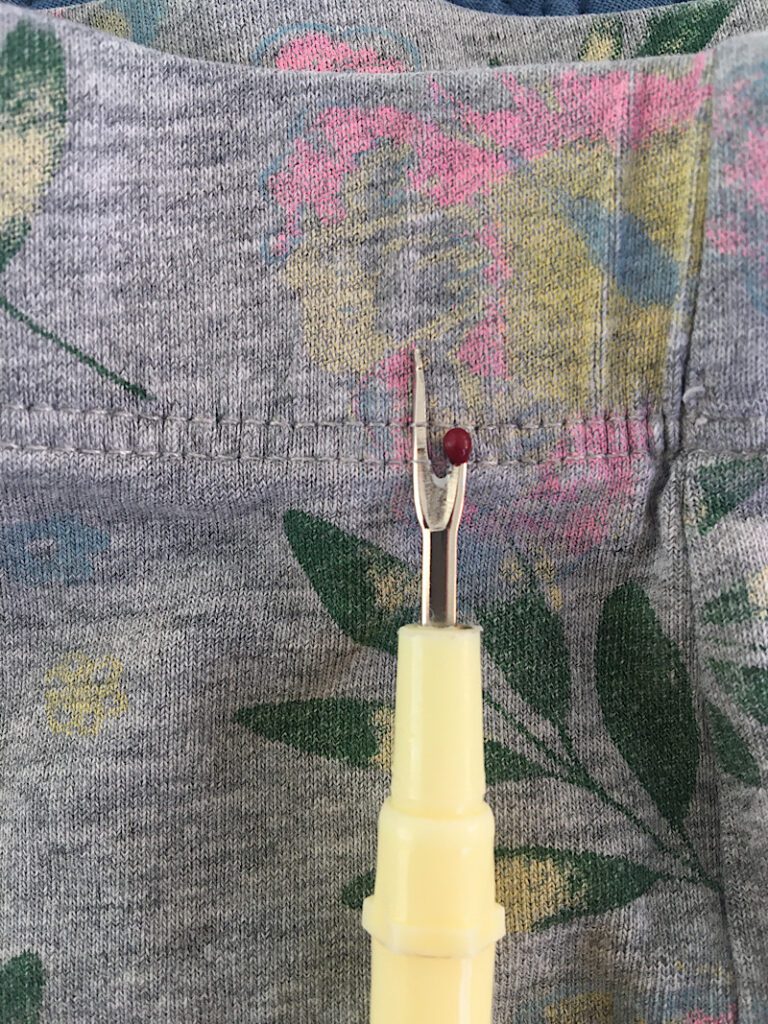
Next, unpick but do not break several of the stitches to the left of the one you just ripped, so that you have two hanging tails you can grasp.
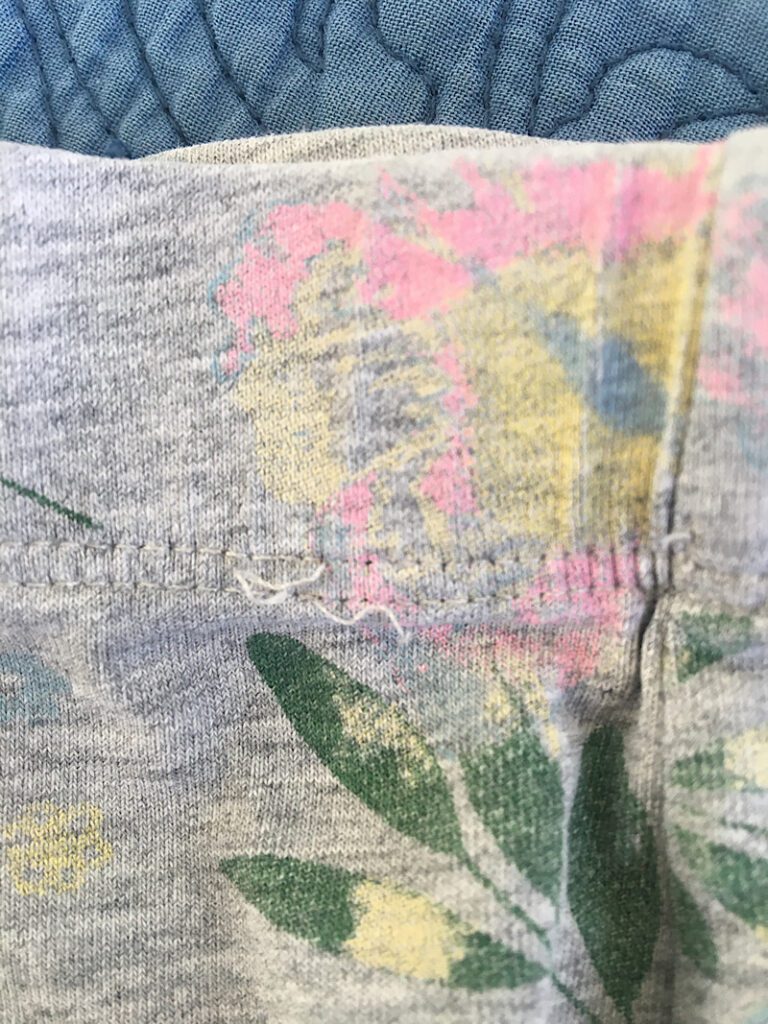
On the inside of the waistband, you will notice there is a loose thread that is starting to come undone. Gently pull it (depending on the way it was sewn, you may have to pull it downwards or upwards to the stitch) while holding onto the loose tails on the front side. The stitch will unravel itself.
Work your way around the waistband. If the threads break because you pull to hard, you can pull out a few more stitches from the front side again, and start over.
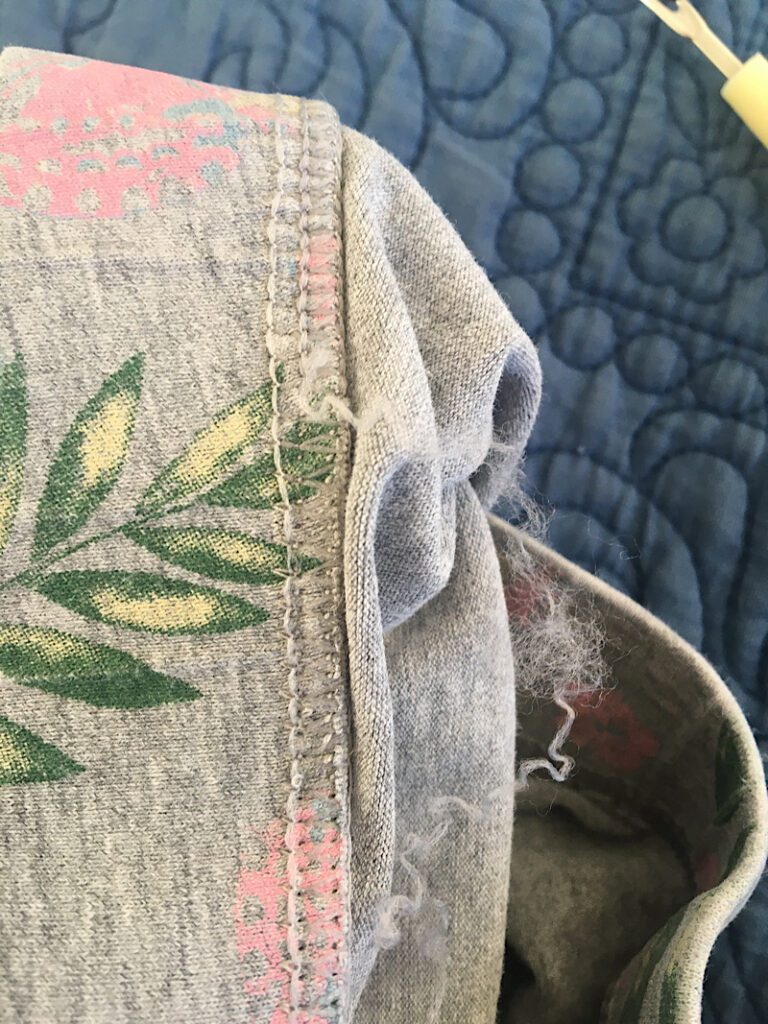
Eventually, with the cover stitch removed, the waistband will unfold and you will see the elastic inside.
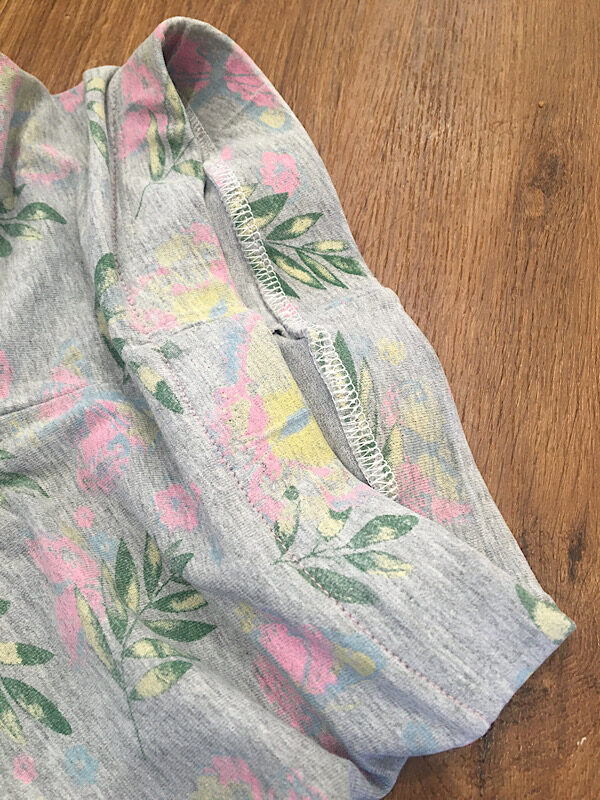
Step 2. Unpick The Serged Stitch
Next, you will need to unpick the serged stitch from the waistband.
Locate the two straight stitches on the serging, and carefully rip through one stitch in both of them, without catching the looped threads.
Then, gently pull out a few of the straight stitches next to the rip you made to make tails you can grasp. Then, gently pull out the straight stitches, and the looped stitches will unravel themselves.
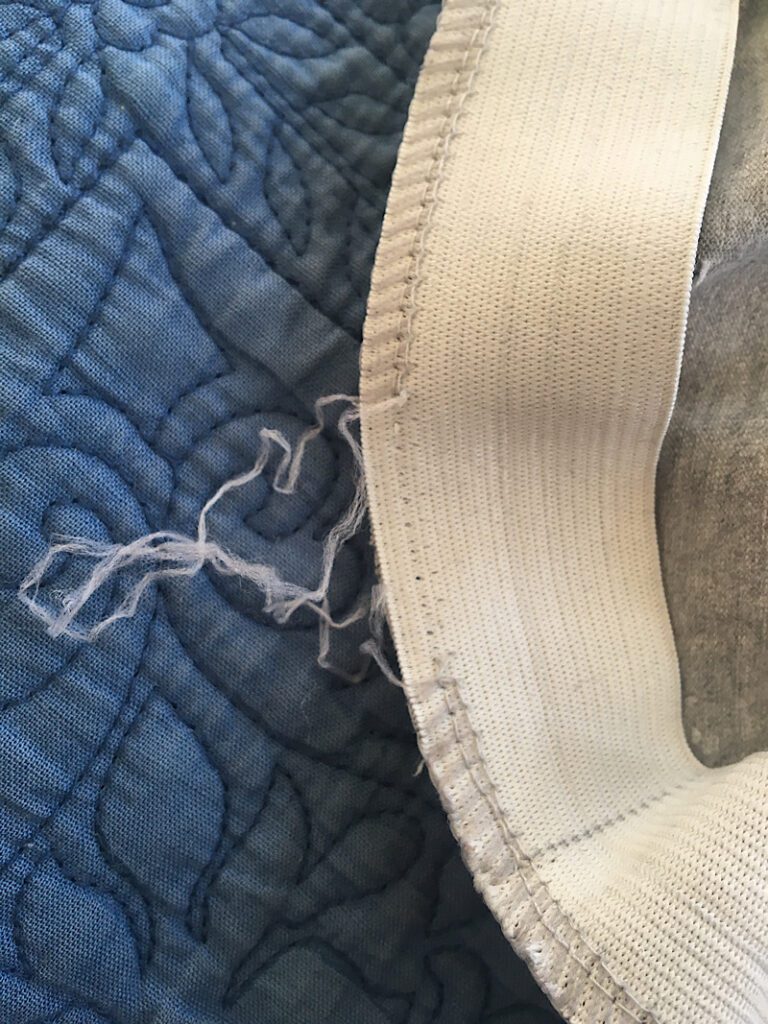
If you are having trouble pulling out the straight stitches through the elastic, you can seam rip the straight stitches every few inches to make them shorter and easier to pull out. Just don’t pick through the looped threads, or you will have lots of tiny threads to clean up!
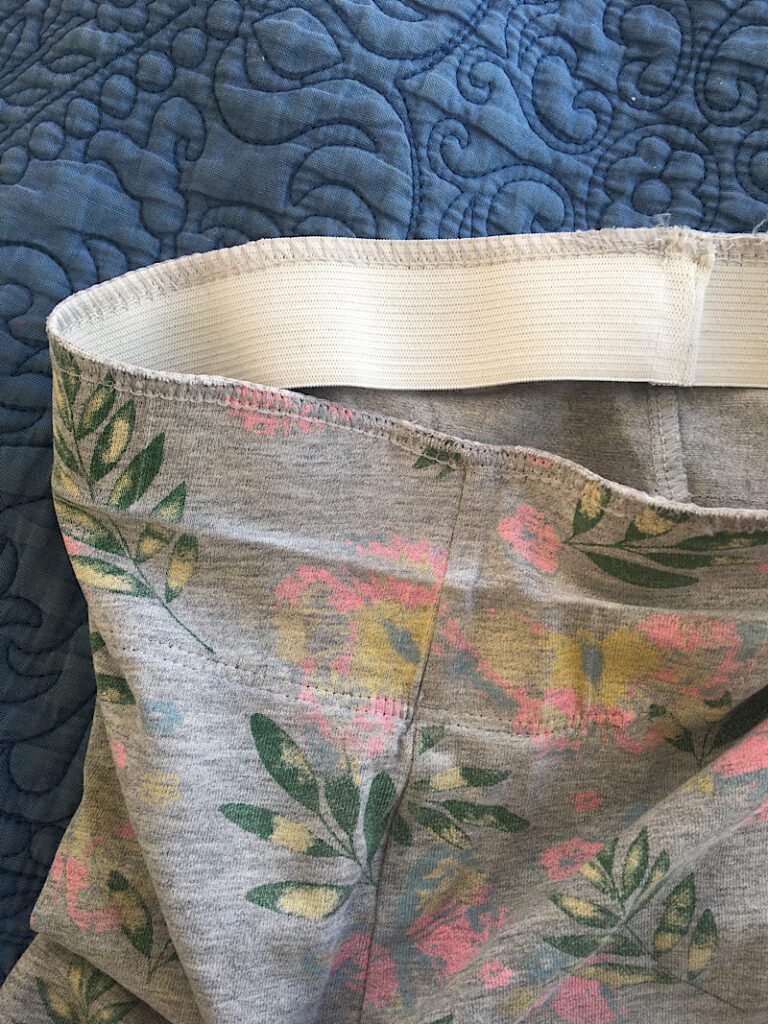
After the threads have all been pulled out, there should be no more stitching.
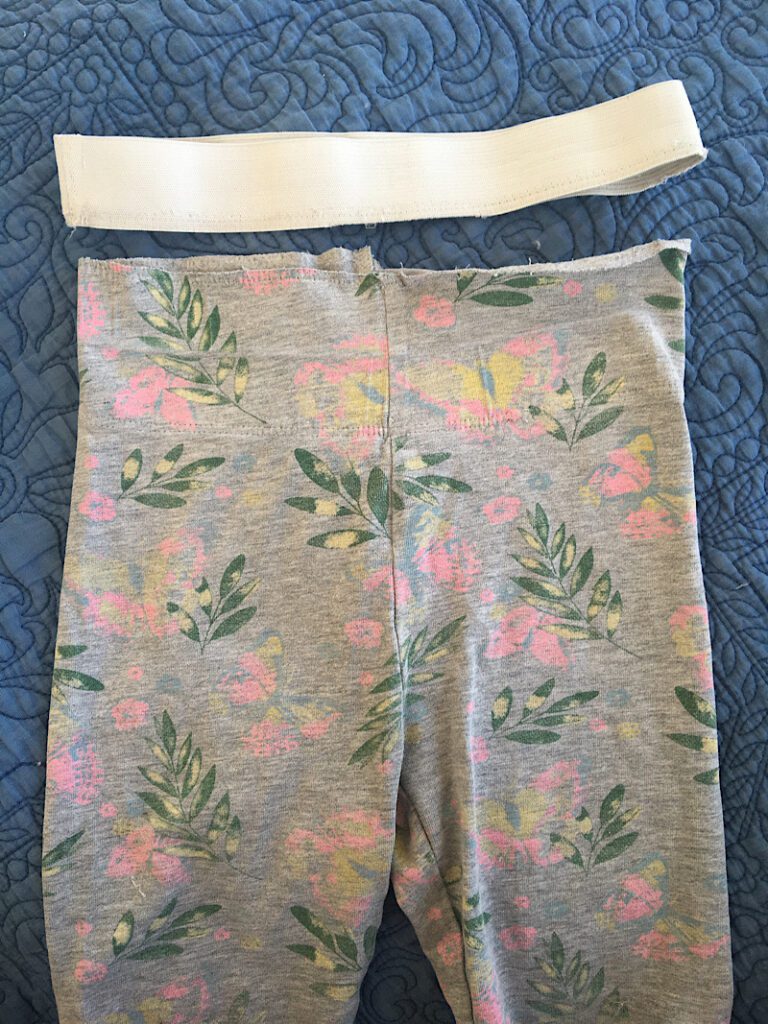
Now the elastic can be removed from the garment!
Step 3. Replace The Elastic
Now you can replace the elastic with a new one. It will look best if you use a new elastic that is the same width.
Measure your new elastic to make a loop that is the same size as the waistband, or a bit smaller if you need it to be smaller.
(If you have unpicked a gathered skirt, then you can make your elastic bigger if you need to, and then when you regather it the gathers will be looser, but that is a good way to size up gathered skirts!)
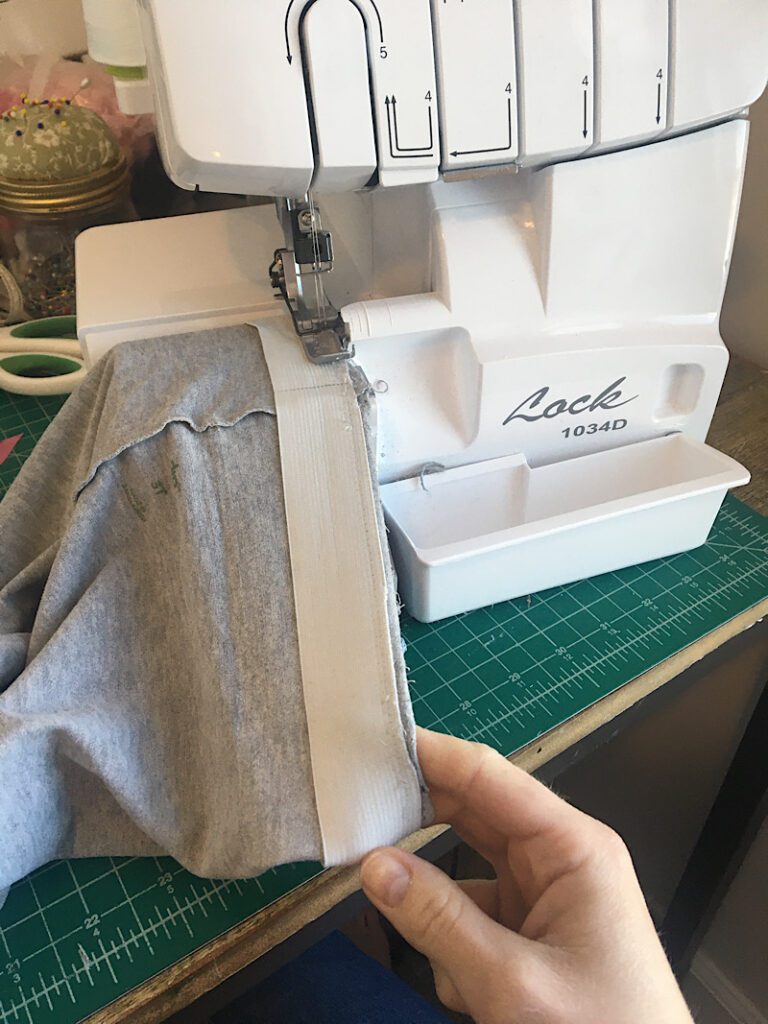
Sew the new elastic into a loop of the rise size, then pin it to the top of the garment on the inside.
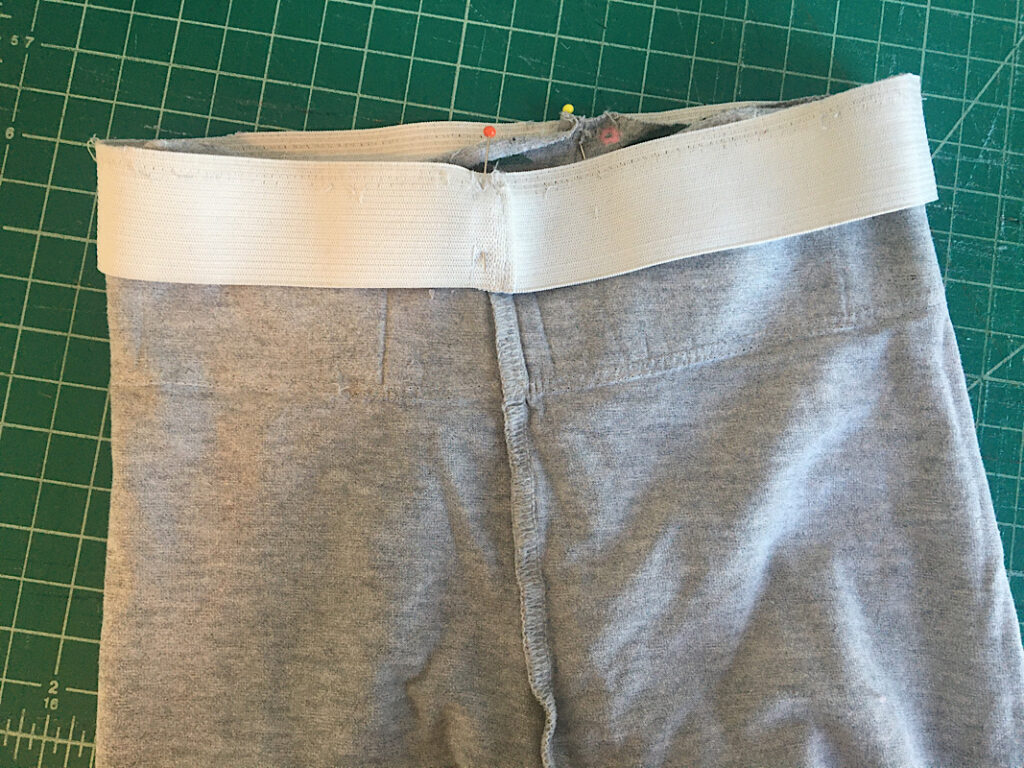
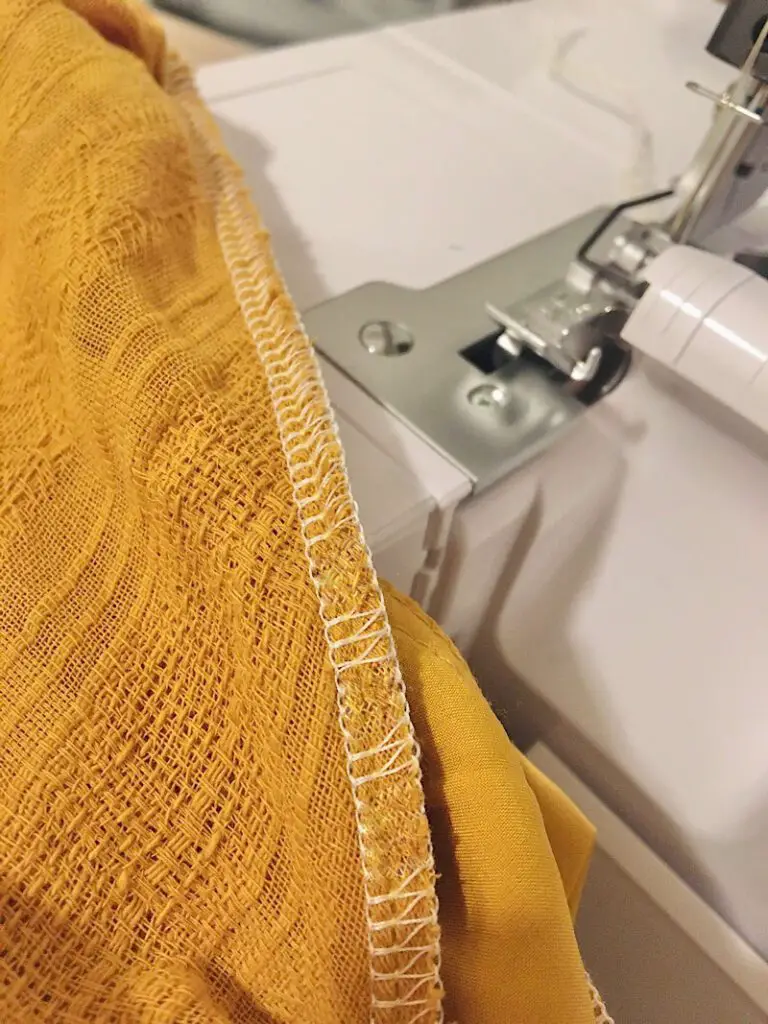
Serge (or zig zag) the edge of the elastic to the edge of the waistband of the garment, pulling the elastic to stretch to fit as you go.
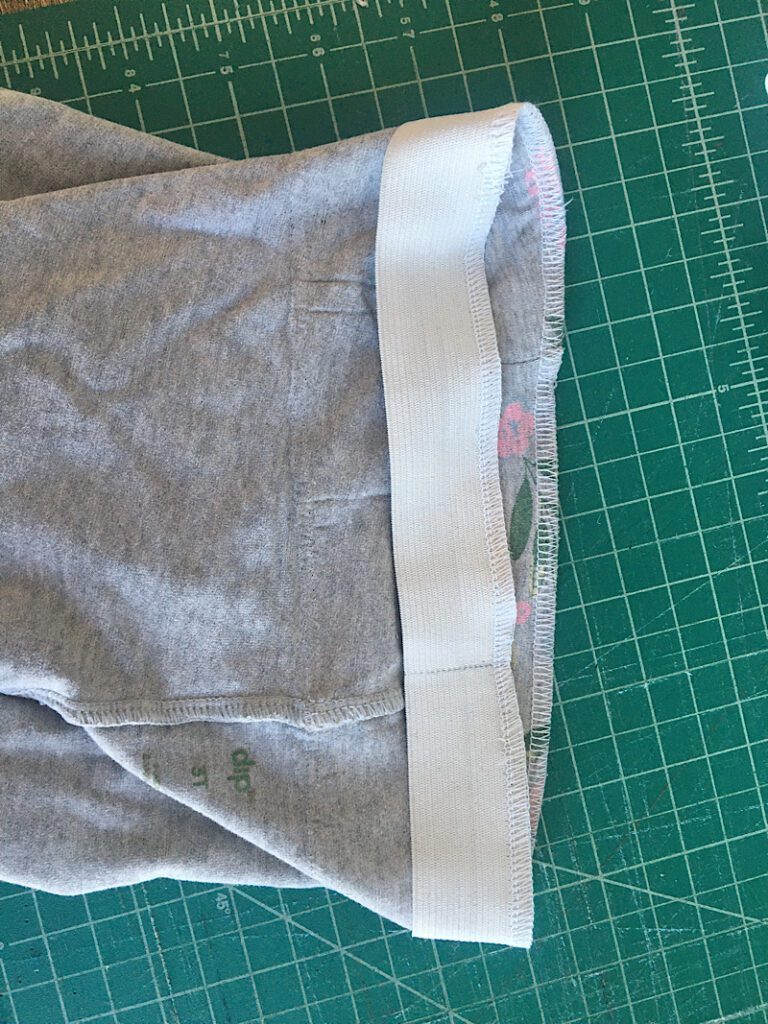
Here is what it should look like with the edge serged:
Fold the elastic over towards the inside of the pants, to encase the elastic in the fabric, and pin it in place.

Now, sew a top stitch through the elastic near the edge. (I just sewed right through the center of the serged stitch). Use a stretch stitch for best results, or at least stretch the garment out as you sew a straight stitch. If you have a gathered skirt, make sure to pull the elastic so the fabric lays flat as you sew.
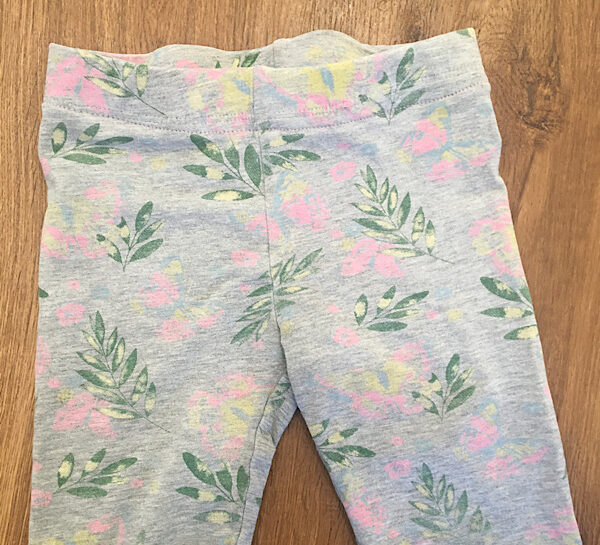
Here is what the top stitch looks like from the front, and now you are done!
I have done this on multiple pairs of skirts for myself and shorts for my kids. It is so easy, and looks great!
I hope this tutorial was helpful for you to learn how to remove and replace your own waistband.
Leave any questions in the comments below!