Does the thread of your serger needle or looper keep breaking? This is a super annoying problem! Let me teach you what to do…
Threads that snap while you are trying to serge can drive you crazy. Maybe you have re-threaded your machine 10 times already and the problem is still happening. Don’t quit serging just yet!
The 3 most common reasons serger threads break are: Incorrect tension settings, incorrect threading of the machine, and weak/incorrect thread being used.
Let’s talk about the reasons your serger threads are having troubles and fix it once and for all!
This post may contain affiliate links. Read the full disclosure here.
12 Reasons Why Your Serger Needle and Looper Threads Break
1. Tension Is Too High
If your tension settings are incorrect, it can tighten up the stitch and cause broken threads! This can happen to the serger’s needle threads, as well as cause broken threads on the upper looper and lower looper, so it is really important to check for this before each project!
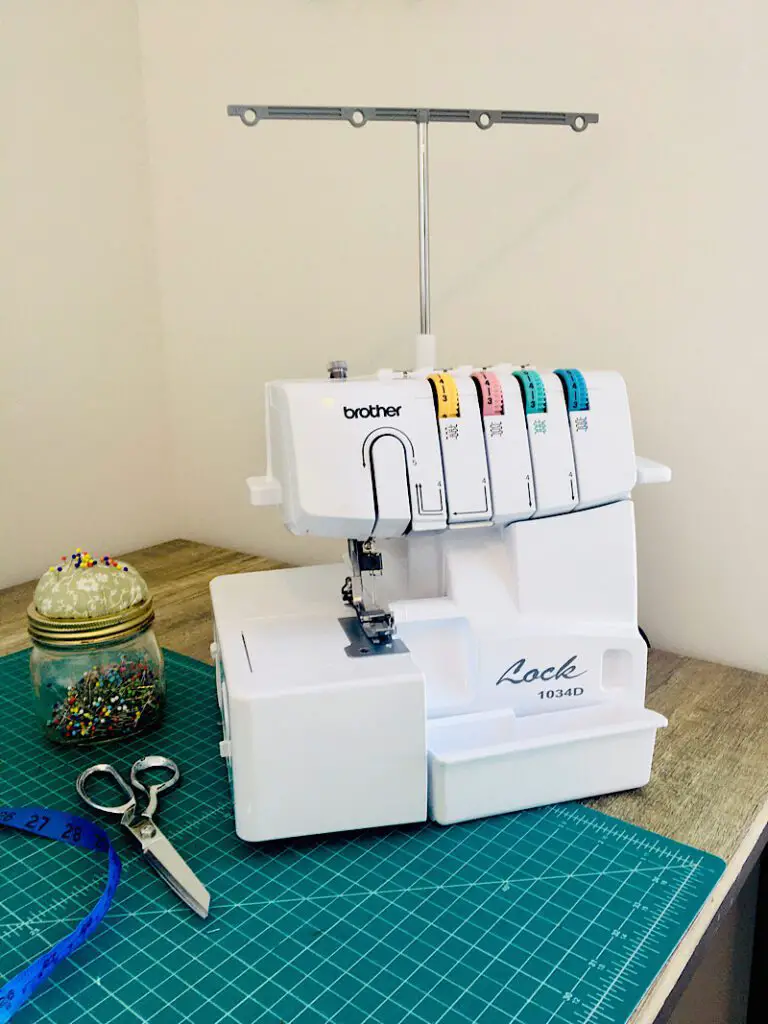
Usually, your machine will have a mark on the tension dials that indicates the “default” or general use tension settings. On my machine (the Brother 1034D, which I love, it’s a great at-home machine) the normal tension setting is around 3-5.
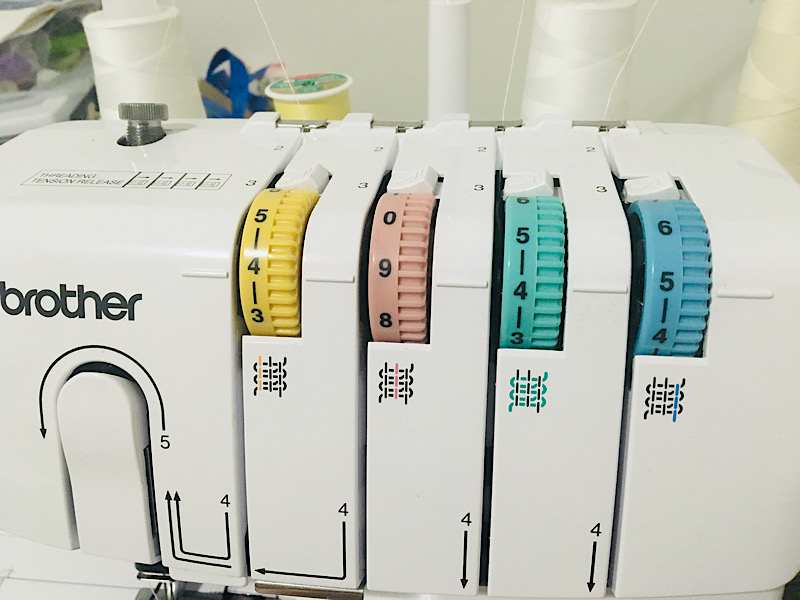
My kids often knock or spin my tension dials when I am not looking, so I am in the habit of checking them OFTEN! You should check them too, and make sure they are not too tight.
Sometimes you will have to loosen or tighten them depending on the item you are serging, but after you do, make sure to reset them!
2. Presser Foot Was Lowered
Did you know that when you thread your machine, you have to raise the presser foot?
When you lift the presser foot lever it opens up all the tension disks and allows the thread to easily slide through them. When they are closed, the threads don’t fall into the correct channels and make get stuck and break.
So make sure when you thread your machine you raise the presser foot! This was something I had forgotten, but it really matters!
3. Need To Push The Tension Release Buttons
This tip doesn’t apply to ALL sergers, only some models have tension release buttons on them.
If your serger has little buttons near the tension dials like mine does, you HAVE to remember to press them in when you thread your machine.
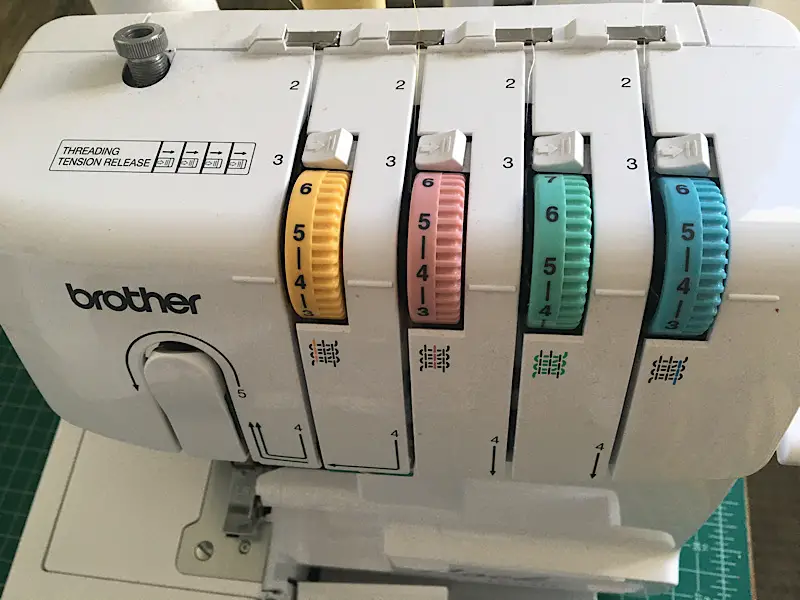
Pressing the tension release buttons opens up the tension disks and helps lead the threads right into the right spot. After sliding the threads through, you let go of the button and the disks close.
If your threads are on the left side or on the top of the tension disks, they can get pinched or caught, which of course can cause breakage!
So if your machine has these release buttons, make sure to use them.
4. Needle Was Lowered While Threading
When threading your loopers, you need to make sure your needle housing is raised to it’s highest location. Do this by turning the hand wheel towards you until the needles are as high as they can go.
When you open up the front lid of the serger to see the threading paths, you will notice all the inner mechanisms moving as you turn the hand wheel.
When the needles are in the highest position, the loopers and other inner workings are properly oriented to accept the threads and guide them through the proper path.
If you try to thread your lower or upper loopers when the needles are not correctly raised, they may not be threaded through the right pathways and can get tangled and break.
5. Thread Getting Stuck On Spool
This tip only applies if you are serging while using a regular spool of sewing thread, the kind that fits on a sewing machine.
You know how spools of thread have that little slit or cut on the top that you can pull the thread tail into to store it so it doesn’t unravel?
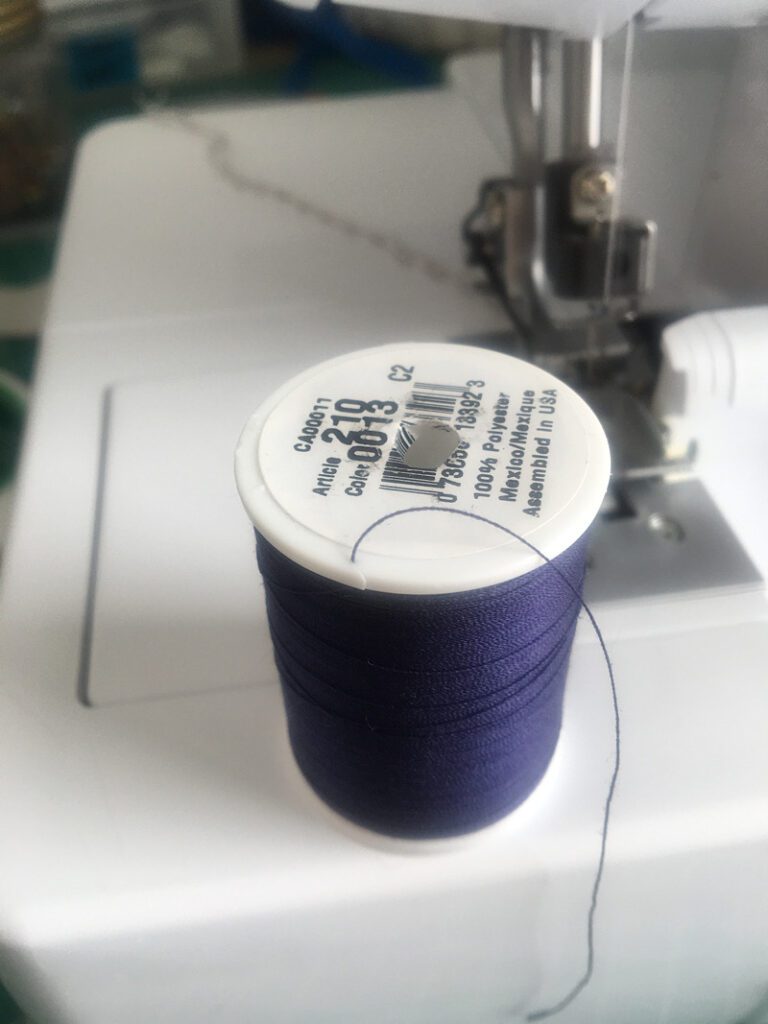
When the thread unwraps from the spool, if that little slit it oriented towards the direction the thread unwraps, the thread and slide right in and get stuck. This has happened to me lots of times!
It’s a simple fix, just turn the spool of thread upside down so the slit is not in the way!
Many newer thread spools are doing away with this storage “slit” and are instead making spools with grooves all around the top edge, which make for smoother sewing!
6. Serger is Not Threaded Correctly
If you are reading this, chances are you have already re-threaded your machine a few times. But I still have to mention this because it is one of THE most common causes of serger problems!
You absolutely must make sure you thread your machine in the right order. You cannot thread (or rethread) the loopers if the needles are threaded, you have to start from scratch!
On my machine, and many models, the correct order is 3, 4, 2, 1.
Some machines say to thread them backwards, 4, 3, 2, 1.
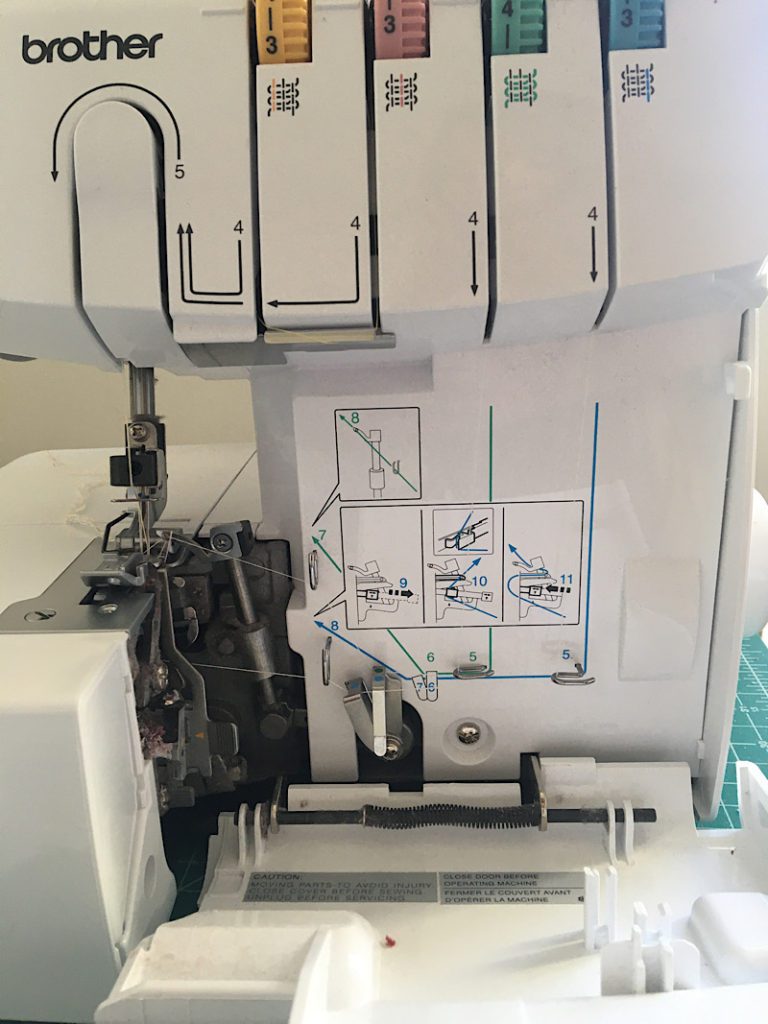
You should take the time to check the manual for your machine.
The main issue is making sure to thread the loopers first, and to make sure the looper threads are not wrapped around each other.
7. Hold Threads While Chaining Off
This is something that mostly causes the lower looper threads to break in my experience, but can also cause the upper looper threads to break.
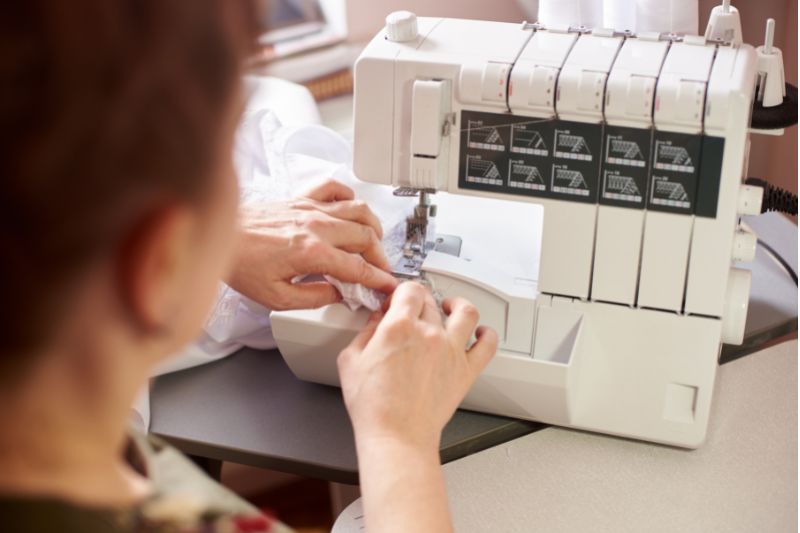
After threading the serger, you need to make a chain of threads before trying to insert your fabric.
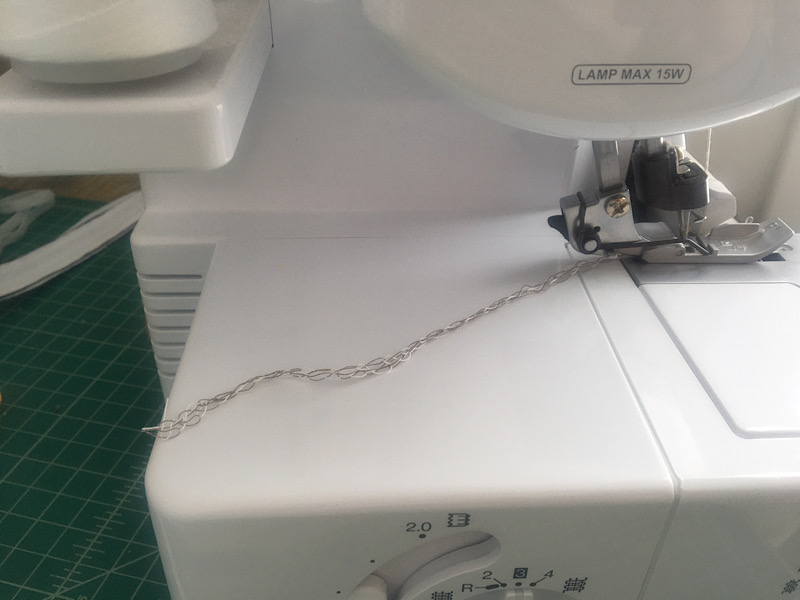
The right way to do this, is to make sure the threads are underneath the presser foot and going out the back of the machine. Then, gently hold onto the tails of each thread in one hand, and gently pull while pressing the foot pedal down to make a chain about 6 inches long.
If you don’t make this “chain off” before starting to serge, the threads can get “sucked” into the machine while you sew. This can cause tangling and breaking.
8. Tension Disks Need To Be Cleaned
Sometimes the lint from your thread can get stuck inside the tension disks and jam it, which can pinch threads and make them break.
A good way to clean out the disks is to place a single drop of sewing machine oil on the middle of a piece of thread, and “floss” it back and forth through each tension disk.
This extra oil can help the threads slide and also remove excess lint!
9. There May Be Burr On Your Machine
A burr is a small piece of material (metal, plastic, etc) that has splintered off and made the surface no longer smooth.
Burrs are sharp, and when a thread runs over it, the burr either catches it or cuts it! This of course makes threads break.
Burrs can happen on the eye of a needle, on the needle plate (if the needle has ever hit the plate, for example) on the loopers, and on the thread tree.
Turn off your machine and run your finger on the places the threads need to slide through to see if you can feel any burrs! They can usually be gently sanded off, or else the needles can be replaced.
I have heard of people finding burrs that were so small on their needle’s that they couldn’t see them, but they COULD feel them with their finger, and once it was replaced, the threads stopped breaking!
10. You Need Different Thread
Depending on what you are sewing, you may need to adjust the thread you are using.
For exmaple, if you are serging through something quite thick like a quilt edge or denim, then your thread needs to be strong enough to be able to pierce through the layers of material.
Many serger manuals will include a chart of what threads are recommended for different materials.
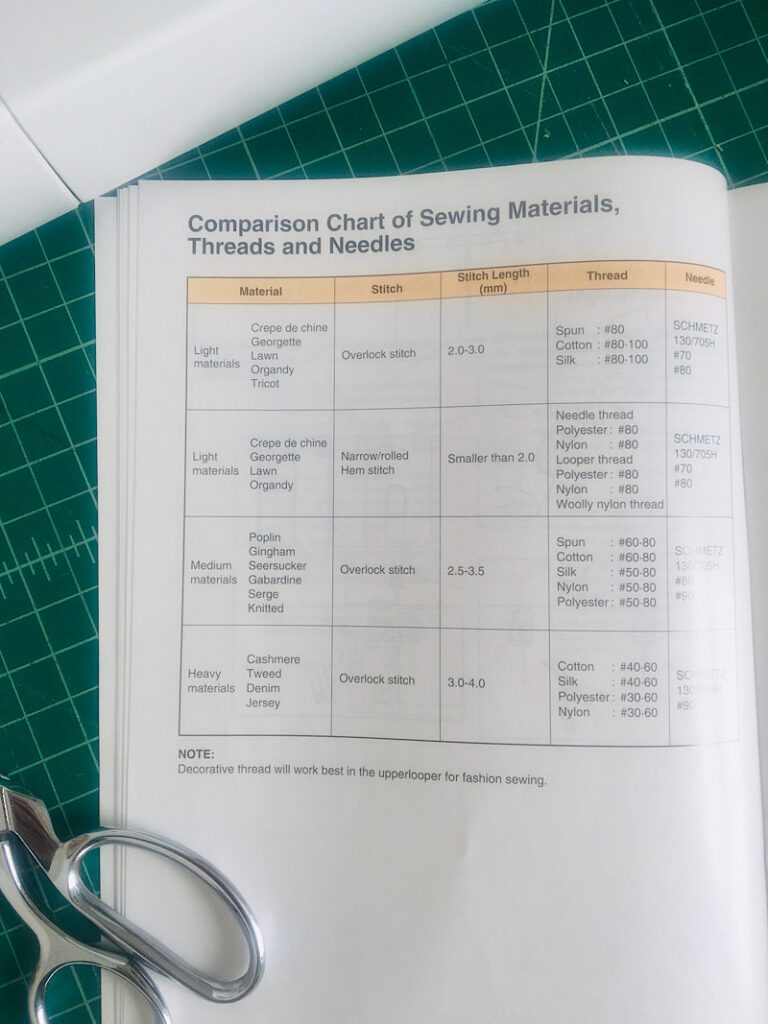
In my serger’s manual, there is an easy chart that outlines what threads and needles to use based on what weight of fabric I am sewing.
Thread weight is measured backwards. The higher the number, the thinner the thread. So a #30 thread is thicker than a #80 thread.
Serging through a heavy material such as tweed may require a #50 thread weight, and if I was using a #80 silk thread (for example) it could easily pull and break under the force.
It is also worth mentioning that if your thread is quite old, maybe it is time to replace it!
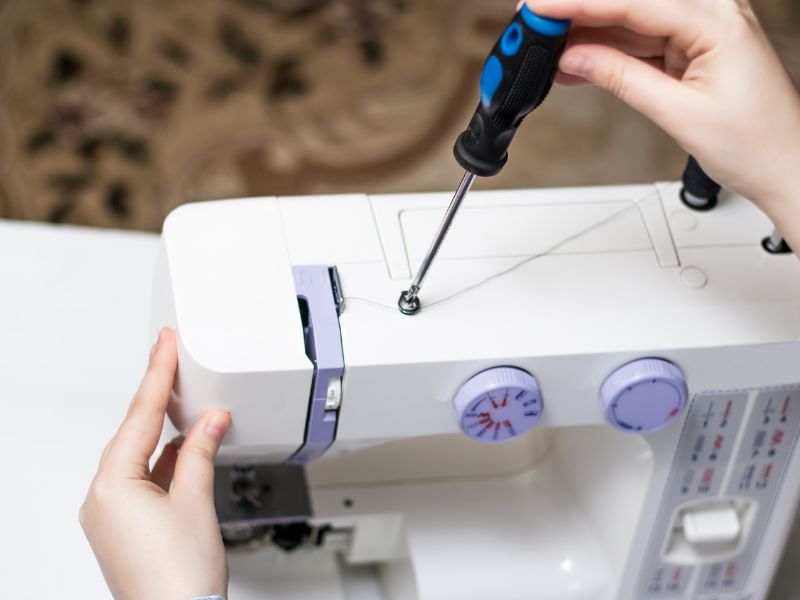
11. Needles Need To Be Checked
My serger manual lists this as one of the FIRST things to check when your serger needle thread keeps breaking!
If your needles are the wrong type, or they are twisted in the needle housing, or they are not inserted all the way up, threads can break.
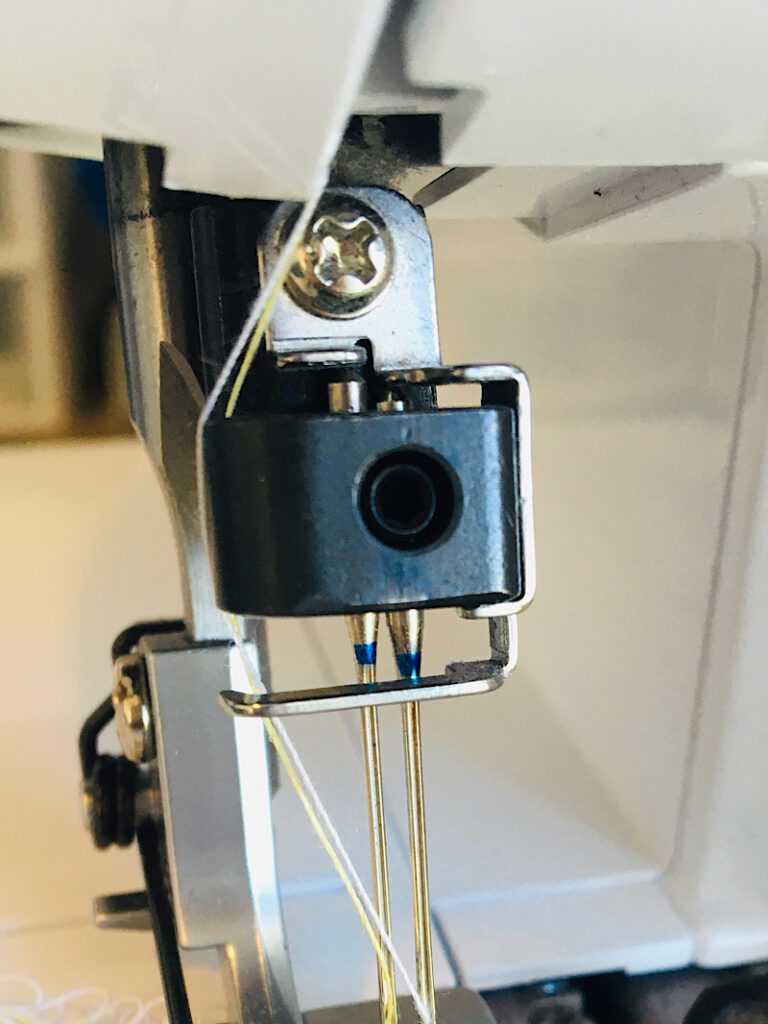
Loosen the needle set screw and check the needles. Push them all the way up, make sure they are facing front, and make sure they are in good condition.
This is an easy one to check off the list, so you might as well try it!
12. Timing Is Off
This is always the last thing I mention when talking abour serger troubleshooting, because although it is a more rare problem, it is the mother of all problems!
If your serger timing is off, then the needles and loopers cannot meet and loop together at the correct time to make a chain. The needles may hit a looper, which can break needles, break loopers, cause burrs, and snap threads.
If you have tried everything else, then maybe it is time to consider the timing of your machine. This usually means you need to take it into a repair shop.
Conclusion
As you can see, although each of these possible causes of broken threads seems like a small issue, sometimes even if one thing is slightly off, your serger can stop working! No one likes broken overlocker threads, so make sure to maintain your machine and check all the basics.
I hope this post was helpful to you and I wish you and your threads the strength to continue on your project!
Pin this post to Pinterest, it makes my day! And sign up for my email list to hear from me each week!
Thank you so much for this post! I have a really old (solid and amazing) serger without a brandname that seems to have no existence on Youtube, etc., though I do have the direction booklet. When it suddenly went nuts I thought that might be the end of it. However, thanks to your steps I am 85% of the way there: I did not know I had to rethread in order! Now I just need to work out tension issues, but it’s no longer making terrifying noises and breaking the thread! THANK YOU!
Rebecca I am SO glad to hear that!! If you have other problems please reach out to me!
Thanks so much for these tips! You saved my Grandchildren’s Christmas!
I am so glad hannah!! That could have been a disaster!
HELP! I have the exact same serger as yours – have had it for years without problems. All of a sudden, the thread keeps breaking when I try to do a flatlock seam! Any ideas? It still sews a regular seam beautifully, just not the flatlock.
I am at my wits end – been trying to figure it out for days!
Thank you!!
Which thread is the one breaking?
I have threaded my 1034D a 100 times. It is 4 yo.
I did not try to use it until 2 weeks ago. The reason I waited so long is I went through breast cancer.
Now I am a widower and I want to serge.
I did all the things you suggested but nothing has worked.
What else can I do?
Thank you
Jan, are you threading it in the right order?