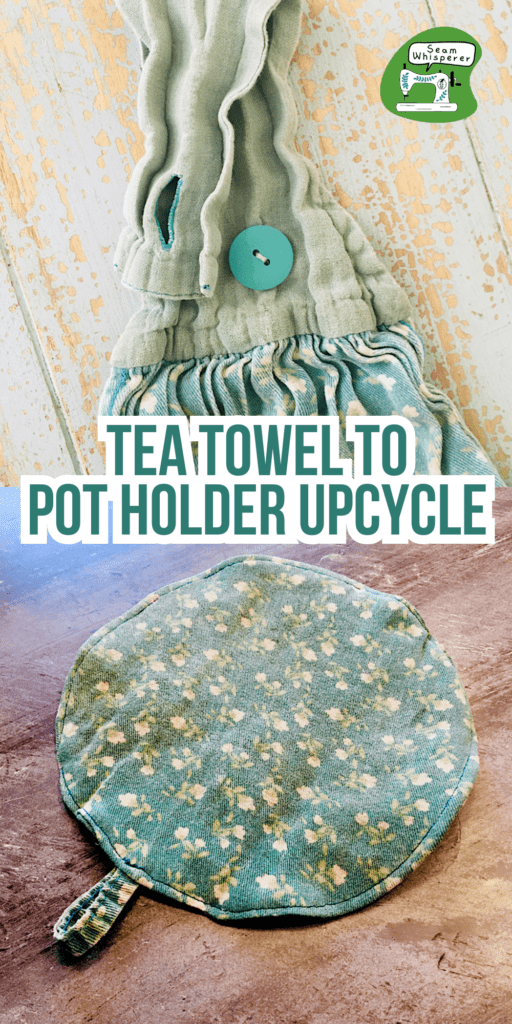
Upcycle your old tea towels or thin dish towels into simple round pot holders with this tutorial!
I have these cute old hanging towels that I had previously made from a flat tea towel, but after many washes the hanging part was super wrinkly.
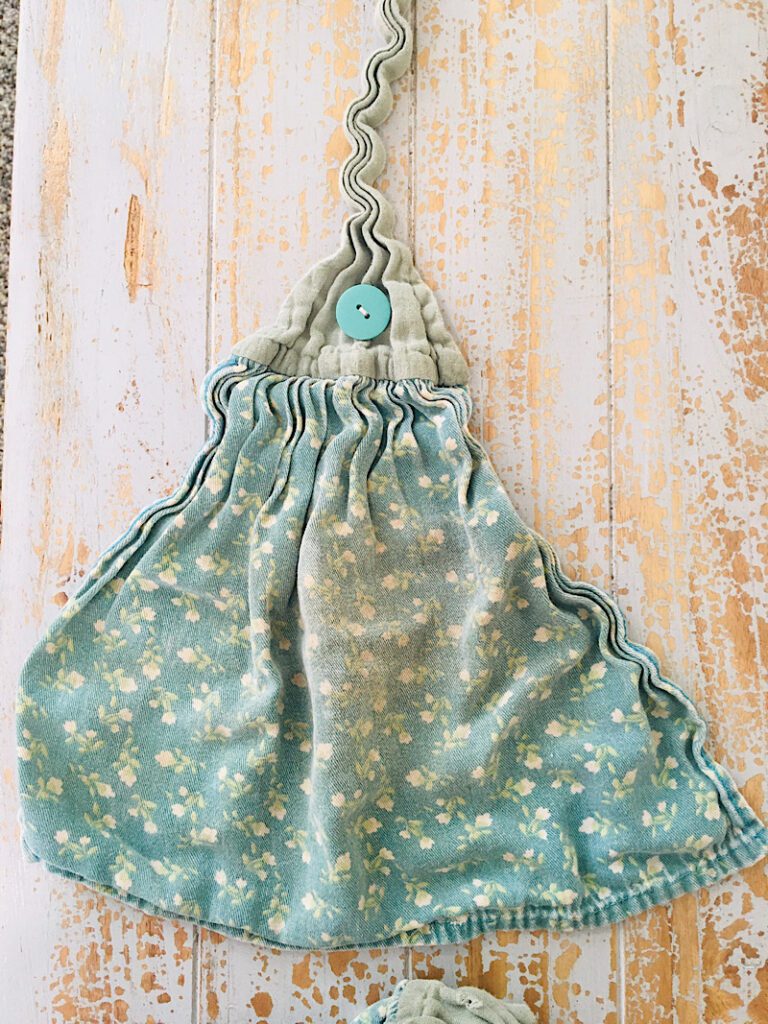
I still liked the fabric although it is a bit faded, so instead of throwing them away I decided to make them into a round pot holder!
You can also use a dollar store tea towel for this as a cheap way to get the fabric!
Finally, this pot holder has no binding, but you can alter the pattern to have a binding if you wish!
Of course you can also make a round pot holder out of any cotton fabric, so if you’re not using a towel like I am, just skip the towel specific parts!
Supplies Needed
- Cotton Tea Towel (Synthetic towels will melt under hot pots. Use cotton!)
- Insul-bright batting, cotton batting, or another thicker towel for the inside!
- Matching Thread
- Pins, scissors, pinking shears (optional)
How To Turn A Dish Towel Into A Pot Holder
Step 1. Prepare The Towel
Since my towel had a hanging portion, my first step was to cut it off of the towel part.
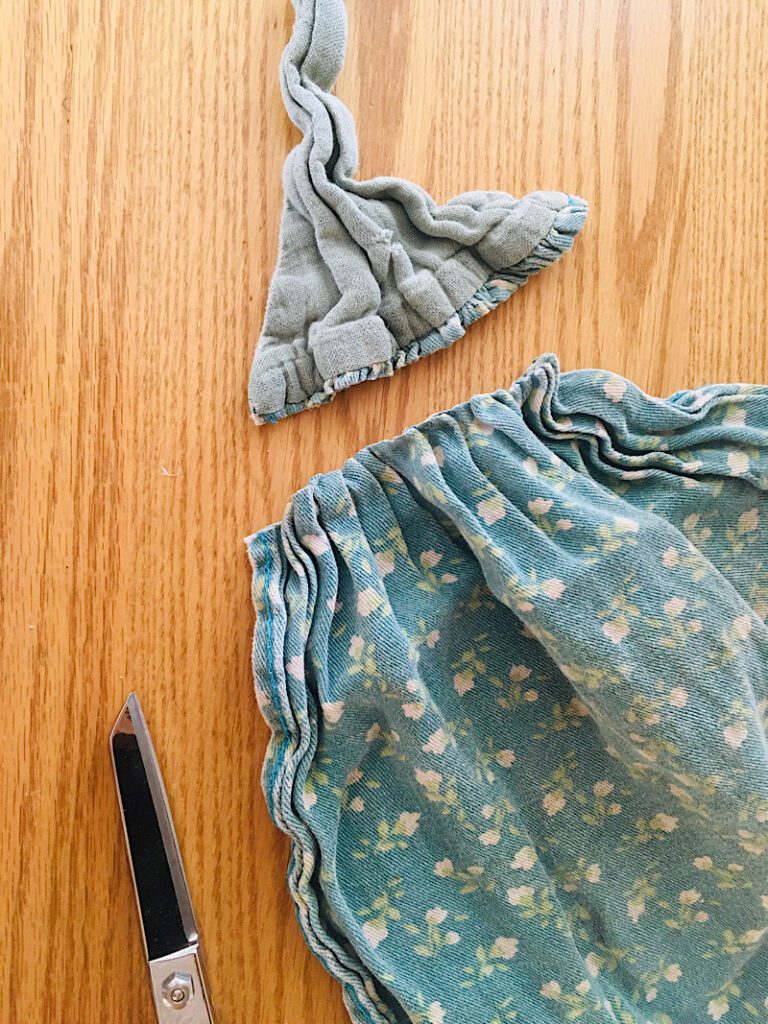
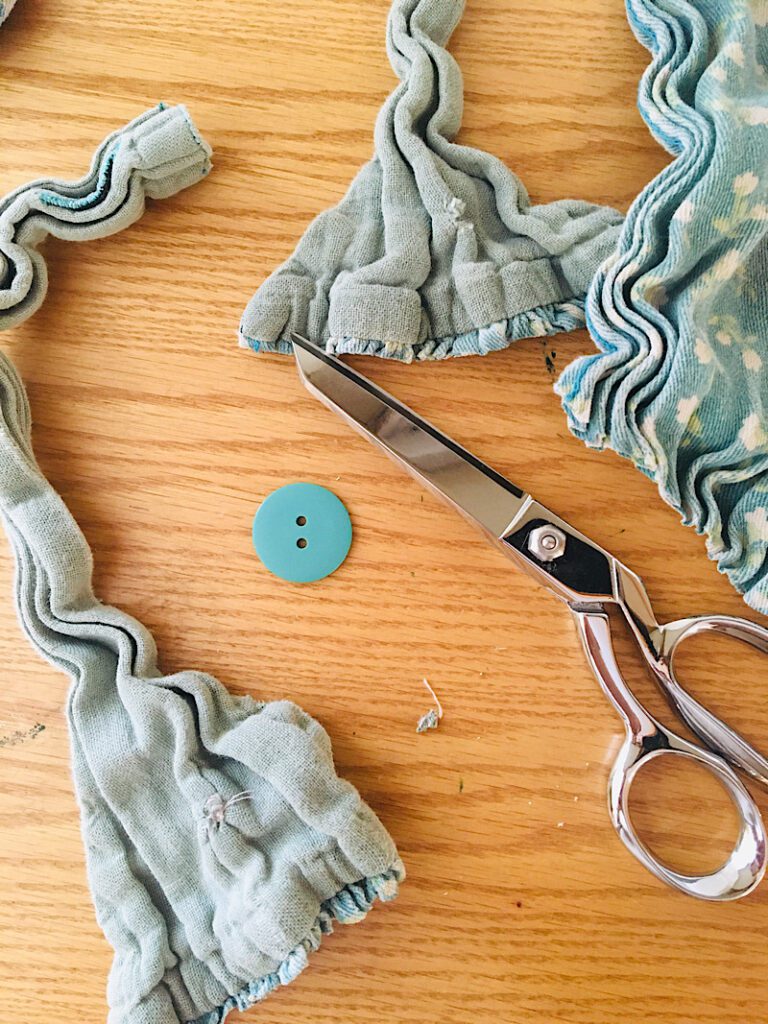
Then I removed the button and put it in my button box.
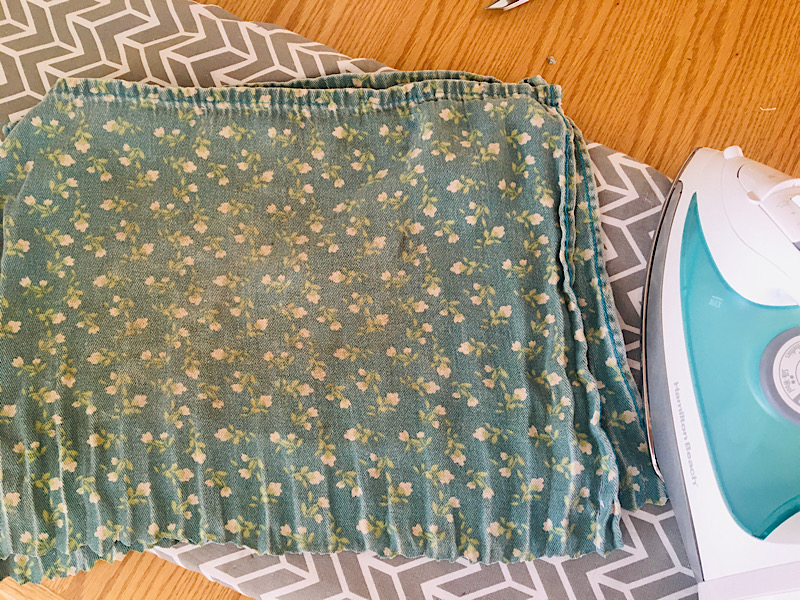
Finally, Iron your towel if it needs it.
Step 2. Cut A Circle
Fold your towel in half so you can cut through both at the same time.
Use a plate, lid, bowl, or something round to trace a circle onto your tea towel. I used the bowl from my kitchen aid.
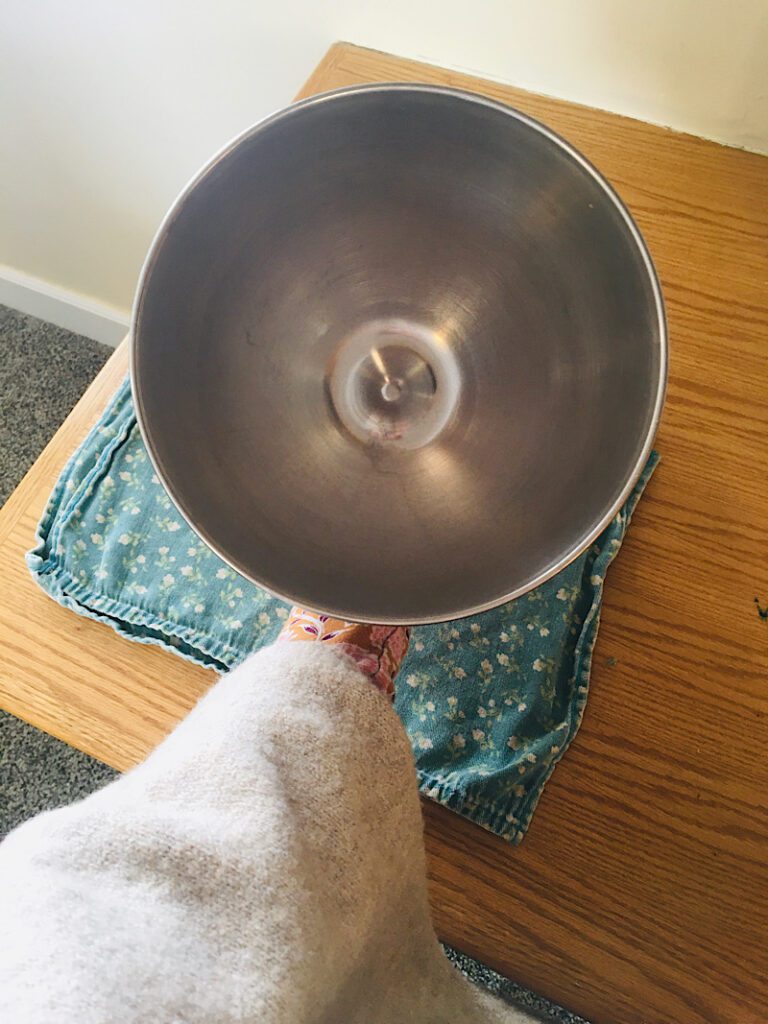
I used a disappearing ink marker, but you can use whatever you have on hand.
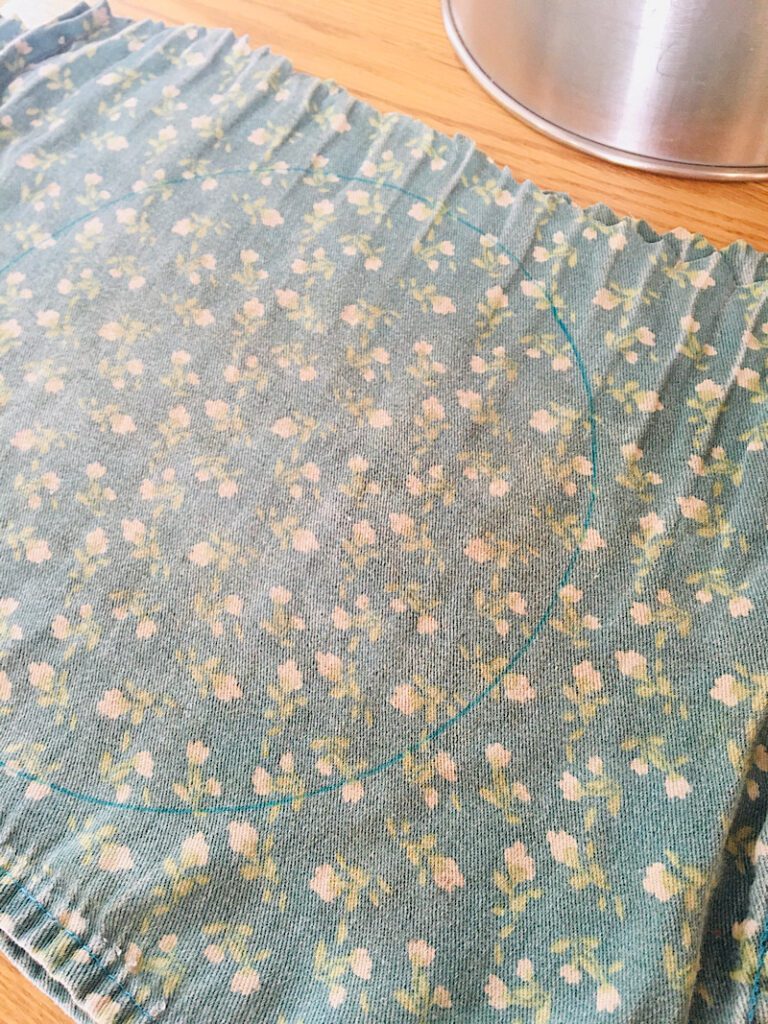
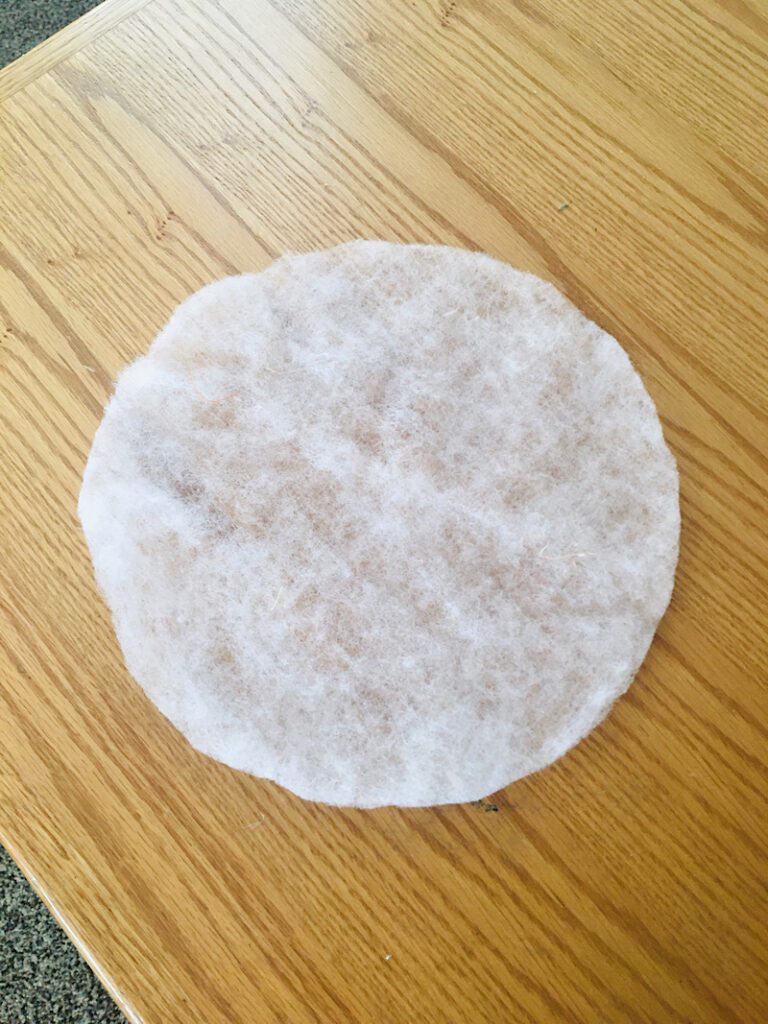
Cut out the circle from both pieces. Also cut out the same sized circle from your batting layer.
Depending on how thick your towels are and how thick you want your pot holder, you can do multiple layers of the middle batting.
Step 3. Sew The Pot Holder
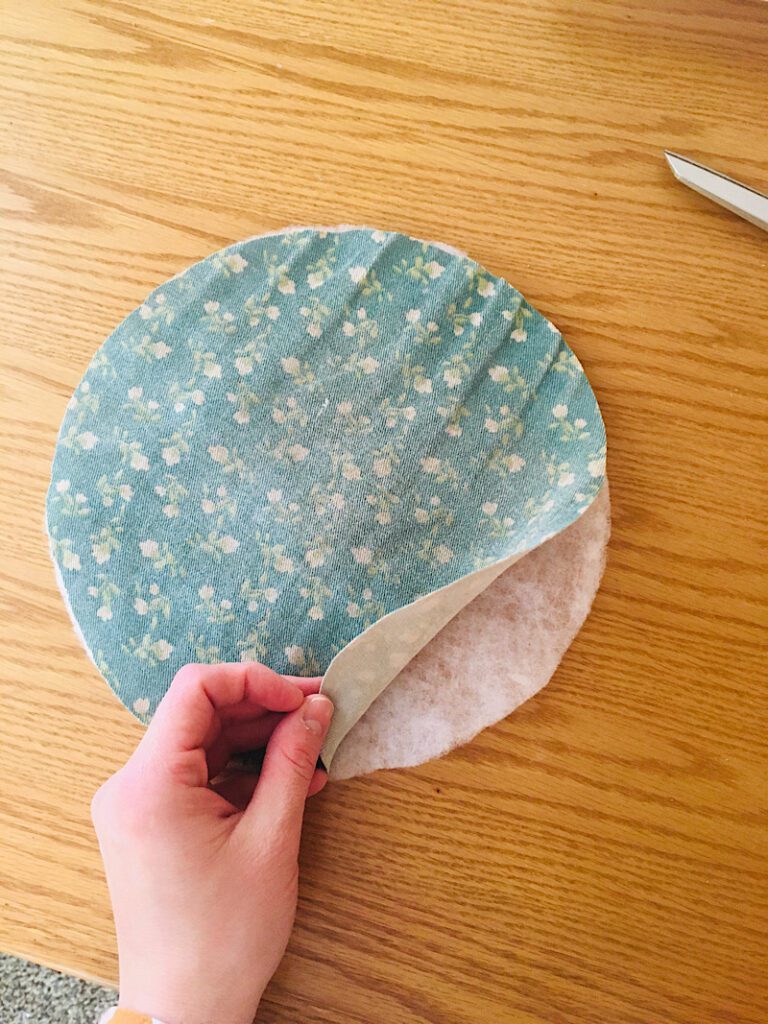
Place the batting circle on the table. Place one towel circle on top with the right side facing up.
Place the second towel circle on top, but with the right side facing down.
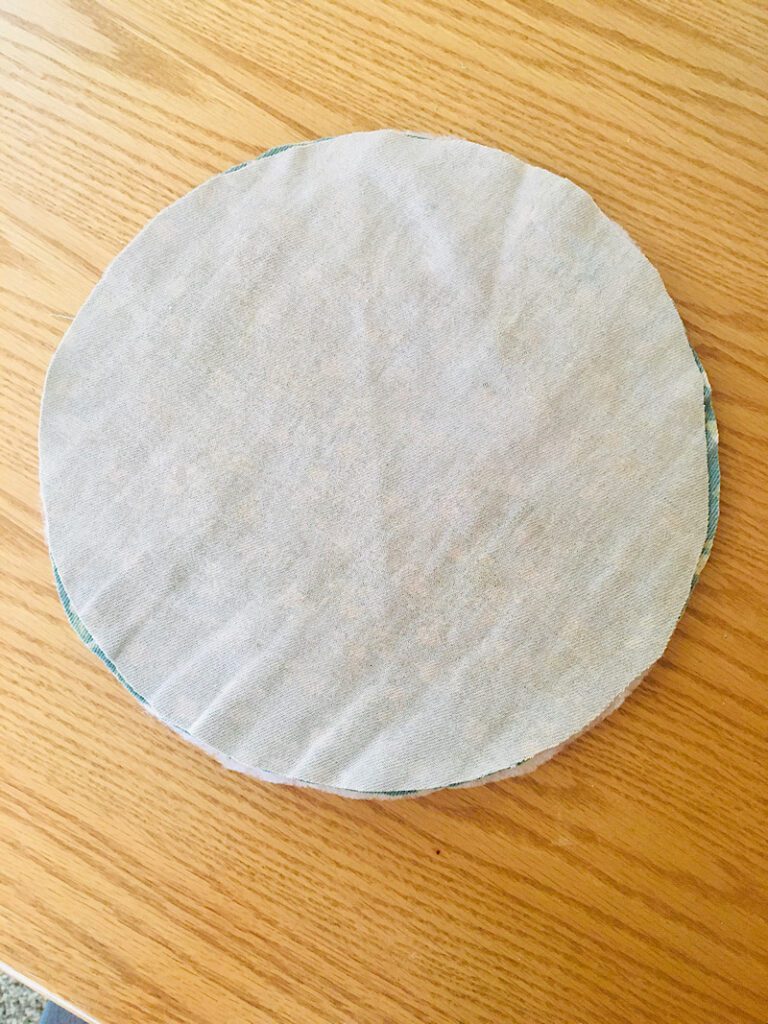
Pin around the edges.
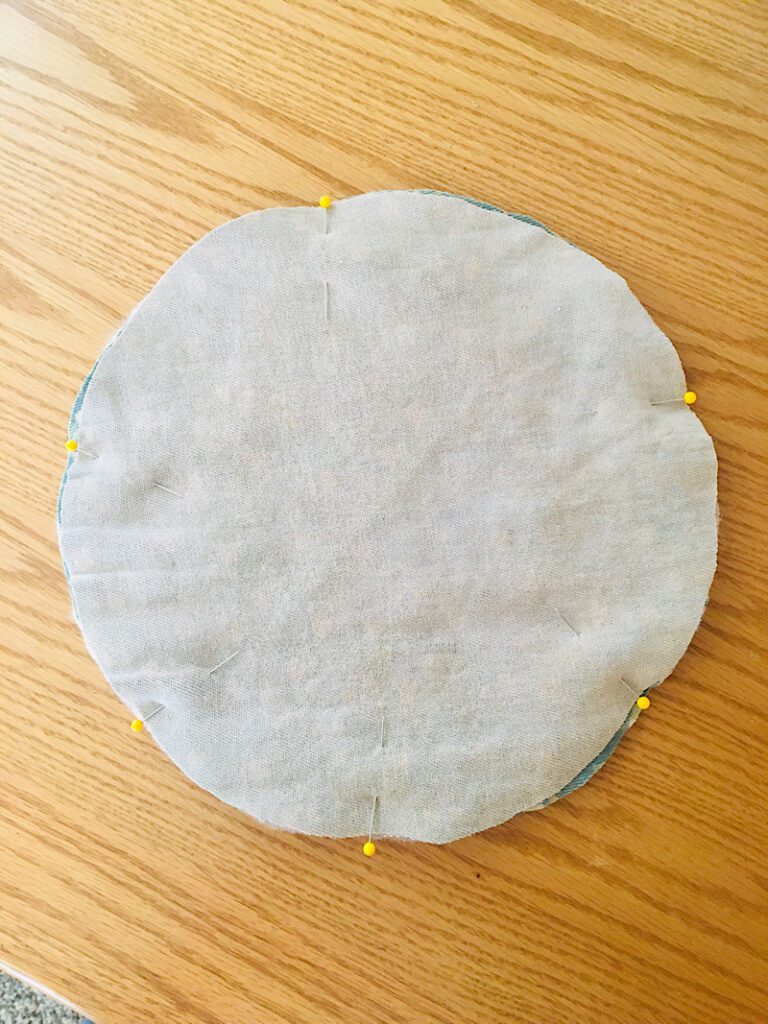
If you want to add a hanging loop, you can. I cut off a piece of the original hem (it will fray layer if you don’t add fray check, fyi) to use as a loop.
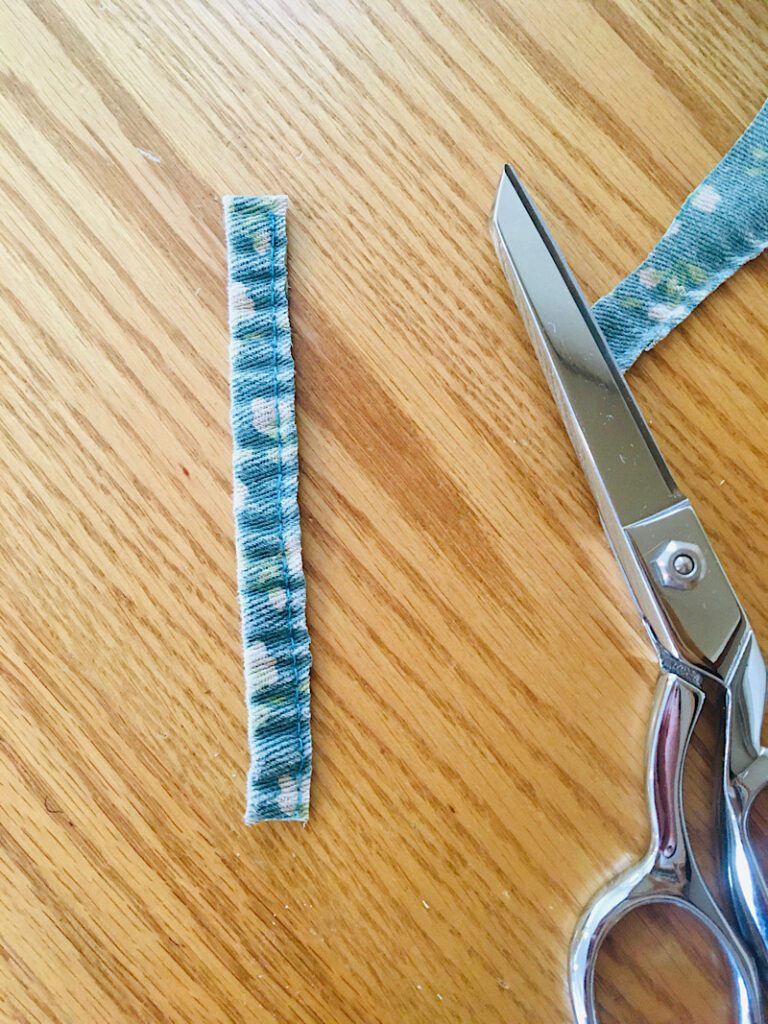
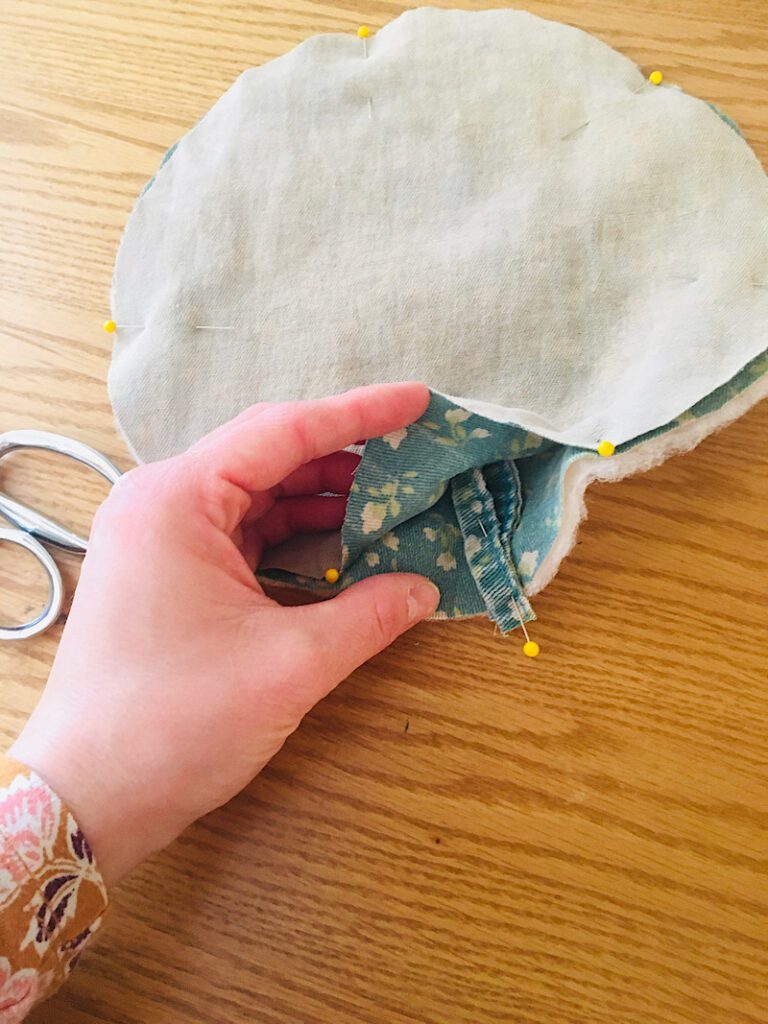
Fold the strip in half, and slide it in between the two towel layers with the cut edges aligned with the outside edge of the circle. Pin it in place.
Sew around the perimeter of the circle with a 3/8ths inch seam allowance. Leave a 1.5-2 inch gap at the end. The thicker your towel is the larger gap you will need to leave.
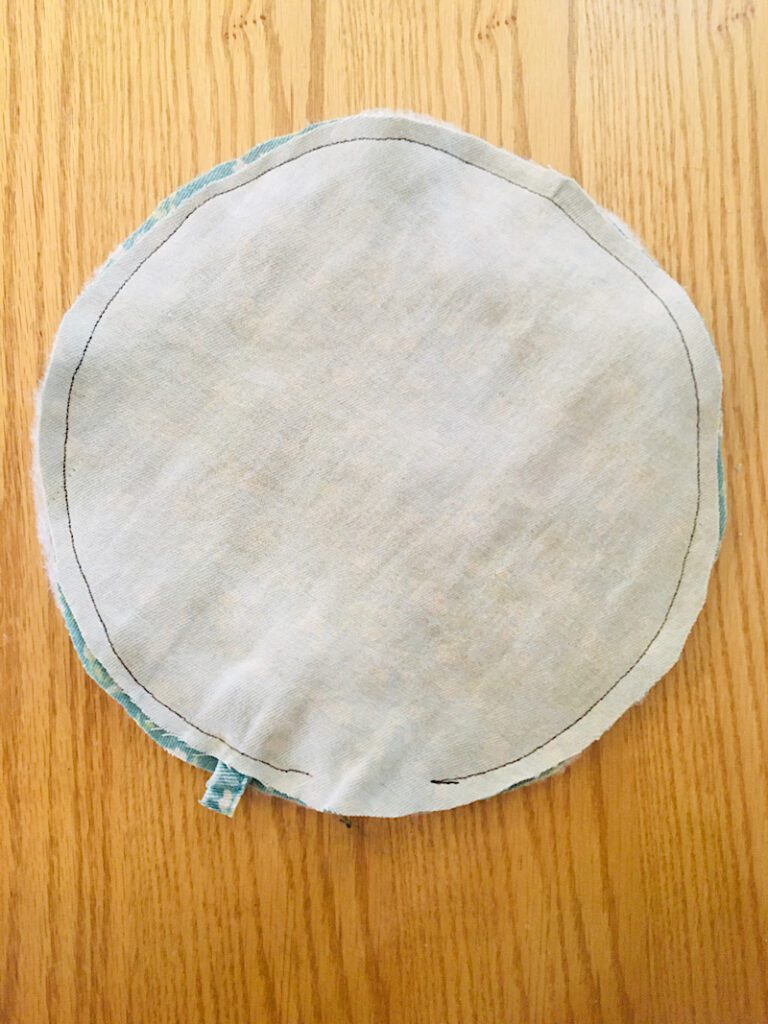
If you want to, you can pink around the edges to make it turn easier. You can also notch it manually.
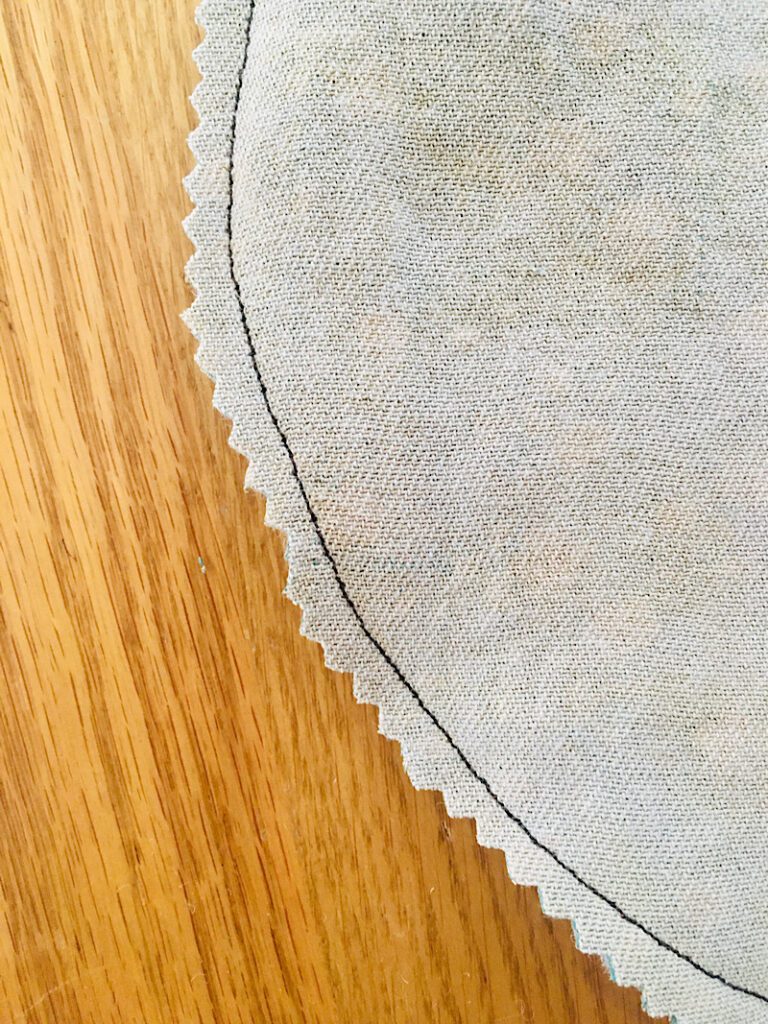
Step 4. Finish The Pot Holder
Turn the pot holder right side out through the gap. Put your finger or a blunt object inside to push out the seams well.
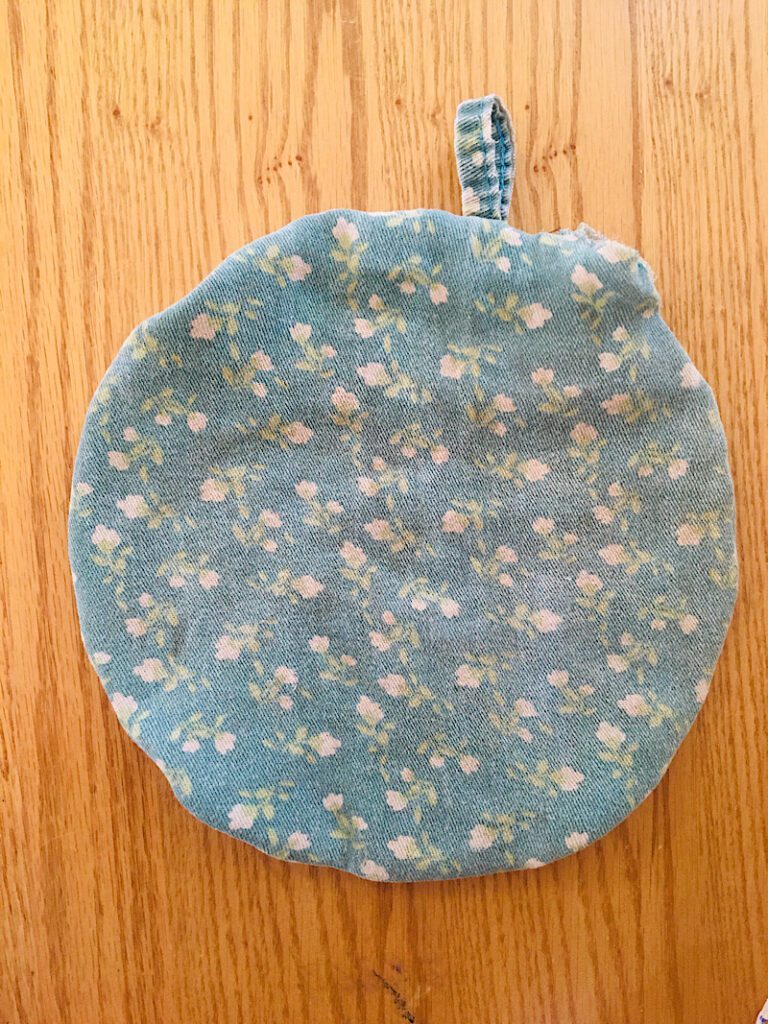
Fold the raw edges at the gap towards the inside, and pin the gap closed.
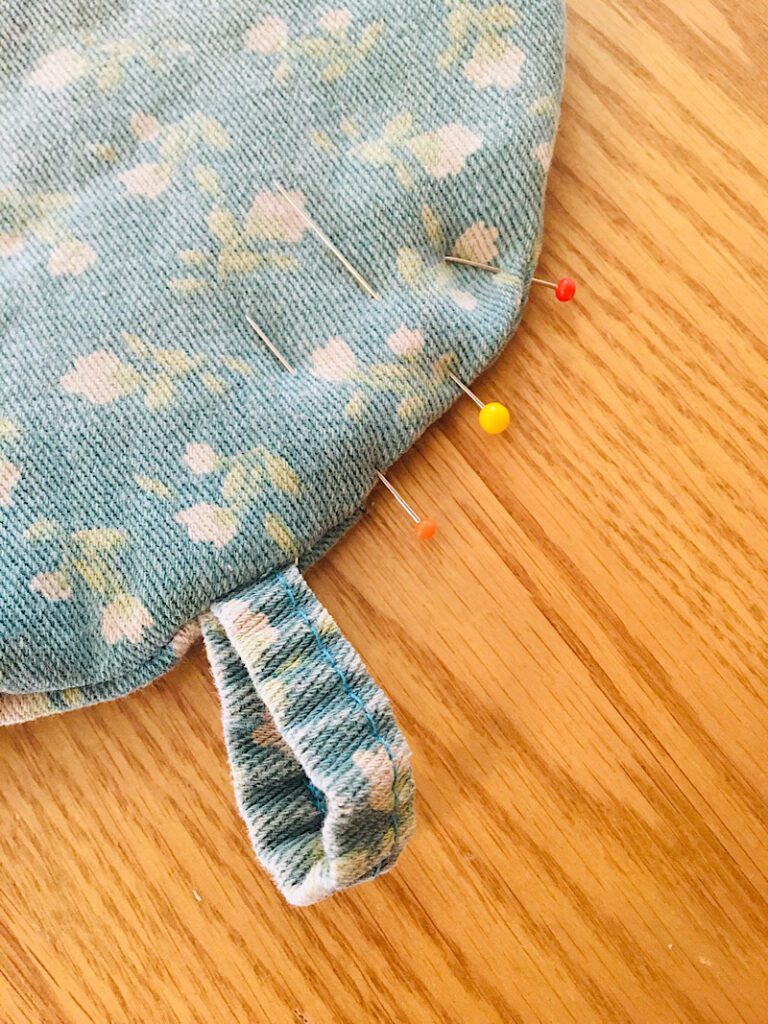
Then, sew around the perimeter of the pot holder close to the edge, to close the gap and add a topstitch.
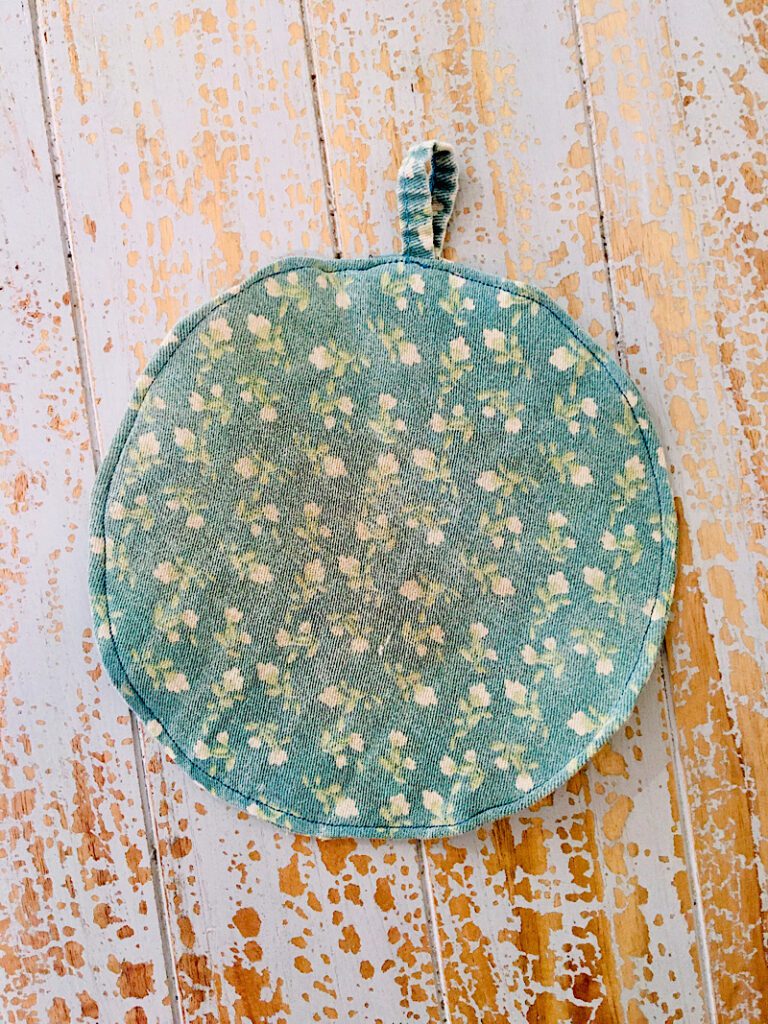
It’s pretty cute! At this point you can stop, or you can add additional top stitches for some quilting.
Here is the pot holder before the quilting:
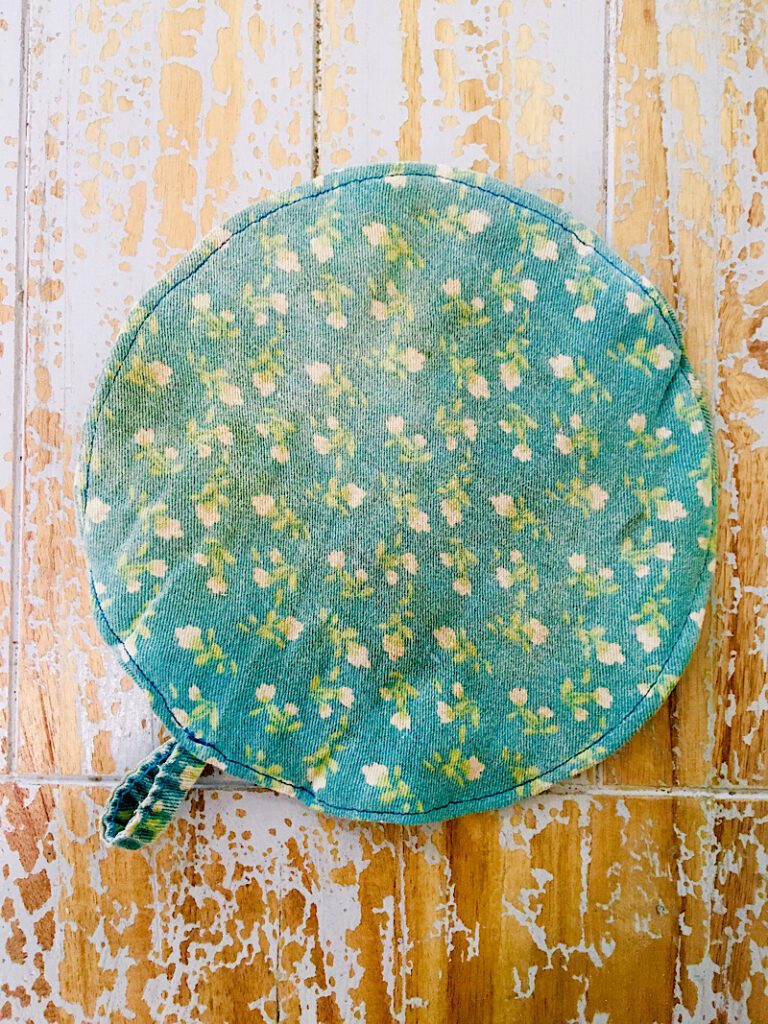
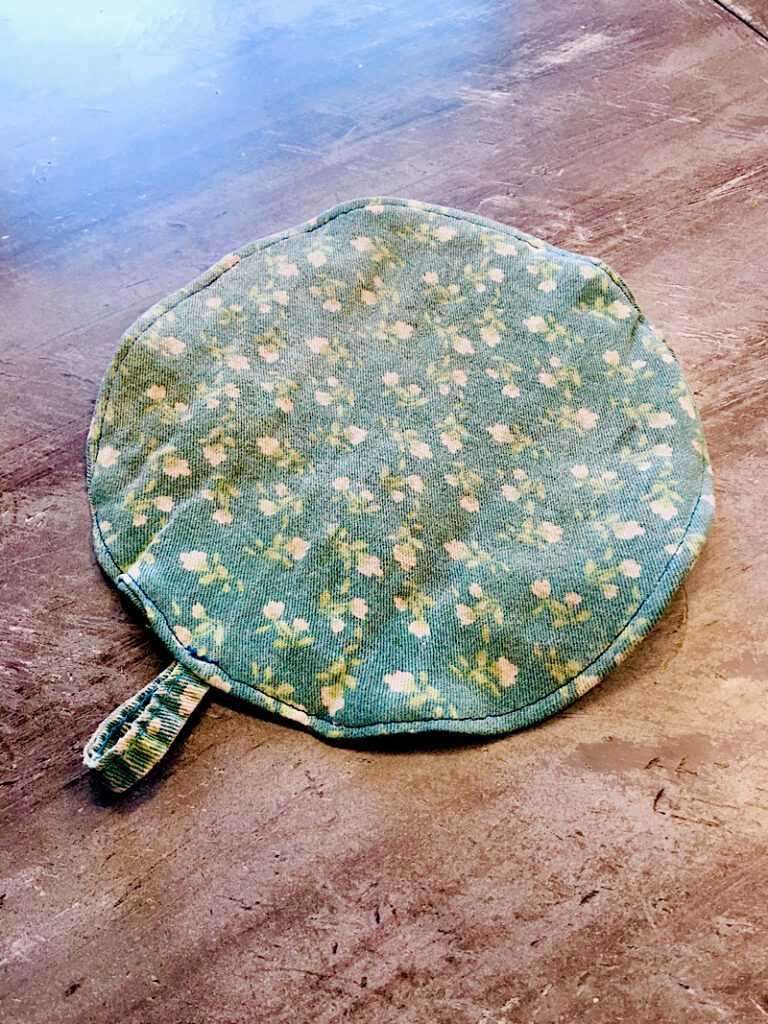
To quilt it, I sewed lines 1.5 inches apart all the way across it.
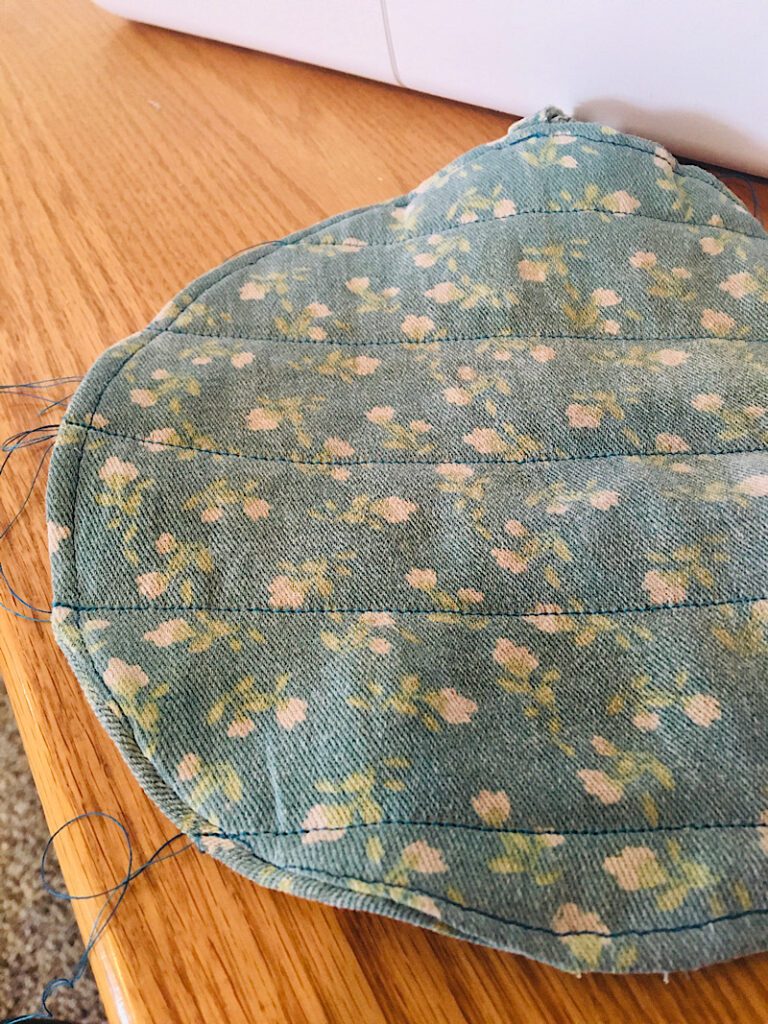
Then I sewed perpendicular lines also 1.5 inches apart. Here is how it ended up.
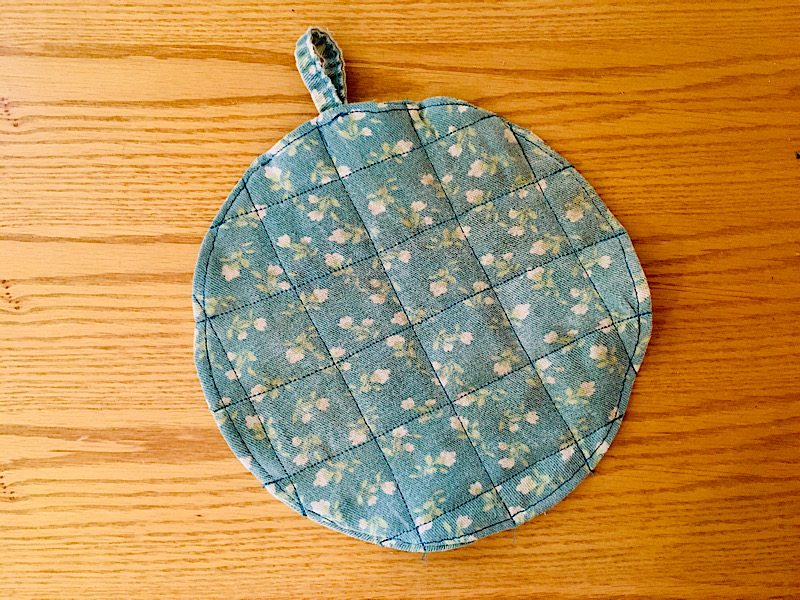
Darn. I liked it better without the lines. What do you think?
Well I’m still pleased with it since I always need a pot holder and I didn’t have to throw the tea towels away! A good upcycle is always something I enjoy!
If you upcycle your kitchen towels into a pot holder I would love to see a photo! Send me an email!
Check out my other unique pot holders!
- Denim pot holders from old jeans
- Pencil shaped pot holders
- Apple Pot Holder
- Daisy bowl cozy
- Scrappy mug rug
