Make a super easy and cute lace “tutu” skirt for your kids to use as a pretty dress up! this only takes 3 straight lines, you can do it in 15 minutes!
This post may contain affiliate links. Read the full disclosure here.
My girls LOVE to pretend to be princesses, ballerinas, fairies, basically anything pretty! I made them this easy and fun skirt as a dress up and it has gotten so much use!
You can totally customize the dimensions of this skirt to be any size you want, but the measurements given will work for kids ages 2-5 or so.
Supplies Needed
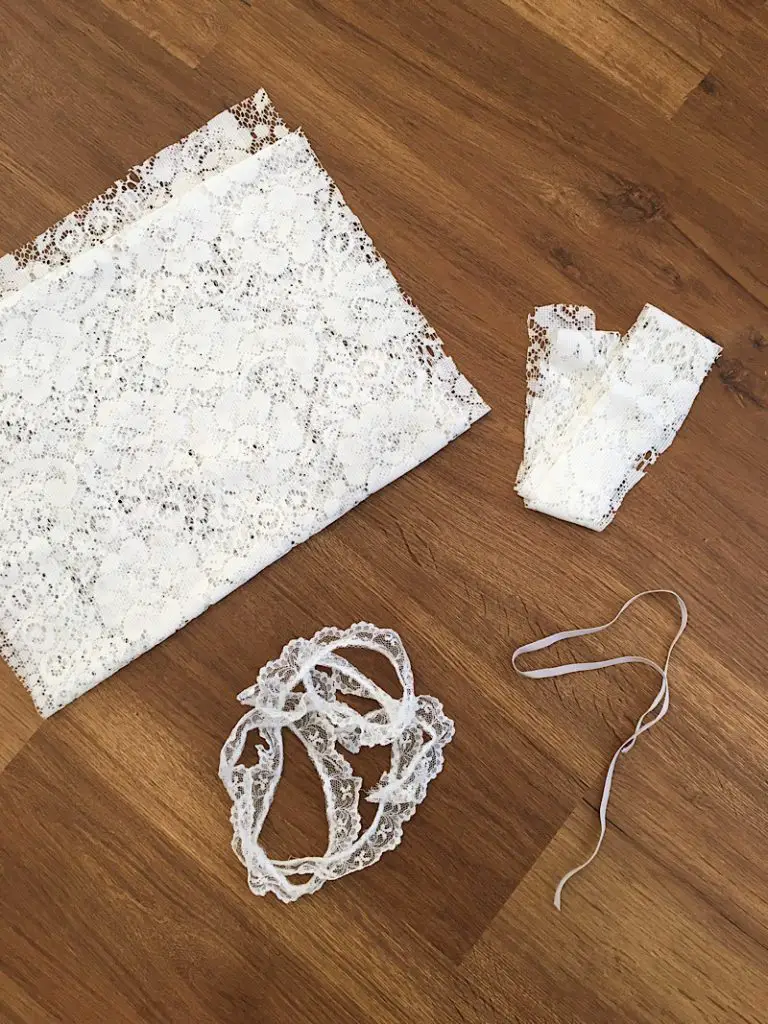
- Lace cut into a 12″x45″ rectangle. (For the skirt. I used an old vintage lace curtain, a tablecloth would work great too since they are more dense and a heavier weight.)
- Fabric or more lace cut into a 3″x45″ rectangle for the waistband
- Ruffled lace Trim cut to 45″ long (For the bottom of the skirt. I used vintage lace from my grandmother.)
- 1/4″ elastic cut to 21″ long (you can adjust for toddler’s waist circumference + an inch.)
- Matching Thread
- Pins, Scissors, Sewing Machine, etc (Serger optional)
How To Make A Lace Skirt
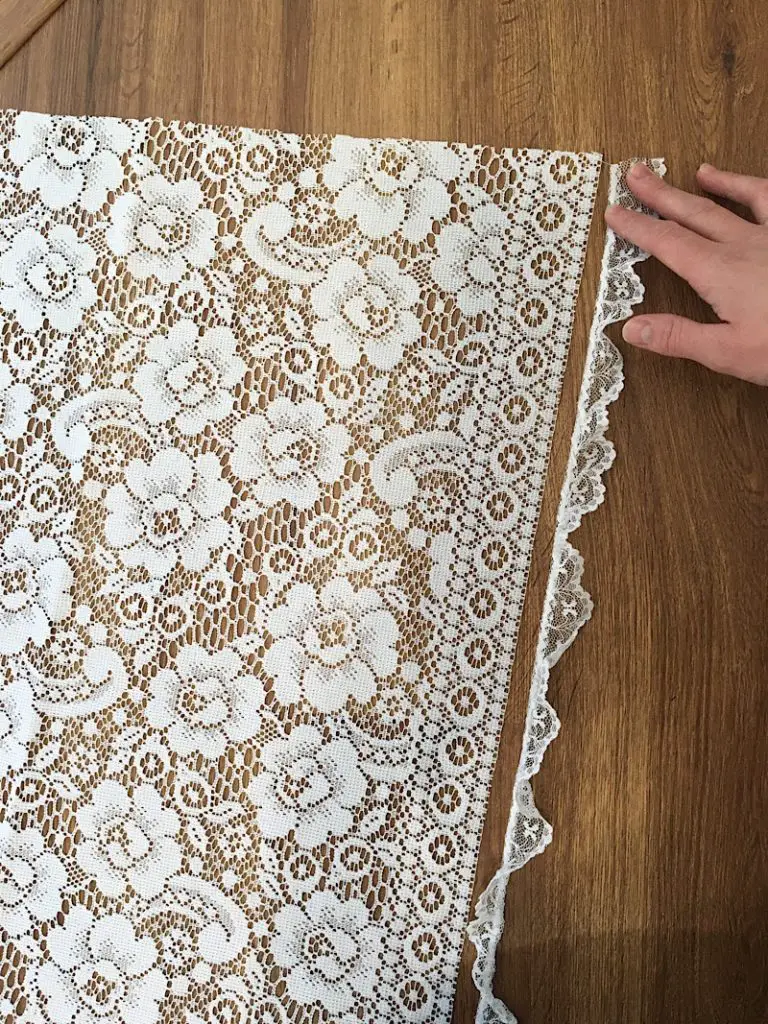
Step 1. Hem The Skirt
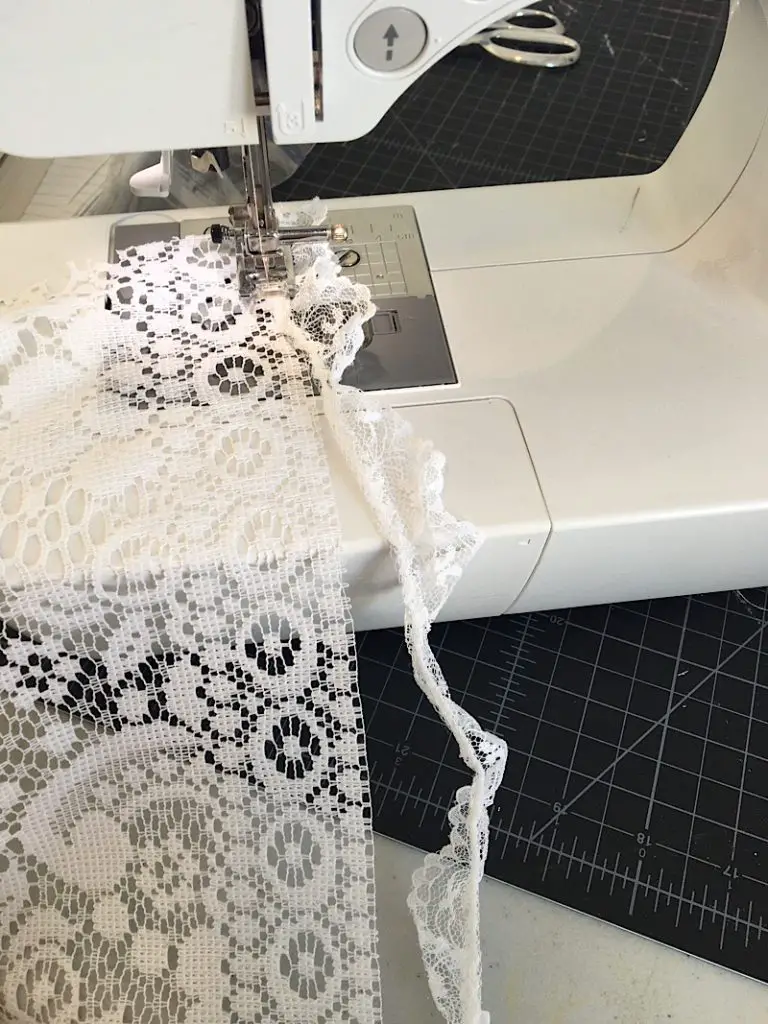
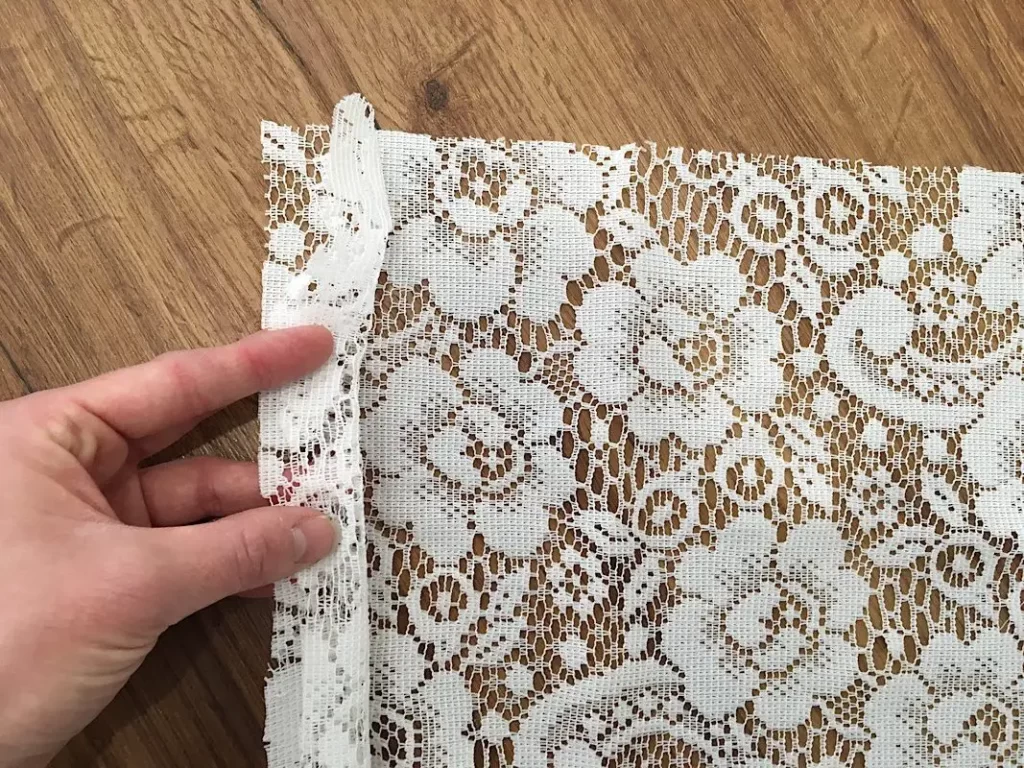
Normally you would sew the hem as the last step, but for this tutorial we are going to hem it by adding the lace trim first!
Place the lace trim along the bottom edge of the large lace rectangle that will become the skirt. Pin it in place. Then, sew the trim to the skirt.
(I didn’t pin it when I sewed, but if you need to, you should to make sure it is even!)
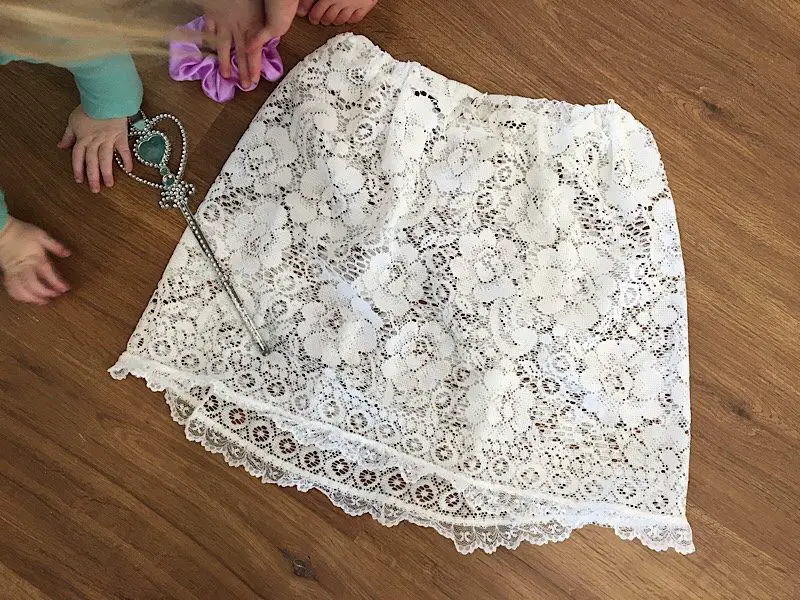
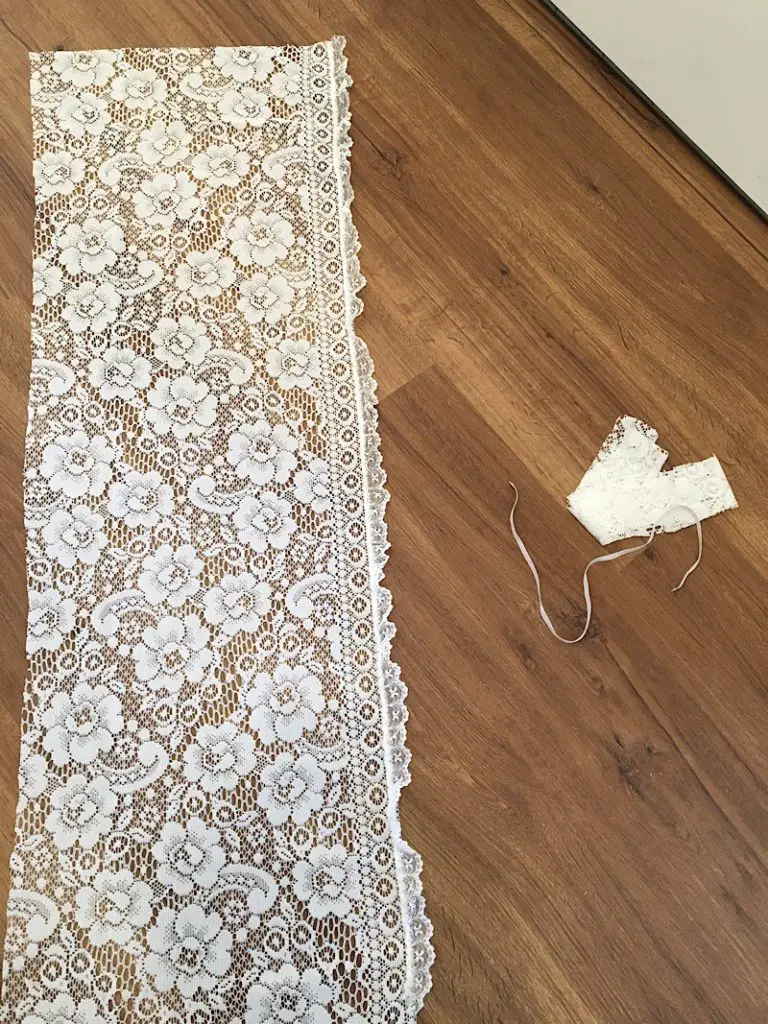
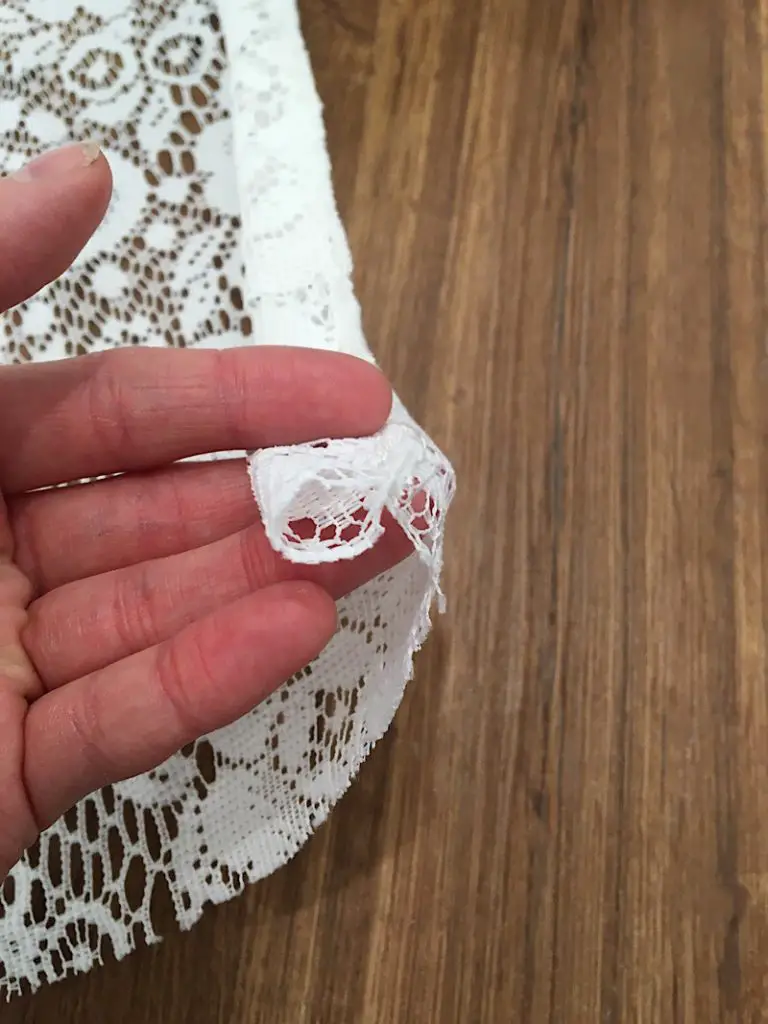
Here is how the lace looks hemmed with the lace trim:
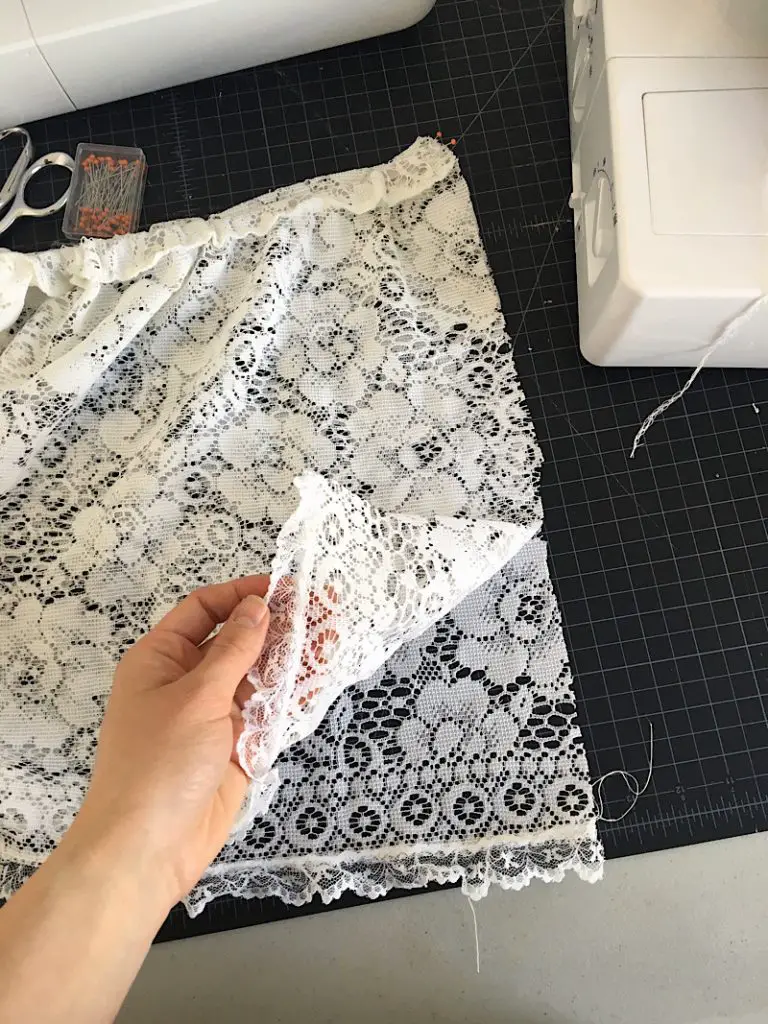
Step 2. Make The Waistband
Fold the long thin strip of fabric or lace in half lengthwise.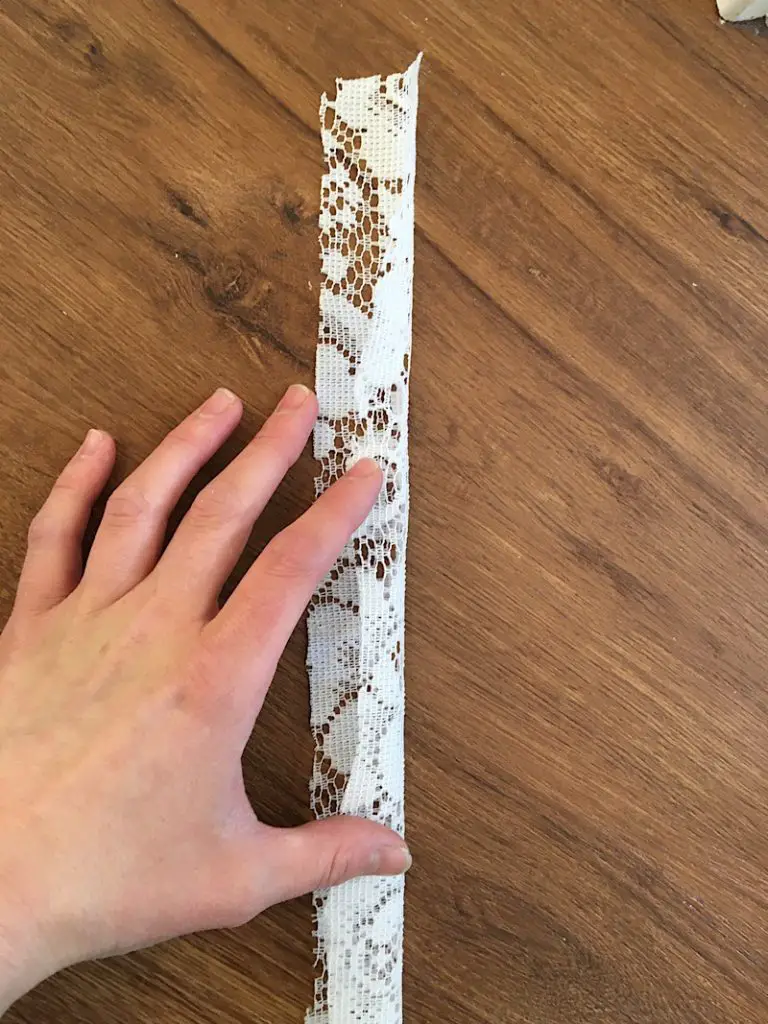
Then, align the raw edges of the waistband to the top edge of the right side of the skirt
Pin the waistband in place. Sew the waistband to the skirt with a ¼ inch seam allowance. (I serged mine.)
When you are done, you will be able to see the tube you made with the waistband from the ends.
Step 3. Insert The Elastic
Thread the elastic through the waistband using a large safety pin, bodkin, or other method.I sometimes like to stick the elastic into the lid of a pen and close the lid tightly, then stick the pen into the tube to help thread it.

When you get the elastic to the end of the tube, pin it to the edge so it doesn’t slip out. Make sure to pin both edges this way.

Step 4. Complete The Skirt
Fold the skirt in half with right sides together, aligning the side edges.
Sew down the raw edge, making sure that you sew through both layers of elastic and waistband so it doesn’t ungather.
Then turn the skirt right side out, and you are done!
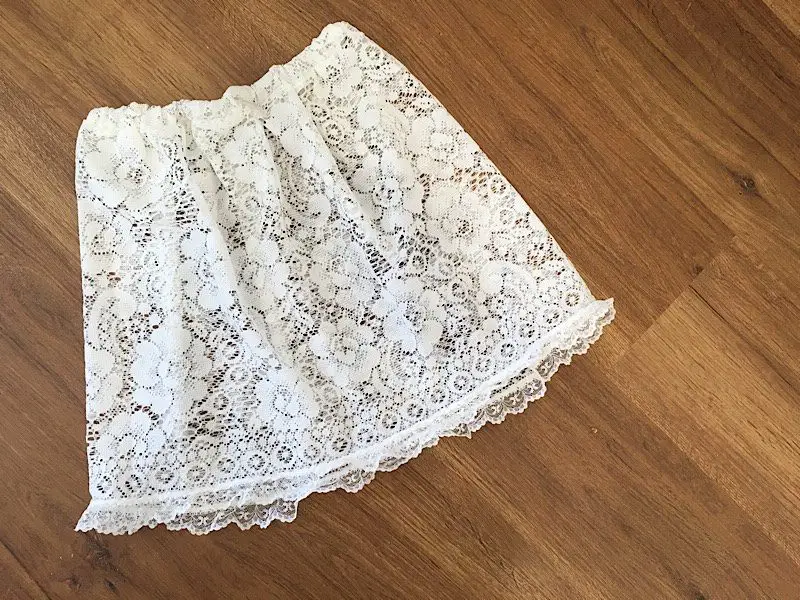
See how easy that was? So quick!
I hope you and your girls love this tutorial! If you tried it, send me an email with a photo so I can share it here!
And please pin this post to Pinterest so others can find it too.