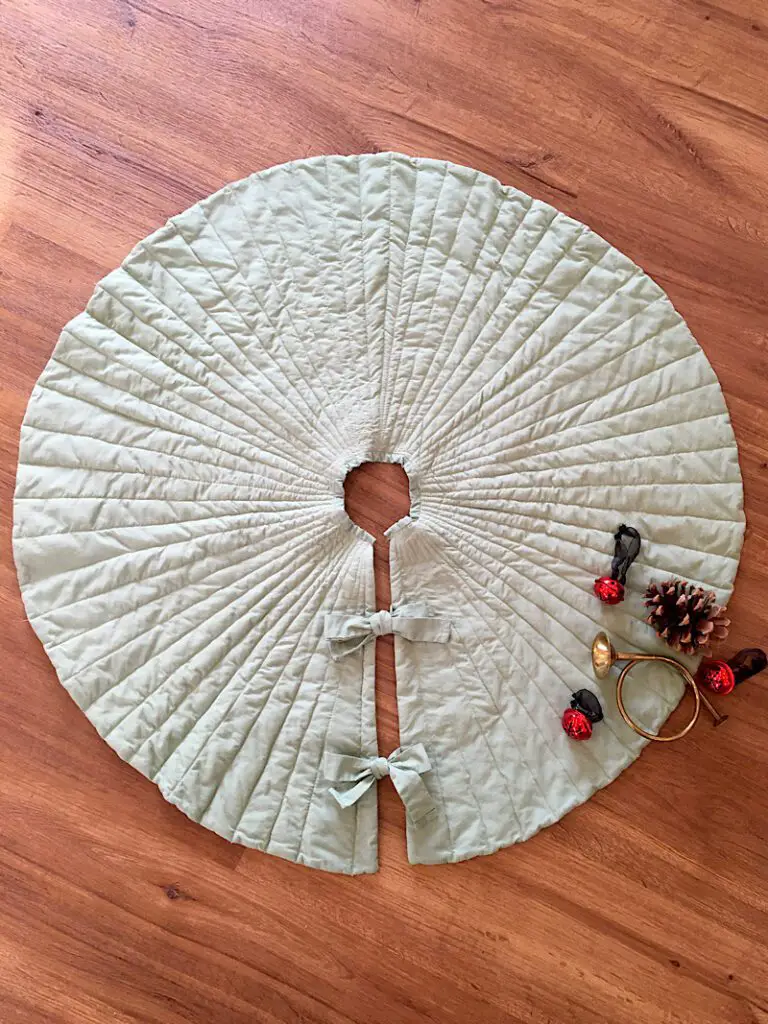
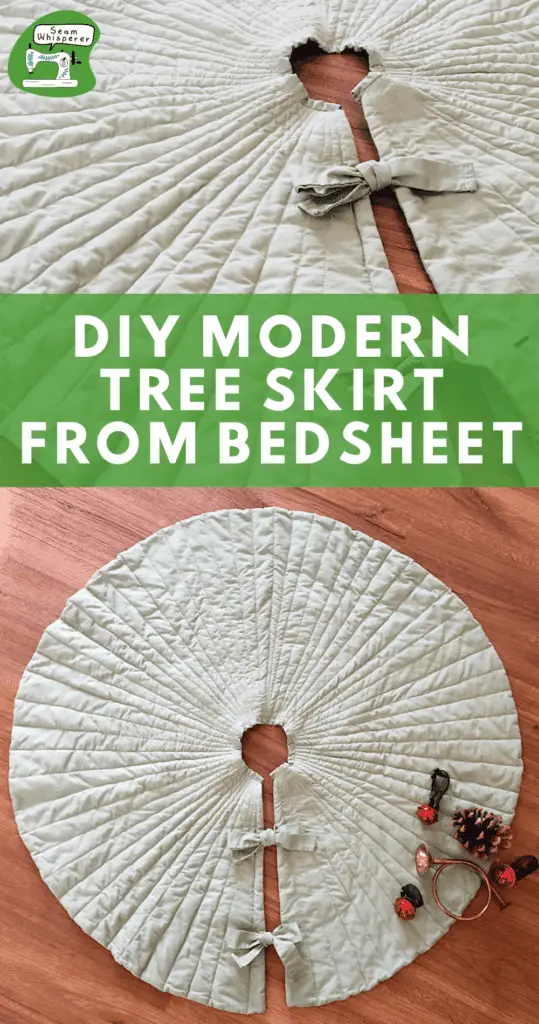
You don’t need much to make this modern tree skirt, just a bedsheet and some batting. Subtle enough to let the tree do the talking, but pretty enough to make a festive statement, you’re going to love how easy and fast it is to make!
I am sometimes very behind when it comes to Christmas decorating… and I’m going to be honest, I have never had a real tree skirt before!
I thought it was about time to make one for this upcoming holiday season. And what a great way to upcycle an old bedsheet!
The inspiration behind this tree skirt is the rustic and cozy feel that comes with a nice winter quilt, paired with the sleek and modern look the straight lines on the skirt give. I think it is going to go perfectly with my tree this year, and I might even need to make one in another color!
Make sure to check out my other cute Christmas decor tutorials!
- Rustic mitten Christmas Ornaments – Free Pattern
- How To Make a Fabric Christmas Countdown Chain
- Christmas Tree Bunting Sewing Tutorial
- Patriotic American Flag Christmas Stocking
This post may contain affiliate links. Read the full disclosure here.
About The Modern Tree Skirt Tutorial
This tutorial is not too tricky, I would call it a beginner or intermediate project.
I recommend using a solid colored bed sheet to let she quilting really shine.
I also will give yardage measurements in case you want to purchase quilting cotton for this project. Each circle you cut out will be 36″ wide, so 2 yards will work but I recommend adding an 1/8th just to give yourself some breathing room.
The finished tree skirt is about 35″ in diameter. You can adjust this pattern to make any size tree skirt you wish, just use larger fabric.
You can calculate how large you want your circle tree skirt to be using this calculator, and inputting 2 inches for the “waist” and whatever length you want the skirt to be as the “skirt length”.
Use a 3/8ths seam allowance.
Supplies Needed
- Sewing Machine
- Sewing Scissors
- Sewing Pins
- Quilting Pins or Safety Pins (I just used my sewing pins and they kept falling out while I was quilting. Be smart and use safety pins!)
- Measuring Ruler
- Iron & Ironing Board
- Fabric marking pen or tailors chalk (something that washes out to mark the fabric with.)
- Bodkin Fabric Turner or Large Safety Pin
- Walking Presser Foot (Optional but makes quilting so much easier! Read more about Walking Presser feet here!)
Materials Needed
- 1 flat bedsheet size twin or larger (OR 2-1/8 yards of fabric.) (You could also use a fitted sheet if you cut it open.)
- Quilt batting at least 36×36 inches in size.
- Matching Thread (Or contrasting thread if you want to get funky!)
Step 1. Cut and Mark the Sheet
You are going to cut two circles out of the bed sheet. Cut the sheet in half, then set one half aside and do the first circle.
Fold the sheet in half, then in half again the other way, aligning both folded edges. (Like how a napkin is folded.)
The folded corner will become the middle of the circle you cut. Line up your ruler with the corner and make marks 2″ and 18″ away from the corner along both folds, and every few inches along the fabric to make two quarter circle shapes.
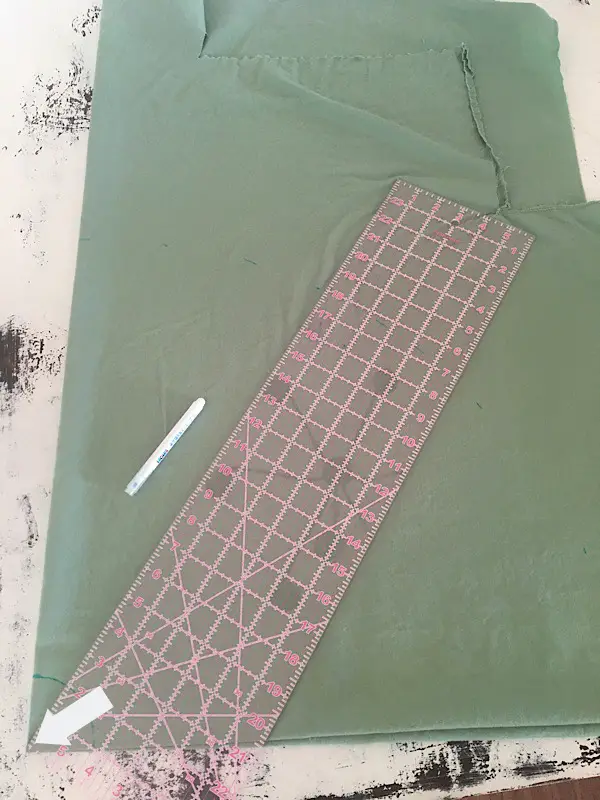
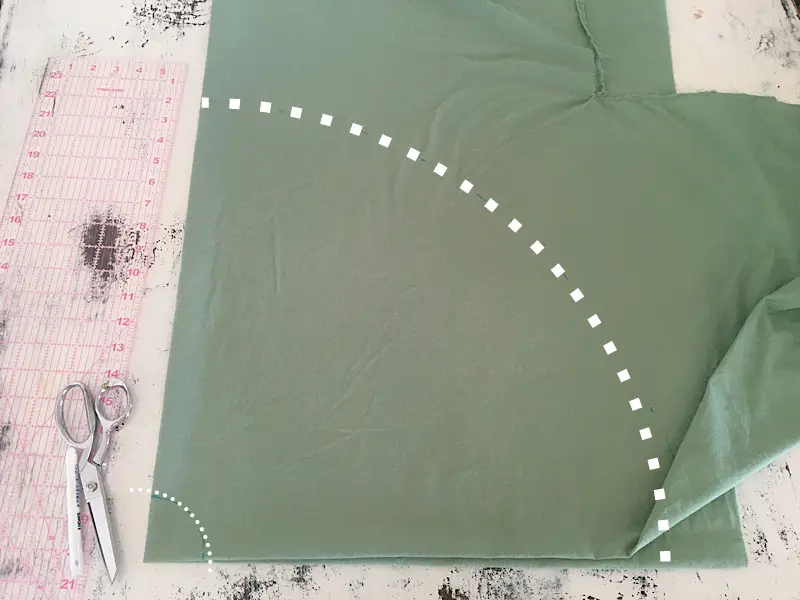
After the sheet is marked, carefully cut out the circles along the marks you drew.
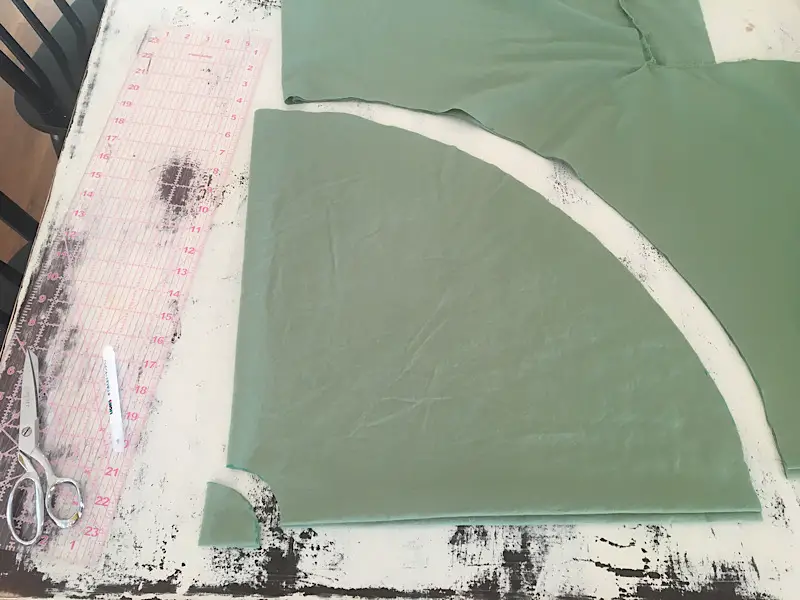
When you open the sheet, it will look like a doughnut.
Or a bagel. Whichever one you prefer.
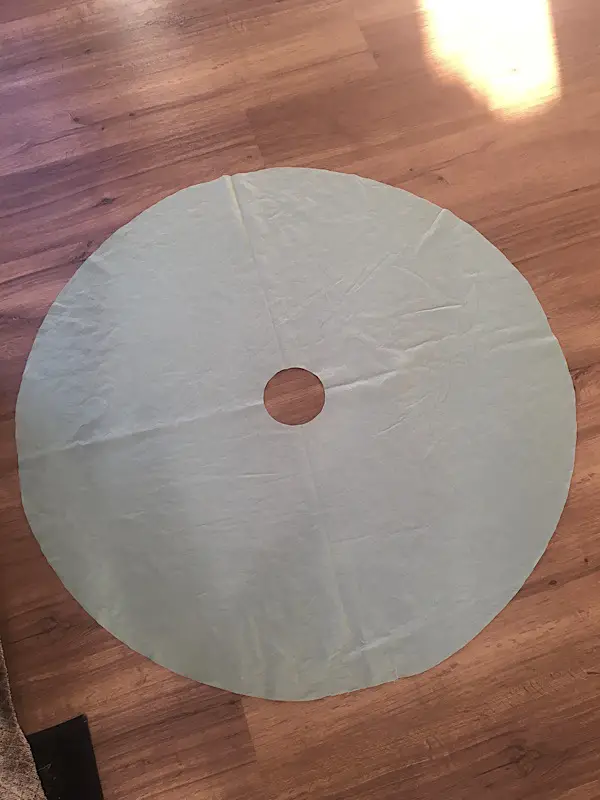
To cut the second circle, you can re fold the first circle, then lay it on top of the other folded piece of fabric and trace it. (This way you wont have to measure the marks again.)
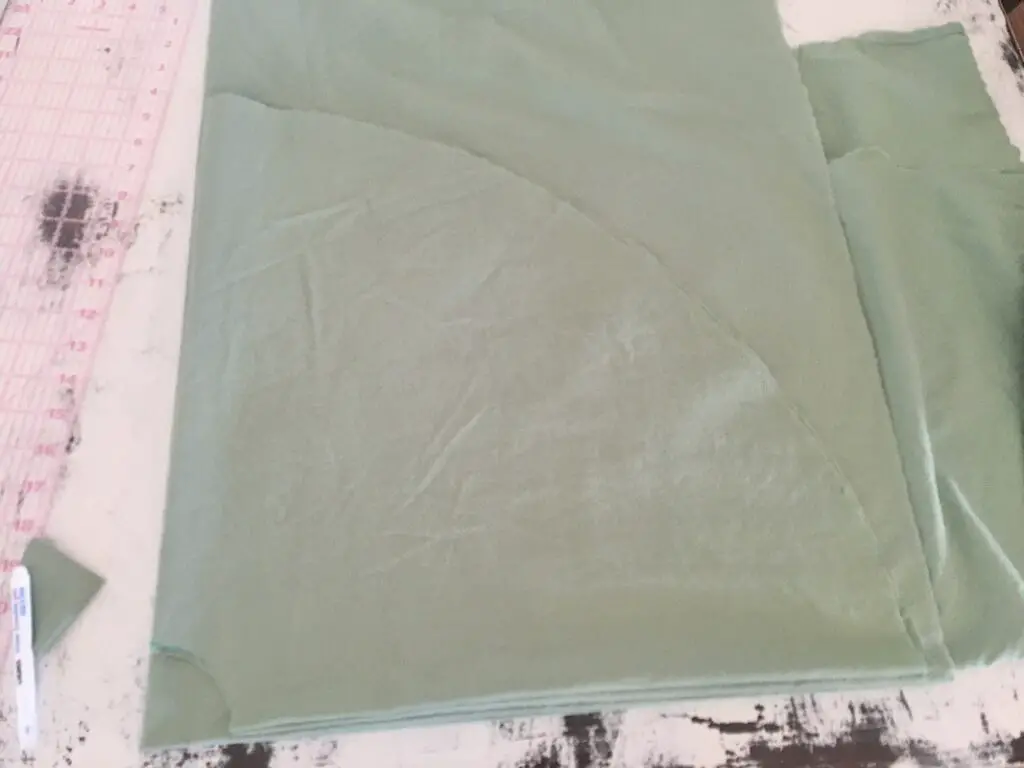
After both circles are cut, use the scraps of the bed sheet to cut 4 strips 3″x12″ in size, and 1 strip 2″x 14″ in size.
Step 2. Cut The Quilt Batting
You are going to cut a circle from the quilt batting the same way you cut from the sheet, but this time you only need ONE circle.
Fold the batting in half, then in half again. Use one of the folded circles to trace on the batting and cut it out.
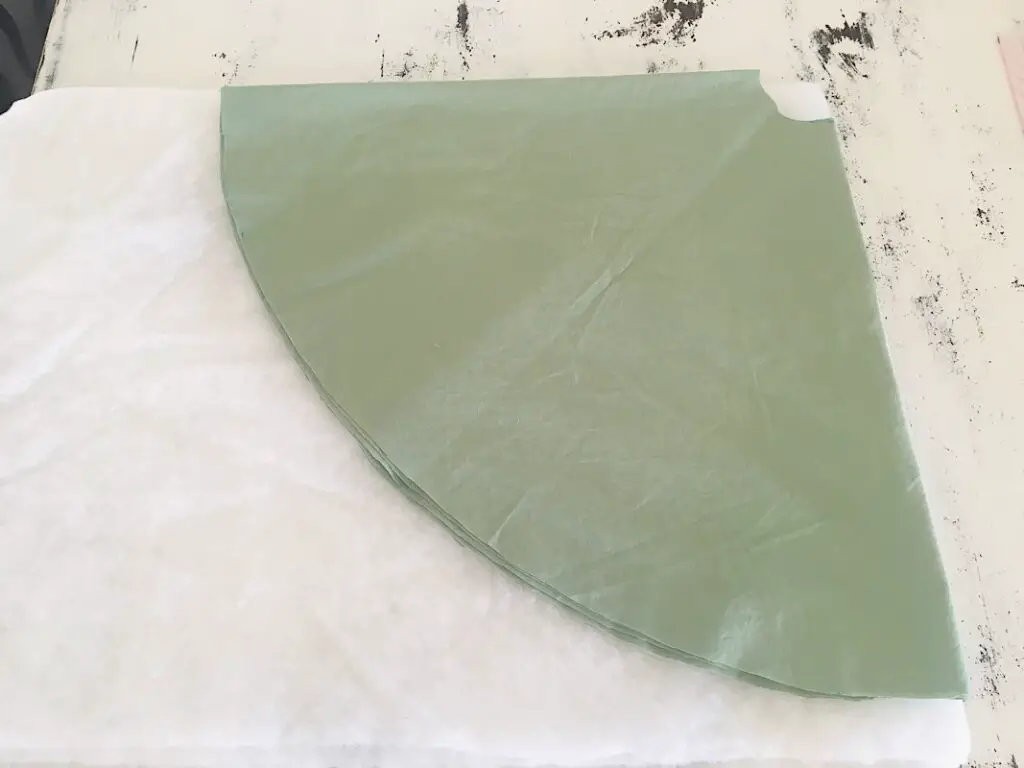
Set aside these pieces while you complete the next step.
Step 3. Cut & Sew the Ties
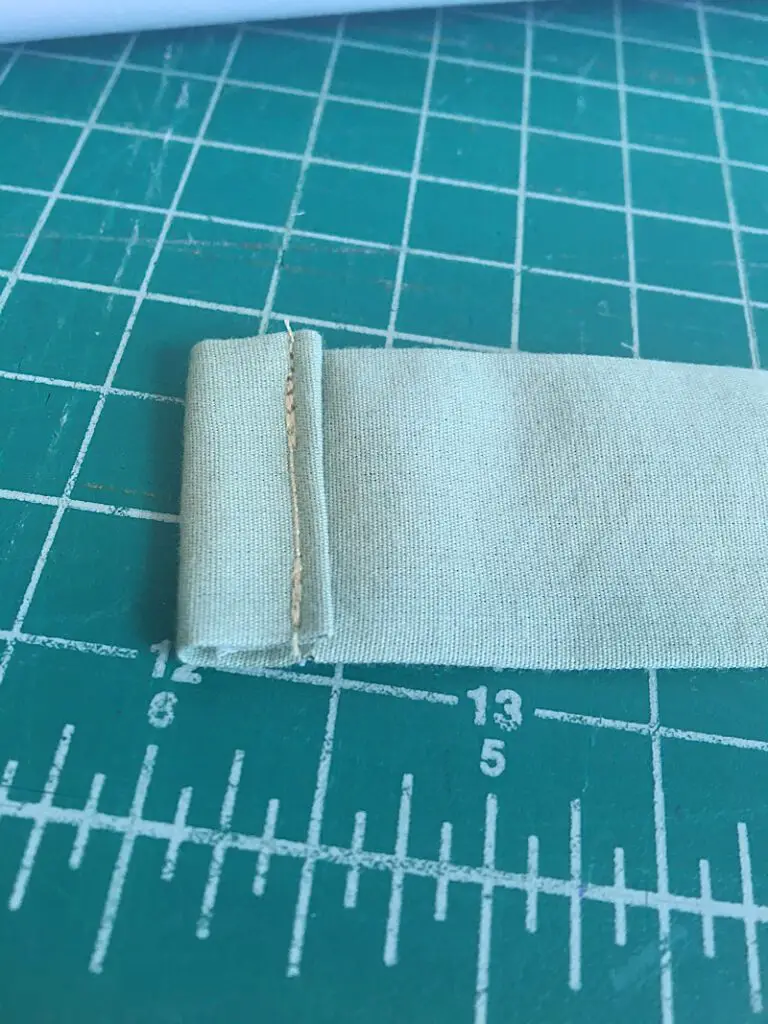
To make the ties, fold each strip in half lengthwise and sew down the long edge.
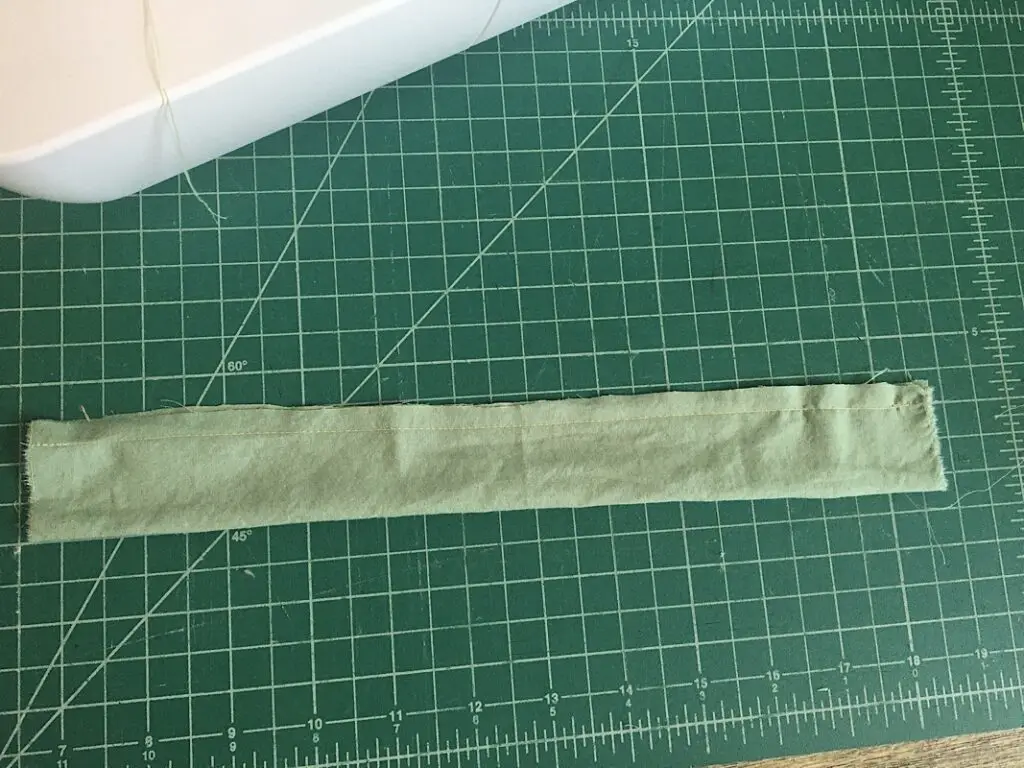
Turn them right side out with a large safety pin or bodkin, then press them flat with an iron.
Fold over one of the short sides twice, about 1/2 inch, then sew it across the finish the edge. You only need to do this to one side on each tie.
Step 4. Layer and Pin the Circles
Lay the batting circle on the ground and flatten it well.
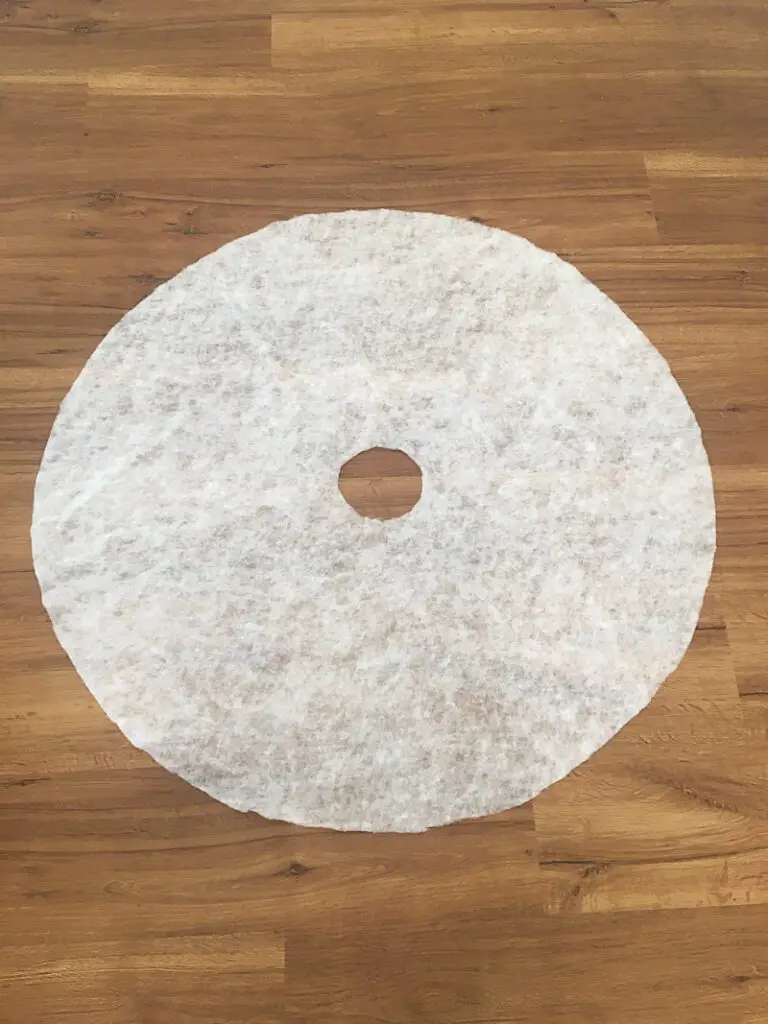
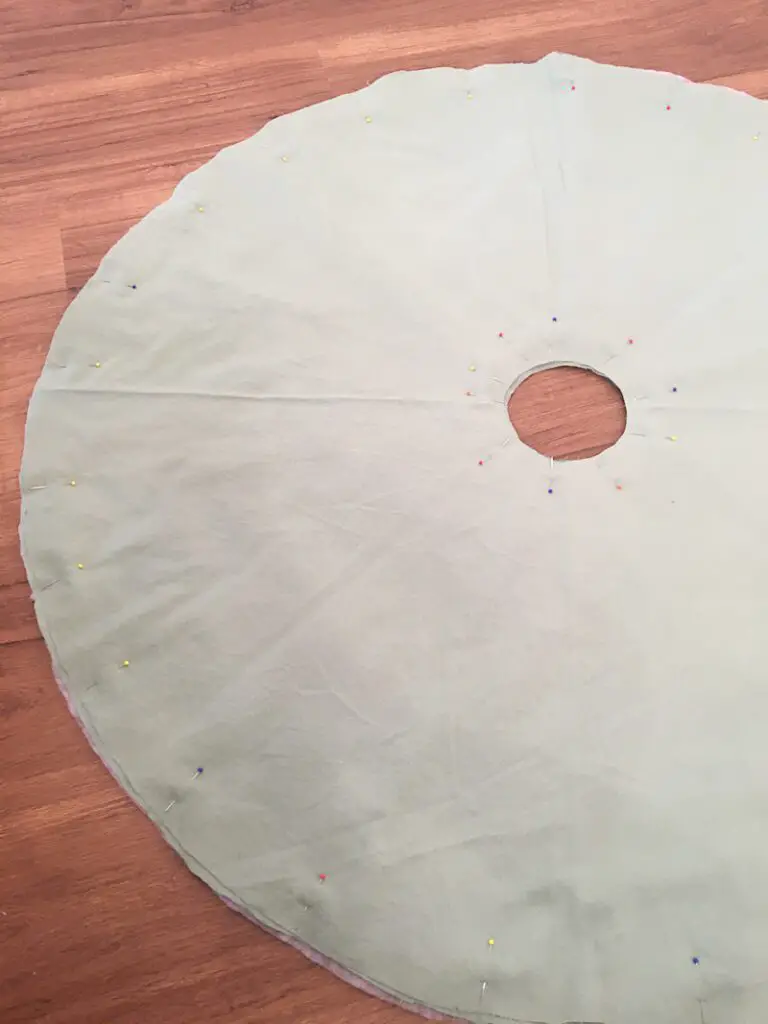
Then, lay one of the sheet circles on top of it, with the right side facing up.
Lay the other sheet circle on top next, with the right side facing down.
Pin the layers together well so they don’t shift for the next step.
Step 5. Cut the Skirt Opening and Pin the Ties
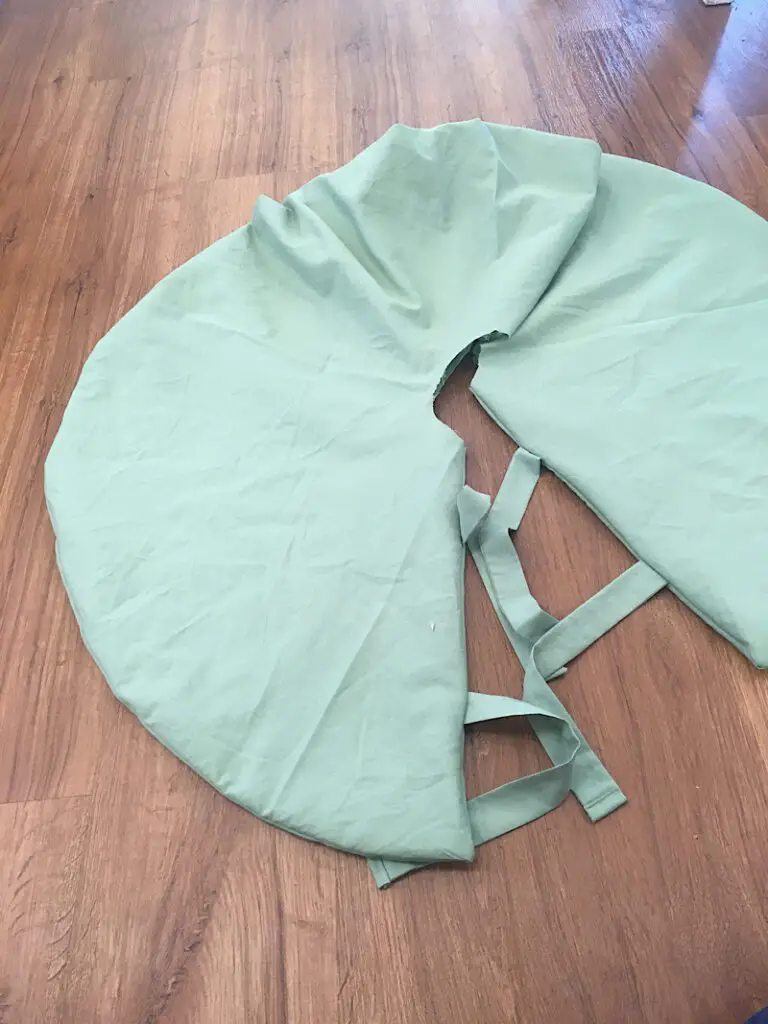
Carefully cut a straight line through one side of the tree skirt to make an opening. Cut only from the outside edge to the middle so you can open the circle to tie it around the tree.
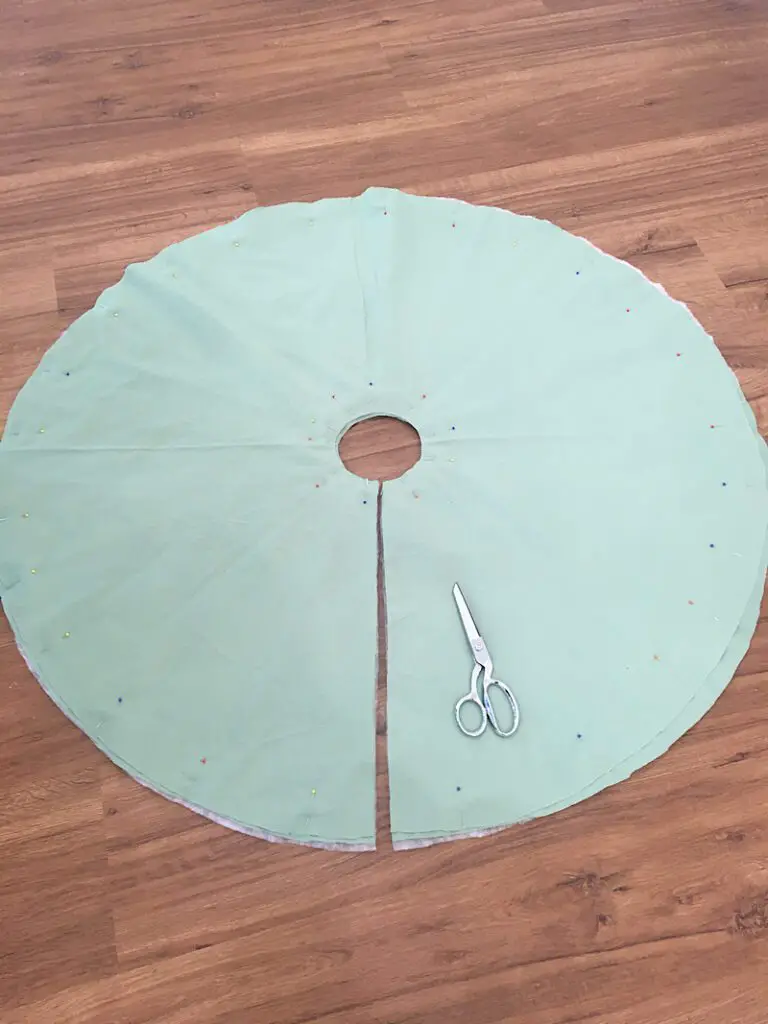
There will be two ties per side so you can have two bows to hold your skirt together.
Stick one tie in between the two sheet layers a few inches down from the center hole, with the short unfinished edge aligned with the opening slit you just cut.
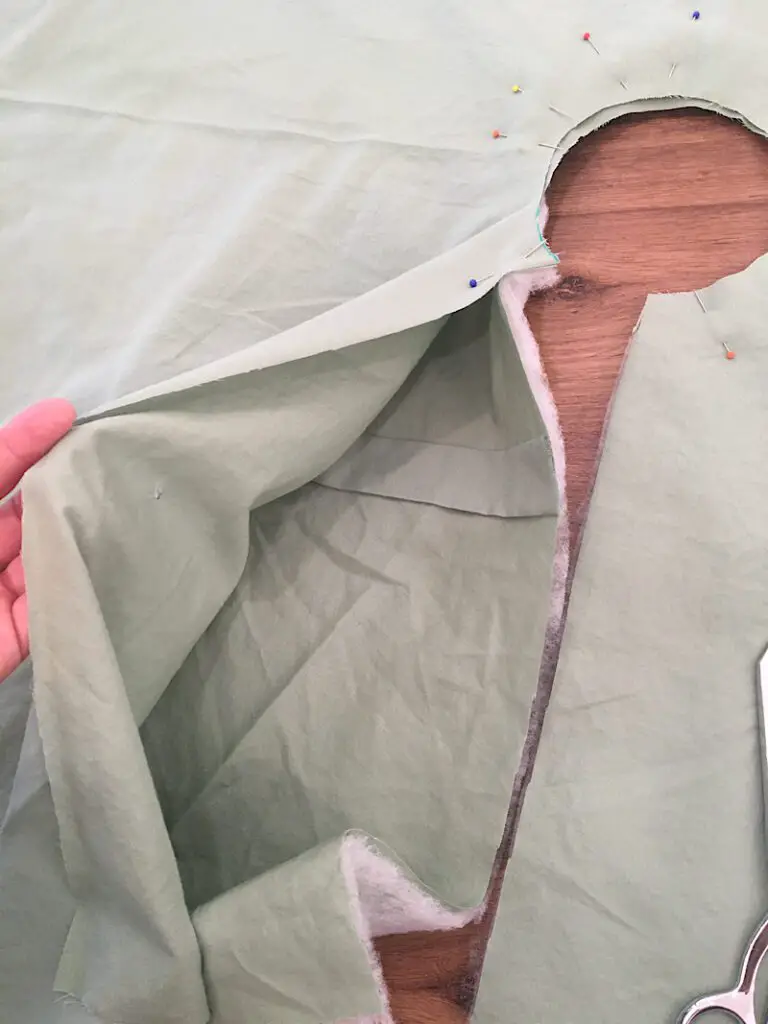
Place the second tie into the skirt the same way, a few inches away from the outside edge on the same side of the opening. Make sure you pin them so they don’t slip out of place.
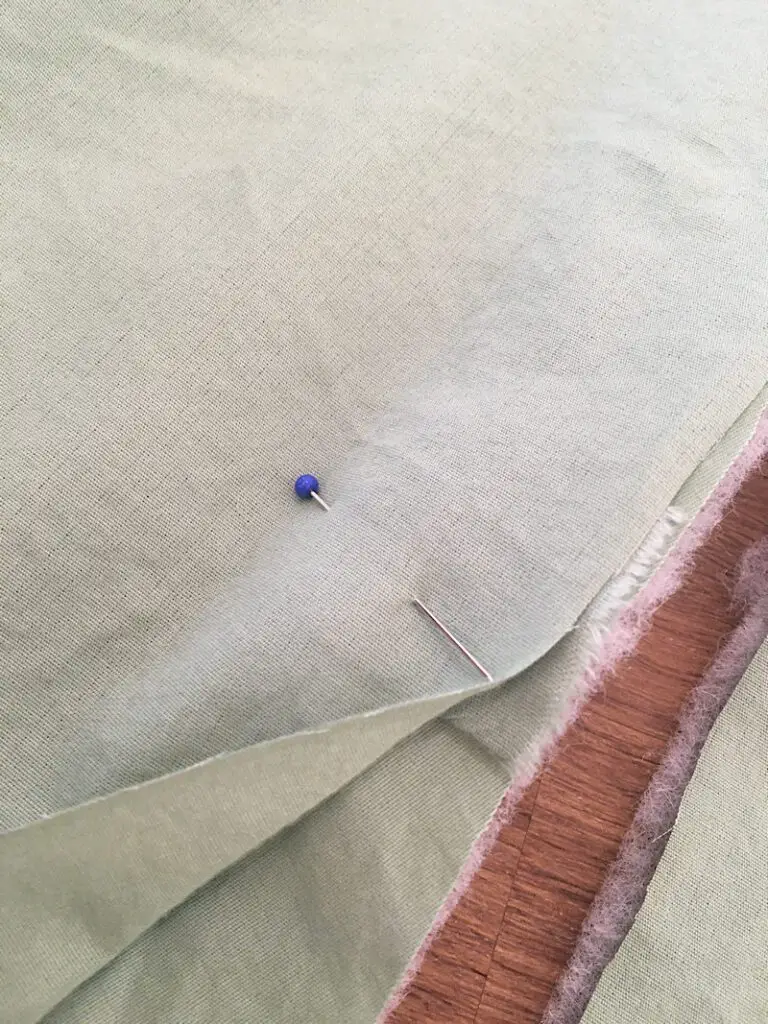
Insert the ties on the other side of the opening as well, making sure to align them with the ties on the first side you did so they can tie together nicely when the skirt is complete.
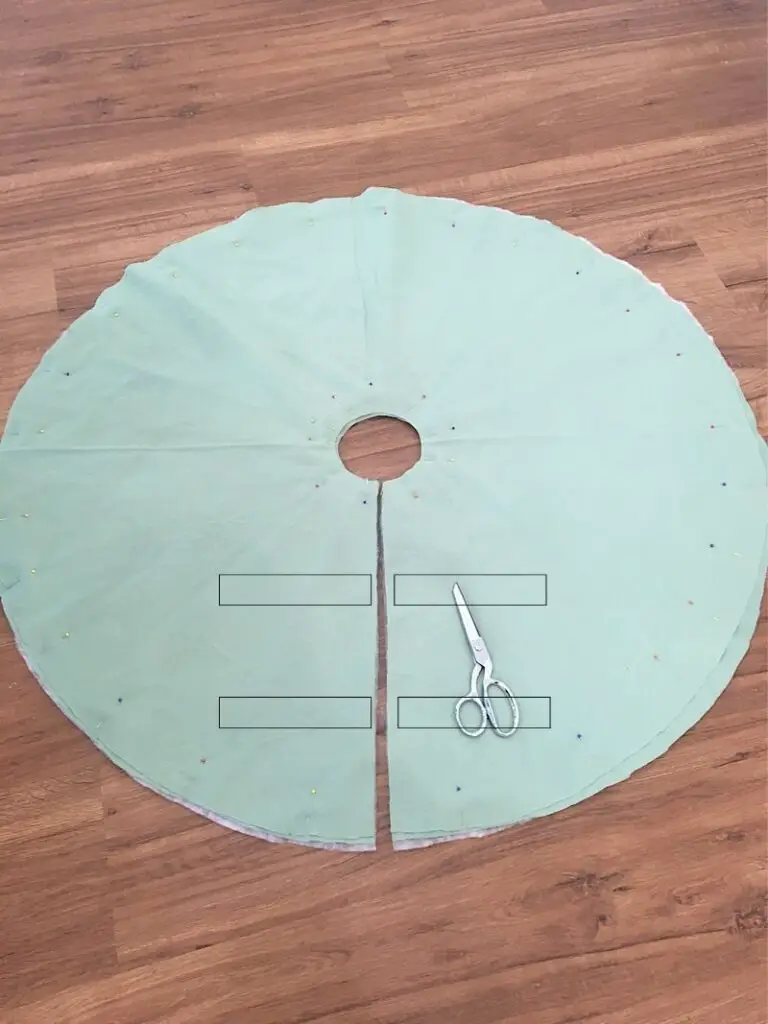
Step 6. Sew the Edges of the Tree Skirt
Sew a long continuous stitch around the edges of the tree skirt, but leave the center hole open. Use a 3/8ths inch seam allowance.
Start at the beginning of the opening slit you cut, and sew down the slit, around the outer circle edge, and up the other side of the slit. Don’t sew the inner circle. Make sure you sew through the 4 ties.
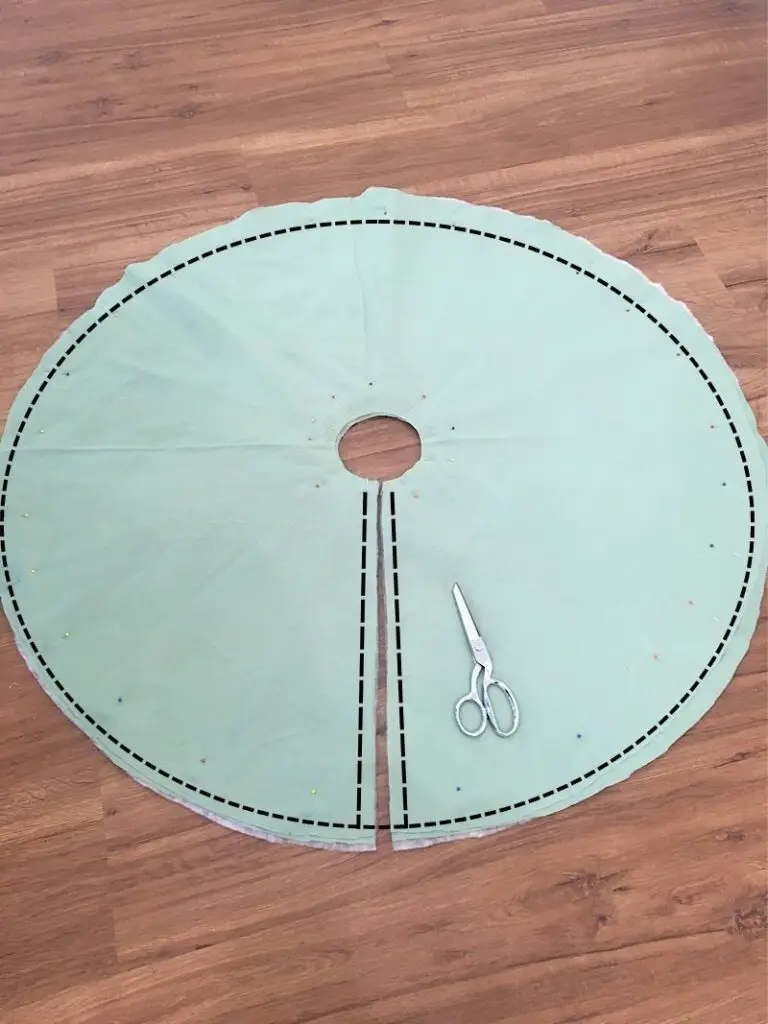
Once you have sewn the skirt perimeter, turn it right side out (The batting should be inside, of course.)
Step 7. Pin and Mark the Tree Skirt
Give the tree skirt a nice pressing to make the edges lay flat. You may need to put your hand inside to round out the circle edges.
Use safety pins to pin around the edges and middles of the skirt. Be smart and use safety pins, I used regular pins and they kept falling out as I was quilting!
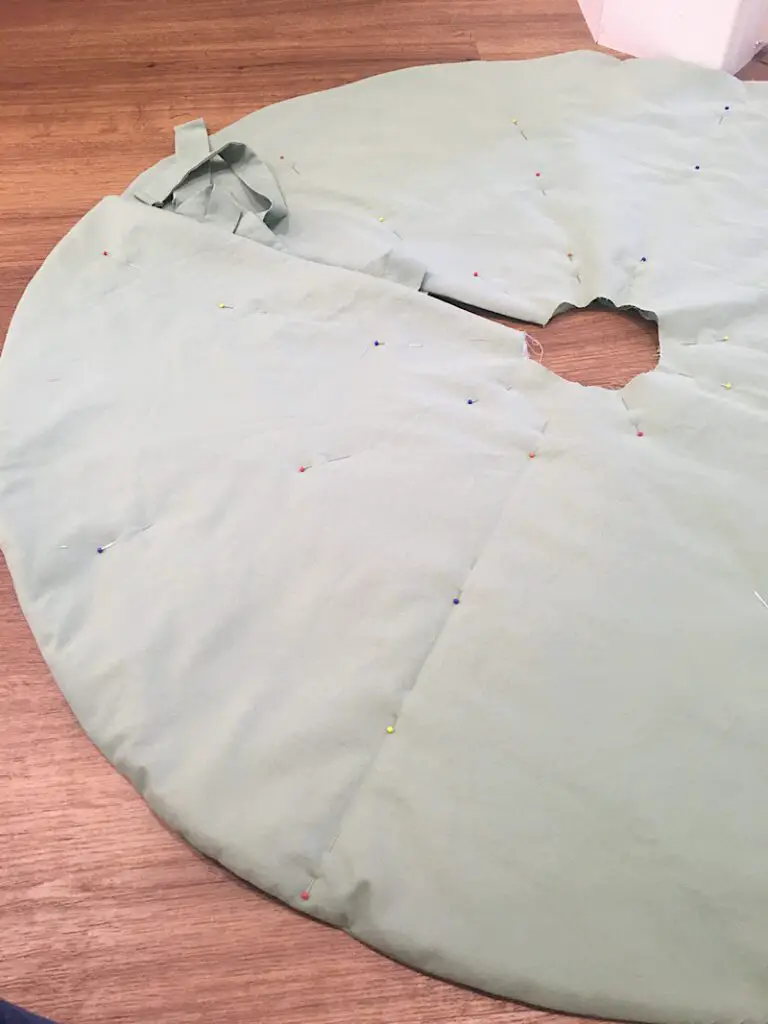
You are now ready to mark the sewing lines! If you don’t have a disappearing ink fabric marker, you can use a very light pencil on the BACK side of the skirt.
Work on the wrong side of your skirt.
You are going to draw lines on the quarters, eighths, sixteenths, and so on until there are as many lines as will fit, and you think it looks good.
To make this easy, I folded the skirt perfectly in half then used my ruler to draw the line right on the fold.
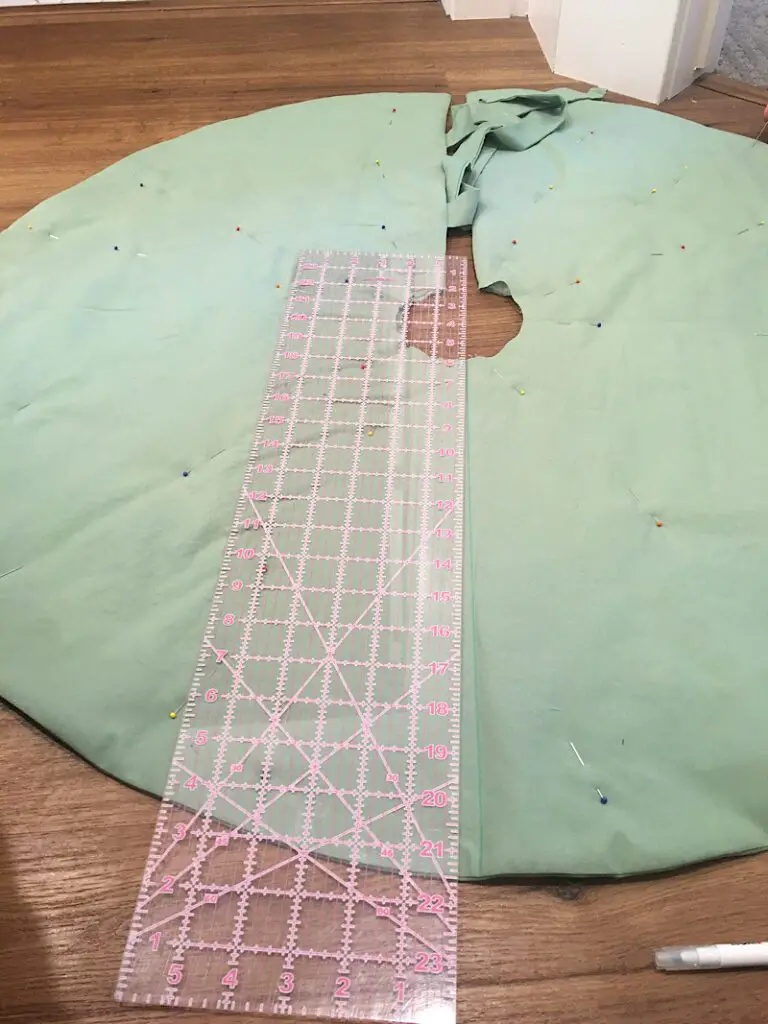
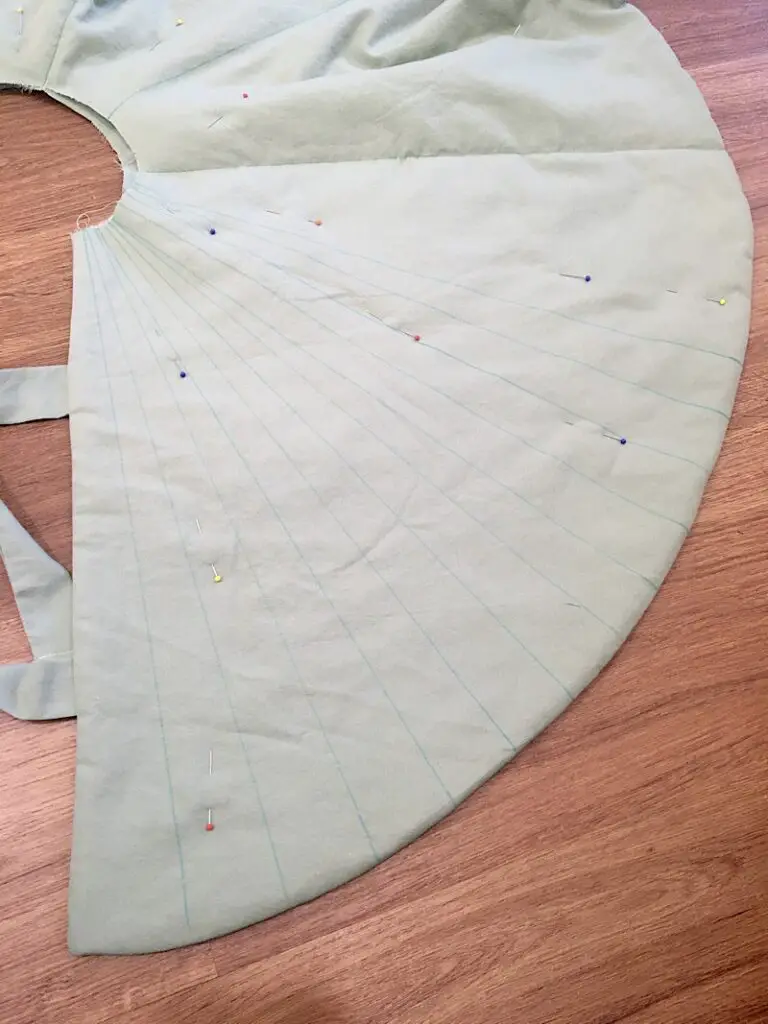
The key to making this skirt look awesome is very straight lines that don’t overlap. You want them to radiate from the center.
Step 8. Quilt The tree Skirt
Using your walking foot if you have one, sew the skirt on the lines you have drawn!
This part is tedious and will take some time. There are a lot of lines! Here are some tips to make it better:
- Resist the urge to sew one line after the next. Instead, sew the 4 quarters, then the eighths, then fill in the others. This will help the fabric not shift to one side as you sew.
- To prevent puckering, I held both hands on each side of the presser foot and pulled the fabric outwards to keep it flat as I fed it through the machine.
- Don’t forget to backstitch.
Once you have finally completed this long quilting step, you only have one step left!
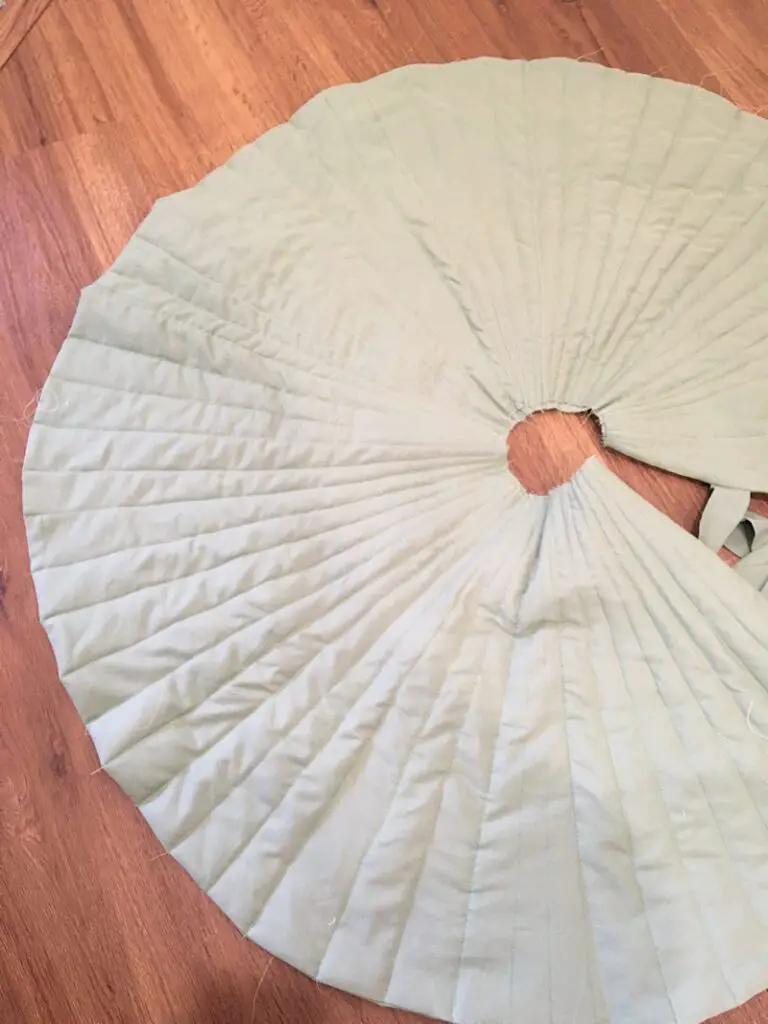
Step 9. Sew on the Binding to the center
Clip all your threads. Then, using the 2″x14″ fabric strip, you are going to make a simple binding for the center hole.
Fold over the top short edge of the binding strip, then line up the side with the edge of the center hole. Sew it around the hole, but before you get to the end, fold over the bottom short edge to line up with the edge of the center hole.
Flip the skirt over. Fold the raw edge of the binding strip into the center of the strip. Then, bring the folded edge of the binding strip over the edge of the center hole. Pin it in place and sew it on.
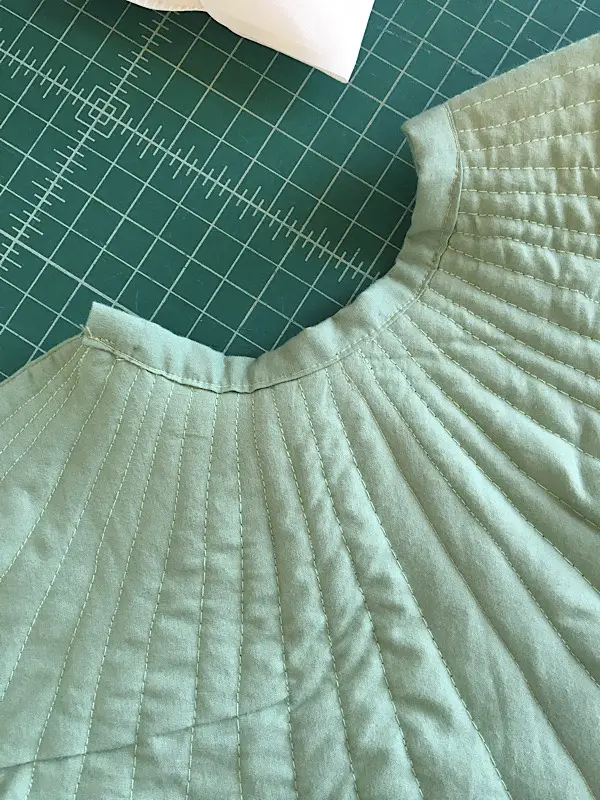
That’s it! All you have to do now is wash the skirt and dry it to remove the marker lines and quilt it up.
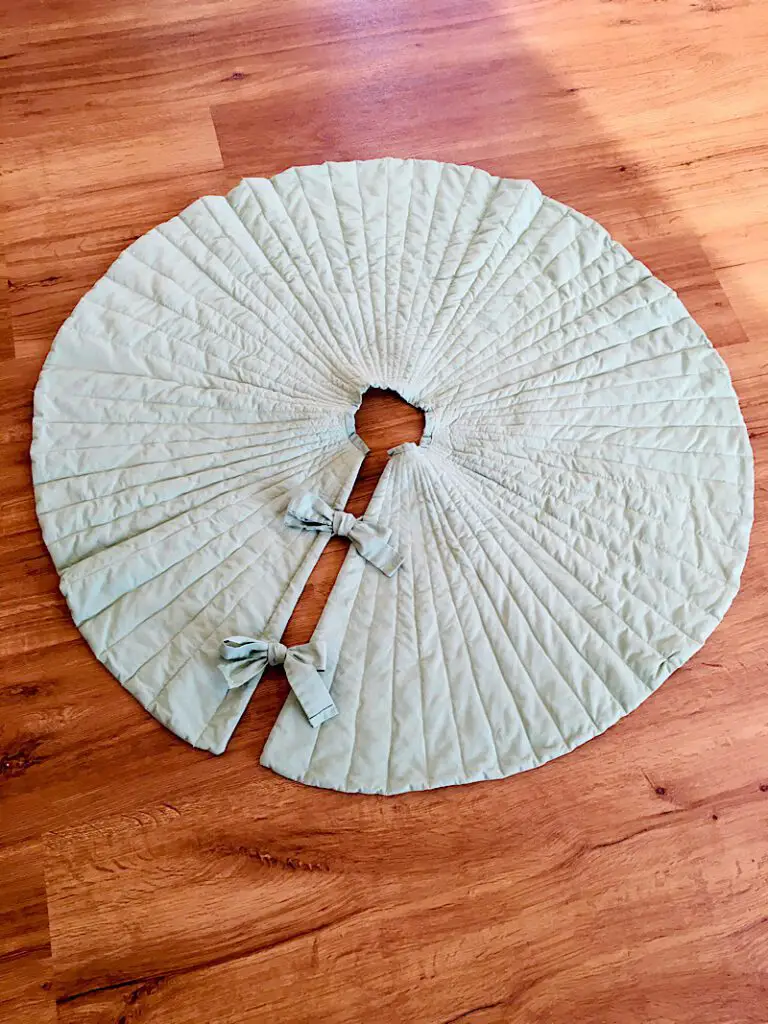
Here is how mine turned out:
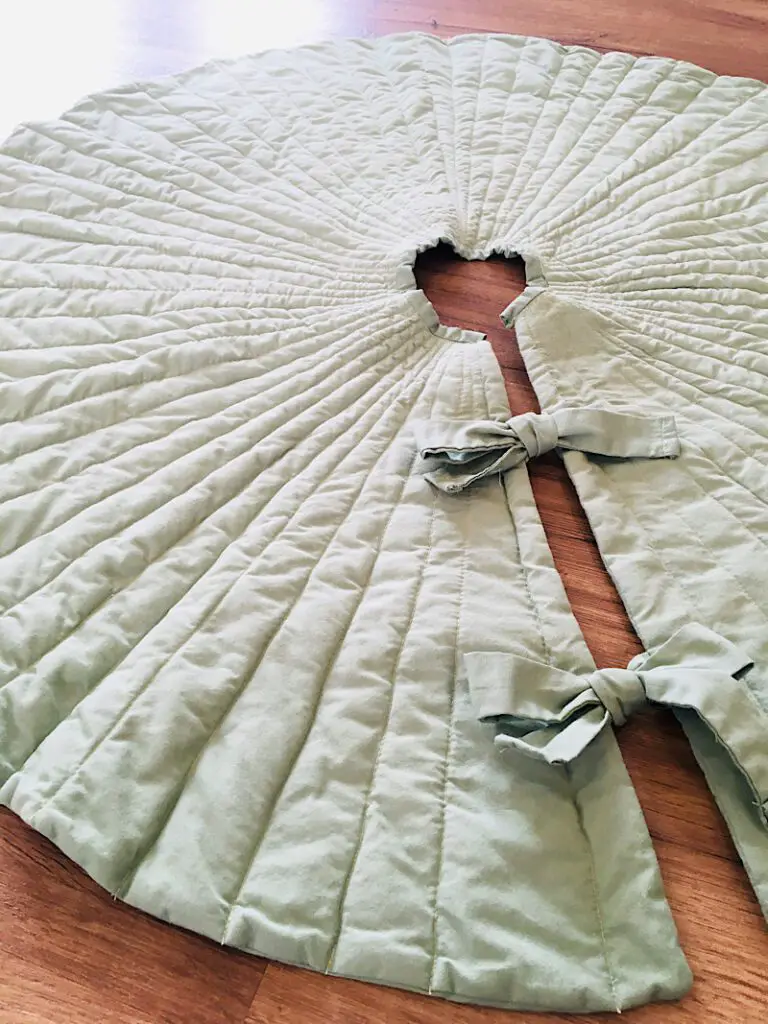
I think it is a good mix of cozy and modern. It’s playful, but also stylish.
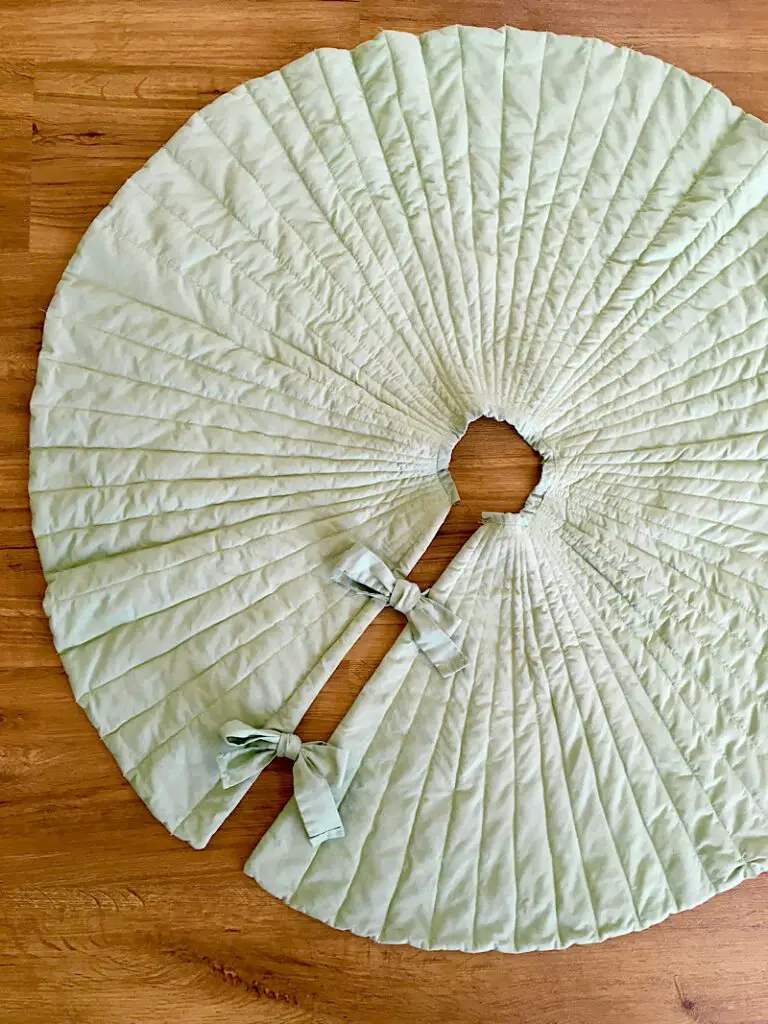
I love that it resembles a puffy vest. I like the bows. I like it all!
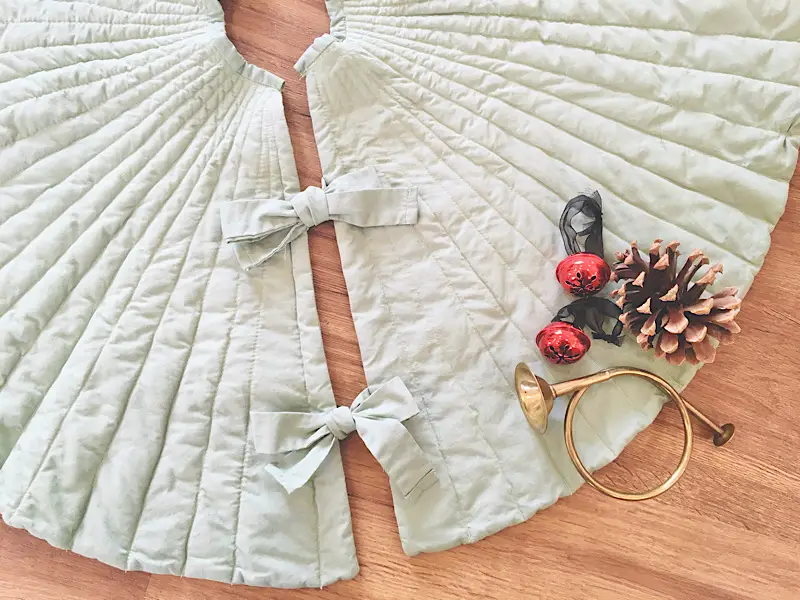
Can’t wait to put it under the tree! I will update this post with pictures when I do.
Let me know if I need to clarify any of these steps for you, and leave a comment below if you make your own.
If you need some more Christmas inspiration, make sure to look at my list of free and cheap Christmas Gift Sewing Patterns for ideas this year!
Sign up for me email list for more upcycle content! and pin this post to share with your friends.


this article is very useful, thank you for making a good article
This modern Christmas tree skirt tutorial is fantastic! The idea of upcycling a bedsheet is genius and eco-friendly.
I just finished mine and it looks so good. I appreciate your clear instruction- you’re so easy to follow! Only part I would add to make it easier is for the ties, you can sew and finish the one edge while sewing the sides and when you flip it inside out, it’s already complete rather than folding over and having an exposed seam. Mostly because I had a hard time making that folded over edge look good.
You’re right jill! I make it up as I go along so sometimes I miss the better way to do it!
This is such a fun sewing project, and your Christmas tree skirt is lovely! Today I’ve shared your tutorial on Crafts on Display – hope you enjoy it! https://craftsondisplay.com/sewing/quilted-tree-skirt-145079/