Want to learn how to embroider a simple but pretty mouth on your rag doll? This mouth is a great design for beginners! It is very easy to learn and fast to complete, has a smile, and lips made with felt for a fun detail.
Cloth dolls are pretty little toys, and they need pretty mouths to go with them!
You can embroider very simple smiles, or even highly complex ones, but today I am going to show you an easy AND unique mouth that uses both embroidery floss and felt. You will love it!
This post may contain affiliate links. Read the full disclosure here.
About This Tutorial
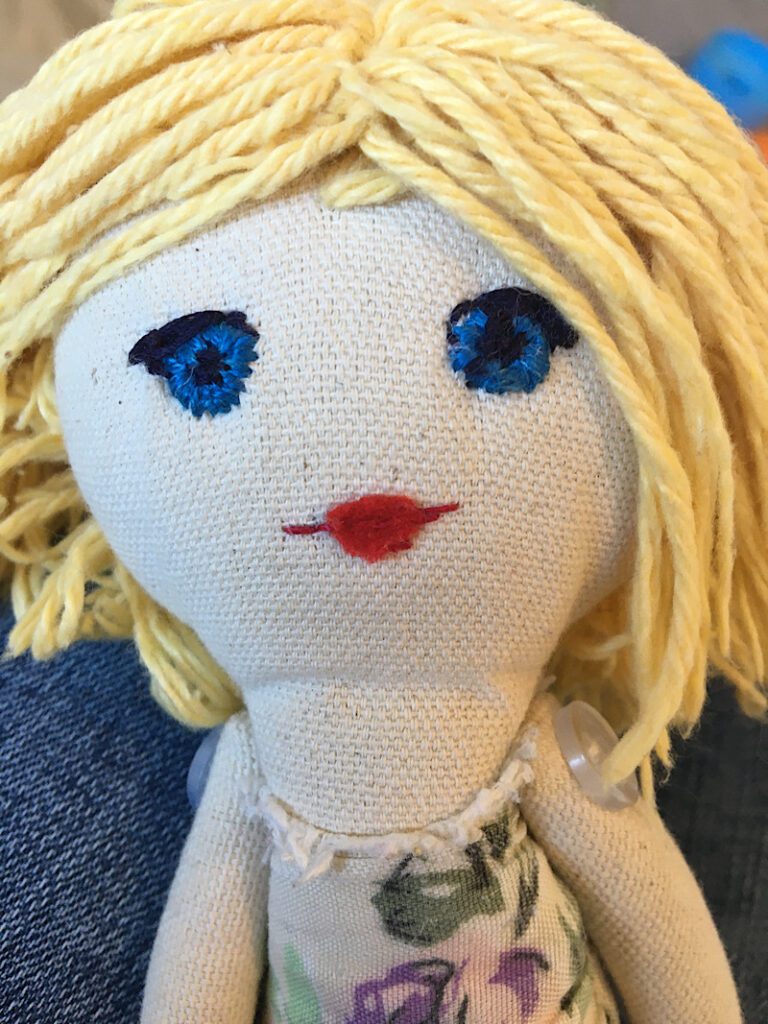
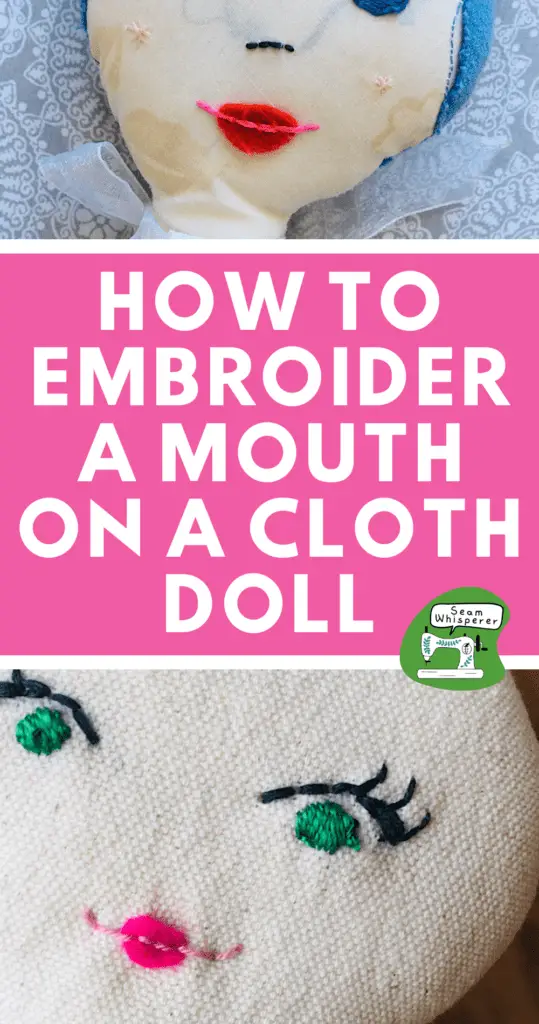
These doll lips are great for beginners to learn and feel confident in their doll making abilities! It only takes a few stitches and some felt to complete the tutorial. I have used this method on a few dolls, here is another example with red lips:
If you decide you want something different for the mouth, make sure you download my free collection of pre-made doll face templates!
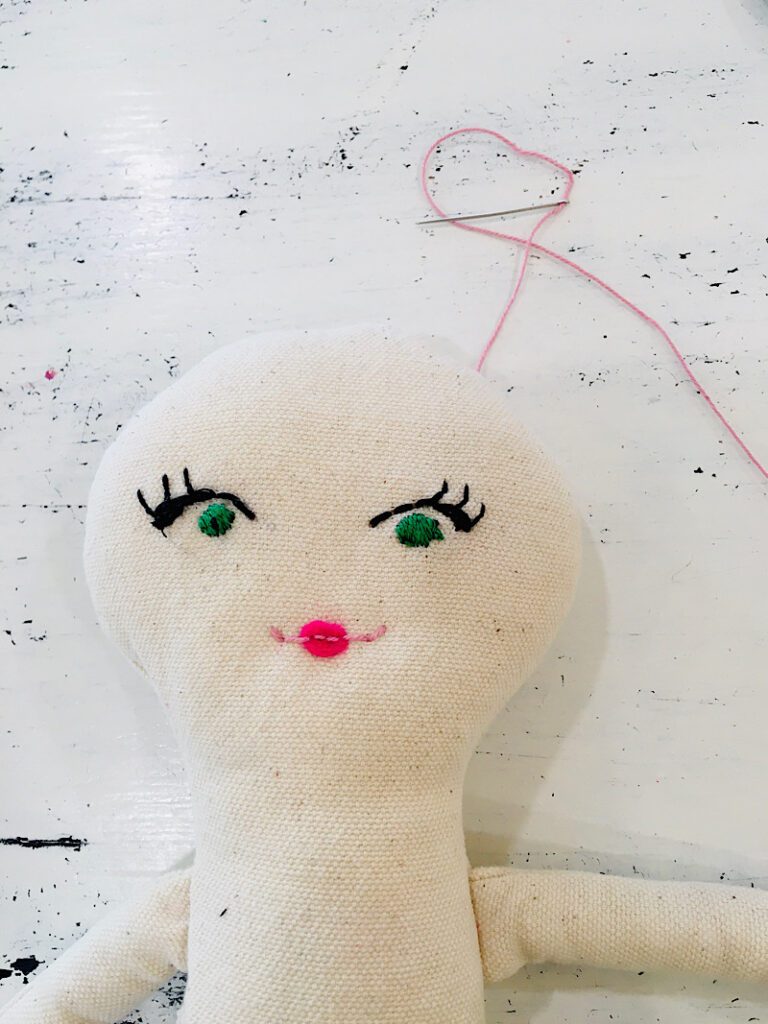
I personally prefer to embroider the doll’s face before I have cut and sewn the doll. But a lot of people like to place the facial features after on the finished doll, which is what we are going to do in this tutorial here.
If you’re going to use regular hand sewing needles instead of embroidery needles, make sure the eye of the needle is large enough for the floss to go through!
Supplies Needed
- Fabric Scissors
- Hand Sewing Needles or Embroidery Needles
Materials Needed
- Pink Embroidery Floss
- Pink Felt
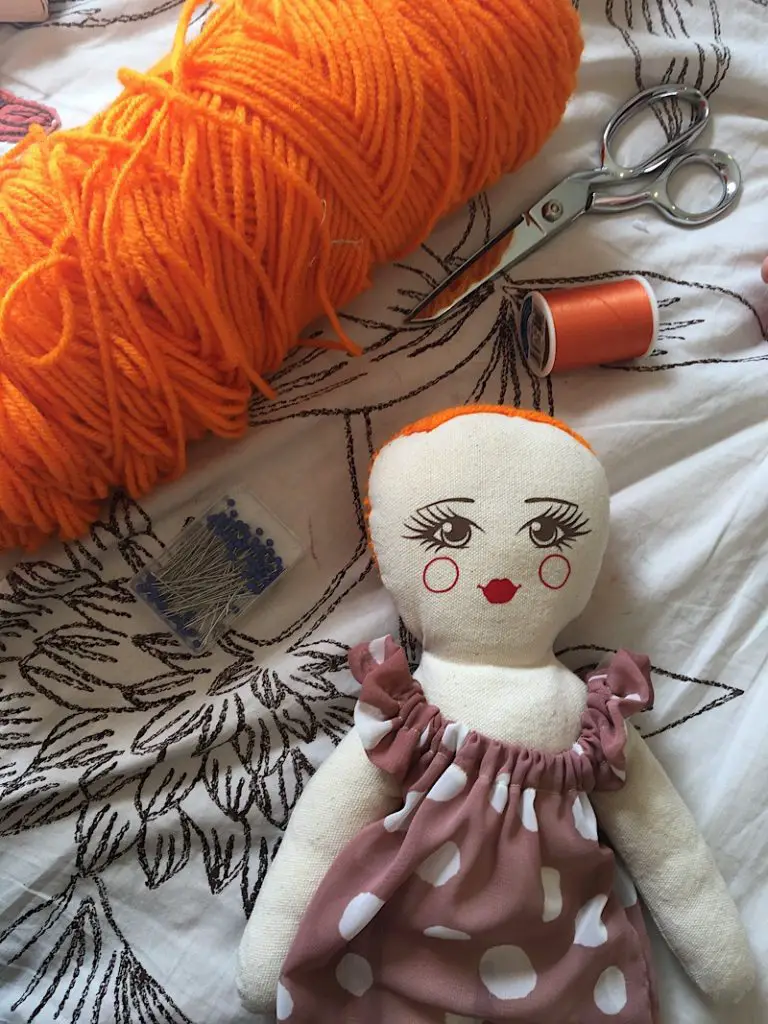
- Cloth Doll to Embroider (Get your free cloth doll body patterns here!)
How To Embroider A Mouth On A Cloth Doll
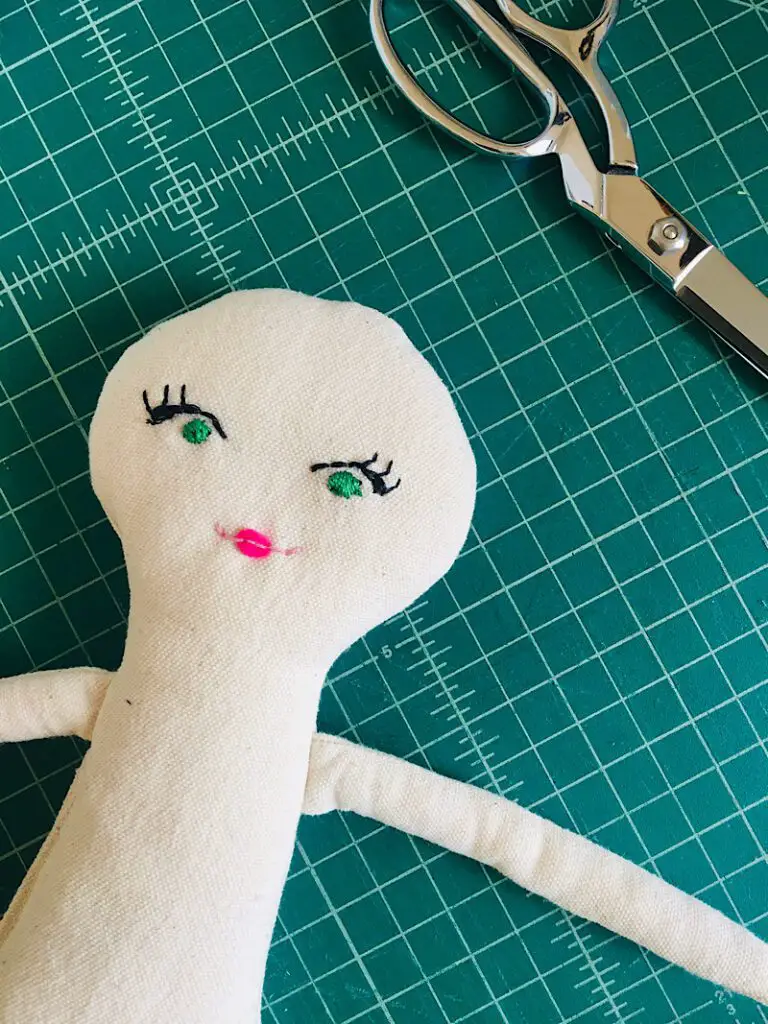
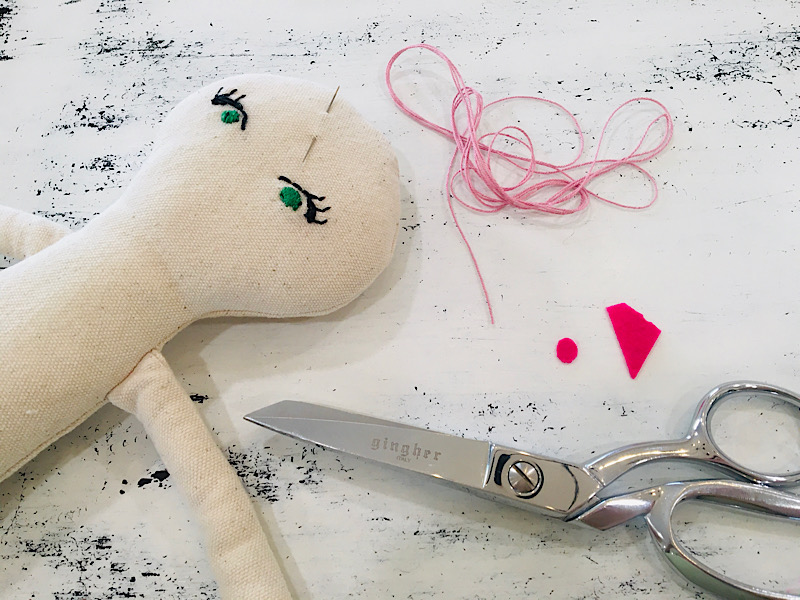
Step 1. Cut Out The Felt Lips
Cut out a small oval shape from the felt. Hold it up to your doll to see if it is a good size. You can make the lips as big or small as you like, and the shape can be more of an oval, or a circle.
It’s up to you!
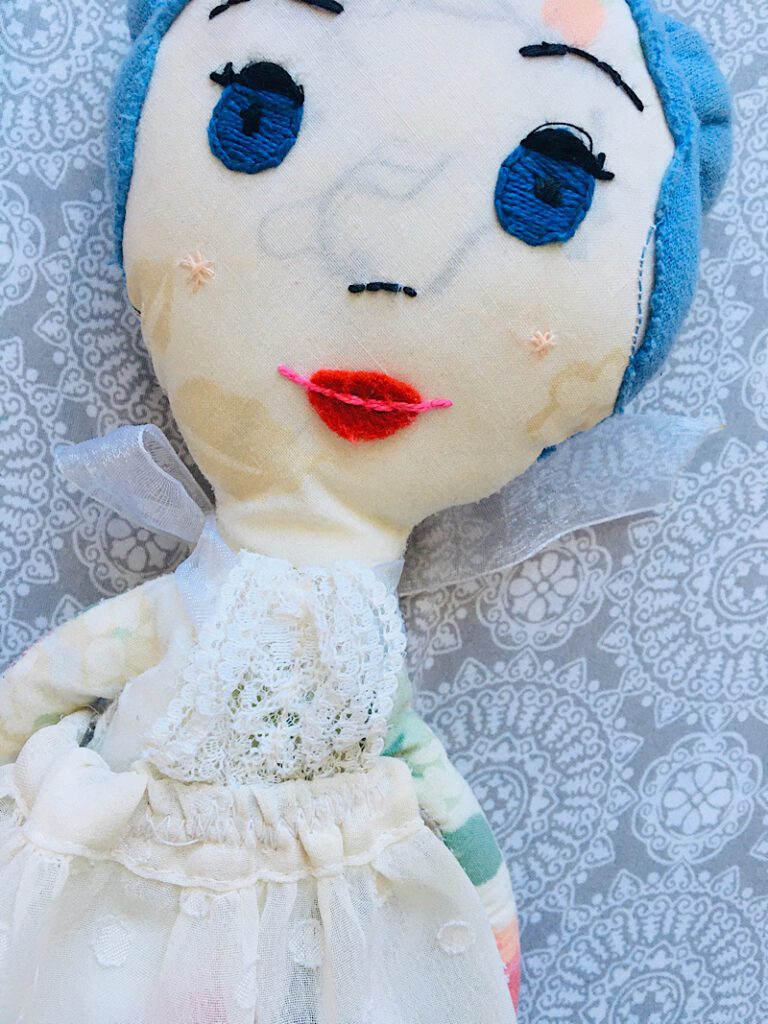
Here is another example of an old doll with large felt lips:
Step 2. Embroider The First Stitch
For this project you will use one strand of floss.
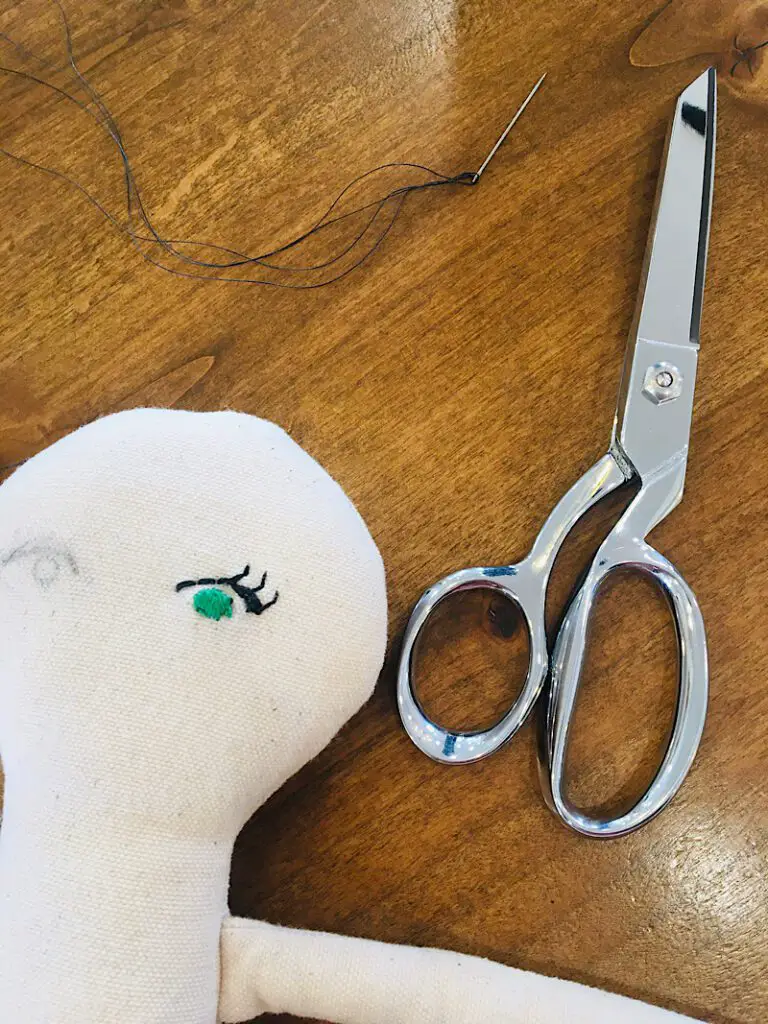
Thread your embroidery floss through your needle, but do not double it. Knot the end and trim the excess close to the knot. While you embroider, make sure to hold on to the thread by the needle so it does not come un threaded.
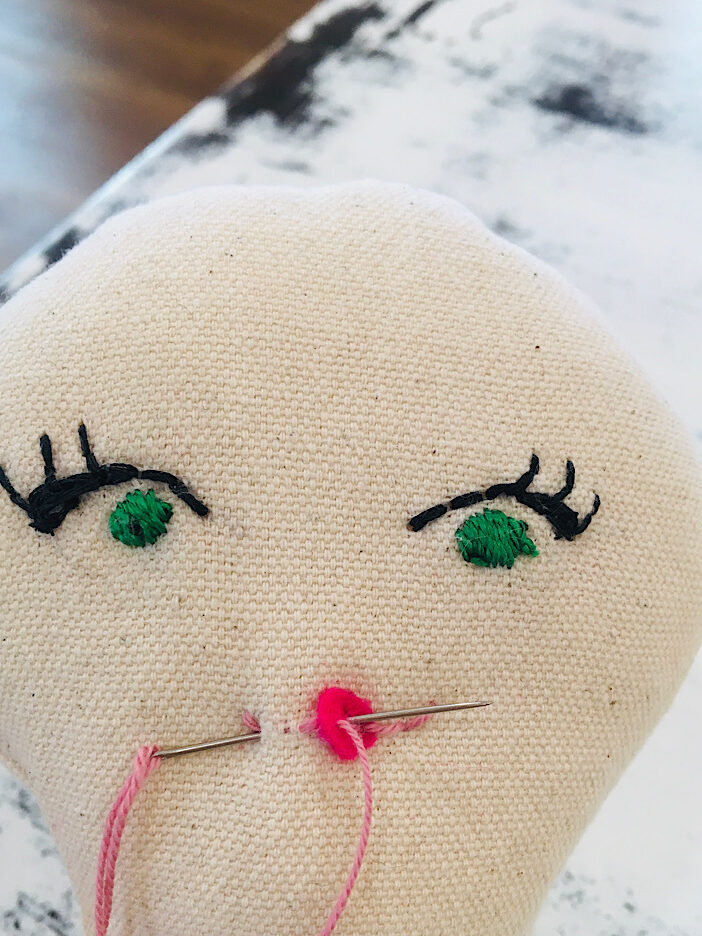
Decide where you want the mouth to be on the doll, and insert your needle there, and exit very close by. Pull the thread through until it stops at the knot.
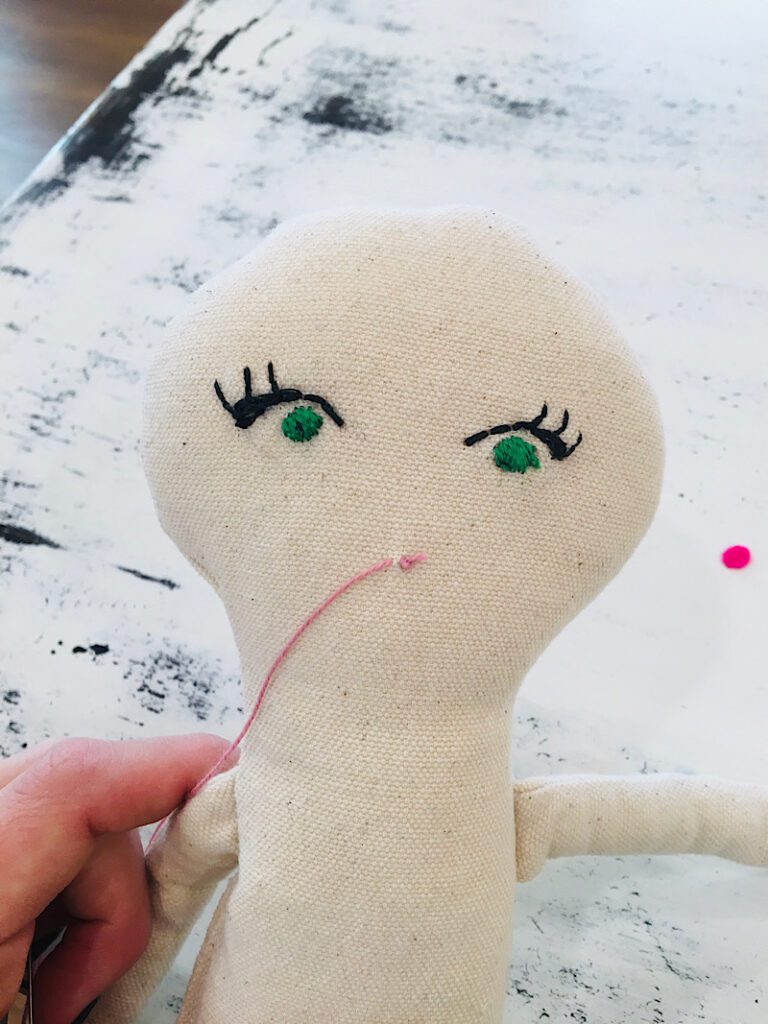
Stick the felt through the needle, right through the middle of the felt, and push it up the thread to the face.
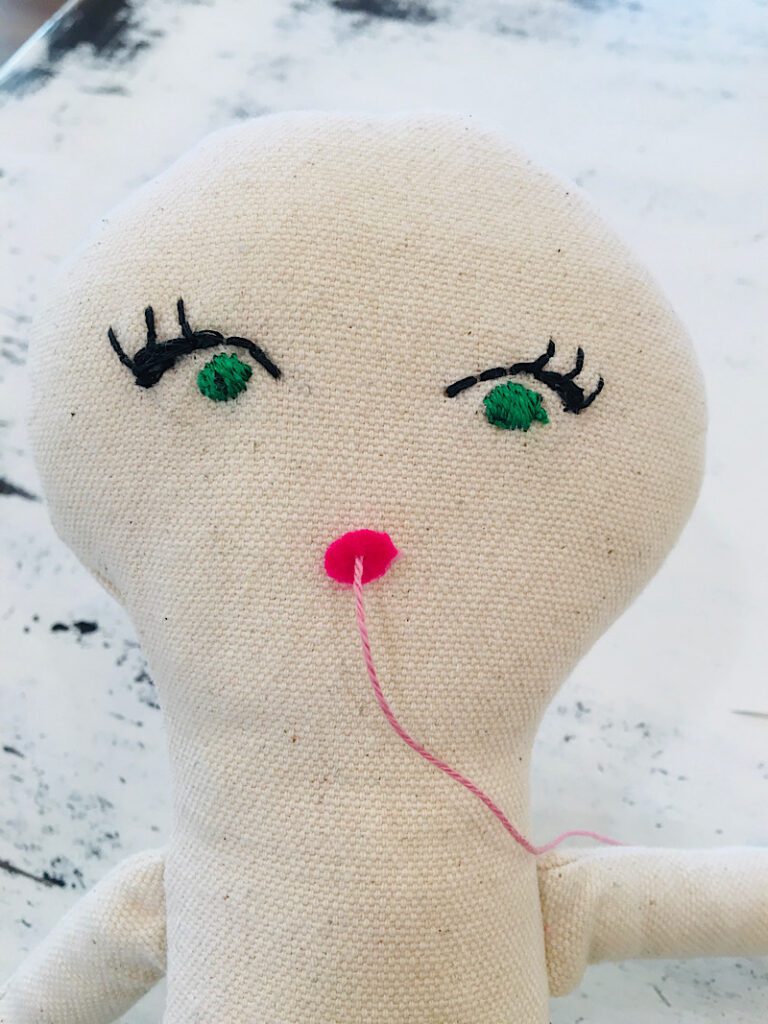
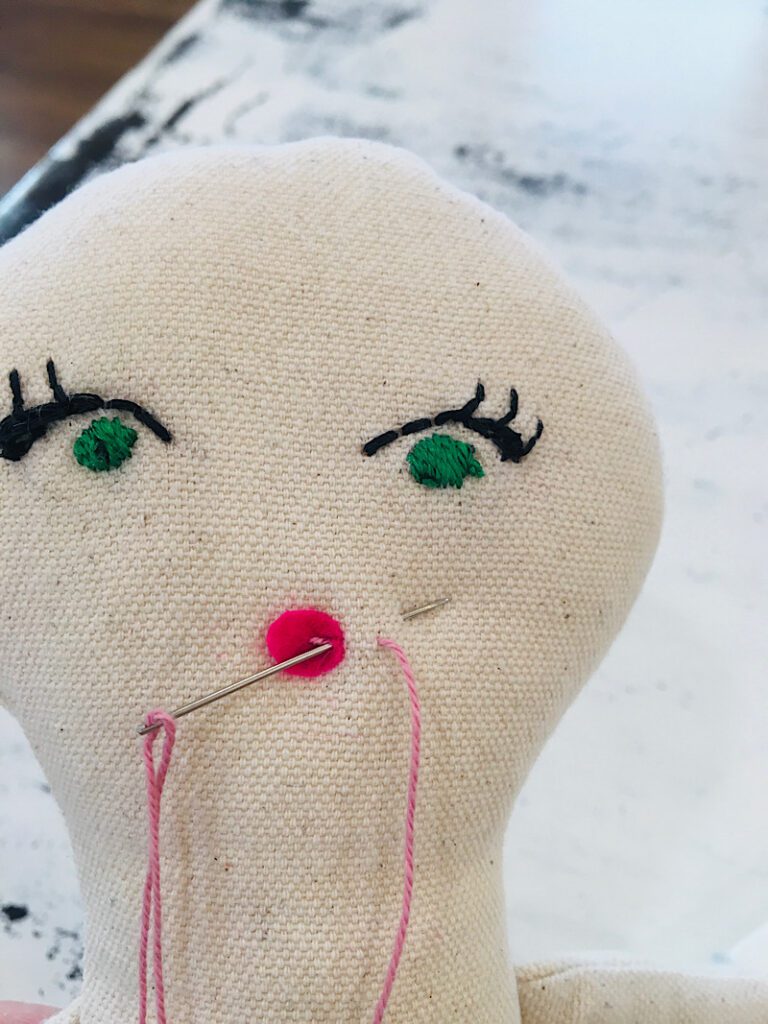
Step 3. Stitch the Right Side Of The Mouth
Insert the needle through the right side of the felt mouth, and through the doll’s face. Exit the needle a stitch-width to the right.
Then pull the floss through.
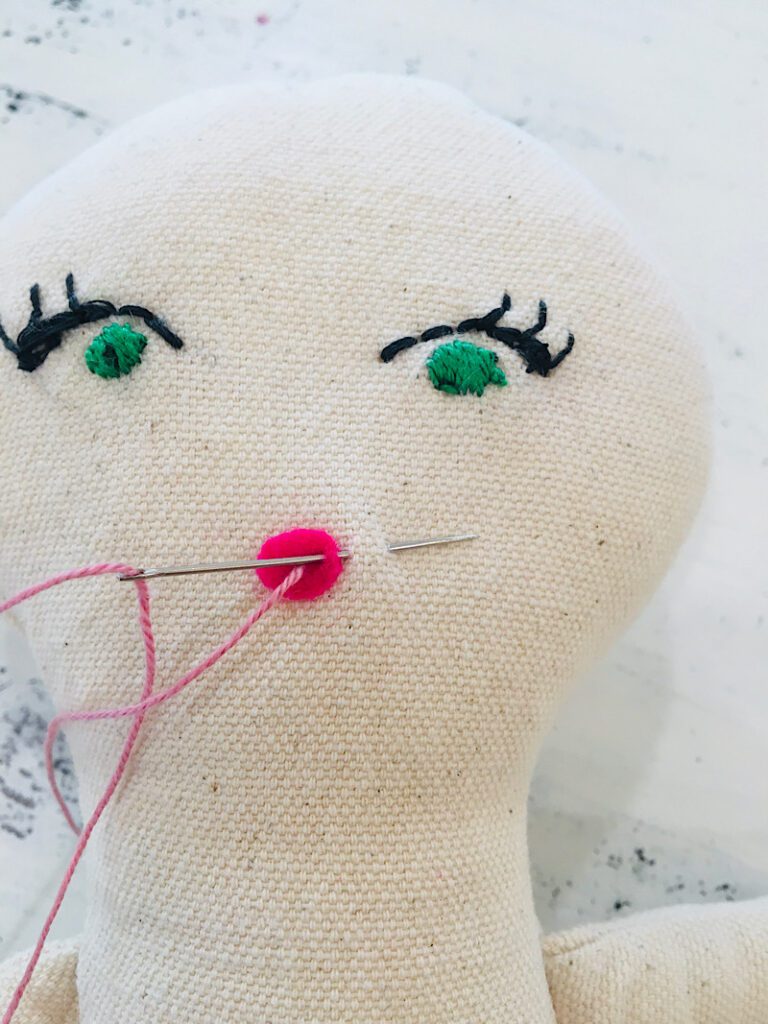
The next stitch will be a backstitch. Enter the needle through the hole of the last stitch, and exit the needle a stitch-width away from the previous exit point.
If you want the doll to have a smile, make sure to exit the needle a little bit higher than the line of the previous stitch you made, so the corner of the smile curves up.
To complete the right side of the mouth, as well as prepare for the left side, you will make another type of back stitch.
Enter the needle back into the hole of the previous stich again, but exit the needle toward the left, exiting through the imaginary point where the left corner of the mouth will be. Make sure it is in line well with the right corner of the mouth.
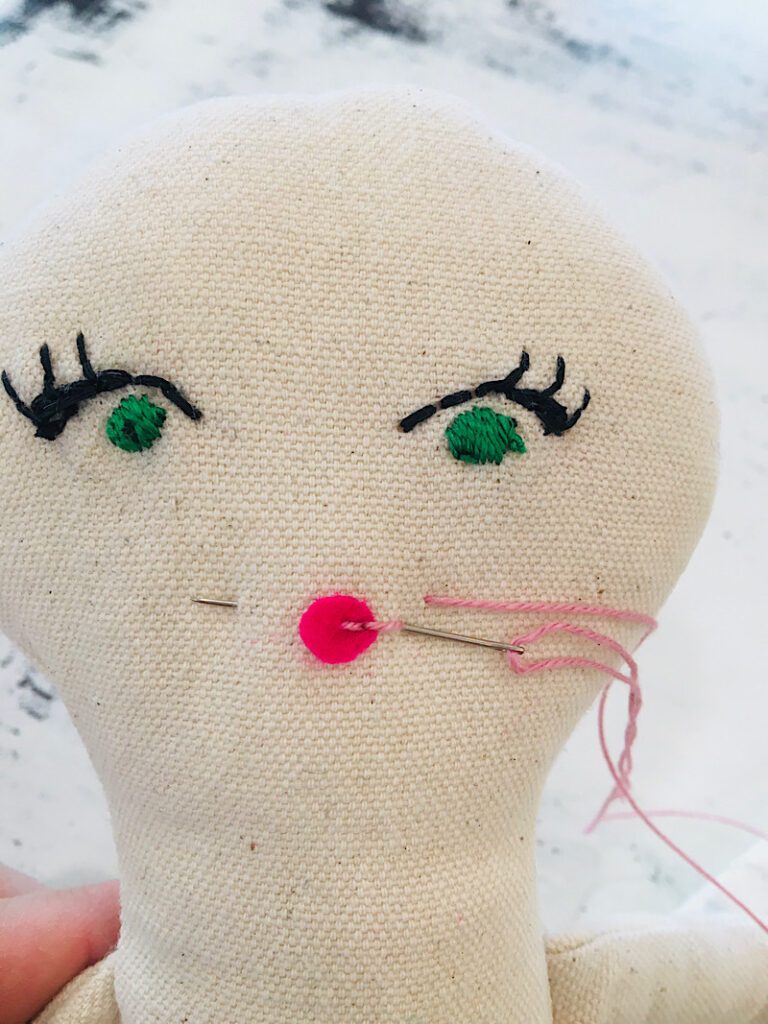
Then pull the thread through.
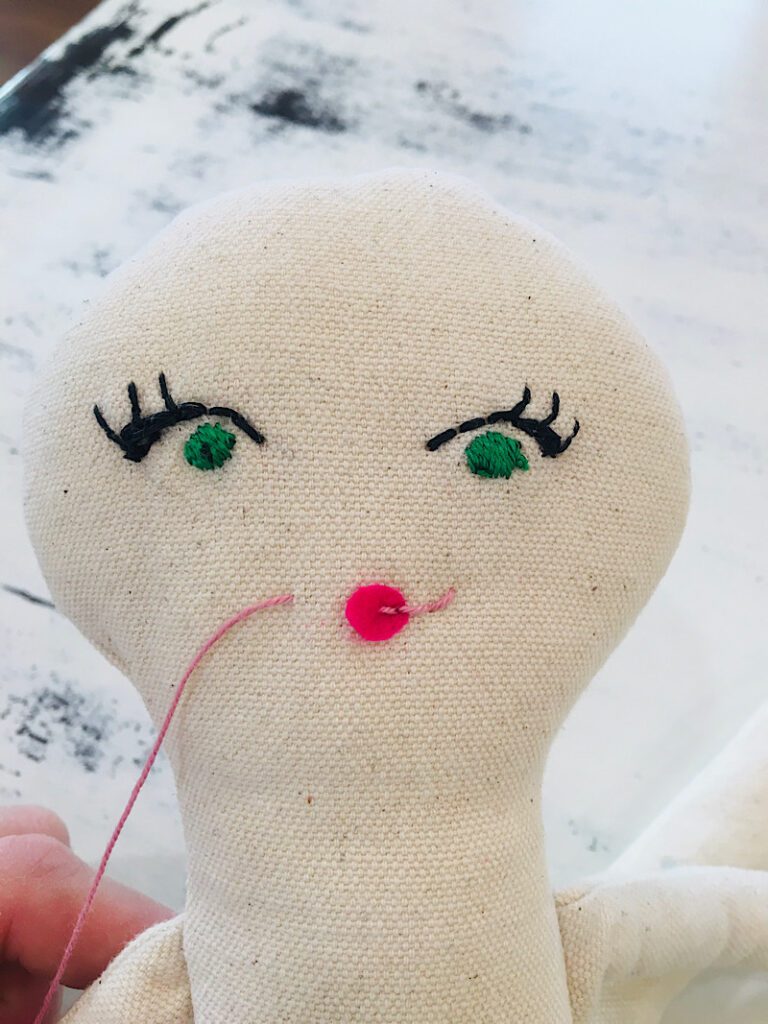
Step 4. Embroider the Left Side of the Mouth
The first stich of the left side will be the stitch that curves up the smile.
Enter your needle downwards and towards the lips, about a stitch width away, mirroring the curved-up stitch you made on the right side.
Exit the needle through the face and edge of the doll’s felt lips. Then pull the floss through.
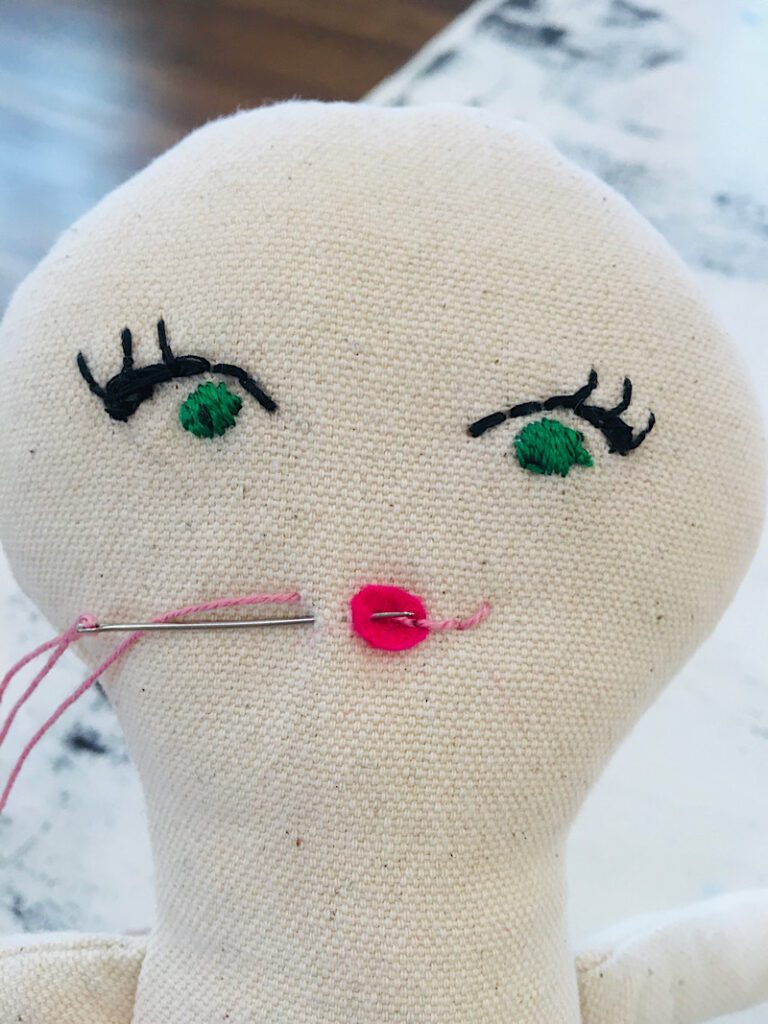
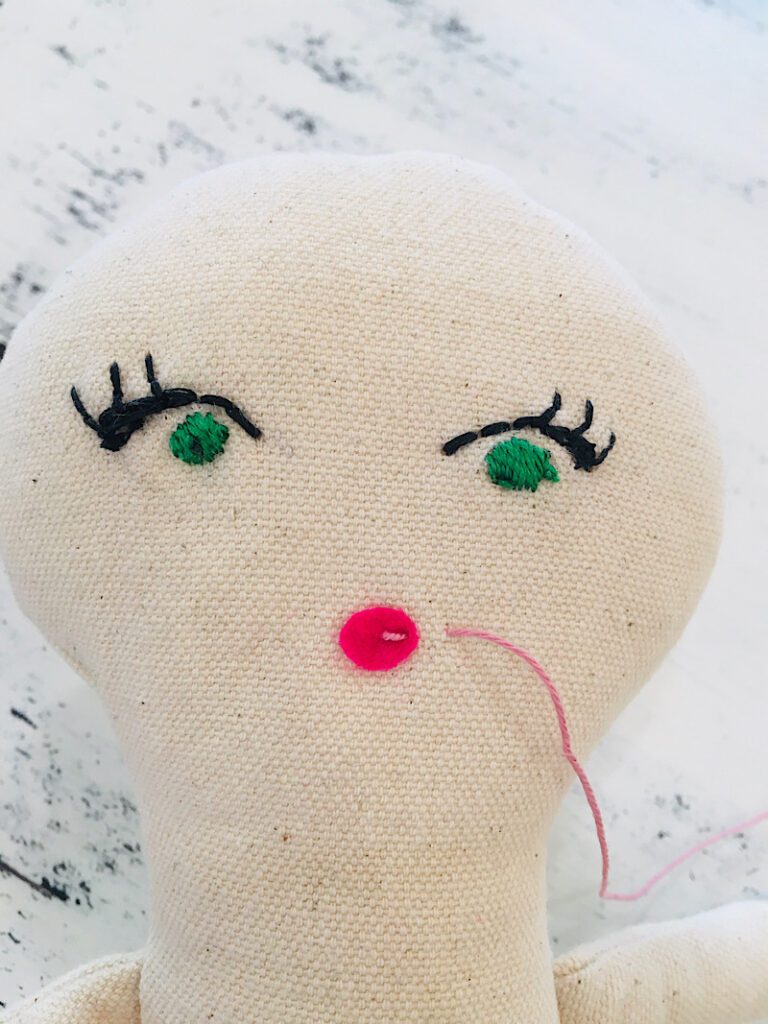
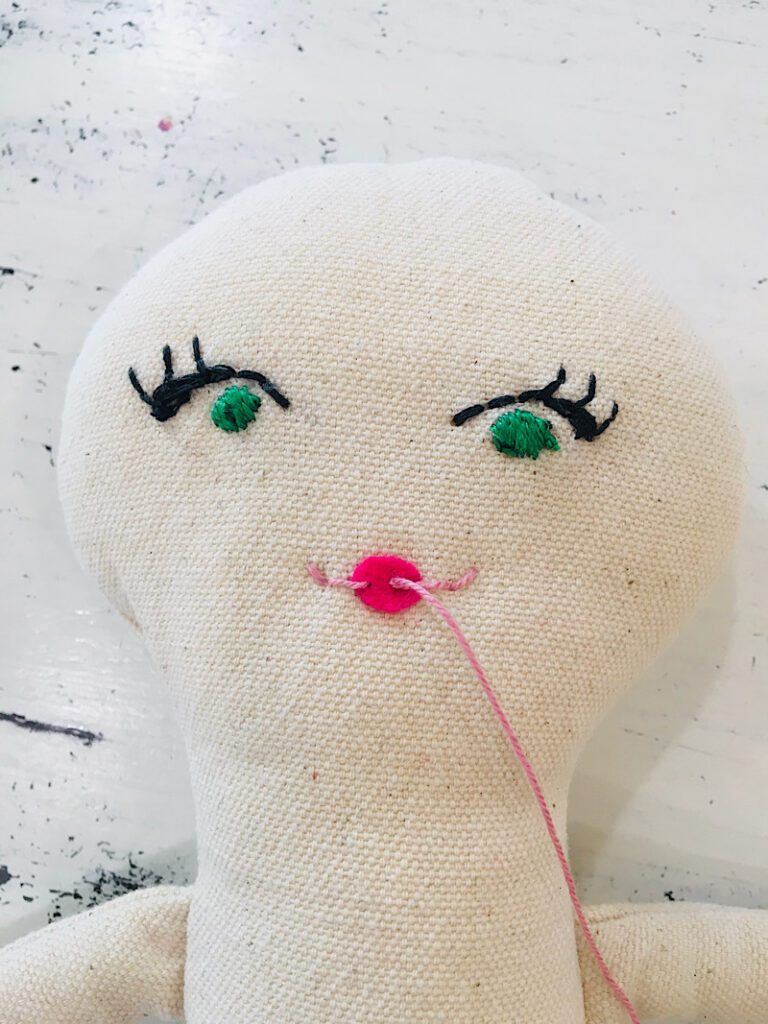
Backstitch again, by entering the needle through the hole of the last stitch, and exit the needle through the center of the felt lips where you very first began.
When you pull the floss through, you will be in the center of the felt lips, with one stitch left to make.
Step 5. Make The Final Stitch And Finish The Mouth
Make the final backstitch by entering through the hole of the last stitch, and exit the needle behind the lips of the doll.
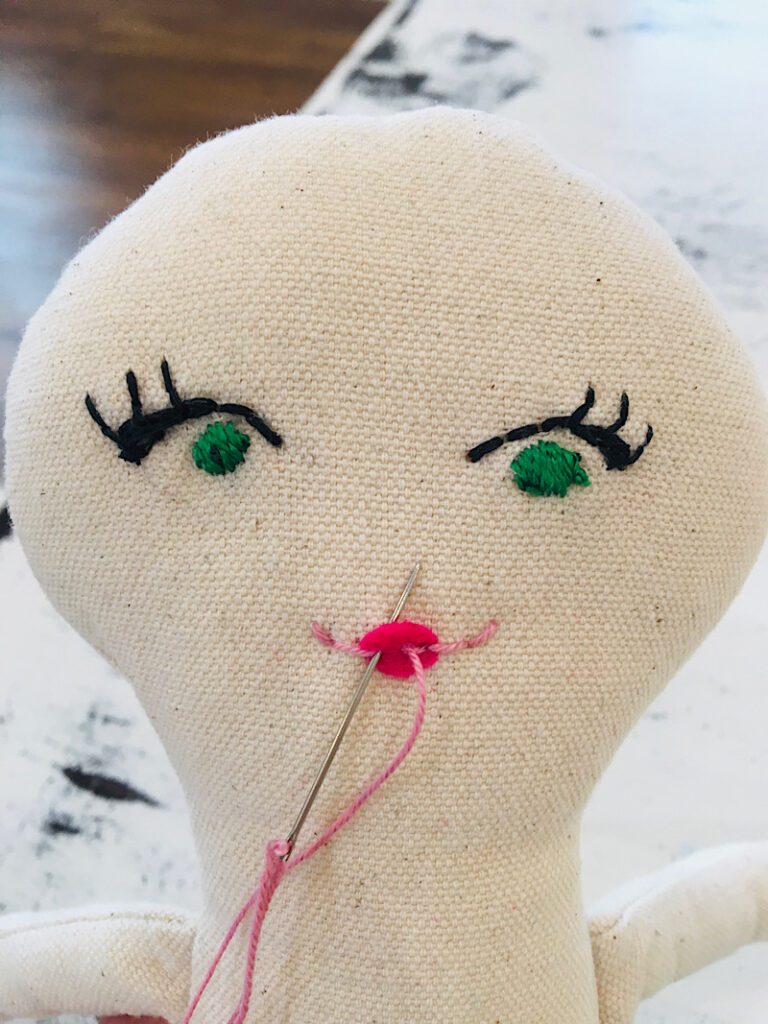
Pull the floss through, then insert the needle behind the stitches and lips, pointing down, and pull the floss through, but leave a loop on the top.
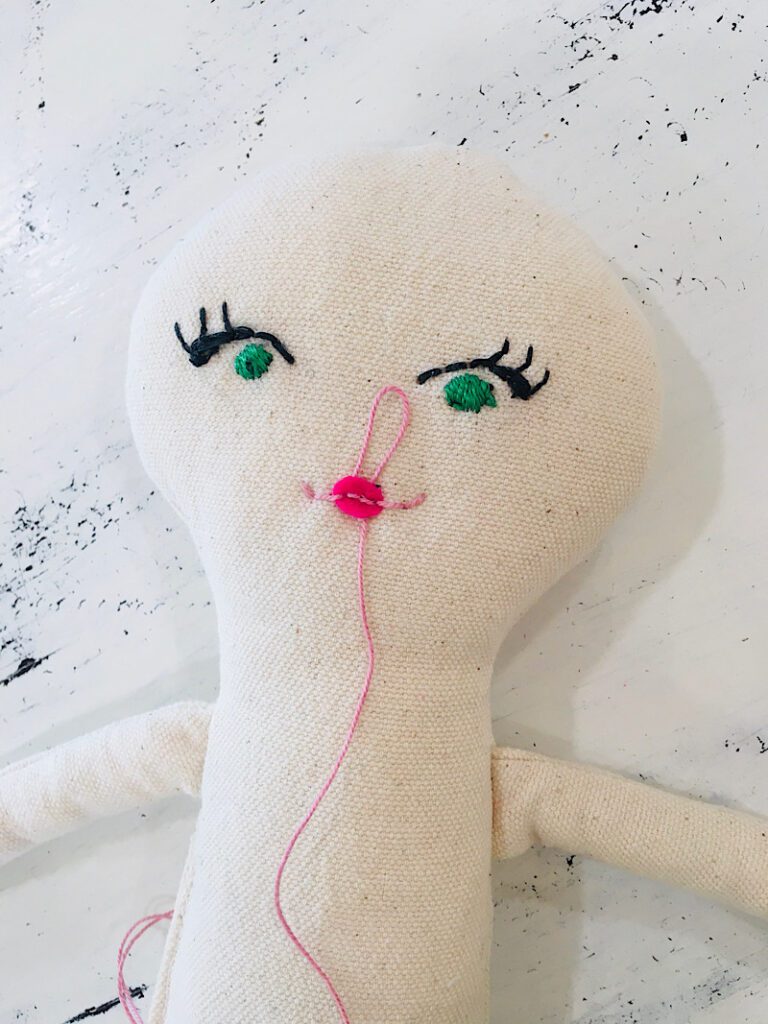
Without pulling the loop closed, insert the needle on the left side, back up behind the lips.

Wide the needle through the top loop twice, then feed the loop closed by tugging on the threads until a knot is tied.
Trim the embroidery floss, and you now have a knot hidden behind the lips!
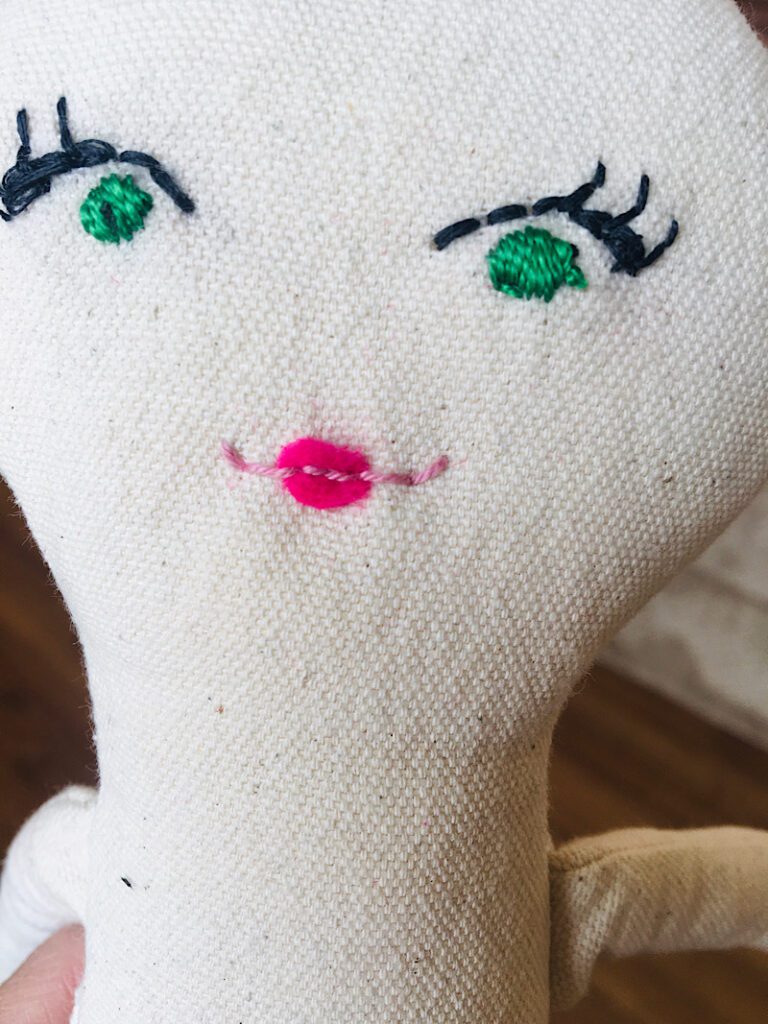
This completes your doll mouth and lips!
You can see that using a lighter floss color than the felt makes the smile look a bit toothy… but I think it is cute!
If you would rather the stiches be hidden, make sure to use embroidery floss or thread that is the same color as the felt so it blends in.
Conclusion
I hope you liked this fun tutorial to embroider your very own doll mouth!
The felt makes it really easy to hide the knots, which makes this a quick project!
If you need help, let me know what is confusing you in the comments below.
As always, please pin this post to Pinterest if you enjoyed it, and sign up for my email list.
i loved that, will there be a part 2?
I think there might be more doll mouth tutorials!