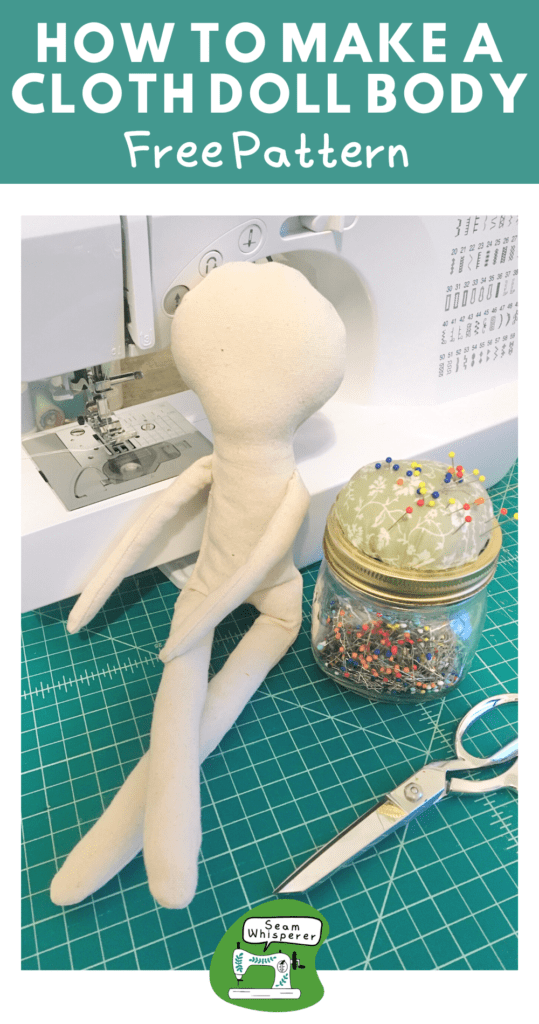
Do you want to learn to make a simple but beautiful cloth doll? This rag doll body pattern is the perfect blank slate for all sorts of customizations. Fast to sew, and great for heirloom dolls, you can even use it as a gift or to sell.
After a few years of drafting various doll patterns for my daughters, I finally settled on this minimalistic and whimsical doll pattern. I like to call it an Heirloom Cloth Doll pattern because the beautiful dolls it makes could really be family treasures.
You will love how easy and fast it is to whip up, and you will never get bored of how many ways you can customize it to make it into a unique doll. The sky is the limit!
Making a doll body is only the beginning of how to make a doll. Make sure you also learn my tips on how to make doll clothes!
This post may contain affiliate links. Read the full disclosure here.
About The Cloth Doll Body Pattern
This pattern is great for intermediate sewers, but I have lots of photos in this tutorial so don’t be afraid to try if out if you are a beginner!
Some of the key features I designed for this doll body include:
- Minimalistic limbs, the arms and legs are just rounded tubes, a style that is whimsical and easy to sew
- A large head, perfect for attaching lots of hair to style and room for detailed facial embroidery
- Sewn-In arms, for more durability and less hand sewing later on
- Medium Sized Doll Body, This pattern creates a doll that is large enough to dress and play with, but small enough for a young child to tote around
This pattern uses generous 1/2 inch seam allowances.
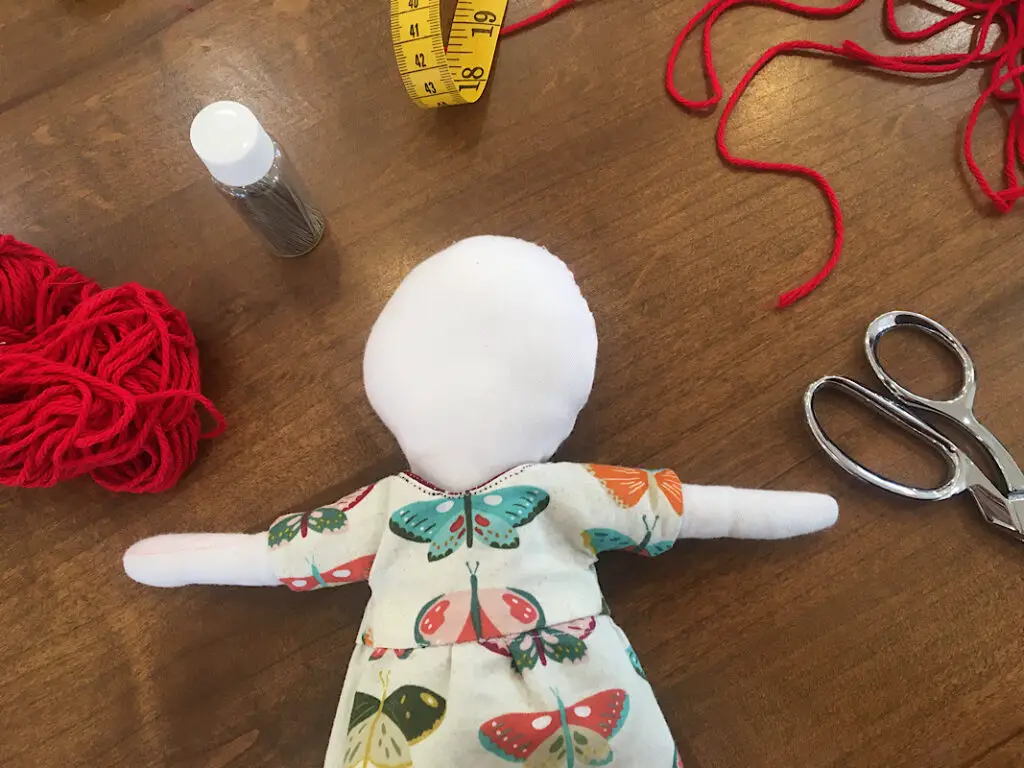
Supplies Needed
- Sewing Machine
- Fabric Scissors
- Pinking Shears (Optional)
- Sewing Pins
- Hand Sewing Needle (Optional)
Materials Needed
- 1/4 yard or fat quarter- Medium Weight Fabric – for the dolls body (Cotton, canvas, muslin, etc. Any color you want your doll to be. I recommend using a fabric with no stretch, a tight weave and not too thick. If using canvas like I do in this tutorial, use no thicker than 6 oz weight.)
- Matching Thread (Same color as body)
- Fiber Fill or Wool Stuffing
How To Download The PDF Pattern
The cloth doll body pattern is free for download when you sign up for my email list, I will send it straight to your inbox!
Enter your email below and I will send you the file.
When you download the file, print it at 100% scale. After printing, measure the “1 inch test square” to make sure it printed at the correct size.
How To Make A Cloth Doll Body
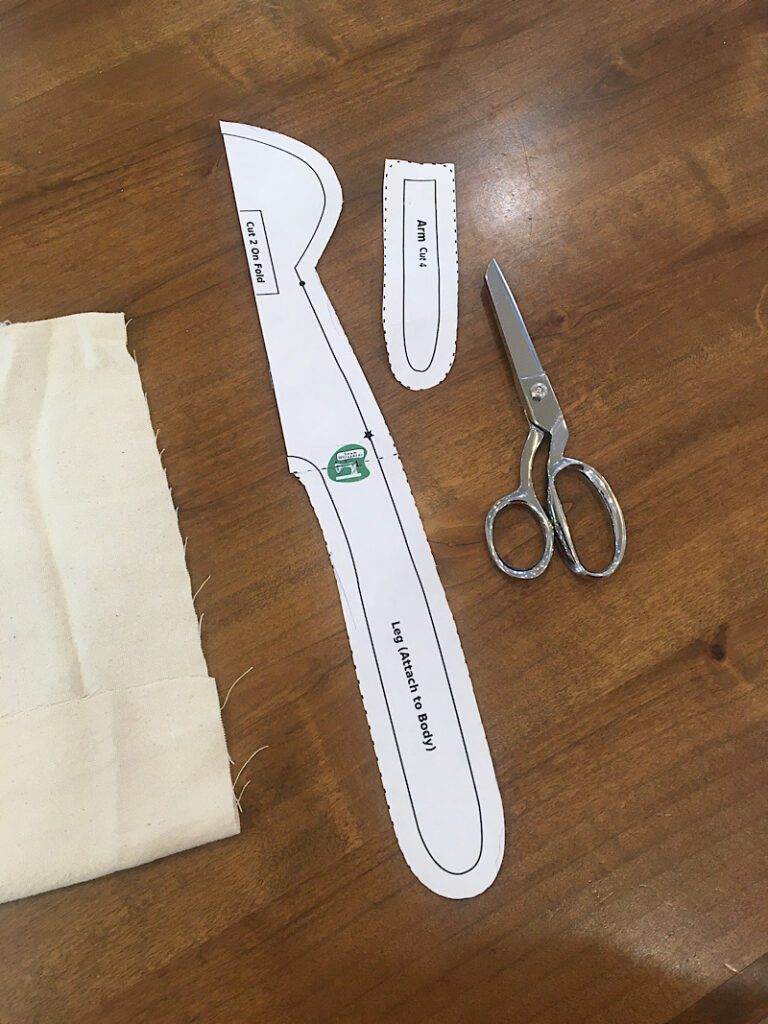
Step 1. Cut And Assemble The Pdf Pattern
After printing the pattern, cut it out on the dotted lines.
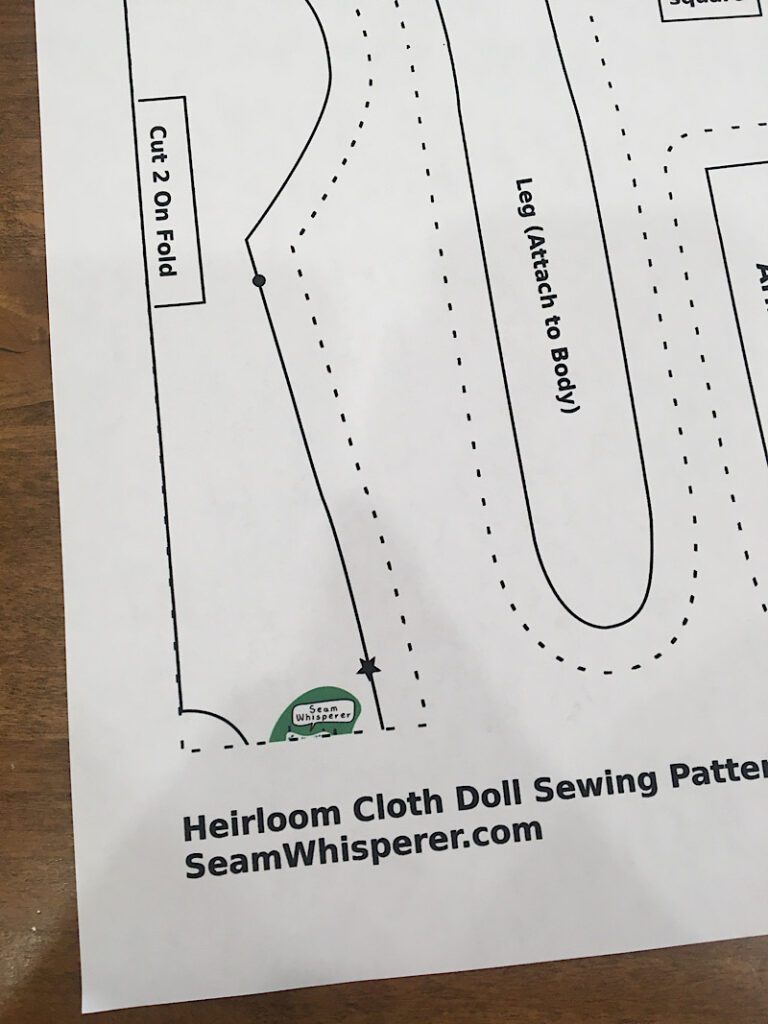
The leg will need to be taped to the main body by lining up the halves of the “Seam Whisperer“ logo as shown in the image below.
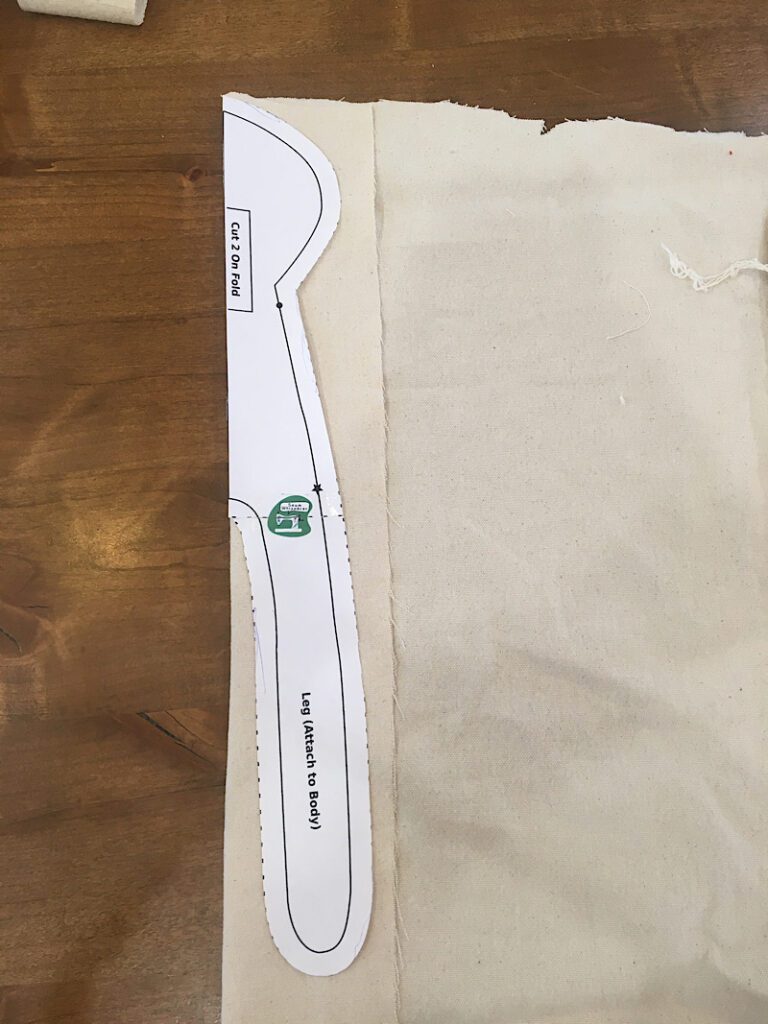
Step 2. Cut Out The Fabric
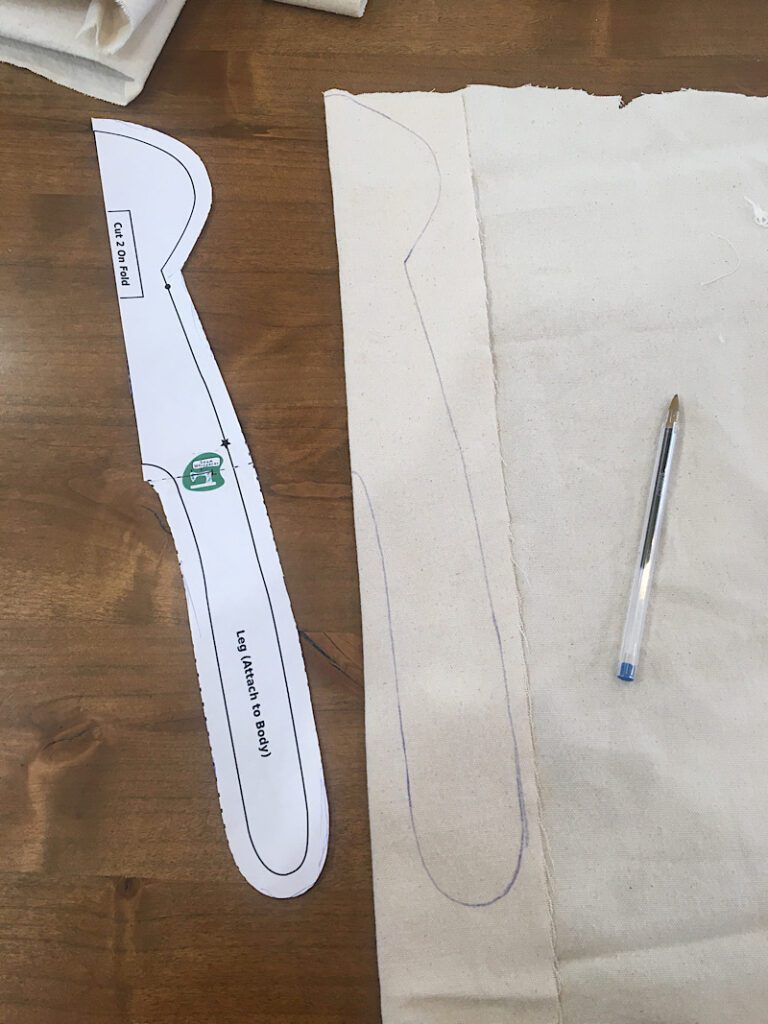
The body of the doll needs to be cut on the fold. Fold your material over several inches (enough to fit the pattern on) and line up the straight edge with the fold symbol to the fold of the fabric.
To make cutting out the pattern easier, you can trace the pattern onto the fabric with a pencil or pen.
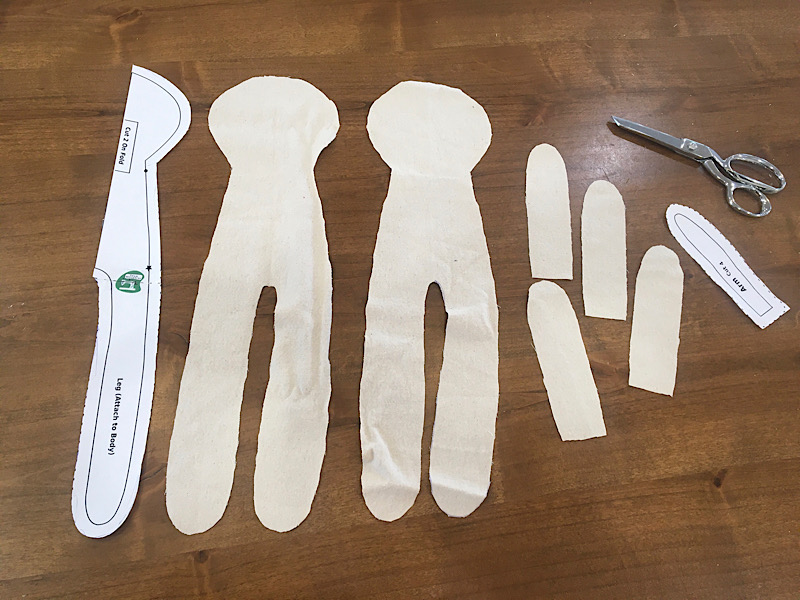
Cut 2 of the main body piece, each on the fold.
Cut out 4 arm pieces.
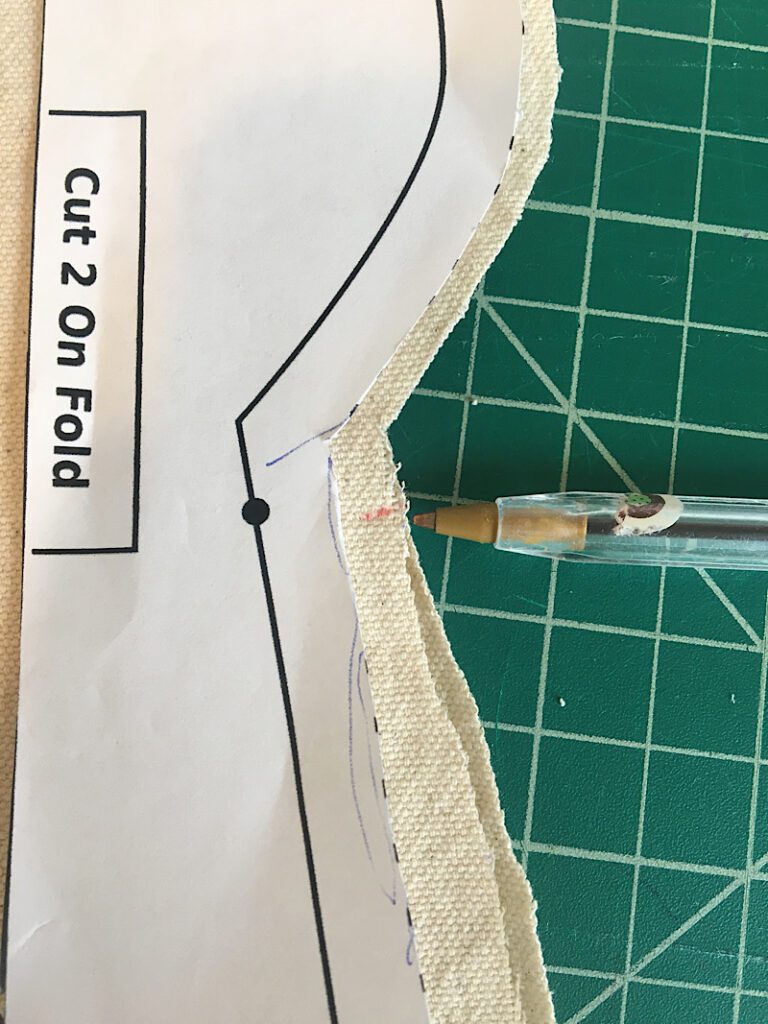
Notice the dot and the star on the body pattern piece. The dot is the shoulder point, and the star is the hip point. To transfer ransfer these two markings onto your doll fabric, line up the pattern with the fabric and make a mark in the seam allowance with a pen.
Mark the DOT on both the right and left sides, but mark the STAR only on the right side.
Step 3. Sew and Stuff The Arms
Pin two of the arm pieces together with right sides facing, for both arms.
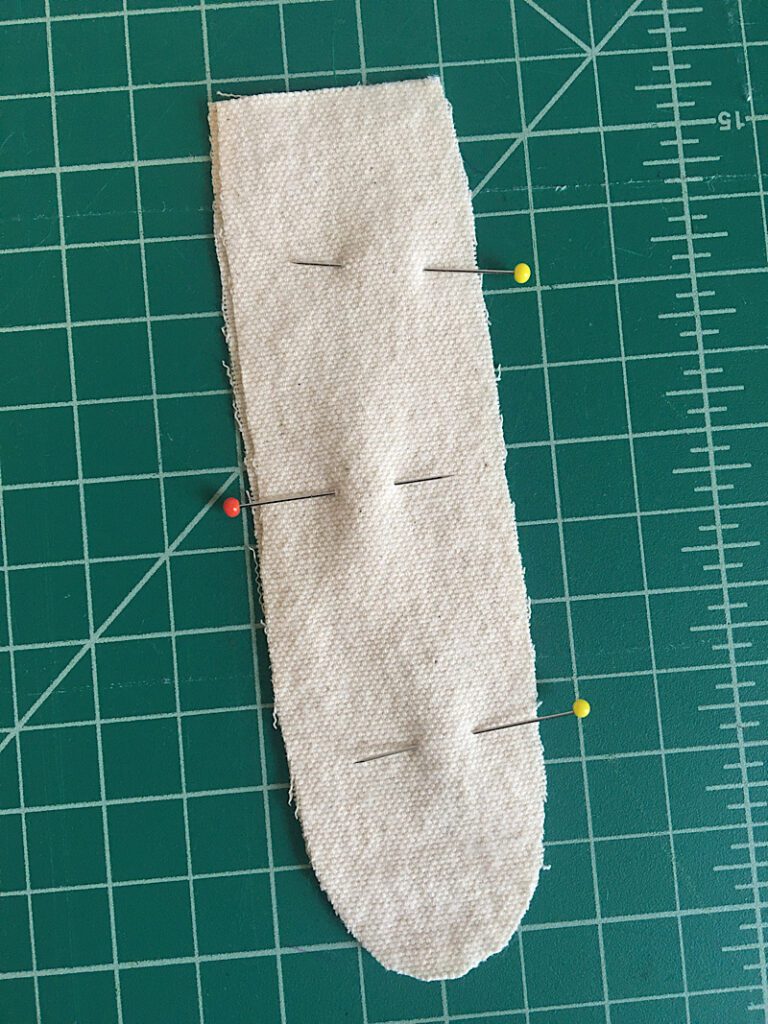
Sew each arm together by sewing in a “U” shape, leaving the flat top side open. Make sure to backstitch at the beginning and end and use a 1/2 inch seam allowance.
After sewing, carefully trim excess fabric away with the pinning shears. (Pinking removes bulk and helps prevent fraying.)
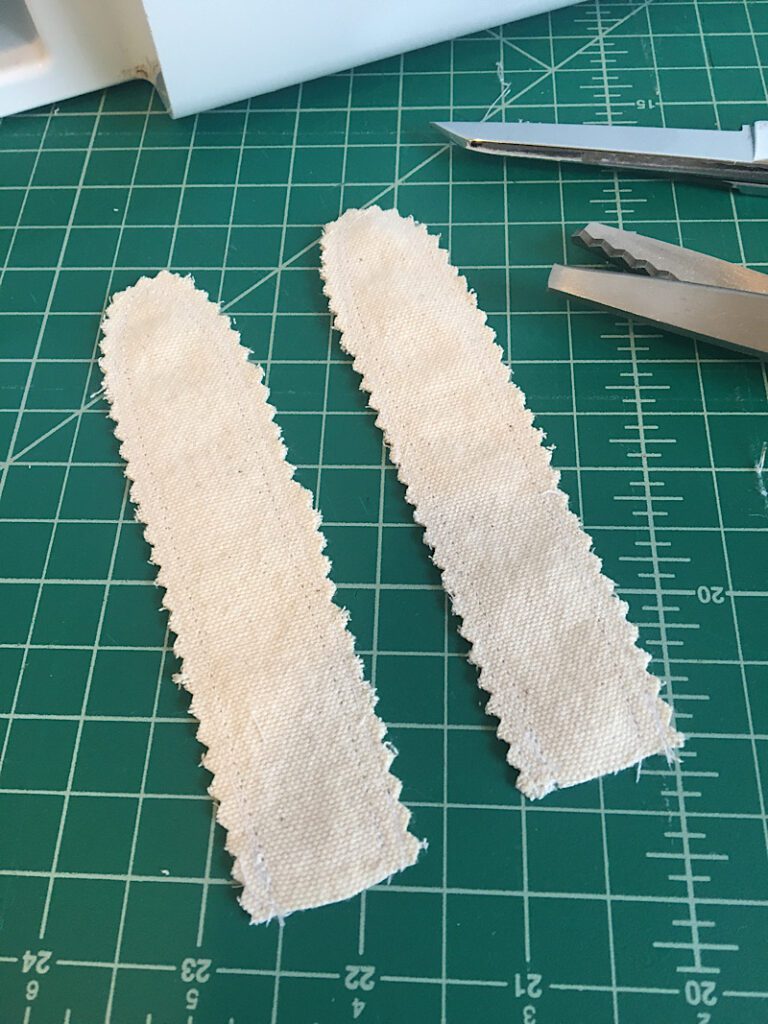
If you don’t have pinking shears, trim only at the curved ends and clip the edges to make turning them easier. (To clip the edges, cut perpendicular to the stitch line around the curve a few times without cutting into the stitch line.)
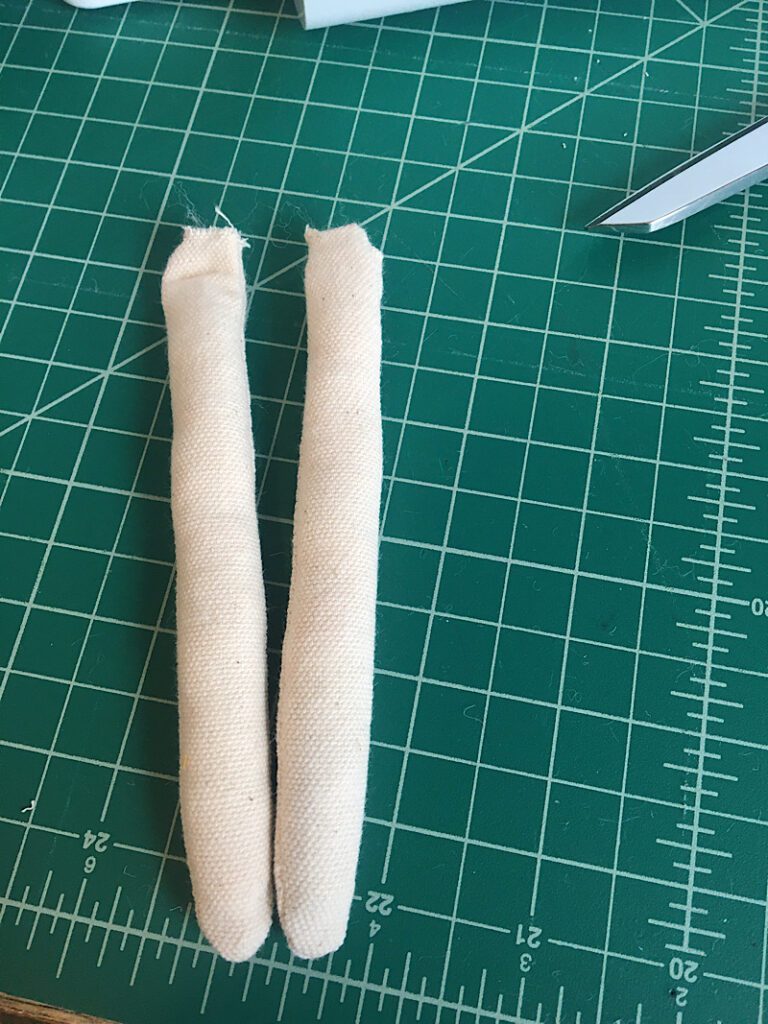
Turn the arms inside out. This will take some effort since they are quite thin. I like to use the top smooth side of a pen to help work it through.
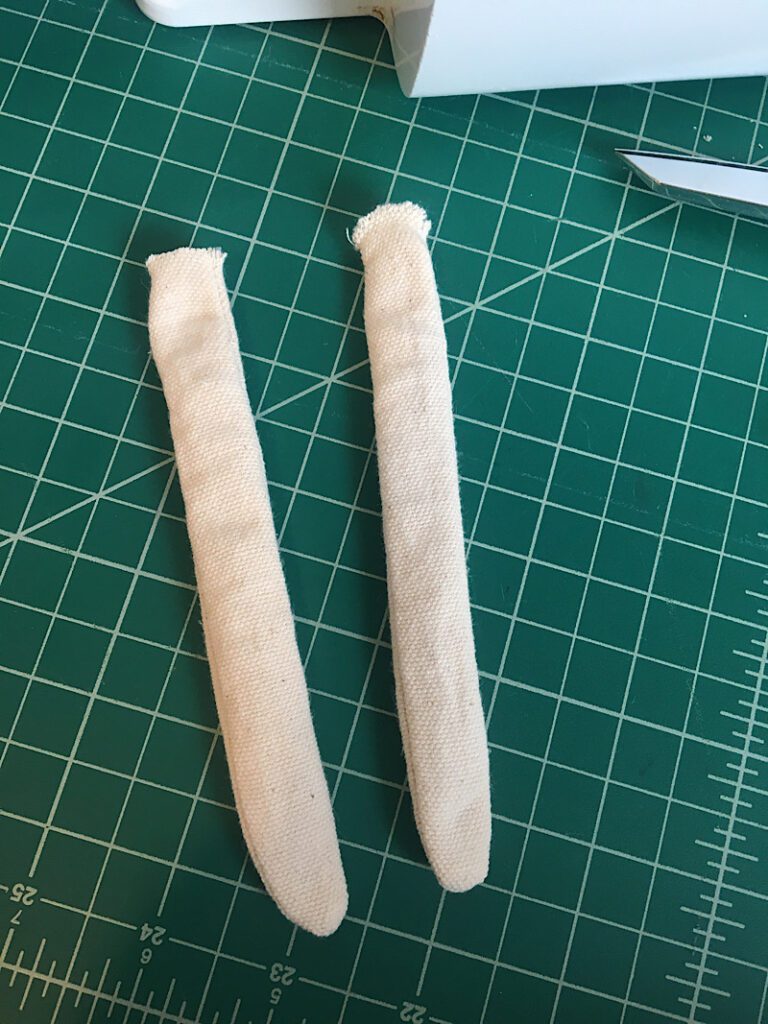
Then, stuff the arms with fiber fill or stuffing to make them plush. Again, I like to use a pen to help me push the stuffing in.
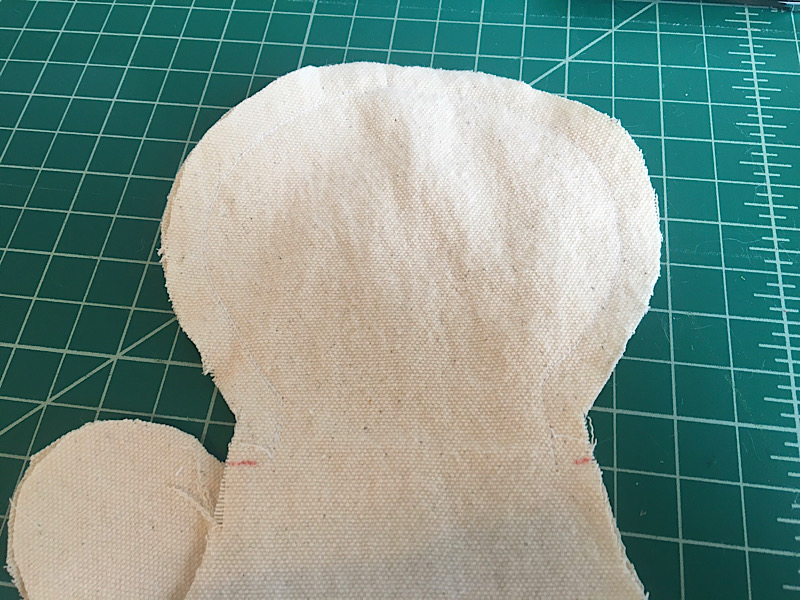
Step 4. Sew the Head and Neck of the Doll
Lay the two body pieces together with right sides facing, and pin them.
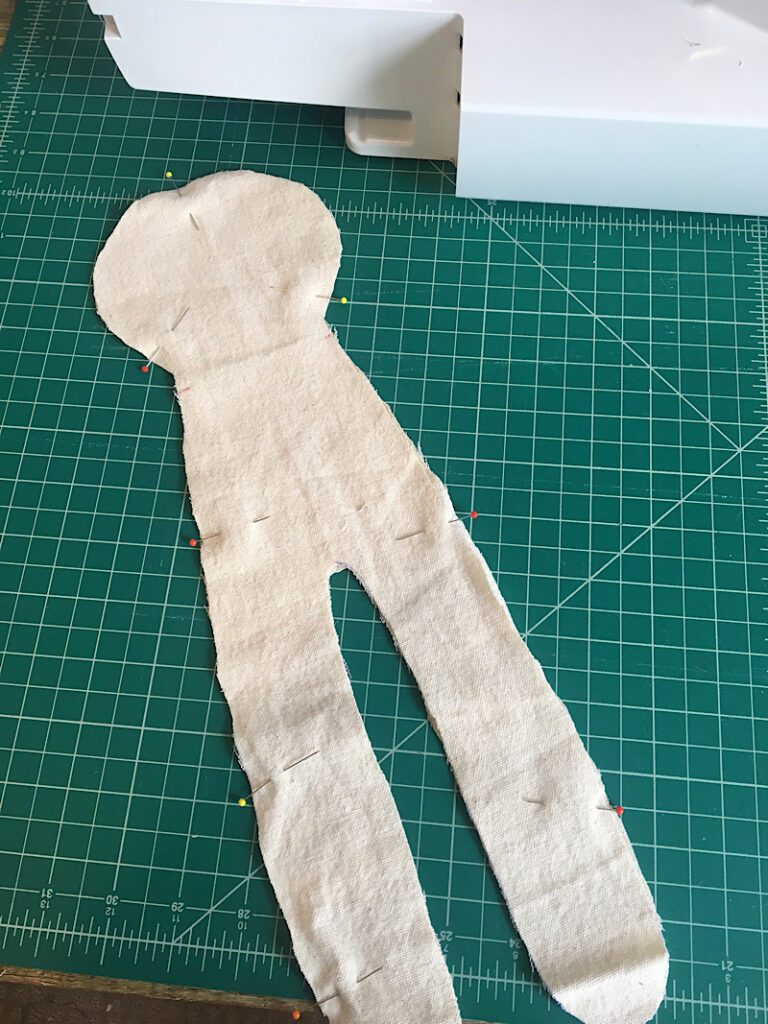
Sew the head and neck of the doll with a 1/2 inch seam allowance, starting at once shoulder point, up over the head, and ending at the second shoulder point.
Step 5. Sew The Doll’s Arms To the Body
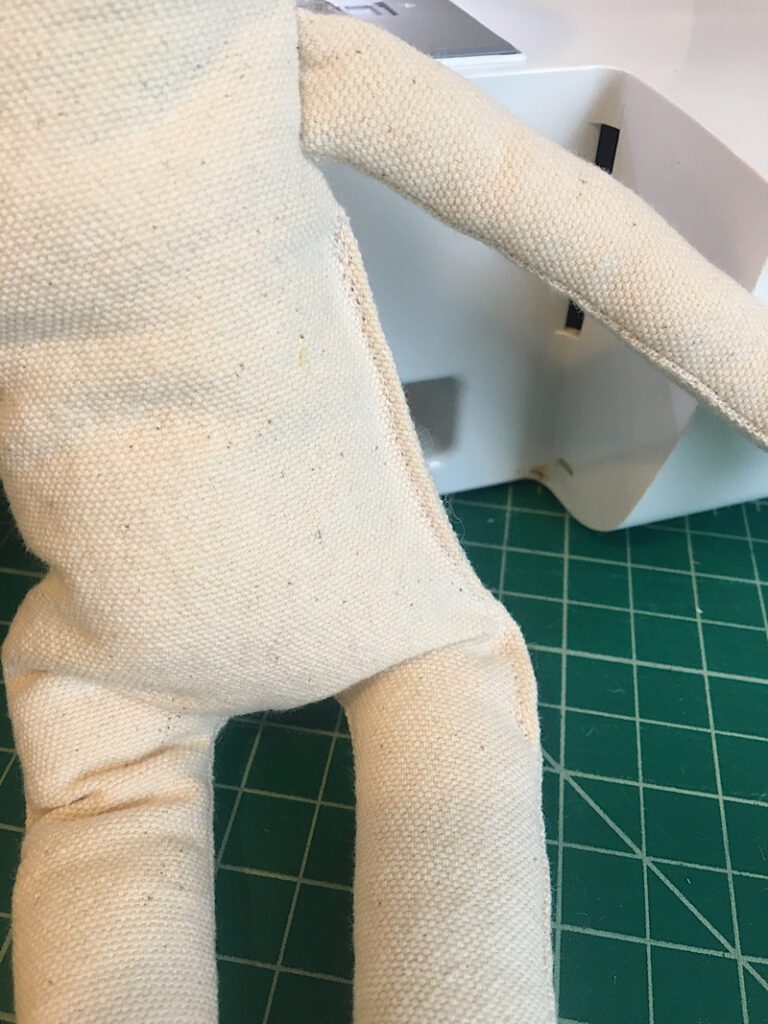
Take one of the arms and insert it between the two layers of the doll’s body, with the open edge of the arm lined up with the left side raw edge of the doll’s body. It should be placed directly underneath the left shoulder point. The “hand” of the doll will stick out the other side.
Pin the arm in place.
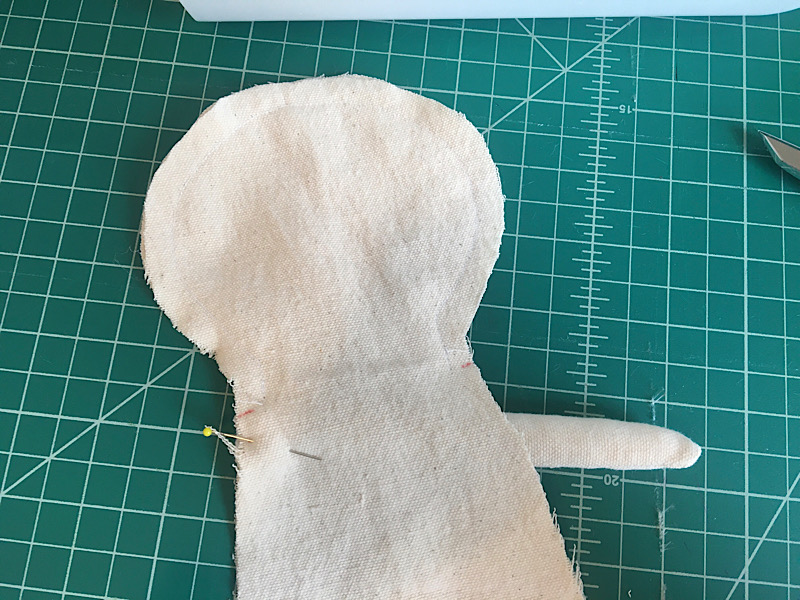
Continue your stitch line down the left side of the doll just enough to attach the arm, then stop for now. (You can also sew some additional stitch lines closer to the raw edge to give the arm a bit of reinforcement,)
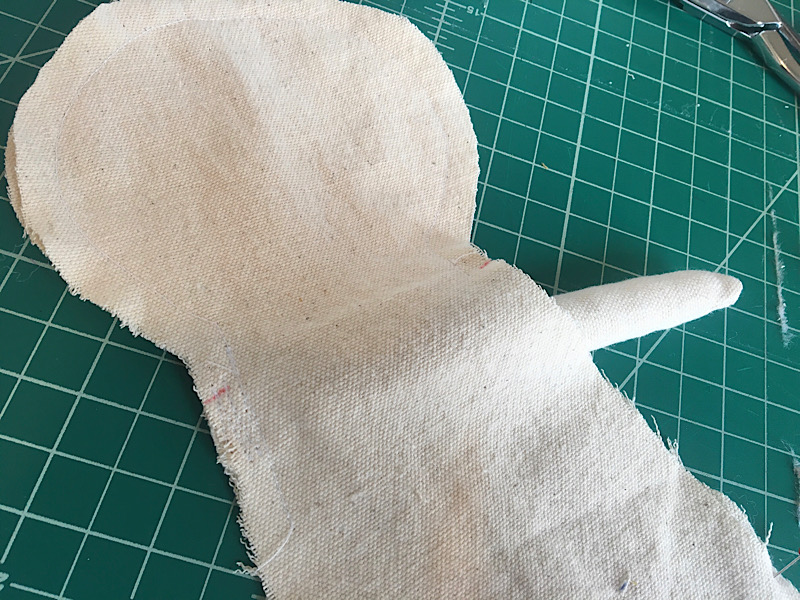
Then, repeat these steps with the right arm.
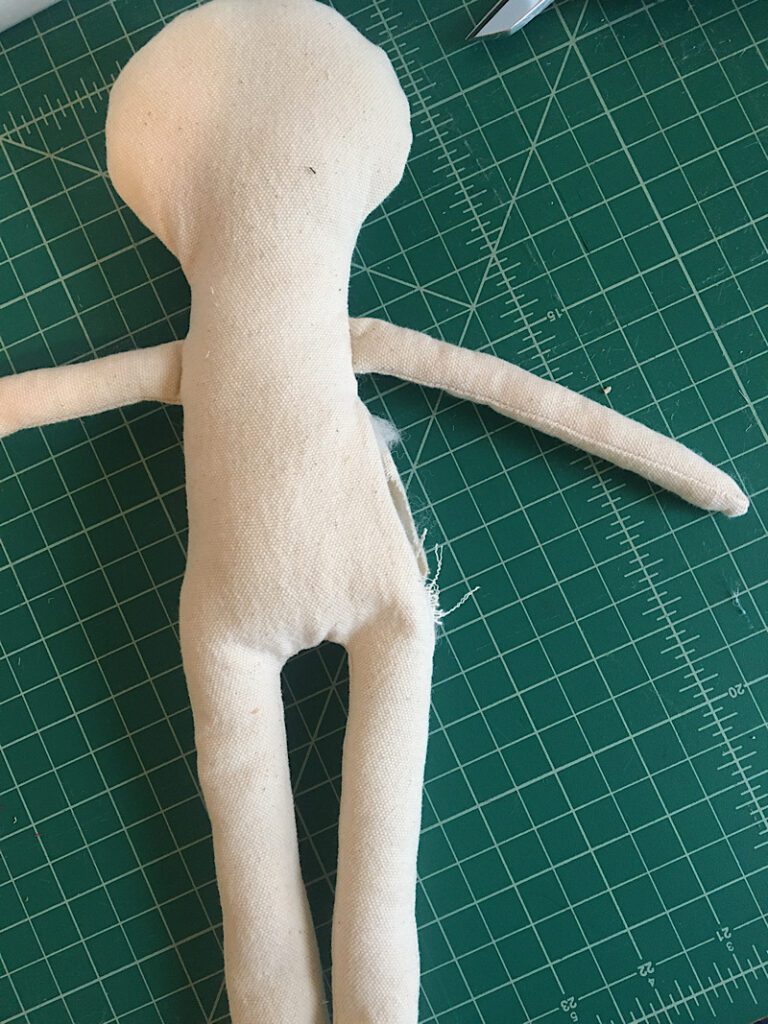
The arms are now attached to the doll and inside the doll.
Carefully bend the arms up into the doll’s head to get them out of the way before you continue sewing.
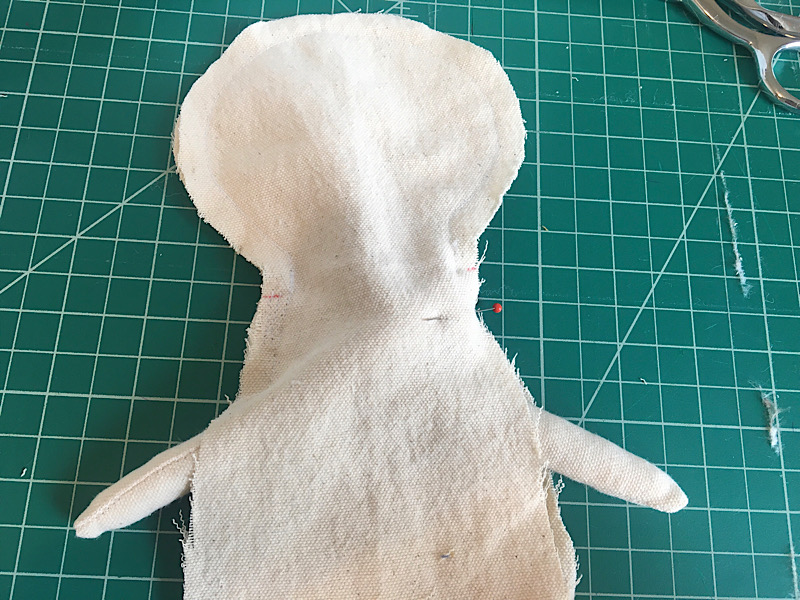
Flatten your doll back out now that the arms are out of the way.
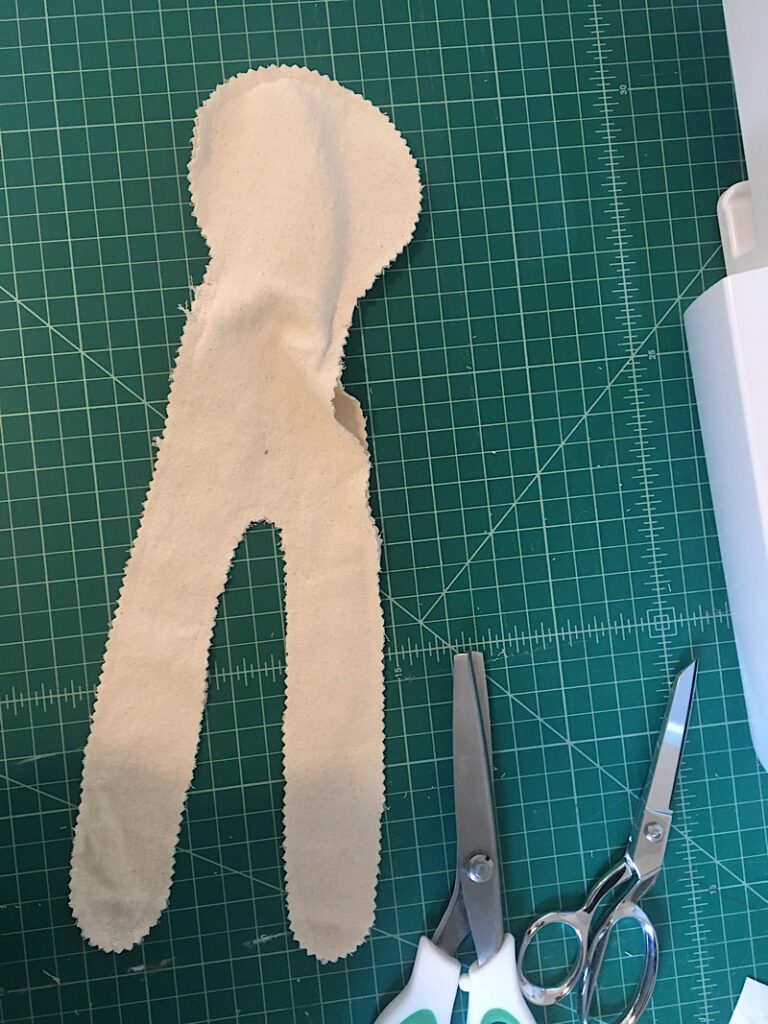
Sew around the rest of the perimeter of the doll, starting at the left arm where you ended previously, down the legs, and back up to the star marking you made on the right hip. Leave the gap open between the star mark and the right arm.
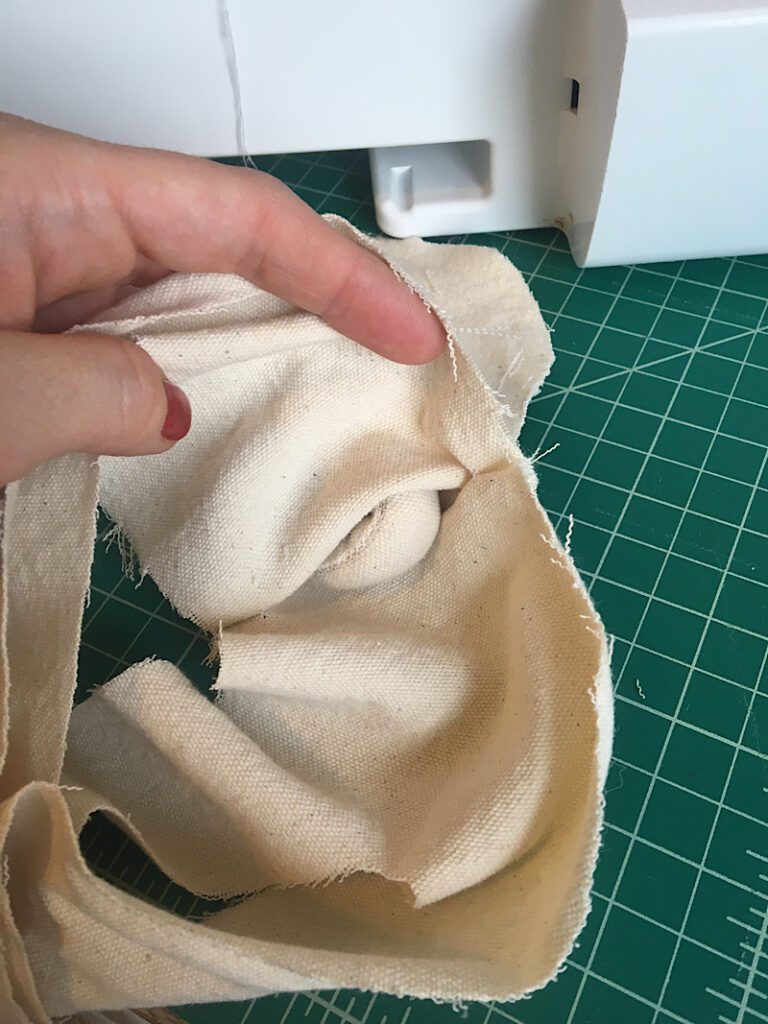
Step 6. Turn And Stuff The Doll
Turn the doll right side out through the gap you left open. Start by turning the legs. Then, carefully pull the arms out from, being tucked into the head.
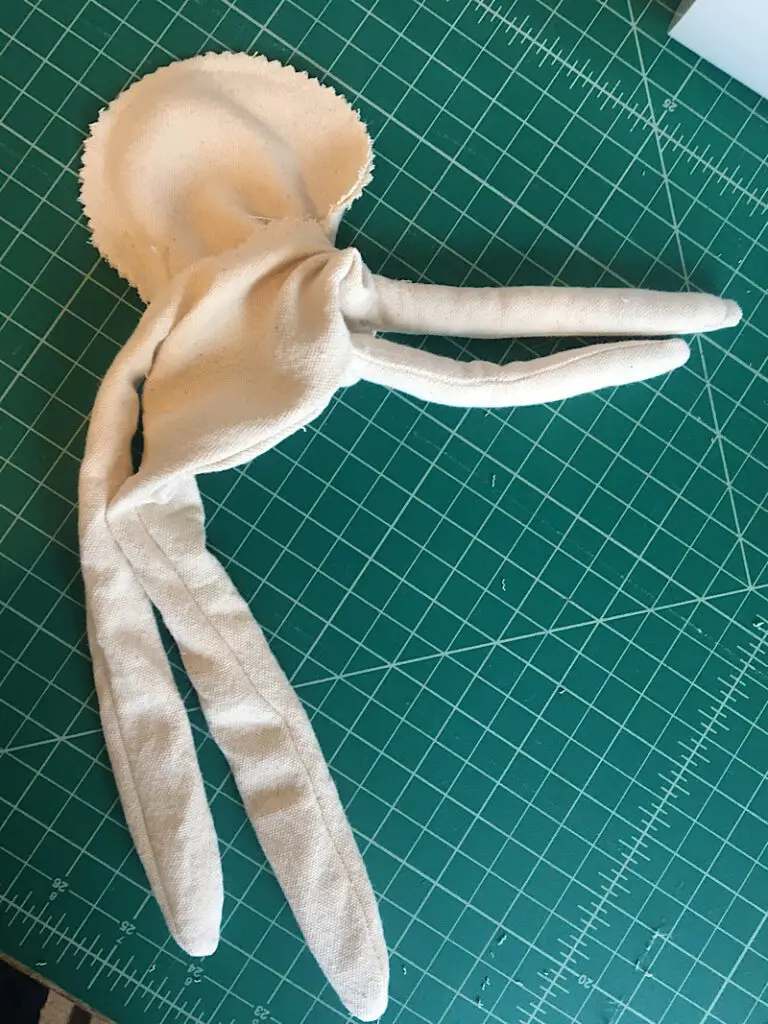
Lastly, turn the head and the torso right side out.
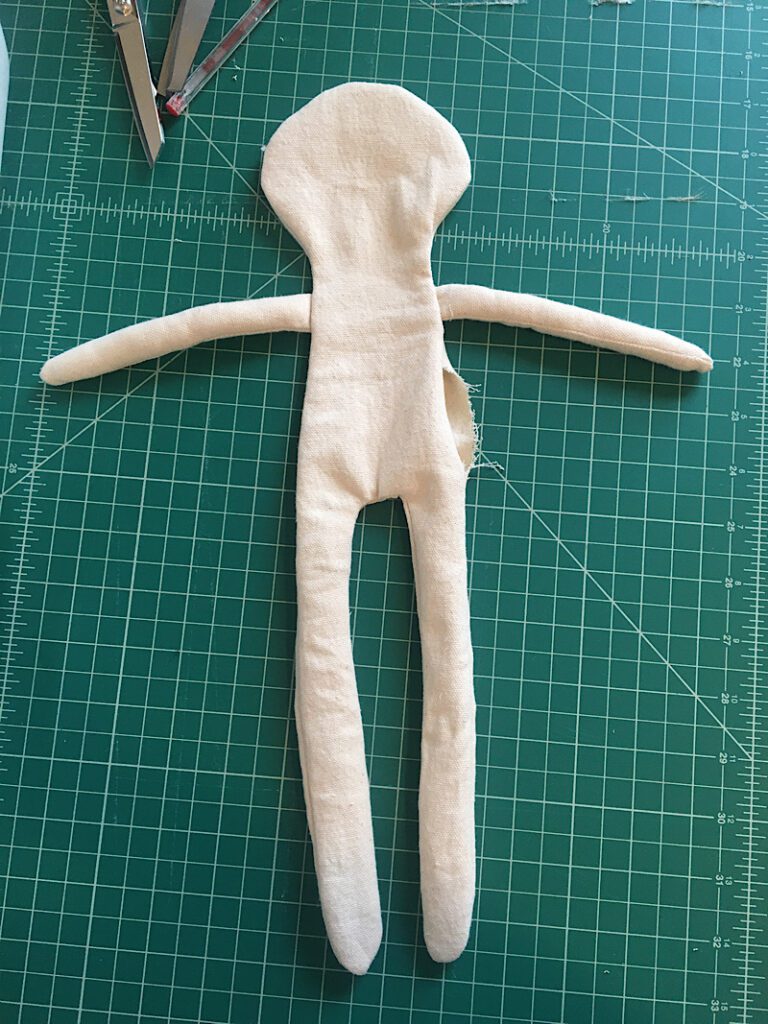
Press the doll flat and use your fingers or the top side of a pen to smooth out all the curved seams. Shape the dolls head and feet to make sure they are nicely rounded.
Now it is time to stuff the doll!
Stuff the farthest away places first. The left leg, then the right leg, then the head, then the torso.
I like to rip off pieces about the size of my hand or so, and use a tool to push it into the doll.
Fill the doll so it is very full, but don’t push the stuffing in too tight or it will feel hard instead of plush.
While you fill, make sure to shape the doll so it doesn’t look lumpy in any spots.
Step 7. Sew The Doll’s Body Closed
After filling the doll, the last step is to close the opening. To close the gap, you can either hand sew it with a needle and thread, or use your machine.
Using a needle and thread allows you to make the seam invisible. Use a slip stitch (also called a ladder stitch) to hide the seam.
If you don’t mind seeing the seam a little bit, you can machine sew it like I did. Fold the raw edges into the doll and line up the folds well, and pin. With your machine, sew the gap closed as close to the edge as you can.
Trim your threads and you’re done.
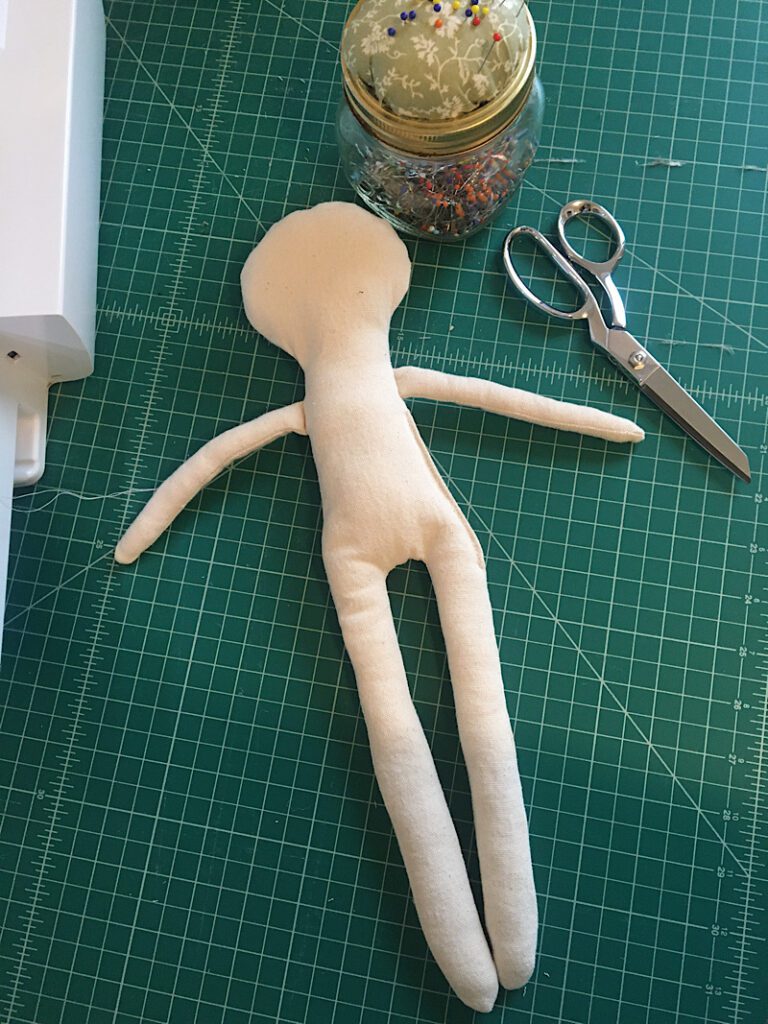
This competes the doll body!
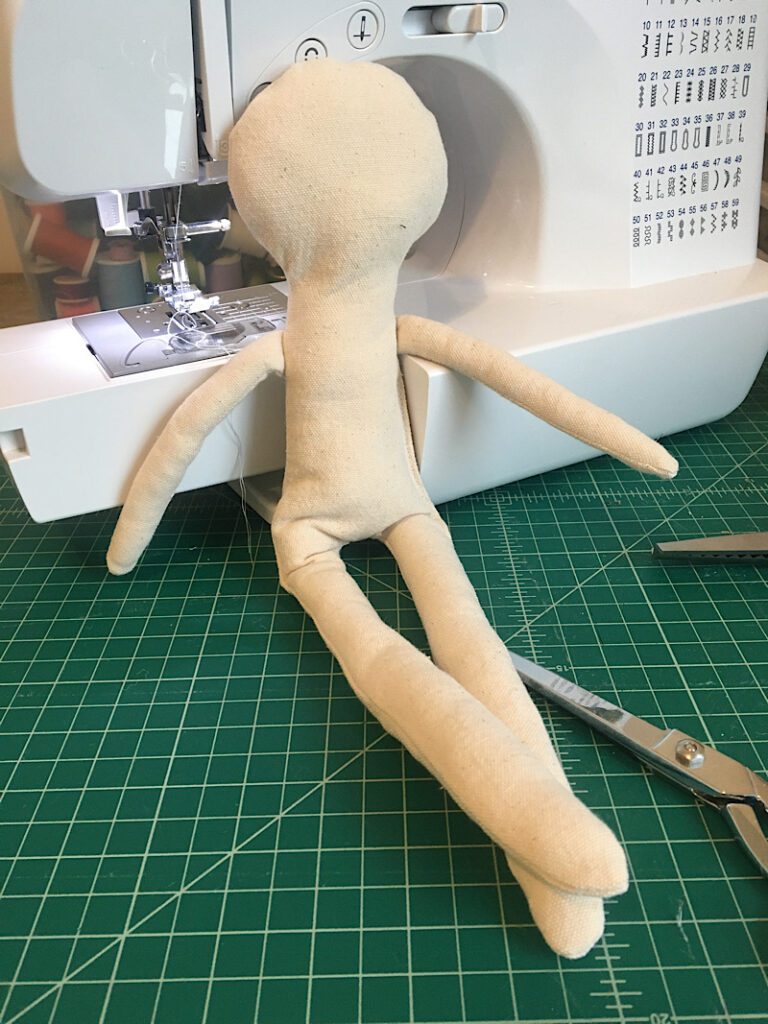
Conclusion
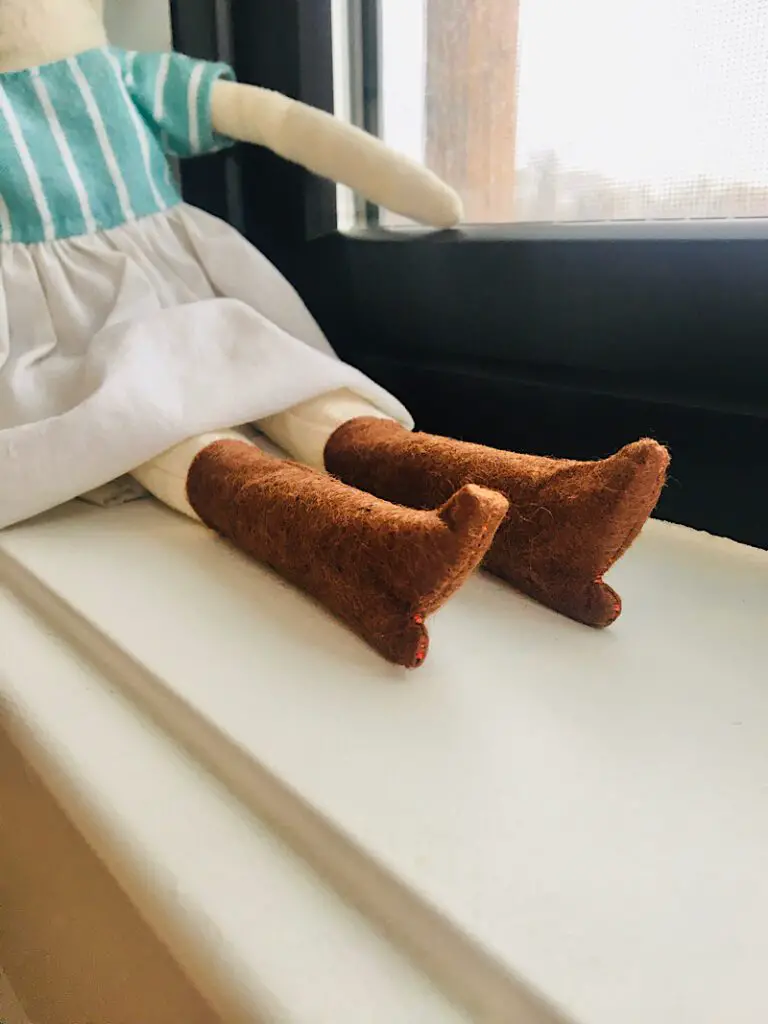
This blank cloth doll body is now ready for all kinds of fun personalization. There are so many ways to make these dolls.
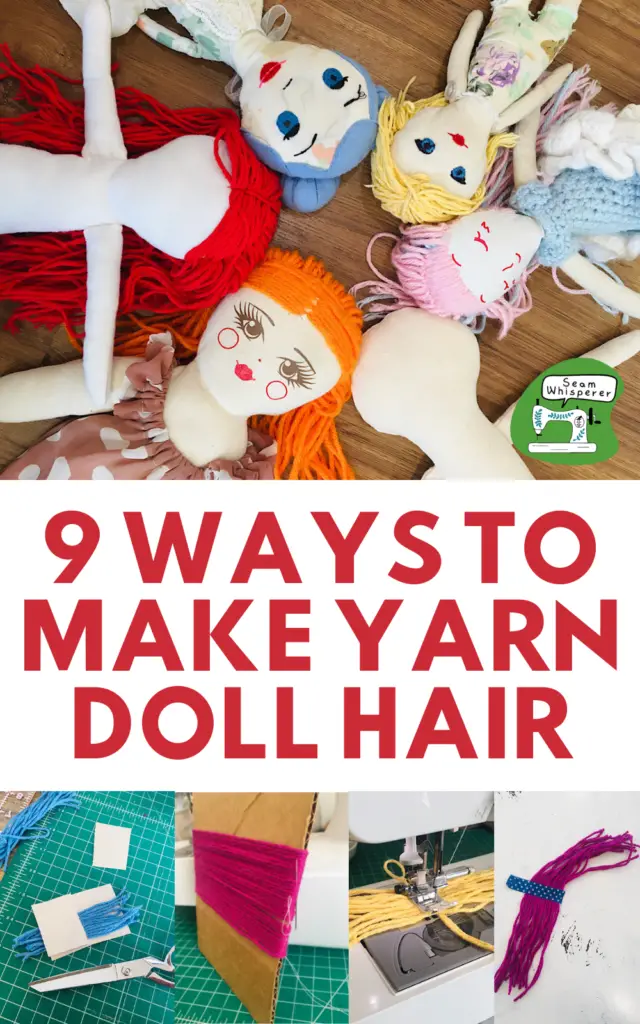
Make sure to read through my favorite yarn doll hair method, as well as download a BUNCH of free Doll Face templates.
I like to do the face first, then the hair, then the clothing. But you can do it in whatever order you want!
I hope you liked this tutorial. If you need any clarifications of the steps, let me know in the comments!
Pin this post so you can easily find it next time you make a doll, and sign up for my email list for more doll tutorials to come!
Such a unique post! Gonna share this with my mom and some friends who I think will like it. Thank you!
Thanks Akansha, I hope they try it out!
Love this! I’ve always wanted to make dolls for my girls, but I doubted my sewing skills to do so. Your step-by-step tutorial with pics gives me the confidence to give it a try! Thank you for sharing, and thank you for the free PDF pattern as well! I’m excited to get started 🙂
My first doll was not very good… but I am getting better and better!
the pattern was not in my email. There is no button. It will not download.
Tammy, I am not familiar with your email provider So I don’t know why it isn’t showing up, but it has worked for everyone else thus far. I will send it to you directly.
Hi Swamwhisperer
I have also not received my pattern. Can you send it directly also please. Thank you
Hi Hanlie! I checked and the email bounced for some reason. I will try again.