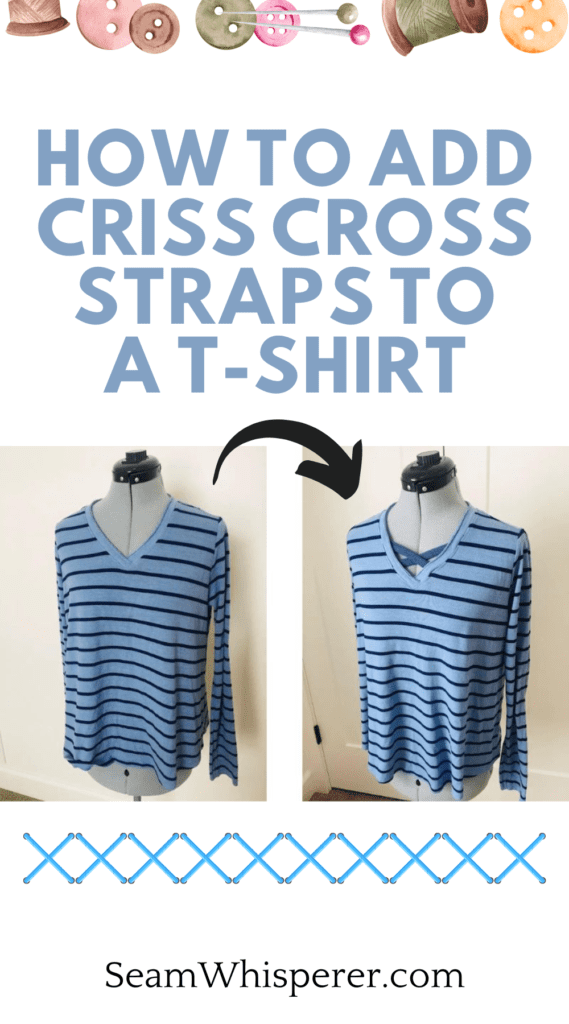
Spruce up an old T Shirt by adding stylish criss cross straps to the neckline with this quick tutorial.
This post may contain affiliate links. Read the full disclosure here.
About This Tutorial
Adding decorative criss cross straps to a T shirt is an easy way to give the neckline a bit of interest. This T-shirt transformtion is quick and easy, and doable for beginners!
I chose to use a complimentary color of fabric for the straps, but you could also use a different color for a bold look. You could also use lace or ribbon as an even easier option! (But you will have to somehow prevent the ends from fraying, so keep that in mind. You could try using pinking shears.)
I used a V Neck T shirt for this tutorial, but you can try it on another type of neckline as well if you want! Also, the straps I made were about 1/2 inch wide, I might have looked better with a thinner strap, but thats what I did!
Supplies Needed
- Sewing Machine
- Fabric Scissors
- Sewing Pins or safety pins
- Rotary Cutter, (Like this one) Mat, and Acryclic Ruler (optional but makes cutting easier)
- Measuring Tape
Materials Needed
- T Shirt to upcycle
- Material for the straps (I used a scrap from another old T shirt, but you can even use ribbons or lace)
- Matching Thread (This option has a lot of colors)
Add DIY Criss Cross Straps To A T-Shirt Neckline
Step 1. Make The Straps
Put the shirt on and measure across the neckline where you want the straps to be. Make sure the measuring tape goes past the seam line on both sides.
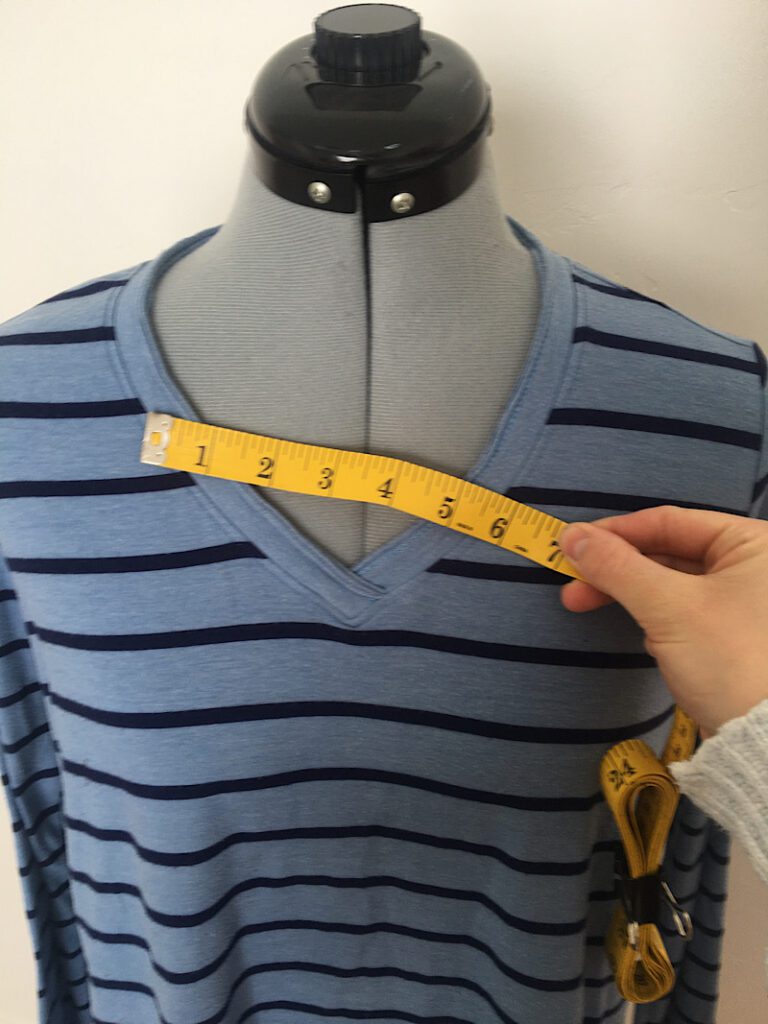
You will need two straps that are both at about 2 inches longer than the measurement you took. If you are using ribbon you can skip the rest of this step.
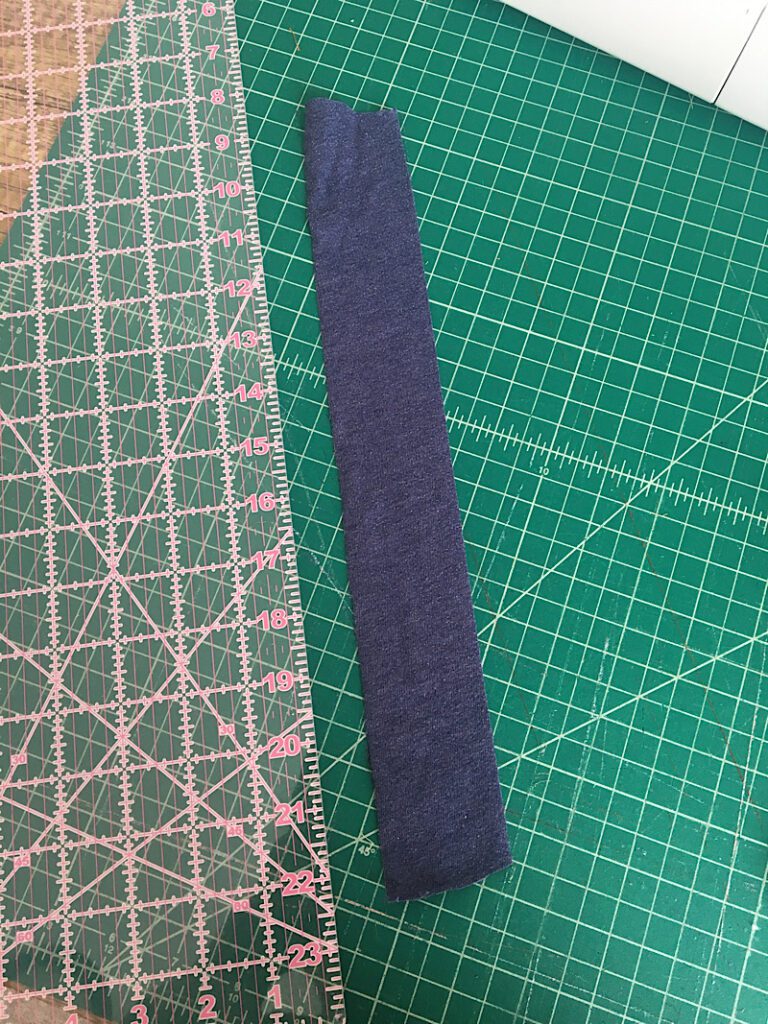
Cut out a piece of fabric with your rotary cutter that is between 1.75 and 2 inches wide, and twice as long as your measurement.
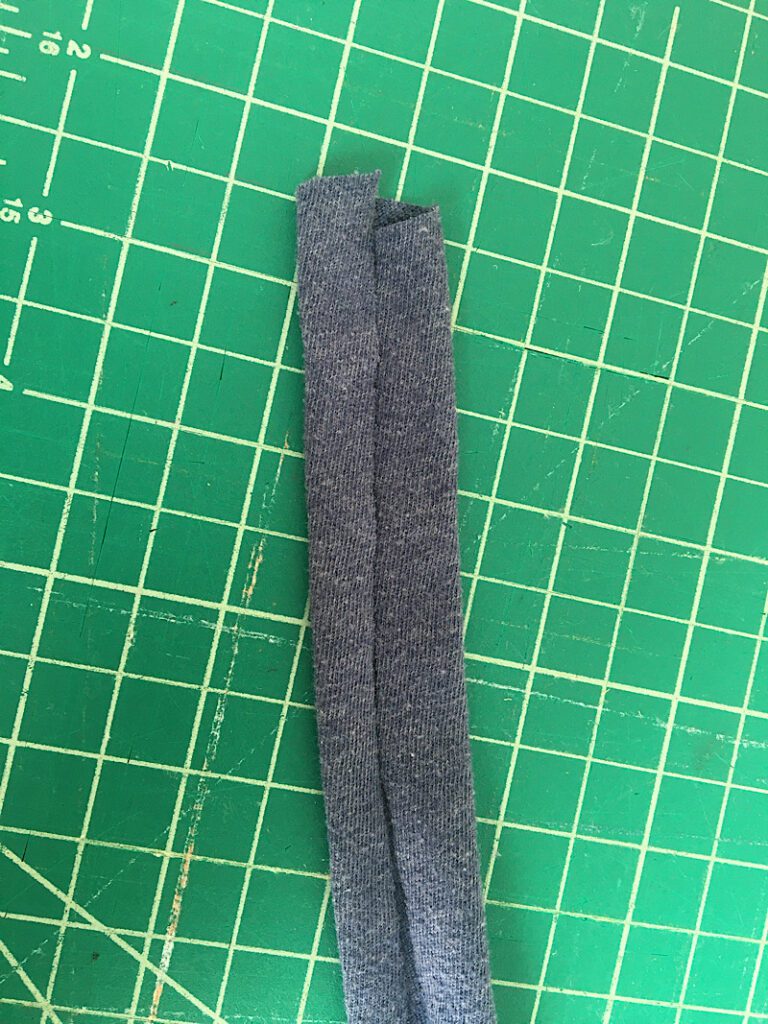
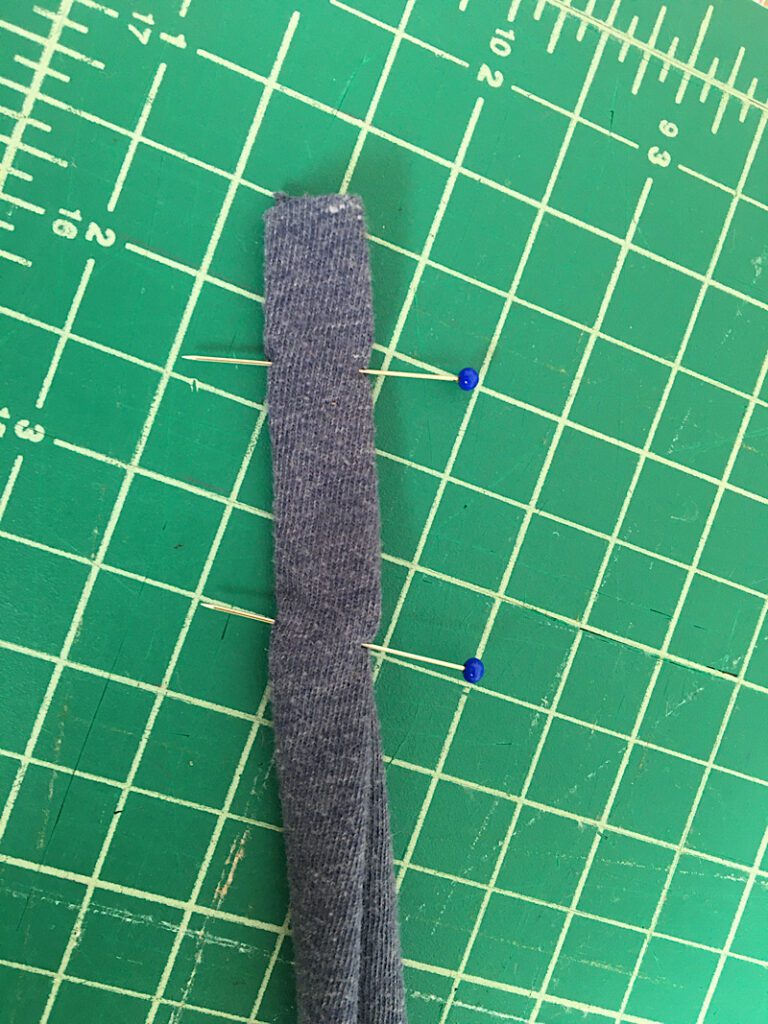
Fold the long sides into the center of the strap, and then fold it in half and pin it together.
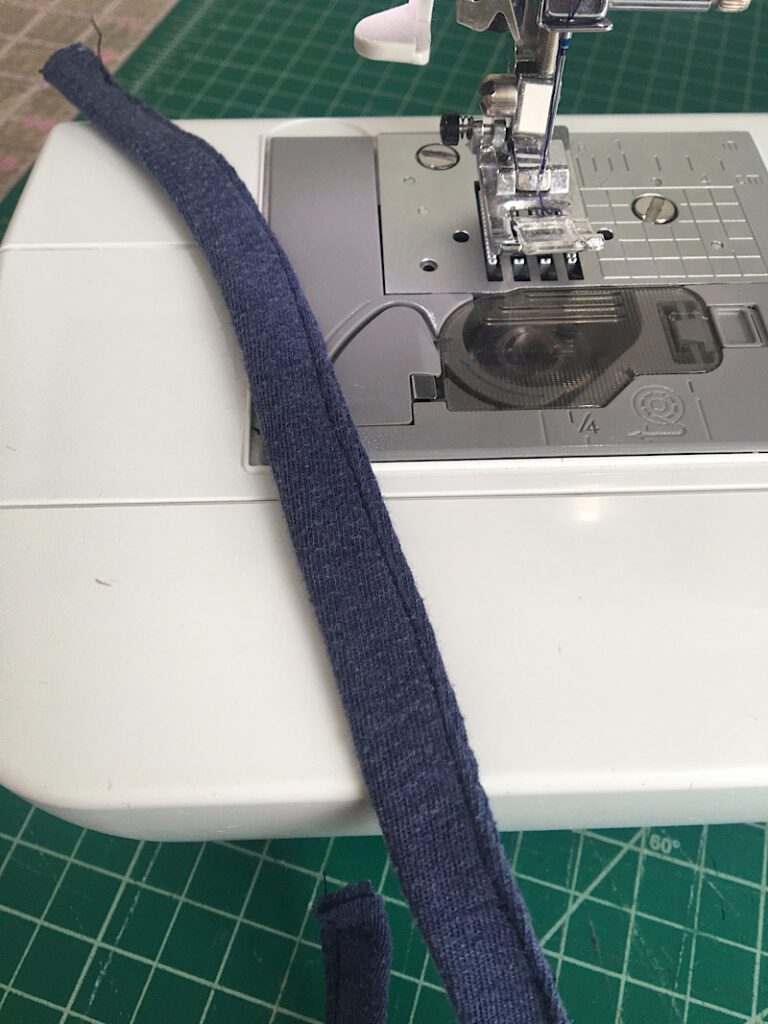
Now bring the strap to the sewing machine and sew a line down the folded edge about 1/8th inch away.
Finally, cut the strap in half and you now have your two pieces!

Step 2. Attach The Straps To The Shirt
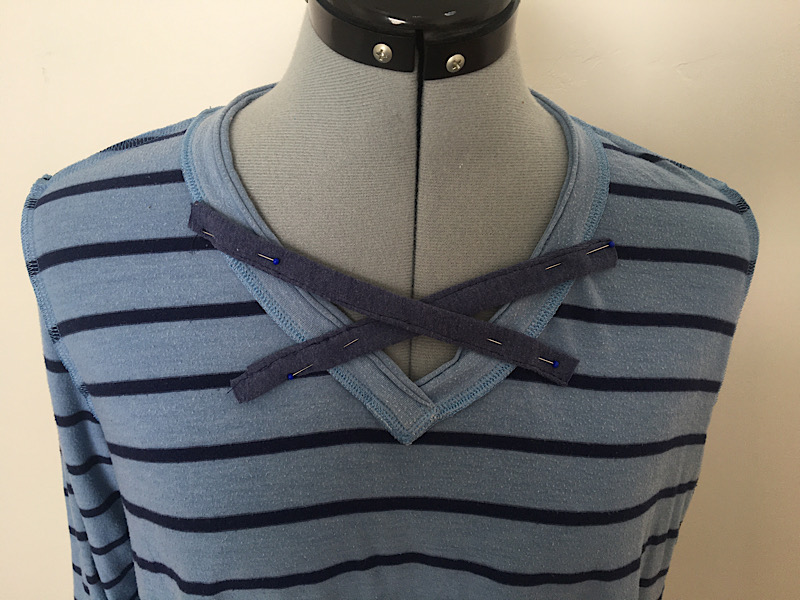
Now turn the shirt inside out and try it back on.
Lay the straps accross the neck line so they cross each other how you like. Make sure the edges are hanging well over the seam line on the neckline, and pin the edges down. If you are doing this on yourself and not a mannequin, using safety pins will make the shirt easier to remove without getting poked.
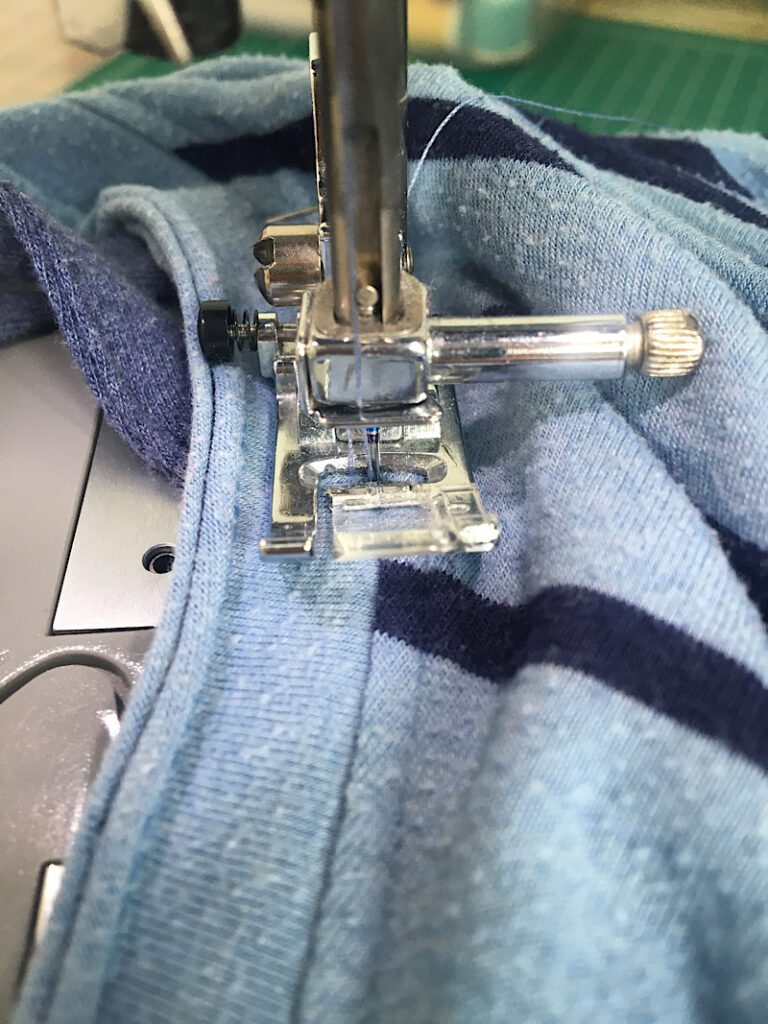
Now, you will sew a line on the neckline across each strap. To make it blend in, you should sew right on top of the necklines stitch line, which you can see on the back of the shirt, or you can turn the shirt right side out and “stitch in the ditch”.
Make sure to backstitch at the beginning and end of each line you sew.
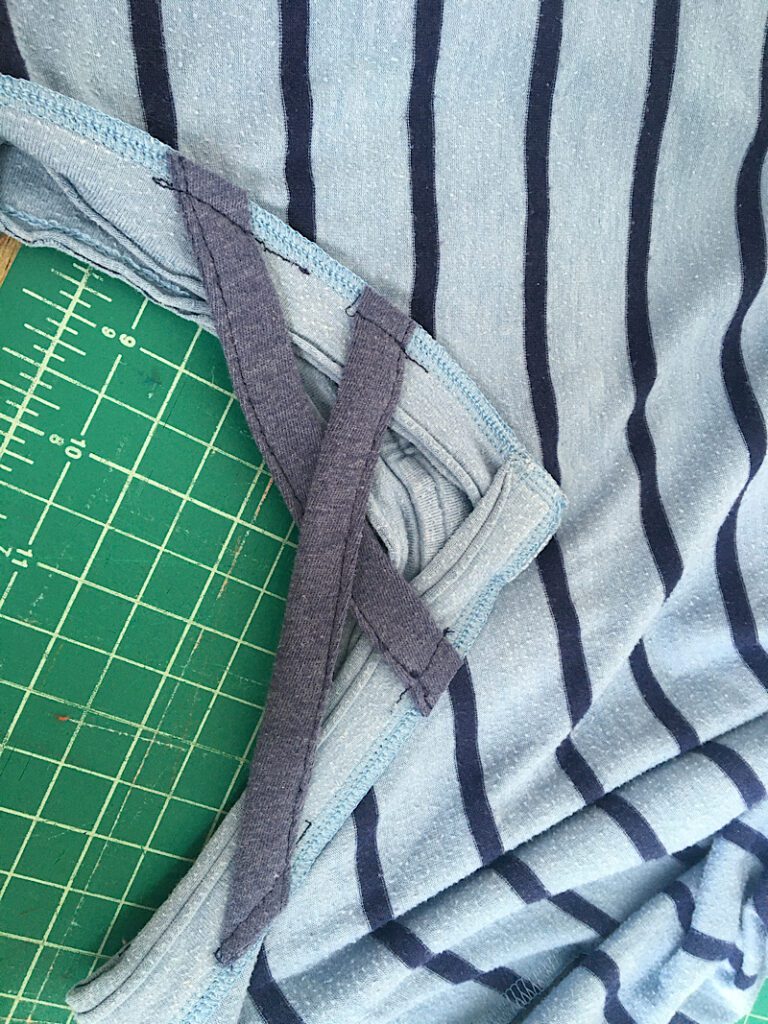
Step 3. Trim And Finish The Straps
Finally, trim the excess threads off the front and back of the shirt, and trim the ends of the straps so there is just a bit left on the side of your stitch line.
Then turn the shirt rightside out and try it on again!
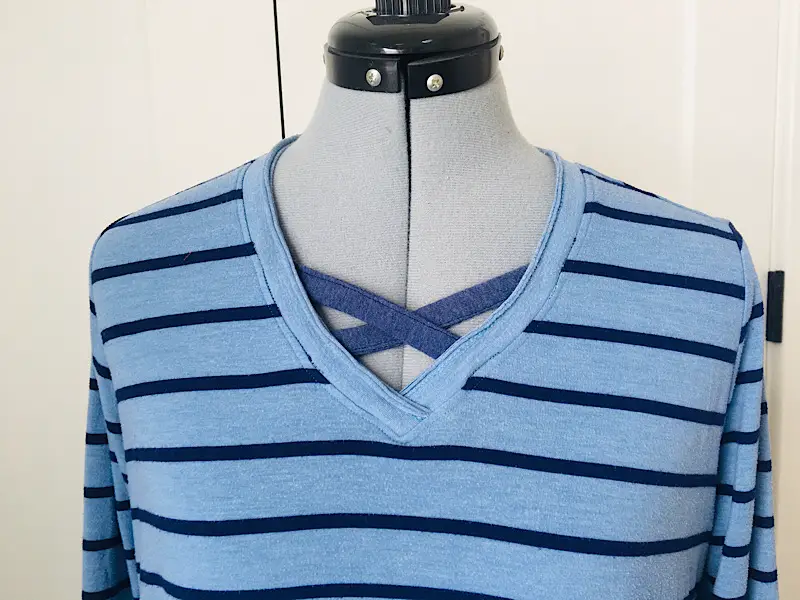
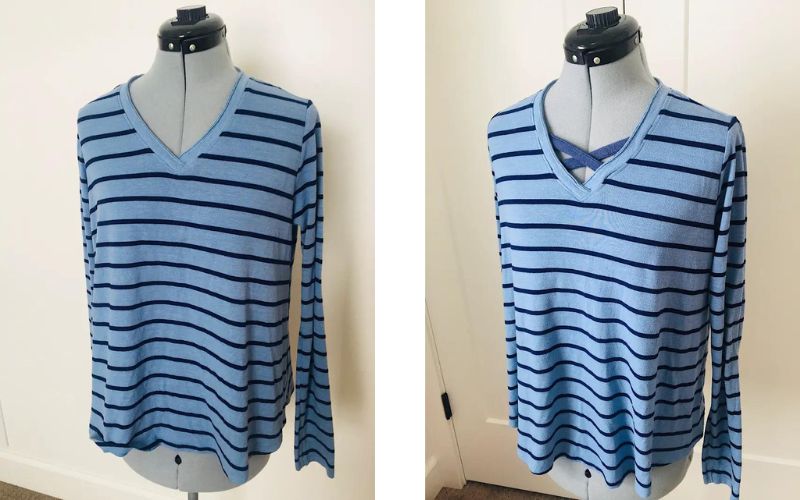
This completes the tutorial. Lets see how it looks:
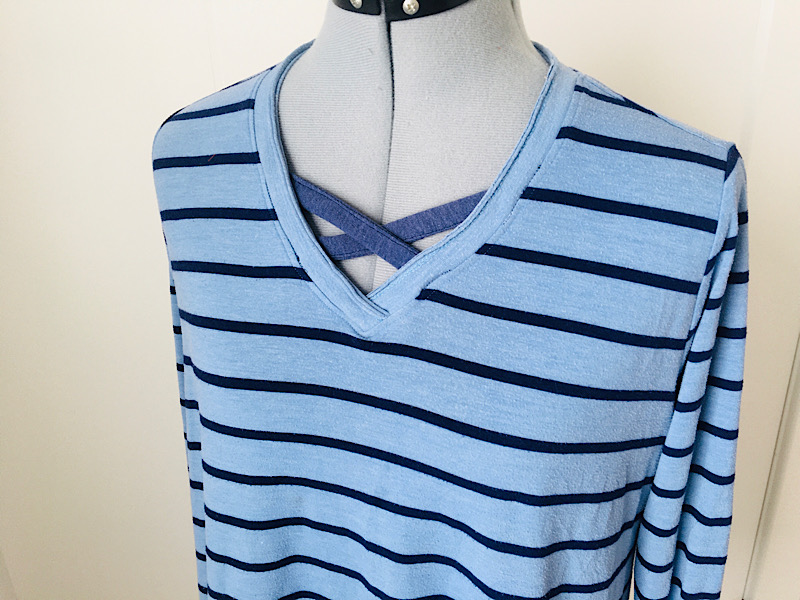
It looks pretty good!
Here is the before and after:
Conclusion
I hope this T shirt neckline upcycle was useful to you, this is a fun way to change up your wardrobe and add personality.
For more shirt alterations, check out these tutorials:
- How To Fix Tight Sleeves (5 Techniques)
- How To Tighten Sweatshirt Cuffs
- How To Turn A Hoodie Into A Sweatshirt
Make sure to join my email list for more free sewing content and inspiration, and join the “Let’s Talk Sewing” community to show off a photo of your completed project!